STEP 1:
git init
Initializes a new Git repository in your project directory.

STEP 2:
git add or git add .
Adds files to the staging area. Use . to add all modified files.

STEP 3:
git status
Shows the current state of your working directory and staging area.

STEP 4:
git commit -m "your message"
Saves your staged changes to the local repository with a message.

STEP 5:
git log
Displays the commit history.

STEP 6:
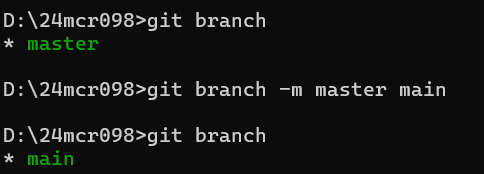
git branch
Lists all branches in your repository.

STEP 7:
git branch -M main
Renames the current branch to main.
STEP 8:
git remote add origin https://github.com/yourusername/yourrepo.git
Links your local repo to a remote one on GitHub.

STEP 9:
git config --global user.name "Your Name"
This sets your Git username globally on your system. It’s the name that will appear in your commits.

STEP 10:
git config --global user.email "[email protected]"
this sets your email, which is tied to your commits.

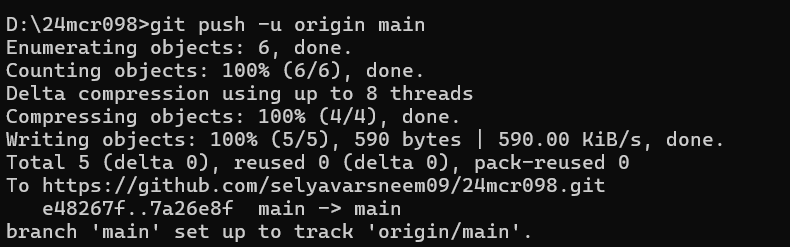
STEP 11 :
git push -u origin main
Pushes your code to the remote repository for the first time and sets the upstream branch.