Navigate to the azure portal; to achieve this, go to portal.azure.com and sign in.
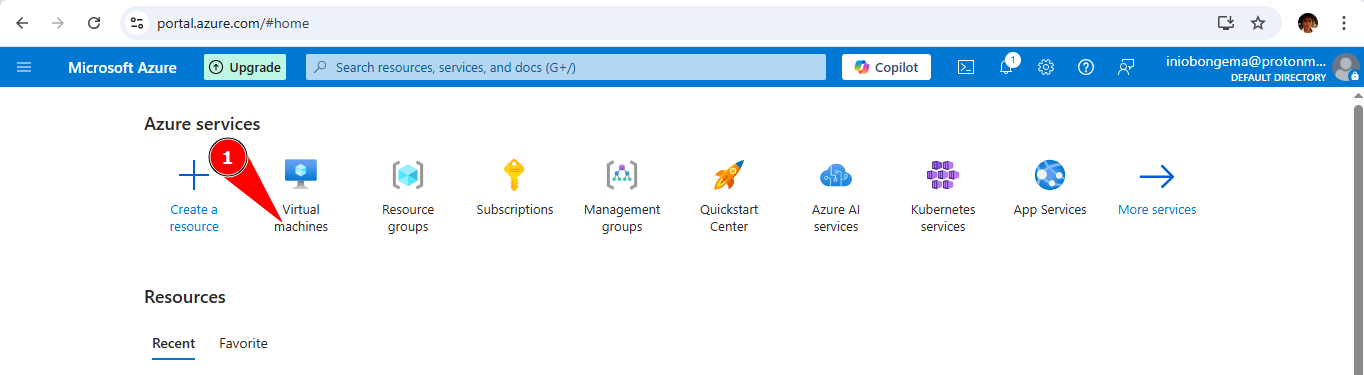
On the azure opening page, Select " virtual machines". If you a VM already, you can use it or create a new VM.
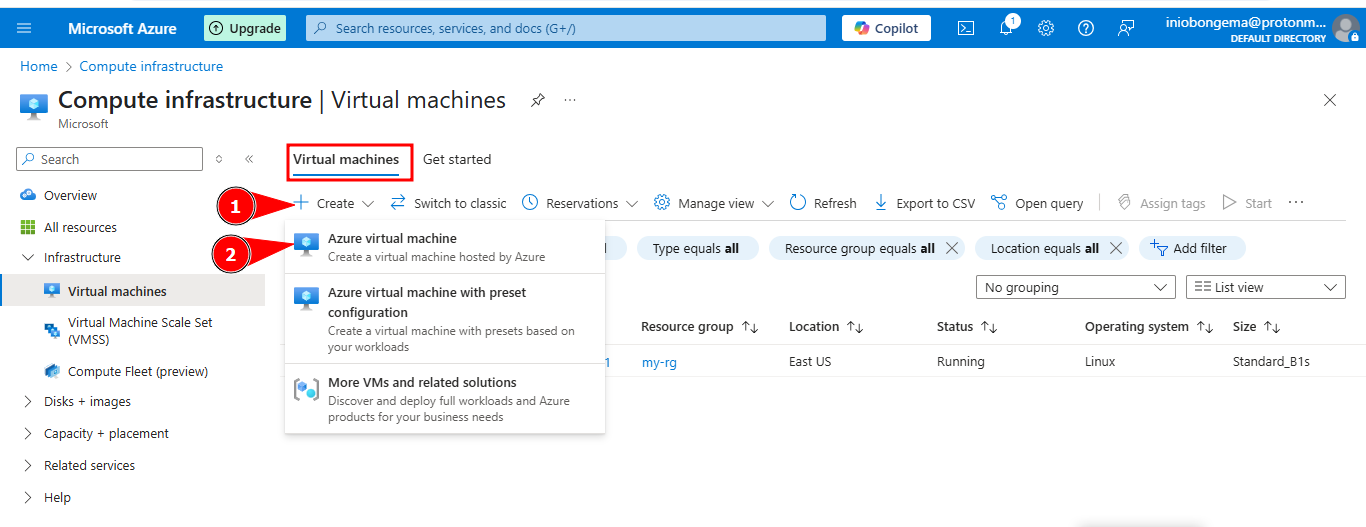
To create a new VM, select Virtual machine, Create, azure virtual machine
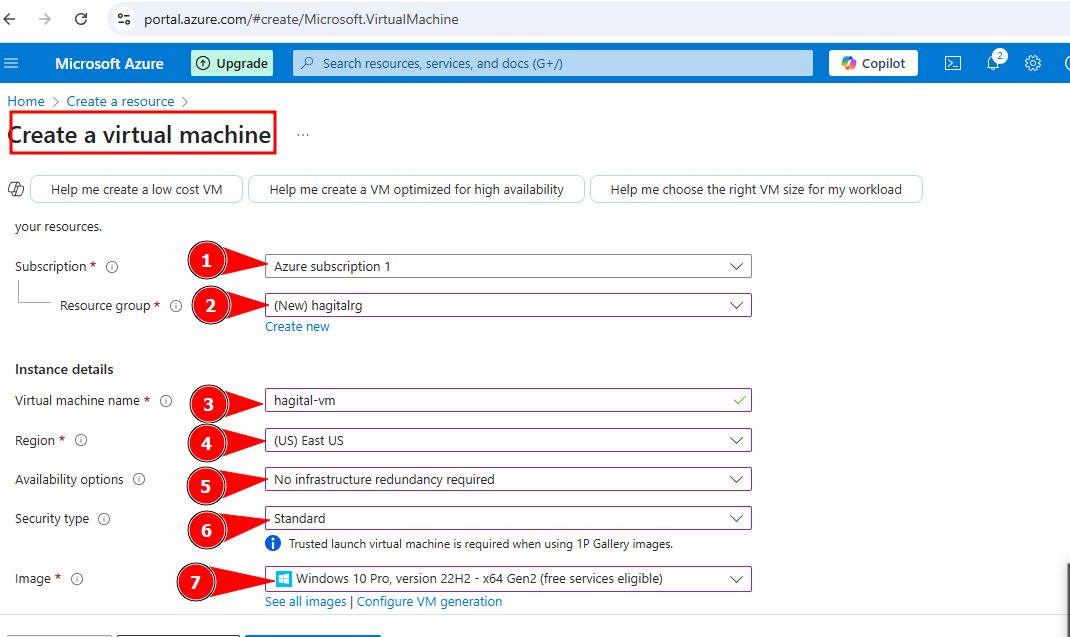
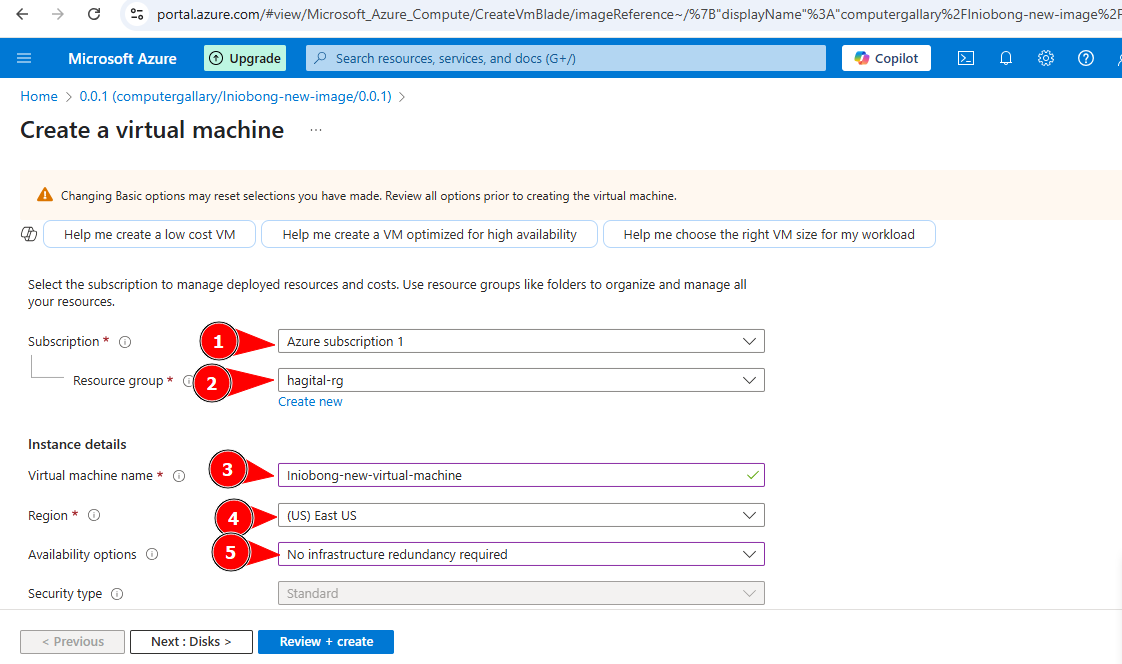
On the azure portal,
- Azure subscription is at default
- Create a new rg
- give the VM a name
- select region
- under availability options, select "no infrastructure redundancy required"
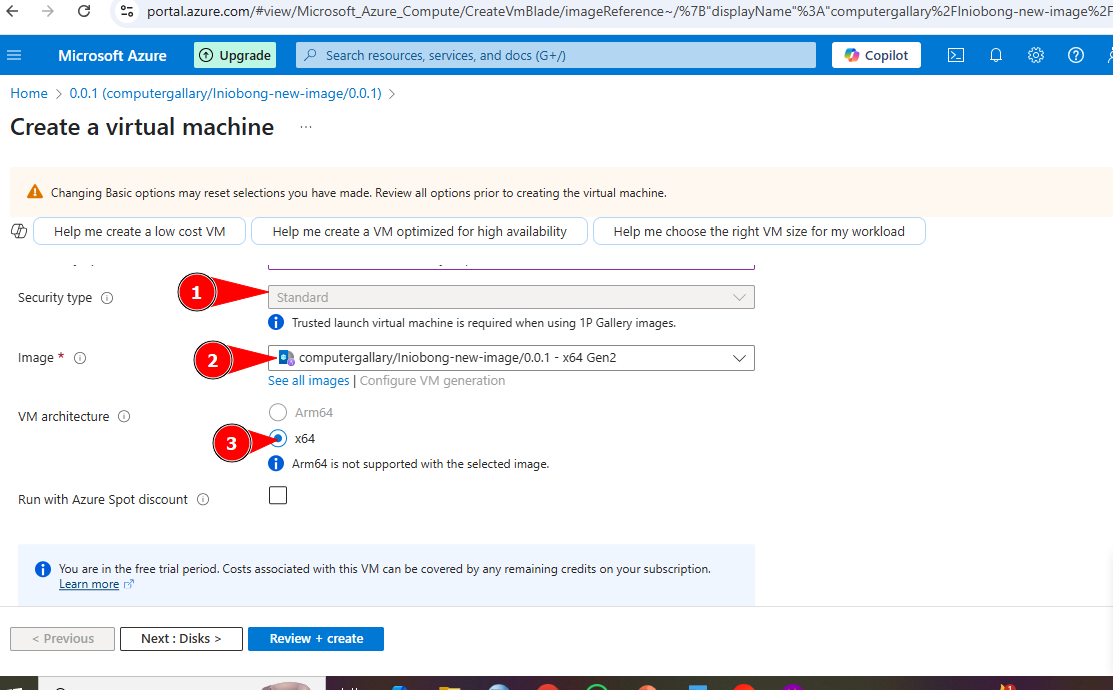
- under security type, select "standard"
- under image, choose a windows based on your computing demand" the VM architecture should remain at default
keep scrolling down
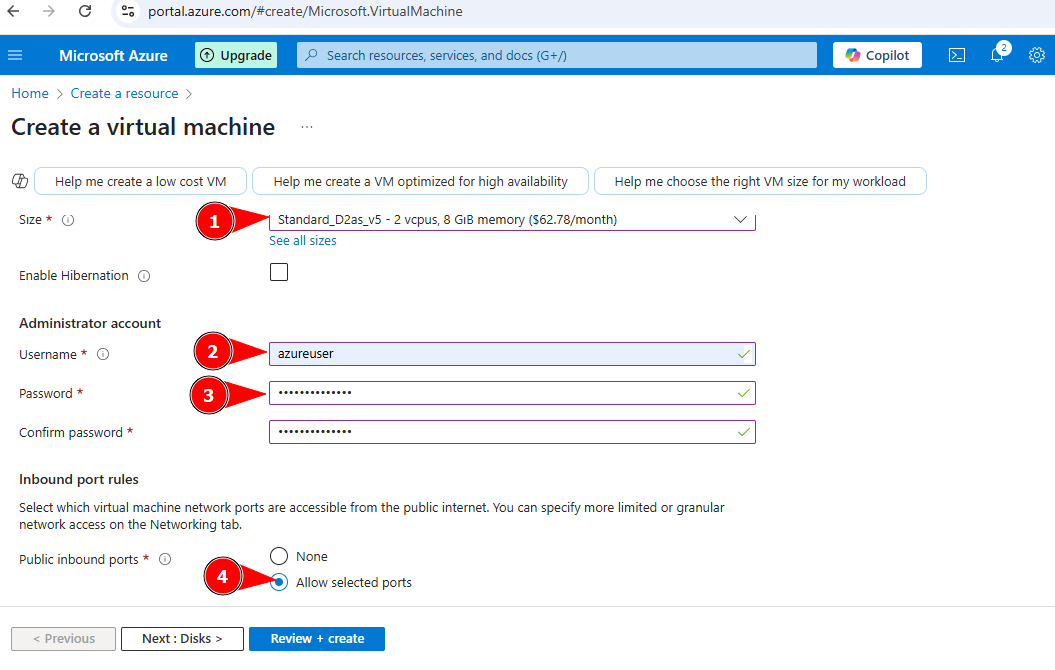
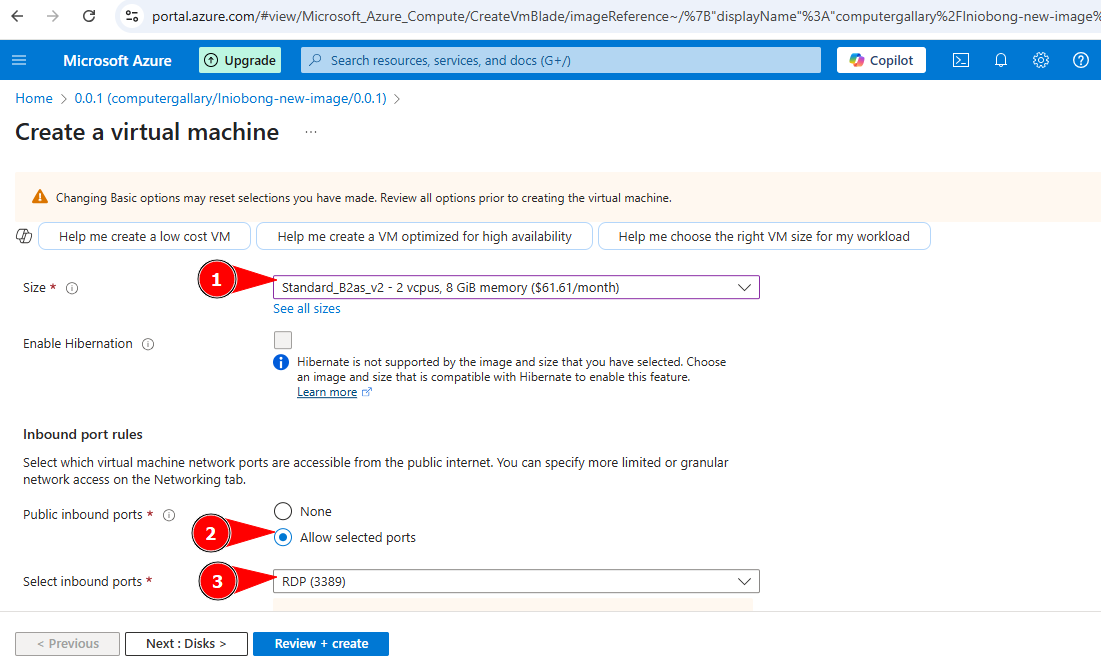
- under size, select based on your computing demand
- create the admin account; a) username b) password and confirm the password
- under public inbound ports, allow it at default "allow selected ports" Let the select inbound ports be at default "RDP (3389)
Tick licensing and move to the next bar 'under disc'
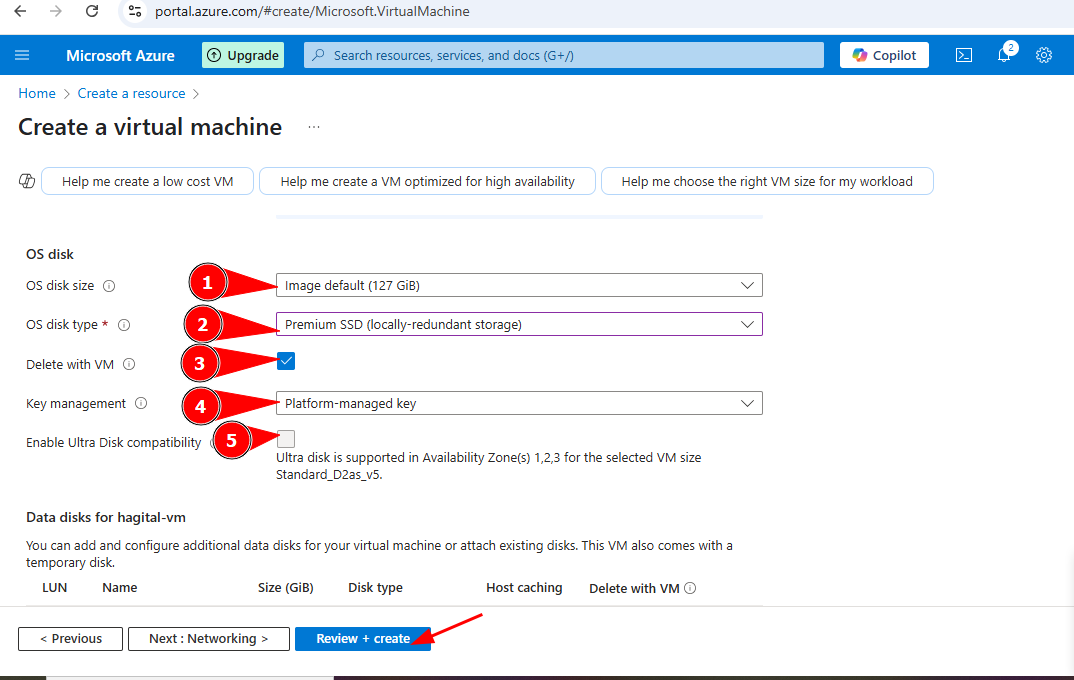
Under disc
- OS disk size: choose based on computing demand
- OS disk type: select premium or standard SSD
- Under delete with VM: tick based on demand
- Under key management: Leave at default platform "managed key"
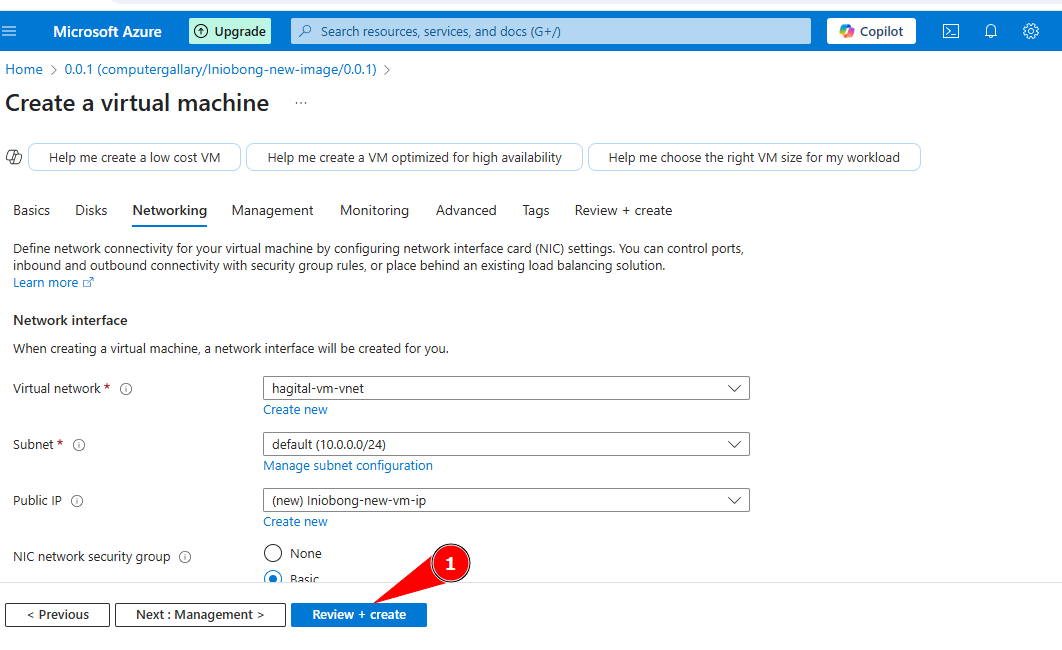
- Under enable ultra disk compatibility: leave at default Then review and create
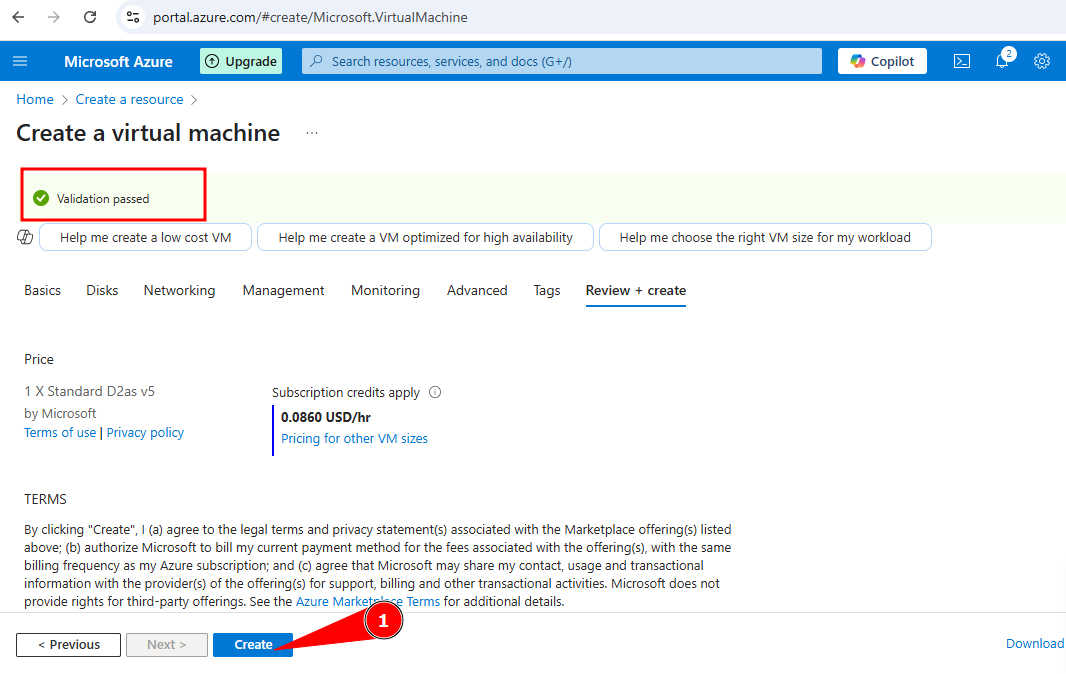
After reviewing and creating, wait for validation to be successful then click on "create"
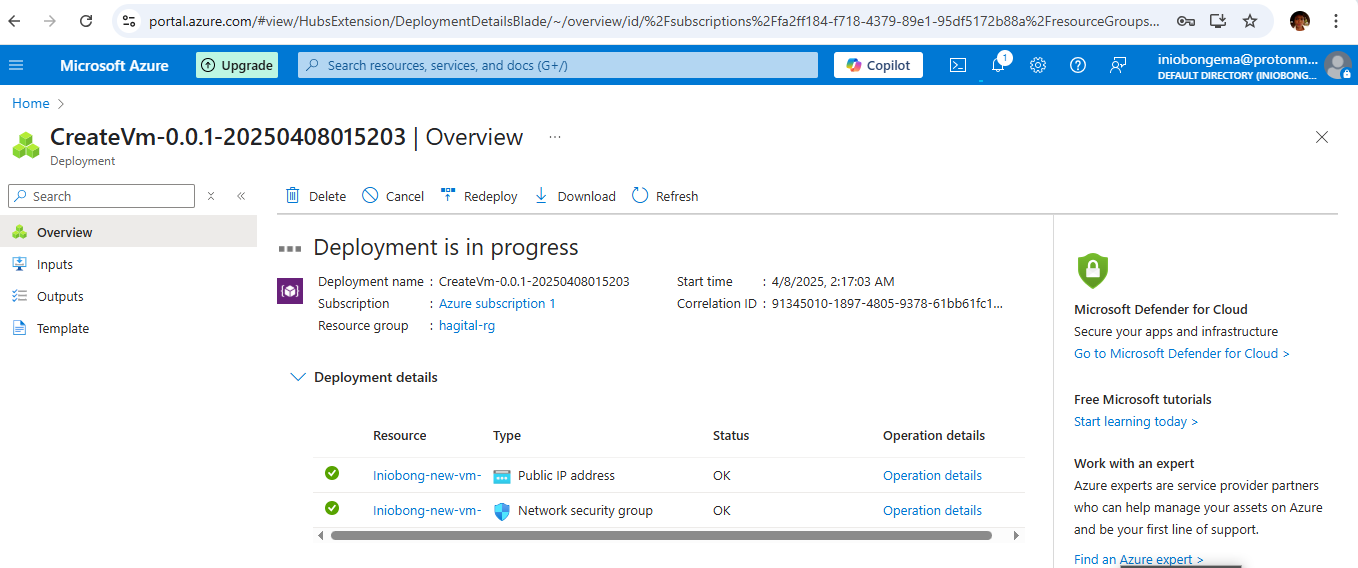
Deployment in progress
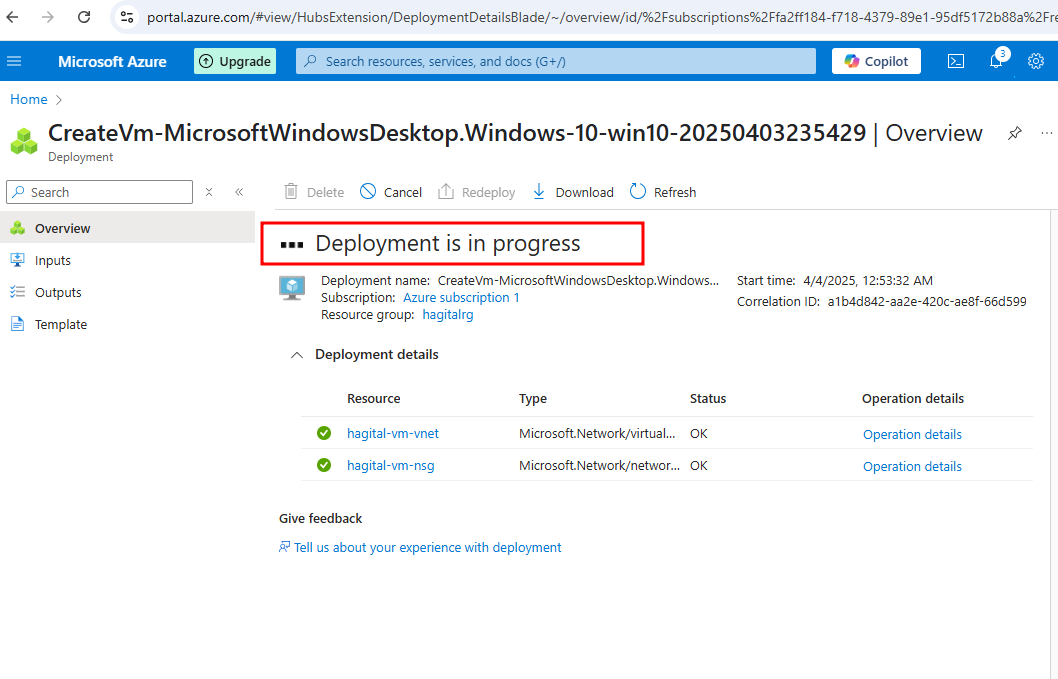
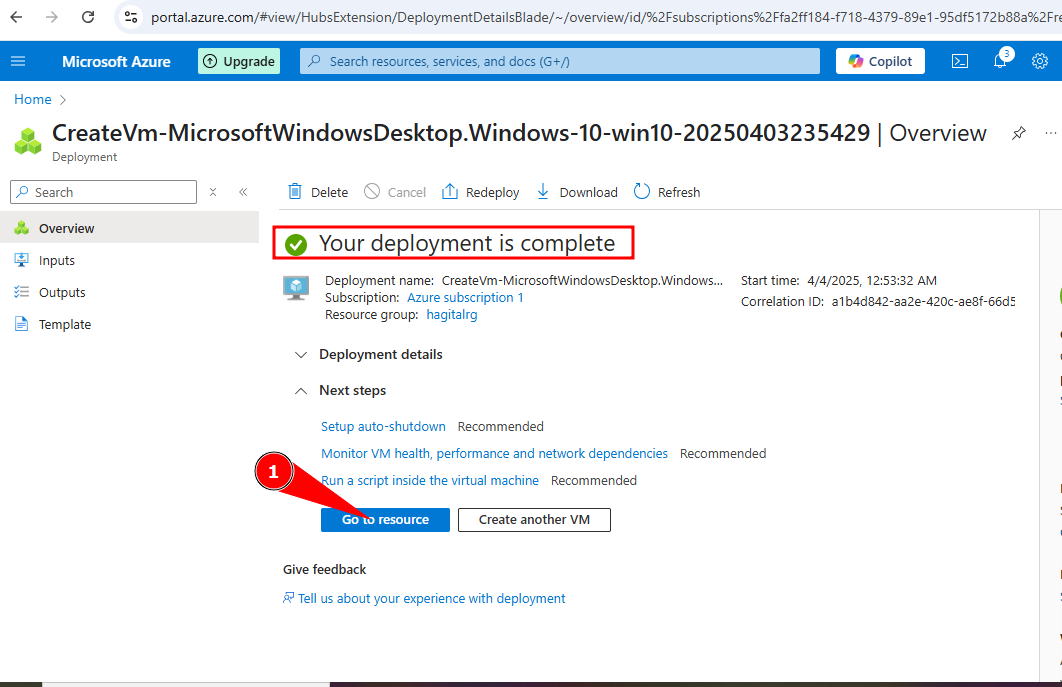
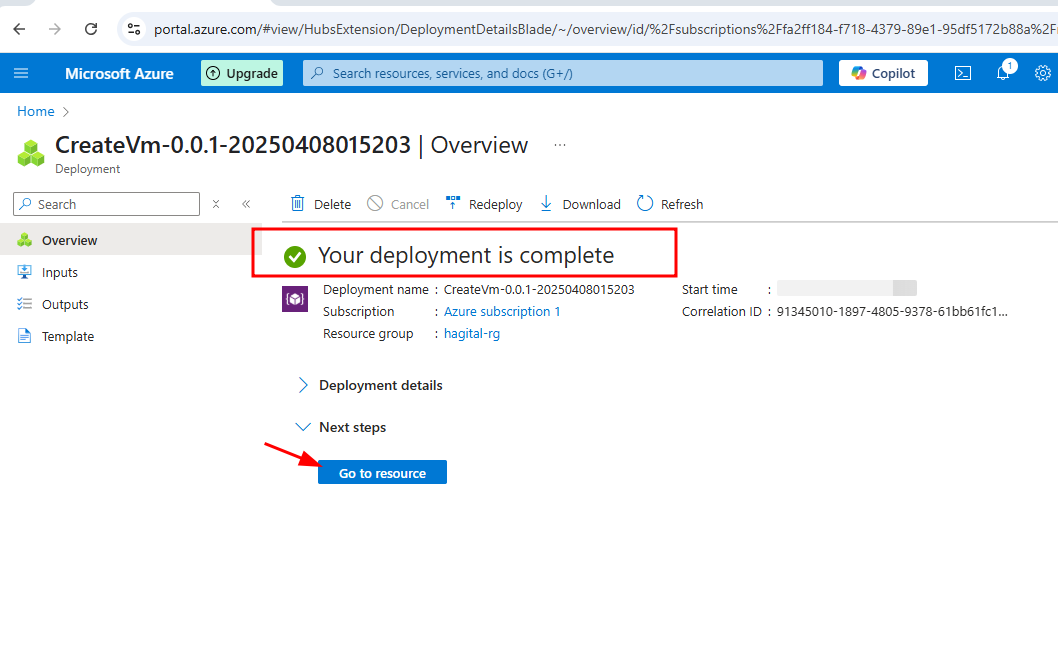
When the deployment is complete, click on "go to resource"
On resource, click on 'create' then 'create'
STEP 2 OF ATTACHING DISC
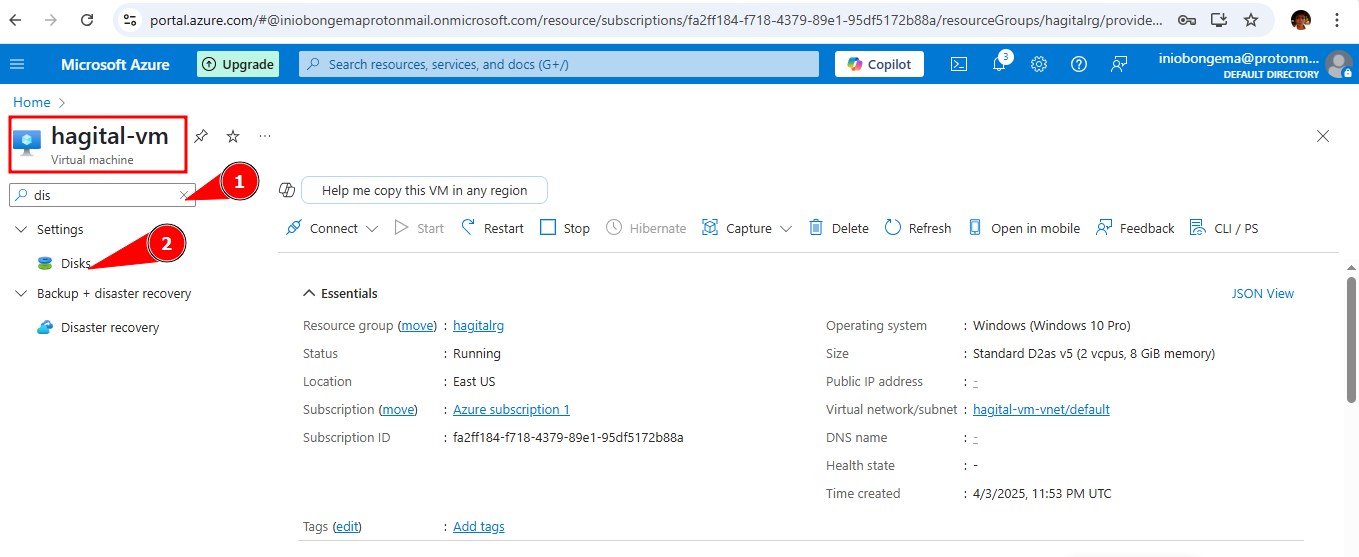
Go to hagital-vm home page, search for disc and select it
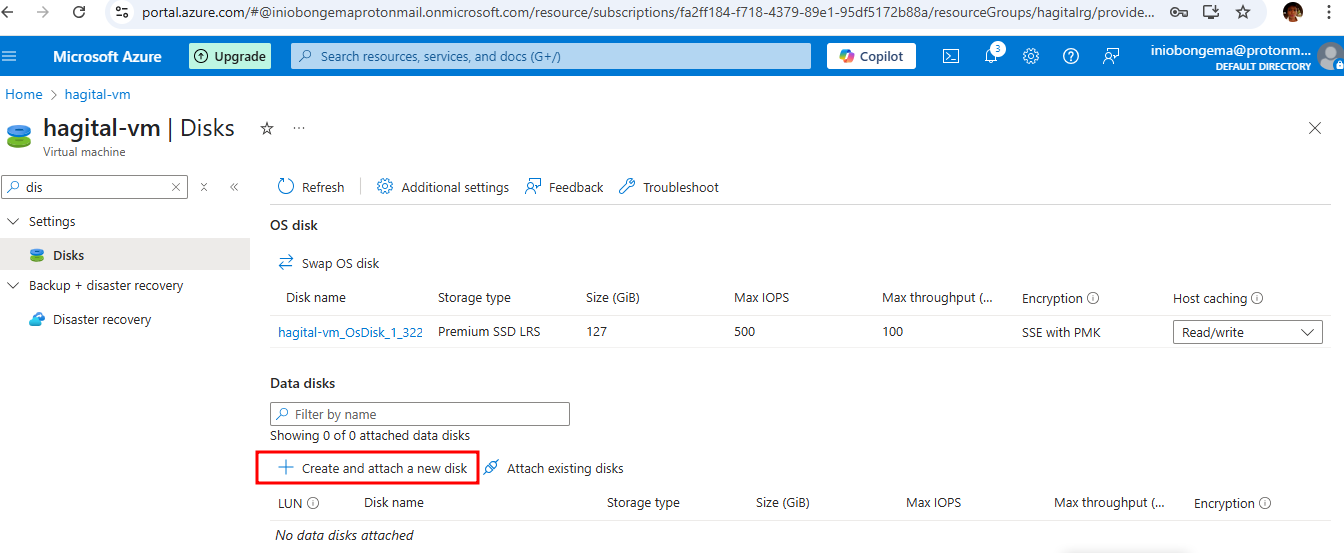
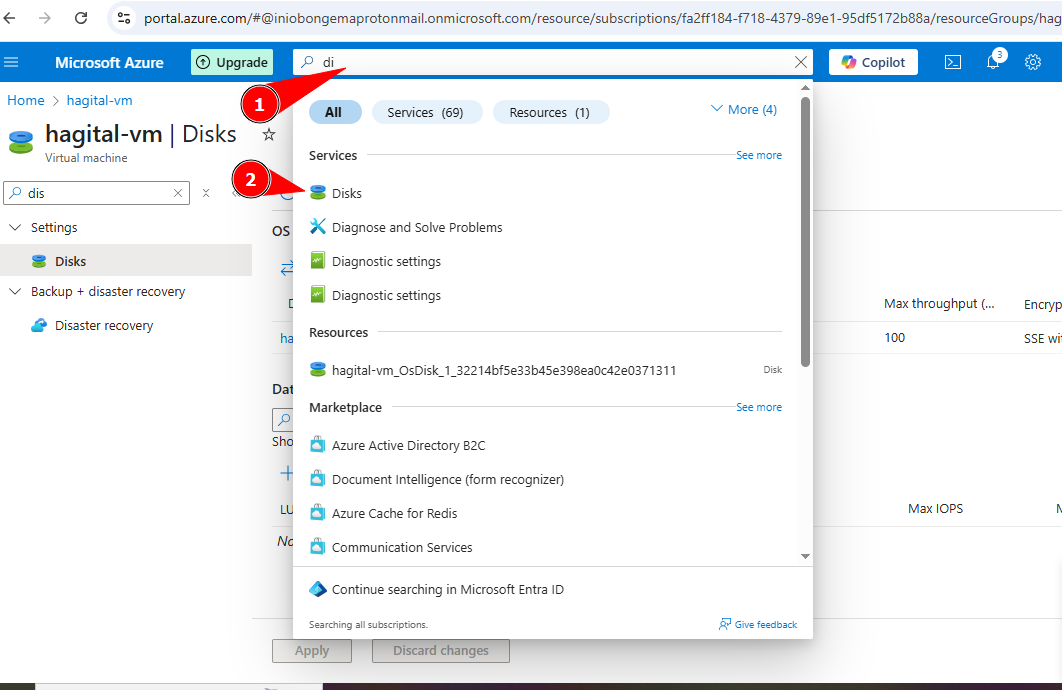
STEP 3 OF ATTACHING DISC
Go to the search bar, type disk, open in a new tab
Give a name to the disc created
- select the storage size based on computing demand (standard SSD)
- disc size : 64
- host caching : read/write then click on "apply"

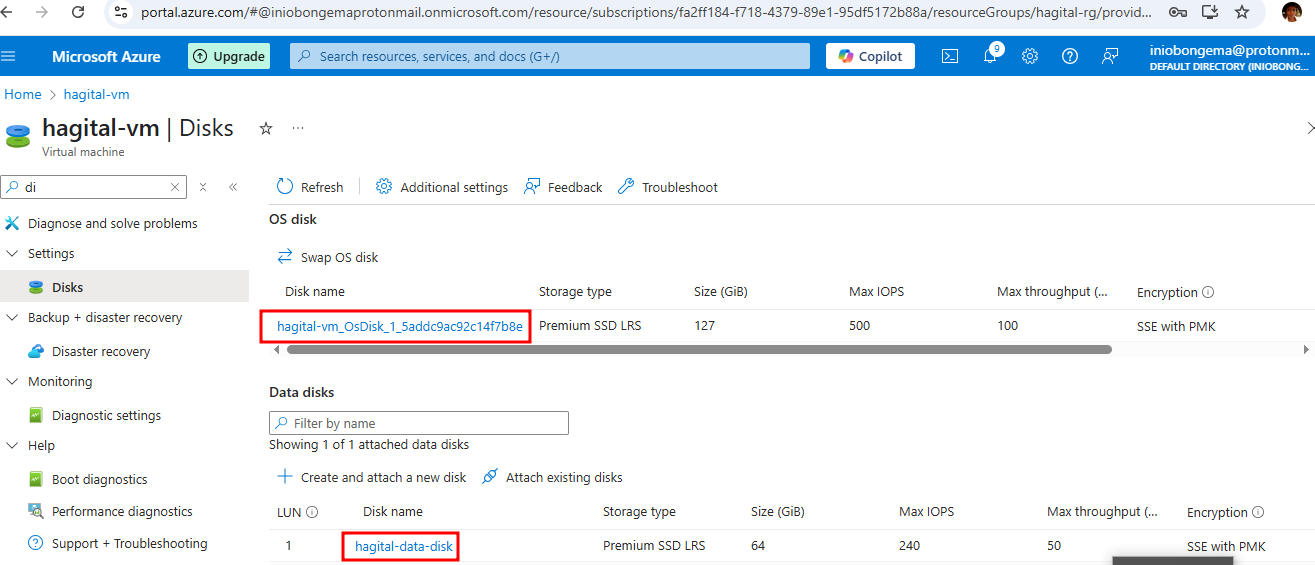
When the disk is successfully created, the disk name will appear as shown
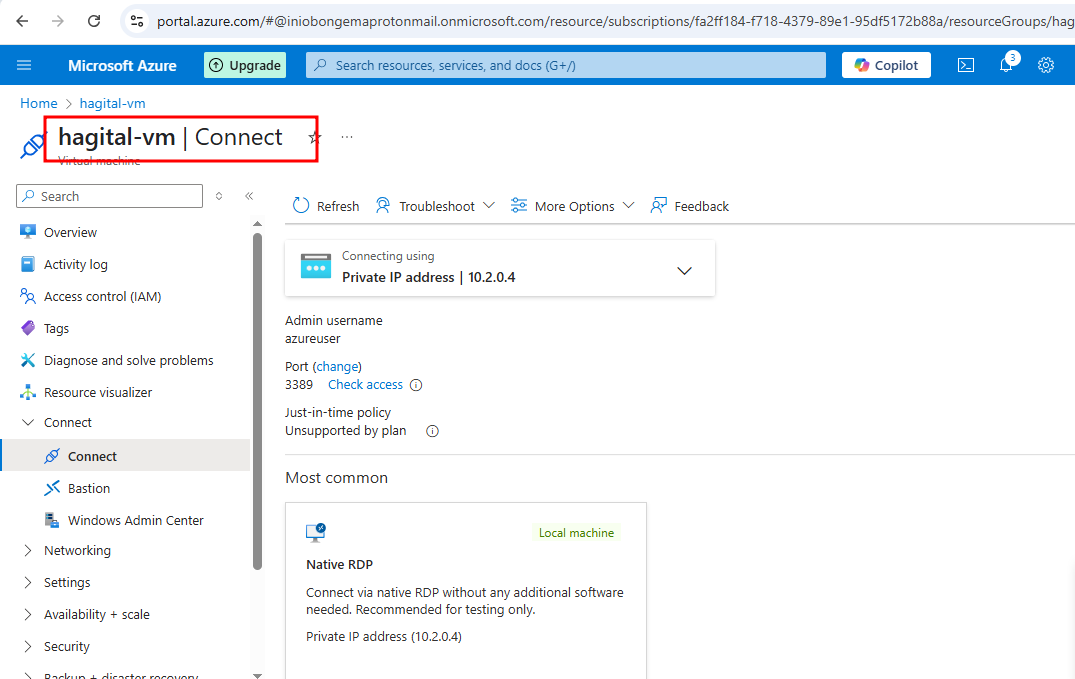
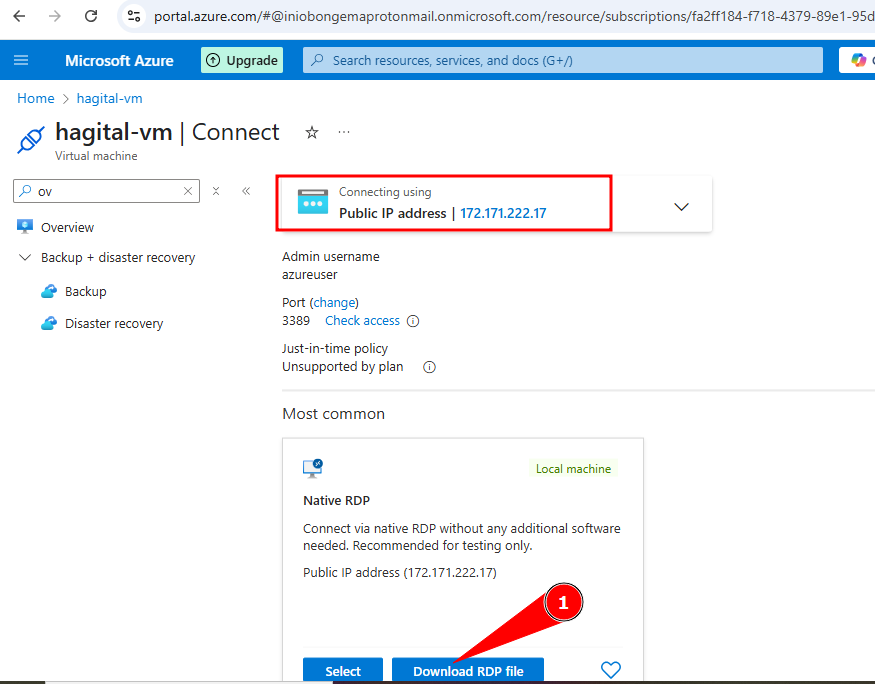
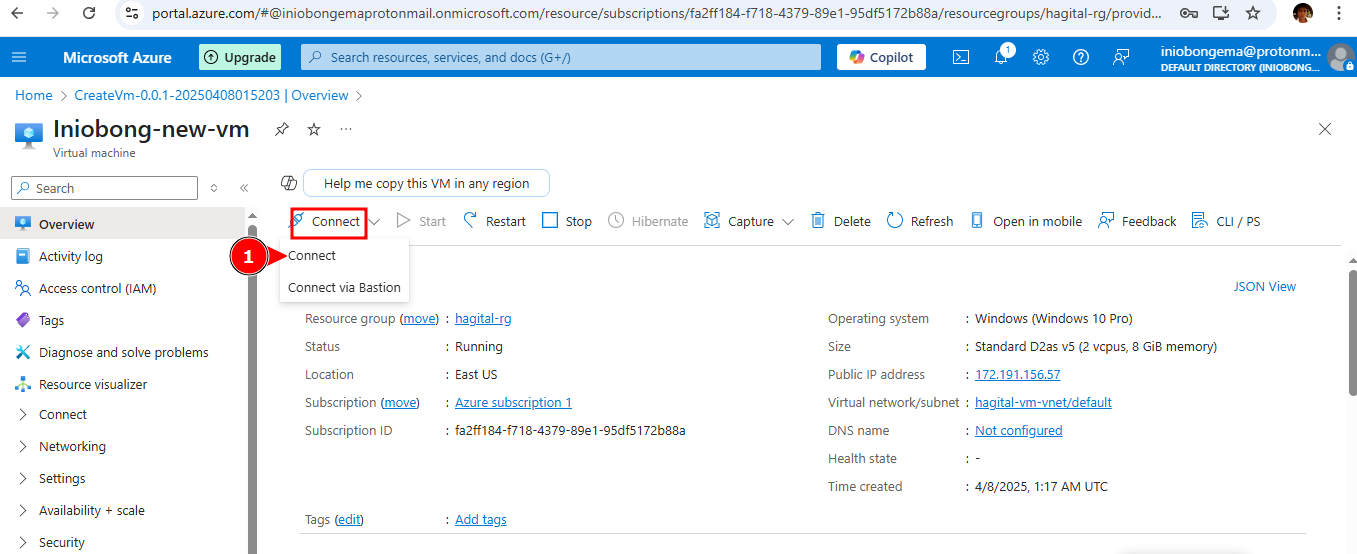
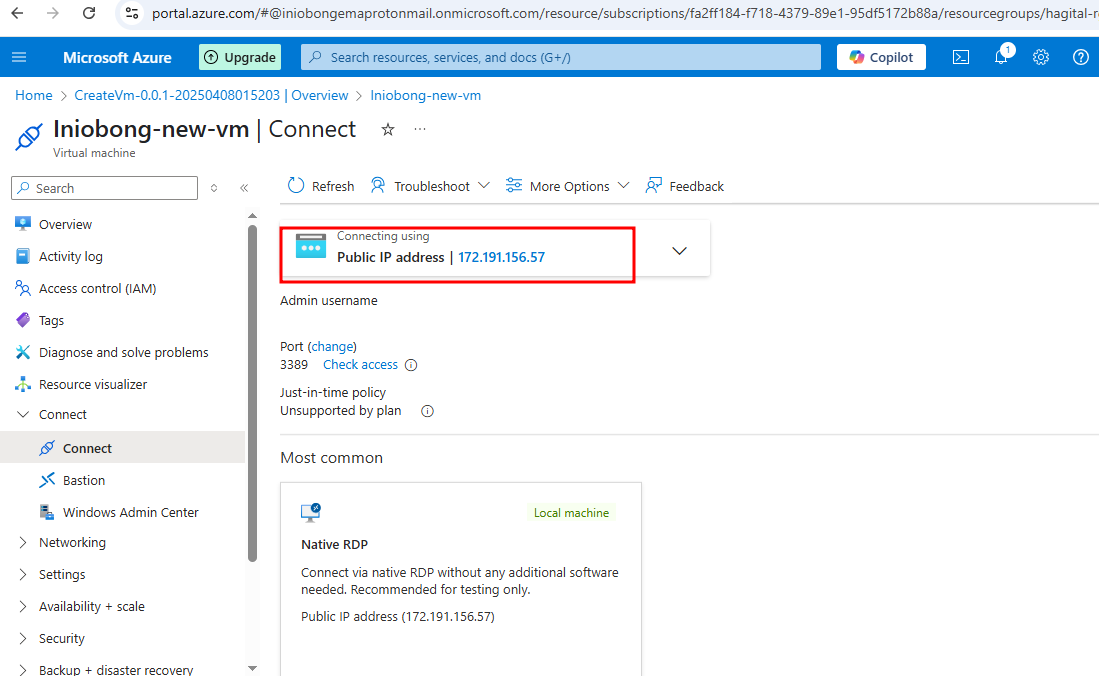
Go to overview page, click on 'connect', then 'connect'
click on 'download the RDP file'
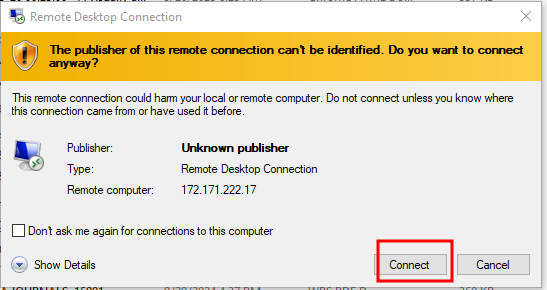
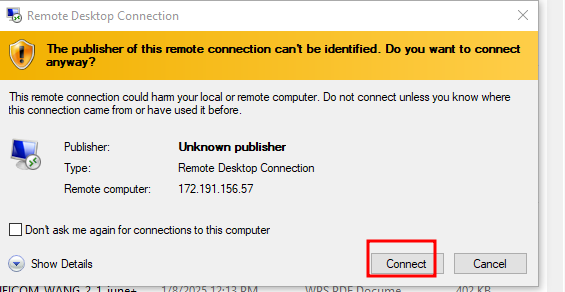
After the download, click on 'connect'
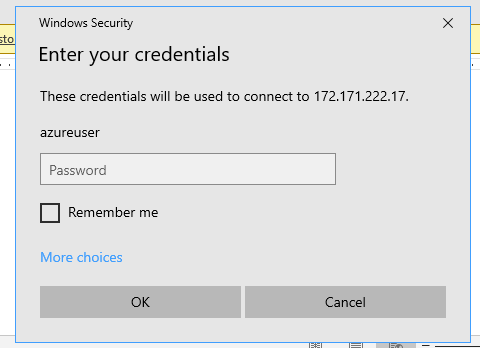
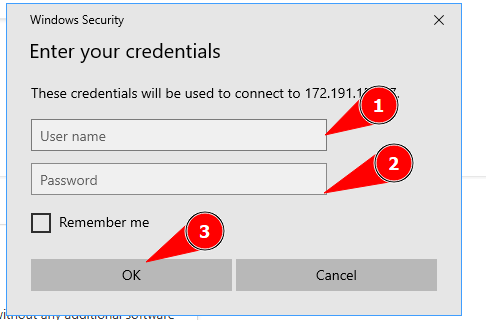
When it is opened, input your password
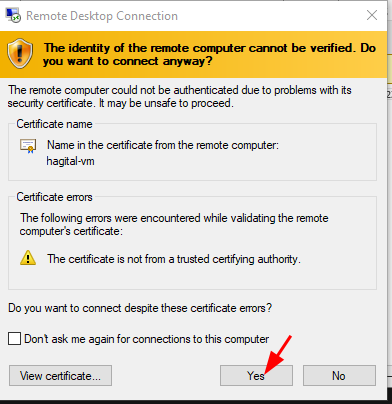
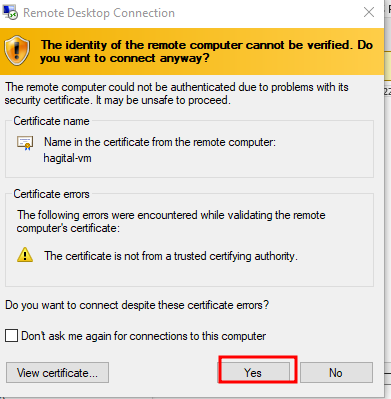
After inputting your password, click on yes
My VM is running
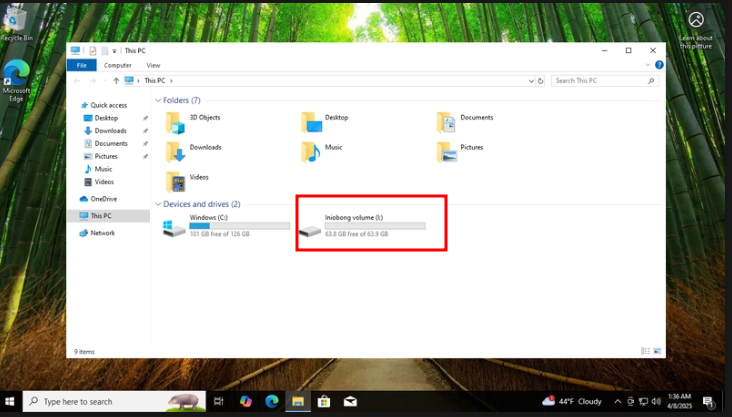
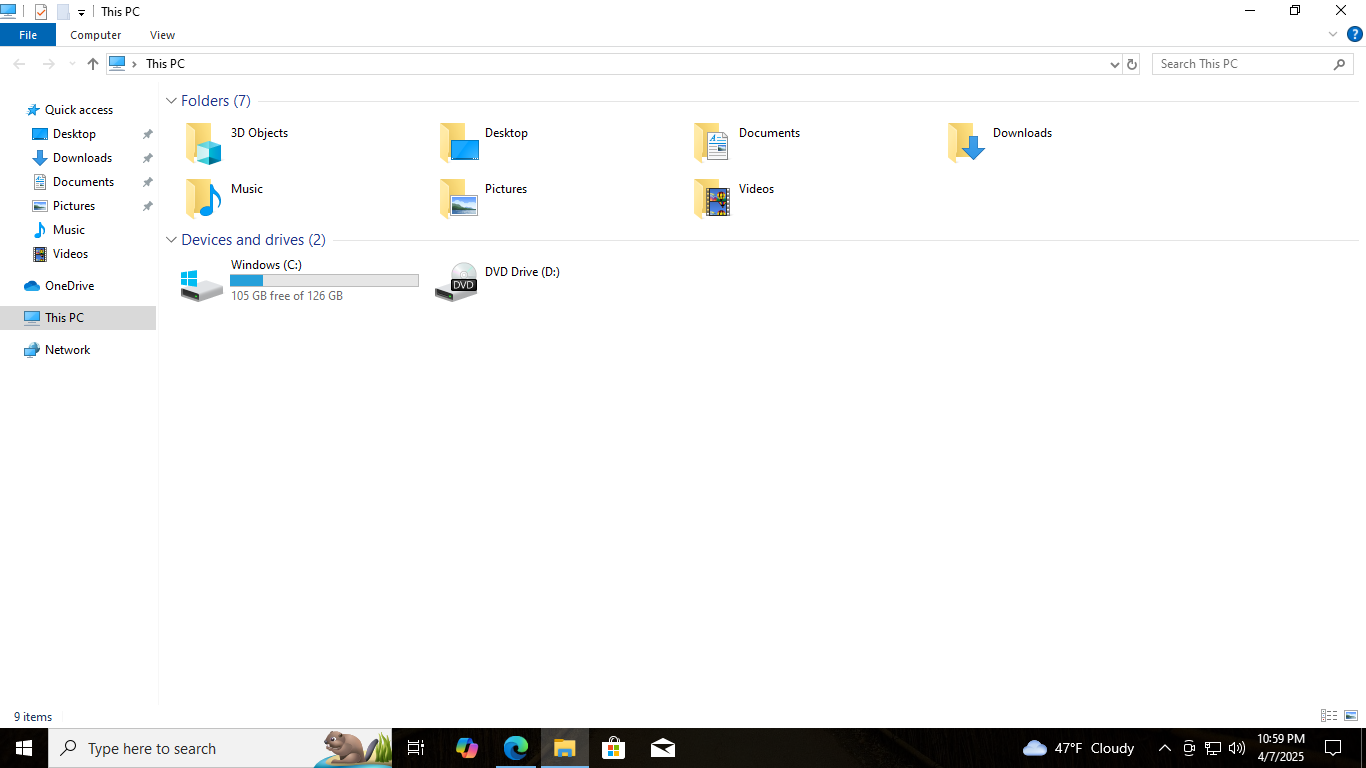
From file explorer, go to this computer
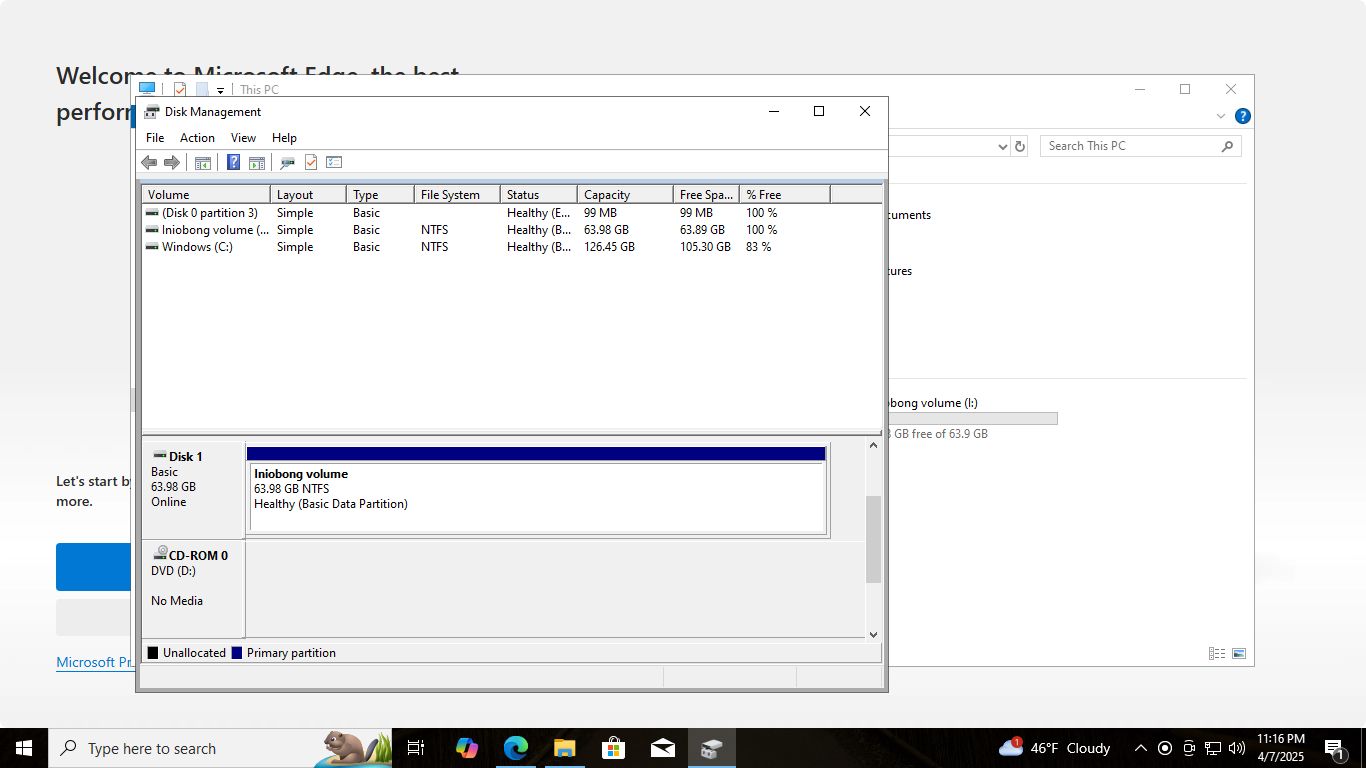
Go to windows icon, at the bottom right of your screen and right click, go to disk management
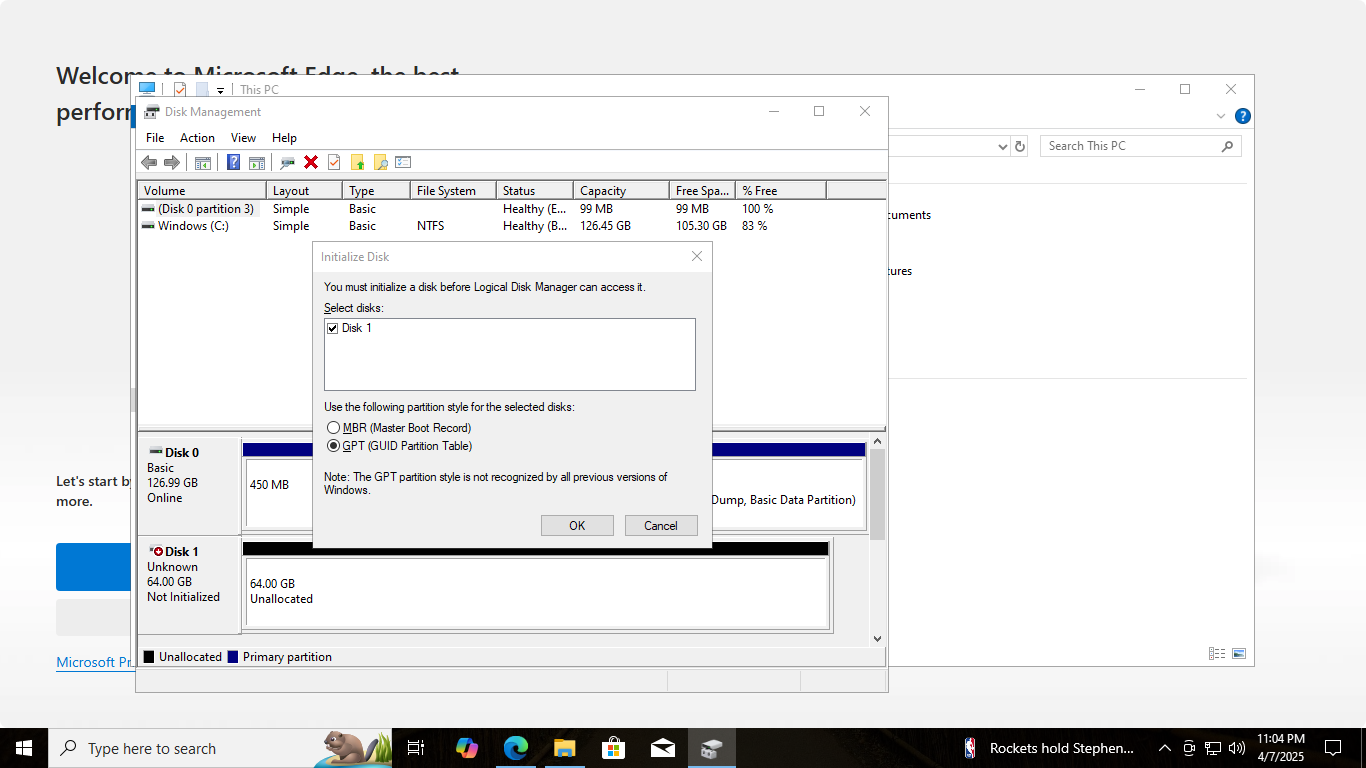
Click yes, Right click on the black space, then yes. Configure it to the end, give the disk a name (letter)
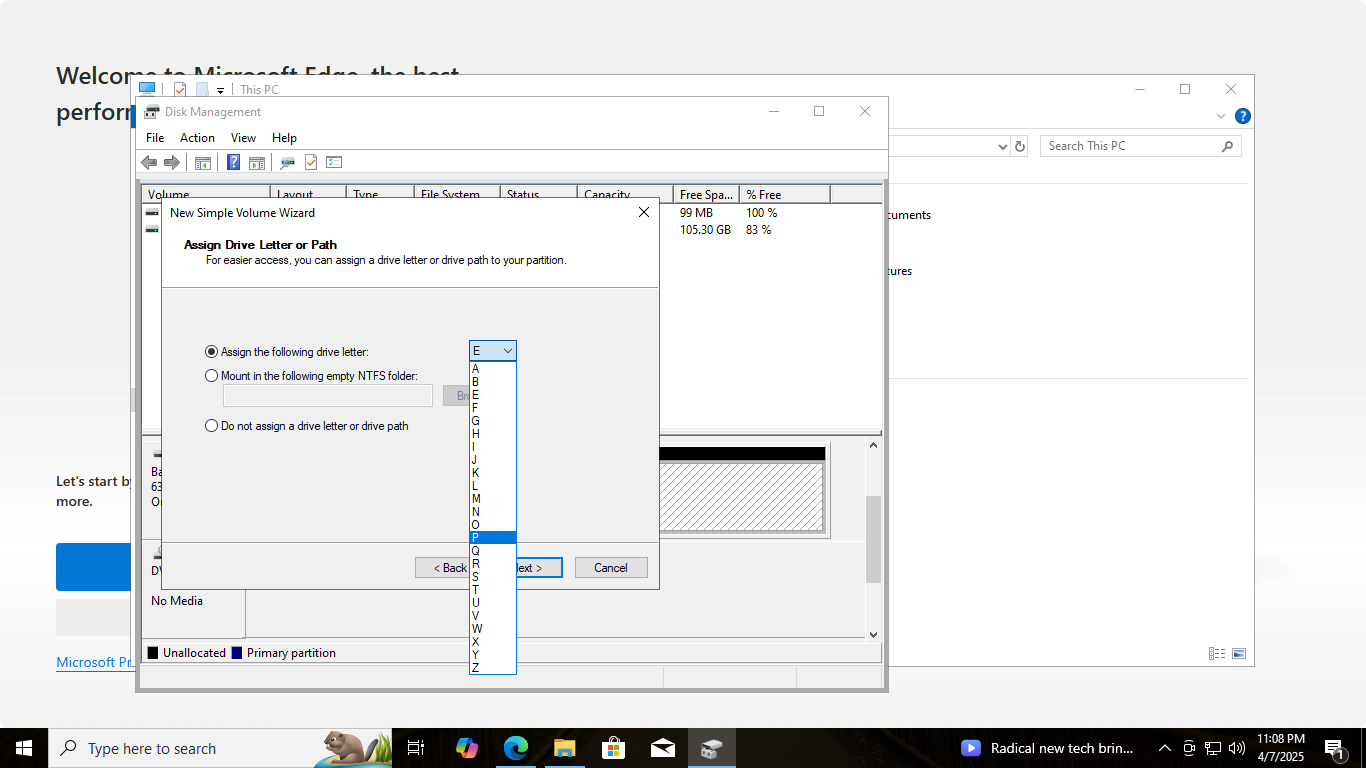
I am naming my disk 'I', give the disk a name
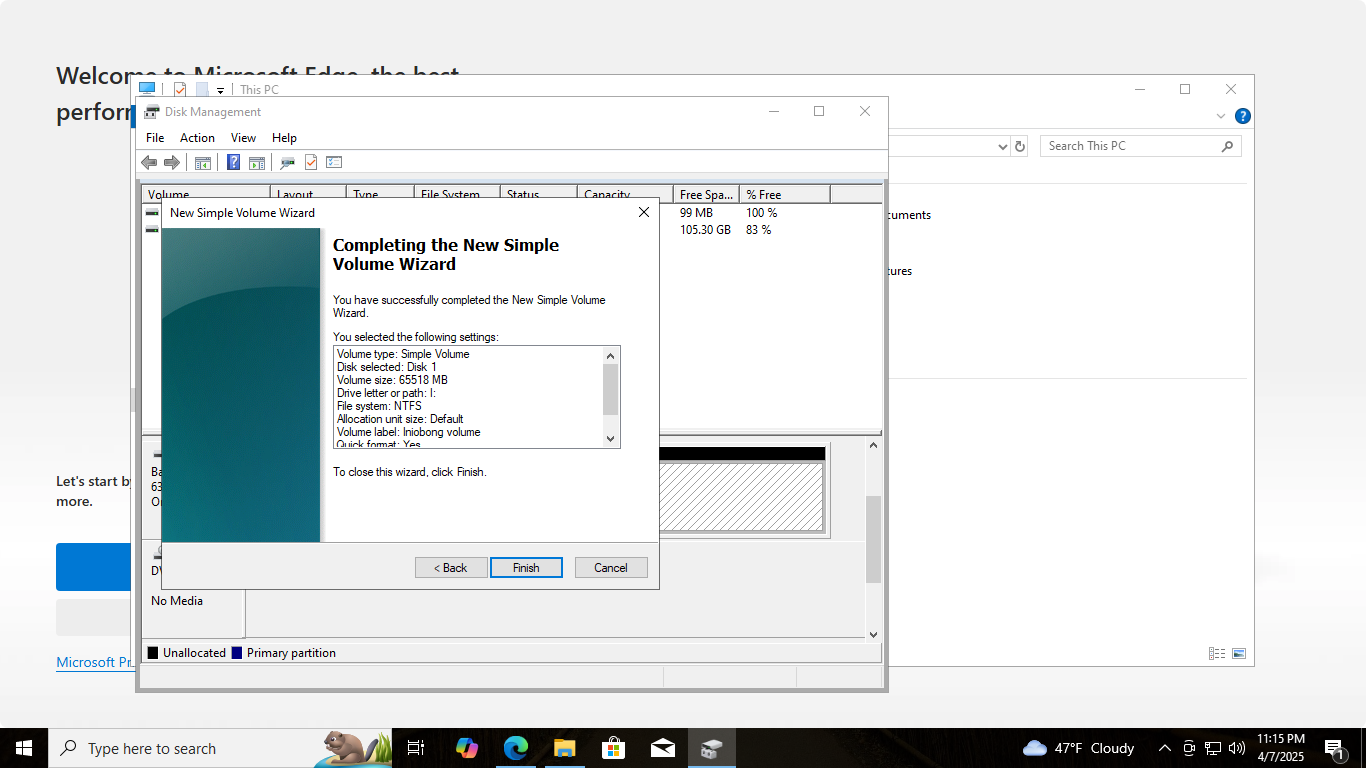
Then click on 'finish'
Close it, go to file explorer, my disk is successfully attached
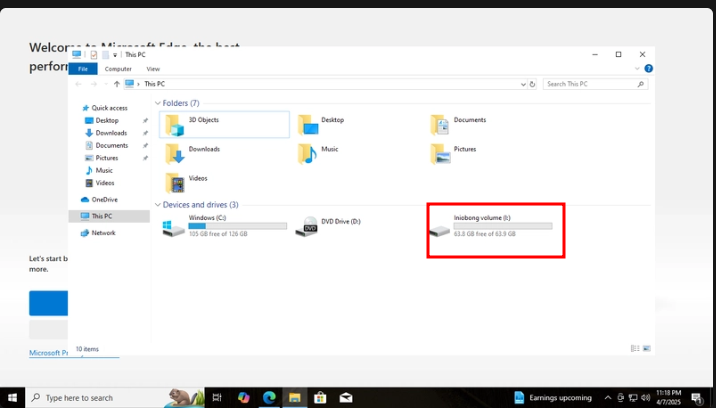
I can copy files and save in my attached disk...
CREATING A CUSTOM IMAGE ON AN EXISTING VM CREATED
Go to overview page on your azure portal. click on stop
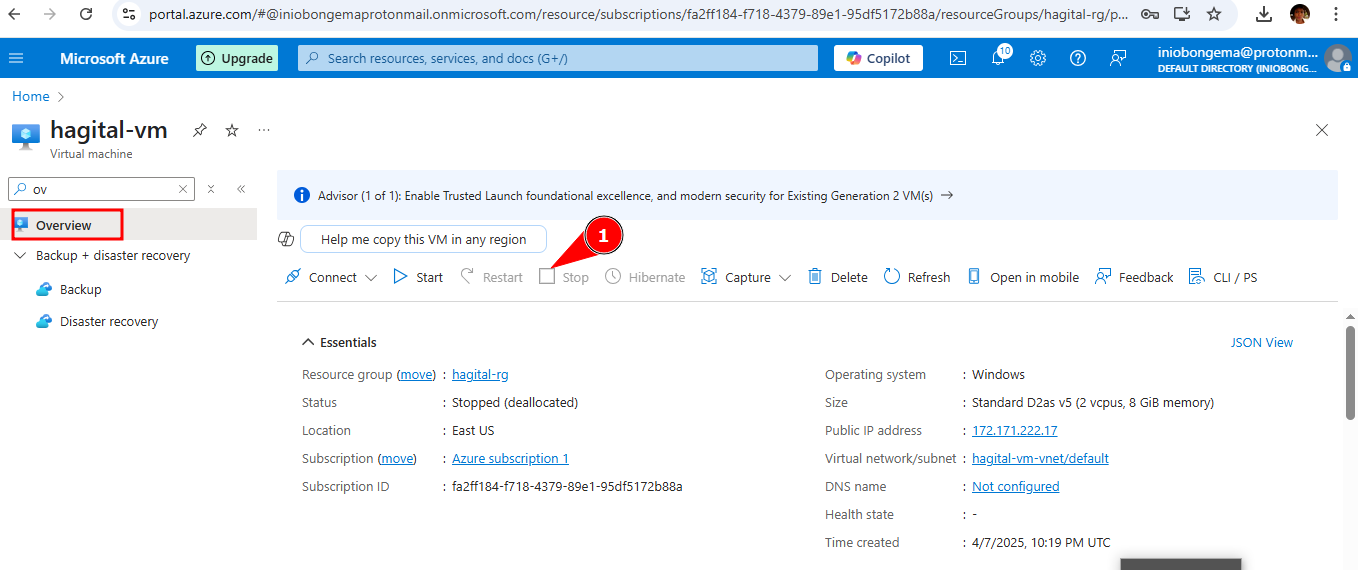
Click on 'capture', then image

Allow other settings at default, click on 'target azure compute gallery'
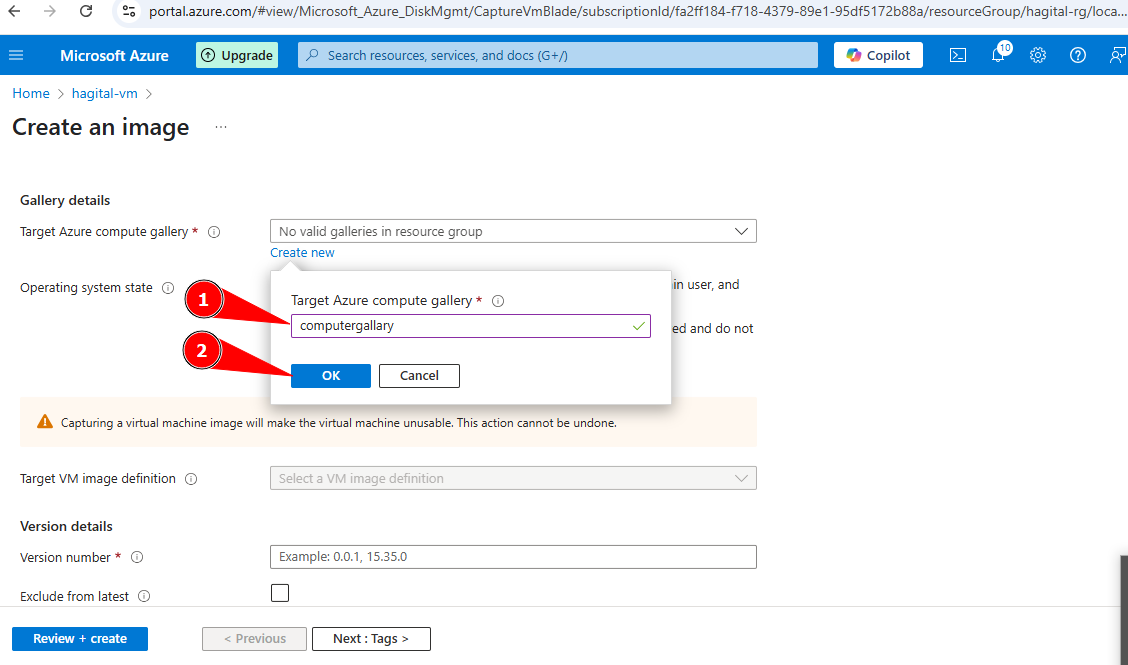
Continue filling in the required spaces
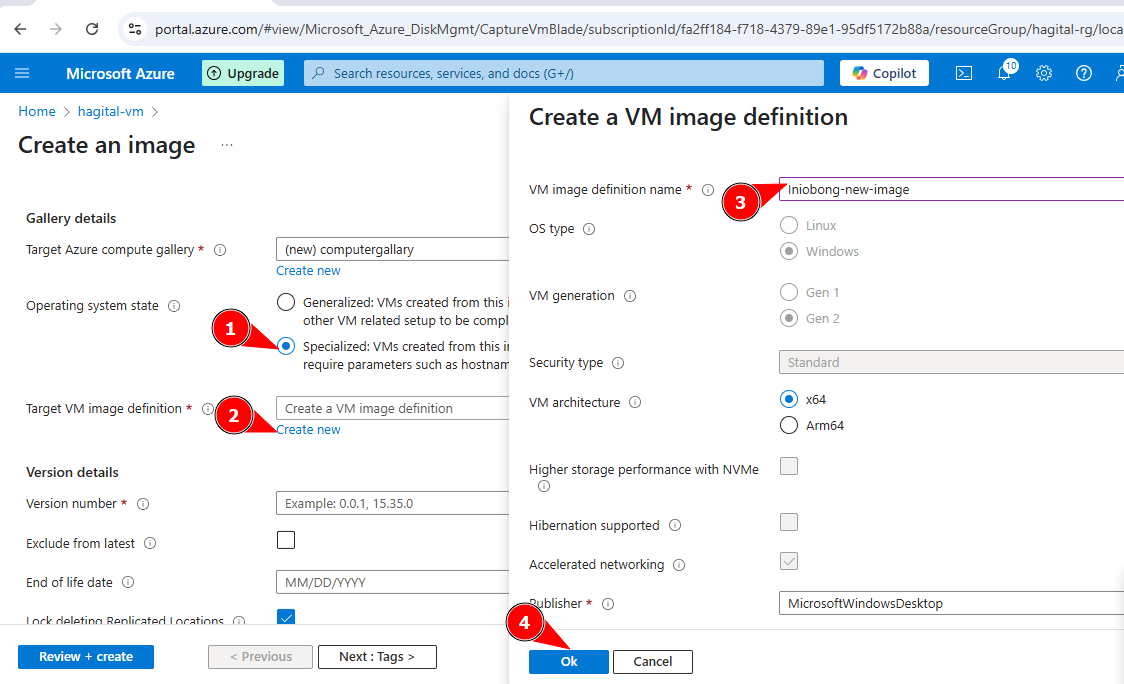
Continue filling and allow some boxes at default
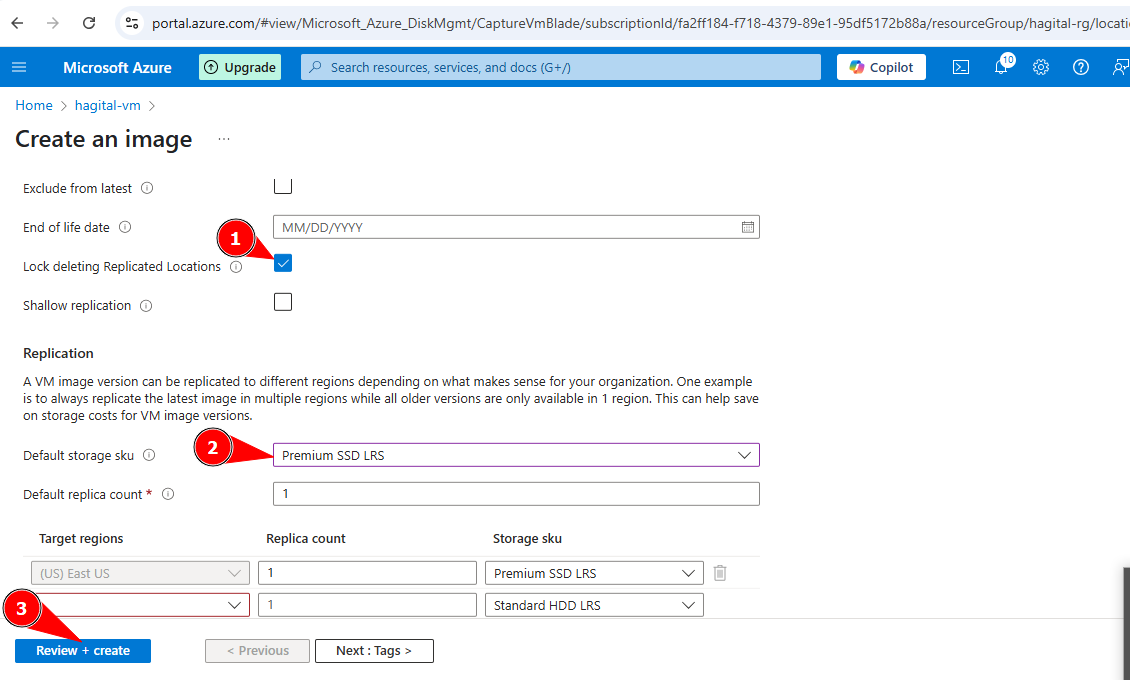
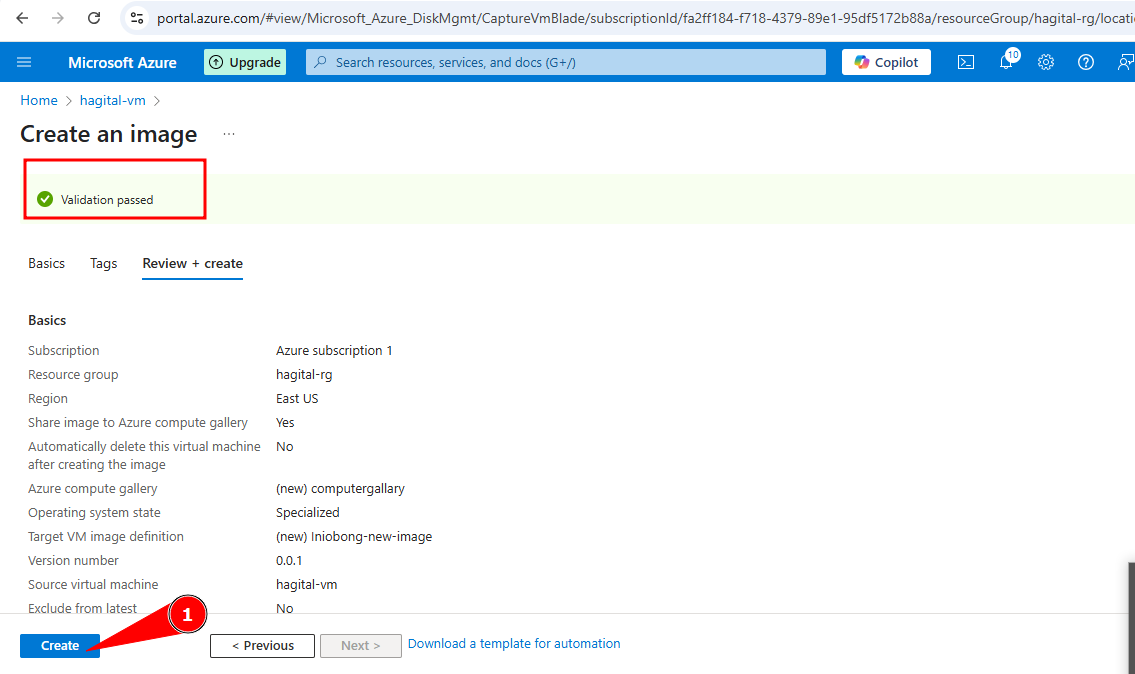
Validation has passed, then click on 'create'
Deployment is successful, click on 'go to resource'
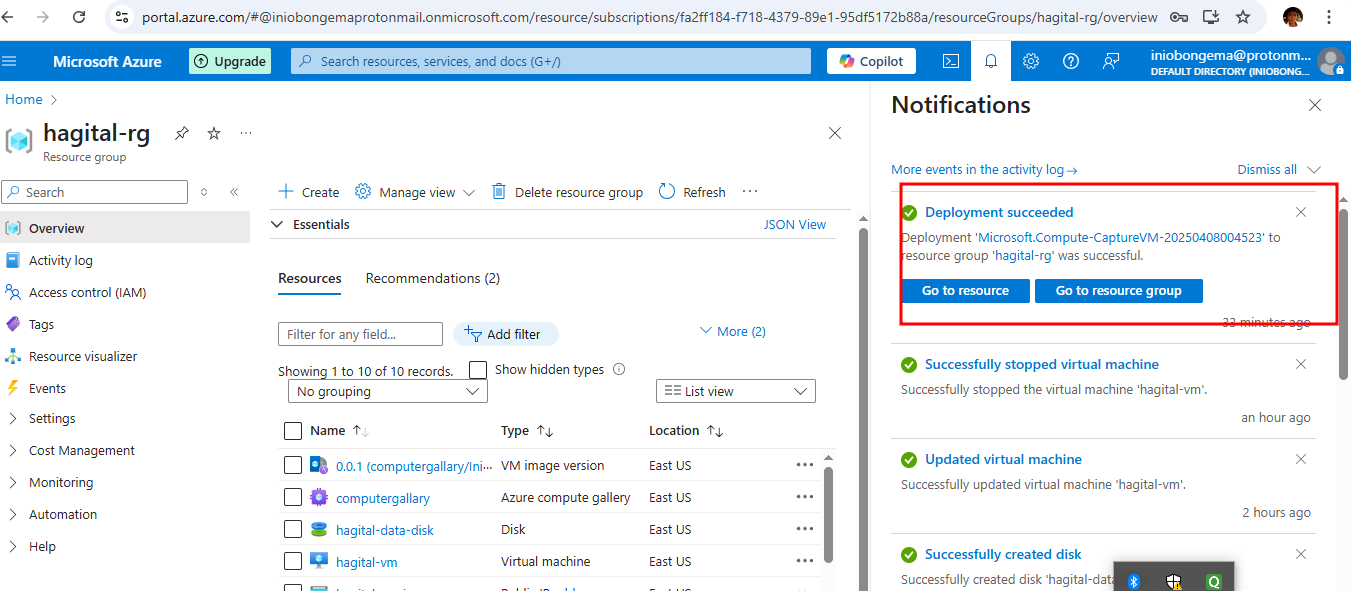
Click on 'go to resource'
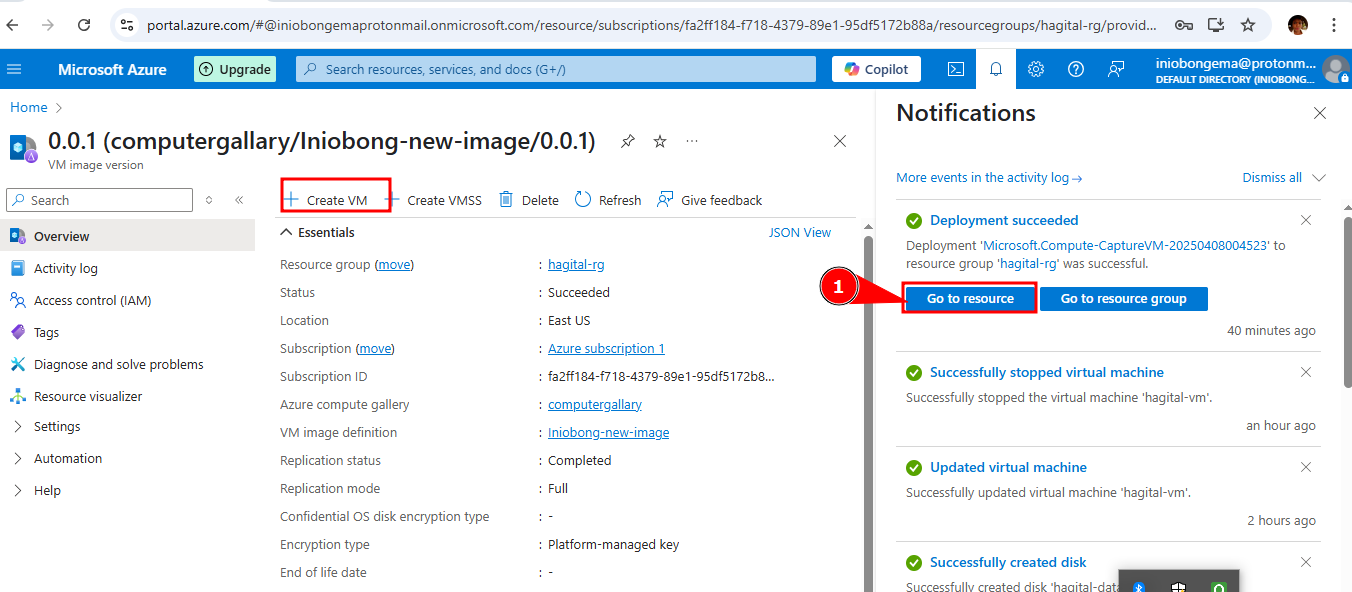
A new VM can be created here, click on 'create'
Keep scrolling down to fill-in the necessary information
Keep scrolling down
Go to 'Next:disk' option, Networking and Management options should be at default, click on 'review and create'
Validation passed, click on 'create'. Deployment in progress
Deployment is complete, click on 'go to resource'
click on 'connect' then connect
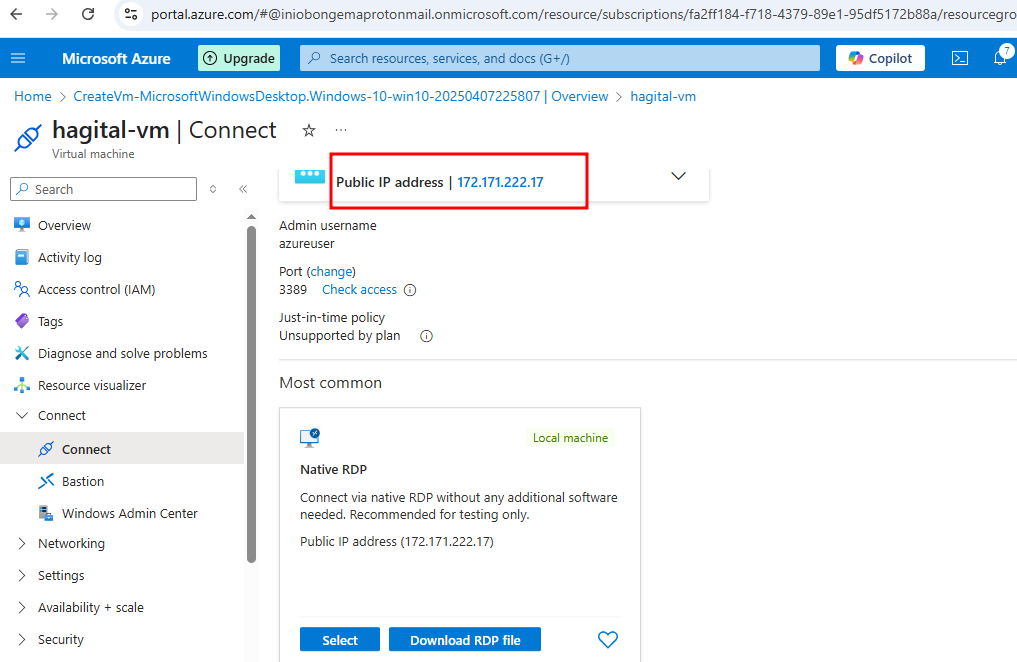
It is showing a new IP address
Click on 'download RDP file', open the download, click on 'connect'
Enter your username, password then click 'OK'
Click on 'Yes'
A new window is created
Click on 'file explorer', then 'this PC'. It opens with my datadisk I earlier attached