In this article series, I will be walking though the process of configuring secure access to workloads using Azure virtual networking. In this exercise, we will:
- Create an Azure Firewall.
- Create and configure a firewall policy
- Create an application rule collection.
- Create a network rule collection.
We will be building on what was done in this exercise so make sure you have it done
Exercise 03: Create and configure Azure Firewall
Create Azure Firewall subnet in our existing virtual network
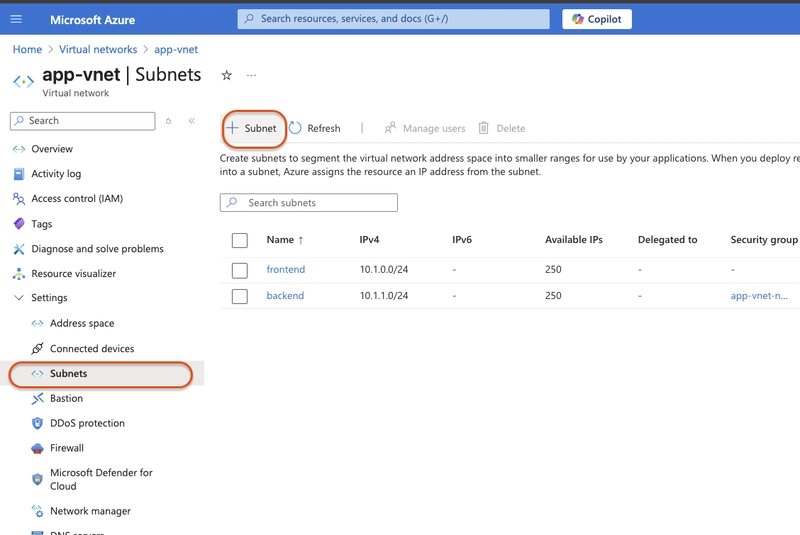
- Search for and select Virtual networks in the Azure portal
- Select app-vnet.
- Select Subnets.
Select + Subnet.

-
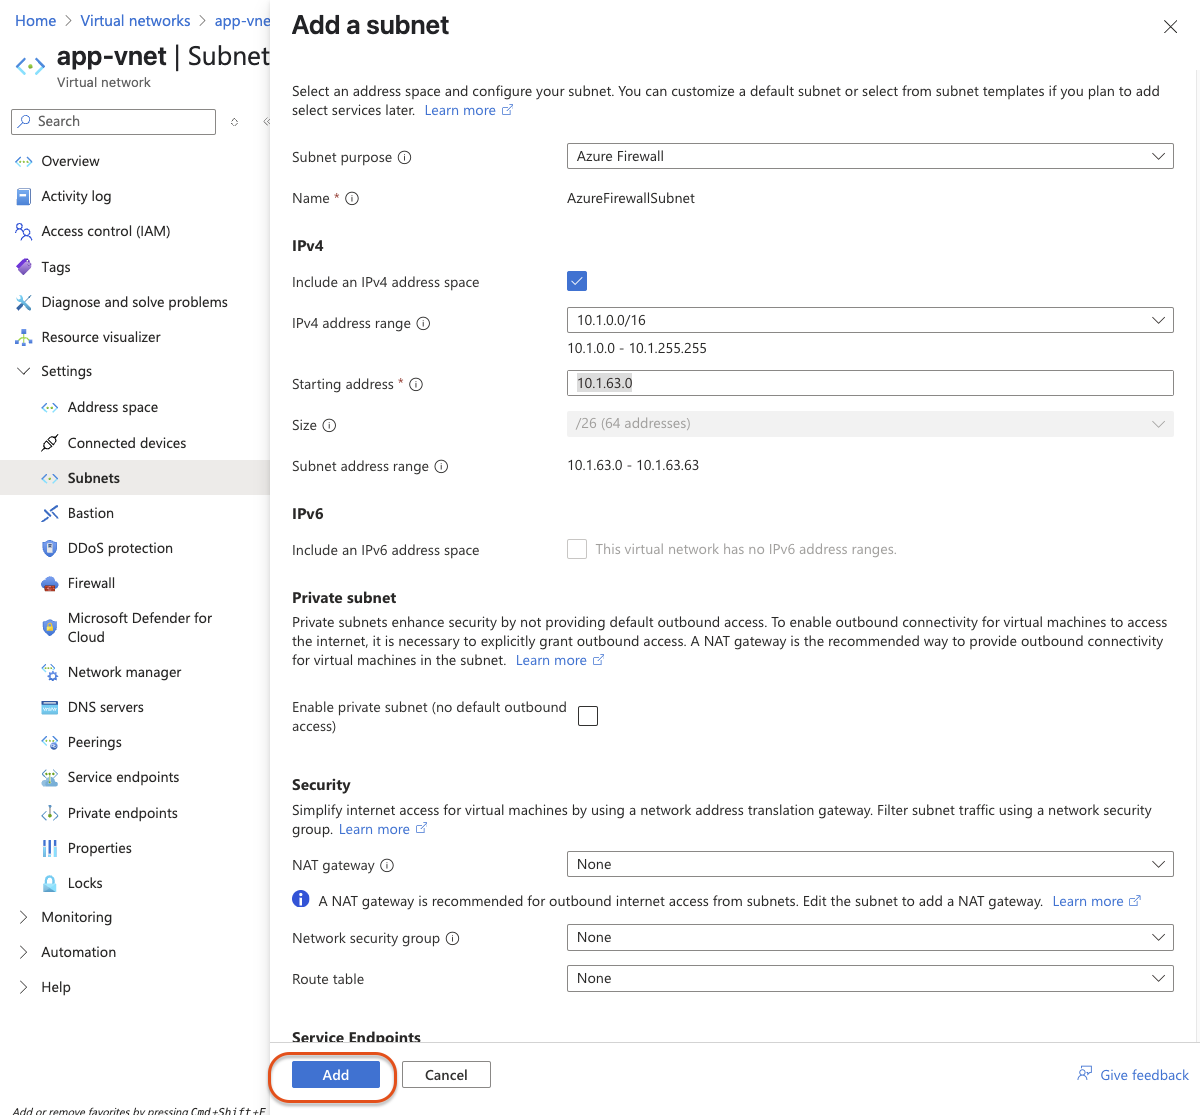
Enter these settings
- Subnet purpose:
Azure Firewall - Name:
AzureFirewallSubnet - Starting address:
10.1.63.0
- Subnet purpose:
Click add after entering these settings
Search for and select Firewall

-
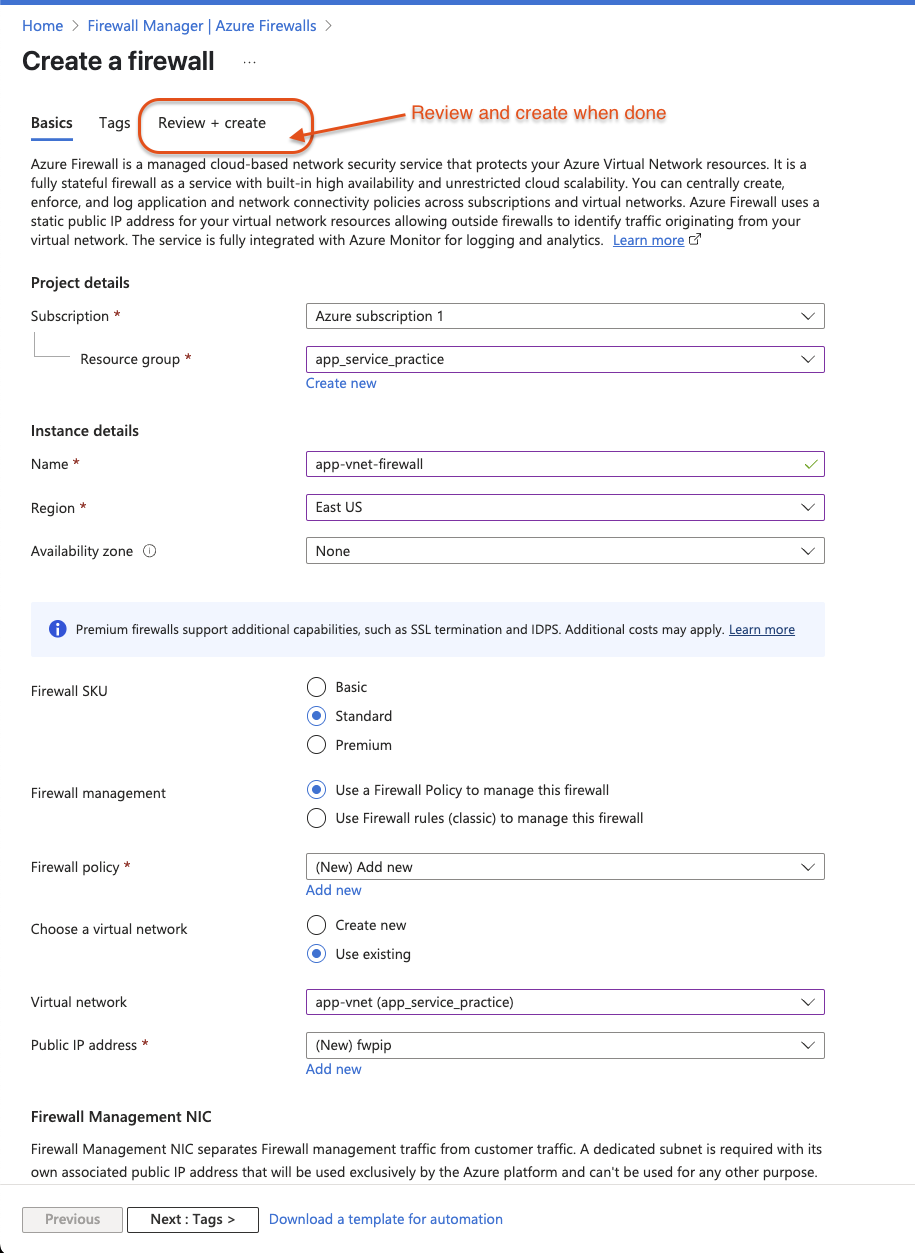
Select + create and enter these settings:
- Name: app-vnet-firewall
- Resource group: your resource group
- Firewall SKU: Standard
- Firewall management: Use a Firewall Policy to manage this firewall
- Firewall policy: Add new
- Policy name: fw-policy
- Region: East US
- Policy Tier: Standard
- Choose a virtual network: Use existing
- Virtual network: app-vnet
- Public IP address Add new: fwpip
Click Review + create when configured
Click create
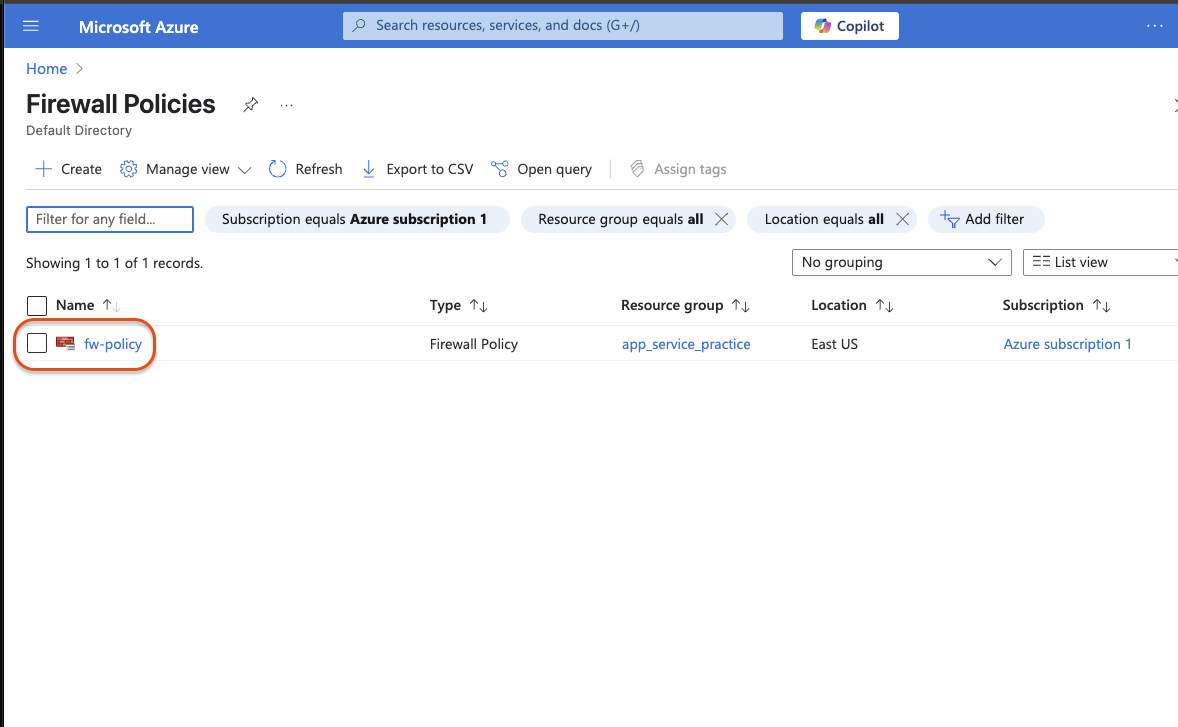
Search for and select
Firewall Policies
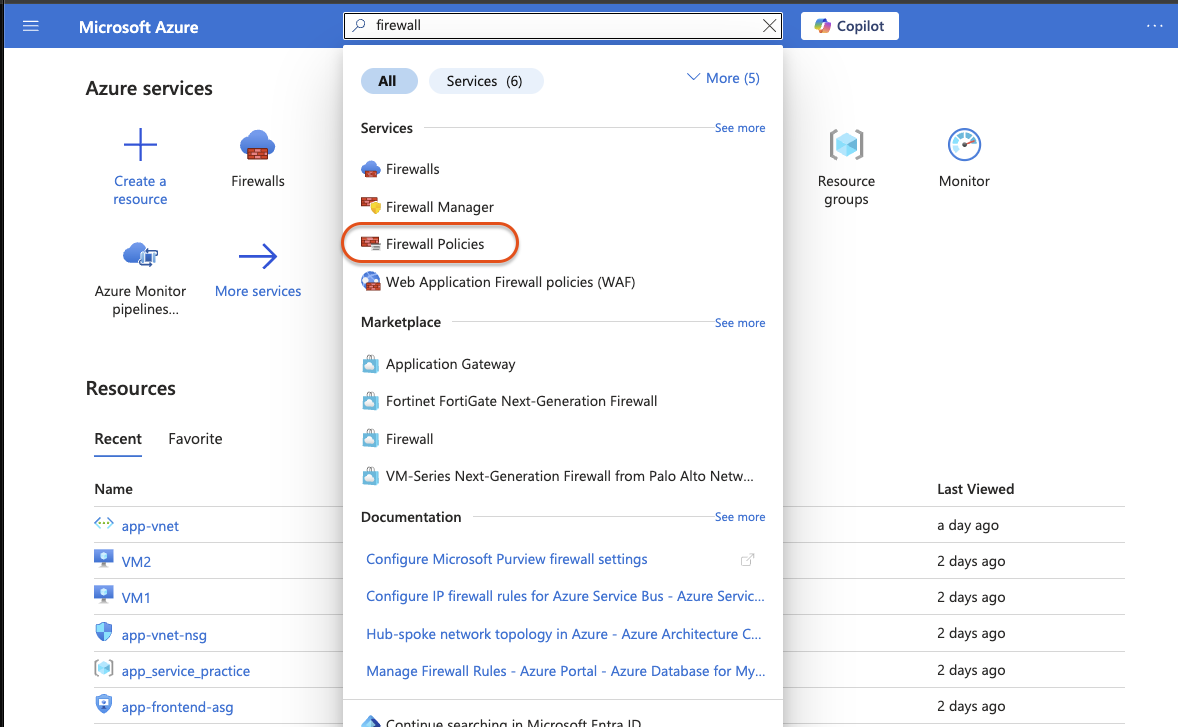
Select
fw-policy
Under Rules, select Application rules and then Add a rule collection.
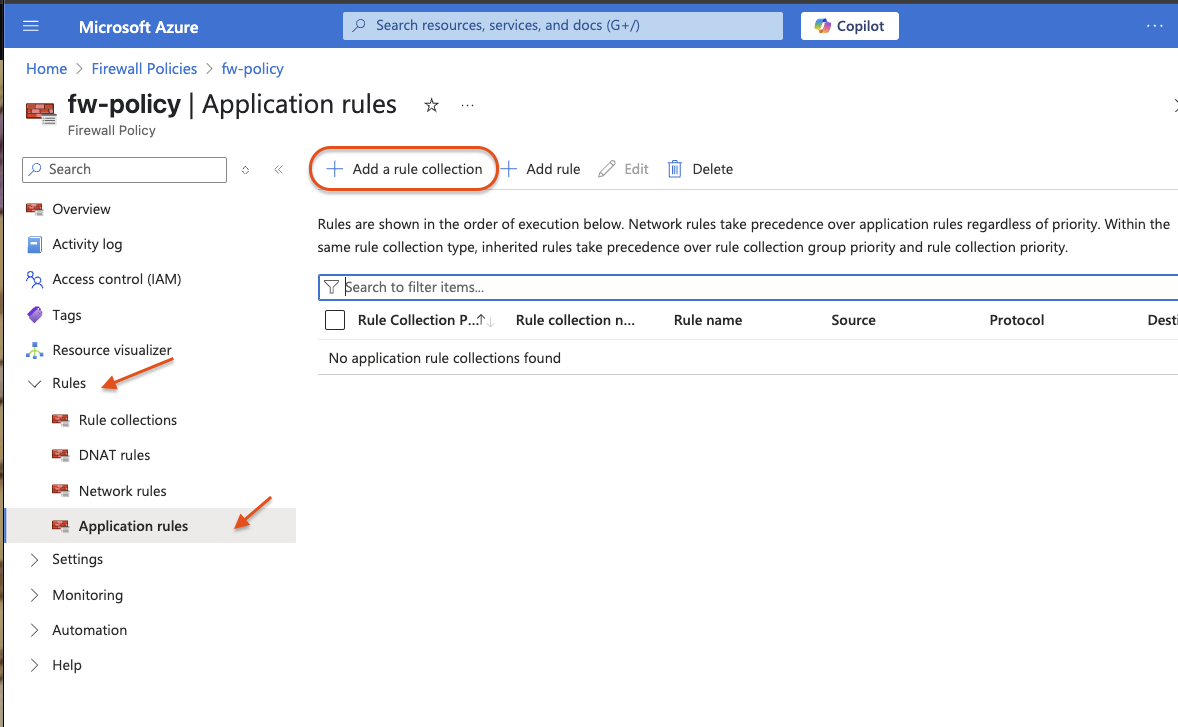
-
Configure the application rule and select add
- Name: app-vnet-fw-rule-collection
- Rule collection type: Application
- Priority: 200
- Rule collection action: Allow
- Rule collection group: DefaultApplicationRuleCollectionGroup
- Name: AllowAzurePipelines
- Source type: IP address
- Source: 10.1.0.0/23
- Protocol: https
- Destination type: FQDN
- Destination: dev.azure.com, azure.microsoft.com

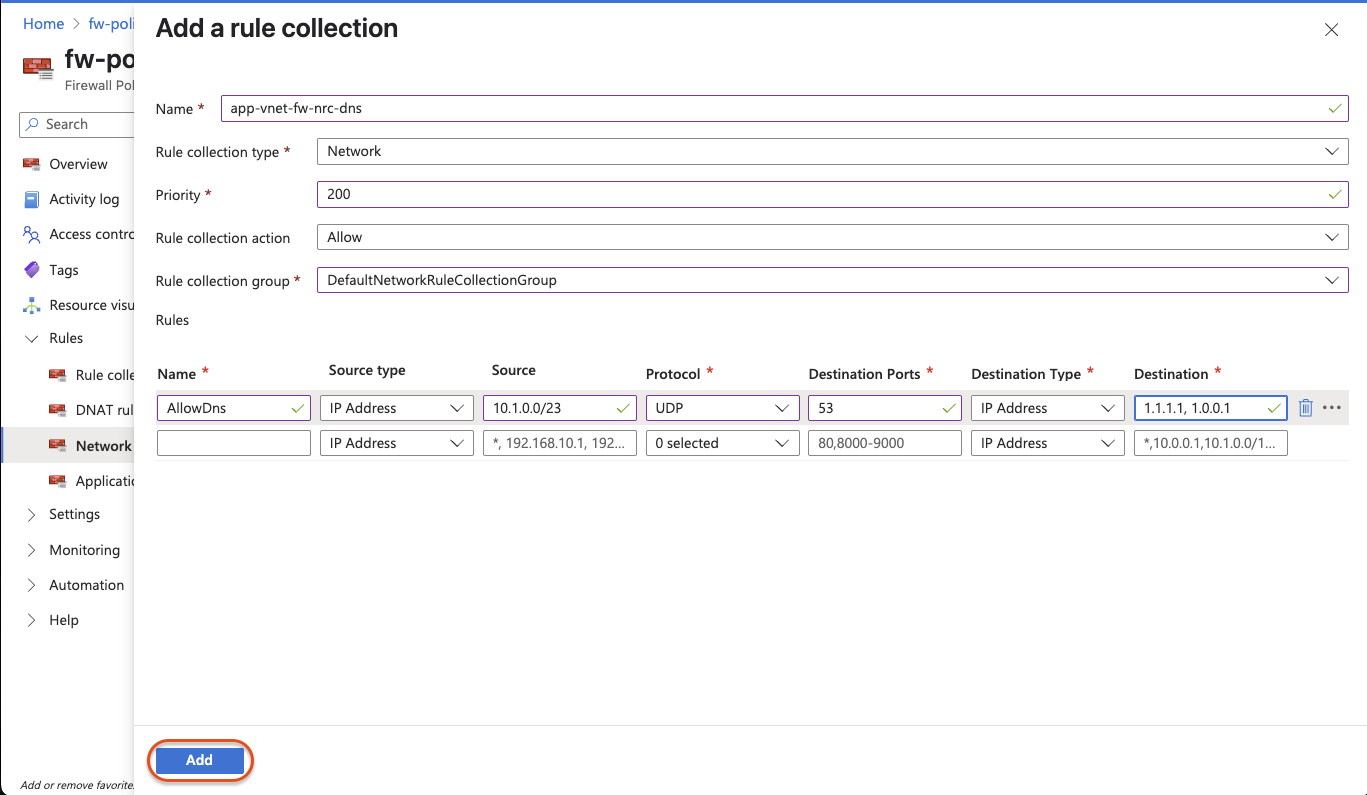
Select this configuration:
Property: Value
Name: app-vnet-fw-nrc-dns
Rule collection type: Network
Priority: 200
Rule collection action: Allow
Rule collection group: DefaultNetworkRuleCollectionGroup
Rule: AllowDns
Source: 10.1.0.0/23
Protocol: UDP
Destination ports: 53
Destination addresses: 1.1.1.1, 1.0.0.1Click add when configured
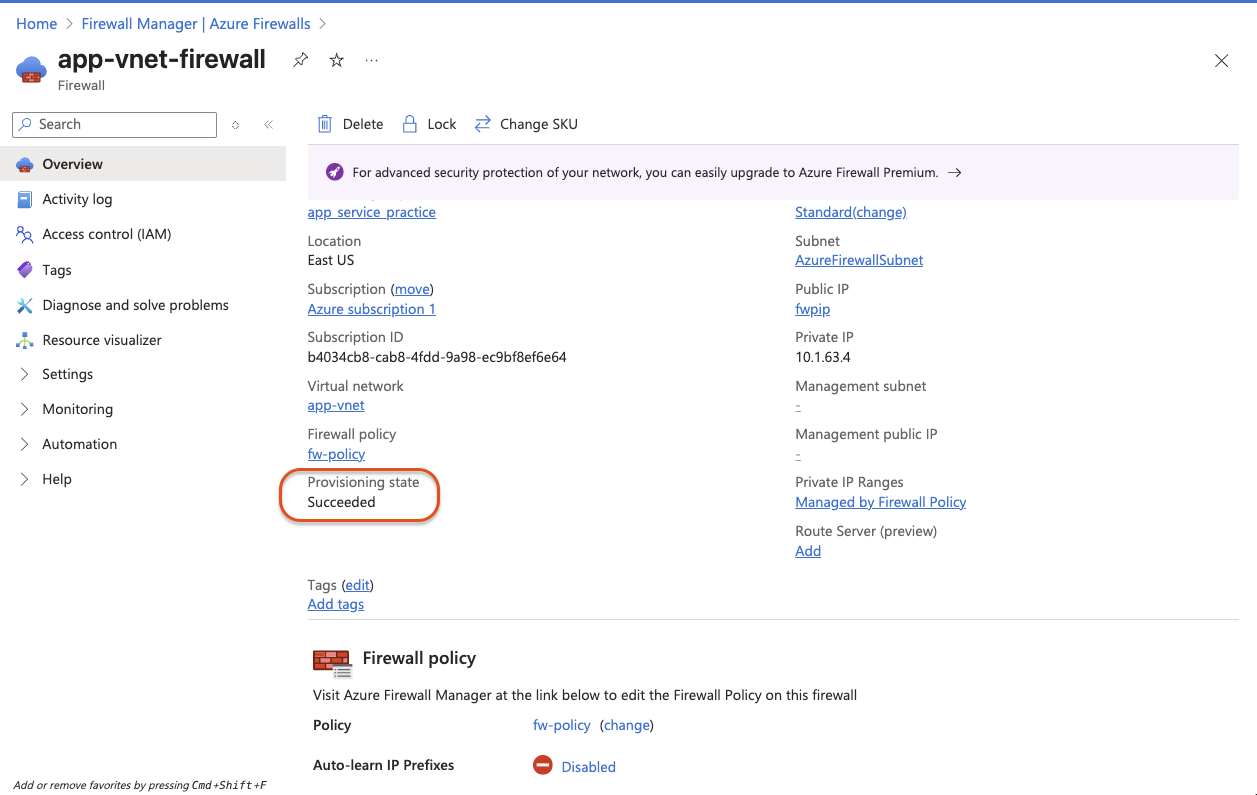
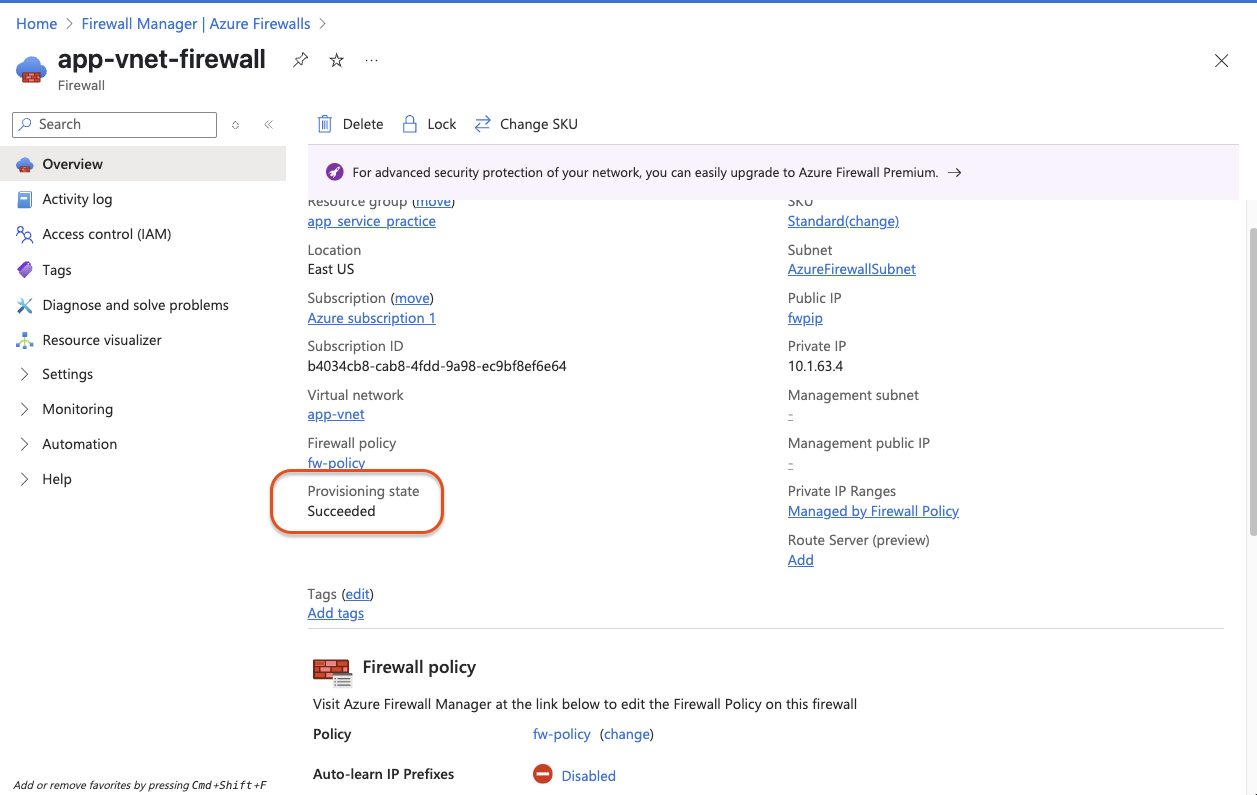
Verify the firewall and firewall policy status
- Search for and select
firewall - View the app-vnet-firewall and ensure the Provisioning state is Succeeded
- In the portal serach for and select Firewall policies.
- View the fw-policy and ensure the Provisioning state is Succeeded.
🔐 Azure Applied Skills: Exercise 03 – Azure Firewall Setup
This exercise builds on previous work by adding an Azure Firewall to control outbound traffic in your virtual network.
Key Steps:
Create AzureFirewallSubnet in app-vnet.
Deploy Azure Firewall with a new policy (fw-policy) and public IP (fwpip).
Add Application Rule: Allow HTTPS access from 10.1.0.0/23 to dev.azure.com and azure.microsoft.com.
Add Network Rule: Allow DNS (UDP port 53) to 1.1.1.1 and 1.0.0.1.
Verify both firewall and policy show Provisioning state: Succeeded.
✅ Result:
A centralized firewall is now in place, enabling secure, policy-driven control of traffic in Azure.