
In today’s world, video calling is everywhere — whether it’s catching up with friends or hosting a team meeting. If you’re a developer looking to add video call features to your app, it might sound like a big challenge. But with tools like the ZEGOCLOUD SDK, it’s easier than you think! ZEGOCLOUD is a cloud-based platform that gives developers simple APIs and SDKs to integrate video calling into their projects fast.
In this article, I’ll walk you through how to build a video call app using React JS and the ZEGOCLOUD SDK. We’ll go step by step, with clear instructions, code snippets, and explanations to make it beginner-friendly. By the end, you’ll have a working video call app — Let’s get started.
Why ZEGOCLOUD and React JS?
ZEGOCLOUD makes video calling simple by handling all the tricky stuff — like connecting users and managing streams — so you don’t have to. Pair that with React JS, a popular JavaScript library for building user interfaces, and you’ve got a powerful combo for creating modern web apps. Whether you’re a solo developer or part of a team, this setup lets you build something functional quickly.
Why Choose ZegoCloud?
ZegoCloud stands out due to its:
High-Quality Video and Audio:
Ensures clear and reliable communication.Low Latency:
Provides a near real-time interactive experience.Scalability:
Can handle a large number of concurrent users.Cross-Platform Support
: Works on various operating systems and devices.Rich Feature Set:
Offers features like screen sharing, recording, and more, beyond basic video calling.
Prerequisites :-
Before we dive in, let’s make sure you’ve got everything you need:
Node.js Installed on your computer (download it from nodejs.org if you haven’t already).
Basic React Knowledge: You should know how components, hooks (like useEffect), and JSX work.
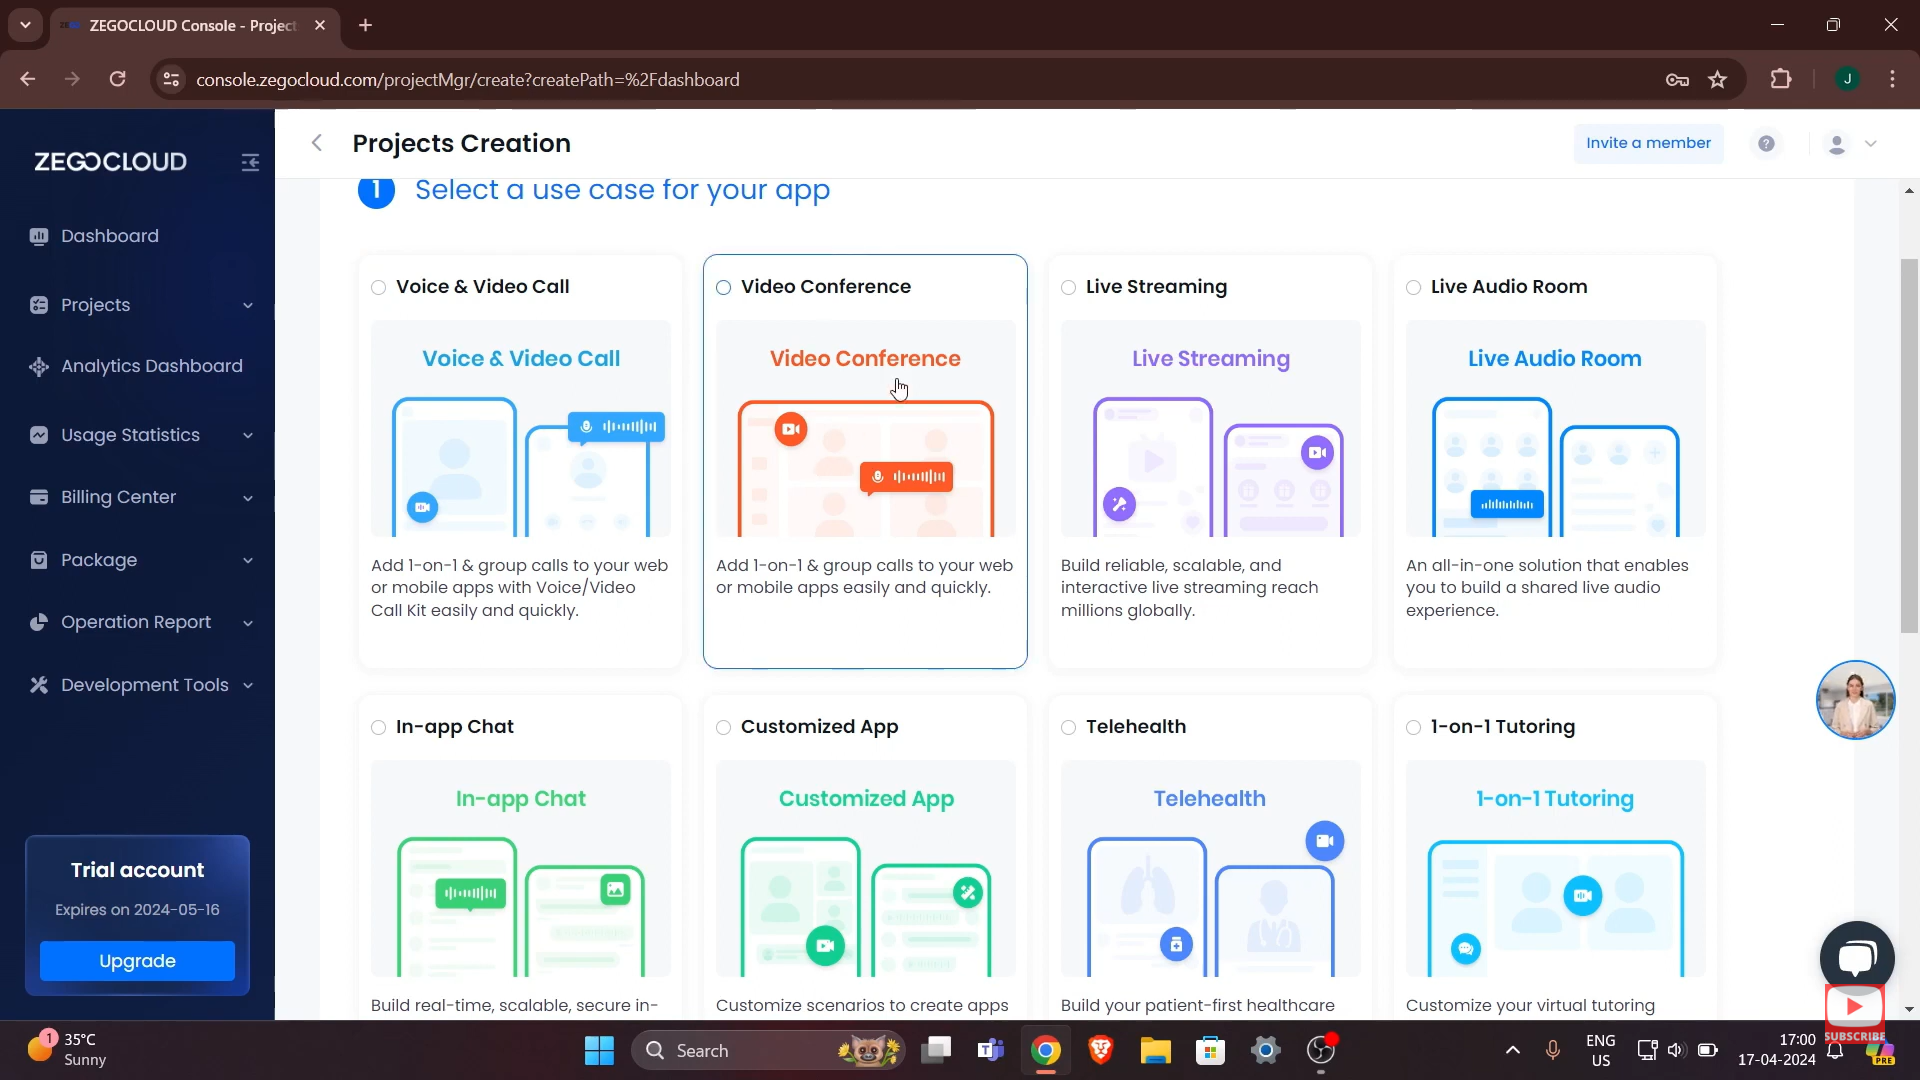
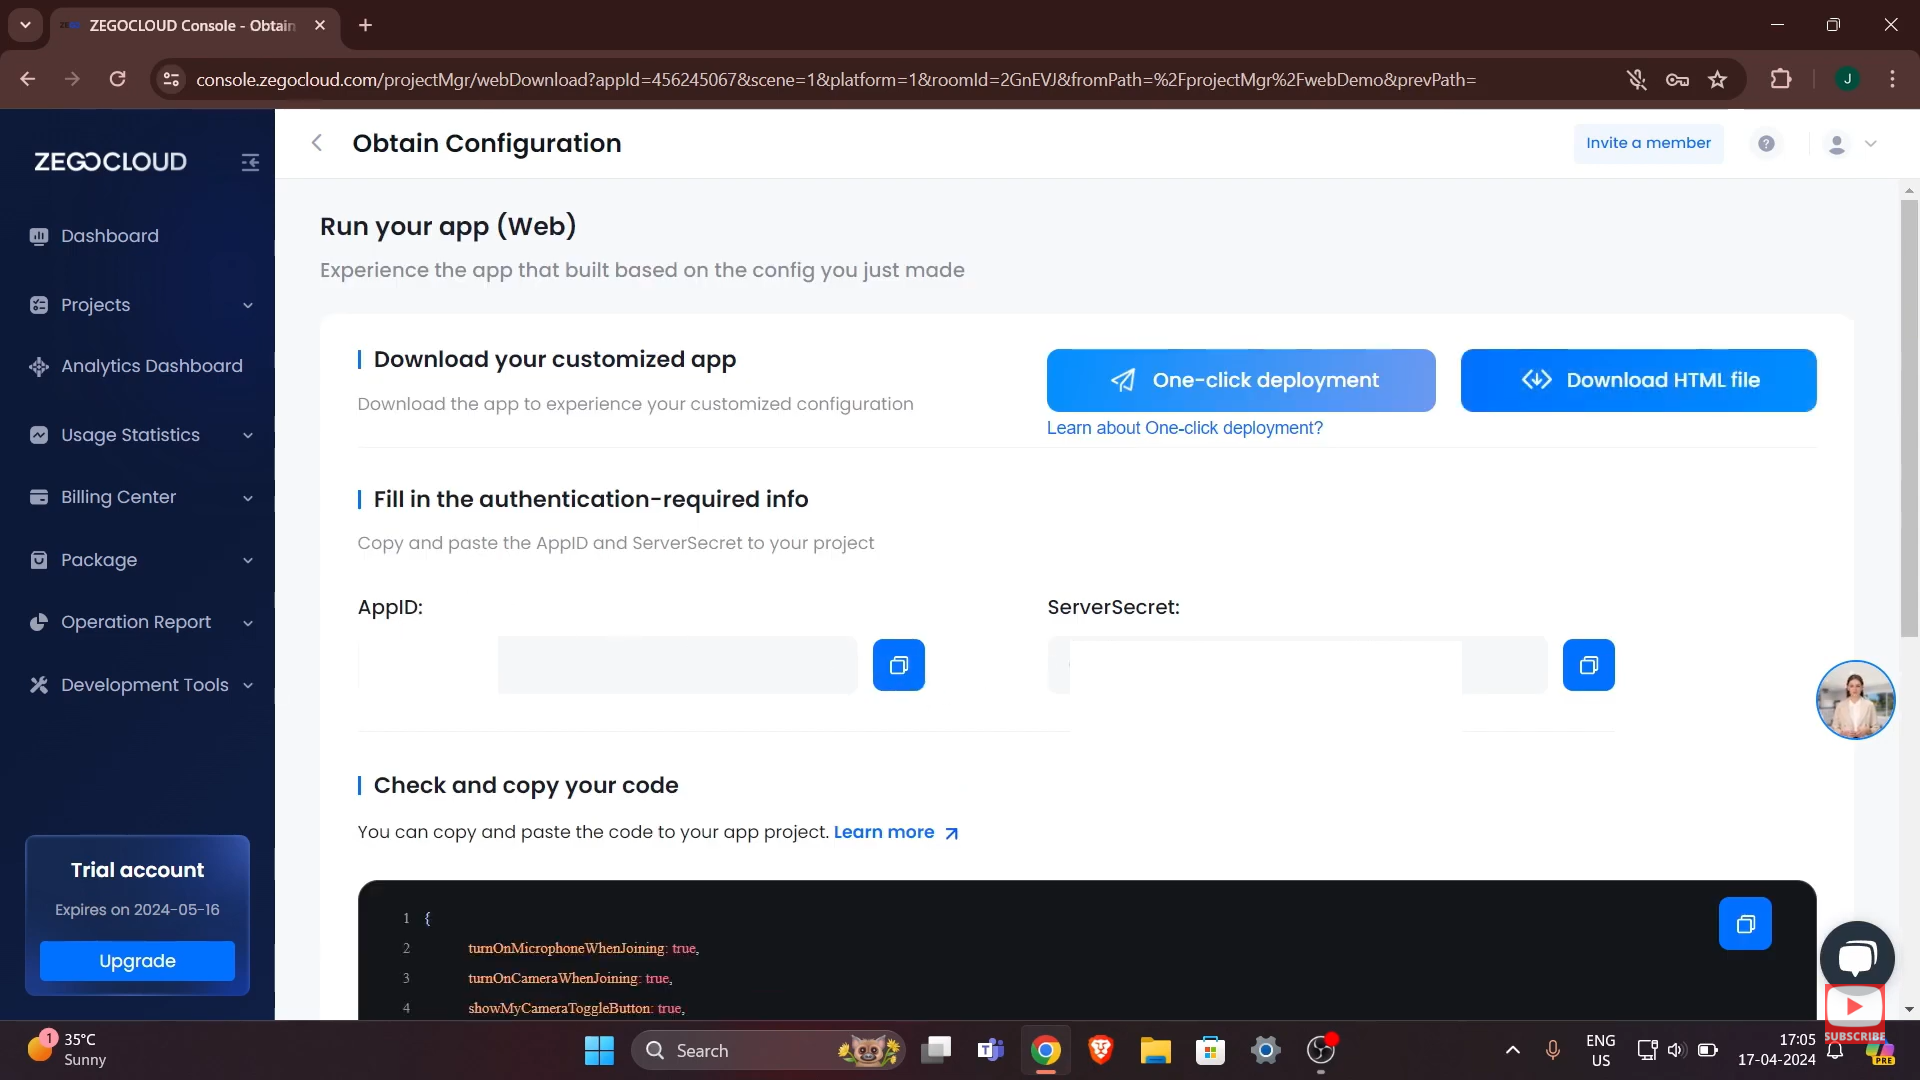
ZEGOCLOUD Account: Sign up at ZEGOCLOUD’s website to get your App ID and Server Secret.
Text Editor: Something like VS Code works great.
Once you’ve got these ready, we’re good to go!
Step 1: Setting Up the React Project :-
First, we need a React project to work with. We’ll use Vite, a fast tool for creating React apps (though you could use Create React App if you prefer). Open your terminal and type:
npm create vite@latest video-call-app --template reactThis creates a new project called video-call-app. Now, move into that folder:
cd video-call-appStart the development server to make sure everything’s working:
npm run devYou should see a basic React app running at http://localhost:5173. Great! We’ve got our foundation.
Step 2: Installing the ZEGOCLOUD SDK :-
Next, we need to add the ZEGOCLOUD SDK to our project. This SDK gives us all the tools to handle video calls. Run this command in your terminal:
npm install zego-express-engine-webrtcThis installs the ZEGOCLOUD WebRTC SDK, which is perfect for web apps like ours. Once it’s done, you’ll see it added to your package.json.
Step 3: Importing and Initializing the SDK :-
Now, let’s set up the SDK in our app. Open src/App.jsx (or src/App.js if you’re using JavaScript instead of JSX) and replace its contents with this:
import React, { useEffect } from 'react';
import { ZegoExpressEngine } from 'zego-express-engine-webrtc';

function App() {
  useEffect(() => {
    const appID = import.meta.env.VITE_ZEGO_APP_ID;
    const serverSecret = import.meta.env.VITE_ZEGO_SERVER_SECRET;
    const zg = new ZegoExpressEngine(appID, serverSecret);
    console.log('ZEGOCLOUD SDK initialized!');
  }, []);

  return (

      My Video Call App


  );
}

export default App;
What’s Happening Here?
Imports: We bring in React’s useEffect hook and the ZegoExpressEngine from the SDK.
useEffect: This hook runs code when the component loads. Here, it initializes the ZEGOCLOUD SDK with an App ID and Server Secret.
HTML: We’ve added two div elements with IDs local-video and remote-video. These will hold our video streams later.
But wait — where do VITE_ZEGO_APP_ID and VITE_ZEGO_SERVER_SECRET come from? We need to set them up as environment variables.
Setting Up Environment Variables :-
In your project’s root folder, create a file called .env and add these lines
VITE_ZEGO_APP_ID=your_app_id_here
VITE_ZEGO_SERVER_SECRET=your_server_secret_here
Replace your_app_id_here and your_server_secret_here with the actual values from your ZEGOCLOUD console. Since we’re using Vite, environment variables start with VITE_ and are accessed with import.meta.env.
Step 4: Joining a Room :-
In ZEGOCLOUD, a “room” is like a virtual meeting space where users connect for a video call. To join one, we use the loginRoom method. Update the useEffect block in App.jsx like this:
useEffect(() => {
  const appID = import.meta.env.VITE_ZEGO_APP_ID;
  const serverSecret = import.meta.env.VITE_ZEGO_SERVER_SECRET;
  const zg = new ZegoExpressEngine(appID, serverSecret);

  const roomID = 'zego-room'; // Change this to anything you like
  const userID = 'user123'; // A unique ID for the user
  const userName = 'John Doe';
  const token = 'your_token_here'; // Replace with a real token

  zg.loginRoom(roomID, token, { userID, userName }, { userUpdate: true })
    .then(() => {
      console.log('Successfully joined the room!');
    })
    .catch(error => {
      console.error('Error joining room:', error);
    });
}, []);
What’s This Code Doing?
Variables: We define a roomID (the room’s name), userID (a unique identifier for you), and userName. The token is for authentication.
loginRoom: This method connects us to the room. The { userUpdate: true} option ensures we get updates about other users in the room.
Important Note: The token is a placeholder here. In a real app, you’d generate this securely on a server using your App ID and Server Secret. For this tutorial, you can use a test token from ZEGOCLOUD’s documentation, but don’t hardcode it in production!
Step 5: Creating a Local Audio and Video Stream :-
Now that we’re in the room, let’s capture our audio and video (like turning on your webcam and mic). Add this code inside the .then() block:
zg.loginRoom(roomID, token, { userID, userName }, { userUpdate: true })
  .then(() => {
    console.log('Successfully joined the room!');
    return zg.createStream({ camera: { audio: true, video: true } });
  })
  .then(localStream => {
    console.log('Local stream created!');
  })
  .catch(error => {
    console.error('Error:', error);
  });
Explanation
createStream: This method uses your device’s camera and microphone to create a stream. The { audio: true, video: true } options enable both.
localStream: This is the stream object we’ll use next to share our video.
If your browser asks for camera/mic permissions, allow it — otherwise, this won’t work!
Step 6: Starting the Video Call :-
To let others see and hear us, we need to “publish” our stream to the room. Add this inside the second .then() block:
.then(localStream => {
  const streamID = 'stream_' + userID; // Unique ID for the stream
  zg.startPublishingStream(streamID, localStream);
  console.log('Stream published!');
})
streamID: A unique identifier for our stream (we’re just adding the userID to make it simple).
startPublishingStream: This sends our audio and video to the room.
Now, our stream is live for others to see!
Step 7: Rendering Video Streams :-
Finally, let’s display the video streams — ours (local) and anyone else’s (remote).
Showing the Local Stream
Add this code after publishing the stream:
.then(localStream => {
  const streamID = 'stream_' + userID;
  zg.startPublishingStream(streamID, localStream);

  const localVideo = document.getElementById('local-video');
  const videoElement = document.createElement('video');
  videoElement.autoplay = true;
  videoElement.muted = true; // Mute local audio to avoid echo
  videoElement.srcObject = localStream;
  localVideo.appendChild(videoElement);
})
videoElement: We create a
srcObject: This attaches our localStream to the video element.
Showing Remote Streams
To see other people’s streams, we need to listen for updates. Add this event listener right after initializing zg:
useEffect(() => {
  const appID = import.meta.env.VITE_ZEGO_APP_ID;
  const serverSecret = import.meta.env.VITE_ZEGO_SERVER_SECRET;
  const zg = new ZegoExpressEngine(appID, serverSecret);

  zg.on('roomStreamUpdate', async (roomID, updateType, streamList) => {
    if (updateType === 'ADD') {
      const remoteVideo = document.getElementById('remote-video');
      streamList.forEach(stream => {
        const vd = document.createElement('video');
        vd.id = stream.streamID;
        vd.autoplay = true;
        vd.playsInline = true;
        vd.muted = false;
        remoteVideo.appendChild(vd);
        zg.startPlayingStream(stream.streamID, { audio: true, video: true })
          .then(stream => {
            vd.srcObject = stream;
          });
      });
    } else if (updateType === 'DELETE') {
      streamList.forEach(stream => {
        const vd = document.getElementById(stream.streamID);
        if (vd) {
          vd.remove();
        }
      });
    }
  });

  // Rest of the code (loginRoom, etc.) goes here
}, []);
roomStreamUpdate: This event fires when streams are added or removed.
ADD: When a new stream appears, we create a
DELETE: When someone leaves, we remove their video.
The Full Code
Here’s everything put together in App.jsx:
import React, { useEffect } from 'react';
import { ZegoExpressEngine } from 'zego-express-engine-webrtc';

function App() {
  useEffect(() => {
    const appID = import.meta.env.VITE_ZEGO_APP_ID;
    const serverSecret = import.meta.env.VITE_ZEGO_SERVER_SECRET;
    const zg = new ZegoExpressEngine(appID, serverSecret);

    zg.on('roomStreamUpdate', async (roomID, updateType, streamList) => {
      if (updateType === 'ADD') {
        const remoteVideo = document.getElementById('remote-video');
        streamList.forEach(stream => {
          const vd = document.createElement('video');
          vd.id = stream.streamID;
          vd.autoplay = true;
          vd.playsInline = true;
          vd.muted = false;
          remoteVideo.appendChild(vd);
          zg.startPlayingStream(stream.streamID, { audio: true, video: true })
            .then(stream => {
              vd.srcObject = stream;
            });
        });
      } else if (updateType === 'DELETE') {
        streamList.forEach(stream => {
          const vd = document.getElementById(stream.streamID);
          if (vd) {
            vd.remove();
          }
        });
      }
    });

    const roomID = 'zego-room';
    const userID = 'user123';
    const userName = 'John Doe';
    const token = 'your_token_here'; // Replace with a real token

    zg.loginRoom(roomID, token, { userID, userName }, { userUpdate: true })
      .then(() => {
        console.log('Successfully joined the room!');
        return zg.createStream({ camera: { audio: true, video: true } });
      })
      .then(localStream => {
        const streamID = 'stream_' + userID;
        zg.startPublishingStream(streamID, localStream);

        const localVideo = document.getElementById('local-video');
        const videoElement = document.createElement('video');
        videoElement.autoplay = true;
        videoElement.muted = true;
        videoElement.srcObject = localStream;
        localVideo.appendChild(videoElement);
      })
      .catch(error => {
        console.error('Error:', error);
      });
  }, []);

  return (

      My Video Call App


  );
}

export default App;
Testing Your App
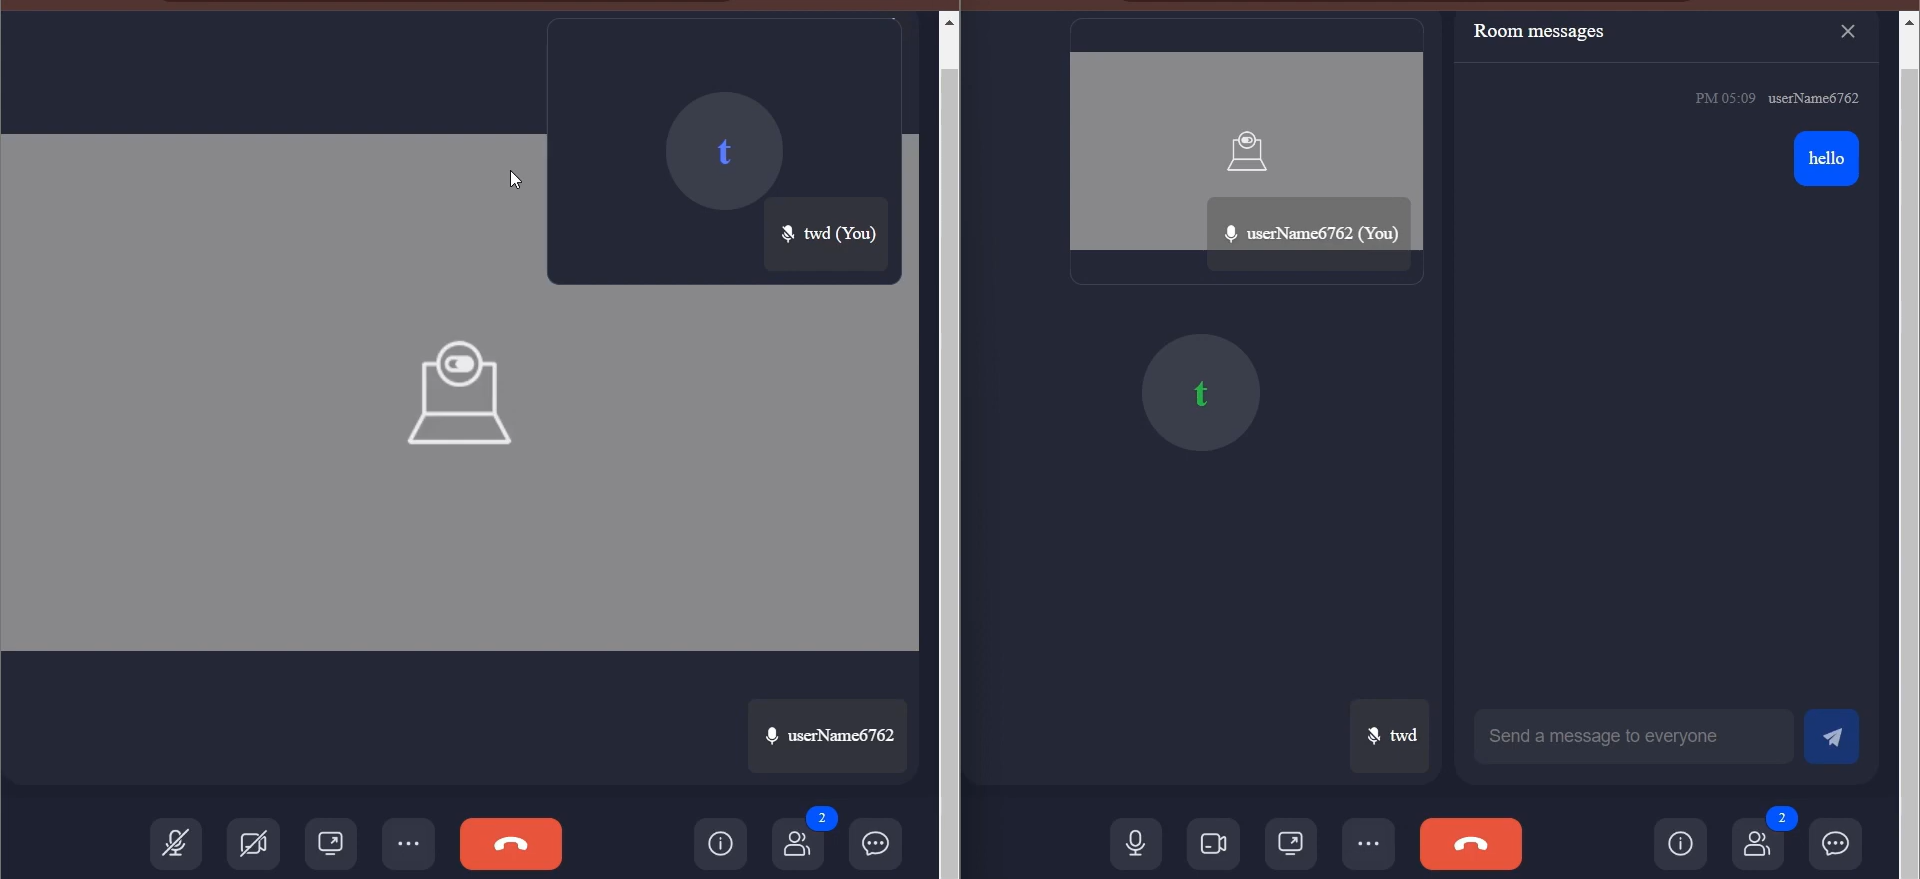
Run npm run dev and open http://localhost:5173. You should see your video in the local-video div. To test with another user, open the app in a second browser tab (or another device) with a different userID. Their video should appear in the remote-video div.
Conclusion
And there you have it — a fully functional video call app built with React JS and ZEGOCLOUD! We’ve covered setting up the project, integrating the SDK, joining a room, creating streams, and displaying videos. It’s a solid starting point, but ZEGOCLOUD offers way more — like screen sharing or call recording — if you want to take it further.
For a real app, make sure to generate tokens securely on a server and add error handling. Check out ZEGOCLOUD’s official docs for more ideas.
Happy coding, and enjoy your new video call app!
written by shubham Pandey
for video tutorial watch this :-
