Objective:
Our objective this time as a DevOps Engineer is to build a web application following a cloud-first approach and hosting the application on Azure App Service.
Our tasks:
i. Pushing the application code to GitHub using Git Bash
ii. Deploying the application to Azure App Service using Azure CLI
For better understanding of what are getting ourselves into, let us understand some key GitHub terminologies;
Fork: To create a copy of the original repository.
Clone: To download a copy of the forked repository to your machine.
Branch: To create a new branch to work on your changes.
Commit: **To save your changes to the repository.
**Push: **To upload your changes to your remote repository.
**Pull Request: To submit your changes for review.
Repository: A repository (or repo) in GitHub is a storage location where your project files, including code, documentation, and other resources, are kept. It tracks changes to these files over time, allowing collaboration, version control, and backup of your work.
NOW LET'S GET STARTED.
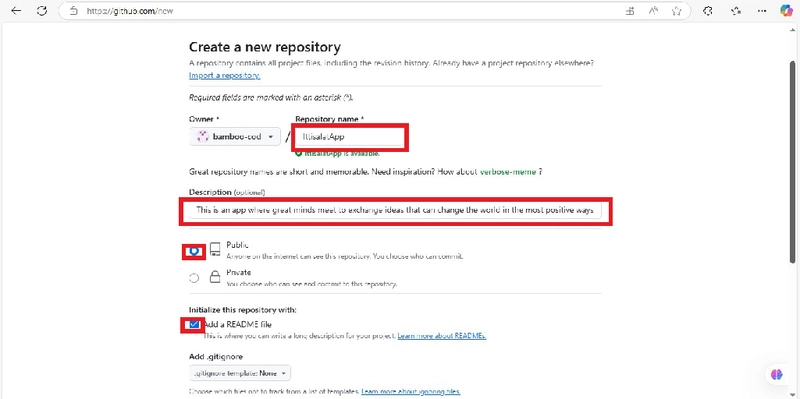
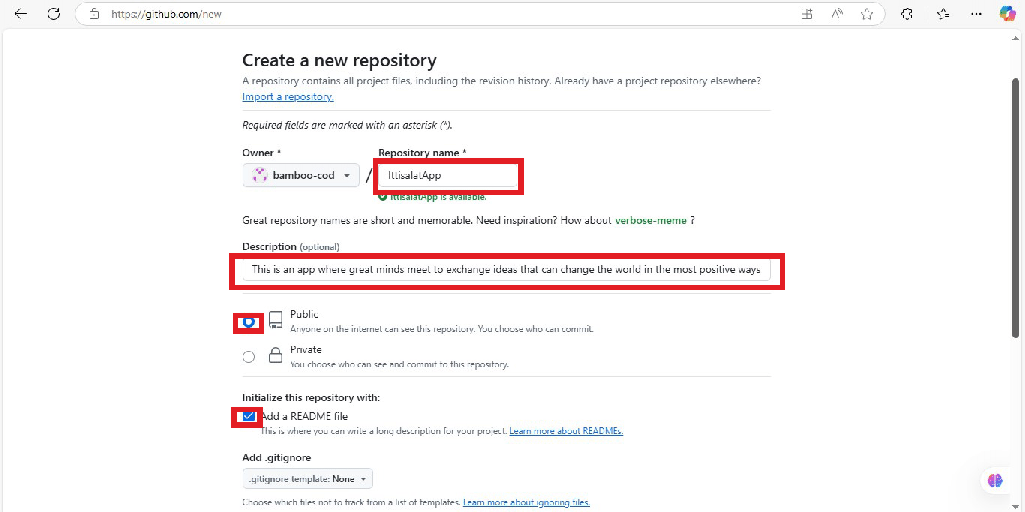
a) Create a new repository in Github. Give the repository a name. In this case Ittisalat App. Give it a description. Determine who can commit to the repository. In this case left it in the default Public. Tick the box of Add a README. README File usually contains an introduction to the project, instructions, or documentation.
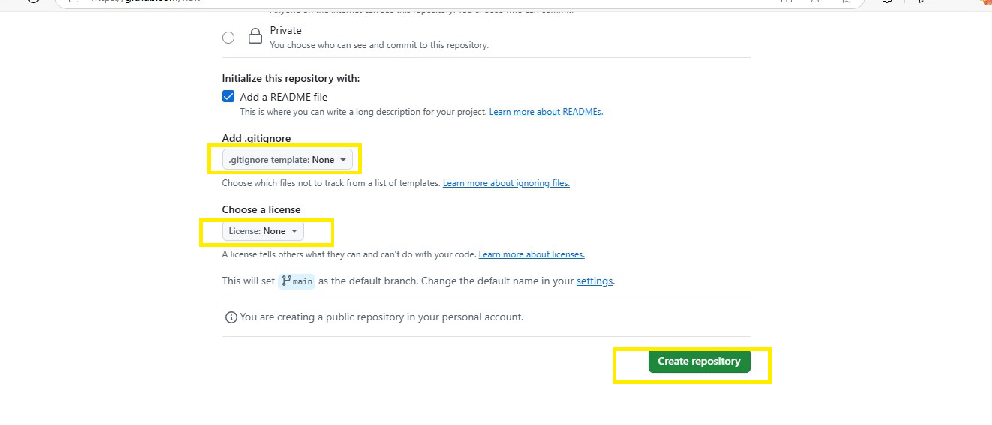
b) Select from the drop-down options of Add .gitignore. This basically choose which files not to track from a list of templates. In this case I had none. Hence, I selected .gitignore template: None. Same for Choose a license **. A license tells others what they can and can't do with your code. Then click on **Create repository.
We are now going to create an index file in Git Bash and Push to GitHub.
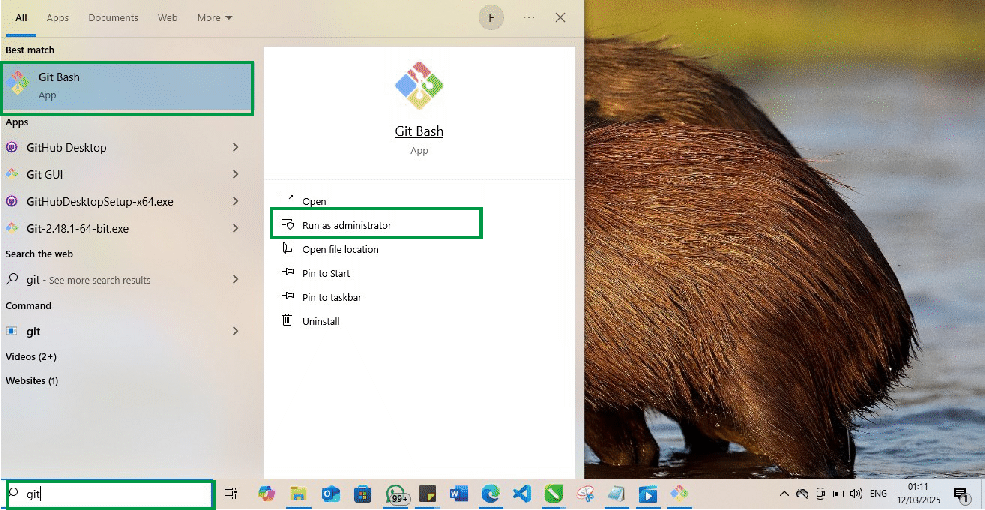
c) Open Git Bash and click on Run as administrator. It will prompt you if you want this app to make changes to your device. Click on yes.
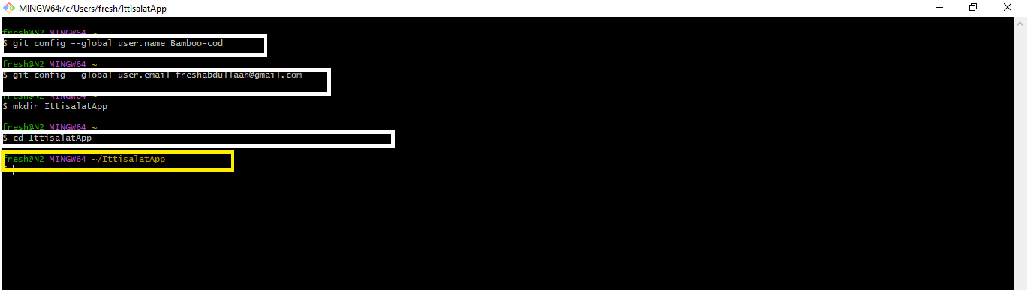
d) Configure the Git Bash environment by typing the following commands into the terminal.
To Configure username as in Git Hub:
git config --global user.name Bamboo-cod
To configure useremail address:
git config --global user.email [email protected].
Create a directory:
Type mkdir IttisalatApp
Enter into the just created directory by typing the command;
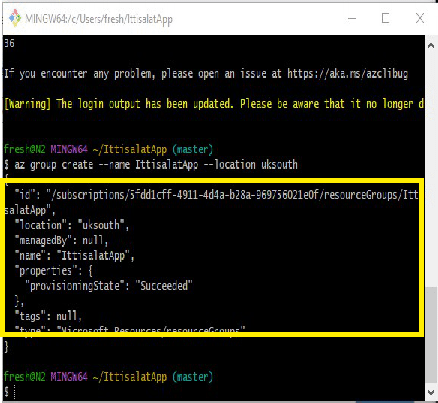
cd IttisalatApp. We can now see that we are now inside the directory depicted by the forward slash "/" before our directory name. Shown in the yellow box.
Initialize the created directory on the local host
git init + ENTER Button

Link git terminal to github.
Create an index.html file on git using this command:
touch index.html + Enter button
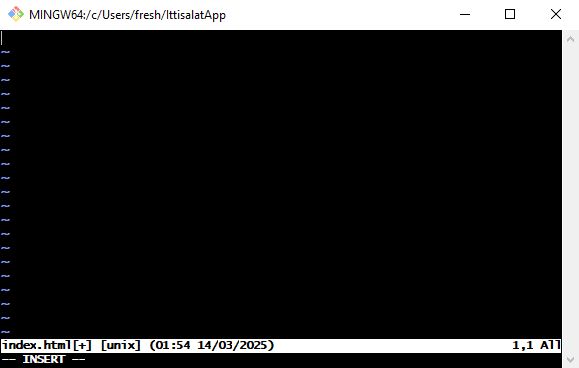
In order to input the index.html code open up an editor in the git terminal using the following command:
vi index.html
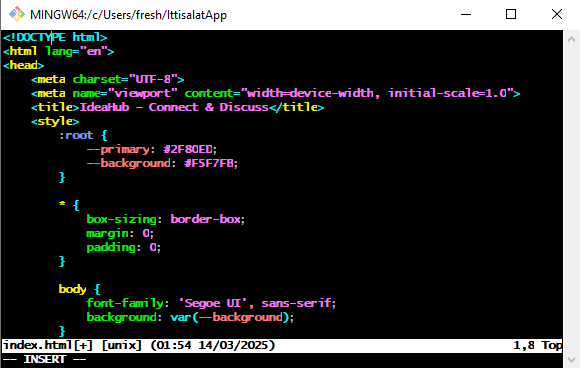
Use any of the artificial intelligence application like **Chatgpt, Perplexity or Deepseek **to generate an html code for the particular app you want to create. For example I typed in the following prompt into Deepseek ai:
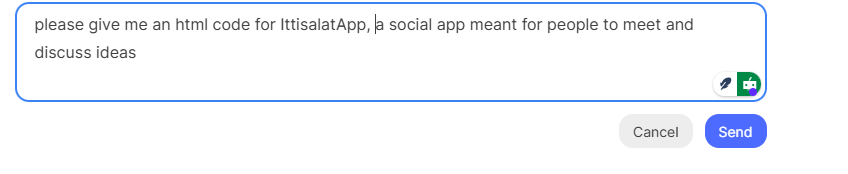
The following result was generated (cut):

Copy and paste the html code into the text editor. Inorder to paste type the "i" button. Right click and then paste. Ensure the code is well aligned.
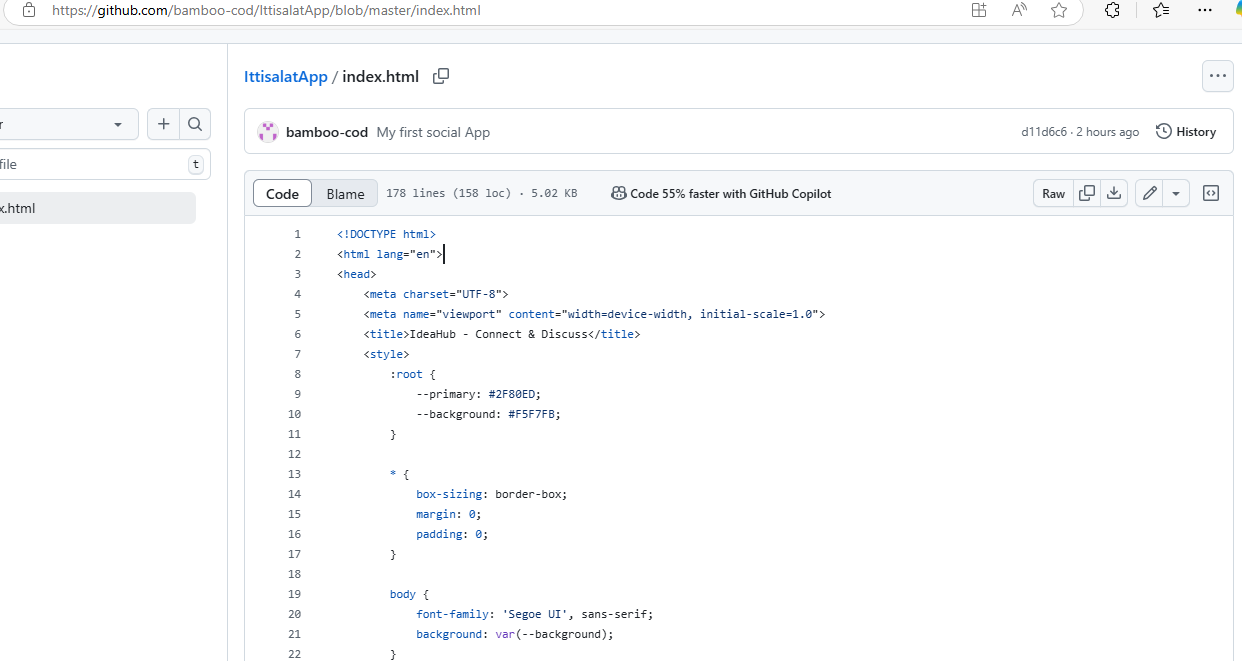
Snapshot of the code in git;
Save and exit editor by pressing the ESC button and colon (:)wq + Enter button.
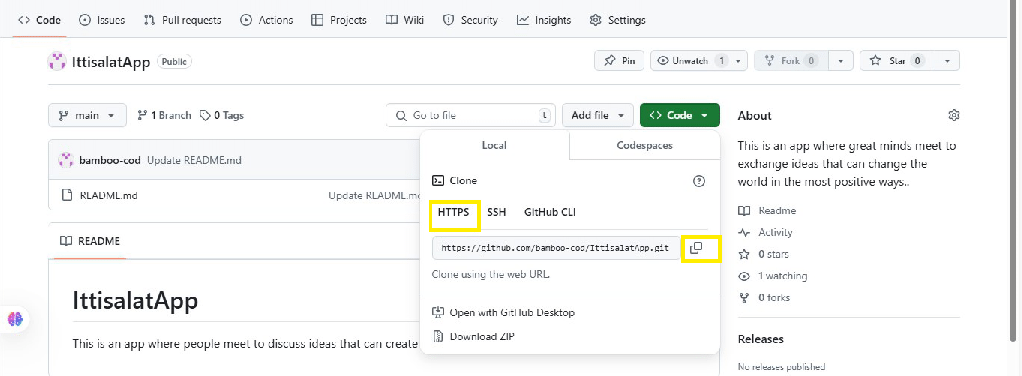
Go to your Github account click on the green Code button and copy https code.

Go back to the terminal and type in the following command:
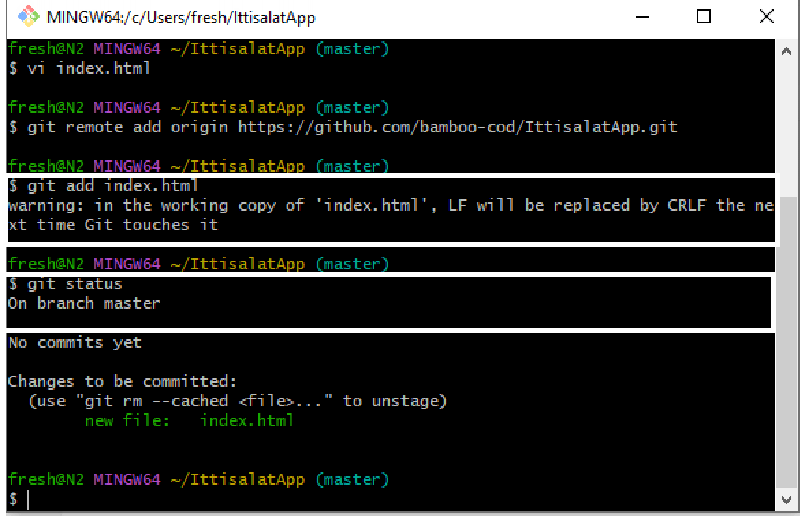
***git remote add originleave a space https://github.com/bamboo-cod/IttisalatApp.git*

The command **git remote add origin https://github.com/bamboo-cod/IttisalatApp.git **links your local Git repository to a remote repository on GitHub.
Then type the command git add index.html The command git add index.html stages the index.html file in Git, preparing it to be included in your next commit.
Type the following code
git commit -m "My first social App" and enter.
Inorder to move the master branch, type the following command
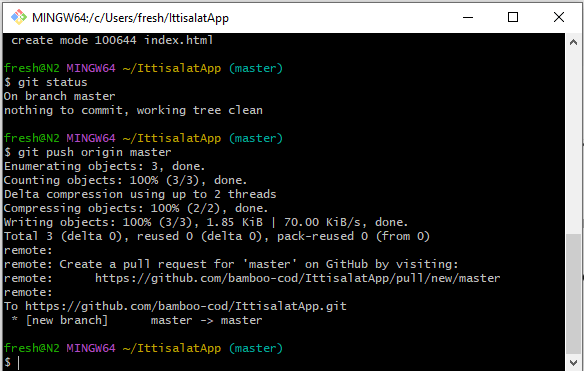
git push origin master and enter
Go back to Github and check your code. You might be asked to verify and authenticate. Tick on compare and pull request.
Type in az login into the GitBass terminal
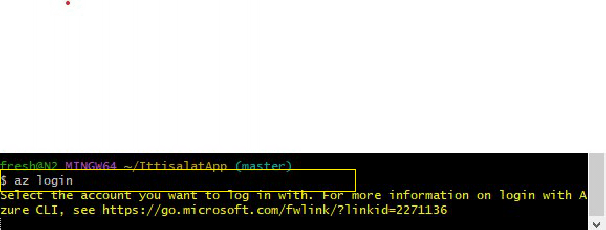
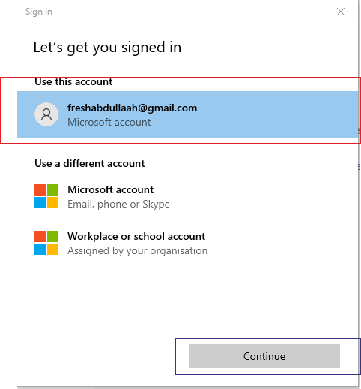
It will then prompt you to sign in. Select the appropriate email linked to your azure account and click on continue.
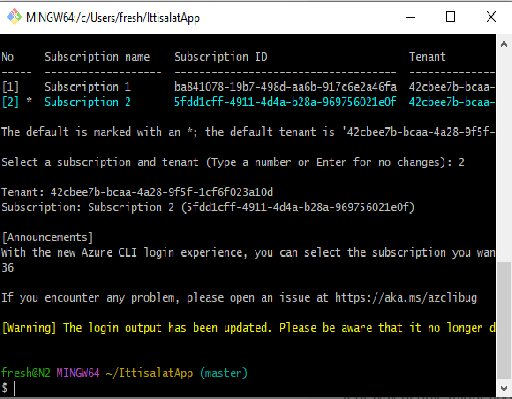
The terminal could not recognize my subscription. So i had to type the following prompt: *az login --tenant 42cbee7b-bcaa-4a28-9f5f-1cf6f023a10d
*
output:
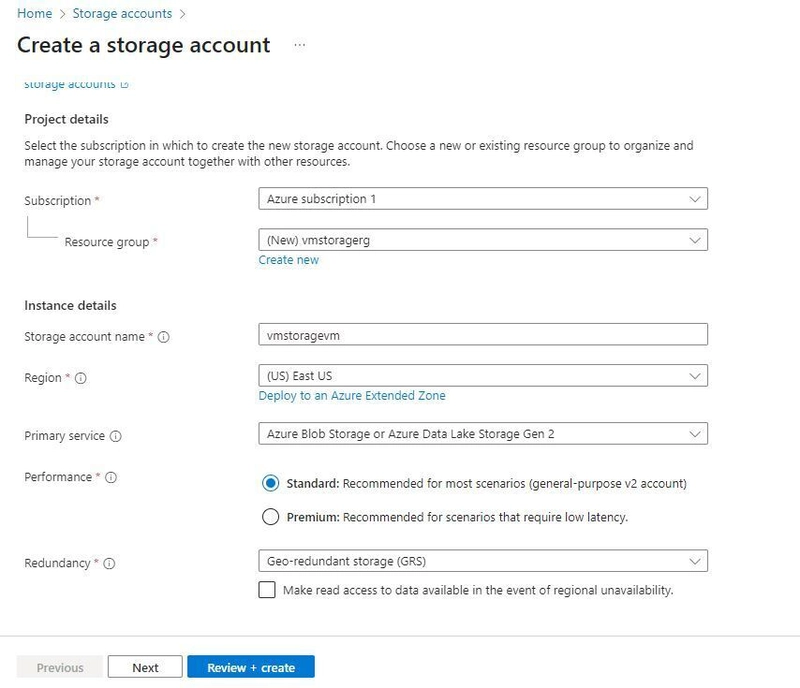
Create a Resource Group if you dont have one. Input the following command:az group create --name IttisalatApp(i.e: name of your resource group in azure) -location uksouth
Create an App Servicer Plan. An App Service Plan in Azure is a foundational component that defines the compute resources and configuration for hosting web applications, APIs, mobile backends, and other services within Azure App Service.
Type into the terminal the following command:
az appservice plan create --name IttisalatAppServ --resource-group IttisalatApp
I got an error:- MissingSubscriptionRegistration
Meaning: My Azure subscription lacks the necessary registration for the Microsoft.Web resource provider, which is required for Azure App Service (and related resources like App Service Plans).
I had to rectify this problem by doing the following:
- Register the Microsoft.Web provider using the Azure CLI:
az provider register --namespace Microsoft.Web
- Verifying the registration status by typing into the terminal the following command: az provider show --namespace Microsoft.Web --query "registrationState"
Create the Web App using the following command: az webapp create --name IttisalatWebApp --resource-group IttisalatApp --plan IttisalatAppServ
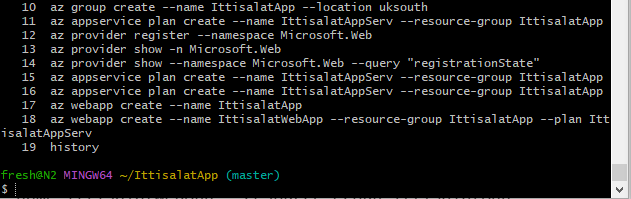
A quick run on History shows the commands so far:
Deployment of the Web App
**
**az webapp deployment source config --name IttisalatApp --resource-group IttisalatApp --repo-url https://github.com/bamboo-cod/IttisalatApp.git --branch master --manual-integration
This command does one simple thing:
Connects your Azure Web App (named "IttisalatApp") to a GitHub repository so that you can deploy code manually from the master branch of that repo.
Breakdown:
-
az webapp deployment source config: "Set up where the app's code comes from." -
--name IttisalatApp: "The name of your Azure Web App." -
--resource-group IttisalatApp: "The resource group where your app lives in Azure." -
--repo-url https://github.com/...: "Link to your GitHub code repository." -
--branch master: "Use code from themasterbranch of the repo." -
--manual-integration: "Azure won’t auto-deploy when you push code to GitHub. You’ll have to trigger deployments manually."
What happens next?
After running this command:
- Azure knows where your code is stored (GitHub).
- When you’re ready to deploy, you’ll need to manually sync or trigger a deployment (e.g., via the Azure Portal or CLI).
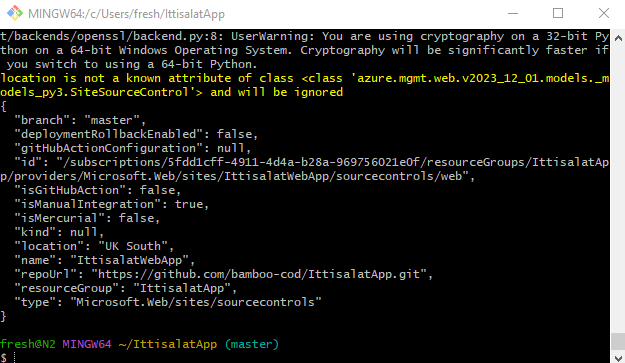
This shows we have successfully deploy our web app.
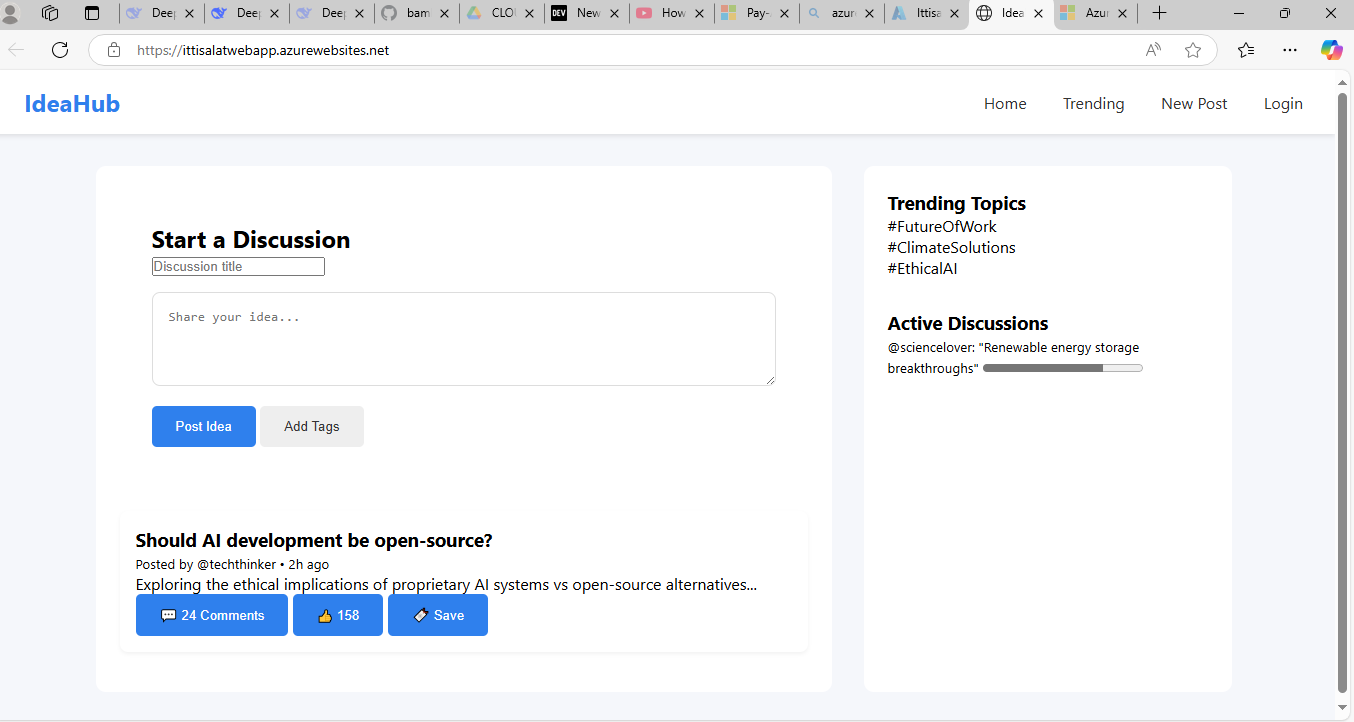
To verify log into the azure account.
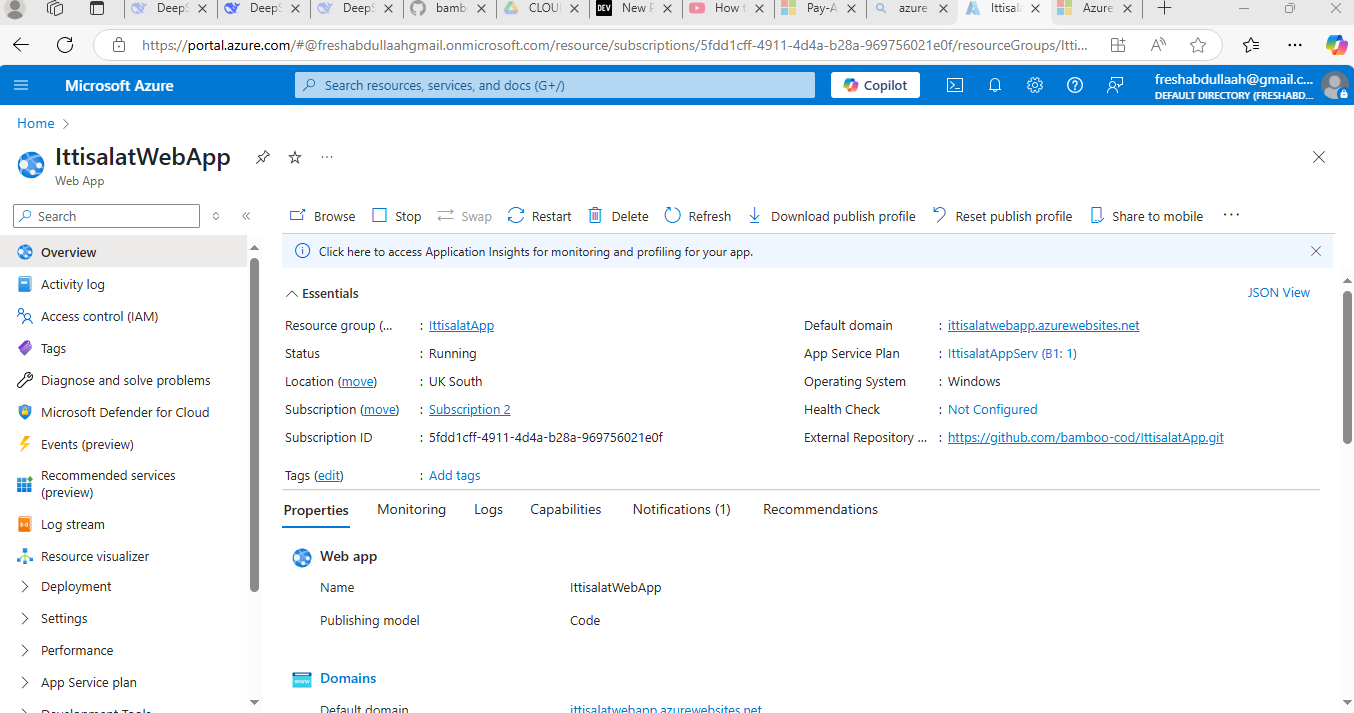
Clicking on the Default domain url: ittisalatwebapp.azurewebsites.net
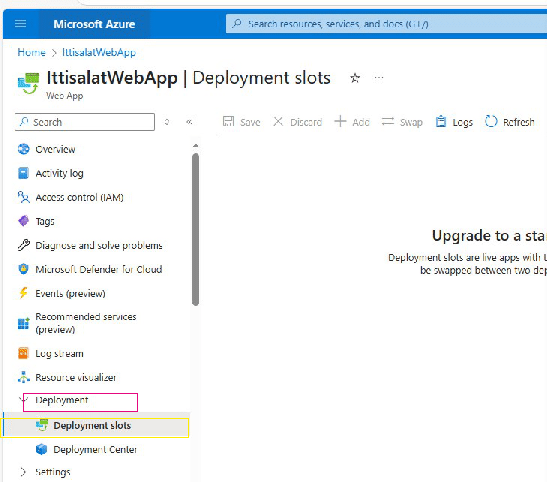
Creating a deployment slot
A deployment slot in Azure is like a separate, isolated instance of your web app that allows you to test changes in a staging environment before swapping it with production. Think of it as a "copy" of your live app where you can safely deploy and validate updates without affecting real users.
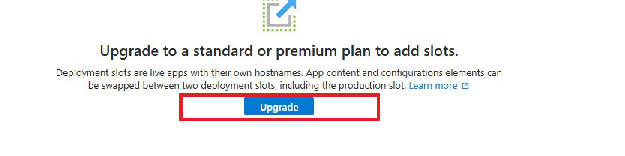
Click on Upgrade
Select the first premium service
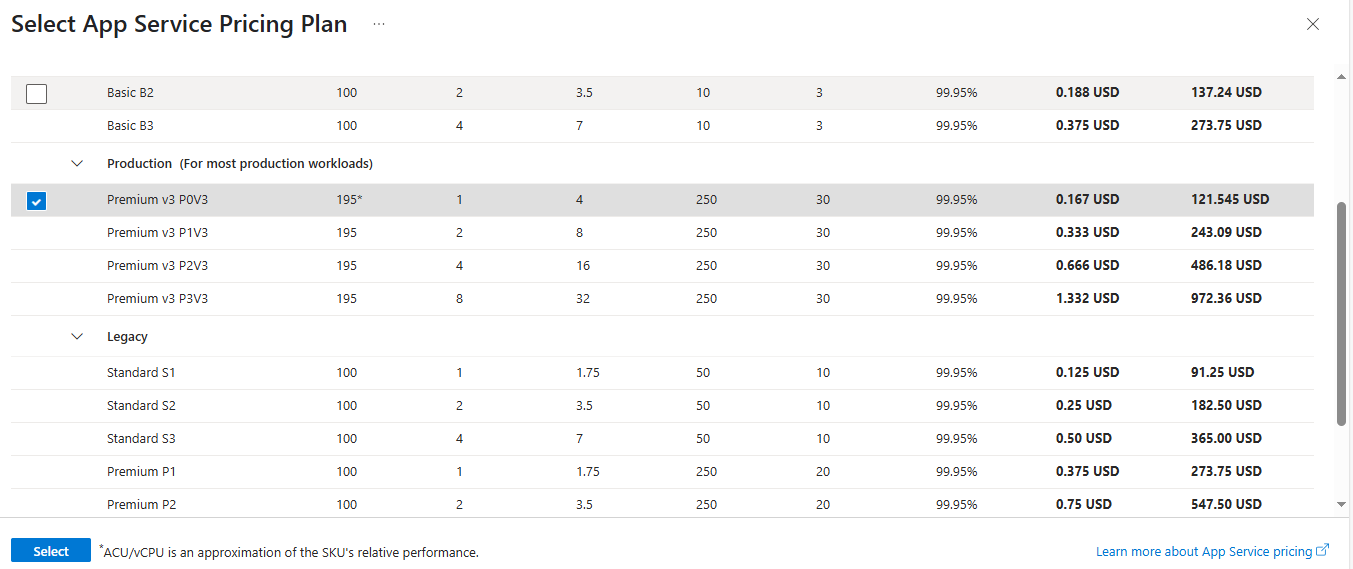
Click on select and Upgrade
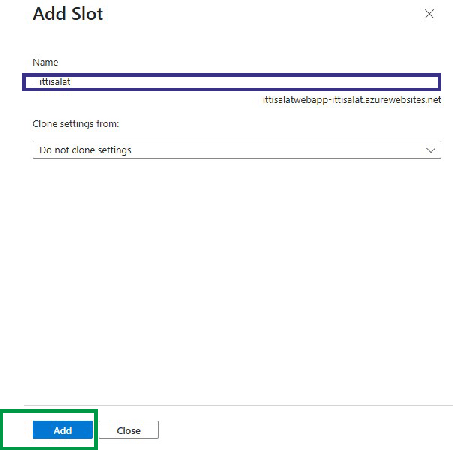
Click on Add Slot
Give the slot a name and click on add
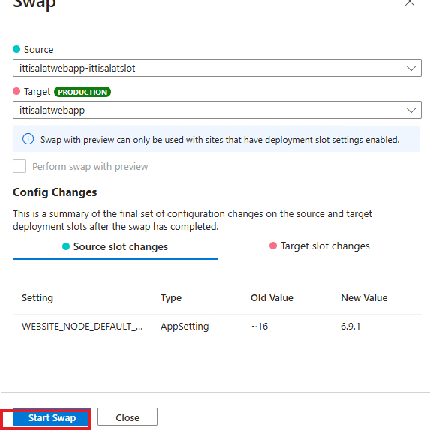
After working on the readjustment of the webapp in the background, click on swap to grant full traffic to users.