Deploying your full-stack application doesn’t have to be complicated—or expensive. In this guide, I’ll walk you through the process of deploying your backend (e.g., Node.js, Express) to Render, and your frontend (e.g., React, Flutter Web) to Netlify, both completely free.
This is a great setup for hosting portfolios, projects, or MVPs using modern, production-ready services.
🔧 What You Need
A backend project (Node.js/Express, Django, Flask, etc.)
A frontend project (React, Vue, or Flutter web)
GitHub account with both projects pushed to separate repositories
🔙 Step 1: Hosting the Backend on Render
- Push Your Backend to GitHub Make sure your backend project includes: A package.json file (if using Node.js) A working start script (e.g., node index.js) .env file locally for secrets like MongoDB URLs or JWTs
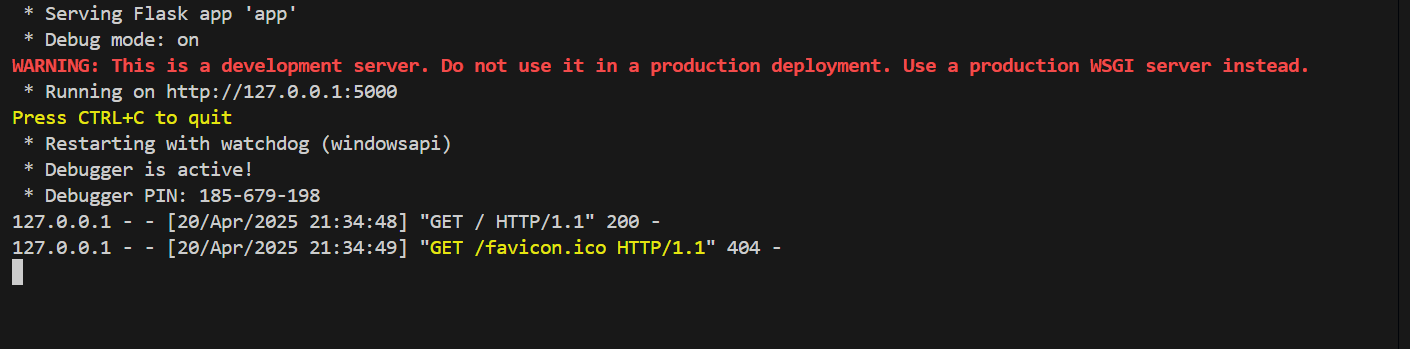
- Set Up Render Deployment Go to https://render.com and sign in. Click "New" → "Web Service". Connect your GitHub account and select the backend repository. Fill in deployment settings: Name: my-backend Build Command: npm install (or your language’s equivalent) Start Command: npm start or node index.js Environment: Node, Python, etc. Add your required Environment Variables in the Render dashboard. Click "Create Web Service". Render will build and deploy your backend and give you a live URL like:
`https://my-backend.onrender.com`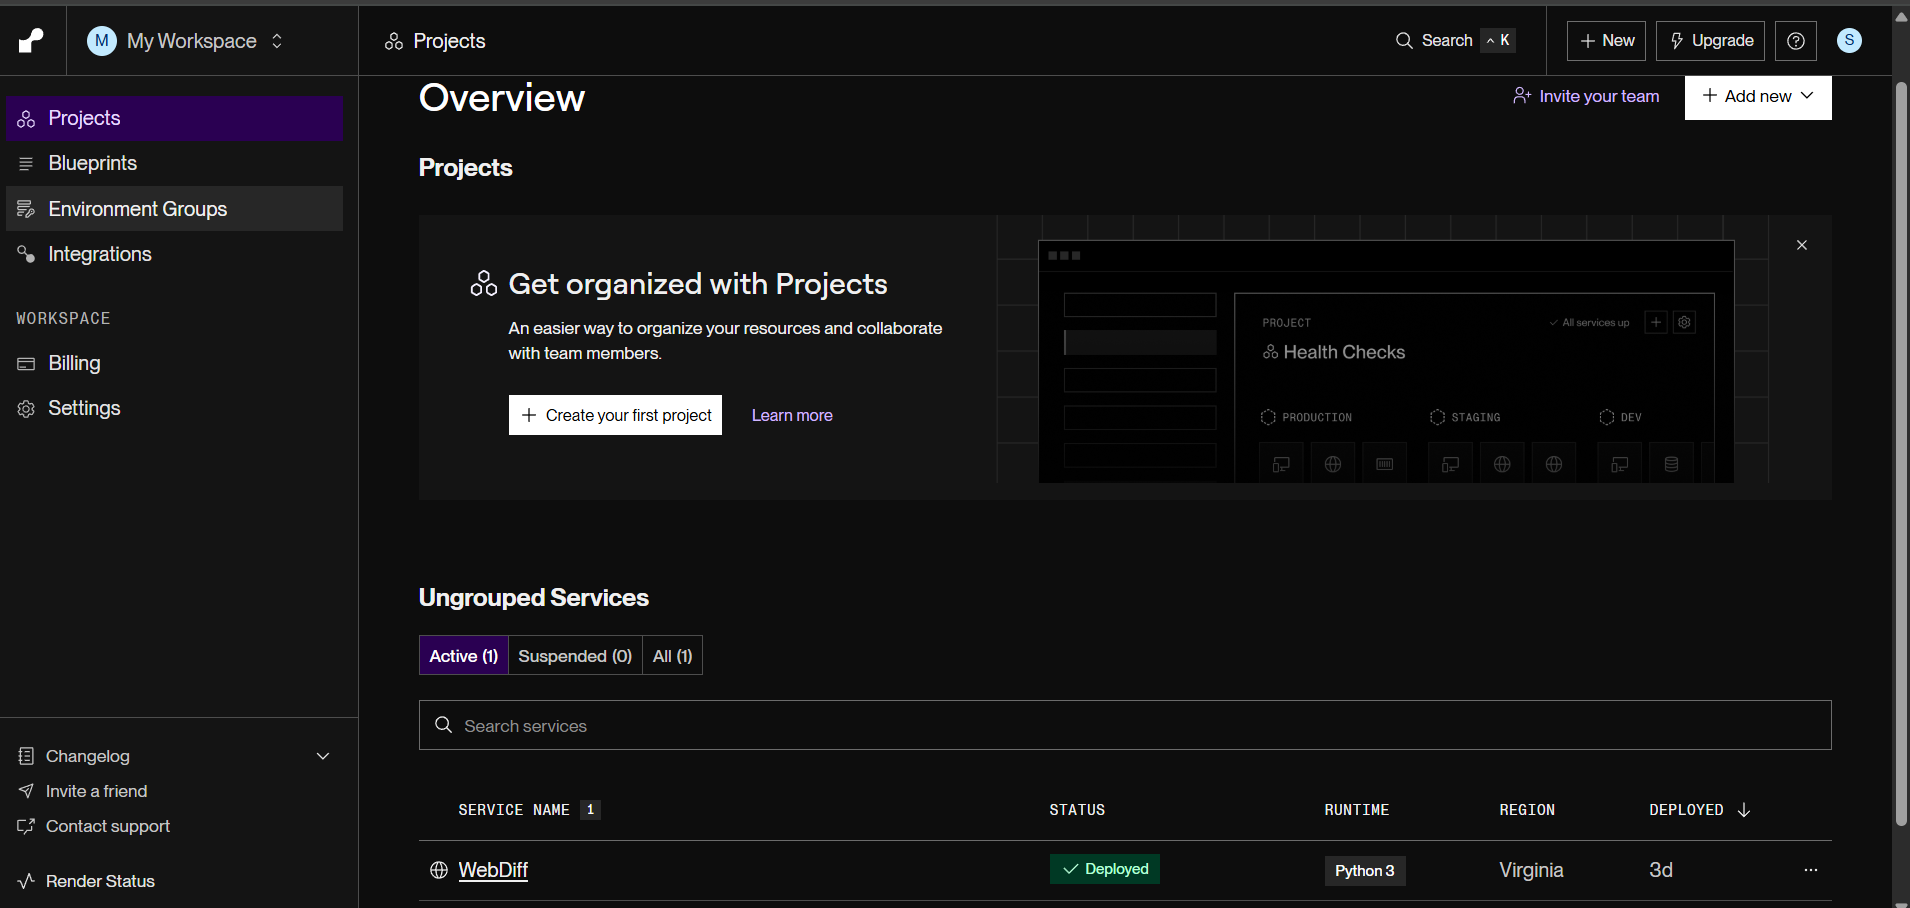
🌐 Step 2: Hosting the Frontend on Netlify
- Push Your Frontend to GitHub Whether it's a React, Vue, or Flutter web app, make sure it’s production-ready and committed to GitHub.
- Deploy on Netlify Go to https://netlify.com and log in. Click "Add new site" → "Import an existing project". Connect your GitHub and choose your frontend repo. Fill in the deploy settings: Build Command: npm run build (or flutter build web) Publish Directory: build (for React) or build/web (for Flutter) Add your environment variables (e.g., your backend URL). Click Deploy Site. You’ll get a public frontend URL like:
`https://my-frontend.netlify.app``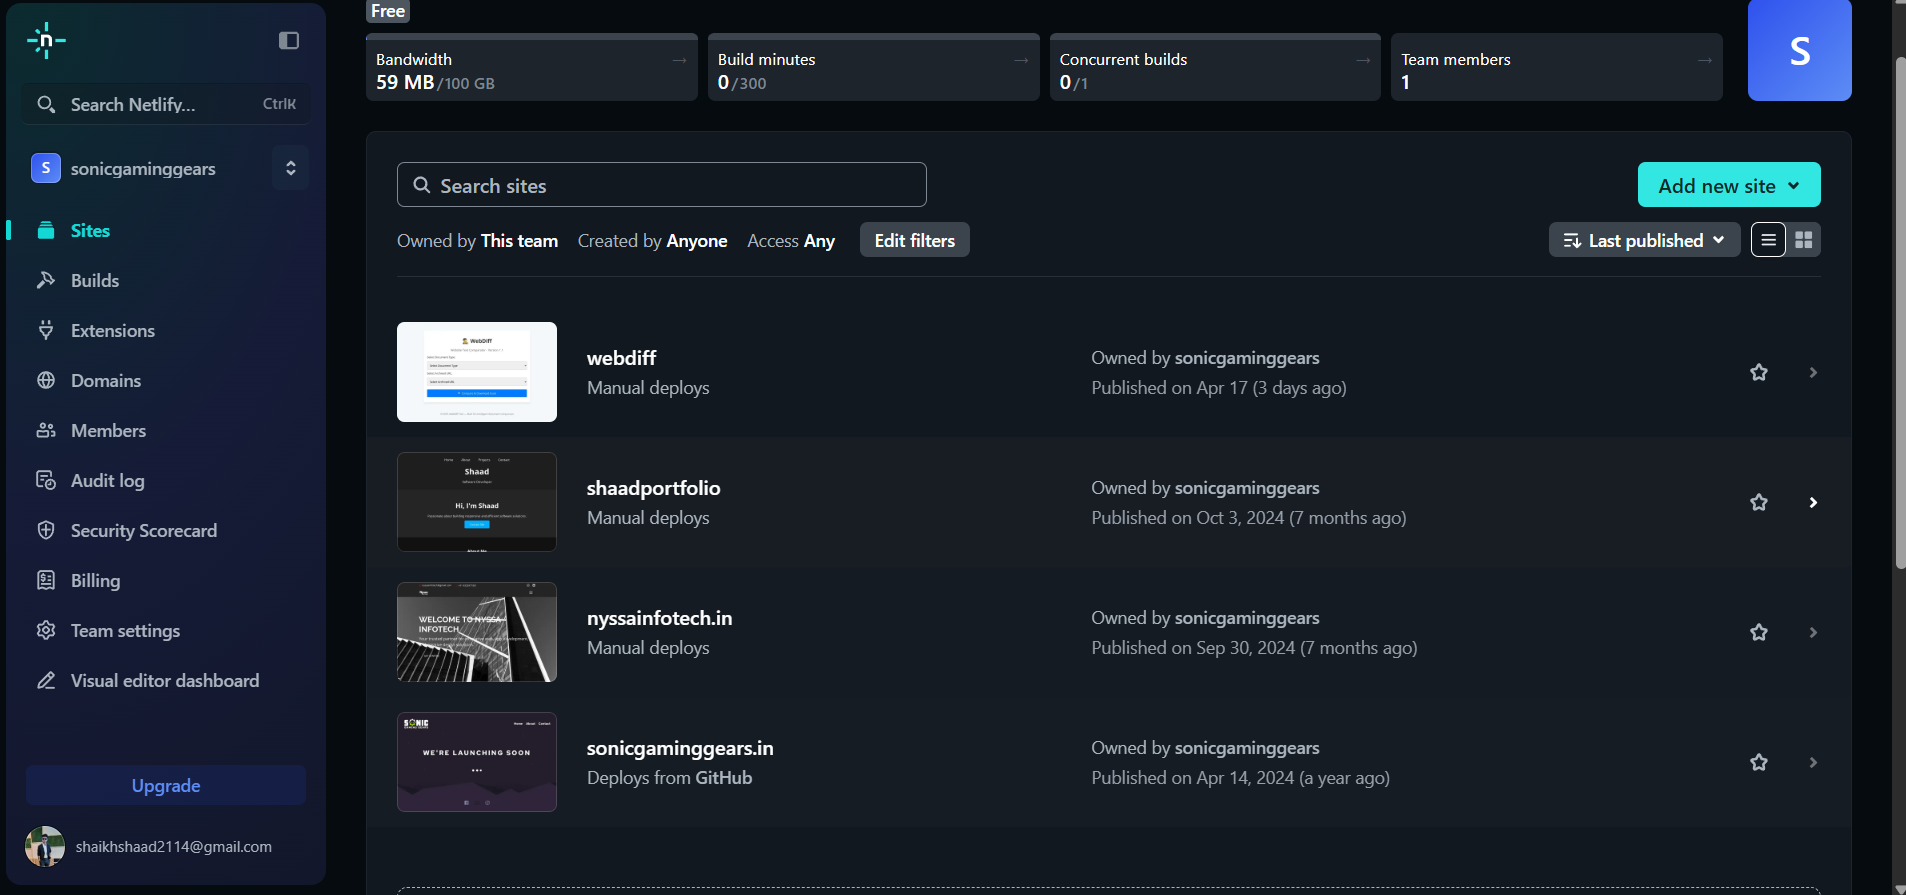
🔗 Step 3: Connecting Frontend to Backend
Update your frontend code to make API calls to the live Render backend URL. Example in React using Axios:
`axios.get('https://my-backend.onrender.com/api/data');`To avoid hardcoding URLs, use environment variables like .env:
`REACT_APP_API_URL=https://my-backend.onrender.com`And in your code:
`axios.get(`${process.env.REACT_APP_API_URL}/api/data`);`⚠️ Bonus: CORS Configuration in Backend
Make sure your backend allows requests from your frontend's domain. In Node.js/Express:
`const cors = require('cors');
app.use(cors({ origin: 'https://my-frontend.netlify.app' }));`
✅ Final Testing
Open your Netlify URL.
Interact with your app and make sure it communicates with the backend.
Use browser dev tools to verify successful API responses.