Welcome to Week 1 of the Sysadmin Challenge!
In this task, we deploy a secure and production-ready LEMP stack; that’s Linux + Nginx + MySQL + PHP—with a strong focus on hardening, SSL, and best practices. Whether you're just exploring server management or preparing for real-world deployments, this walkthrough breaks it all down step-by-step.
By the end of this post, you'll learn:
- How to set up and secure a cloud-hosted Linux server
- Harden Nginx, MySQL, and PHP for production
- Deploy SSL with Let’s Encrypt and pass the SSL Labs A+ test
- Configure a basic firewall
- Host a simple website with confidence
*Bonus tip: * Always remember to terminate your virtual instances (like AWS EC2) when done to avoid unexpected charges.
Let’s dive in!
🛠️ TASK BREAKDOWN
1. Set up a Linux Server (Ubuntu 24.04)
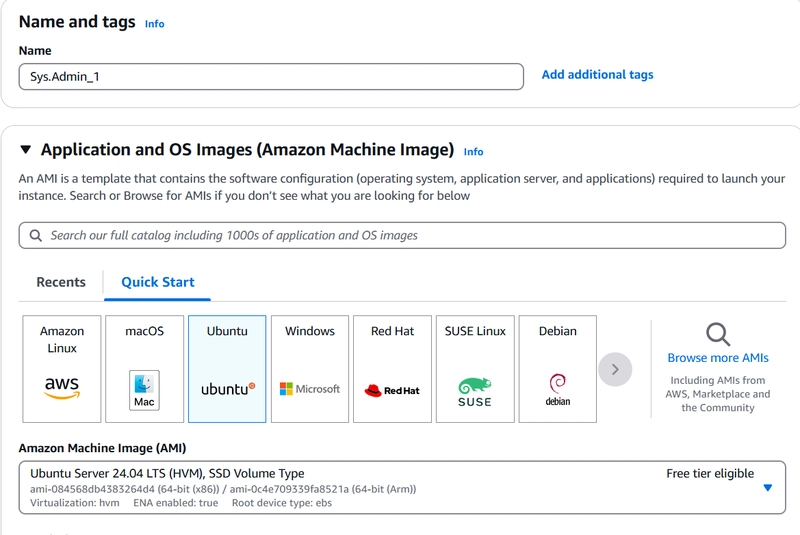
I used a clean Ubuntu 24.04 VM hosted on the cloud (EC2 on AWS). After launching the instance:
Step-by-Step: Creating an EC2 Instance
- Choose AMI: Ubuntu Server 24.04 LTS (x86_64)
Instance Type:
t2.micro (Free Tier eligible)

- Key Pair: Create a new key pair (or use existing one). Save your .pem file securely.
Network Settings:
Allow SSH (port 22)
Allow HTTP (port 80)
Allow HTTPS (port 443)
Launch Instance and SSH into your EC2 server
ssh -i your-key.pem ubuntu@your-ec2-public-ip

Update and upgrade your instance
sudo apt update && sudo apt upgrade -y

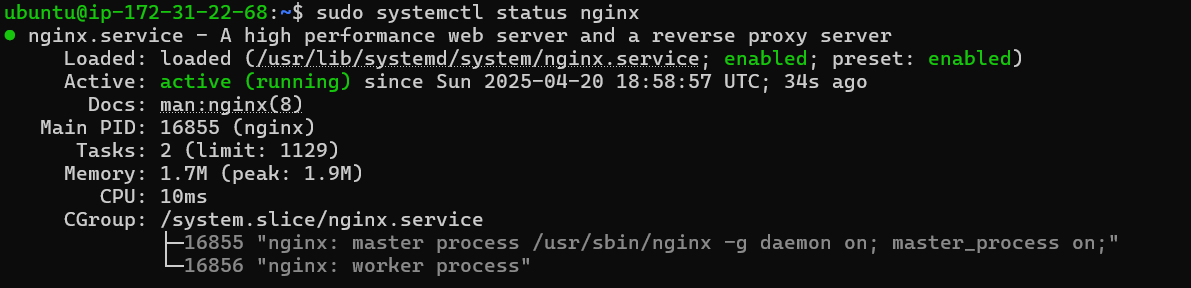
2. Install & Harden Nginx
Run the following command to install Nginx server. You can also use Apache server.
sudo apt install nginx -y
I created a file named /etc/nginx/snippets/security-headers.conf and added best-practice security headers. Then I included it inside my Nginx server block to globally apply the hardening.
Basic Hardening:
Disabled directory listing
Add headers using this command: sudo nano /etc/nginx/snippets/security-headers.conf
Added security headers in /etc/nginx/snippets/security-headers.conf
add_header X-Frame-Options "SAMEORIGIN";
add_header X-XSS-Protection "1; mode=block";
add_header X-Content-Type-Options "nosniff";
add_header Referrer-Policy "no-referrer-when-downgrade";
add_header Permissions-Policy "geolocation=(), microphone=(), camera=()";
add_header Content-Security-Policy "default-src 'self'; script-src 'self'; object-src 'none';";

Test and reload nginx
sudo nginx -t && sudo systemctl reload nginx

3. Install and Secure MySQL or MariaDB
Install MySQL
sudo apt install mysql-server -y
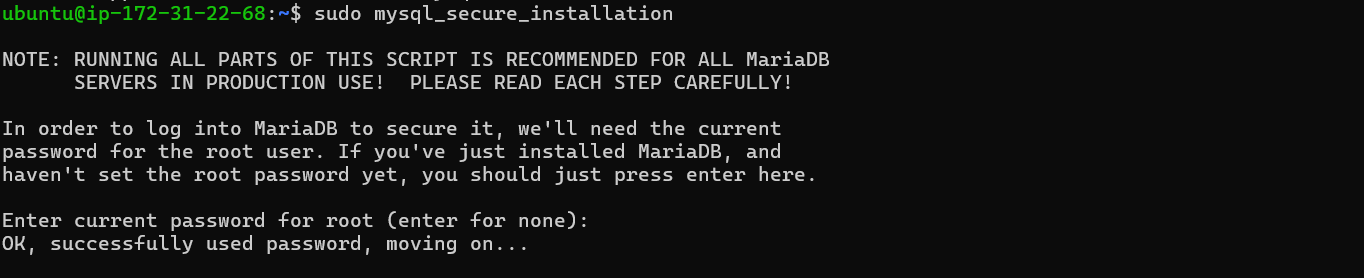
Run security script
sudo mysql_secure_installation
For MariaDB
sudo apt install -y mariadb-server
Follow the prompts to set up root password and remove anonymous users.
4. Install and harden PHP
Install PHP and its modules
sudo apt install php-fpm php-mysql -y
Harden PHP config
sudo nano /etc/php/*/fpm/php.ini # Replace * with PHP version (e.g., 8.1)
Check if the following are applying in your php config:
expose_php = Off
display_errors = Off
disable_functions = exec,passthru,shell_exec,system
cgi.fix_pathinfo = 0
Restart PHP
sudo systemctl restart php*-fpm
5. Configure Nginx for PHP
We will connect Nginx to PHP-FPM
sudo nano /etc/nginx/sites-available/default
Replace server{} block with:
server {
listen 80;
server_name your-domain.com; # Replace with EC2 IP or domain
root /var/www/html;
index index.php index.html;
location / {
    try_files $uri $uri/ =404;
}

location ~ \.php$ {
    include snippets/fastcgi-php.conf;
    fastcgi_pass unix:/var/run/php/php*-fpm.sock;  # * = PHP version
}

location ~ /\.ht {
    deny all;
}
}
Test and reload nginx
sudo nginx -t && sudo systemctl reload nginx
6. Configure UFW firewall
Enable basic firewall to allow only necessary ports
sudo ufw allow OpenSSH
sudo ufw allow 'Nginx Full'
sudo ufw enable

7. Install Let's Encrypt SSL
After activating the firewall, we are going to secure our site using SSL. We will install Certbot which is a tool that lets us get free SSL certificates for our website.
sudo apt install certbot python3-certbot-nginx -y
We will then create an SSL certificate
sudo certbot --nginx -d your-domain.com ( Replace your-domain.com with your domain name. If you get an error, you can use your public ec2 instance to get a free public domain)
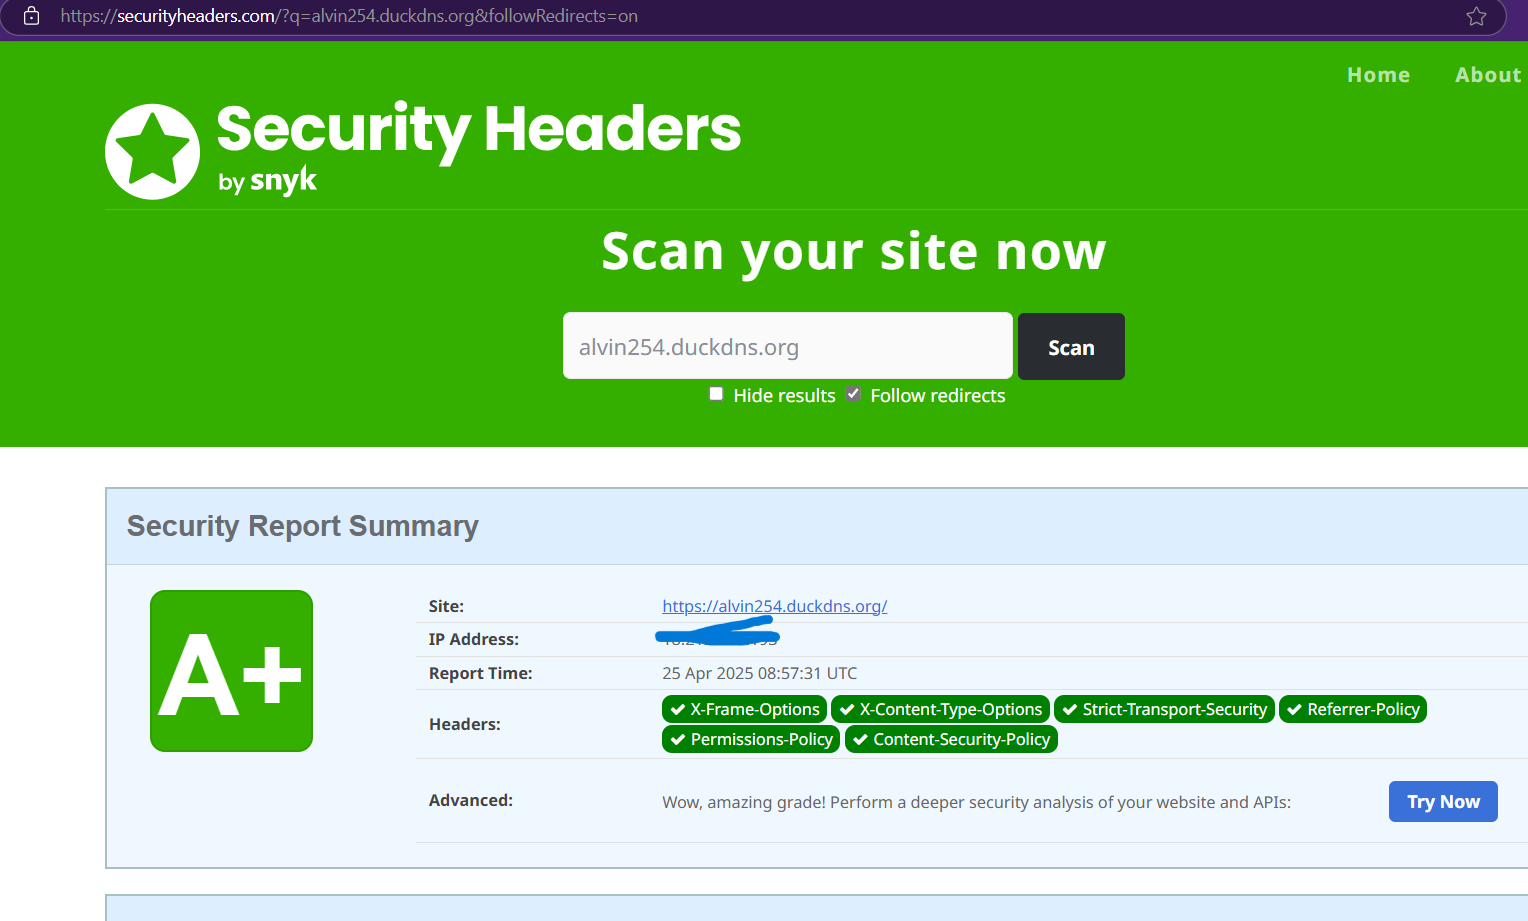
After this, we should see a lock symbol, meaning that our site is secure. we can then test our security headers for our site, and we get a score of A and above, then we are good. Paste your domain name to the following site:
8. Deploy a simple static website
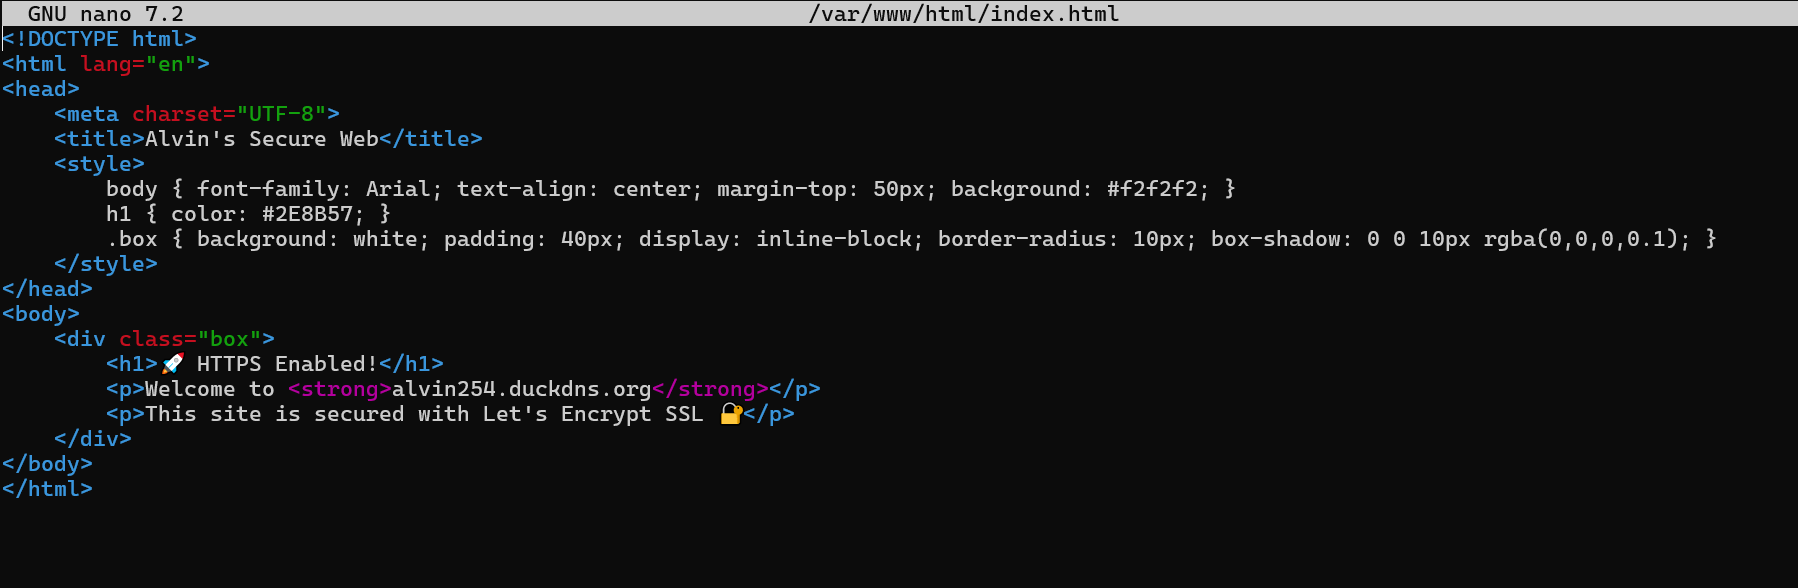
Created a sample HTML page in /var/www/html/index.html using the command
sudo nano /var/www/html/index.html and save.
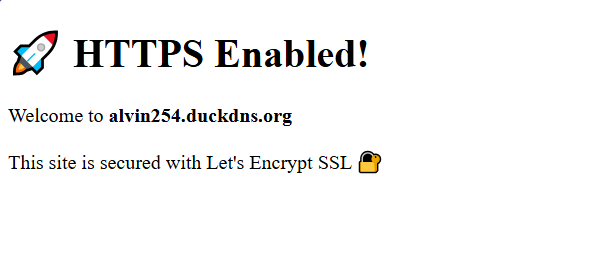
Reload your webpage and you should see an update to the landing page!
Challenges Encountered and Possible Solutions
Ubuntu 22.04 Kernel Upgrade Issues
Challenge: I encountered compatibility issues with the latest updates breaking some package dependencies.
Solution: Switched to Ubuntu 24.04, which offered better stability and smoother package handling for this project.
Certbot Failing to Generate SSL Certificate
Challenge: SSL generation via Certbot initially failed due to DNS propagation delays or incorrect domain configuration.
Solution: Ensured my duckdns domain was correctly pointed to my public IP. Waited a few minutes, then retried with:
sudo certbot --nginx -d mydomain.duckdns.org
UFW Not Allowing Nginx Traffic
Challenge: Website wasn’t reachable until firewall rules were corrected.
Solution: Allowed Nginx explicitly:
sudo ufw allow 'Nginx Full'
This project was an eye-opener into real-world web server deployment and hardening. From installing and securing services to implementing proper permission handling and SSL encryption, I walked away with a strong foundational understanding of building secure LEMP stacks on Linux.
This marks my very first blog post (I aim to do better in the second post); if you’ve made it this far, thank you! I’d love to hear your thoughts, questions, or even how you’d approach a similar setup differently. Please feel free to leave a comment below or connect with me!
And to anyone just starting out or feeling stuck: never be afraid to ask for help. Whether from forums, peers, or mentors; every expert was once a beginner.
Let’s keep learning and growing together!