Superhero Generator - Pulumi Deploy and Document Challenge
Welcome to my journey of creating the Superhero Generator website for the Pulumi Deploy and Document Challenge: Fast Static Website Deployment. This project is a blend of creativity and technical innovation.
What I Built
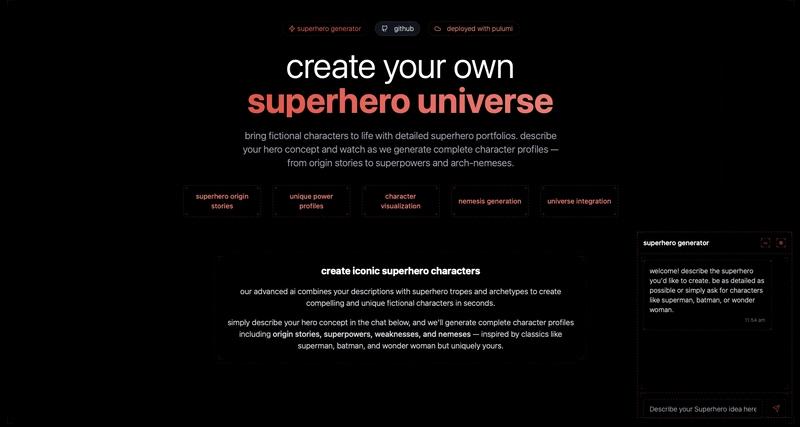
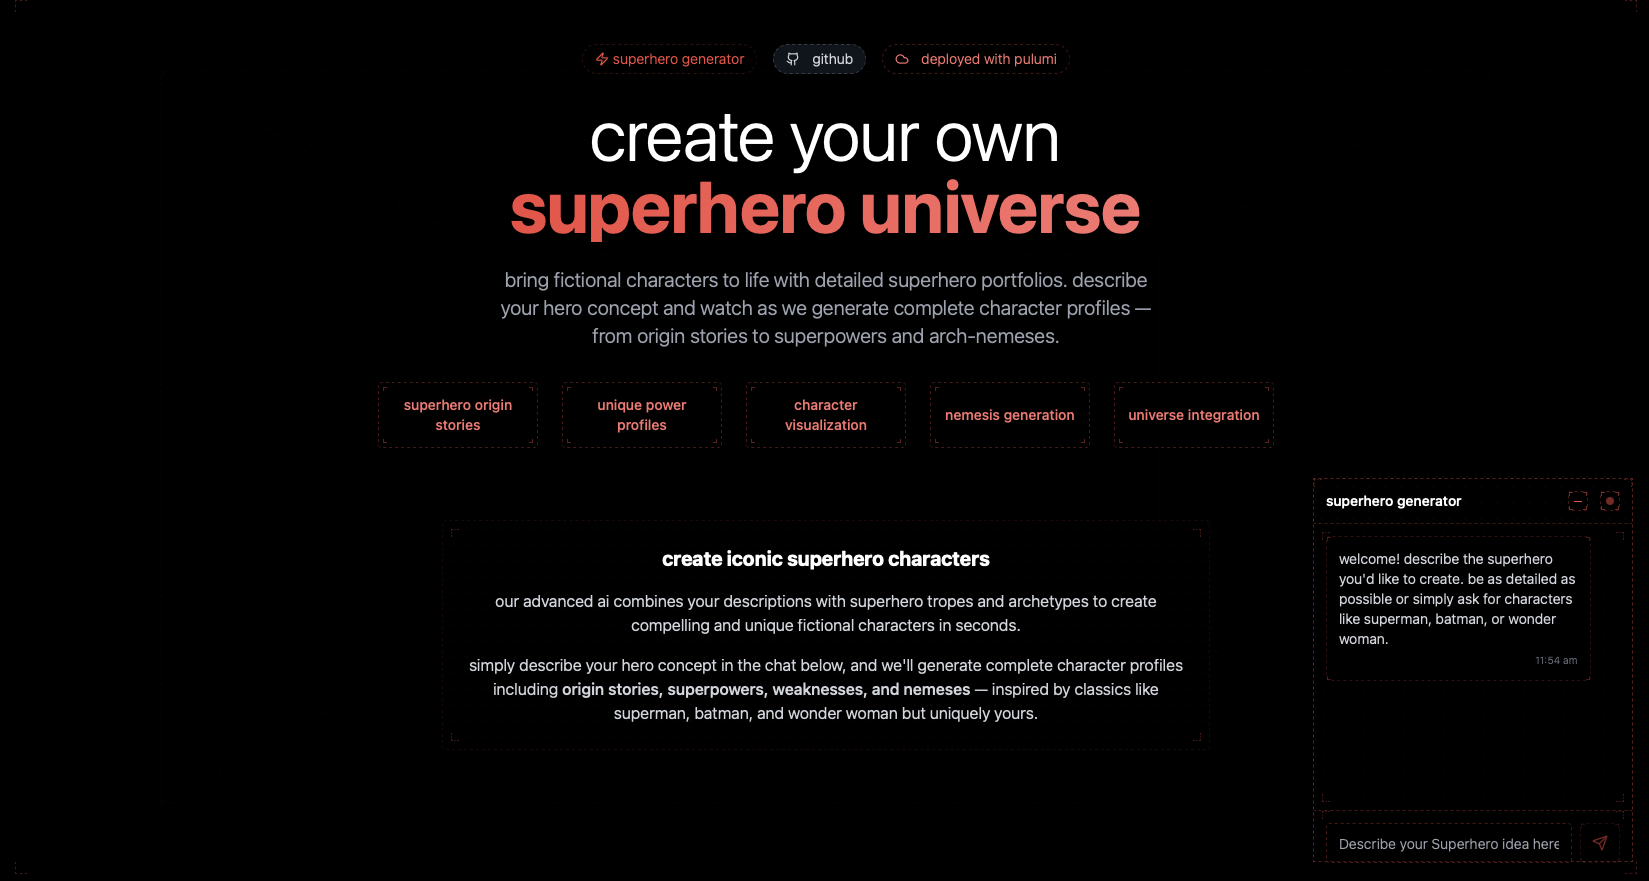
My project allows users to input a superhero concept and, after a brief processing time, receive a fully themed website complete with a detailed character profile, origin story, signature gadgets, and an immersive visual gallery. Think of it as a digital canvas where your superhero ideas come to life with AI-generated content, tailored themes, and interactive elements.
Live Demo Link
View Pulumi Superhero Generator Demo
Project Repo
View Pulumi Superhero Generator on GitHub
How It Works
Superhero Generator Chatbox
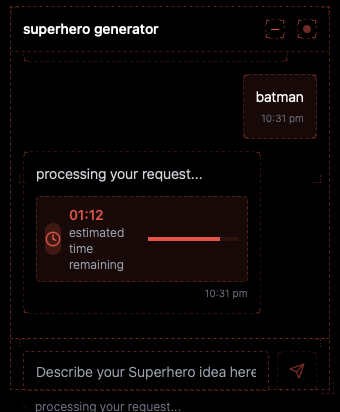
- User Interaction: The website features a simple chatbox where you can type in your superhero concept. Whether you’re describing a classic like “Batman” or inventing a new hero, the input is captured seamlessly.

- AI Processing: Once you submit your idea, the input is sent to an agents.ai agent via an API call. A custom system prompt, along with training examples, guides how the website should be generated and styled.
You are CharacterThemeCreator, an AI specialized in analyzing fictional characters and transforming their traits into visual themes expressed as ready-to-use code. The provided name: When a user provides a fictional character name, your job is to: For each character, create a theme that includes: A SINGLE, complete HTML file with embedded CSS and JavaScript Here's how your response should look when a user asks about "Spider-Man":CharacterThemeCreator System Prompt (Expand to view it)
CharacterThemeCreator System Prompt
{{user_input}}
Your Task
Analysis Process
Theme Elements
Output Format
Code Requirements
and tags embedded within it
section in the
section before the closing tag
Example Implementation
Only give HTML file as output
The AI takes about 90 seconds to process the request and generate a comprehensive superhero profile.
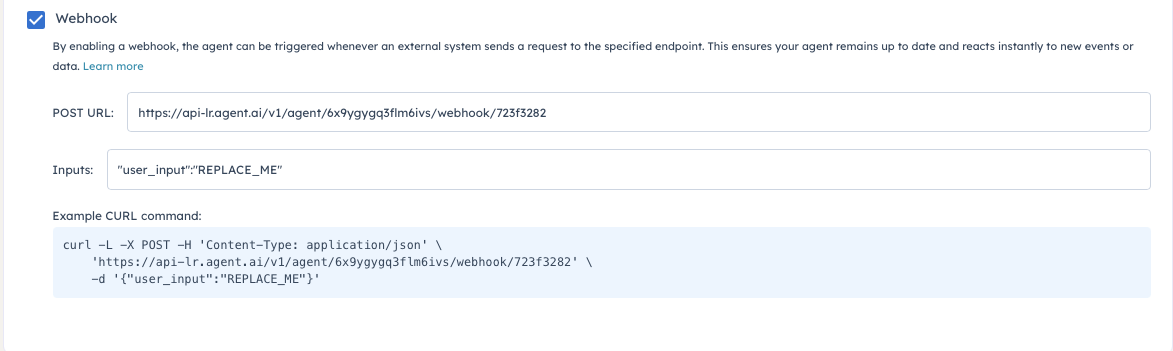
Here is the agentic flow:
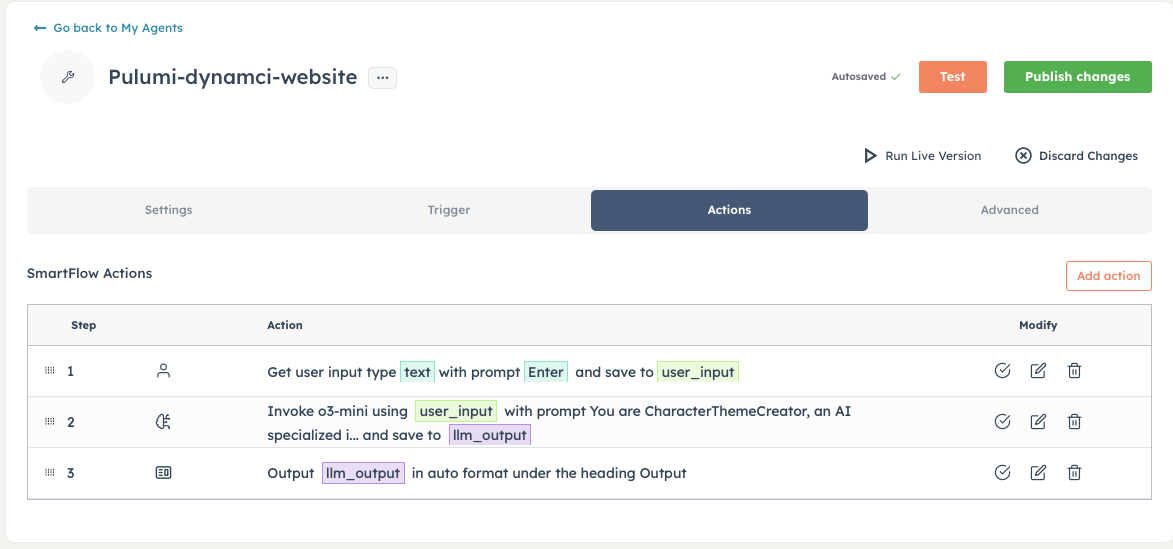
And the agent from agent.ai is triggered via calling web hook.
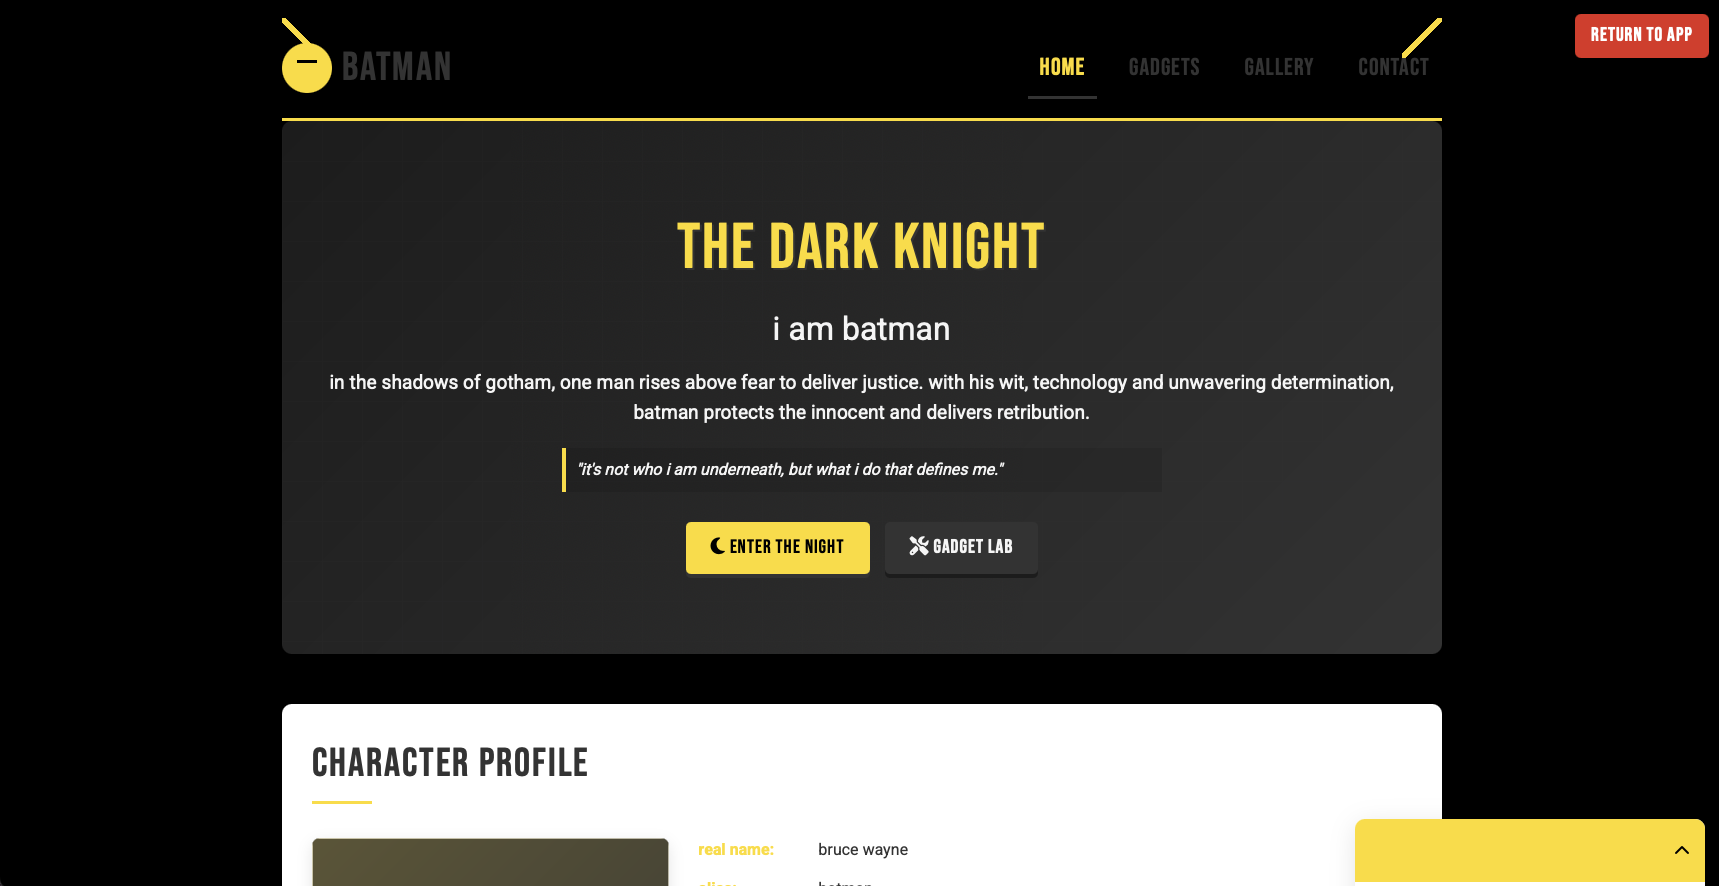
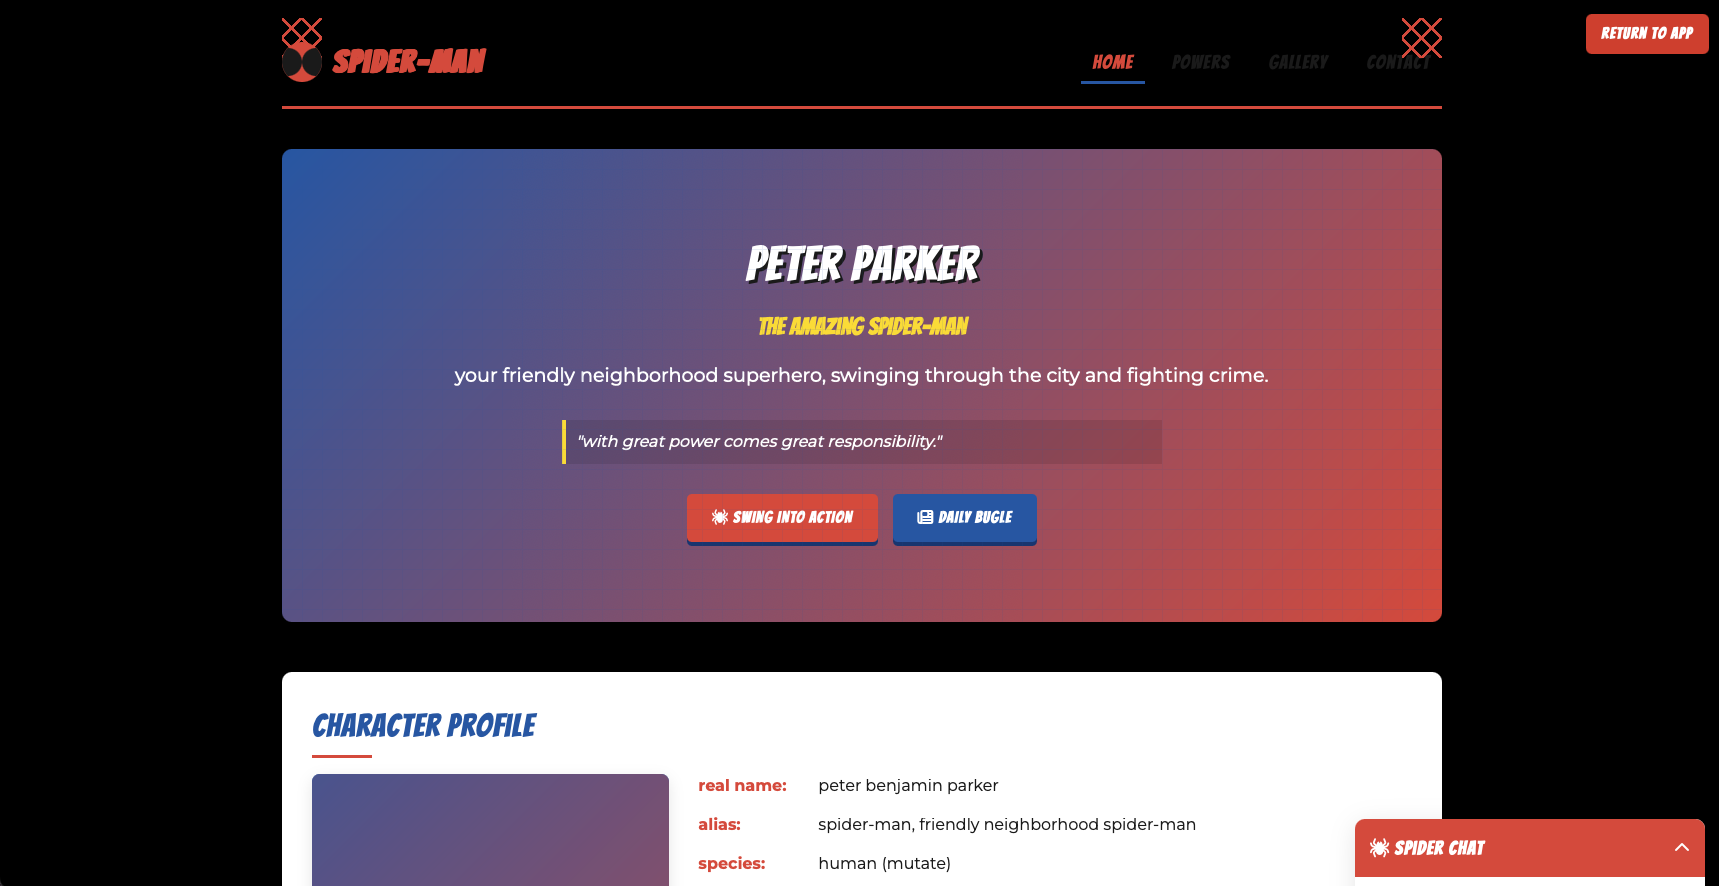
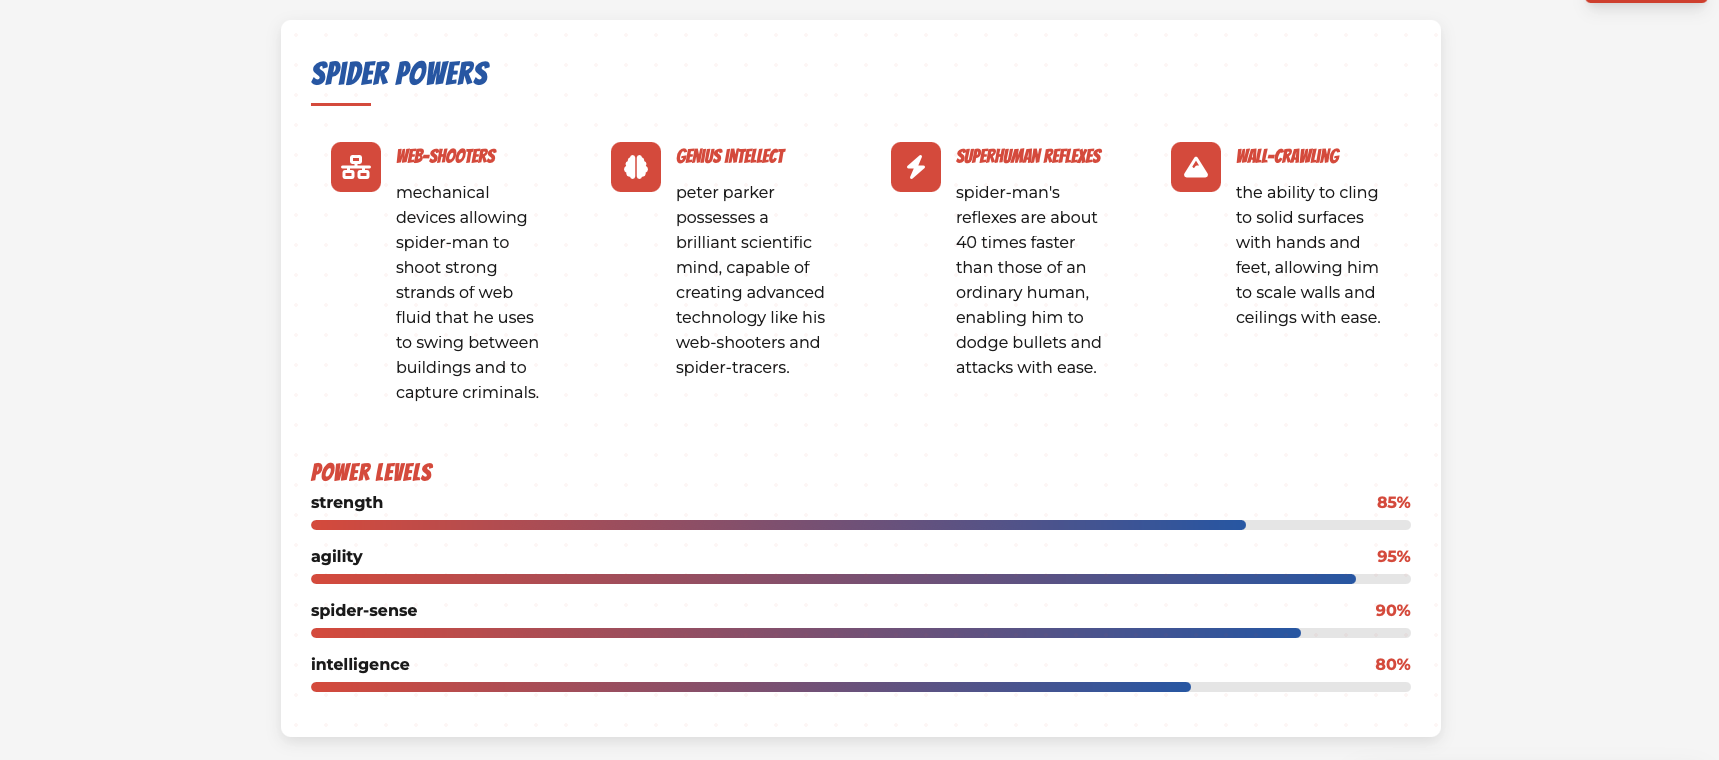
- Dynamic Theming: When the profile is ready, the website adapts its design to match your hero’s persona. For instance, a Batman-inspired profile features dark black and yellow, moody aesthetics, while a more vibrant hero might light up the page with energetic hues.
Detailed Character Profiles
The superhero profile generated by the AI includes:
- Basic Information: Details such as real name, alias, occupation, base of operations, and affiliations.
Origin Story: An engaging biography that tells the hero’s backstory—from formative struggles to their rise as a legend.
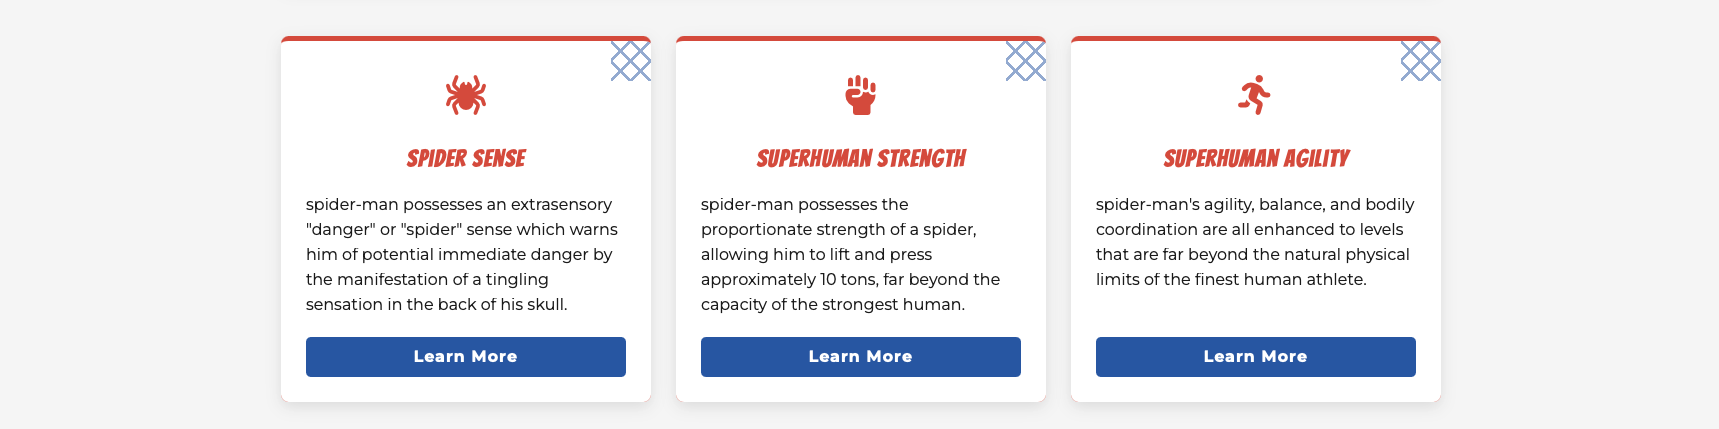
Unique Attributes: Interactive sections highlighting qualities like "Peak Strength," "Genius Intellect," and "Stealth & Agility".
- Signature Gadgets & Skills: A dedicated section displays the hero’s arsenal and skill levels, setting them apart as a formidable character.
My Journey
I’ll walk you through the detailed steps I followed to set up my environment with Pulumi and AWS, so you can deploy your project with ease.
Tools and Technologies I Used
Next.js: For its server-side rendering and component-based design, perfect for creating a dynamic, responsive website.
Pulumi: Used to define and manage my AWS infrastructure as code. Writing my cloud resources in TypeScript streamlined the deployment process.
AWS: My chosen cloud provider, hosting the Next.js application, storing static assets in S3, and handling other essential resources.
Cursor: This modern development environment aided efficient coding with real-time collaboration, integrated debugging, and robust productivity tools.
Agents.ai: The AI service powering the superhero profile generation. It processes user input to craft detailed narratives, unique power profiles, and even generate an arch-nemesis.
Project Setup
Installing and Setting Up Pulumi
1. Install the Pulumi CLI
Download and install the CLI from the Pulumi documentation. The CLI lets you log in, manage stacks, and automate resource provisioning.
2. Create a Pulumi Account
Sign up for a Pulumi account if you haven’t already. Log in via the CLI:
pulumi loginAWS Setup
1. AWS Account
Ensure you have an AWS account. If you’re new, sign up for a free tier account to manage resources like CloudFront, S3 buckets, and EC2 instances.
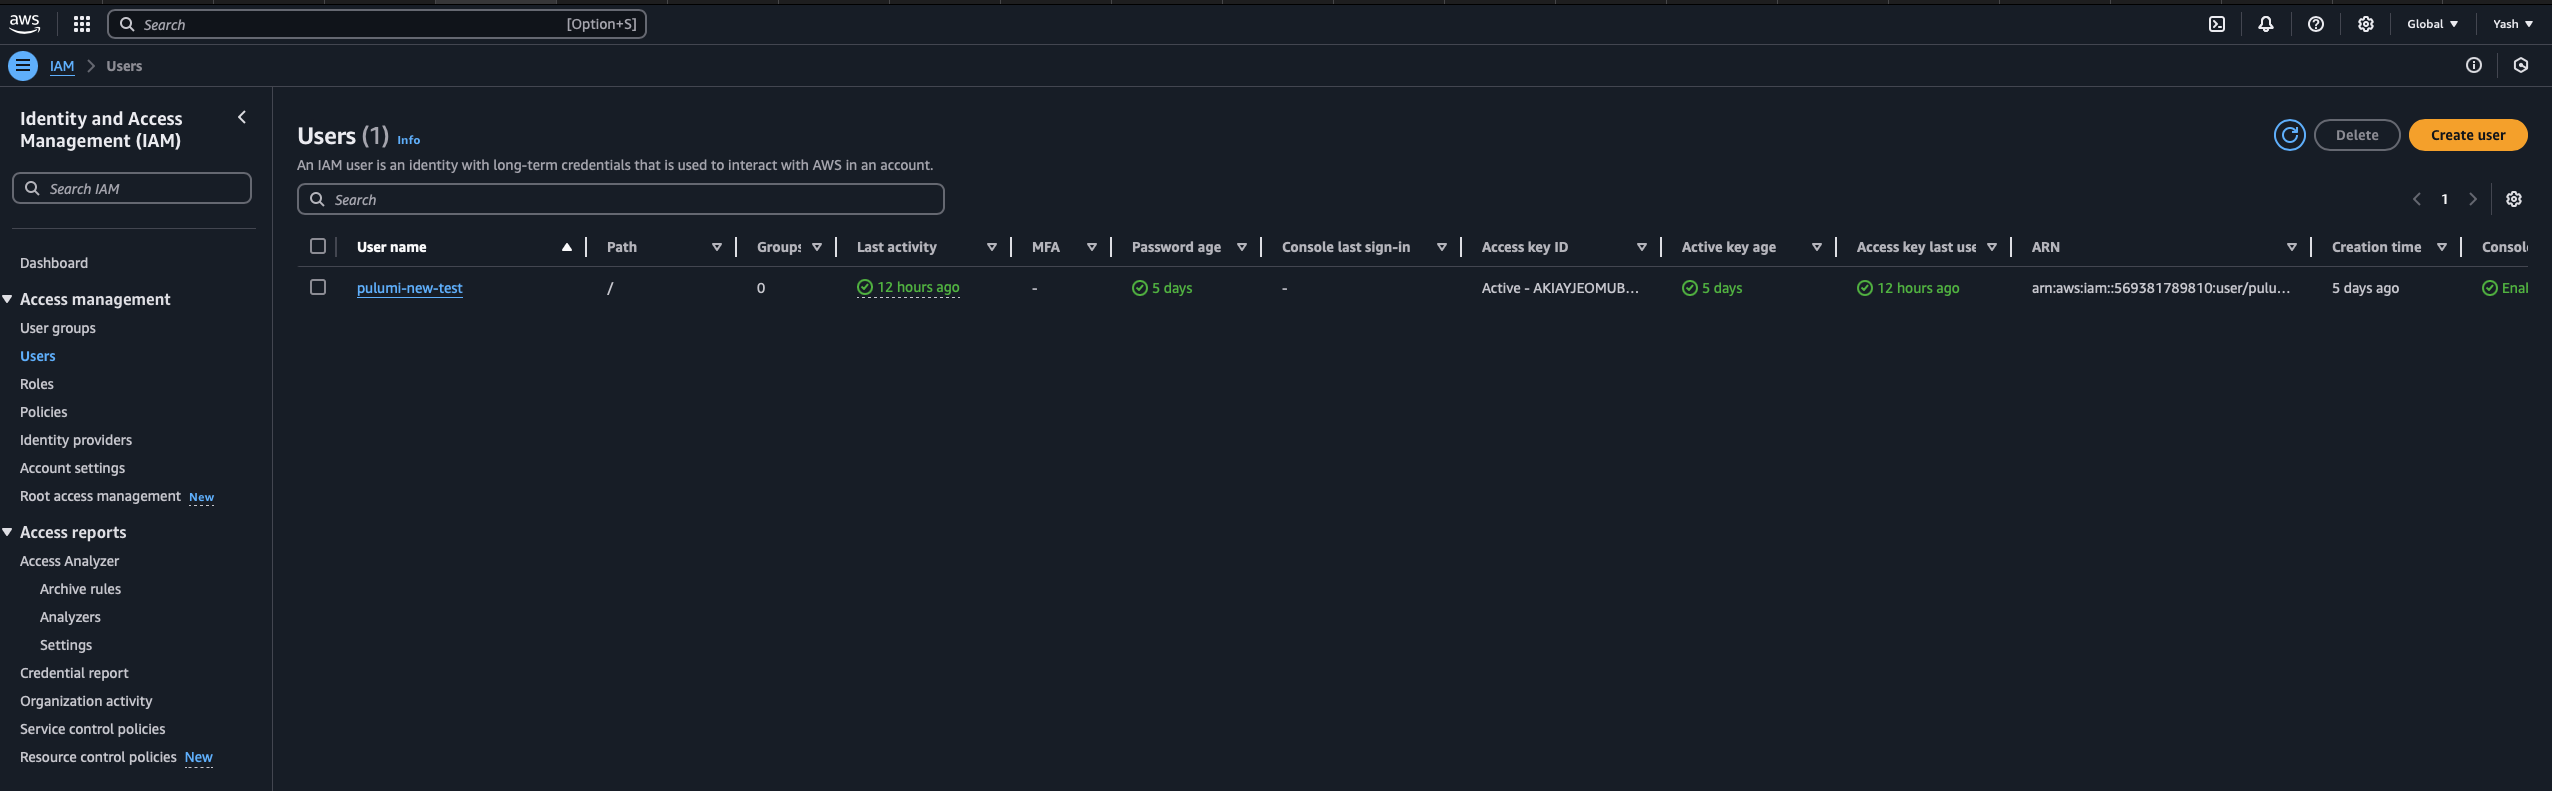
2. Create an IAM User with Programmatic Access
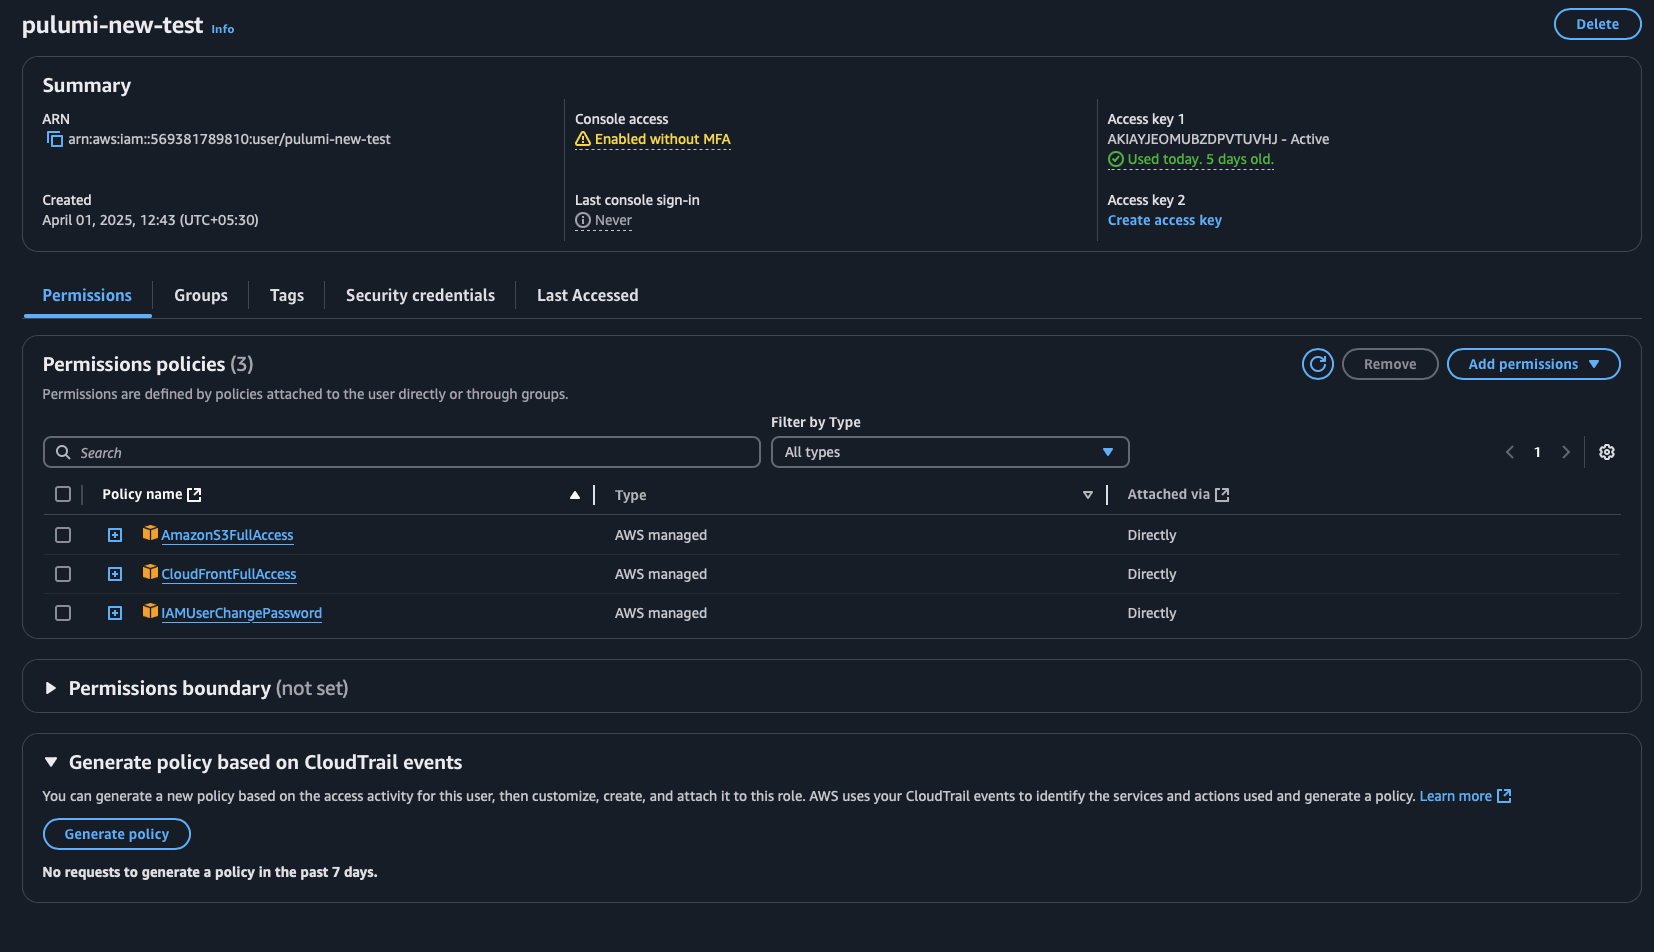
In the AWS console, create an IAM user with programmatic access. Ensure the user has full-access permissions for:
- AmazonS3FullAccess
- CloudFrontFullAccess
- IAMUserChangePassword
3. Set Up AWS Credentials for Pulumi
You can provide AWS credentials to Pulumi using either of the following methods:
- Using Environment Variables
export AWS_ACCESS_KEY_ID="your-access-key-id"
export AWS_SECRET_ACCESS_KEY="your-secret-access-key"
export AWS_REGION="your-region"
If using temporary credentials, also set:
export AWS_SESSION_TOKEN="your-session-token"- Shared Credentials File Alternatively, create a shared credentials file as described in the Pulumi AWS installation guide.
4. Test Your Configuration
Run the following command to simulate a deployment and validate your AWS credentials:
pulumi previewIf you encounter policy violation errors, double-check that your IAM user has the required permissions.
Deploying Your Project
1. Clone Your Repository
git clone https://github.com/yashwanth-3000/pulumi-superhero-generator2. Navigate to Your Project Directory
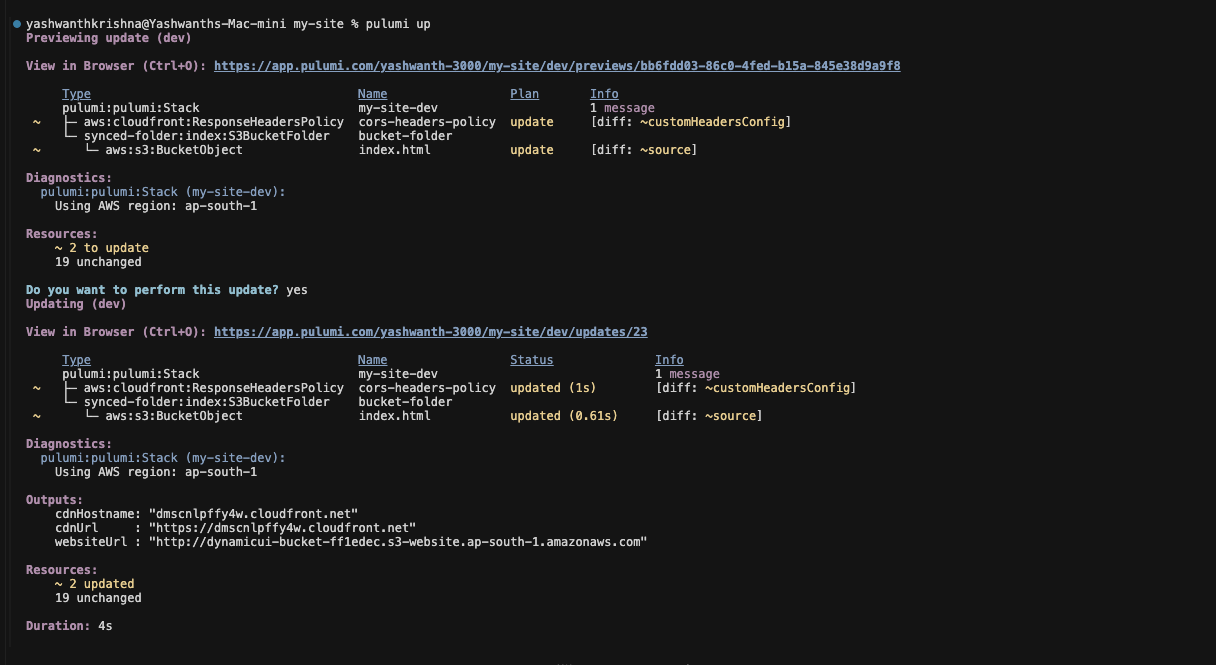
cd mysite3. Deploy with Pulumi
pulumi upUpon successful deployment, Pulumi will create your AWS resources and provide you with two URLs (one with https and one with http)
Using Pulumi
Using Pulumi truly transformed my deployment experience. Its intuitive CLI and robust infrastructure-as-code model allowed me to define complex AWS resources using familiar TypeScript, eliminating much of the tedious, error-prone manual configuration typically associated with cloud setups. Pulumi's simplicity and power meant that even without deep AWS expertise, I was able to deploy my projects effortlessly by following clear, step-by-step processes.
- Pulumi Copilot as a Lifesaver: The Pulumi Copilot was an indispensable tool throughout my deployment journey. It provided explicit, real-time error messages that pinpointed issues before they could derail the process. For instance, when I encountered an authorization issue with the AWS CloudFront Distribution, the Copilot output clearly stated: "It looks like your Pulumi update failed due to an authorization issue with the AWS CloudFront Distribution. The specific error message indicates that the user arn:aws:iam::569381789810:user/pulumi-new-test does not have the necessary permissions to create a CloudFront Distribution."
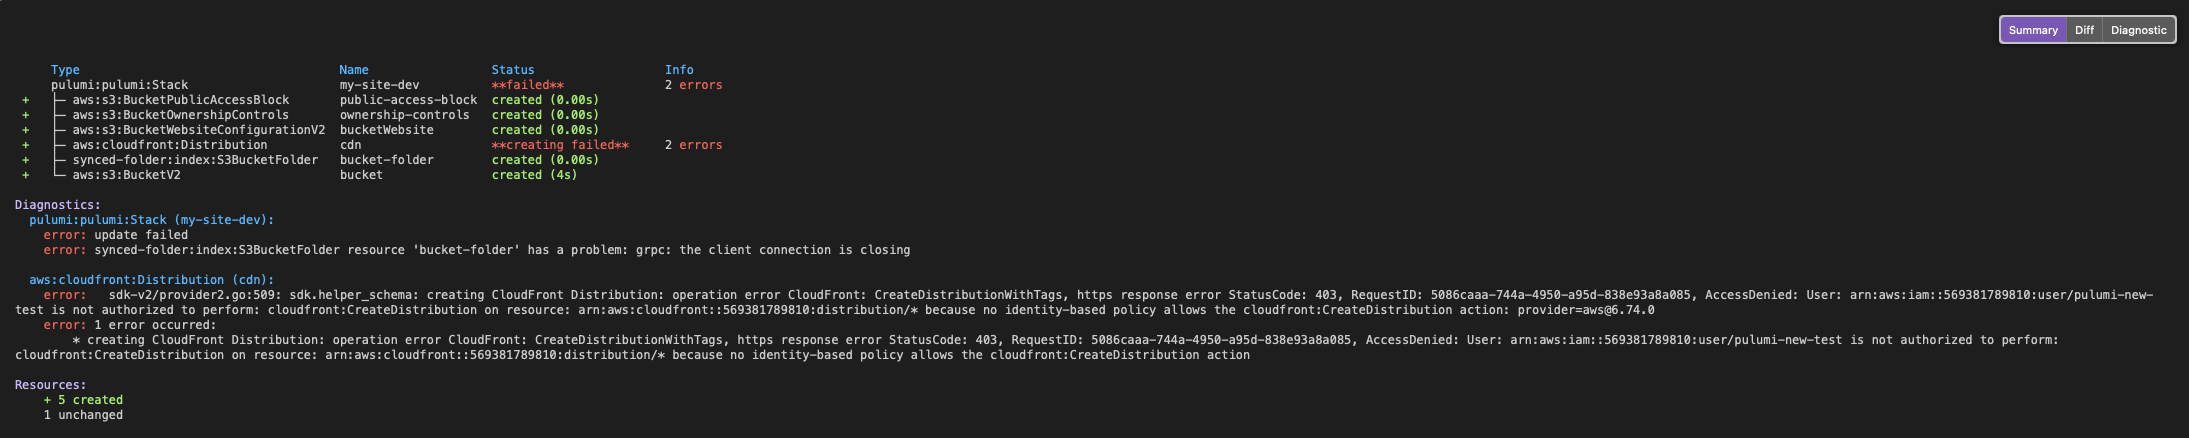
This precise guidance enabled me to quickly update my IAM policies (such as adding AmazonS3FullAccess, CloudFrontFullAccess, and IAMUserChangePassword), not only resolving that specific issue but also providing accurate, comprehensive solutions for other errors I faced. The Copilot acted as a smart troubleshooting assistant, significantly reducing my debugging time and frustration.
Streamlined Workflow: Pulumi replaced cumbersome configuration files and error-prone manual setups with a clear and manageable workflow. It automated the provisioning of complex AWS infrastructure components, from EC2 instances to S3 buckets and CloudFront distributions. This streamlined approach meant that I could focus on refining my project's creative features rather than wrestling with the underlying infrastructure, making the whole process both efficient and enjoyable.
Ease of Use and Accessibility: One of the most impressive aspects of Pulumi is how accessible it makes cloud deployment. Its user-friendly interface and step-by-step instructions allow even those with limited AWS knowledge to deploy projects successfully. Pulumi abstracts away the complexity of cloud configurations, providing an environment where deploying on AWS is not only possible but also straightforward and stress-free.
Overall Impact: In short, Pulumi turned what could have been a daunting, error-laden task into a smooth, efficient, and highly enjoyable journey. The combination of real-time feedback, the lifesaving Pulumi Copilot, and its overall ease of use dramatically boosted my confidence and productivity. Pulumi's approach to infrastructure as code truly empowers developers, making advanced cloud deployments accessible to everyone.
Final Success: After 23 updates addressing various issues and refining configurations, I successfully deployed my project on AWS, all thanks to Pulumi's innovative tools and seamless integration.
Thank you for exploring my project! Feel free to reach out with any questions or feedback.