Deploying a Sentiment Analysis API with Nitric and Python
In this guide, you’ll build a serverless API using Nitric and Python that performs sentiment analysis on text input using a pre-trained machine learning model. You'll use the transformers library from Hugging Face and keep your project lightweight by installing dependencies directly with uv.
What You'll Build
- A
POST /analyzeHTTP endpoint - A Python function that loads and uses an ML model
- A serverless app you can run locally and deploy to the cloud
Prerequisites
- Python 3.10+
- Nitric CLI Install using official instructions
- uv Install from https://github.com/astral-sh/uv
- - (optional) Your choice of an AWS, GCP or Azure account
Create a New Project
Create a new Nitric Python project:
nitric new ml-api py-starter
cd ml-api
Install Dependencies
Use uv to install your required libraries:
uv add torch transformers==4.39.3Write the Sentiment API
Open or create the file functions/api.py and add the following:
from nitric.resources import api
from nitric.application import Nitric
from transformers import pipeline

# Load the model once globally
analyzer = pipeline("sentiment-analysis", model="ProsusAI/finbert")

# Define an API
ml_api = api("ml-api")

@ml_api.post("/analyze")
async def analyze(ctx):
    body = ctx.req.json
    text = body.get("text")

    if not text:
        ctx.res.status = 400
        ctx.res.body = {"error": "Missing 'text' field"}
        return

    result = analyzer(text)[0]

    ctx.res.body = {
        "sentiment": result["label"],
        "confidence": round(result["score"], 3)
    }

# Create the Nitric app and run it
Nitric.run()
This defines an API route that accepts a POST /analyze request and returns the sentiment and confidence score based on the input text.
Run Locally
Start your app locally using the Nitric CLI:
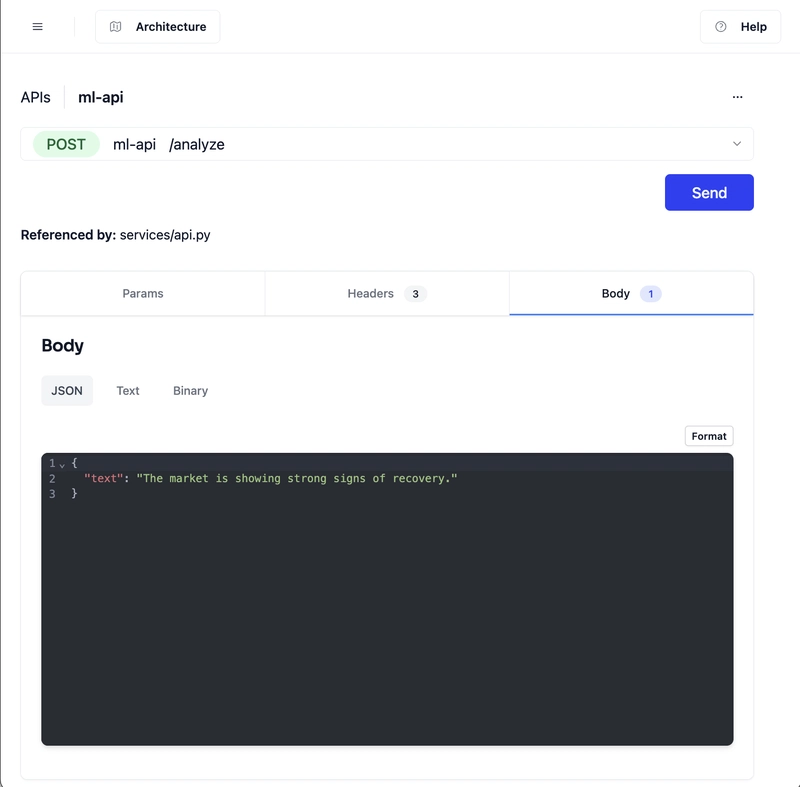
nitric startOnce running, test it using the dashboard - http://localhost:49152/

Or you can use cURL:
curl -X POST http://localhost:4001/analyze \
  -H "Content-Type: application/json" \
  -d '{"text": "The market is showing strong signs of recovery."}'
Example response:
{
  "sentiment": "positive",
  "confidence": 0.996
}
⚠️ The first request may take a few seconds as the model is downloaded.
Deploy to the Cloud
Step 1: Create a Stack
nitric stack new dev awsEdit nitric.dev.yaml:
provider: nitric/aws@latest
region: us-east-1
You can also use
gcporazuredepending on your cloud preference.
Step 2: Deploy
nitric upNitric will:
- Package your function (including installed ML libraries)
- Provision the API Gateway and runtime
- Deploy to your cloud account
The CLI will print the public URL when deployment is complete.
Test the Deployed API
Replace
curl -X POST https:///analyze \
  -H "Content-Type: application/json" \
  -d '{"text": "Interest rates are expected to rise."}'
Clean Up
To destroy the cloud stack and avoid charges:
nitric downSummary
- You built a serverless ML inference API
- Ran it locally with Nitric
- Deployed it to the cloud with one command
You can now adapt this pattern for other use cases like classification, moderation, or lightweight recommendations.