In this guide, we will explore how to deploy a Spring Boot application to AWS Elastic Kubernetes Service (EKS). To follow along, you need:
- An AWS account
- AWS CLI installed and configured
- Kubectl (Kubernetes command-line tool)
- Docker
- eksctl (for creating EKS clusters)
We will follow these steps:
- Create a Spring Boot application.
- Generate a Dockerfile for the application.
- Push the Docker image to AWS Elastic Container Registry (ECR).
- Deploy the application in AWS EKS.
- Expose the application using a LoadBalancer Service
Create a Spring Boot application
For this guide, I have created a simple Spring Boot application. You can find the source code here: GitHub Repository
Generate a Docker Image from the Spring Boot application
Then, we need to create a Dockerfile for our AWS application. Dockerfile should be like this:
FROM openjdk-17
ADD target/springboot-eks-deployment.jar springboot-eks-deployment.jar
EXPOSE 8080
ENTRYPOINT ["java", "-jar", "springboot-eks-deployment.jar"]
Ensure your pom.xml tag is set springboot-eks-deployment so that the JAR file matches the expected name.
docker build -t springboot-eks .
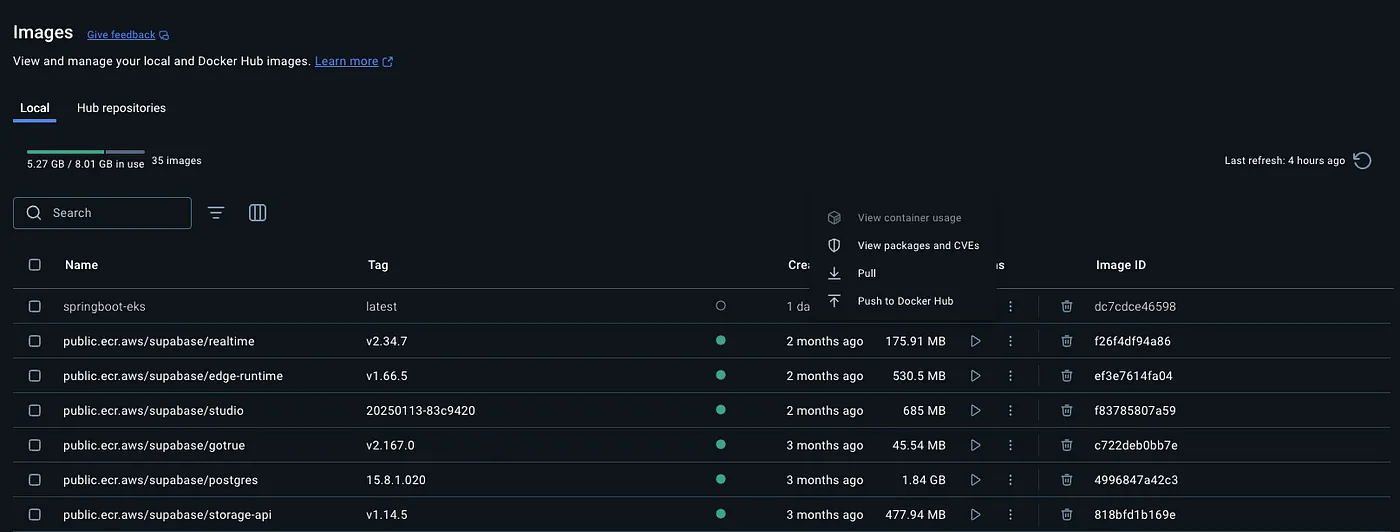
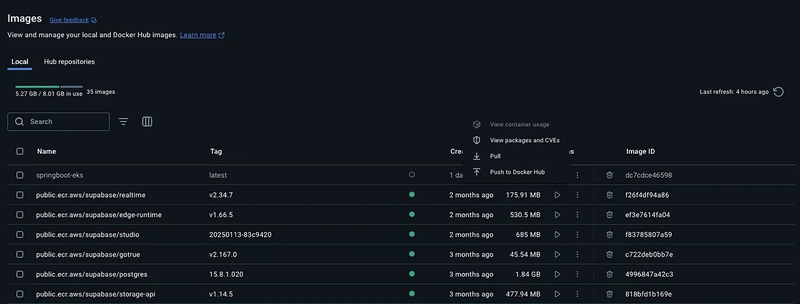
Push that Dockerfile into AWS ECR
Then, create a repository in ECR.
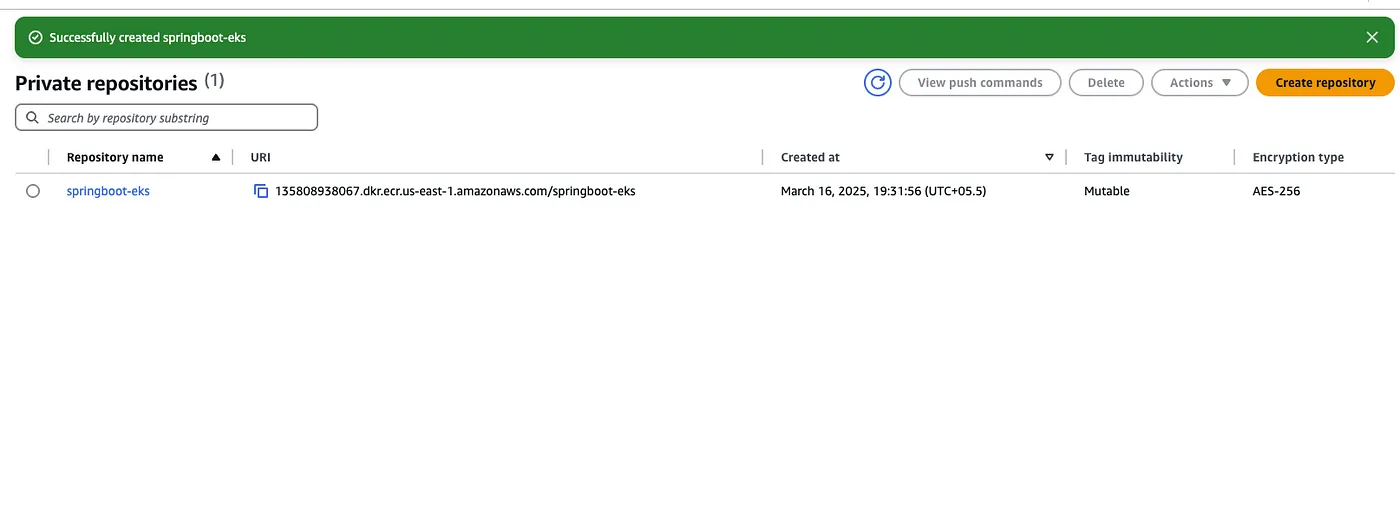
Then, go inside the repository and click the view push commands button. Then you can see a pop-up like this:
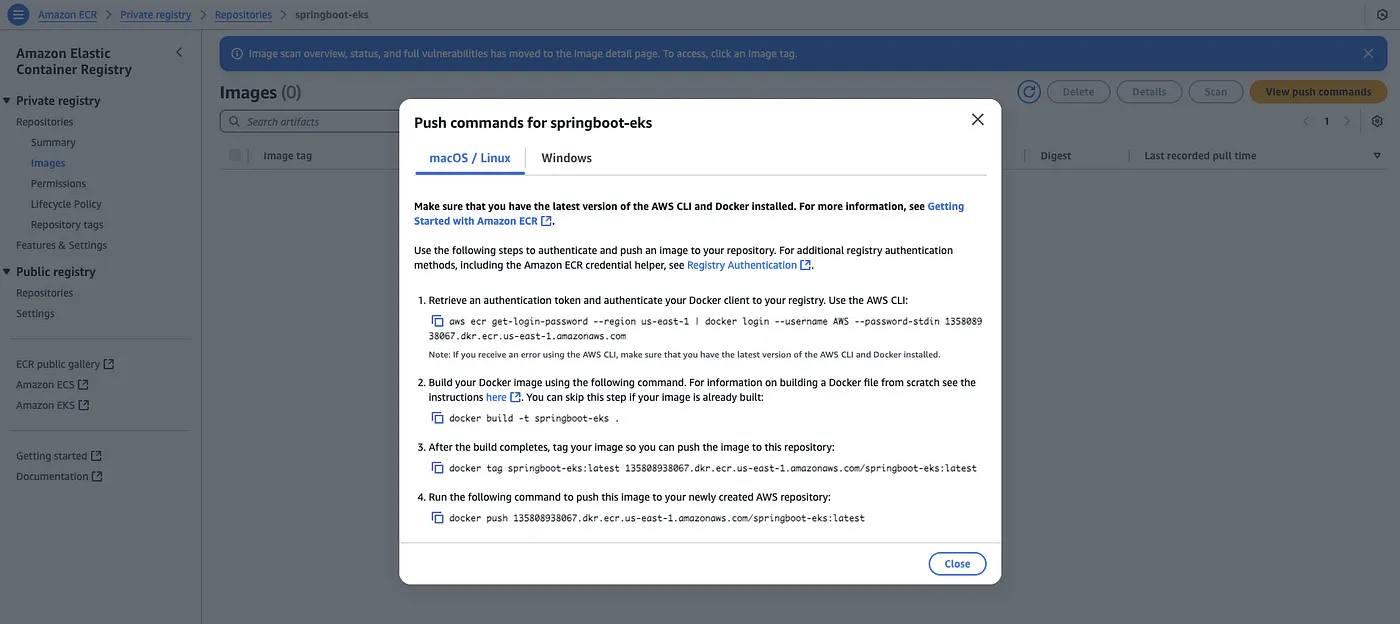
Copy the first command and paste that into your command line.
aws ecr get-login-password --region us-east-1 | docker login --username AWS --password-stdin 135808938067.dkr.ecr.us-east-1.amazonaws.com
Then, tag the image:
docker tag springboot-eks:latest 135808938067.dkr.ecr.us-east-1.amazonaws.com/springboot-eks:latest
Then, push the image:
docker push 135808938067.dkr.ecr.us-east-1.amazonaws.com/springboot-eks:latest
Once pushed, keep the image URI for deployment.
Pull the Image and Deploy on EKS
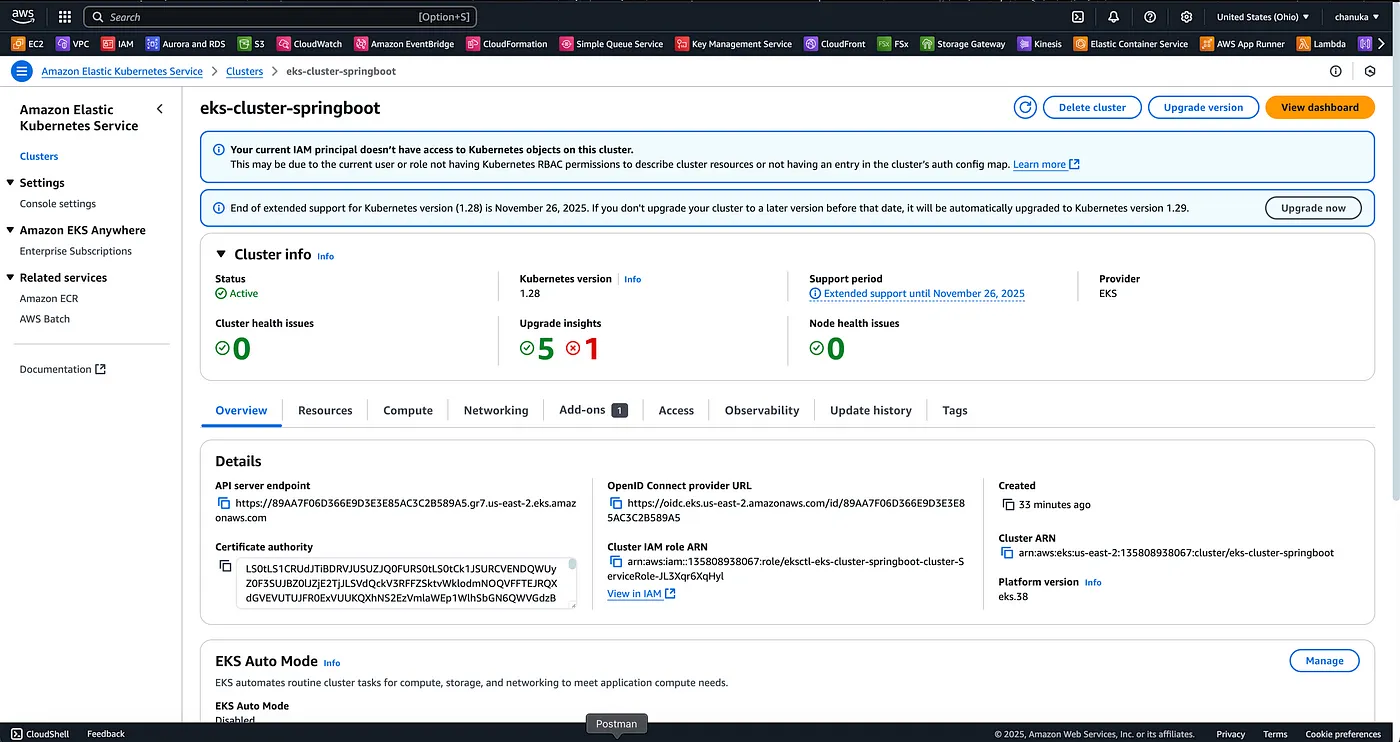
Let’s create an EKS cluster.
eksctl create cluster --name eks-cluster-springboot --version 1.28 --nodes=1 --node-type=t2.small --region us-east-2
Suppose you can’t find any command like this. Please run the following commands to install it.
brew tap weaveworks/tap

brew install weaveworks/tap/eksctl
Once you enter the command, the CLI looks like:
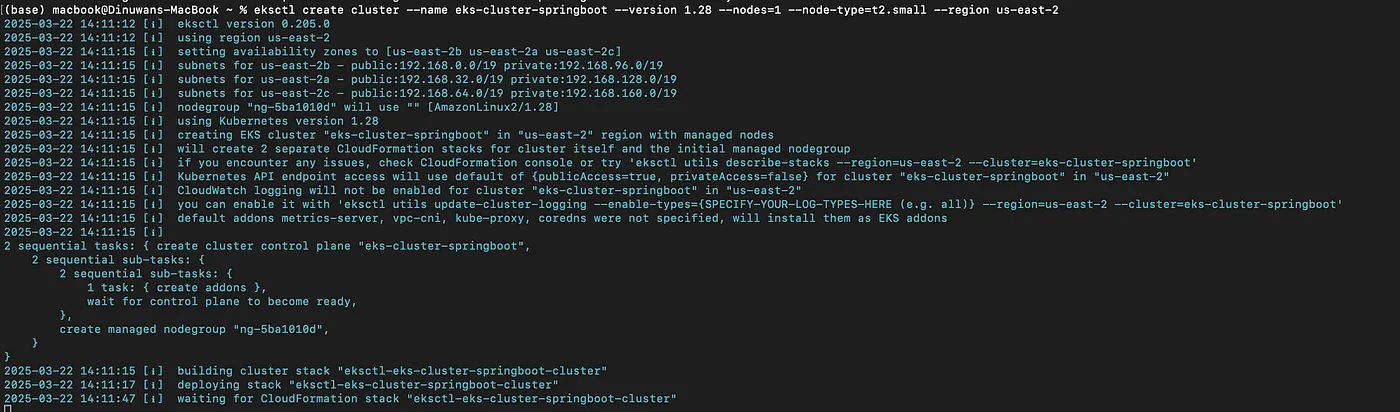
It takes 15–20 minutes to finish the cluster creation.
Let’s add kubeconfig to our machine CLI.
aws eks --region us-east-2 update-kubeconfig --name eks-cluster-springboot
Then, create a configuration file for Kubernetes.
apiVersion: apps/v1
kind: Deployment
metadata:
  name: myapp
spec:
  replicas: 3
  selector:
    matchLabels:
      app: myapp
  template:
    metadata:
      labels:
        app: myapp
    spec:
      containers:
        - name: myapp
          image:
          ports:
            - containerPort: 8080

---
apiVersion: v1
kind: Service
metadata:
  name: myapp-service
spec:
  selector:
    app: myapp
  ports:
    - protocol: TCP
      port: 80
      targetPort: 8080
  type: LoadBalancer
Apply it:
kubectl apply -f k8s.yaml
Validate using:
kubectl get svc
You can see my-app deployment created in EKS.
You can see after get svc command URL like this:
a6a6cb0416fc14d5faa0dad2735bbc7a-869757534.us-east-2.elb.amazonaws.com
Visit this URL in your browser to access the Spring Boot application.
Cleanup: Delete the EKS Cluster
After you try this out by yourself, it’s better to delete the Kubernetes Cluster. EKS is expensive. You can use a command similar to the below to delete your EKS cluster.
eksctl delete cluster --name eks-cluster-springboot --region us-east-2
Conclusion
In this guide, we successfully deployed a Spring Boot application on AWS EKS. We covered:
✅ Creating a Spring Boot application ✅ Containerizing it with Docker ✅ Pushing the image to AWS ECR ✅ Deploying it in an EKS cluster ✅ Exposing it with a LoadBalancer service
Now you have a fully functional Spring Boot application running on Kubernetes! Happy Coding!🚀
