
Azure Cloud Shell is a sophisticated tool that lets you manage Azure resources without having to set up a local development environment. It comes with all of the necessary Azure tools preinstalled and configured, making it easy for users to run scripts right from their browser. In this post, we'll go over how to construct a Windows Virtual Machine (VM) in Azure using PowerShell and Azure Cloud Shell. In addition, we will deploy a web server (IIS) on the virtual machine and clean up the resources after use.
Step 1: Launch Azure Cloud Shell
Azure Cloud Shell is a free browser-based shell that allows you to run Azure commands interactively. To begin, launch Cloud Shell by following these steps:
- Open Cloud Shell: In the Azure portal, click the Cloud Shell symbol in the upper right corner of the page. If you're not in the portal, you can activate the Cloud Shell by visiting:(https://shell.azure.com/powershell).
Cloud Shell will launch with a preconfigured environment that is ready for use.
Step 2: Create an Azure Resource Group
A resource group is a container in Azure that holds related resources for an Azure solution. We will start by creating a resource group using the New-AzResourceGroup cmdlet. Here’s how you can do it:
New-AzResourceGroup -Name 'myResourceGroup' -Location 'eastus'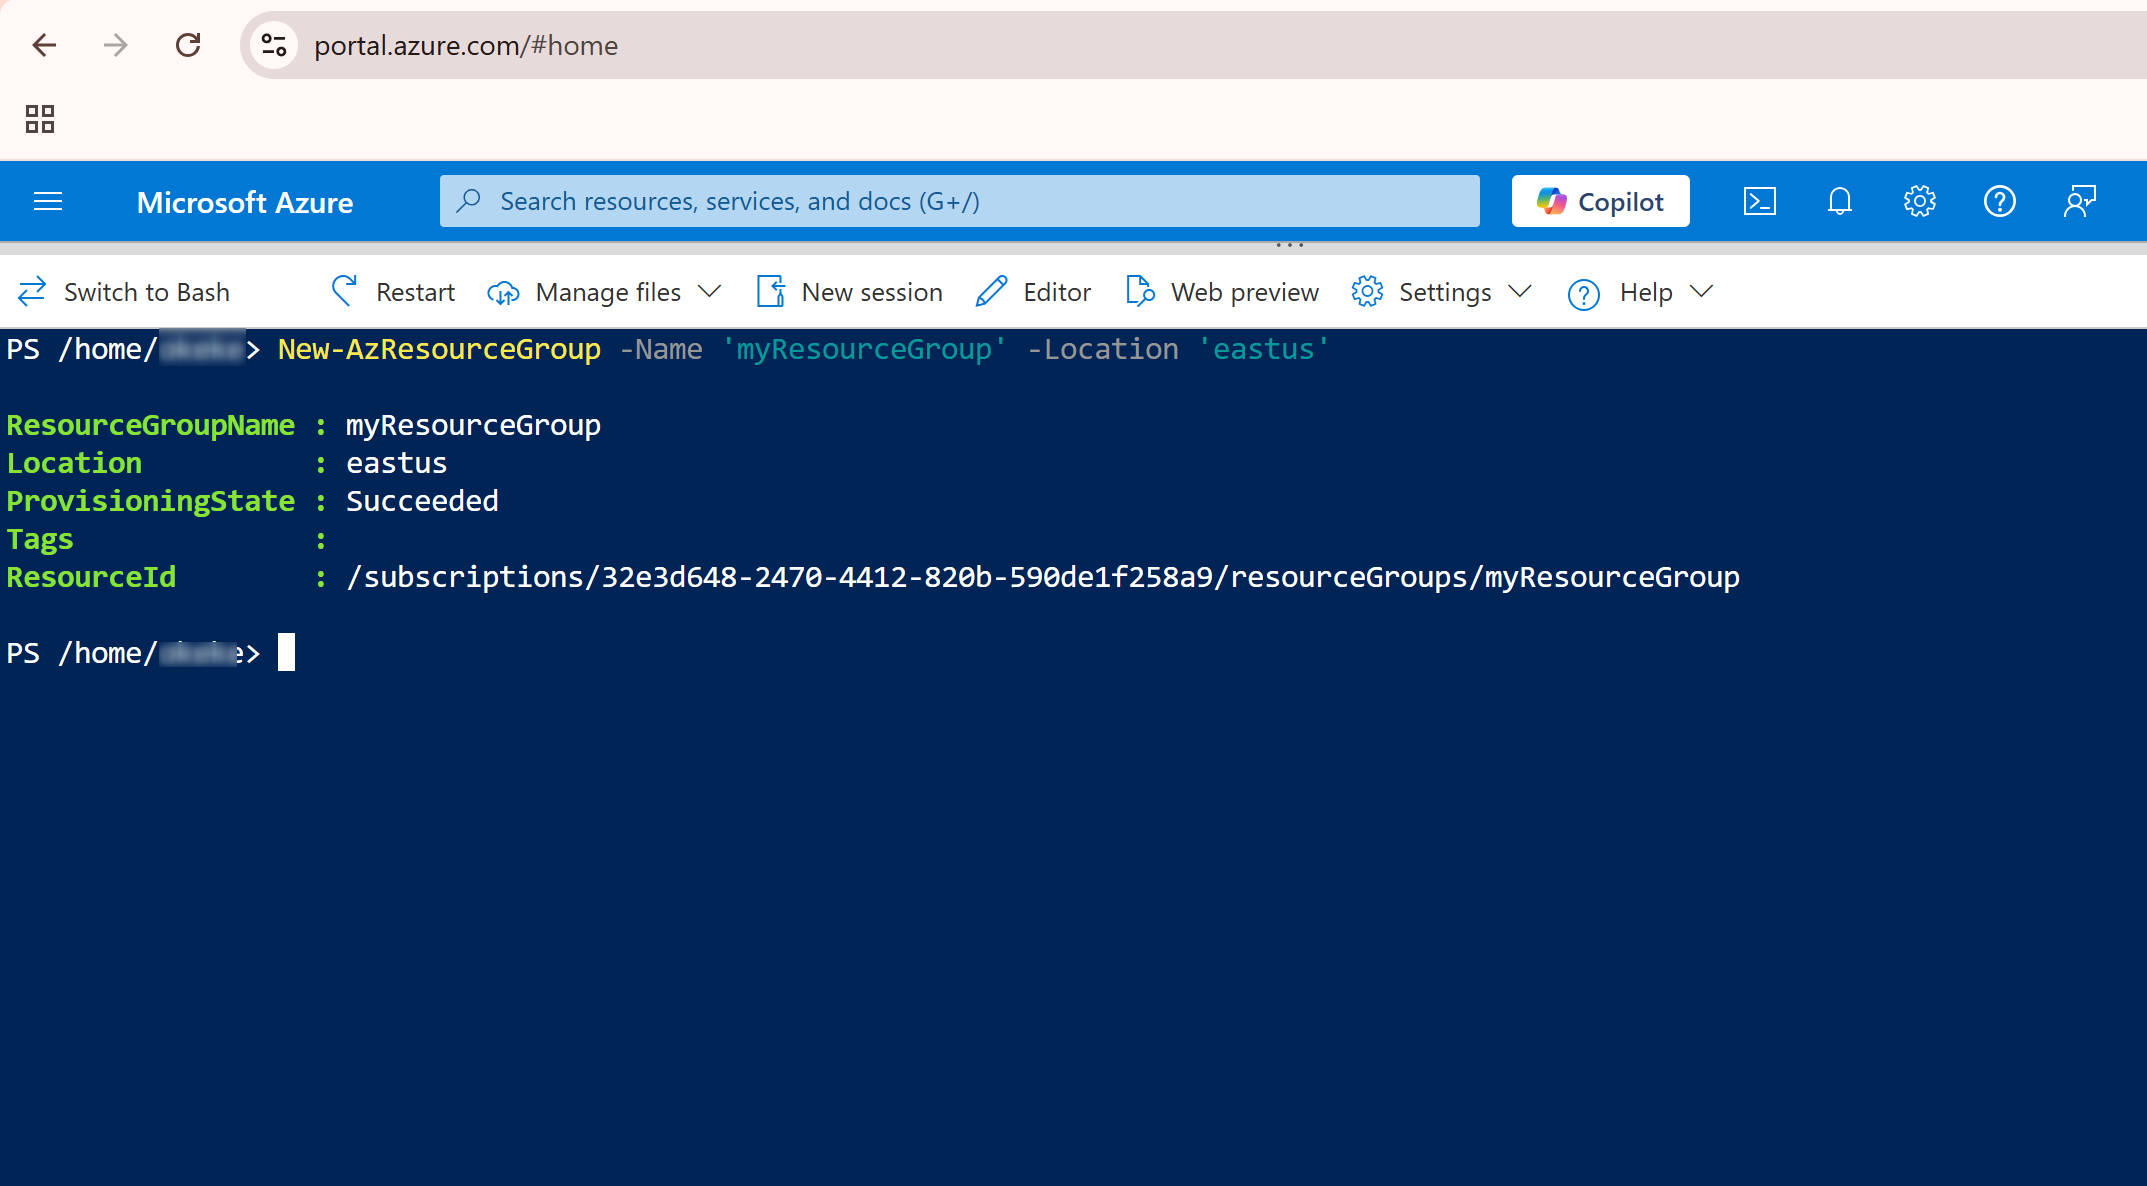
This command creates a new resource group named myResourceGroup in the East US region. You can change the name or location as per your requirements.
Step 3: Create a Virtual Machine
Now that we have a resource group, we can create a Windows Virtual Machine. The New-AzVM cmdlet allows you to create a virtual machine in Azure. It automatically handles the creation of other resources such as the network interface, virtual network, public IP, and more, as part of the VM creation process.
Run the following command to create a VM:
New-AzVm `
    -ResourceGroupName 'myResourceGroup' `
    -Name 'myVM' `
    -Location 'eastus' `
    -Image 'MicrosoftWindowsServer:WindowsServer:2022-datacenter-azure-edition:latest' `
    -VirtualNetworkName 'myVnet' `
    -SubnetName 'mySubnet' `
    -SecurityGroupName 'myNetworkSecurityGroup' `
    -PublicIpAddressName 'myPublicIpAddress' `
    -OpenPorts 80,3389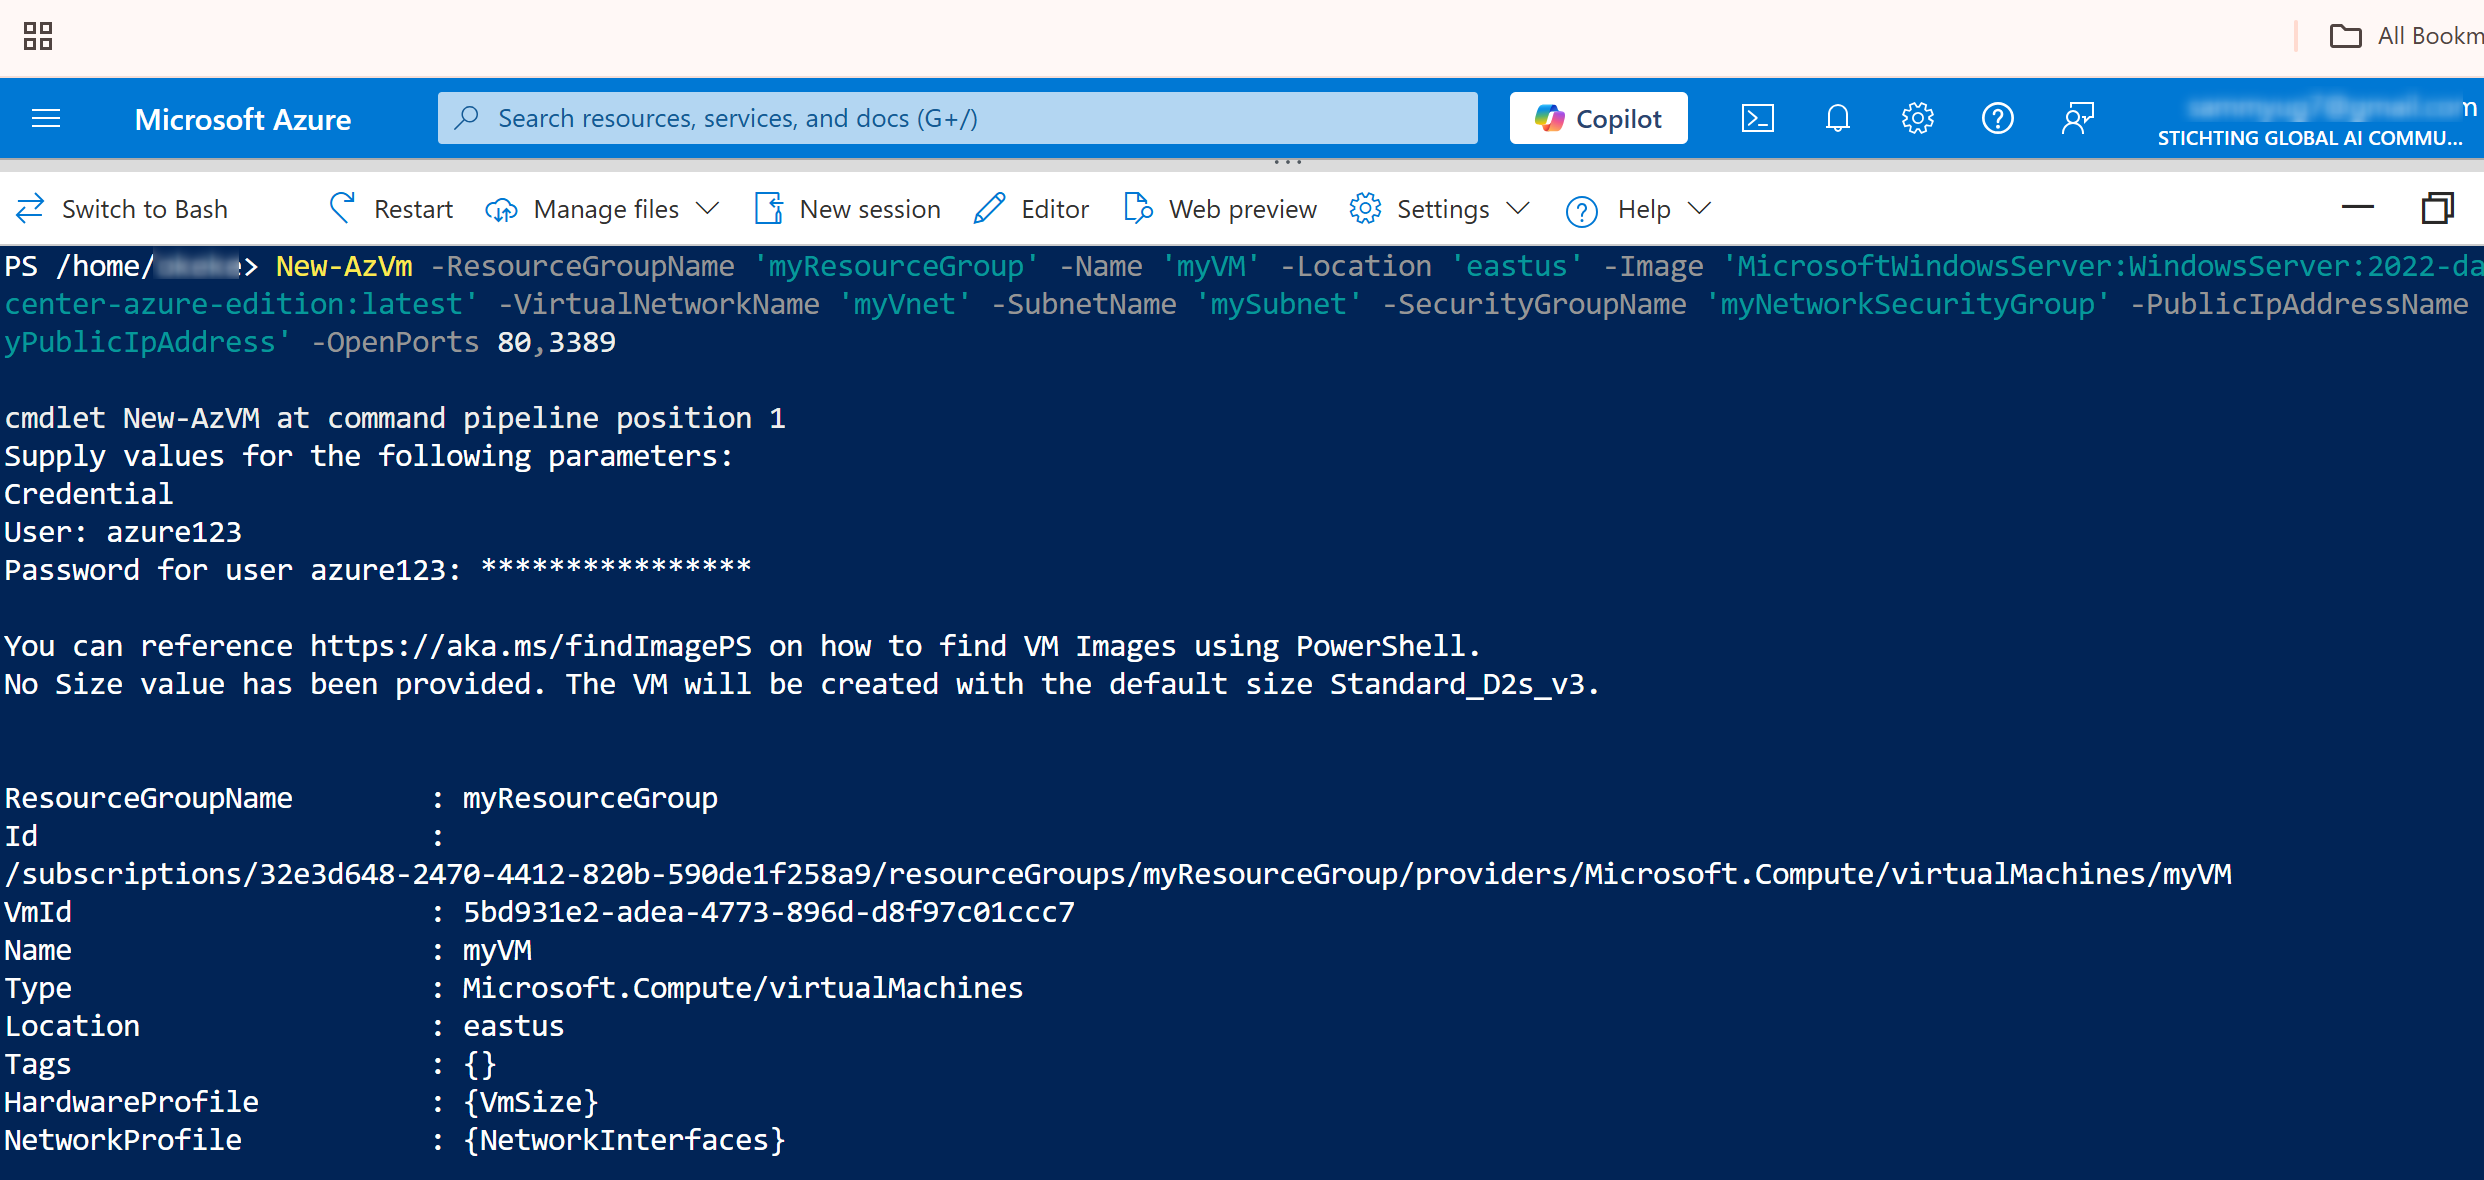
Explanation of Parameters:
-
-ResourceGroupName: The resource group where the VM will reside (myResourceGroupin this case). -
-Name: The name of the VM (myVM). -
-Location: The Azure region where the VM will be deployed (East US). -
-Image: The operating system image for the VM. We’ve selected the Windows Server 2022 Datacenter edition. -
-VirtualNetworkName: Name of the virtual network to which the VM will be connected. -
-SubnetName: The subnet within the virtual network where the VM will be deployed. -
-SecurityGroupName: The network security group to apply to the VM for controlling inbound and outbound traffic. -
-PublicIpAddressName: Name of the public IP address that will be assigned to the VM. -
-OpenPorts: Ports to be opened on the VM (port 80 for HTTP and port 3389 for RDP).
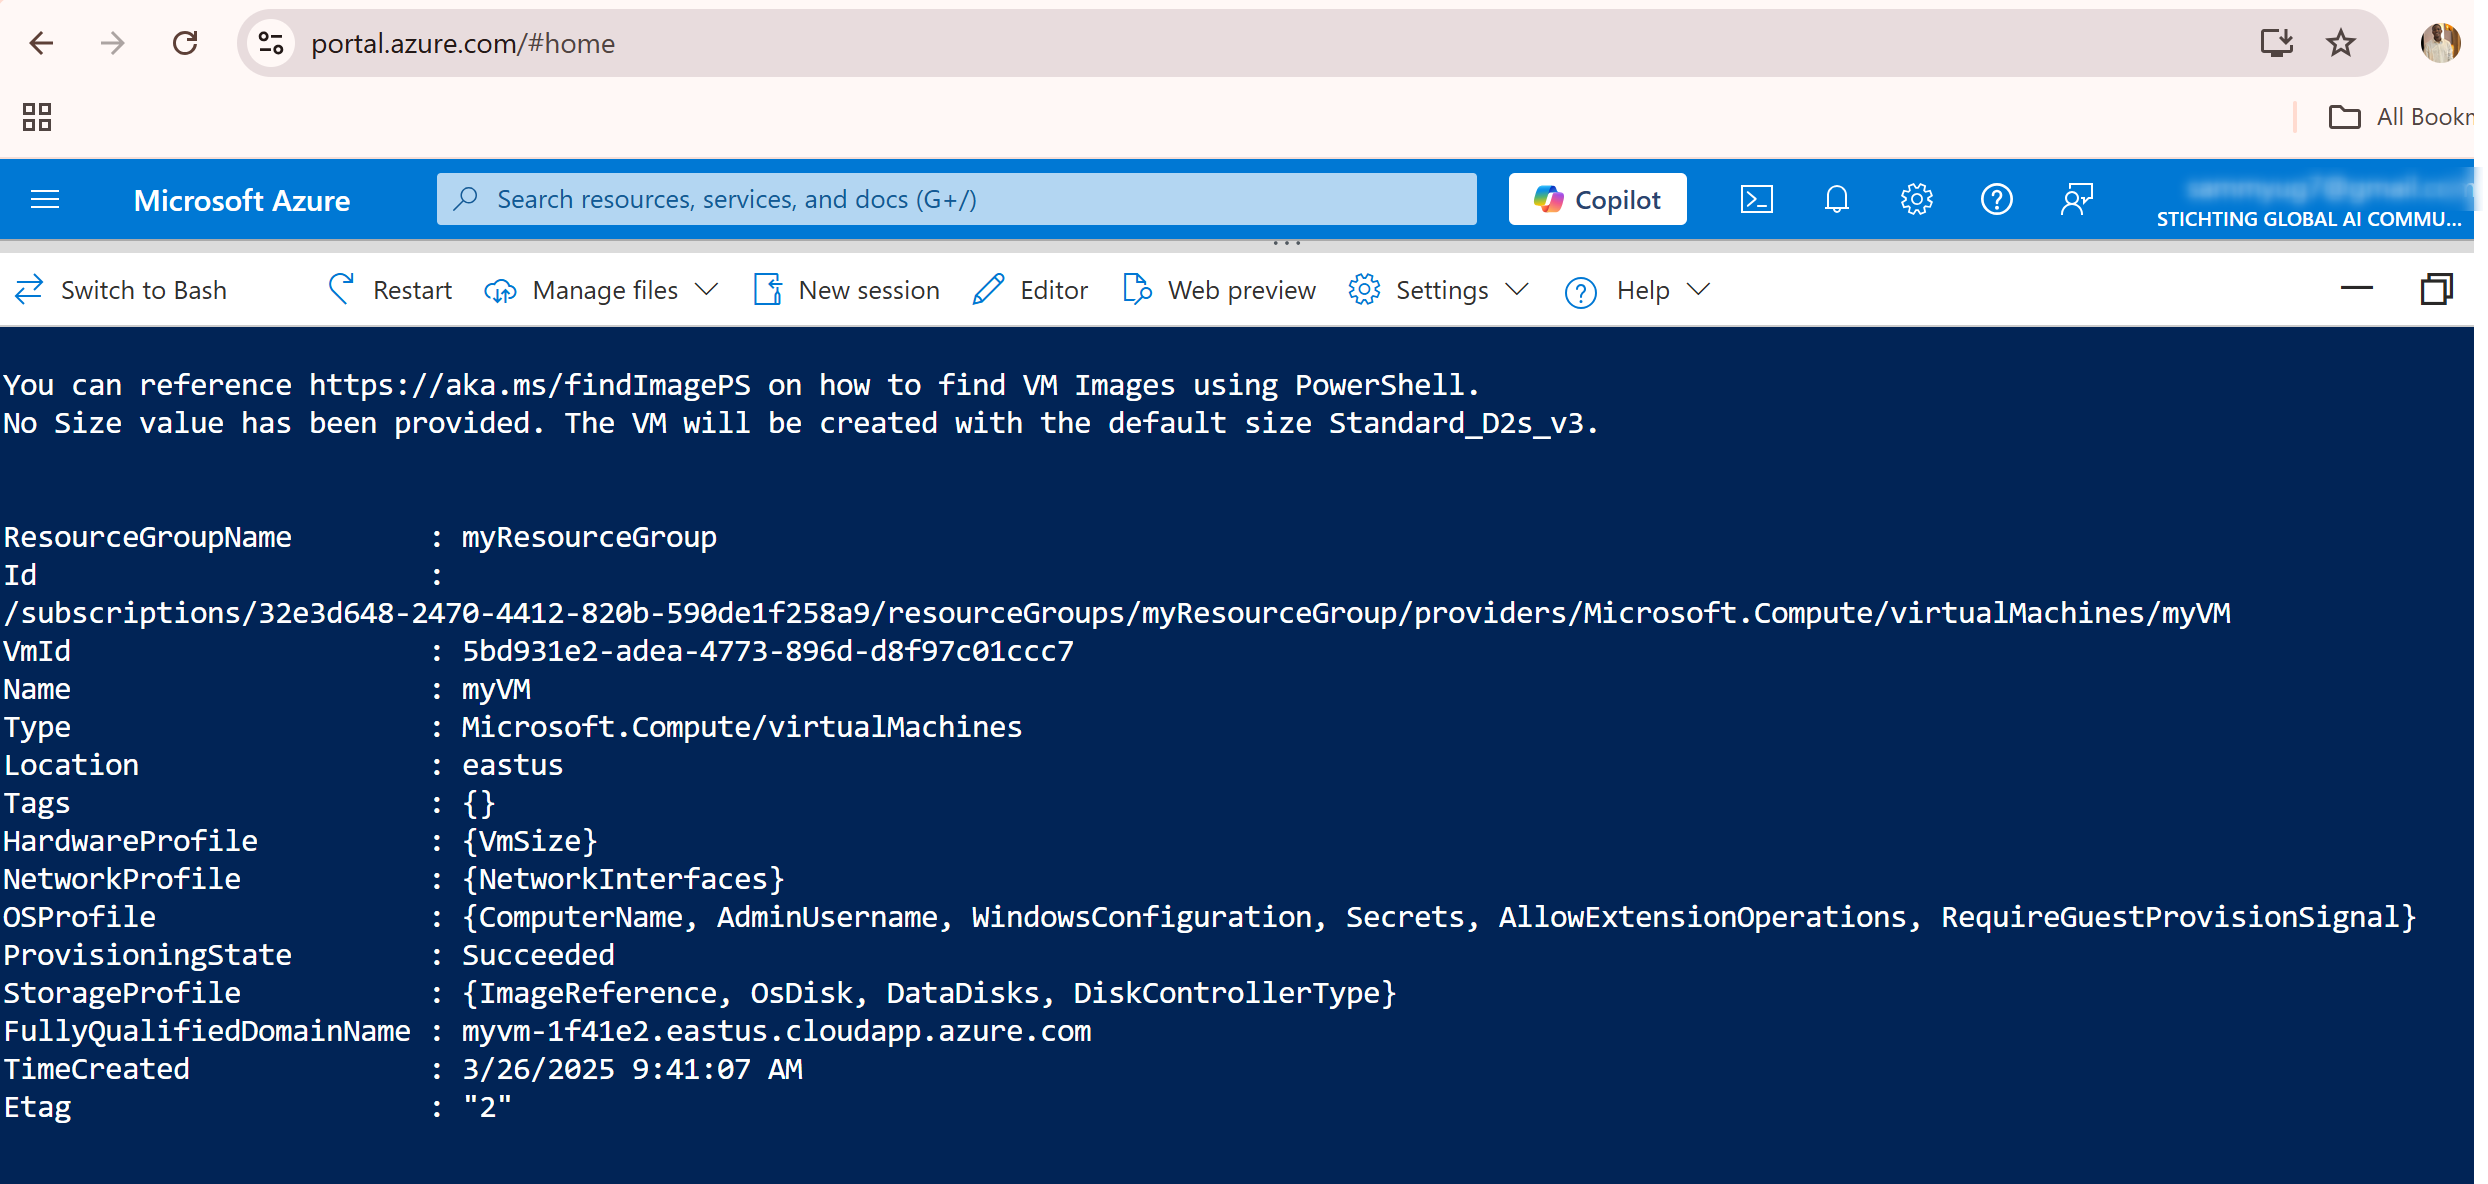
Once executed, the VM and all associated resources will be created.
Step 4: Install IIS Web Server
Once the VM is up and running, you can use PowerShell to run commands on the VM. Let’s install IIS (Internet Information Services) to view a basic web server in action.
To install IIS on the newly created VM, use the Invoke-AzVMRunCommand cmdlet to run a PowerShell script remotely on the VM:
Invoke-AzVMRunCommand -ResourceGroupName 'myResourceGroup' -VMName 'myVM' -CommandId 'RunPowerShellScript' -ScriptString 'Install-WindowsFeature -Name Web-Server -IncludeManagementTools'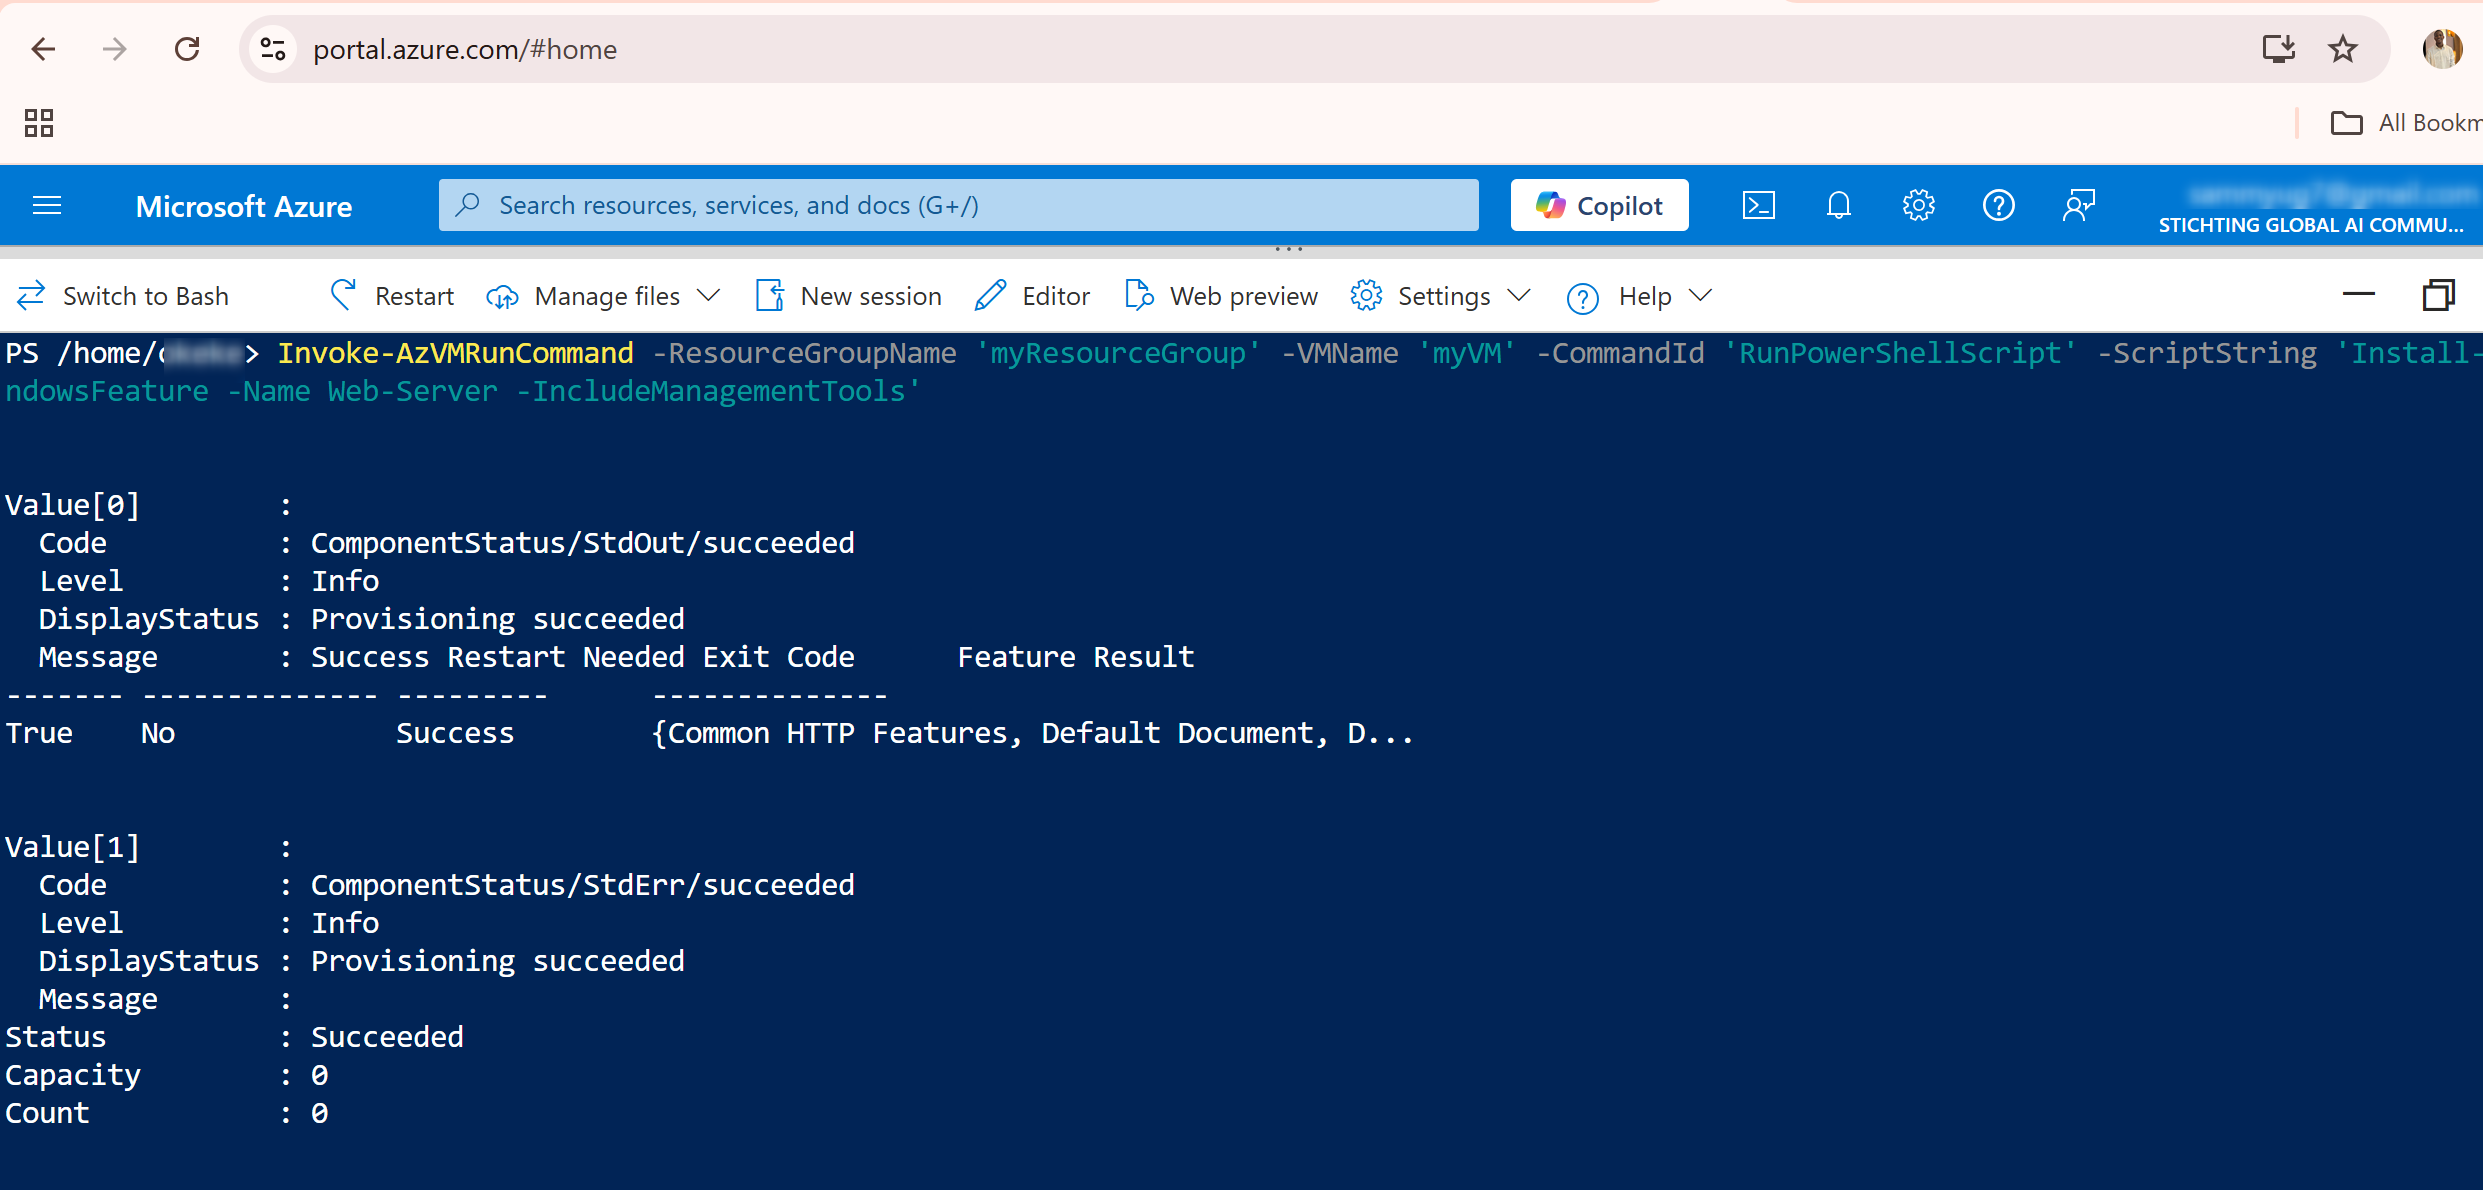
This command installs the IIS web server along with the necessary management tools. The -ScriptString parameter specifies the PowerShell script to be executed.
Step 5: View the Web Server
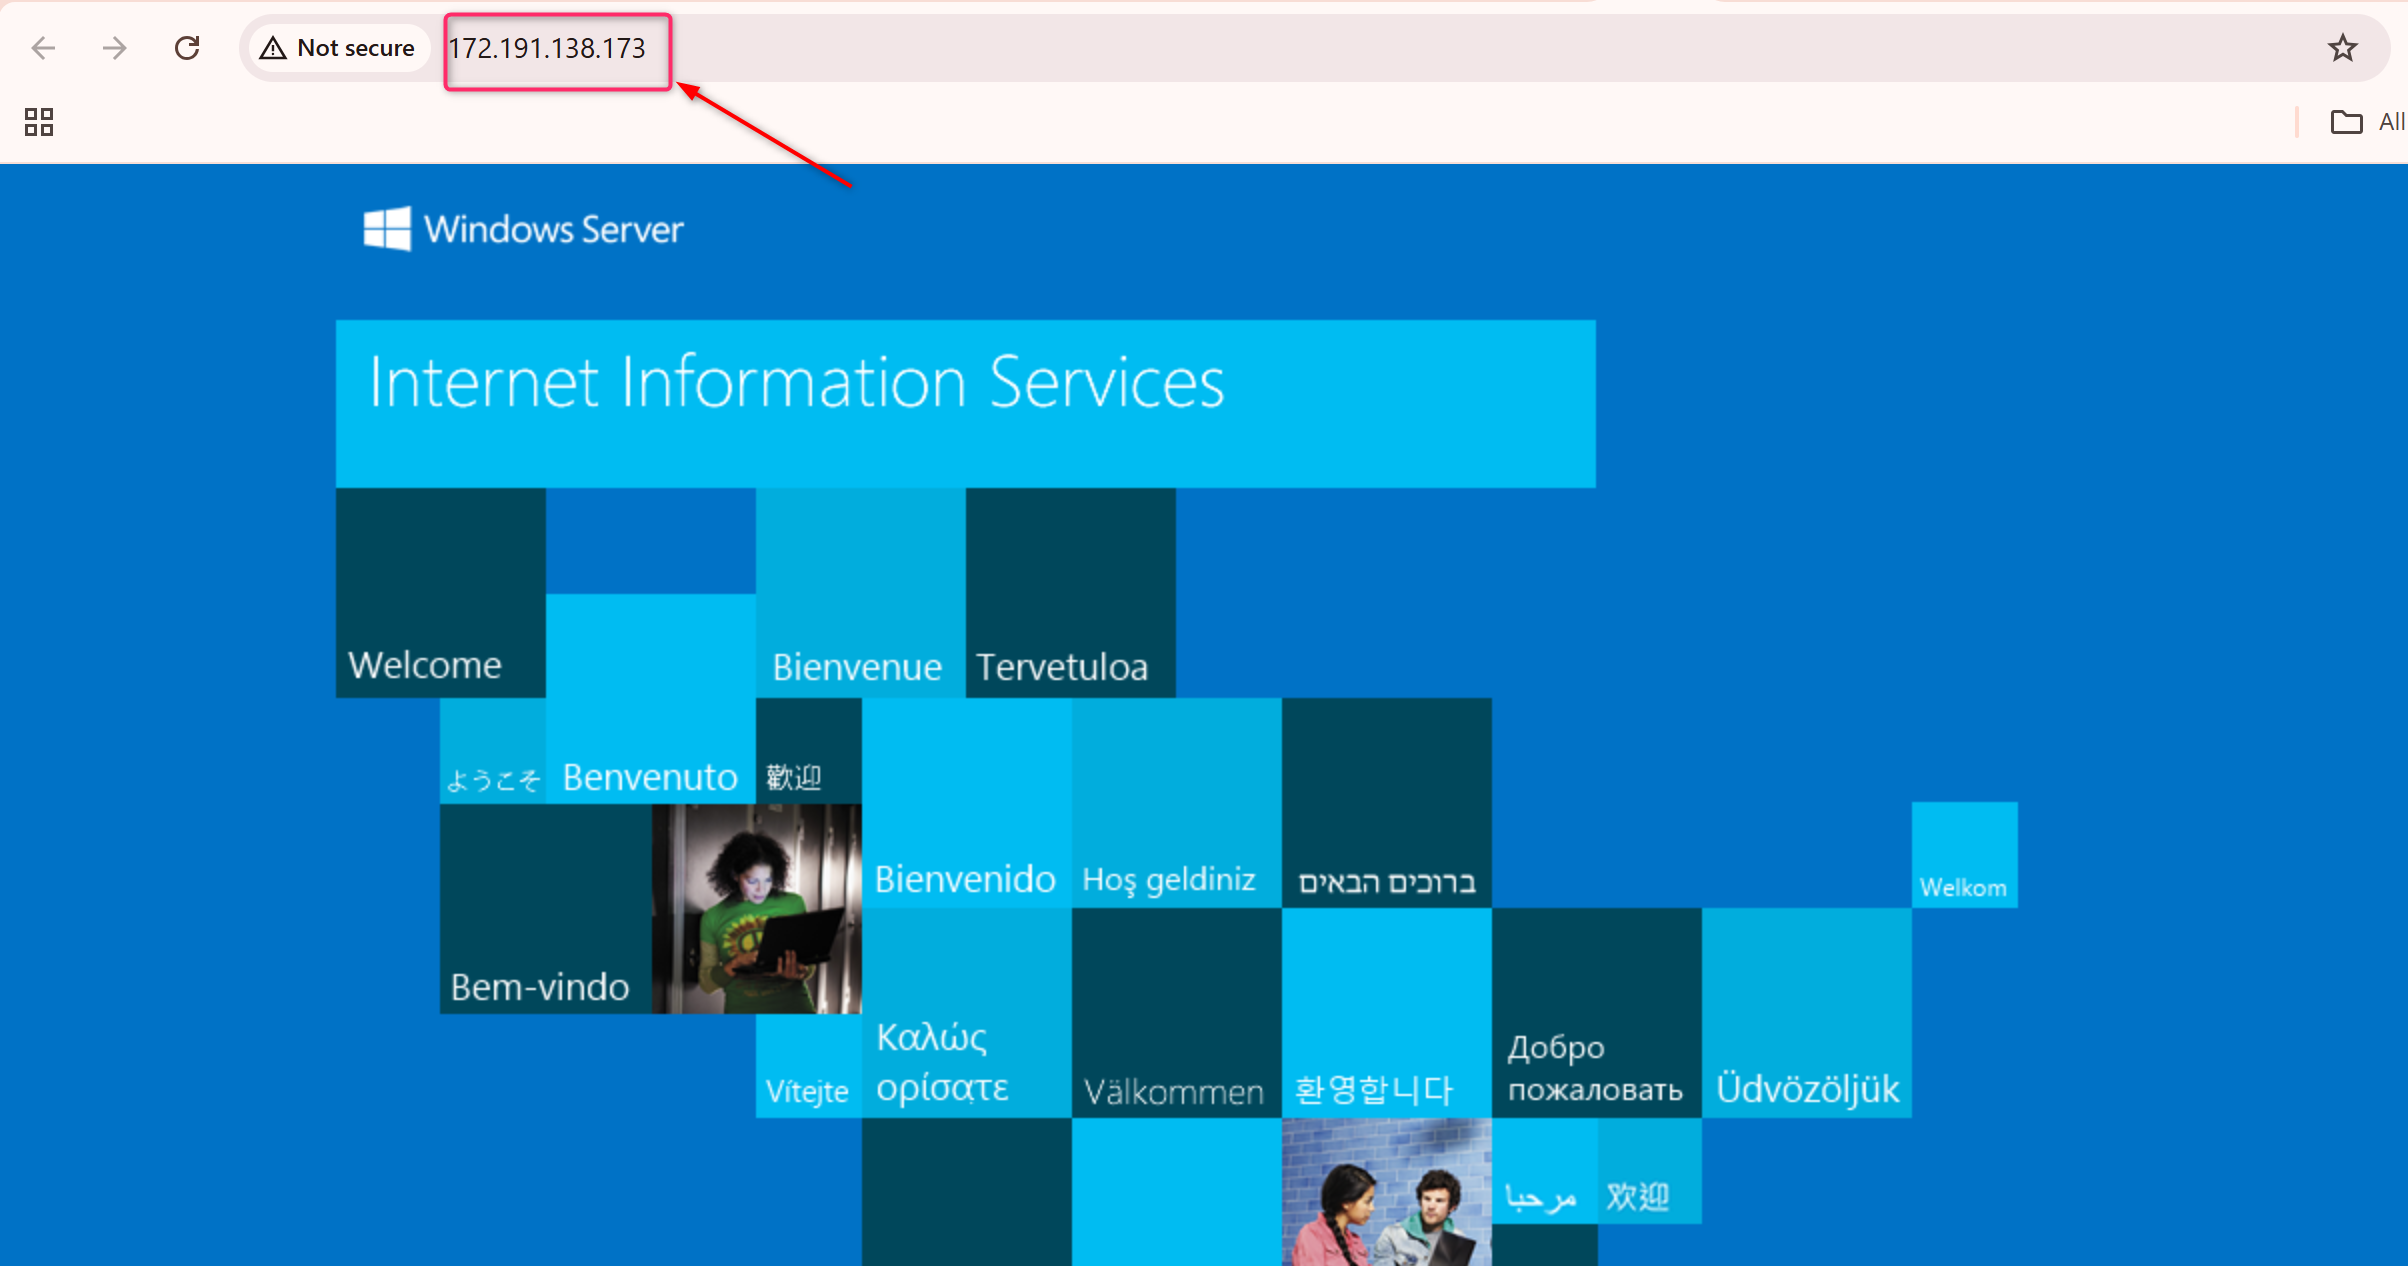
After IIS has been installed, the next step is to access the web server from a browser. The VM is assigned a public IP address, which can be used to access the web server from any machine.
To get the public IP address of your VM, you can run the following command:
$publicIp = (Get-AzPublicIpAddress -ResourceGroupName 'myResourceGroup' -Name 'myPublicIpAddress').IpAddress
Write-Host "Access your web server at: http://$publicIp"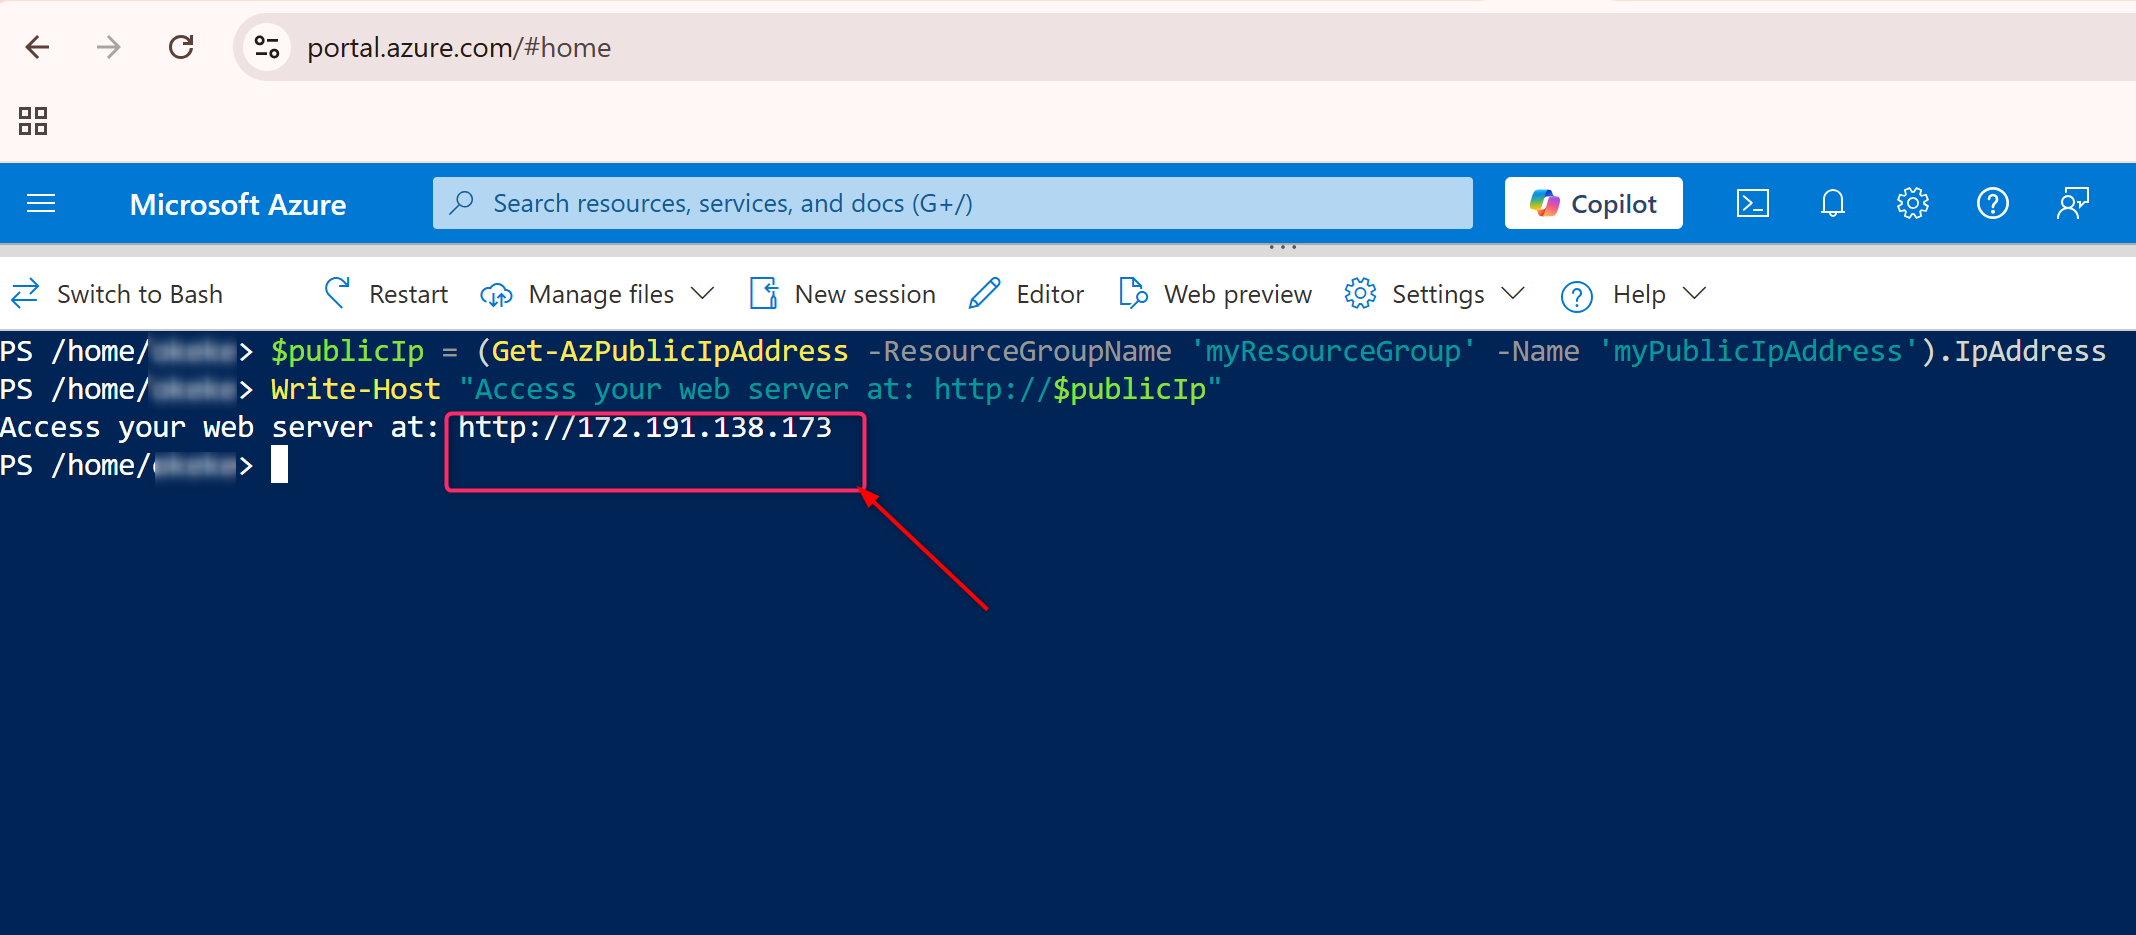
Once you have the public IP address, open a web browser and navigate to http://. You should see the default IIS welcome page, confirming that the IIS web server is successfully running on your VM.
Step 6: Clean Up Resources
When you're done using the virtual machine and its associated resources, it's important to clean up to avoid incurring unnecessary charges. You can easily remove the resource group, which will delete the VM and all related resources, by running the following command:
Remove-AzResourceGroup -Name 'myResourceGroup'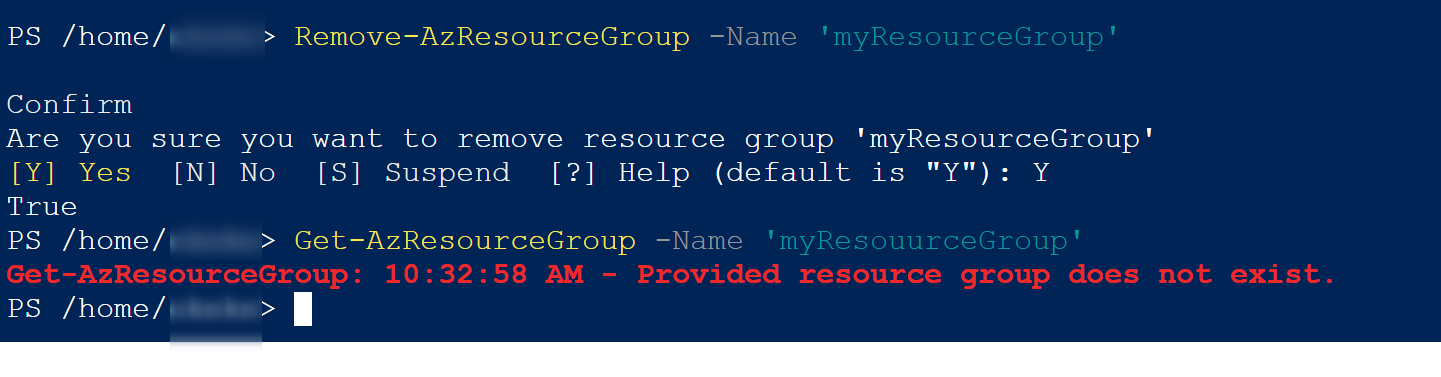
This command deletes the entire resource group, including the VM, networking resources, and other components, so that you are not charged for unneeded resources.
Conclusion
Creating and managing Azure resources with PowerShell is a powerful and efficient way to automate infrastructure deployment. In this guide, we demonstrated how to:
- Launch Azure Cloud Shell and create a resource group.
- Deploy a Windows Virtual Machine.
- Install a web server (IIS) on the VM.
- View the web server through a browser.
- Clean up resources when no longer needed.
Using Azure Cloud Shell and PowerShell together simplifies the process of working with Azure, providing automation and control over cloud infrastructure. Following these instructions will allow you to effortlessly establish, manage, and clean up virtual machines and other Azure resources.
