Scenario
Sometimes, the EC2 instances, not ALB, need to be assigned SSL certificates as there are some functions required SSL. This blog will guide you how to assign an SSL certificate with a given subdomain and Certbot-NginX.
Prerequisites
- An AWS IAM user with admin role
- A IP public EC2 Ubuntu instance (I test with version 22.04 LTS)
- A domain (I bought in TenTen)
Steps
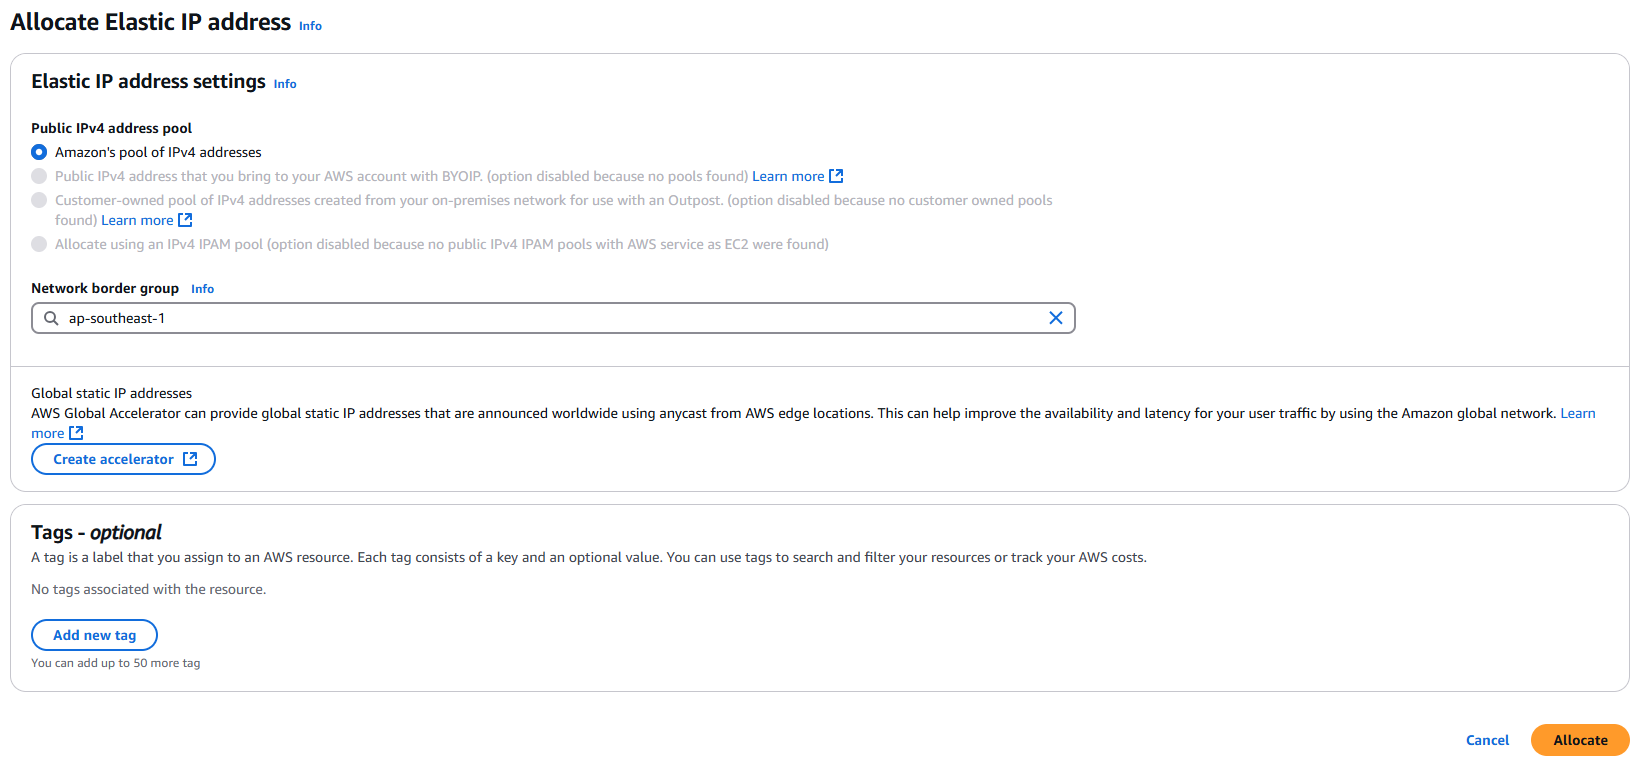
Associate a AWS EIP to EC2
Step 1. Choose orange button "Allocate Elastic IP address"

Step 2. Keep the default selections and choose orange button "Allocate"
Step 3. Choose the created EIP -> Actions -> Associate EIP address

Step 4. Choose instance -> ID of the EC2 instance you want to assign the certificate -> Associate
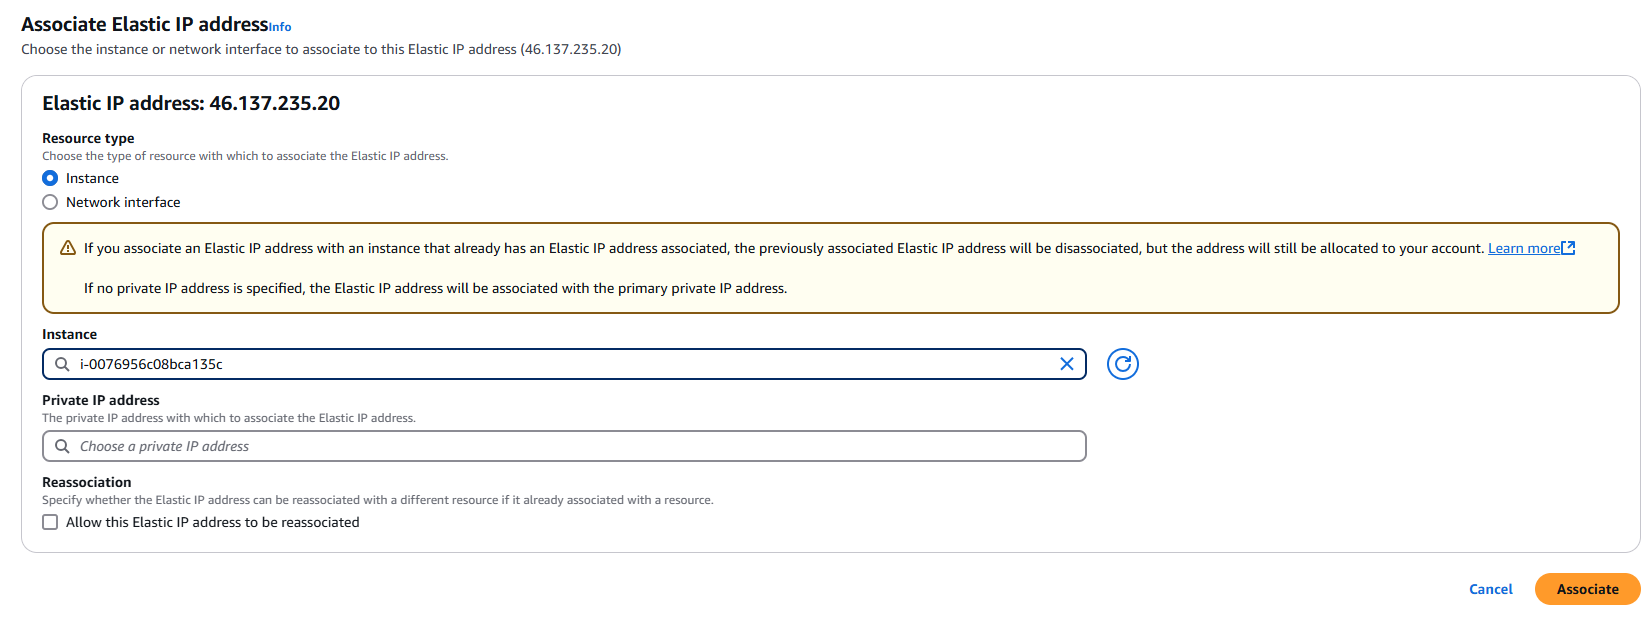
The reason why you need EIP is to keep the IP of the EC2 instance when it turns off.
Assign the subdomain to EC2 instance
In this section, I assume that you have already bought a domain, may be through GoDaddy or somewhere else.
Step 1. Go to your domain configuration website and add an A record with value is the IP of EC2 instance. The name is the first part before dot in the domain that you want to configure. For example, you want the EC2 instance hosting a subdomain named transcribe.pngha.io.vn, then the value in the Name column is "transcribe".

Step 2. Wait for at least 1 minute for the record to be activated. Then access the URL of the subdomain:port, for e.g. transcribe.pngha.io.vn:3000.
Congratulation! Now you have linked the IP of EC2 instance to the given domain. In the next section, you will explore how to configure the SSL certificate to encrypt the connection to the domain of the EC2 instance.
Assign free SSL certificates to AWS EC2 instance
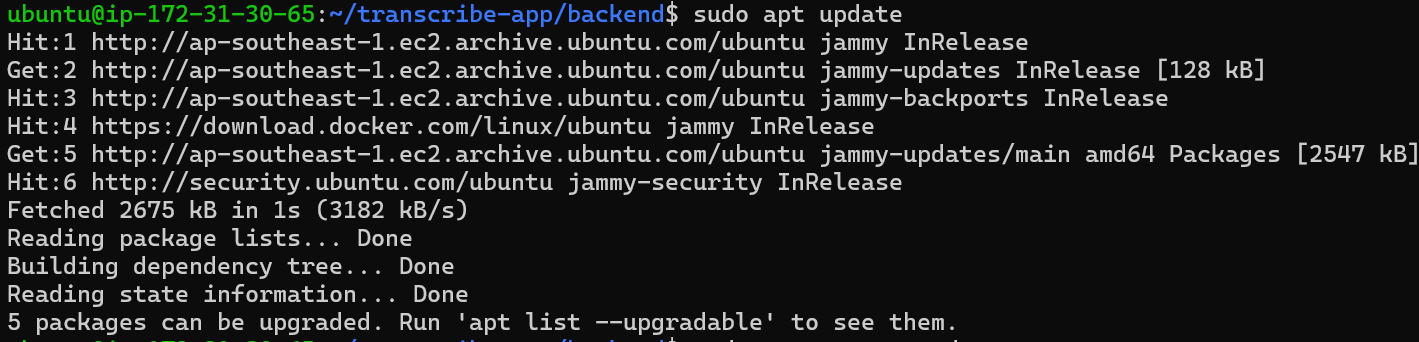
Step 1. Run command sudo apt update -y
Step 2. Run command sudo apt upgrade -y

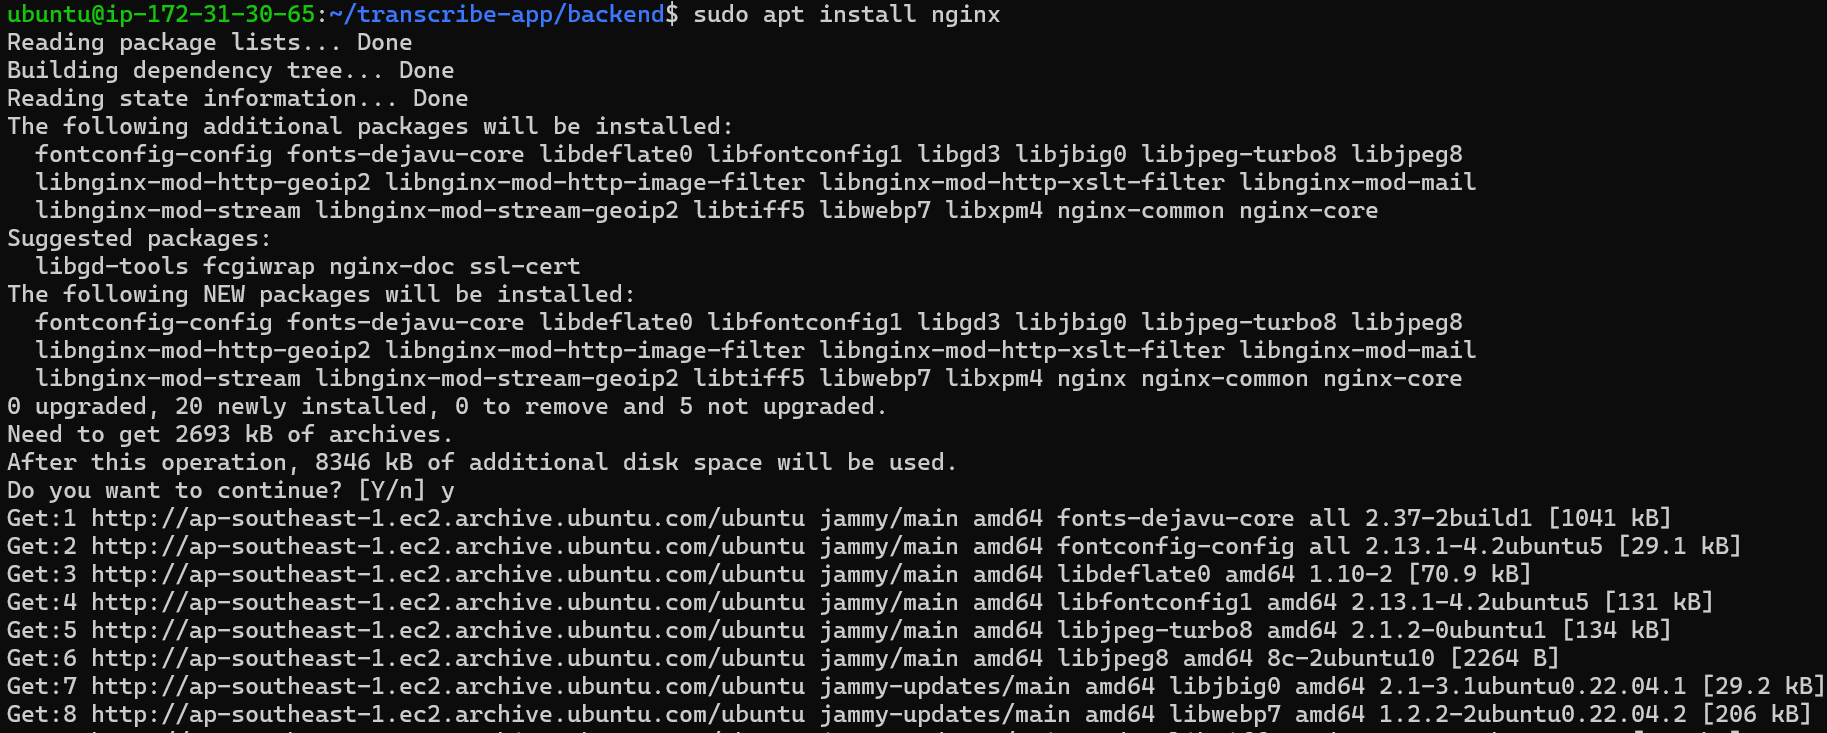
Step 3. Run command sudo apt install nginx -y
Step 4. Run command sudo apt-get install software-properties-common

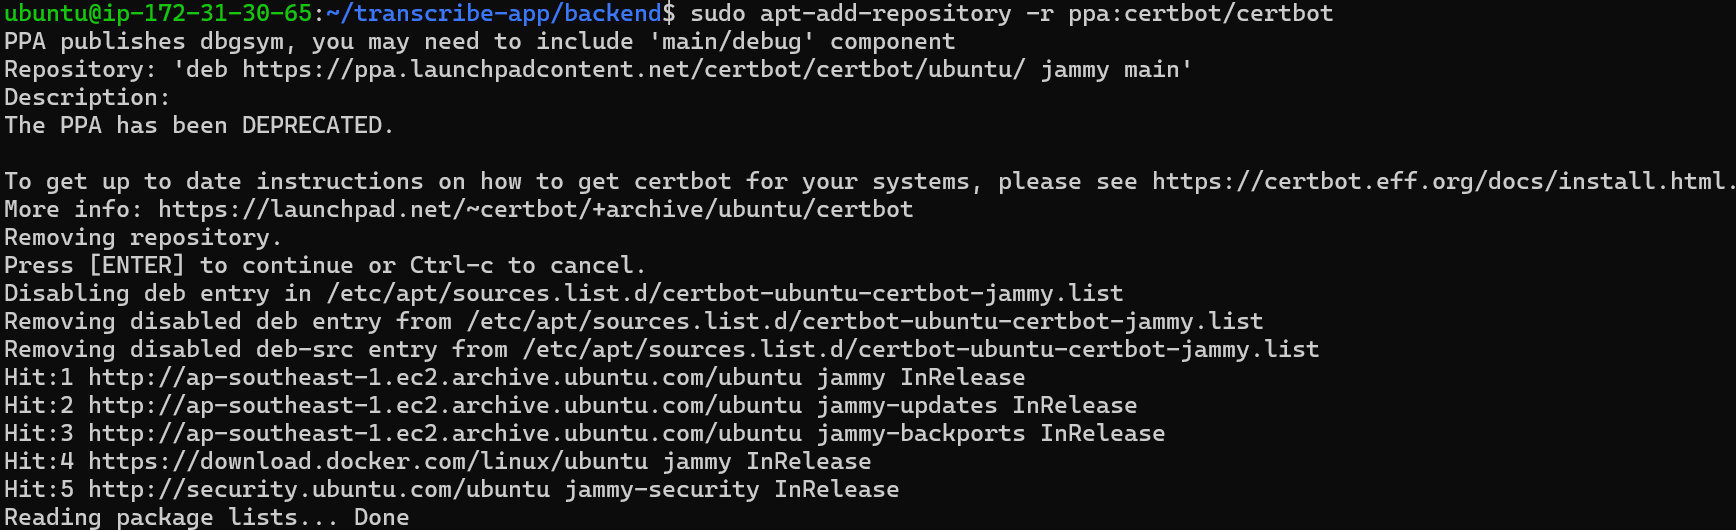
Step 5. Run command sudo add-apt-repository ppa:certbot/certbot. If you encounter the following error:
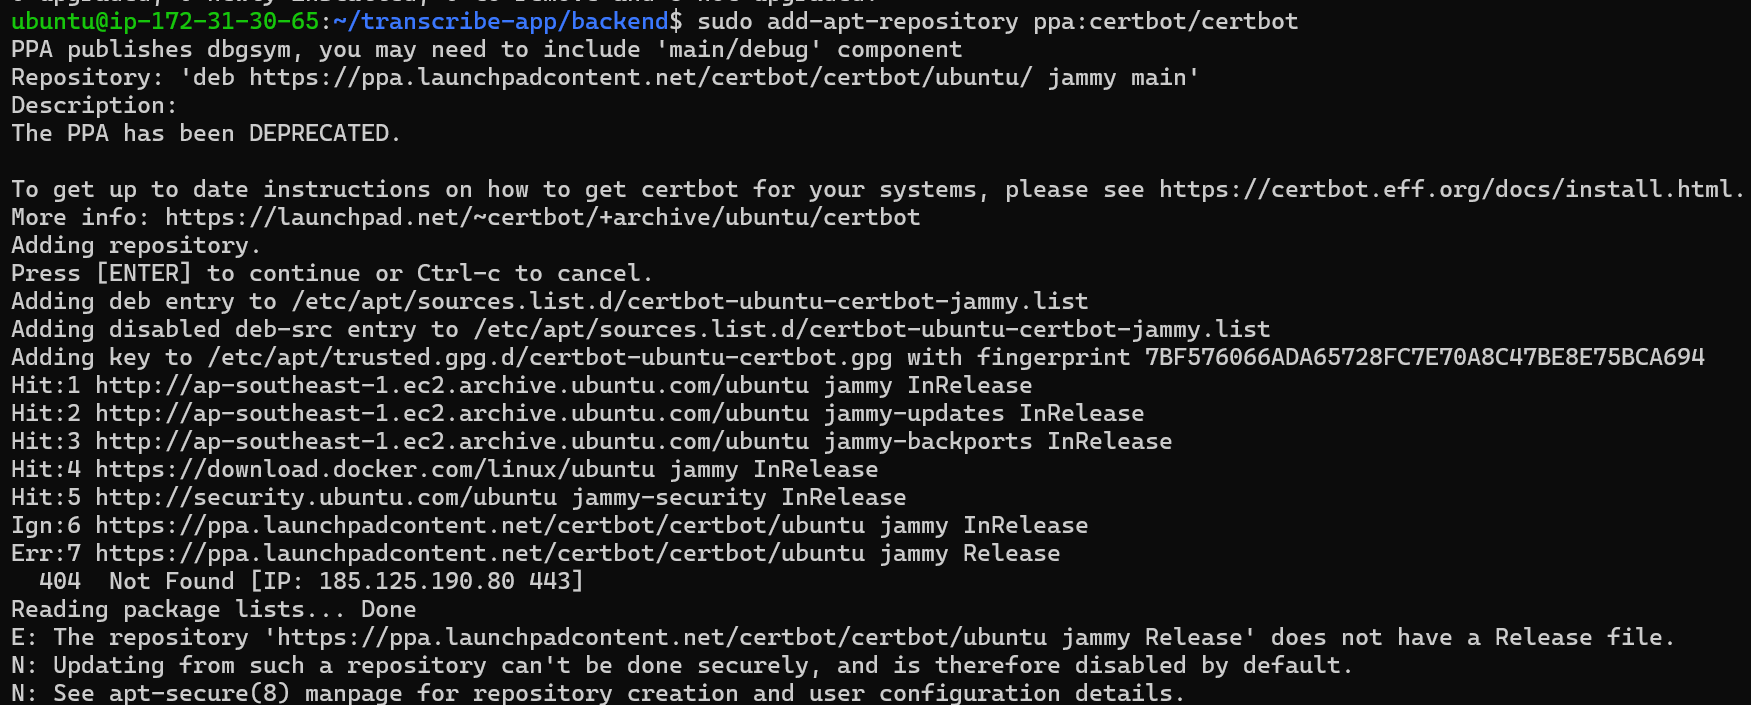
Then change the command to sudo apt-add-repository -r ppa:certbot/certbot
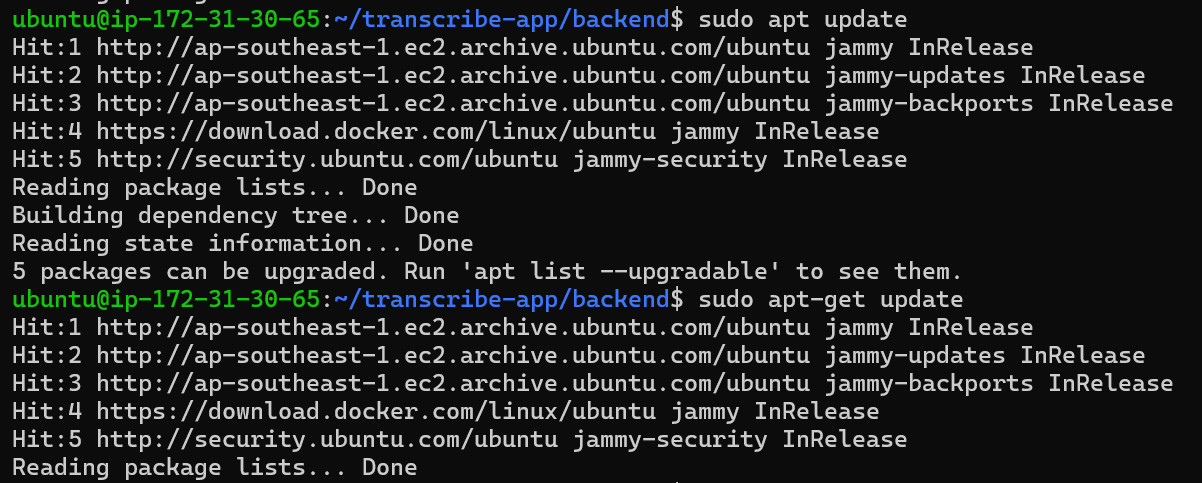
Step 6. Then run sudo apt update and sudo apt-get update
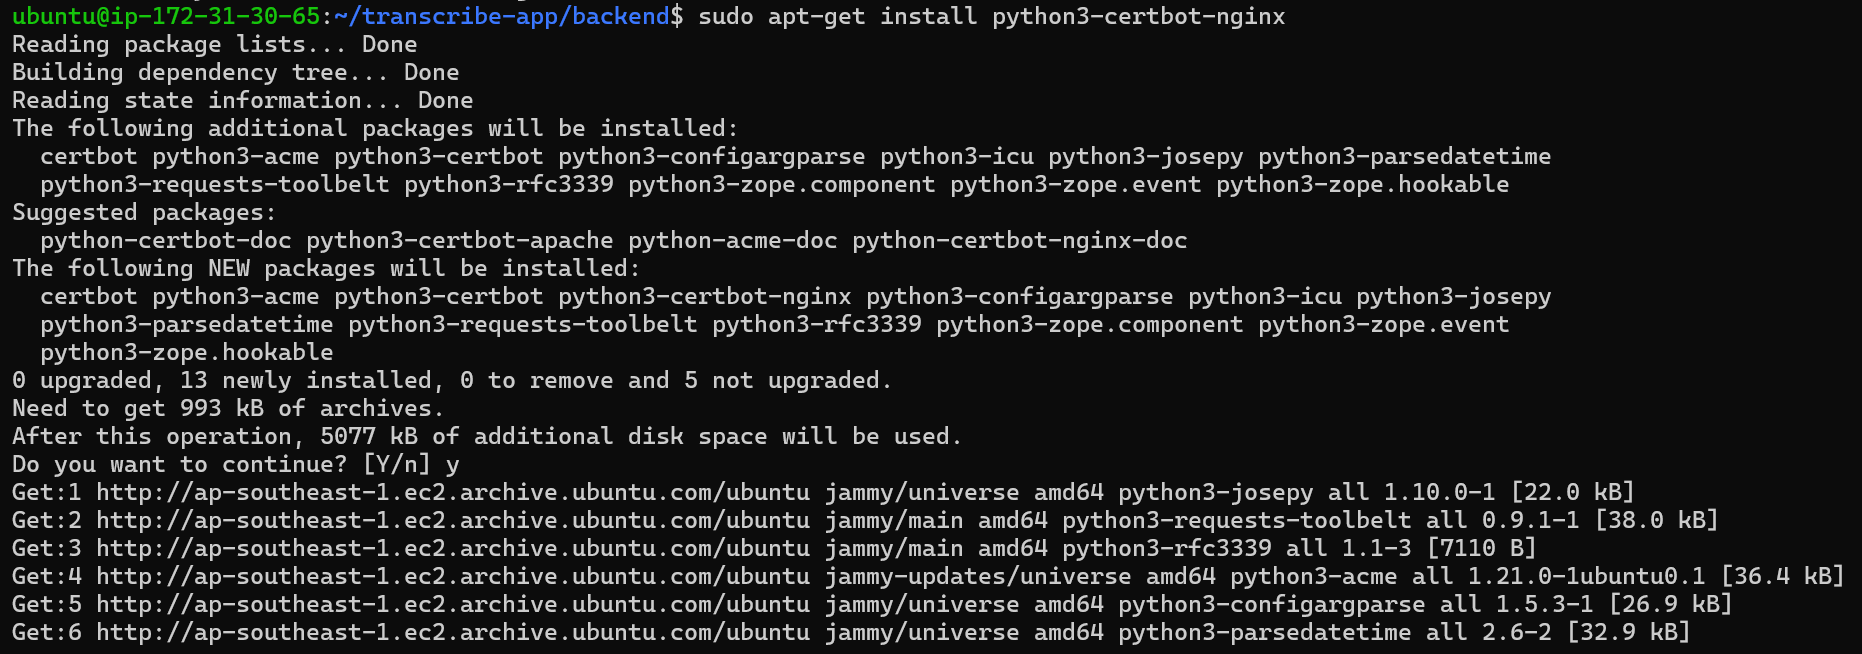
Step 7. Install Certbot with command sudo apt-get install python3-certbot-nginx
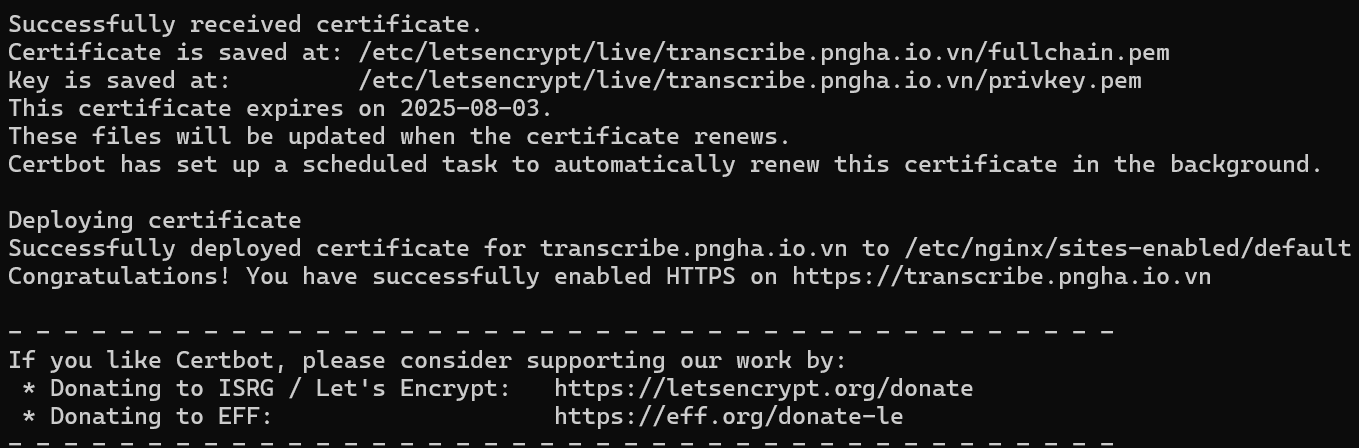
Step 8. Run command sudo certbot -d transcribe.pngha.io.vn

Step 9. Type y when asked. Then the certificate is requested. Wait for about 4 minutes.
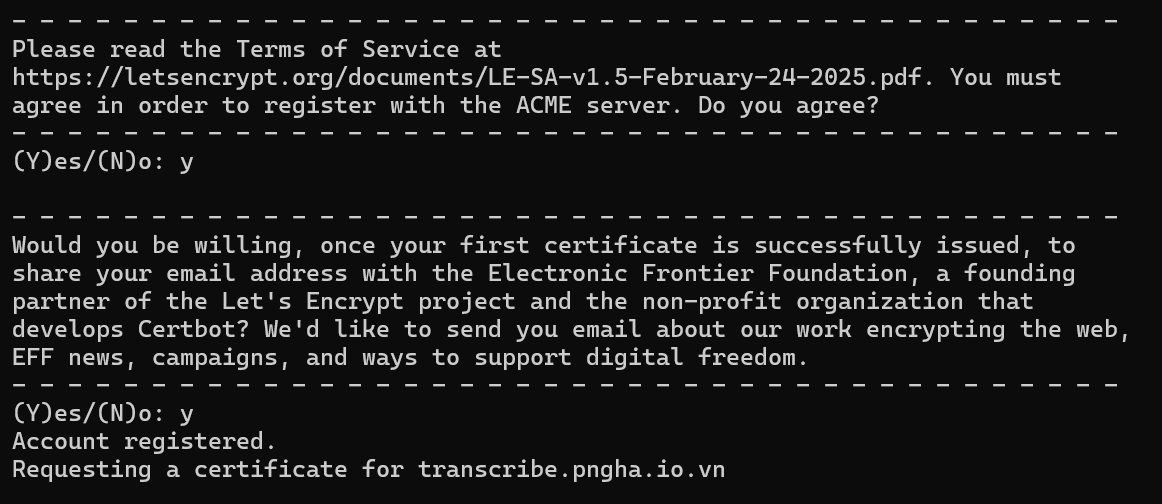
Step 10. You will be issued the certificate successfully
Step 11. You can now access the URL. However, the default website is the Nginx default. If you want custom it, especially when your website is running on a different port (e.g. 3000), you can refer the next section.
Custom the website for HTTPS
Step 1. Run command sudo nano /etc/nginx/sites-available/transcribe.pngha.io.vn and paste the following content:
server {
    listen 80;
    server_name transcribe.pngha.io.vn;

    # Redirect all HTTP requests to HTTPS
    return 301 https://\$host\$request_uri;
}

server {
    listen 443 ssl;
    server_name transcribe.pngha.io.vn;

    # SSL certificate paths (these should match what Certbot created)
    ssl_certificate /etc/letsencrypt/live/transcribe.pngha.io.vn/fullchain.pem;
    ssl_certificate_key /etc/letsencrypt/live/transcribe.pngha.io.vn/privkey.pem;

    include /etc/letsencrypt/options-ssl-nginx.conf;
    ssl_dhparam /etc/letsencrypt/ssl-dhparams.pem;

    # Proxy settings for Node.js application
    location / {
        proxy_pass http://localhost:3000;
    }
}
In this script, I use port 3000 for the website
Step 2. Create link with the command sudo ln -s /etc/nginx/sites-available/transcribe.pngha.io.vn /etc/nginx/sites-enabled/

Step 3. Check with sudo nginx -t. If it shows "nginx: the configuration file /etc/nginx/nginx.conf syntax is ok
nginx: configuration file /etc/nginx/nginx.conf test is successful", which means OK.
Step 4. Then restart nginx

Step 5. Now you need to make the symbol link from the default changed to your domain by deleting the default

Step 6. Then restart nginx

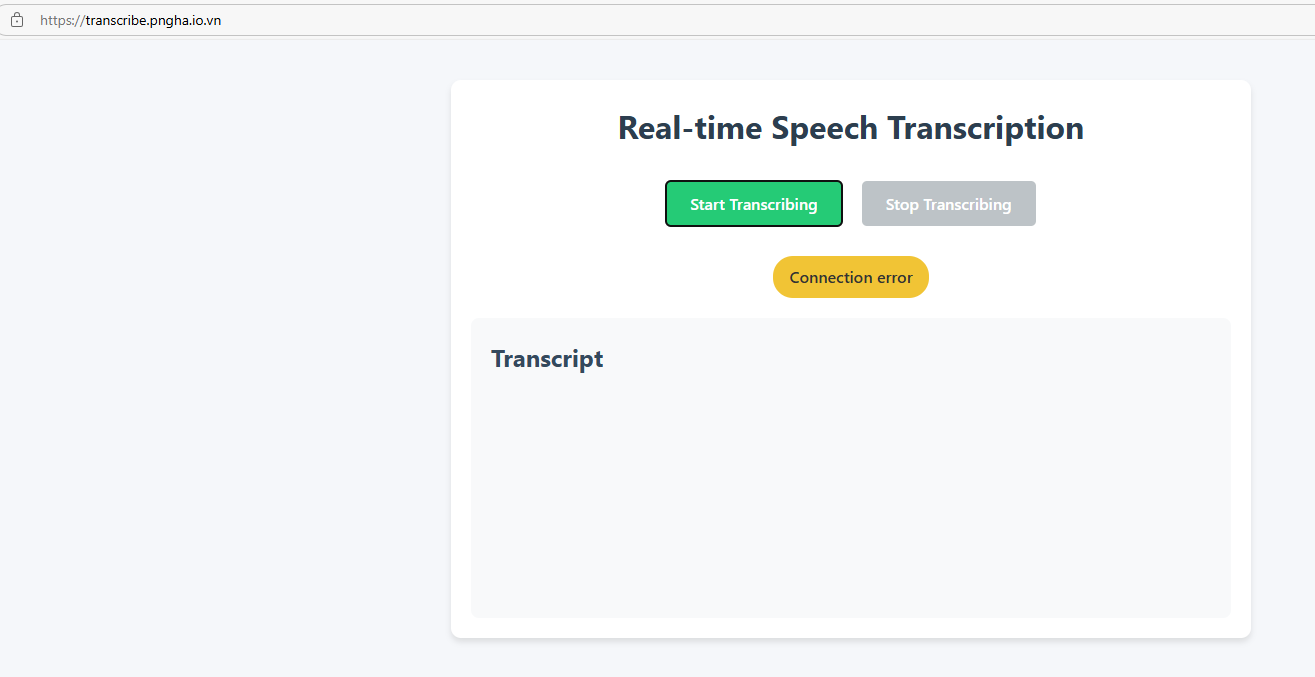
Step 7. Now start your web server with port 3000. And access transcribe.pngha.io.vn successfully.
Reference
- https://www.youtube.com/watch?v=qQl93M7XpJA&ab_channel=SusanB (for A record format).
- https://www.youtube.com/watch?v=uEAzcLw_nSI&ab_channel=DebduttaPanda (for assigning cert to subdomain with Certbot).
- https://stackoverflow.com/questions/56519434/how-to-add-certbot-to-another-port (johnsing answer for template).
- https://stackoverflow.com/questions/60249177/e-the-repository-http-ppa-launchpad-net-certbot-certbot-ubuntu-focal-release.
- https://stackoverflow.com/questions/9063378/why-do-browsers-not-use-srv-records (I intend to use SRV records for changing the port, but according to this link, it won't work).