
Git Basic Command:
git init: initialize an existing directory as a Git repository
git add: add a file as it looks now to your next commit (stage)
git commit: Adding commits keep track of our progress and changes as we work.
git push: Transmit local branch commits to the remote repository branch
git status: show modified files in working directory, staged for your next commit
git log: show all commits in the current branch’s history
git branch: list your branches. a * will appear next to the currently active branch
git branch -M: Create a New Branch on GitHub
git config username: set a name that is identifiable for credit when review version history
git config email: set an email address that will be associated with each history marker
git remote add origin:
STEPS:
Command 1: Initialize Git on the Local Repositories.
Setting up Git locally to track changes, collaborate efficiently, and manage project versions from my development environment.
Command 2: Add all changes to the staging area.
Stage all modified files to prepare them for the next commit, ensuring changes are tracked and ready for version control.
Command 3: Commit all changes with a message.
Save all staged changes with a meaningful message to document the progress and purpose of the update in version control.
Command 4: Connect the remote repo and the local repo.
Link the local project to a remote repository to enable pushing, pulling, and syncing code across different environments.
Command 5: Set local branch to main.
Rename the current branch to ‘main’ to standardize and align with the default branch used in most remote repositories.
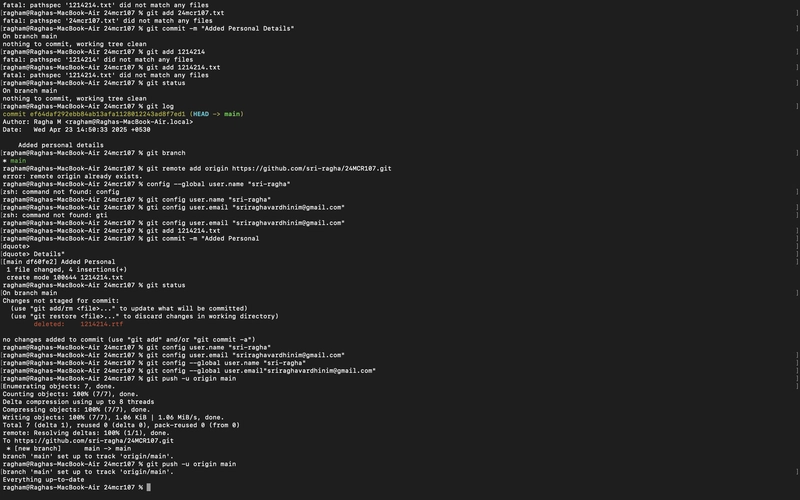
Command 6: Set Configurations in your local git environment.
Configure the user name and email locally to identify commits and maintain proper authorship in the project history.
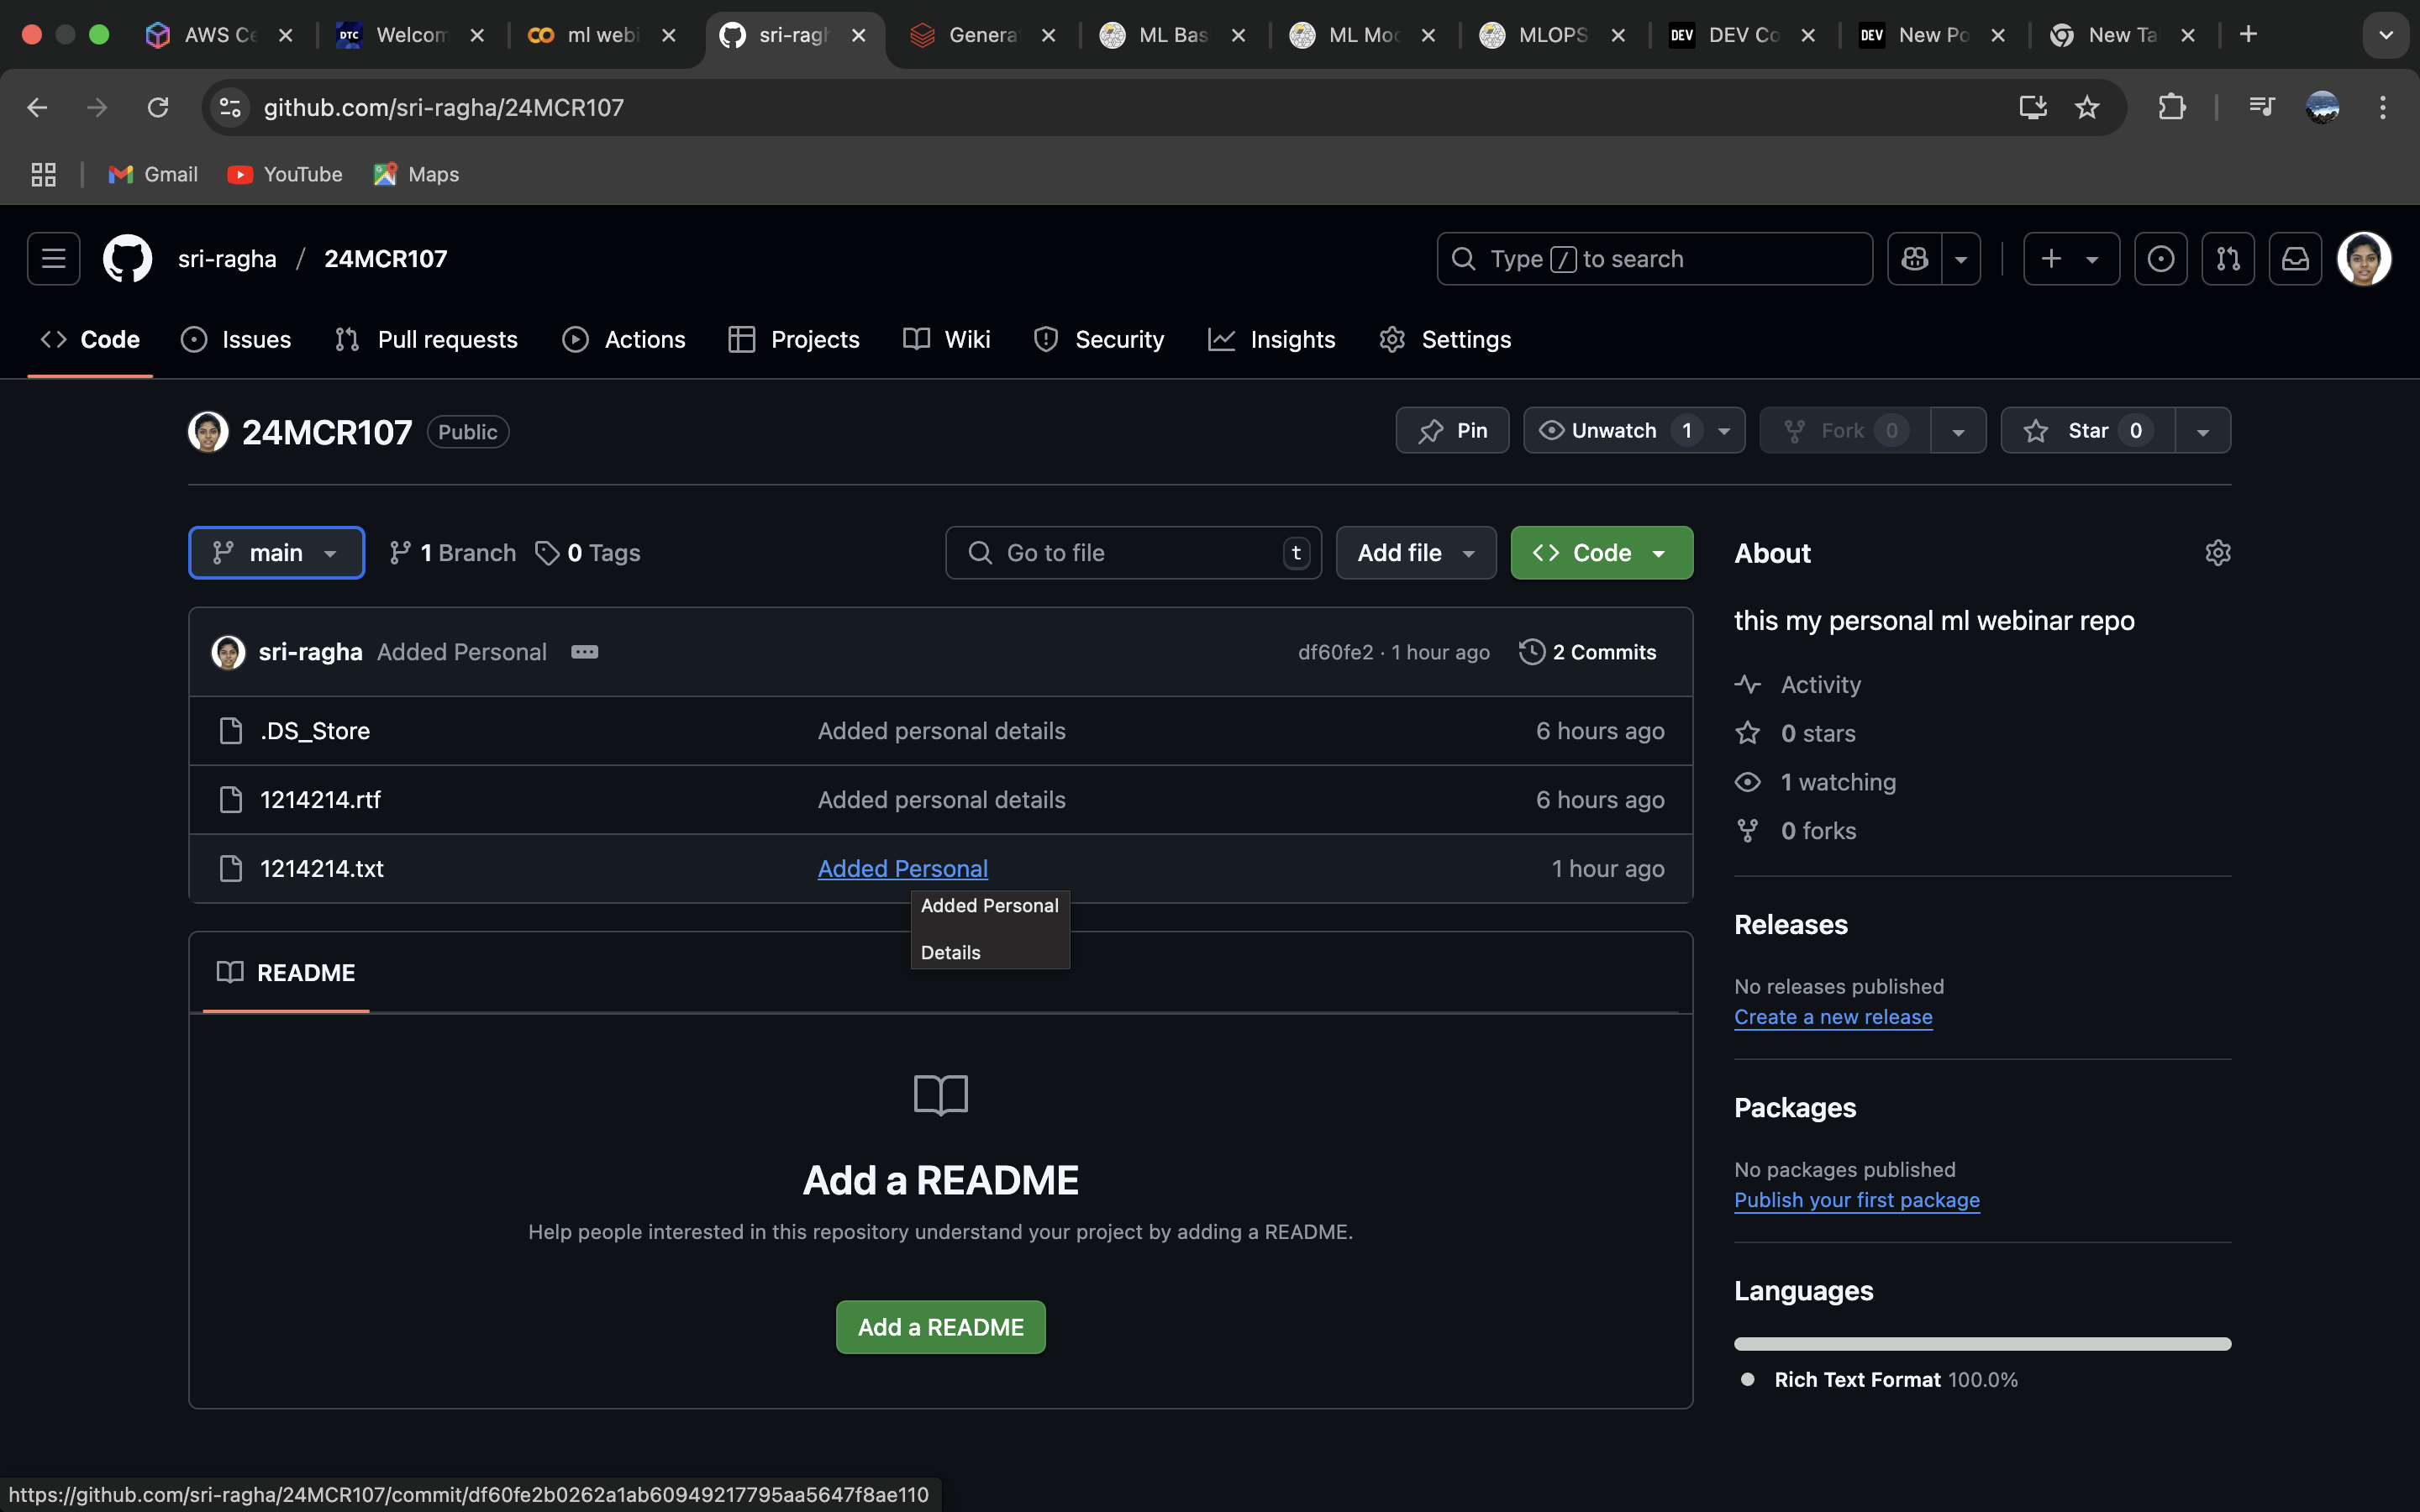
Command 7: Push the changes to the remote repo(GitHub).
Upload committed changes from the local repository to GitHub, ensuring the remote repo is updated with the latest code.