
Step 1: Initialize Git
git init

This creates a new Git repository in the current directory.
Step 2: Add Files to Staging Area
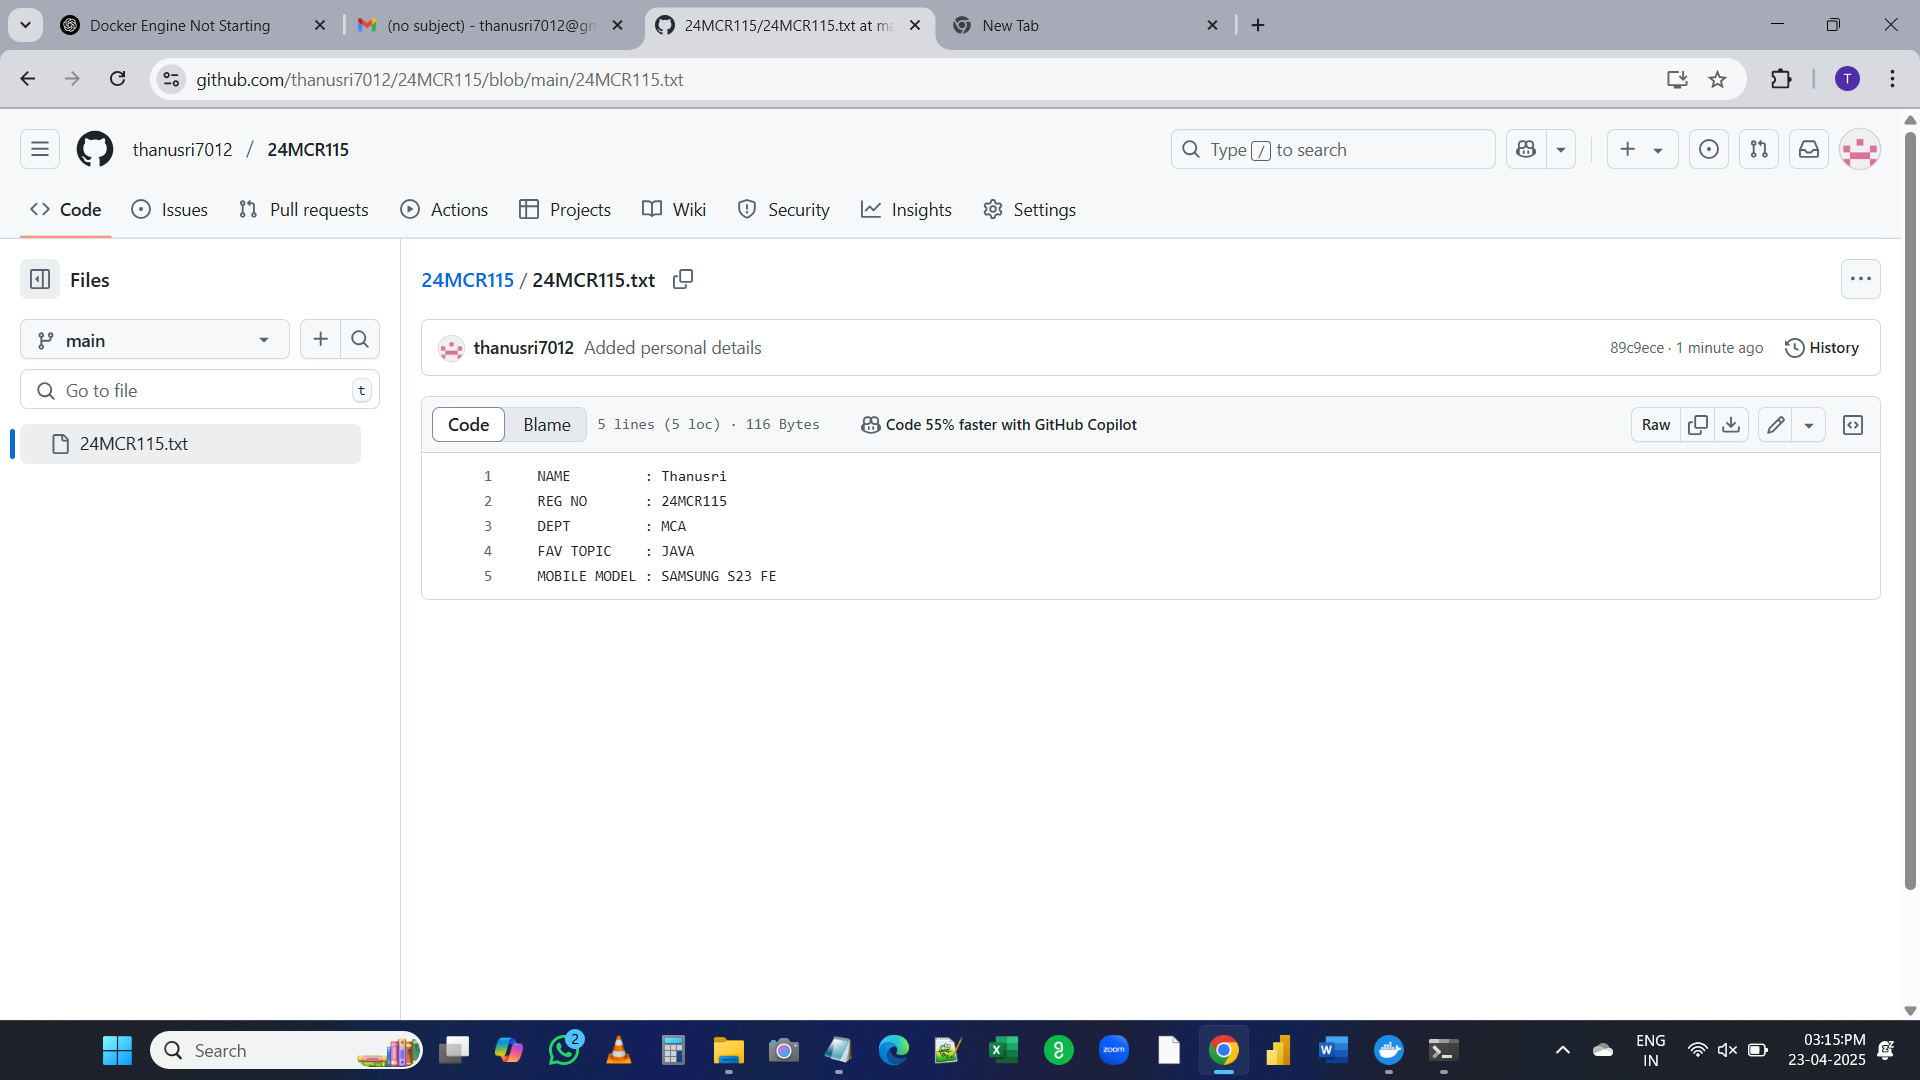
git add filename

This stages all the files (in my case, the 24MCR115 file) for commit.
Step 3: Commit Changes
git commit -m "Initial commit with 24MCR115 details"
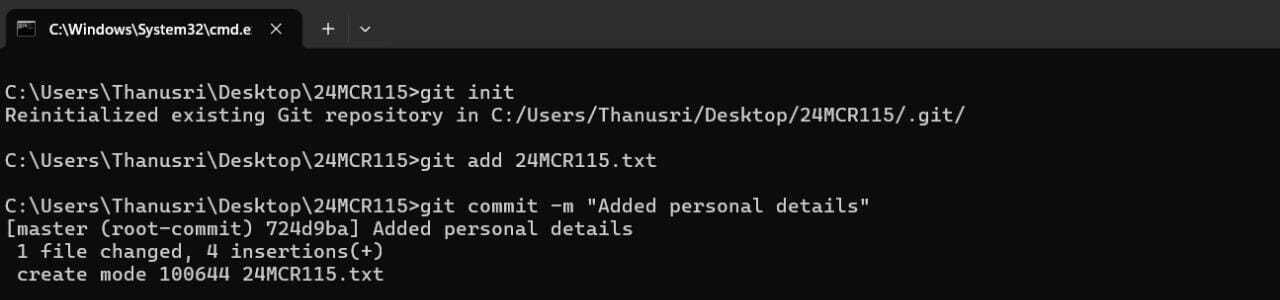
This commits the staged files with a message.
Step 4: Check Repository Status
git status
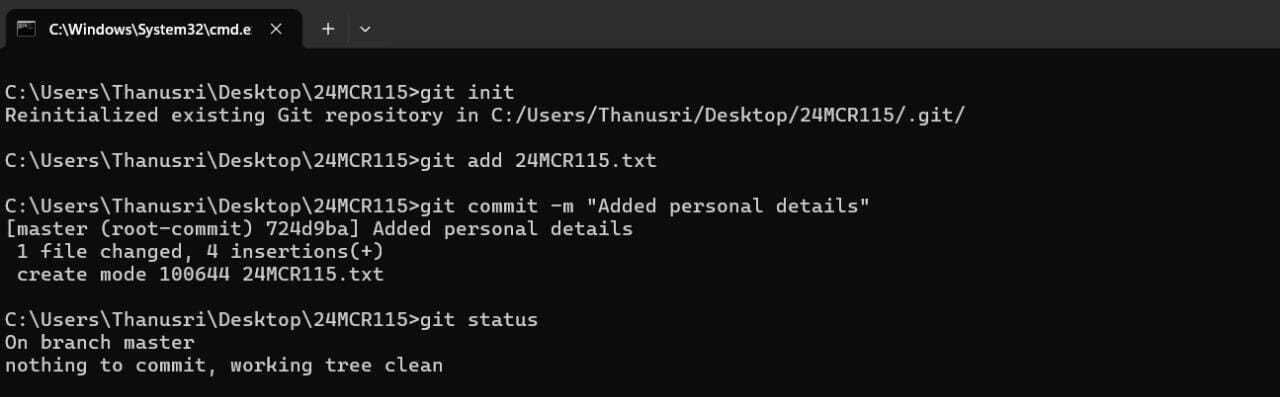
To see what’s changed and what’s staged/untracked.
Step 5: View Commit History
git log
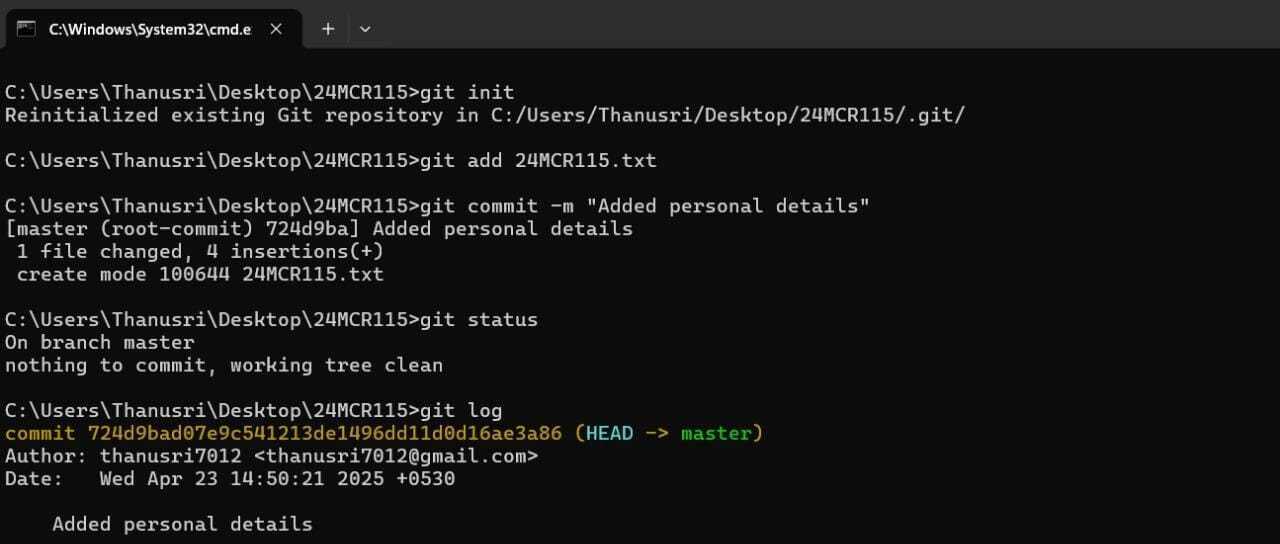
To view all commits made to the repository.
Step 6: Create or Rename Branch
git branch
git branch -M main
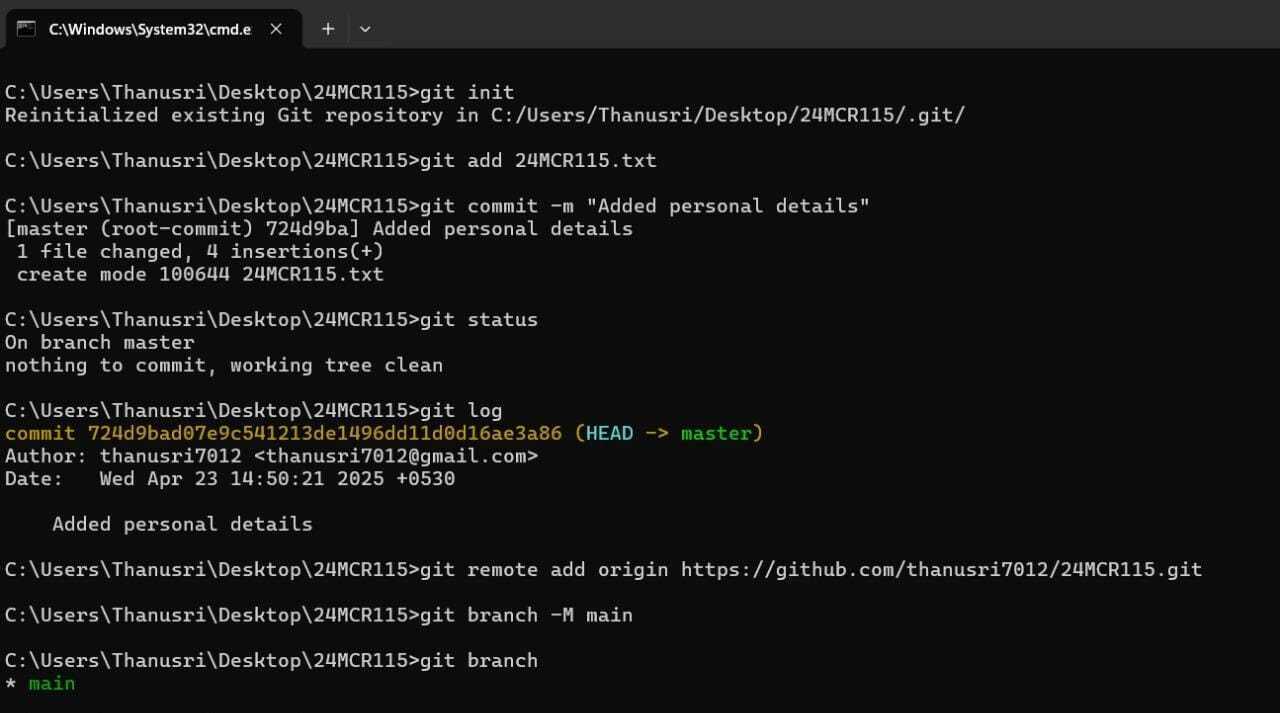
Check current branches and rename the branch to main.
Step 7: Configure Git Identity
git config --global user.name "Your Name"
git config --global user.email "[email protected]"
Set your GitHub username and email.
Step 8: Link to Remote Repository
git remote add origin https://github.com/your-username/24MCR115.git

This connects your local repo to the GitHub repository.
Step 9: Push to GitHub
git push -u origin main
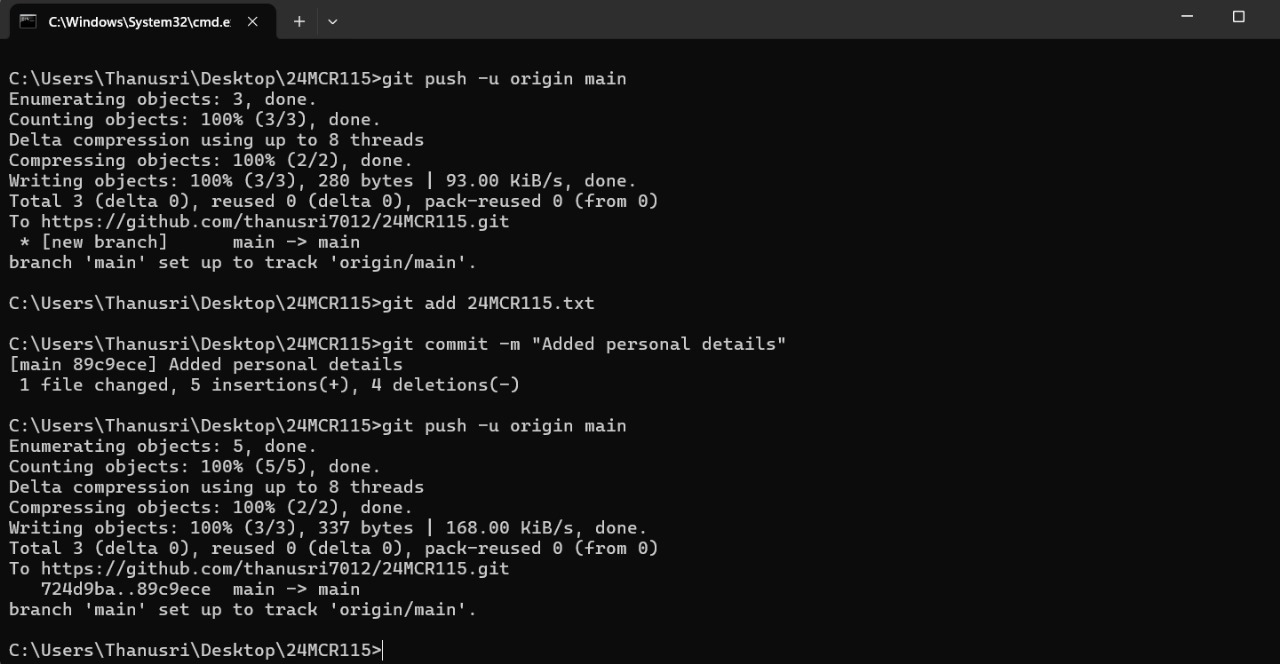
Push your committed changes to GitHub under the main branch.