
This is a submission for the Permit.io Authorization Challenge: Permissions Redefined
What I Built
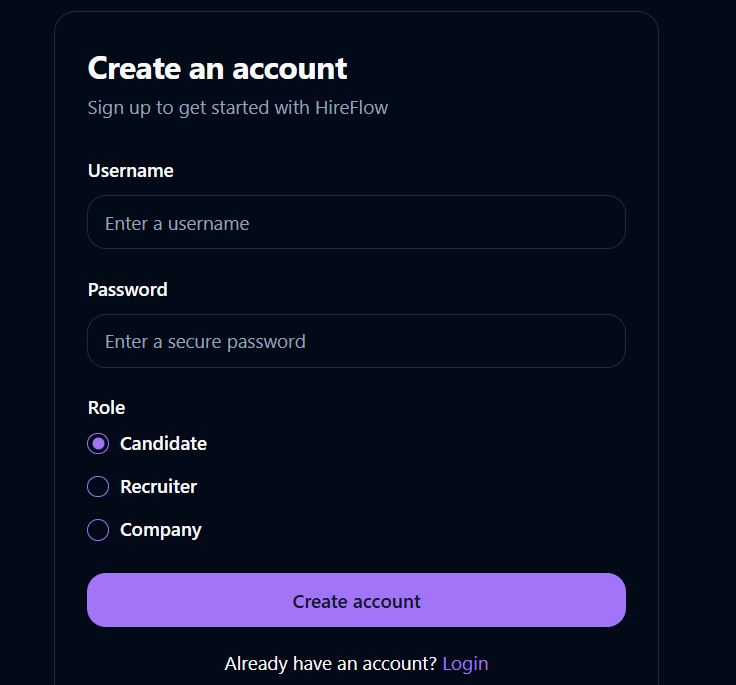
HireFlow is a comprehensive hiring platform that connects candidates, recruiters, and companies in one streamlined ecosystem.
For this application, users can take on 3 different roles when creating their account:
- Candidates can search for jobs, apply to positions, and track application status.
- Recruiters can post and manage job listings and review applicants
- Companies can oversee their recruitment process and manage their team of recruiters
Demo
 hirefloww.netlify.app
Test the application
To login to the application without having to create a new account, simply make use of the following pre-existing credentials:
-
To login to a candidate account:
candiUser
2025DEVChallenge -
To login to a recruiter account:
recruiUser
2025DEVChallenge -
To login to a company account:
compUser
2025DEVChallenge
Project Repo
The repository for the front and back end of the application is provided below:
Frontend Repo

HireFlow - Connecting Talent with Opportunity
HireFlow is a comprehensive hiring platform that connects candidates, recruiters, and companies in one streamlined ecosystem.
About HireFlow
HireFlow simplifies the hiring process with a role-based approach:
- Candidates can search for jobs, apply to positions, and track application status
- Recruiters can post and manage job listings and review applicants
- Companies can oversee their recruitment process and manage their team of recruiters
Key Features
- Role-based user system with specific dashboards for candidates, recruiters, and companies
- Job posting and application management
- Application status tracking
- Company management system for recruiters
- Responsive design for all devices
Technology Stack
This project is built with:
- React with TypeScript
- Vite for fast development
- Tailwind CSS for styling
- shadcn/ui for component library
- React Router for navigation
- Zustand for state management
- React Query for data fetching
Backend Repo

HireFlow
HireFlow is a full-stack hiring platform that facilitates interaction between candidates, recruiters, and companies. It allows each user type to perform role-specific actions such as posting jobs, applying to roles, and managing applications — all with fine-grained access control powered by Permit.io.
Table of Contents
- Features
- Demo
- Authorization with Permit.io
- Permit.io Over Traditional Role Checks
- With Traditional Role Checks
- With Permit.io
- Quick Comparison
- Technologies Used
Features
- Role-based authentication and authorization with three user types:
- Candidates: Search and apply for jobs, view application status.
- Recruiters: Post and manage jobs, view and shortlist applicants.
- Companies: Manage recruiters and job postings, oversee recruitment progress.
- Secure login/signup with role selection
- Protected routes and data visibility depending on user roles
- Integration with Permit.io for access control and permission enforcement
Demo
Visit the live application here:
👉 https://hirefloww.netlify.app/
Authorization with Permit.io
This project uses Permit.io for managing authorization and user roles…
My Journey
For this challenge, I wanted to build something beyond the typical CRUD app — something with real-world complexity, yet still approachable. That’s how HireFlow came to life.
It was both fun and challenging figuring out how to manage user roles, permissions, and protected routes in a way that mimicked real hiring workflows. And I enjoyed every bit of that process.
I had no challenges while integrating Permitio into the application, as everything worked seamlessly out of the box🚀.
Using Permit.io for Authorization
For this challenge, I leaned fully into Permit.io’s CLI (not the dashboard!) to do everything — from creating resources, defining roles, and setting granular permissions to assigning users to roles. Here's a breakdown of how I set it up:
- Installed the permit CLI:
npm install -g @permitio/cliThis enabled me to run the permit CLI commands from anywhere in my terminal.
- Logged into my permit account:
permit Login- Initialized permit:
permit initSelected the Create a simple policy option:
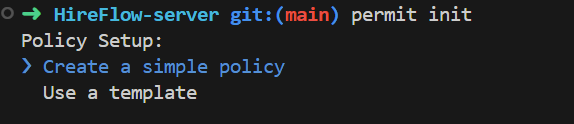
I was then prompted to configure my resourcesConfigure resources:
jobs, applications, companies, recruiters, candidates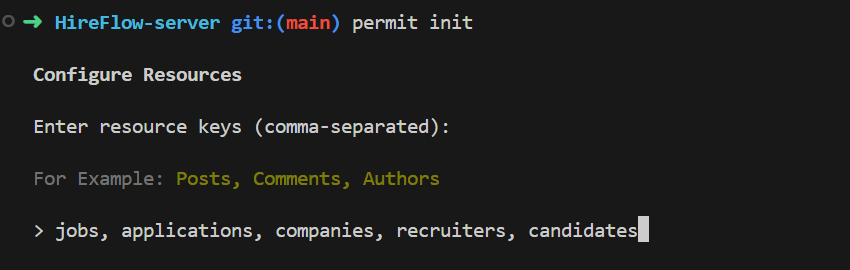
Next, I was prompted to configure actions for the resources that I just created.
- Configure actions: These were the actions I configured for my resources
create, read, update, delete, approve, reject, shortlistNext, I was prompted to configure the roles and permissions.
- Configure roles and permissions: The roles and resources were assigned as such:
Company|recruiters:delete|jobs:read|jobs:delete|candidates:read|companies:delete|applications:approve|applications:reject,
Candidate|jobs:read|applications:create|applications:read,
Recruiter|jobs:create|jobs:read|jobs:delete|applications:read|applications:reject|applications:shortlist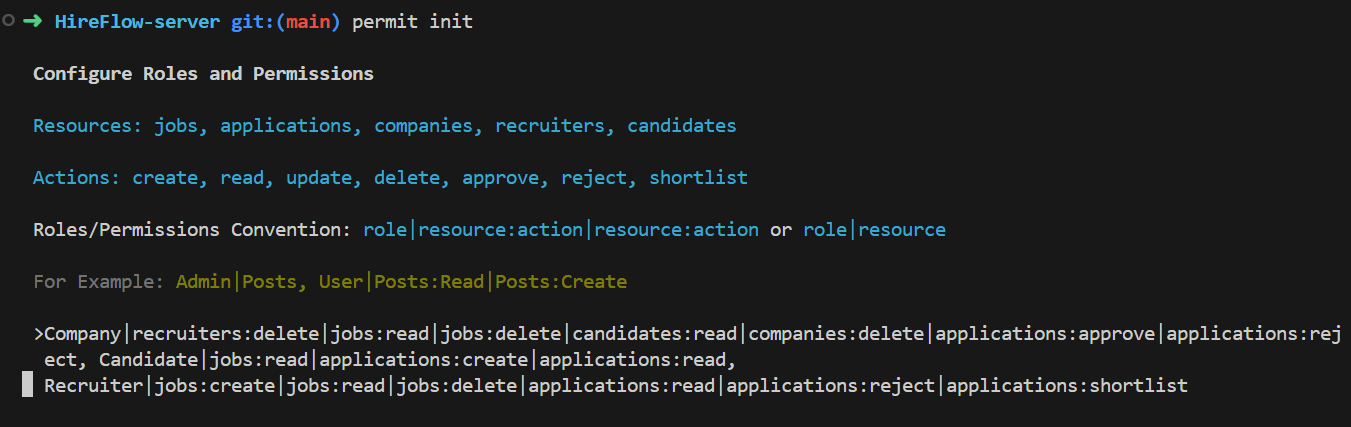
Next, my request was processed:
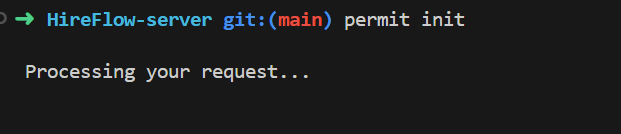
Data setup:
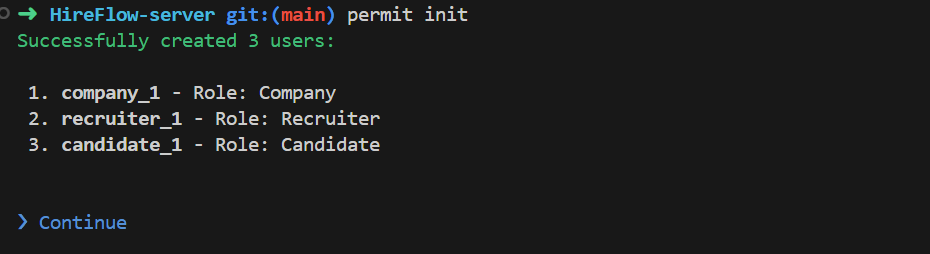
I was then prompted to select my data setup, on which I opted for the 'Interactively create users' option

Select user number:
I was prompted to select the number of users I wished to create, on which I specified 3, for the candidate, recruiter, and company.

Assign each user to their roles:
I assigned all 3 users to their different roles:
Next, I was prompted to enforce a PDP.PDP (Policy Decision Point) setup:
I skipped the part where I’d have to enforce a self-hosted PDP because I chose to use Permit’s cloud-hosted PDP instead — simpler and faster for my current needs.
https://cloudpdp.api.permit.ioThis lets the app connect with Permit’s decision engine over the cloud.
And the permit initialization has been successfully completed.
Install the permit SDK:
Once initialization was complete, I installed the Permit SDK to integrate it into my codebase:
npm install permitioFrom there, I could wrap permission checks around specific views and features to ensure users only had access to what their role allowed.
⭐⭐⭐
To see exactly how I used Permitio's checks in my code, simply head over to the README.md file on the HireFlow-server repository that outlines the full process.
⭐⭐⭐
This was a rewarding challenge, and I genuinely enjoyed working with Permit.io's CLI — it gave me complete control over everything right from my terminal. I now feel more confident about handling role-based access in real-world applications and plan to take this even further post-challenge🥂.
Thanks to DEV and Permit.io for making this happen 🙌
