🖥️ Step 1: Launch EC2 Instance
Go to the EC2 Dashboard.
- Click Launch Instance.
- Choose Ubuntu Server 22.04 LTS.
- Choose an instance type (e.g., t2.micro for free tier).
- Create or use an existing key pair (you’ll need it for SSH).
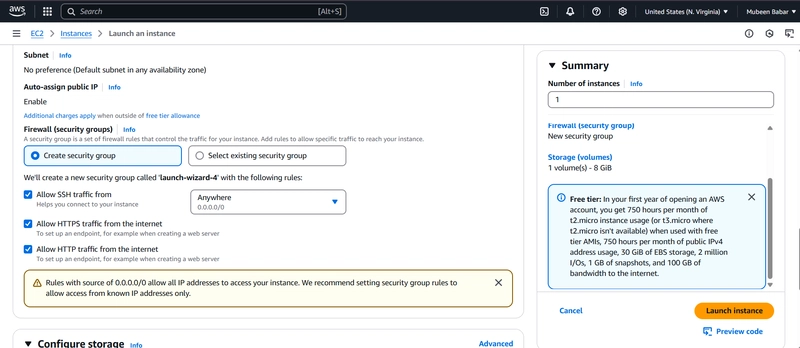
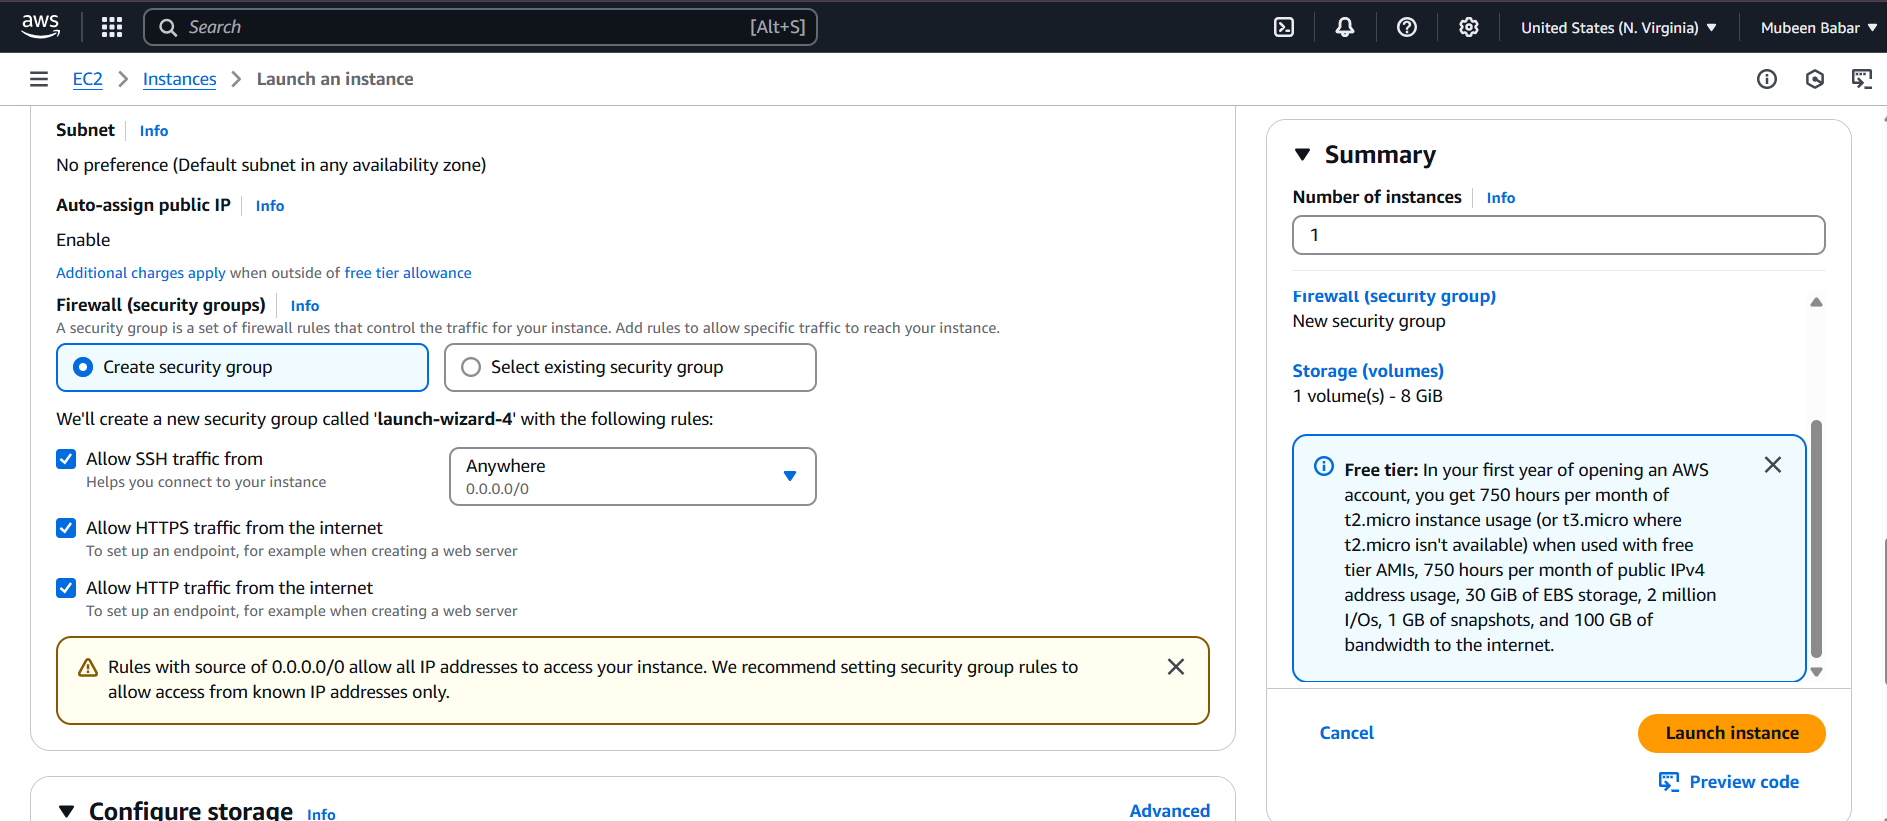
- Configure security group:
- Allow HTTP (80), HTTPS (443), and SSH (22) from your IP.
- Launch instance.
🔗 Step 2: Connect to EC2 via SSH
ssh -i your-key.pem ubuntu@your-ec2-public-ip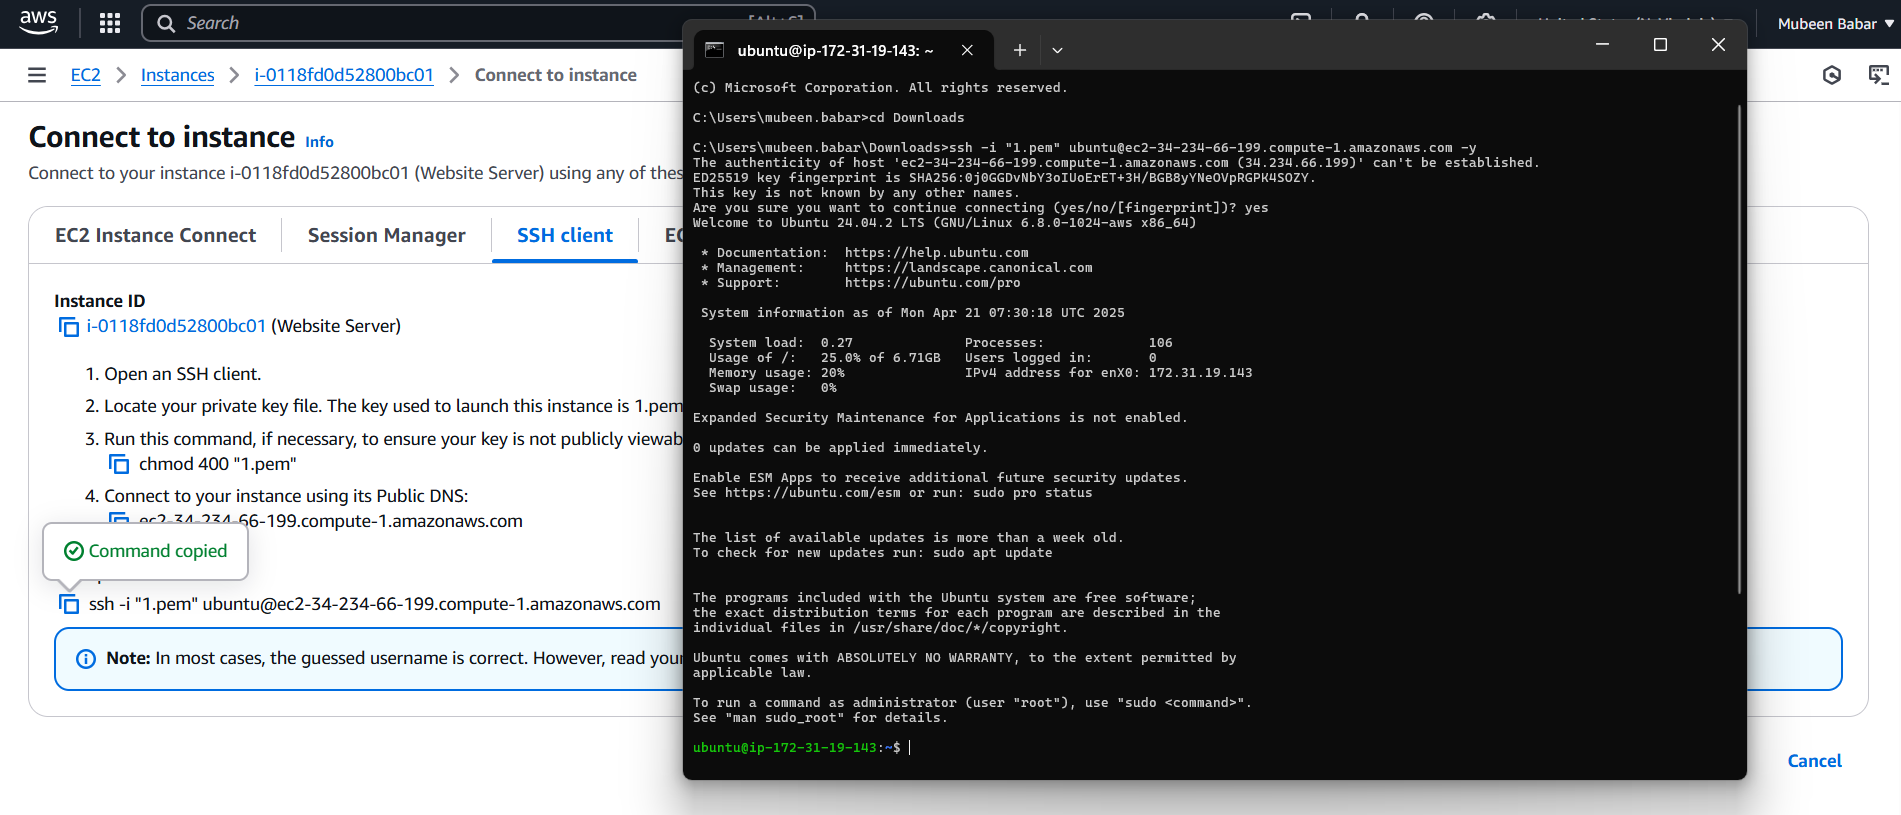
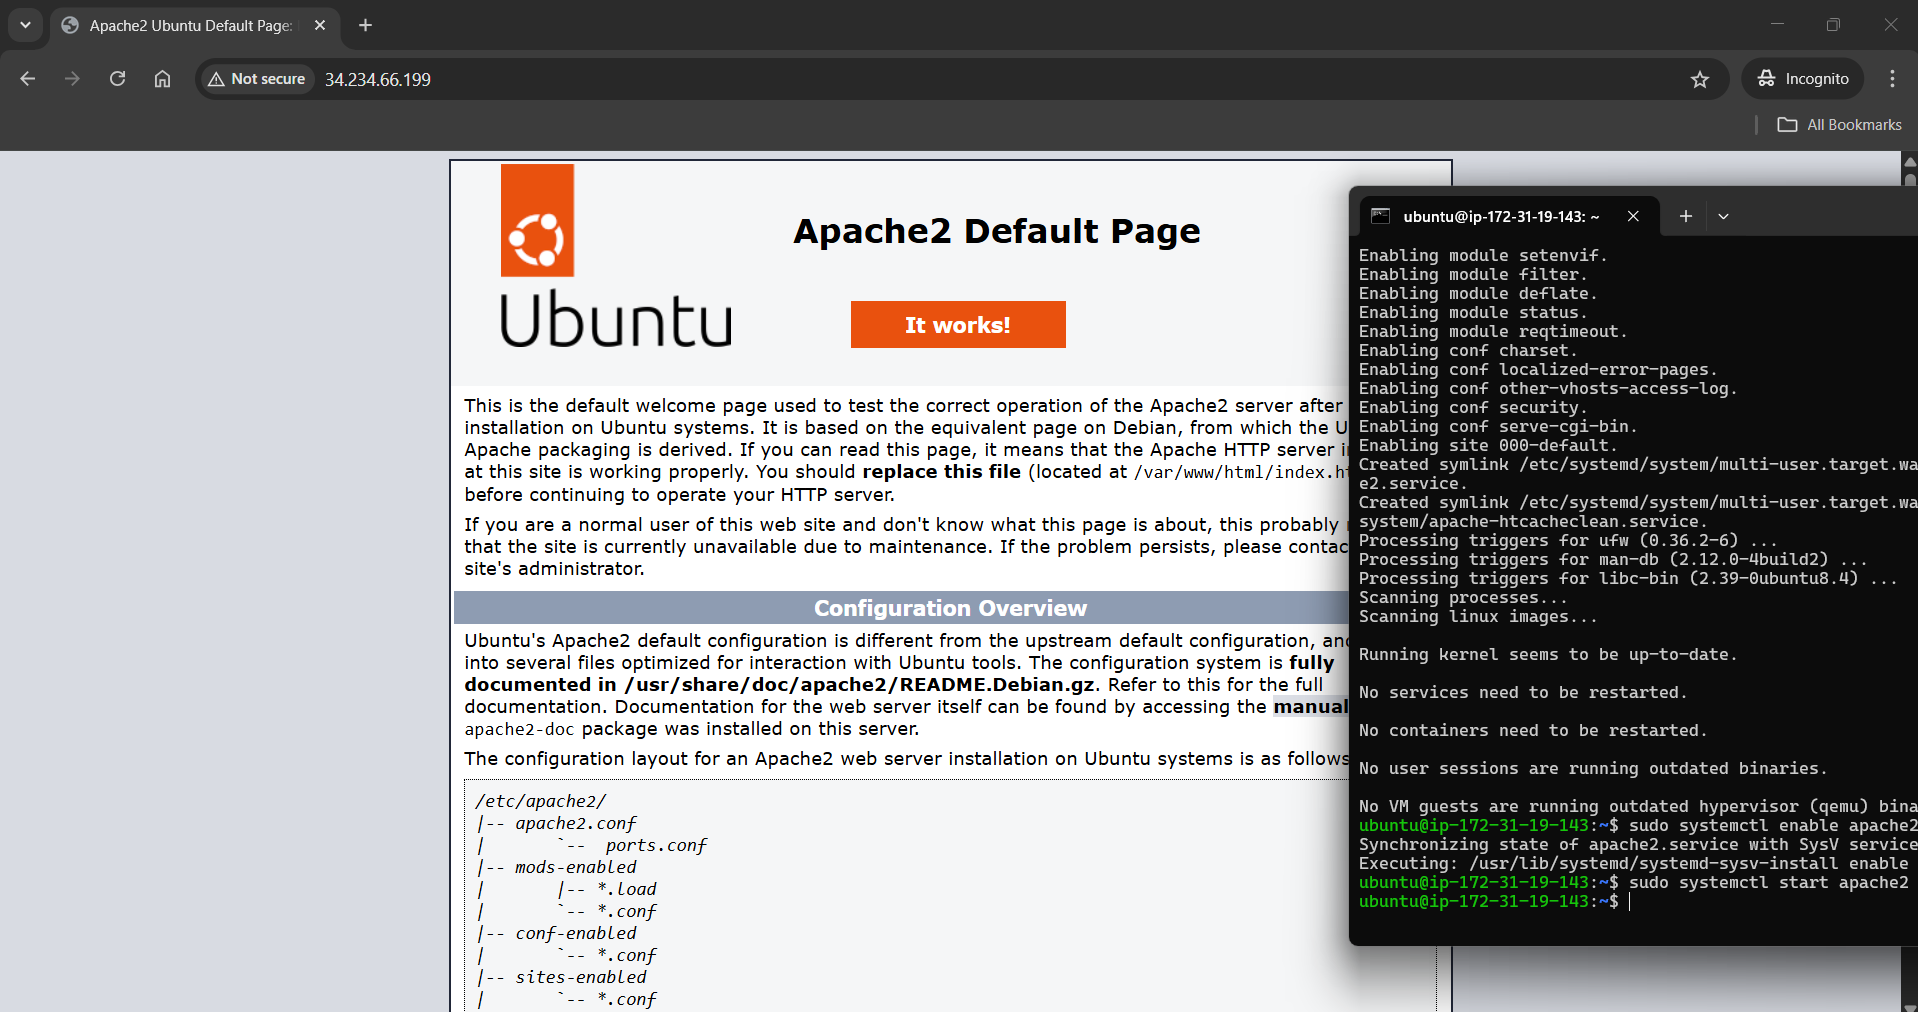
📦 Step 3: Install Apache Web Server
sudo apt update
sudo apt install apache2 -y
sudo systemctl enable apache2
sudo systemctl start apache2
Visit http://your-ec2-public-ip to see the Apache2 Ubuntu Default Page.
🐘 Step 4: Install MySQL (Database Server)
sudo apt install mysql-server -y
sudo mysql_secure_installation
Set a strong MySQL root password during the configuration.
✈️ Step 5: Create a WordPress Database and User
Bash
sudo mysql -u root -pSQL
CREATE DATABASE wordpress;
CREATE USER 'wp_user'@'localhost' IDENTIFIED BY 'your_password';
GRANT ALL PRIVILEGES ON wordpress.* TO 'wp_user'@'localhost';
FLUSH PRIVILEGES;
EXIT;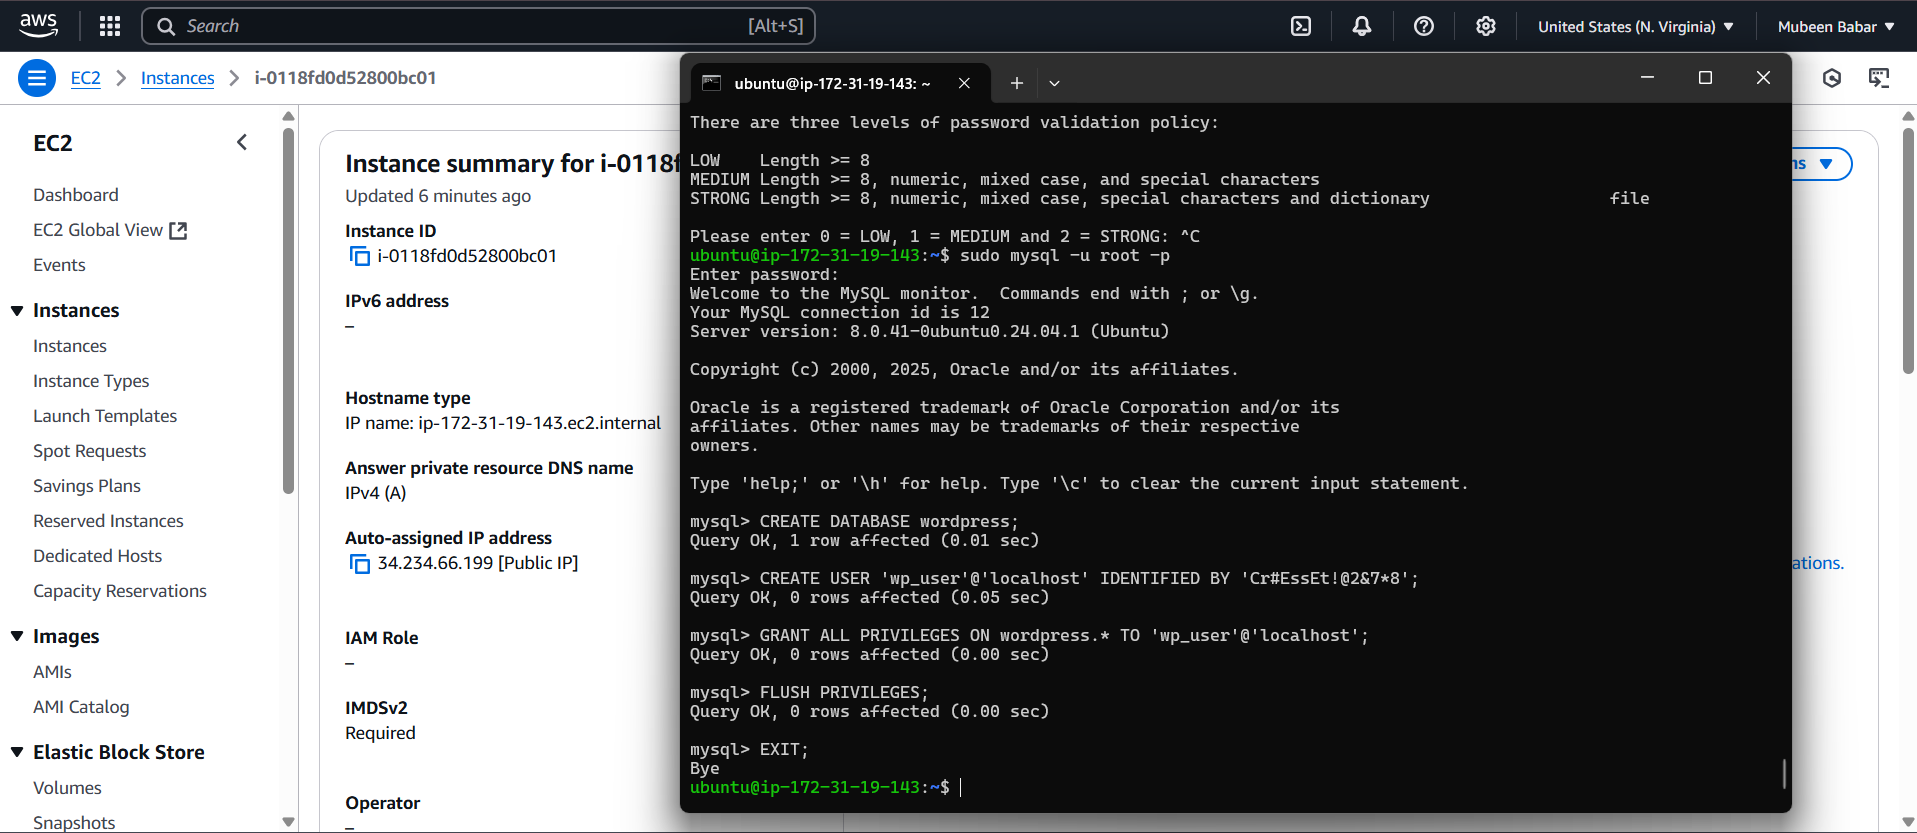
💻 Step 6: Install PHP and Extensions
Bash
sudo apt install php libapache2-mod-php php-mysql php-curl php-gd php-mbstring php-xml php-xmlrpc php-soap php-intl php-zip -y
sudo systemctl restart apache2
⬇️ Step 7: Download WordPress
cd /tmp
curl -O https://wordpress.org/latest.tar.gz
tar -xvzf latest.tar.gz
Copy files to Apache root directory
sudo cp -a wordpress/. /var/www/html/🔐 Step 8: Set Permissions
sudo chown -R www-data:www-data /var/www/html/
sudo chmod -R 755 /var/www/html/
Remove default index.html:
sudo rm /var/www/html/index.html📝 Step 9: Configure WordPress
cd /var/www/html
sudo cp wp-config-sample.php wp-config.php
sudo nano wp-config.php
Edit database details:
define('DB_NAME', 'wordpress');
define('DB_USER', 'wp_user');
define('DB_PASSWORD', 'your_password');
define('DB_HOST', 'localhost');
Save and exit.
🌐 Step 10: Final Setup via Web UI
Now visit your public IP in the browser:
📍 http://your-ec2-public-ip
You’ll see the WordPress setup page. Choose:
- Language
- Site Title
- Admin Username and Password
Click Install WordPress 🎉

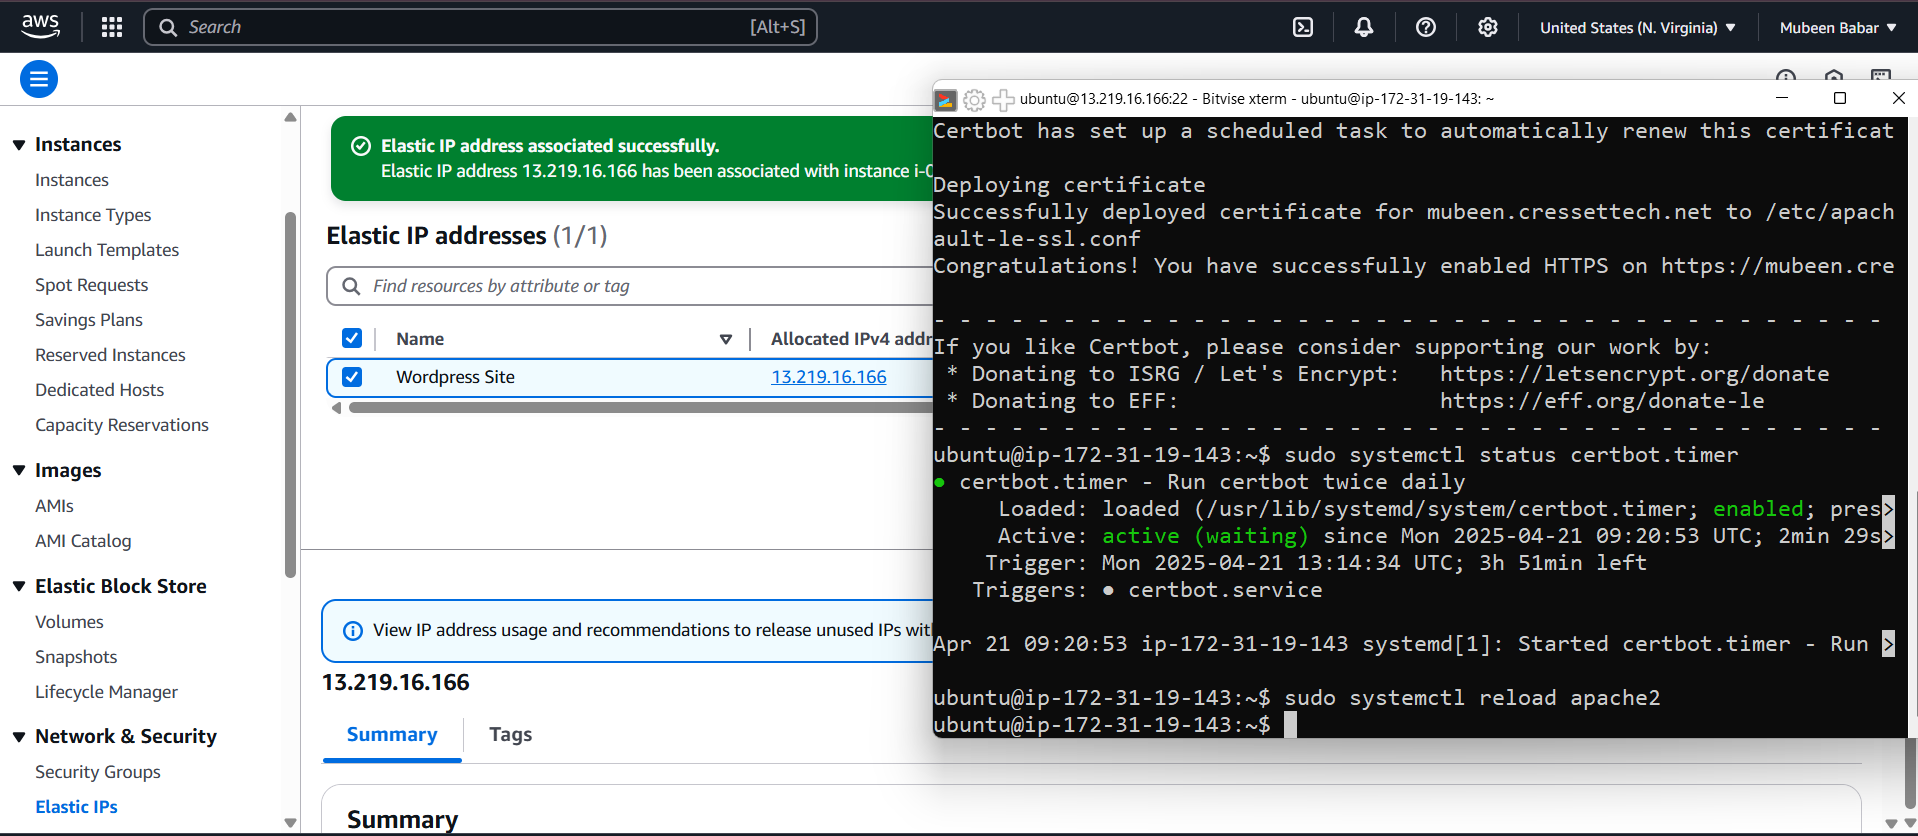
✅ 1. Set Up SSL Using Let’s Encrypt (HTTPS)
SSL secures your website with HTTPS (🔒). It's free with Let’s Encrypt.
Install Certbot:
sudo apt update
sudo apt install certbot python3-certbot-apache -y
Run Certbot for Apache:
sudo certbot --apacheFollow the prompts:
- Choose your domain (requires domain pointed to EC2 IP).
- Certbot auto-edits Apache config to enable SSL. Test HTTPS: Visit: https://your-domain.com Auto-Renew SSL (runs twice daily):
sudo systemctl status certbot.timer📌 2. Create an Elastic IP in EC2 (Static IP)
Steps:
- Go to EC2 Dashboard > Network & Security > Elastic IPs.
- Click Allocate Elastic IP address.
- Choose Amazon pool > Allocate.
- Select the new Elastic IP > Actions > Associate.
- Select your EC2 instance and network interface > Associate. Now your EC2 has a fixed public IP.