A data disk is a virtual hard disk (VHD) that you can attach to a virtual machine (VM) in Azure to store additional data, applications, or logs. It is separate from the OS disk, which contains the operating system and boot files.
Key Features of Data Disks in Azure:
.Storage Expansion – Allows you to add extra storage to your VM beyond the OS disk.
.Persistent Storage – Retains data even if the VM is restarted or deallocated.
.Multiple Attachments – You can attach multiple data disks to a single VM.
.Performance Options – Available in Standard HDD, Standard SSD, and Premium SSD for different performance needs.
Disk Encryption – Supports Azure Disk Encryption for security.
Guide on how to attach a data disk to a VM in Azure and make it usable
Step 1
Login to Azure portal.
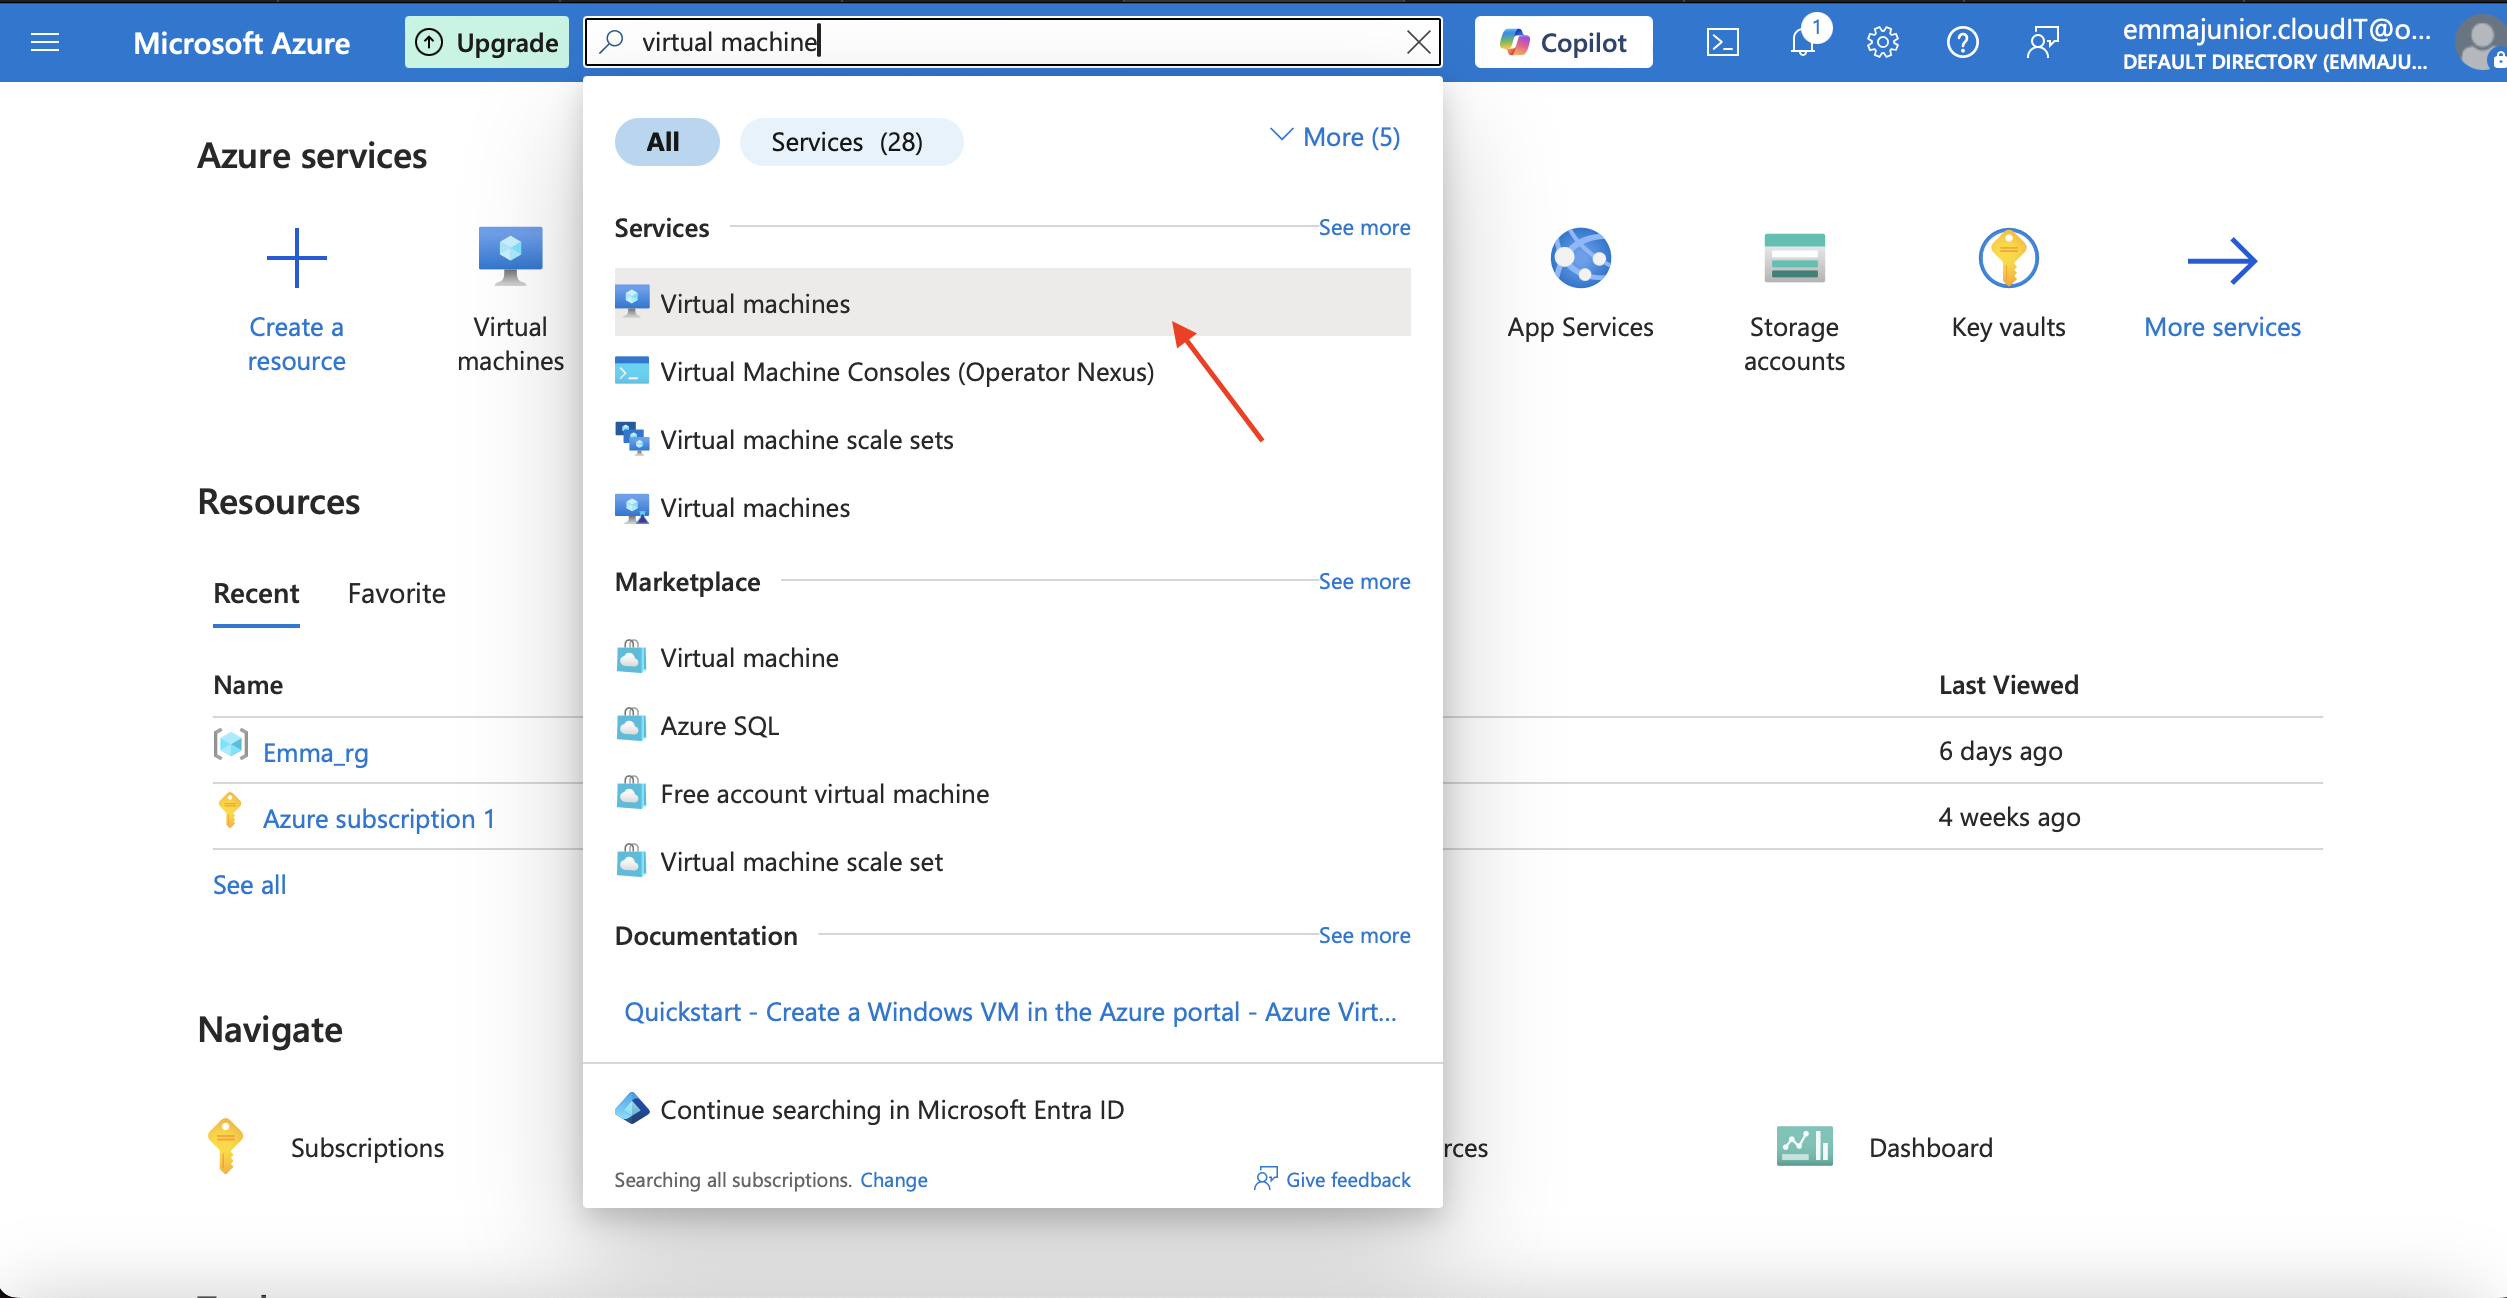
Step 2
we create a virtual machine first.So in the 'Search resources, search for virtual machine and click 'Enter' on the keyboard.Then click on 'Azure virtual machine'.
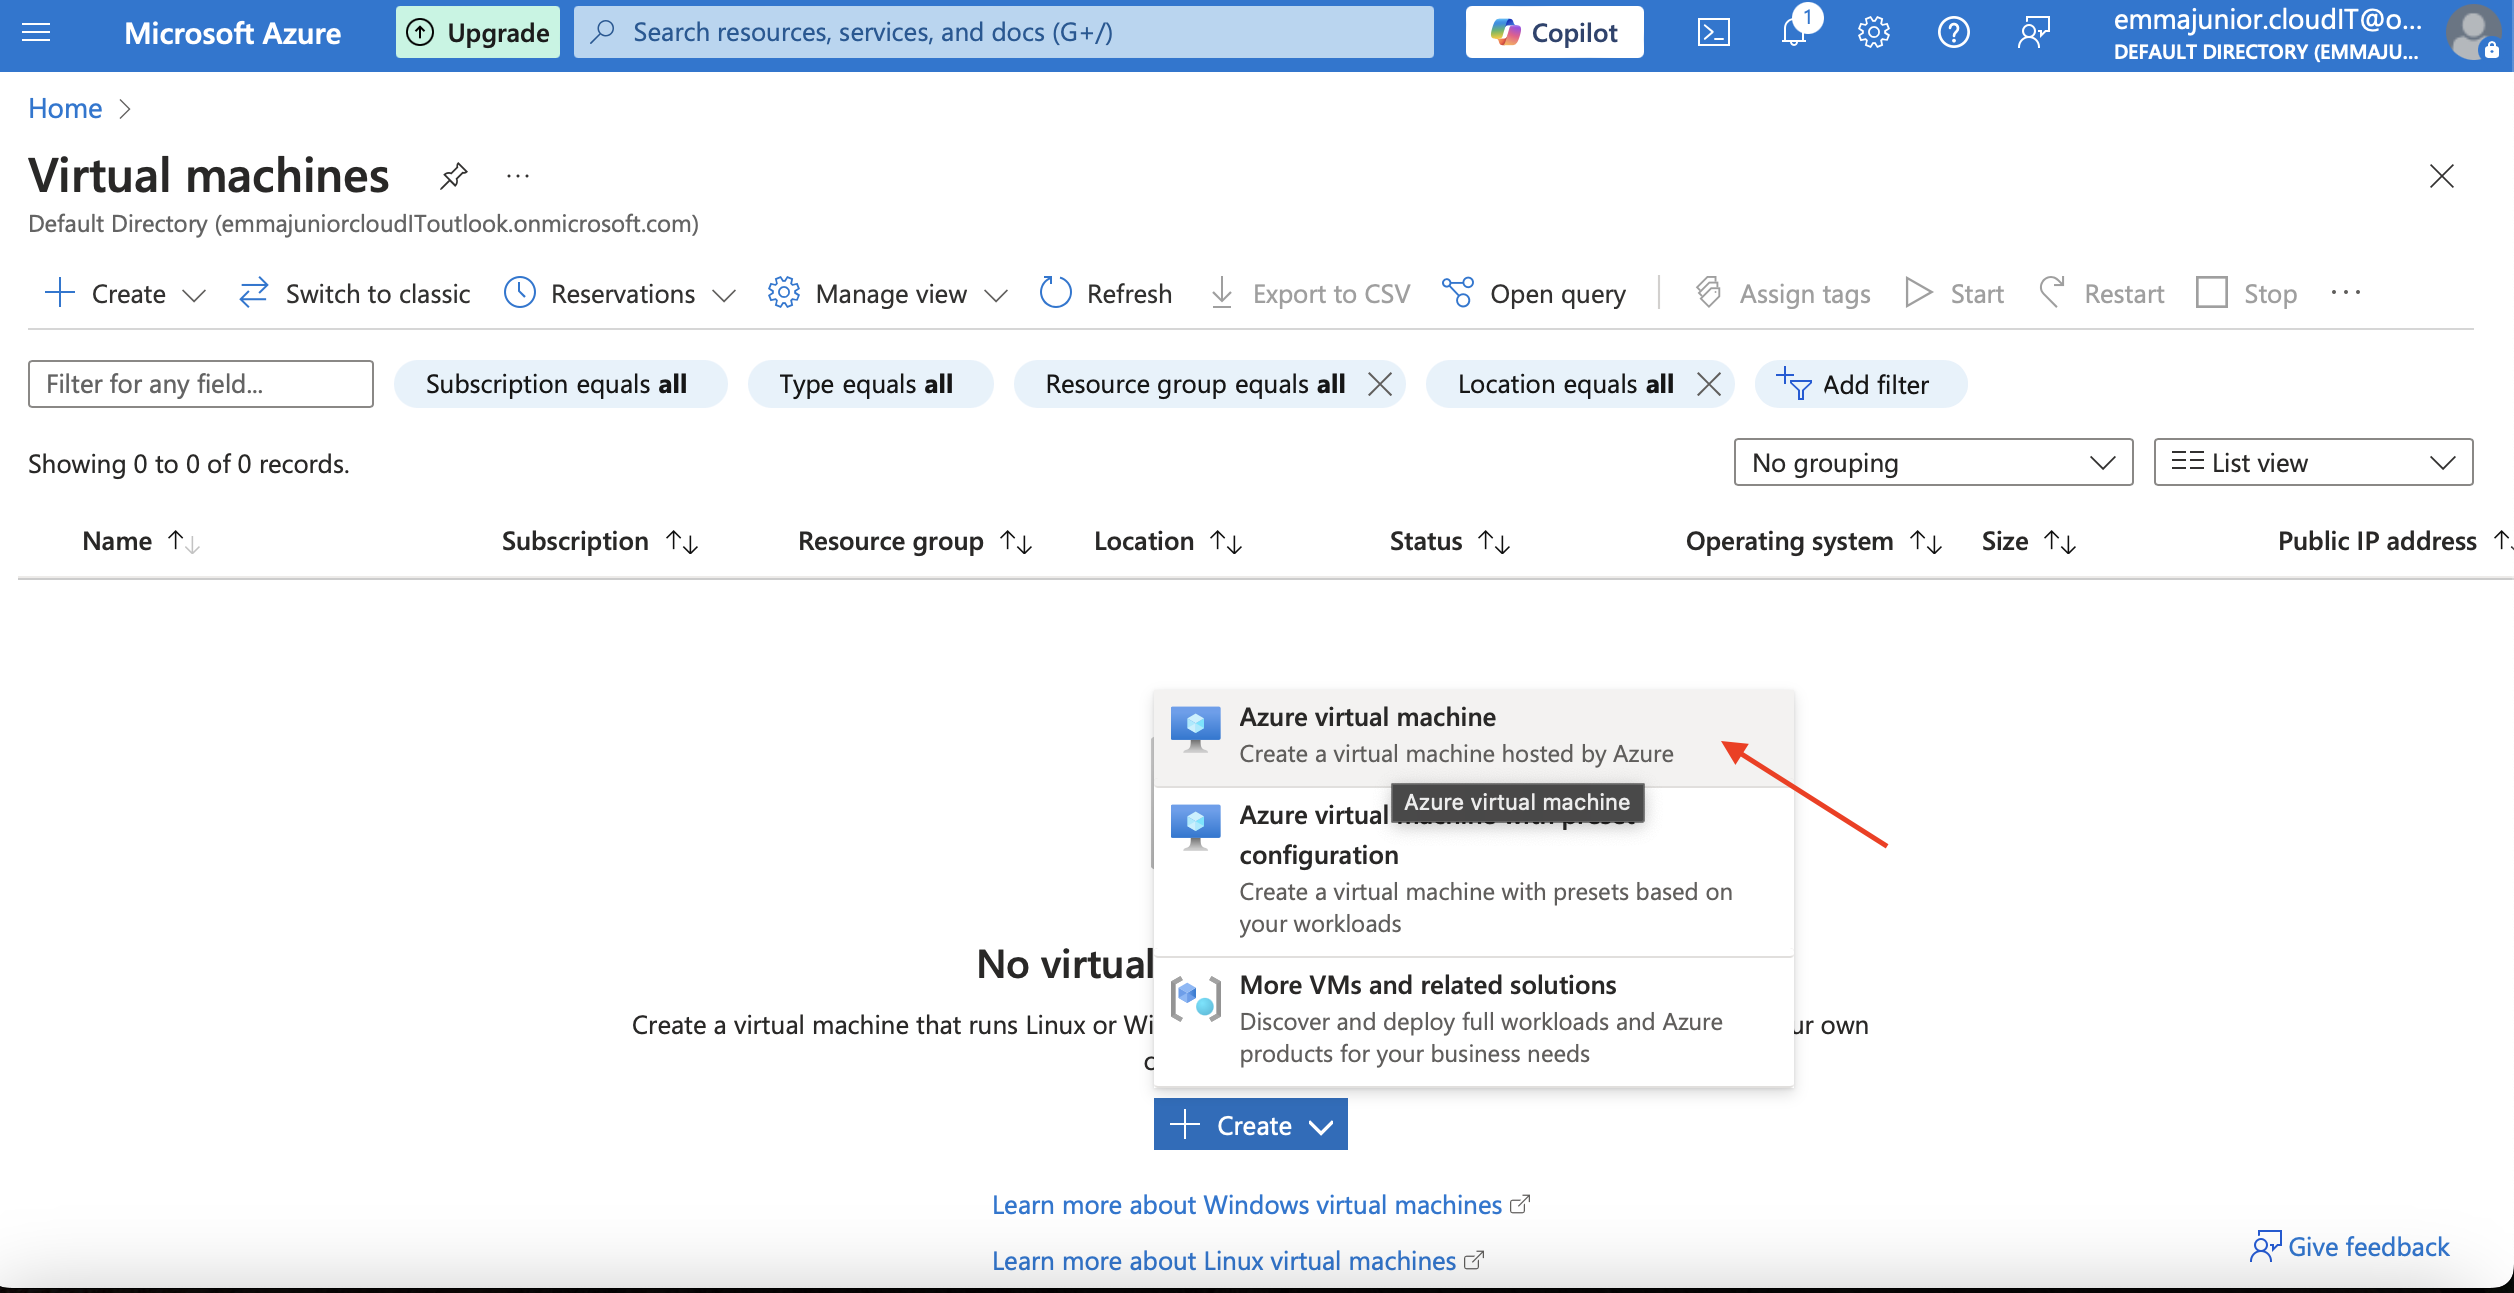
Step 3
Click on 'Create'

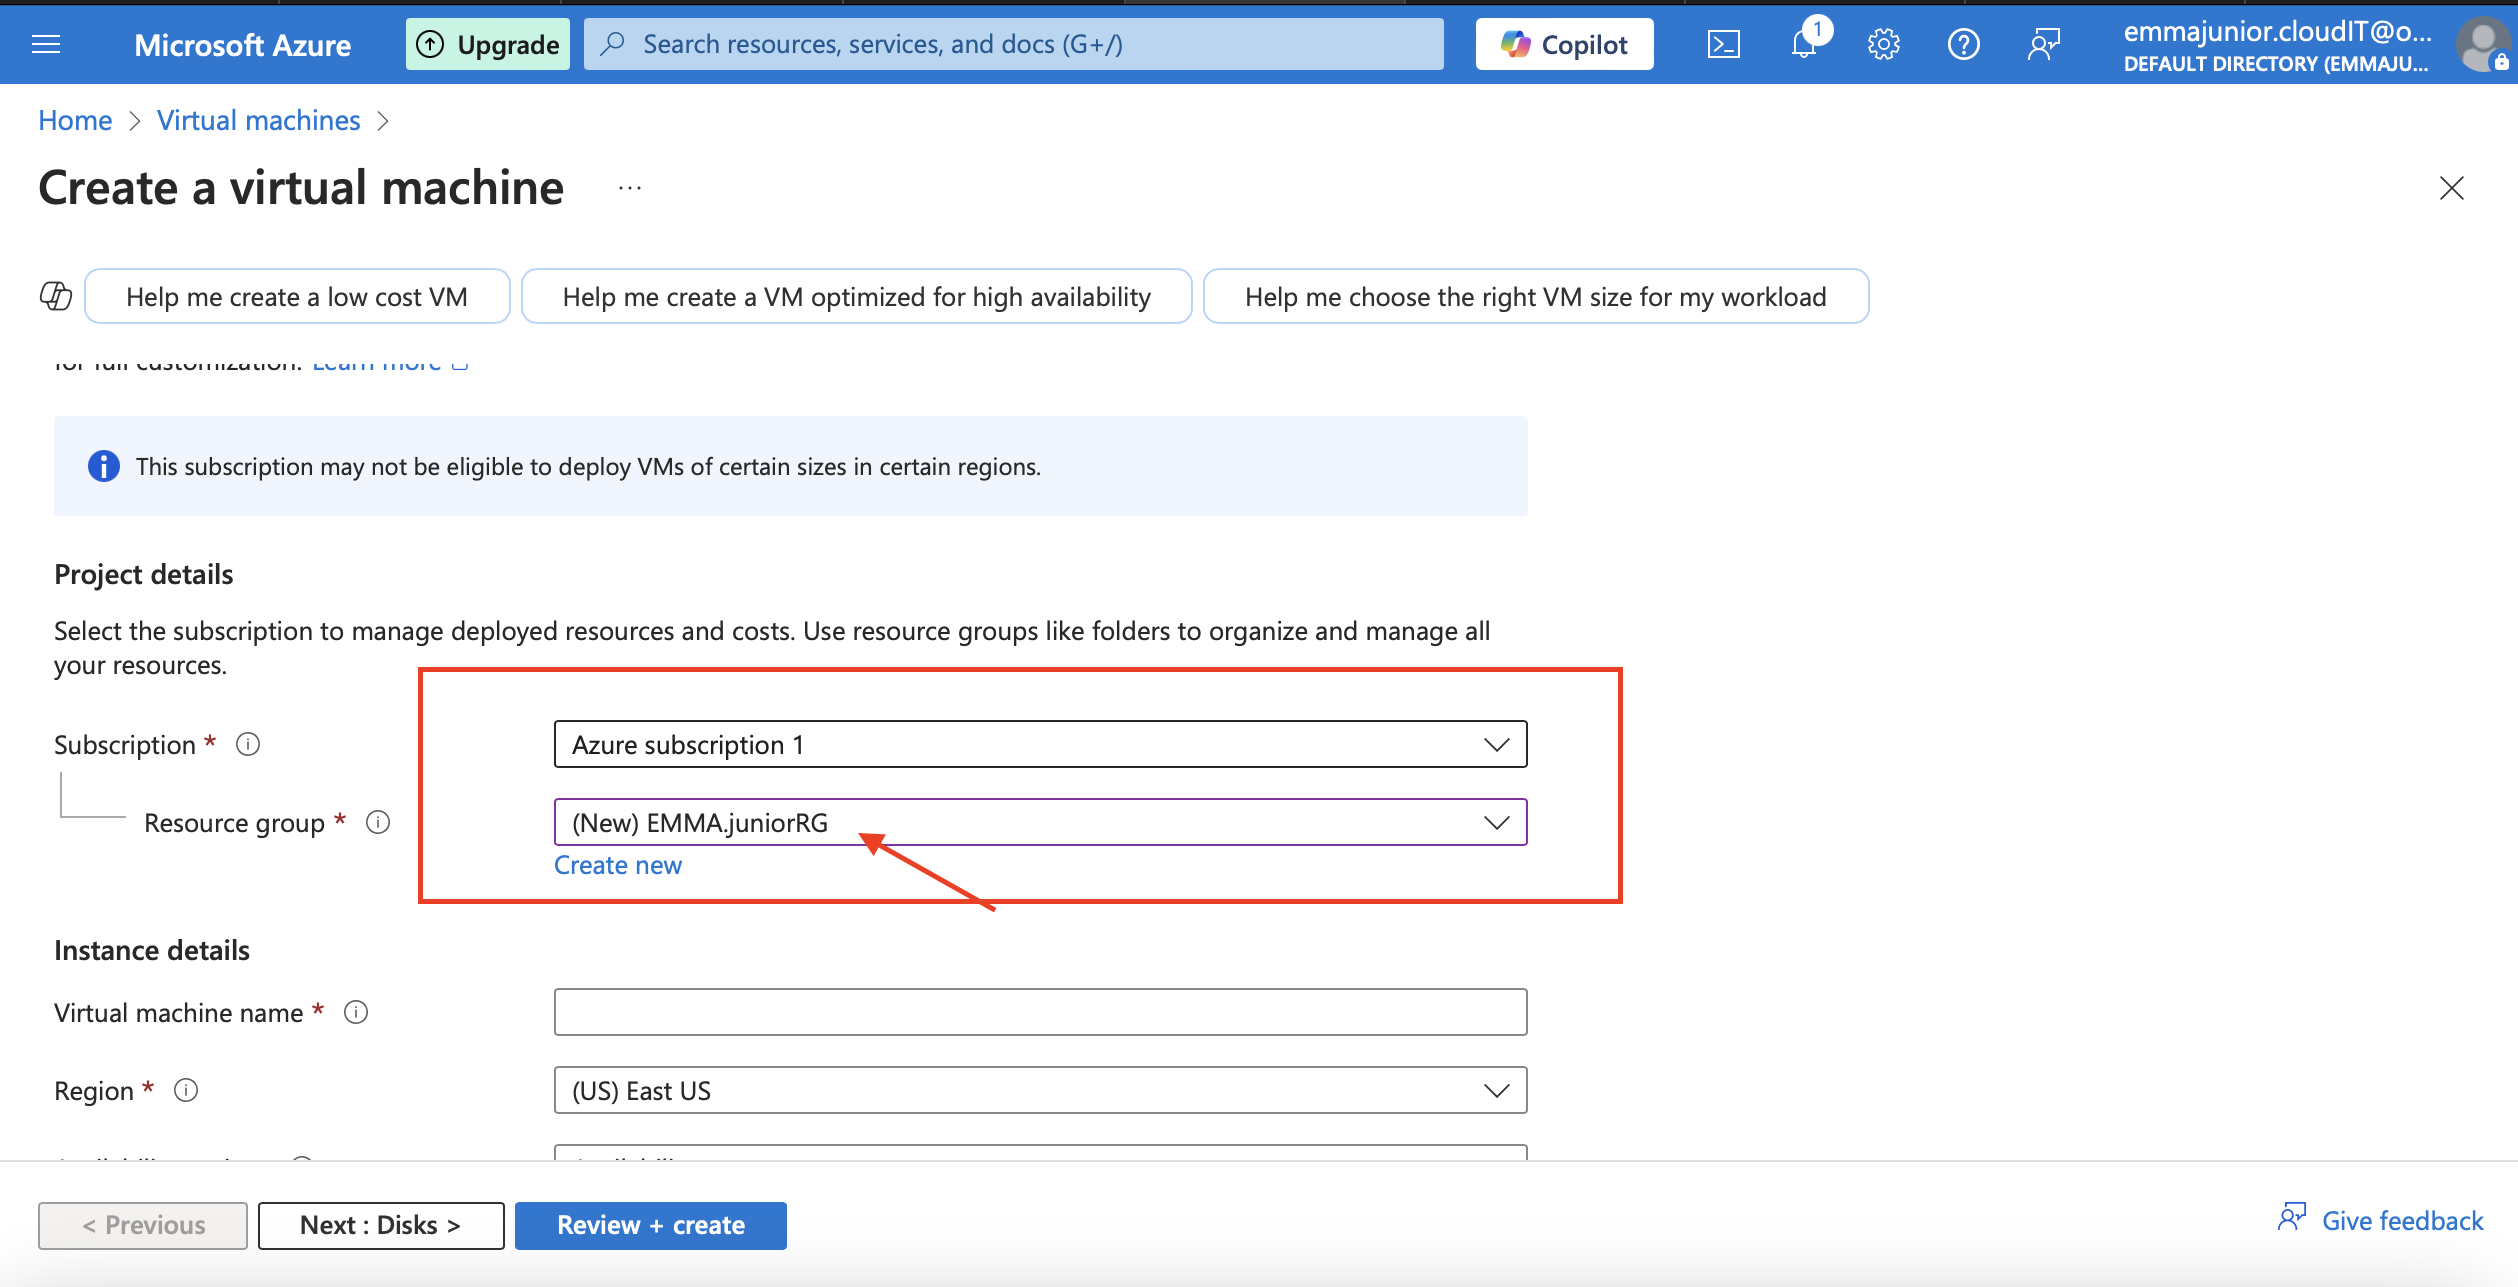
Step 4
In the 'Project details',under the 'Basic' choose or create a 'Resource group.
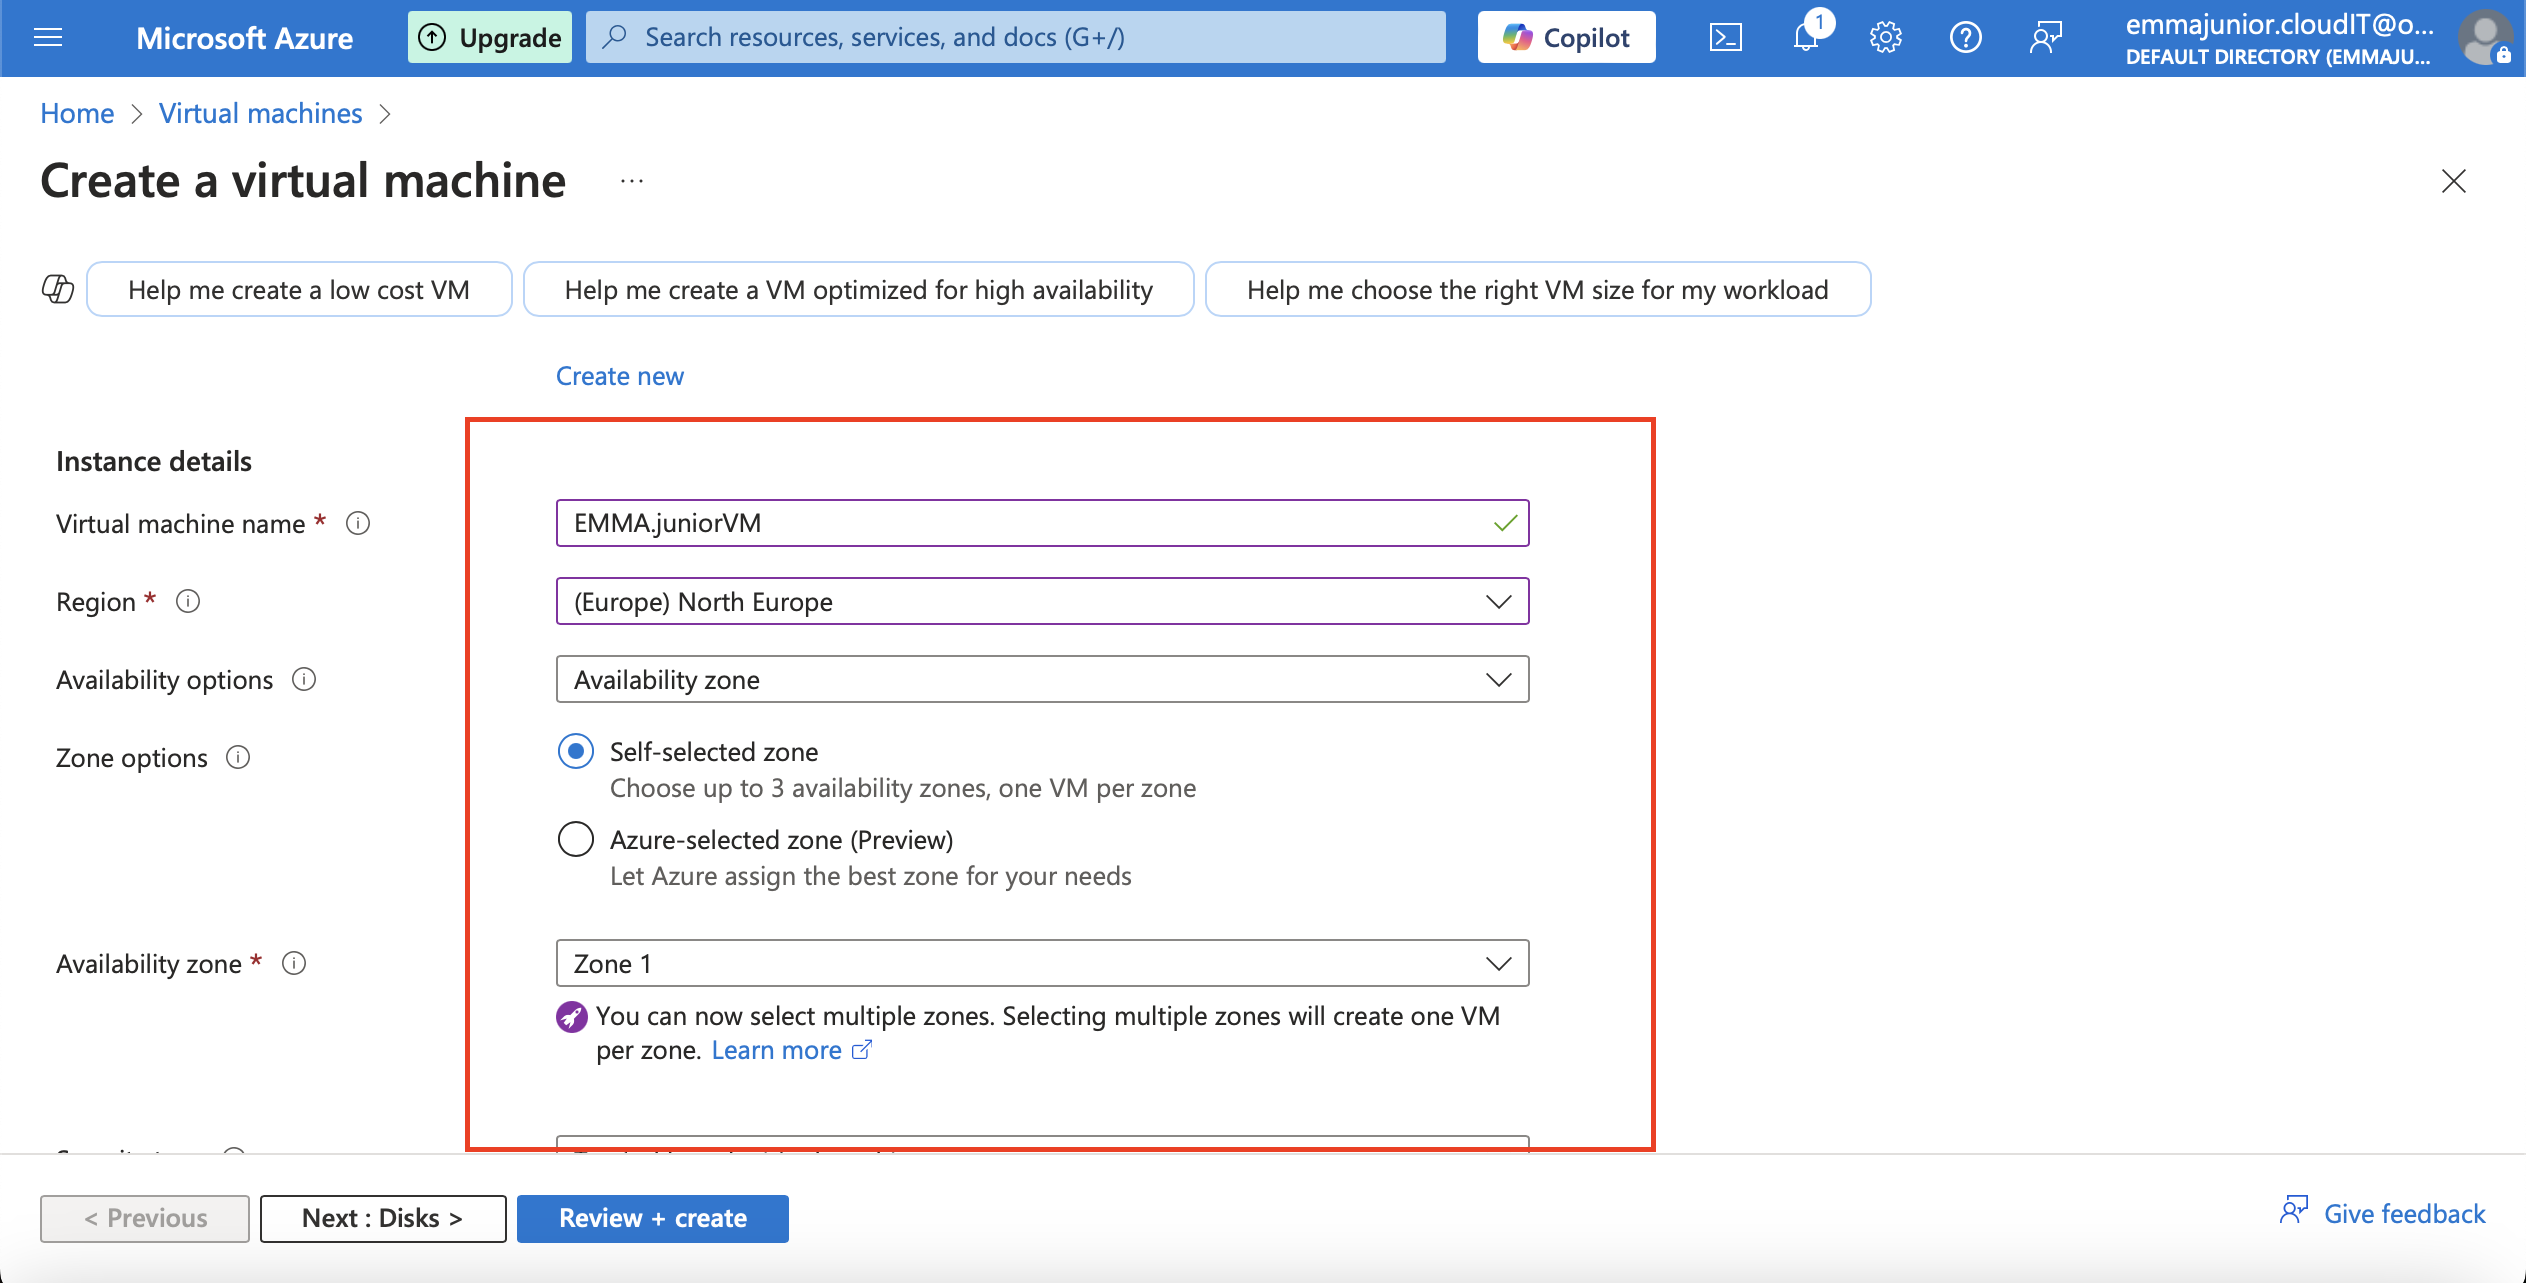
Step 5
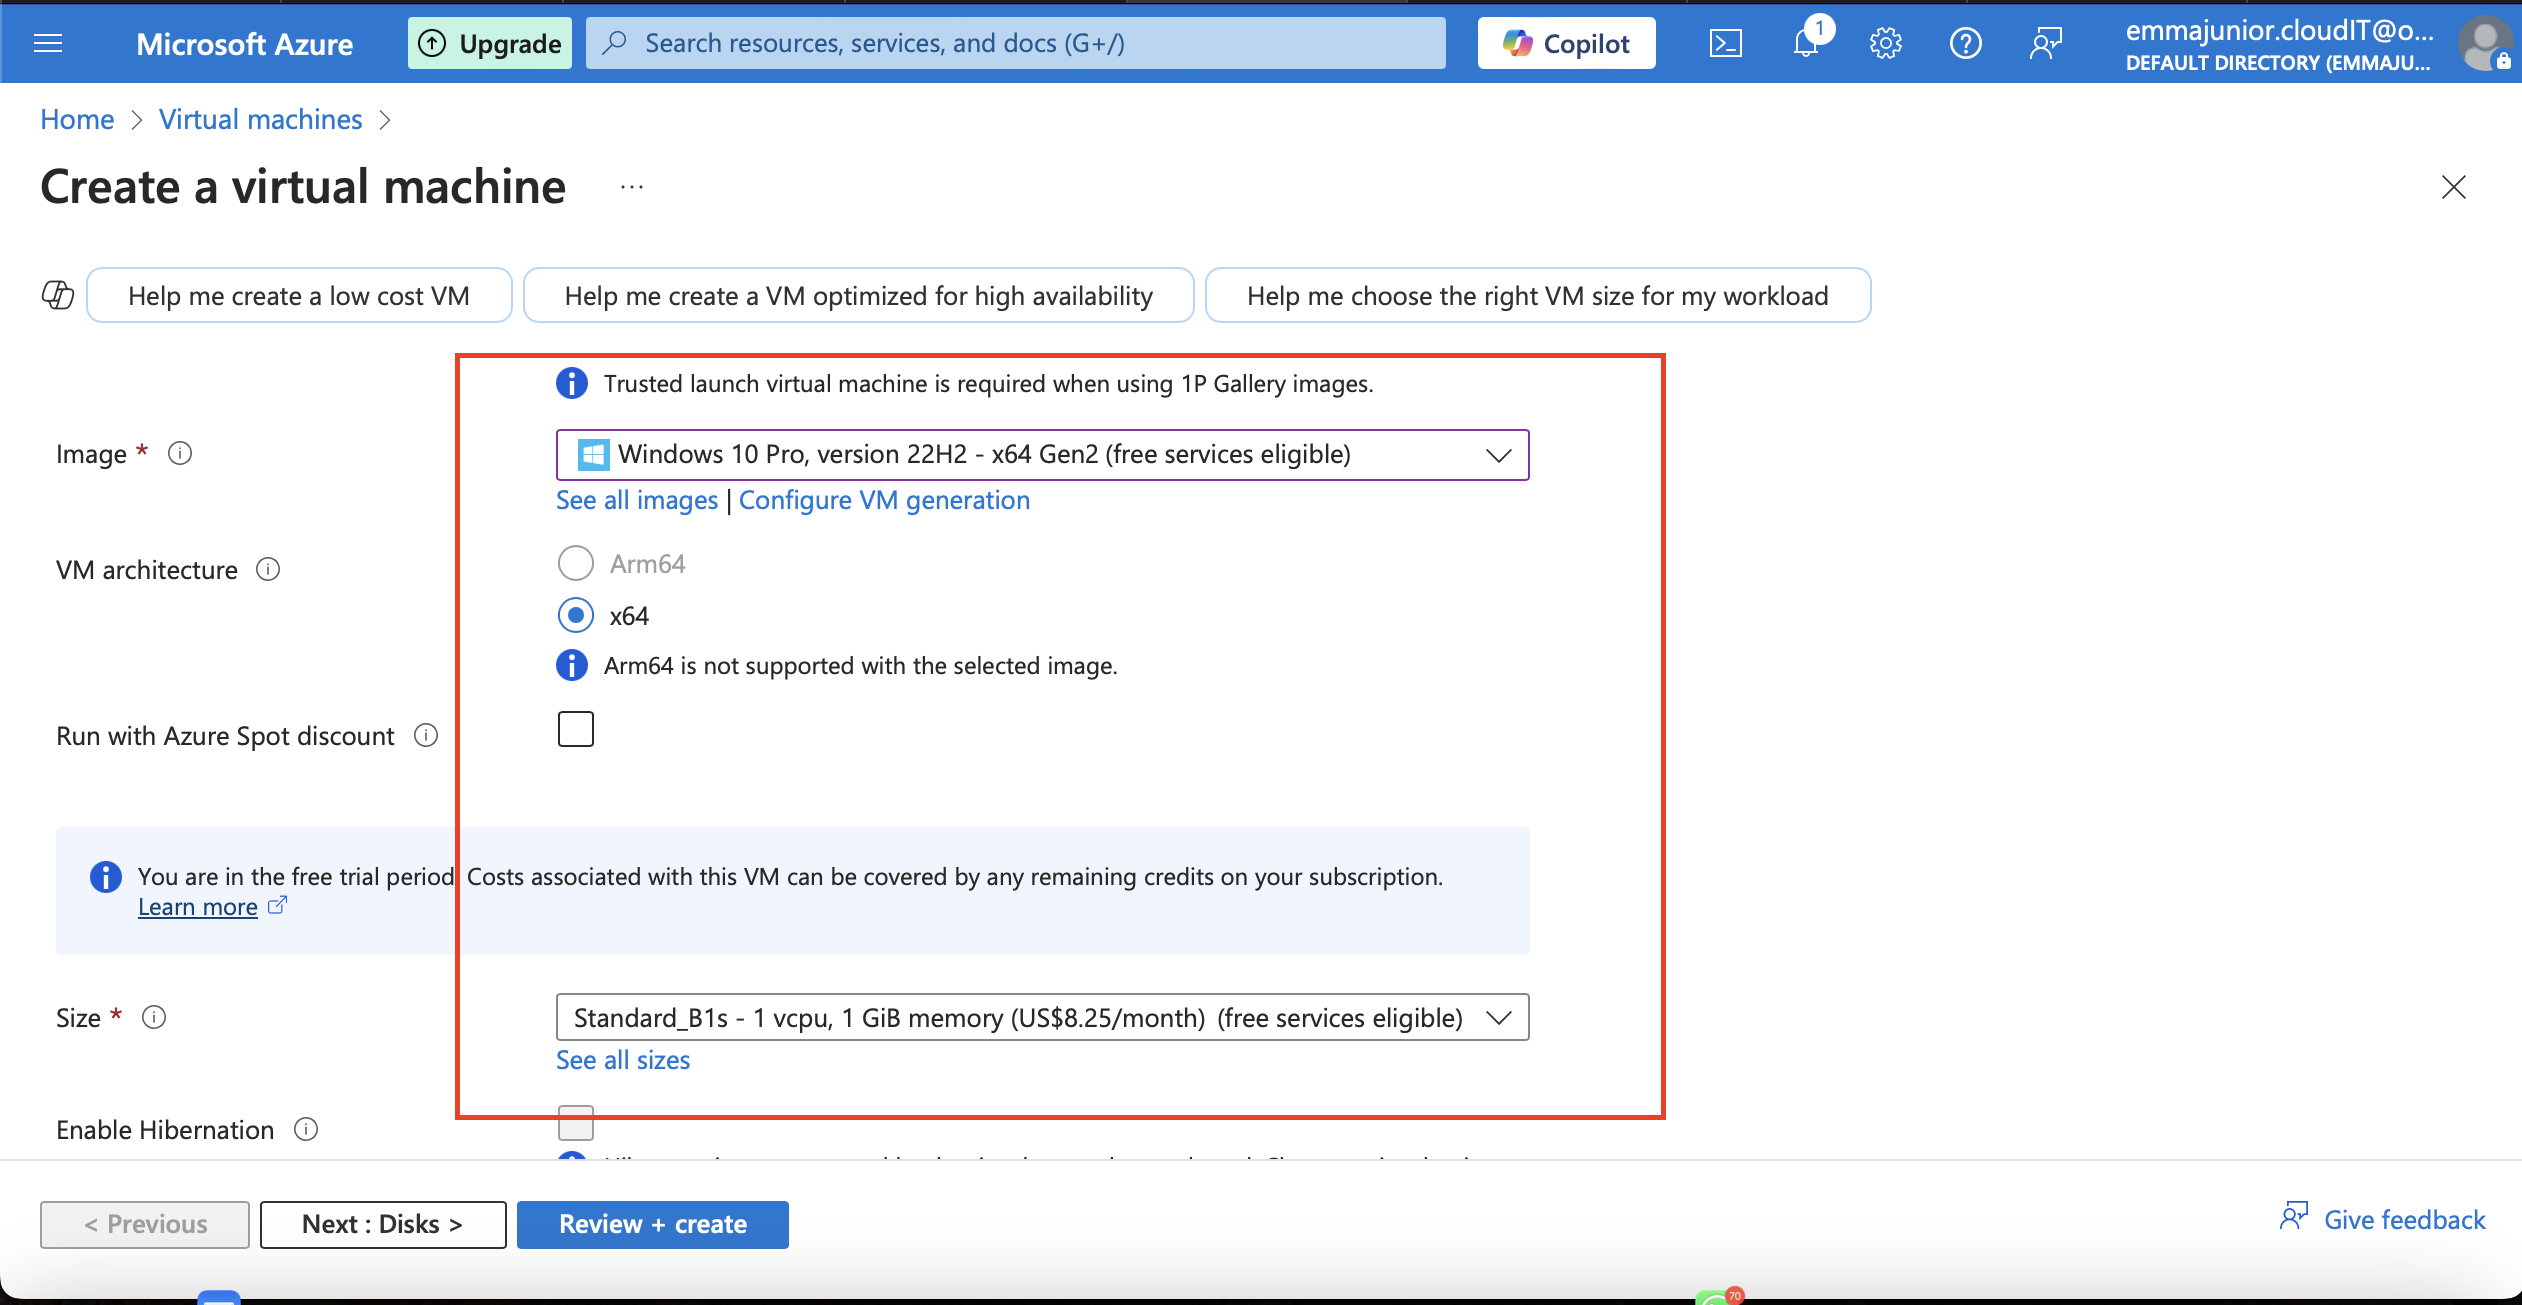
In the 'Instance details'.under the 'Basic' create the name go the virtual machine, choose the region, the availability zone, image and size.
Step 6
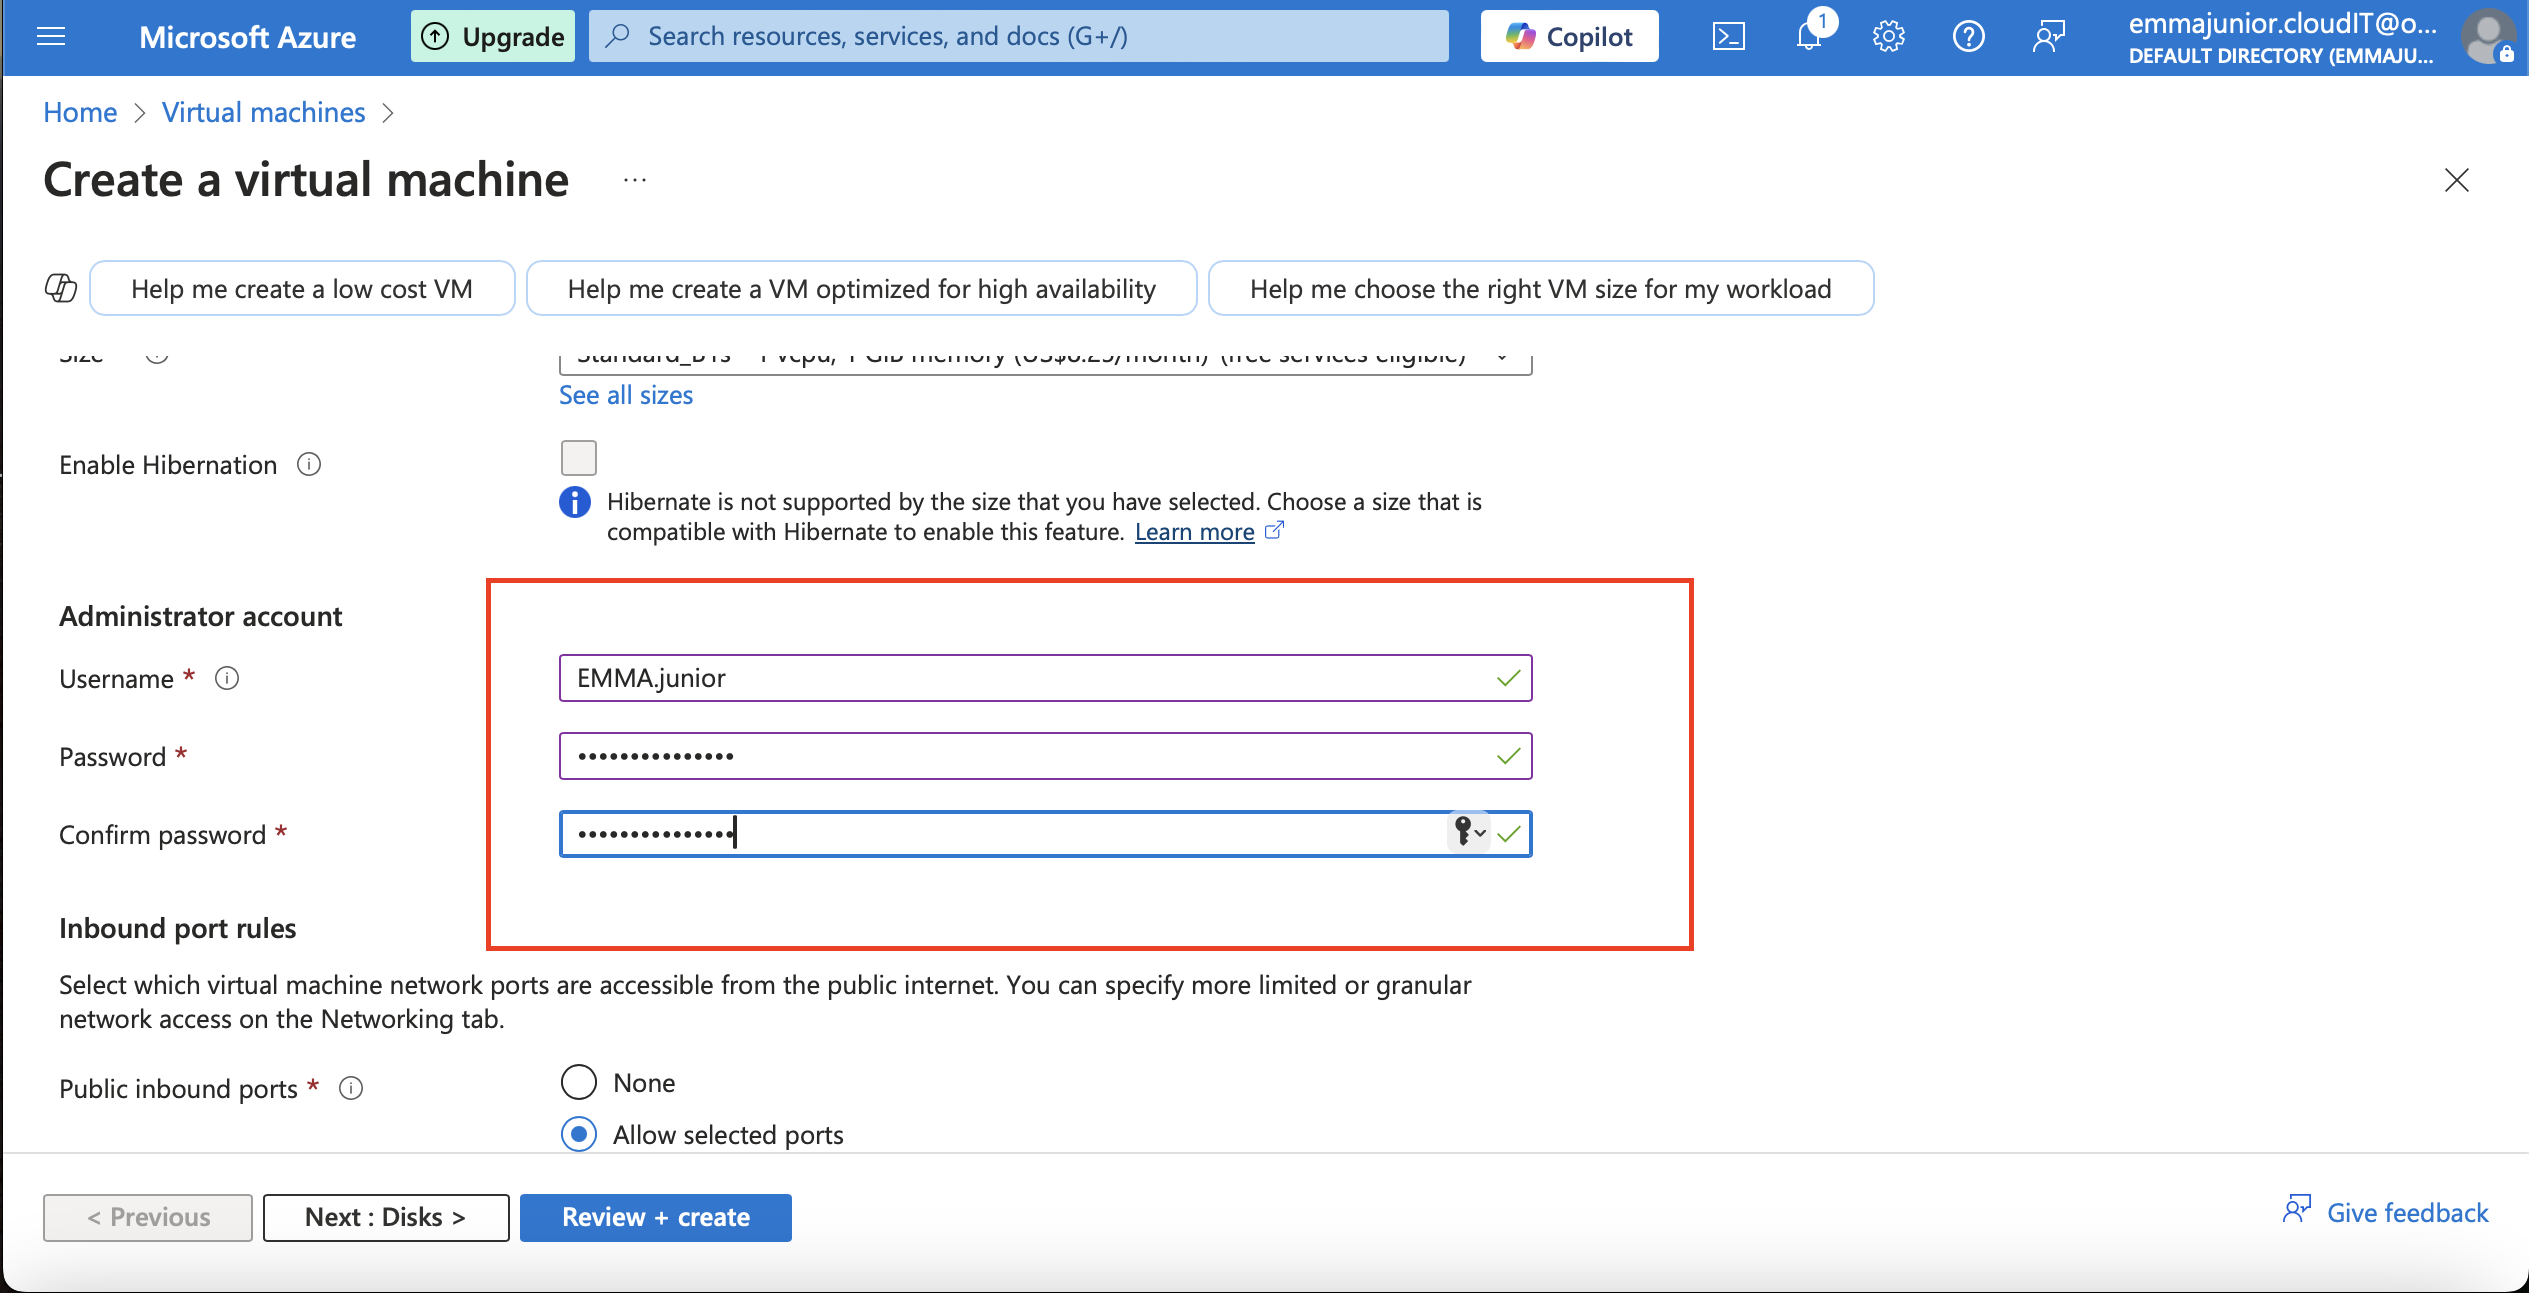
Under Administrator account, choose the username and the password.
Step 7
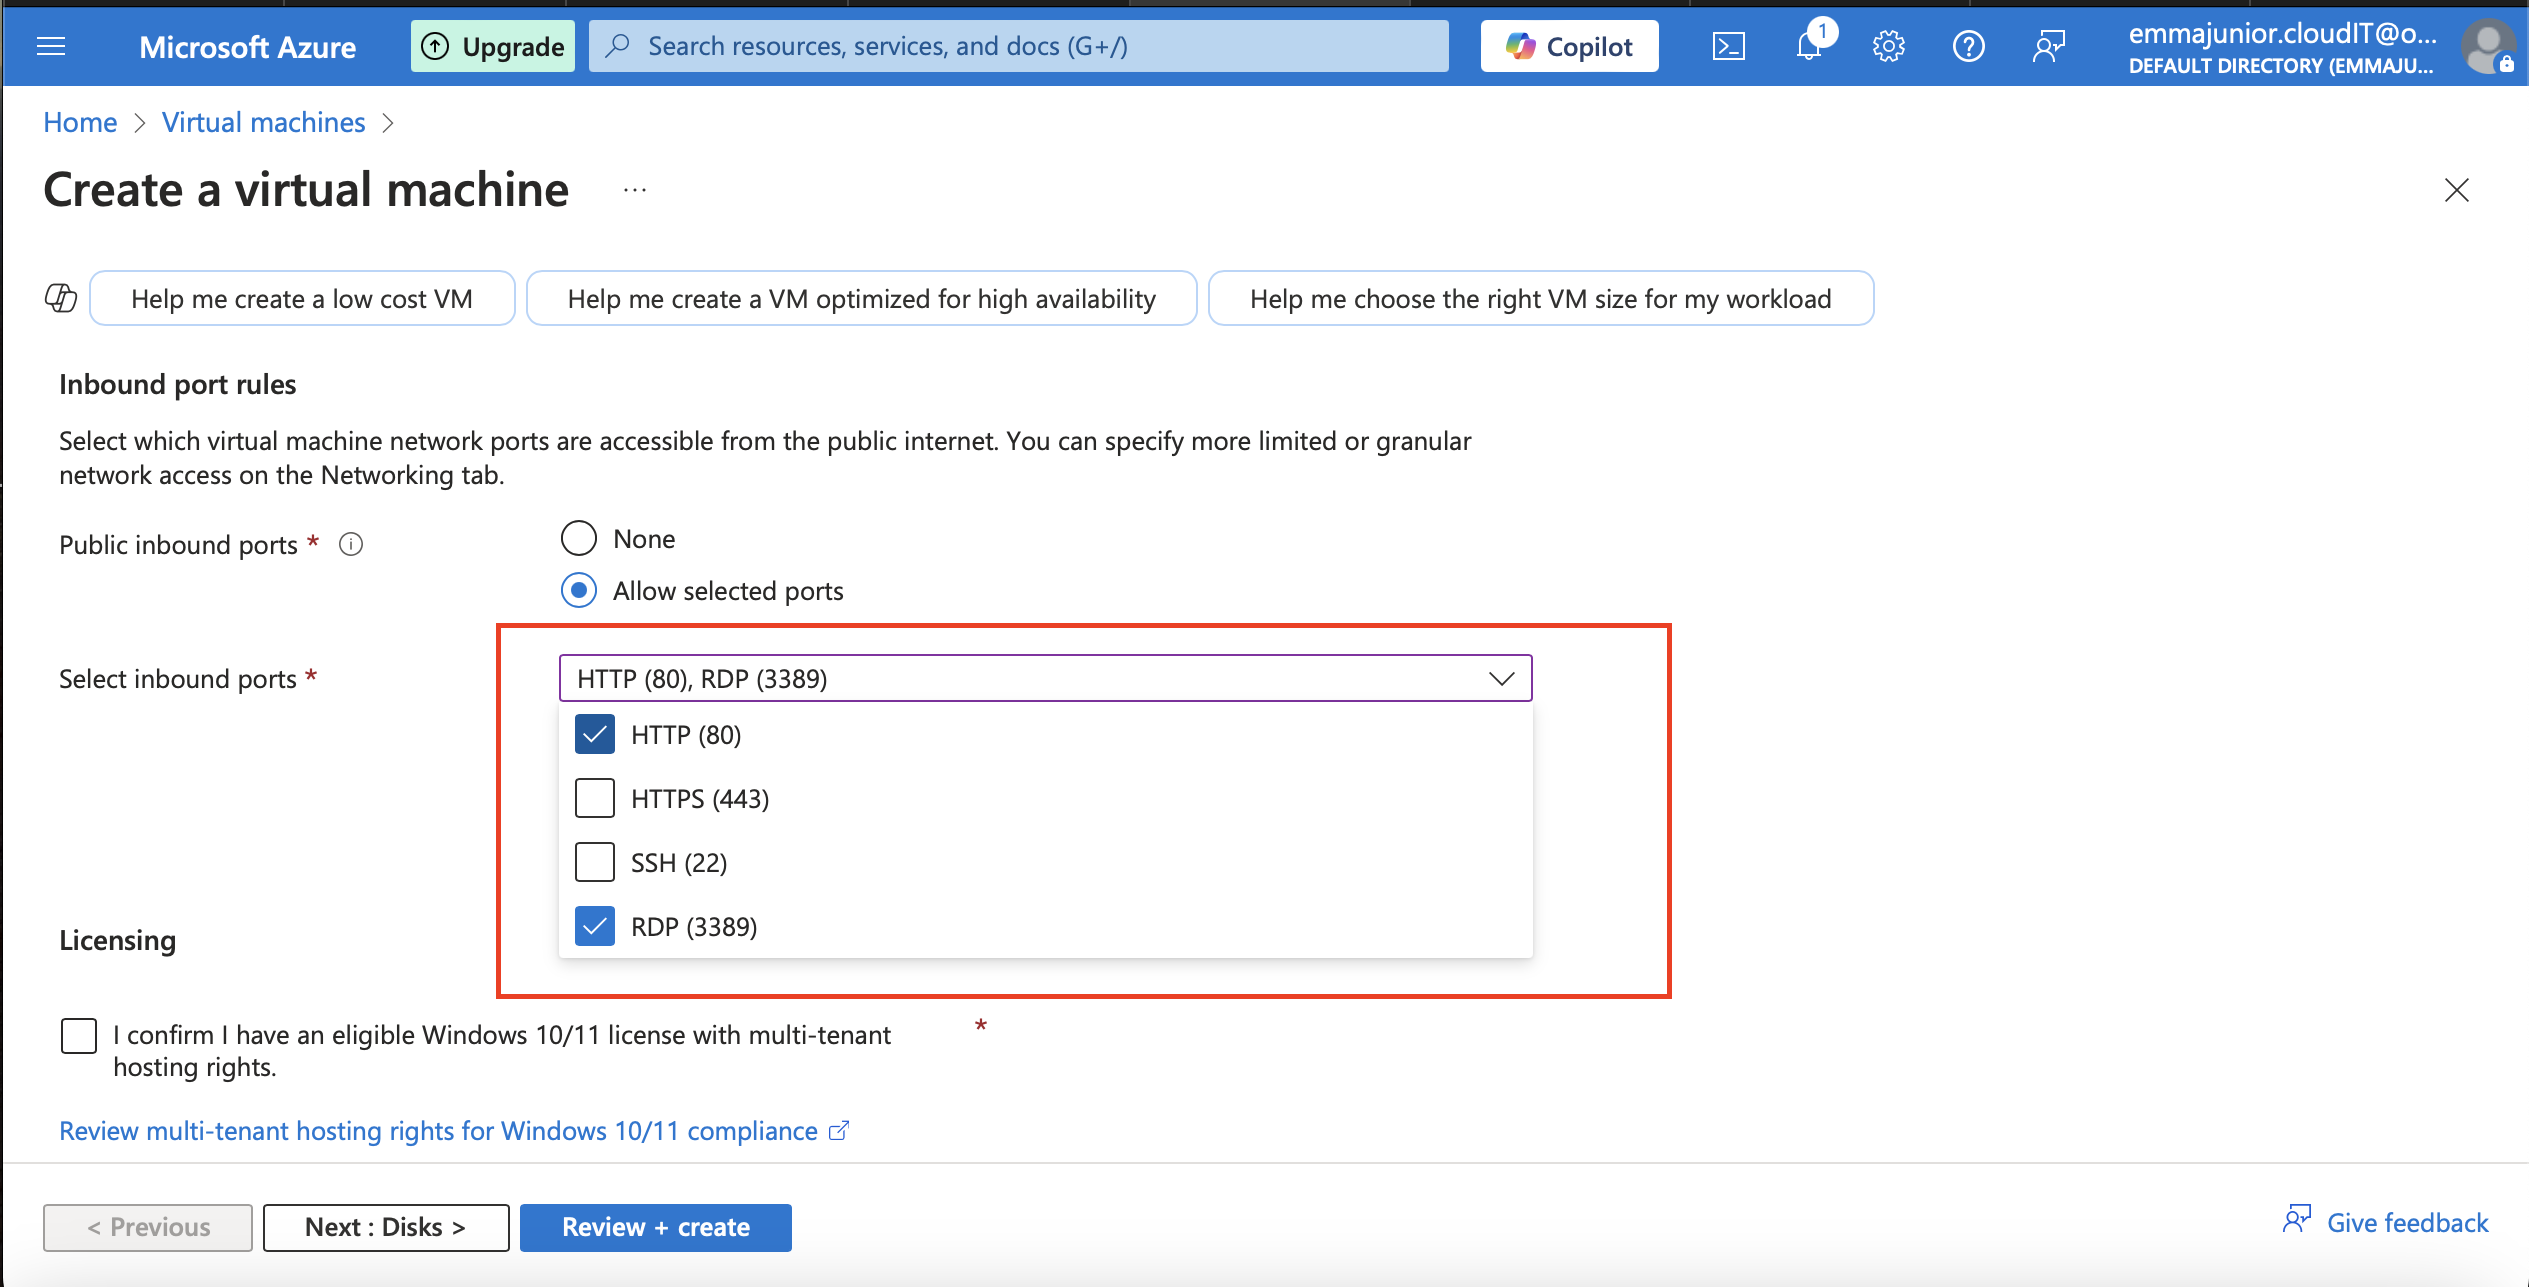
Select your Inbound ports.
Step 8
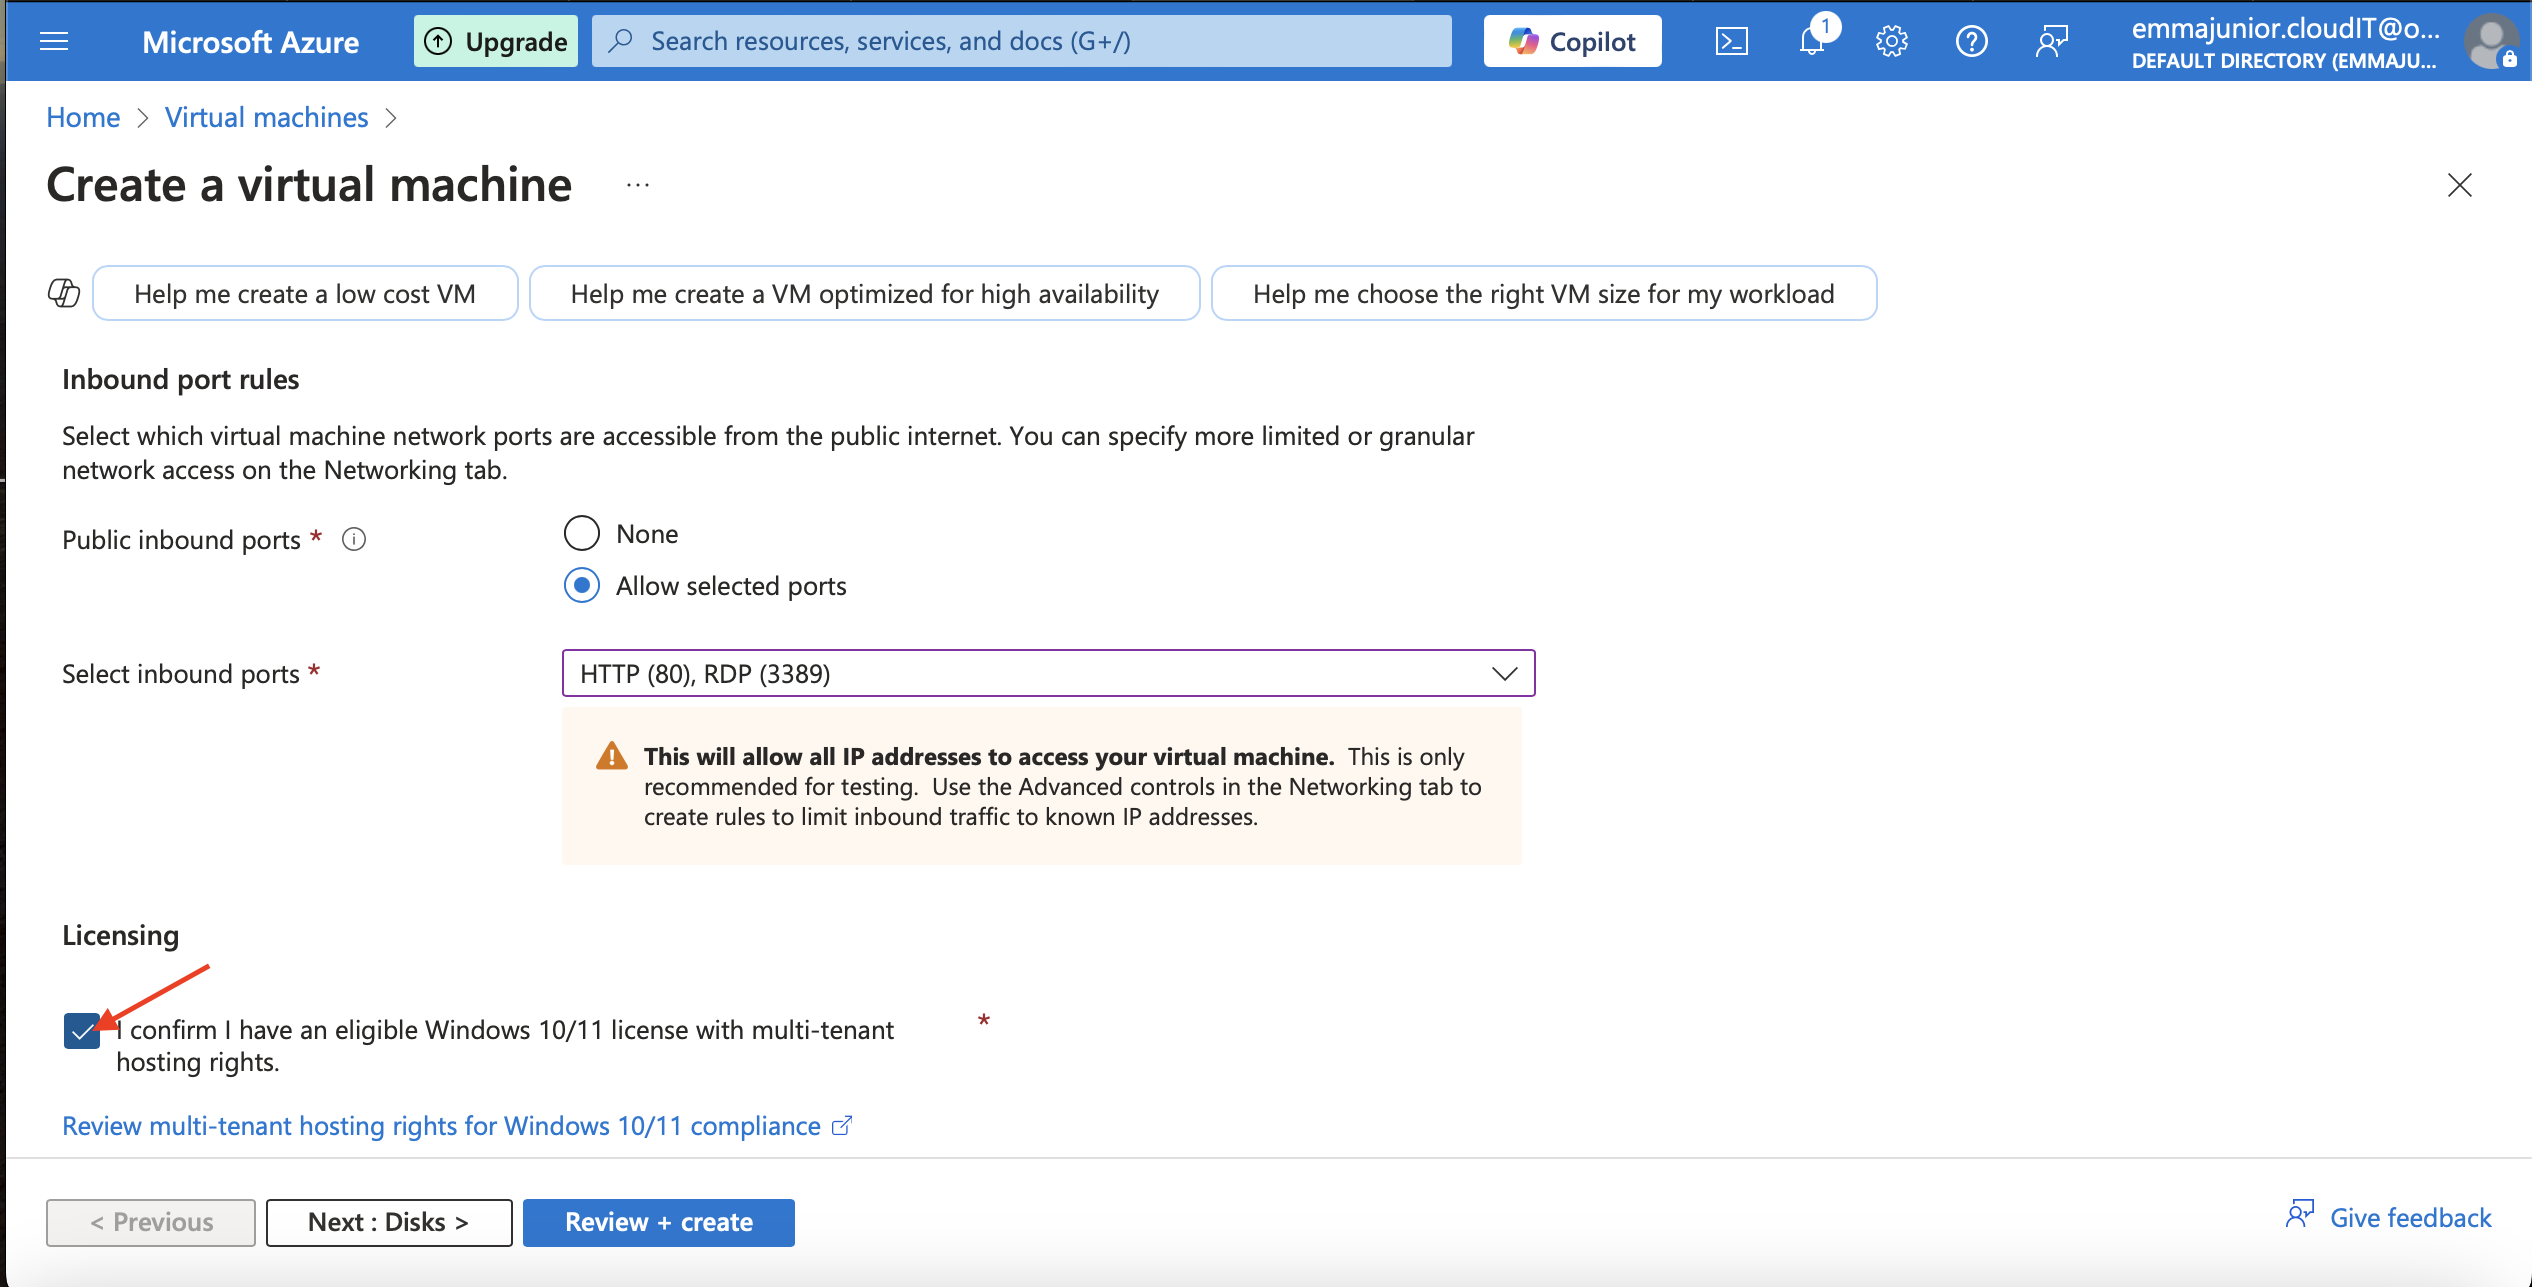
Check/tick on Licensing.
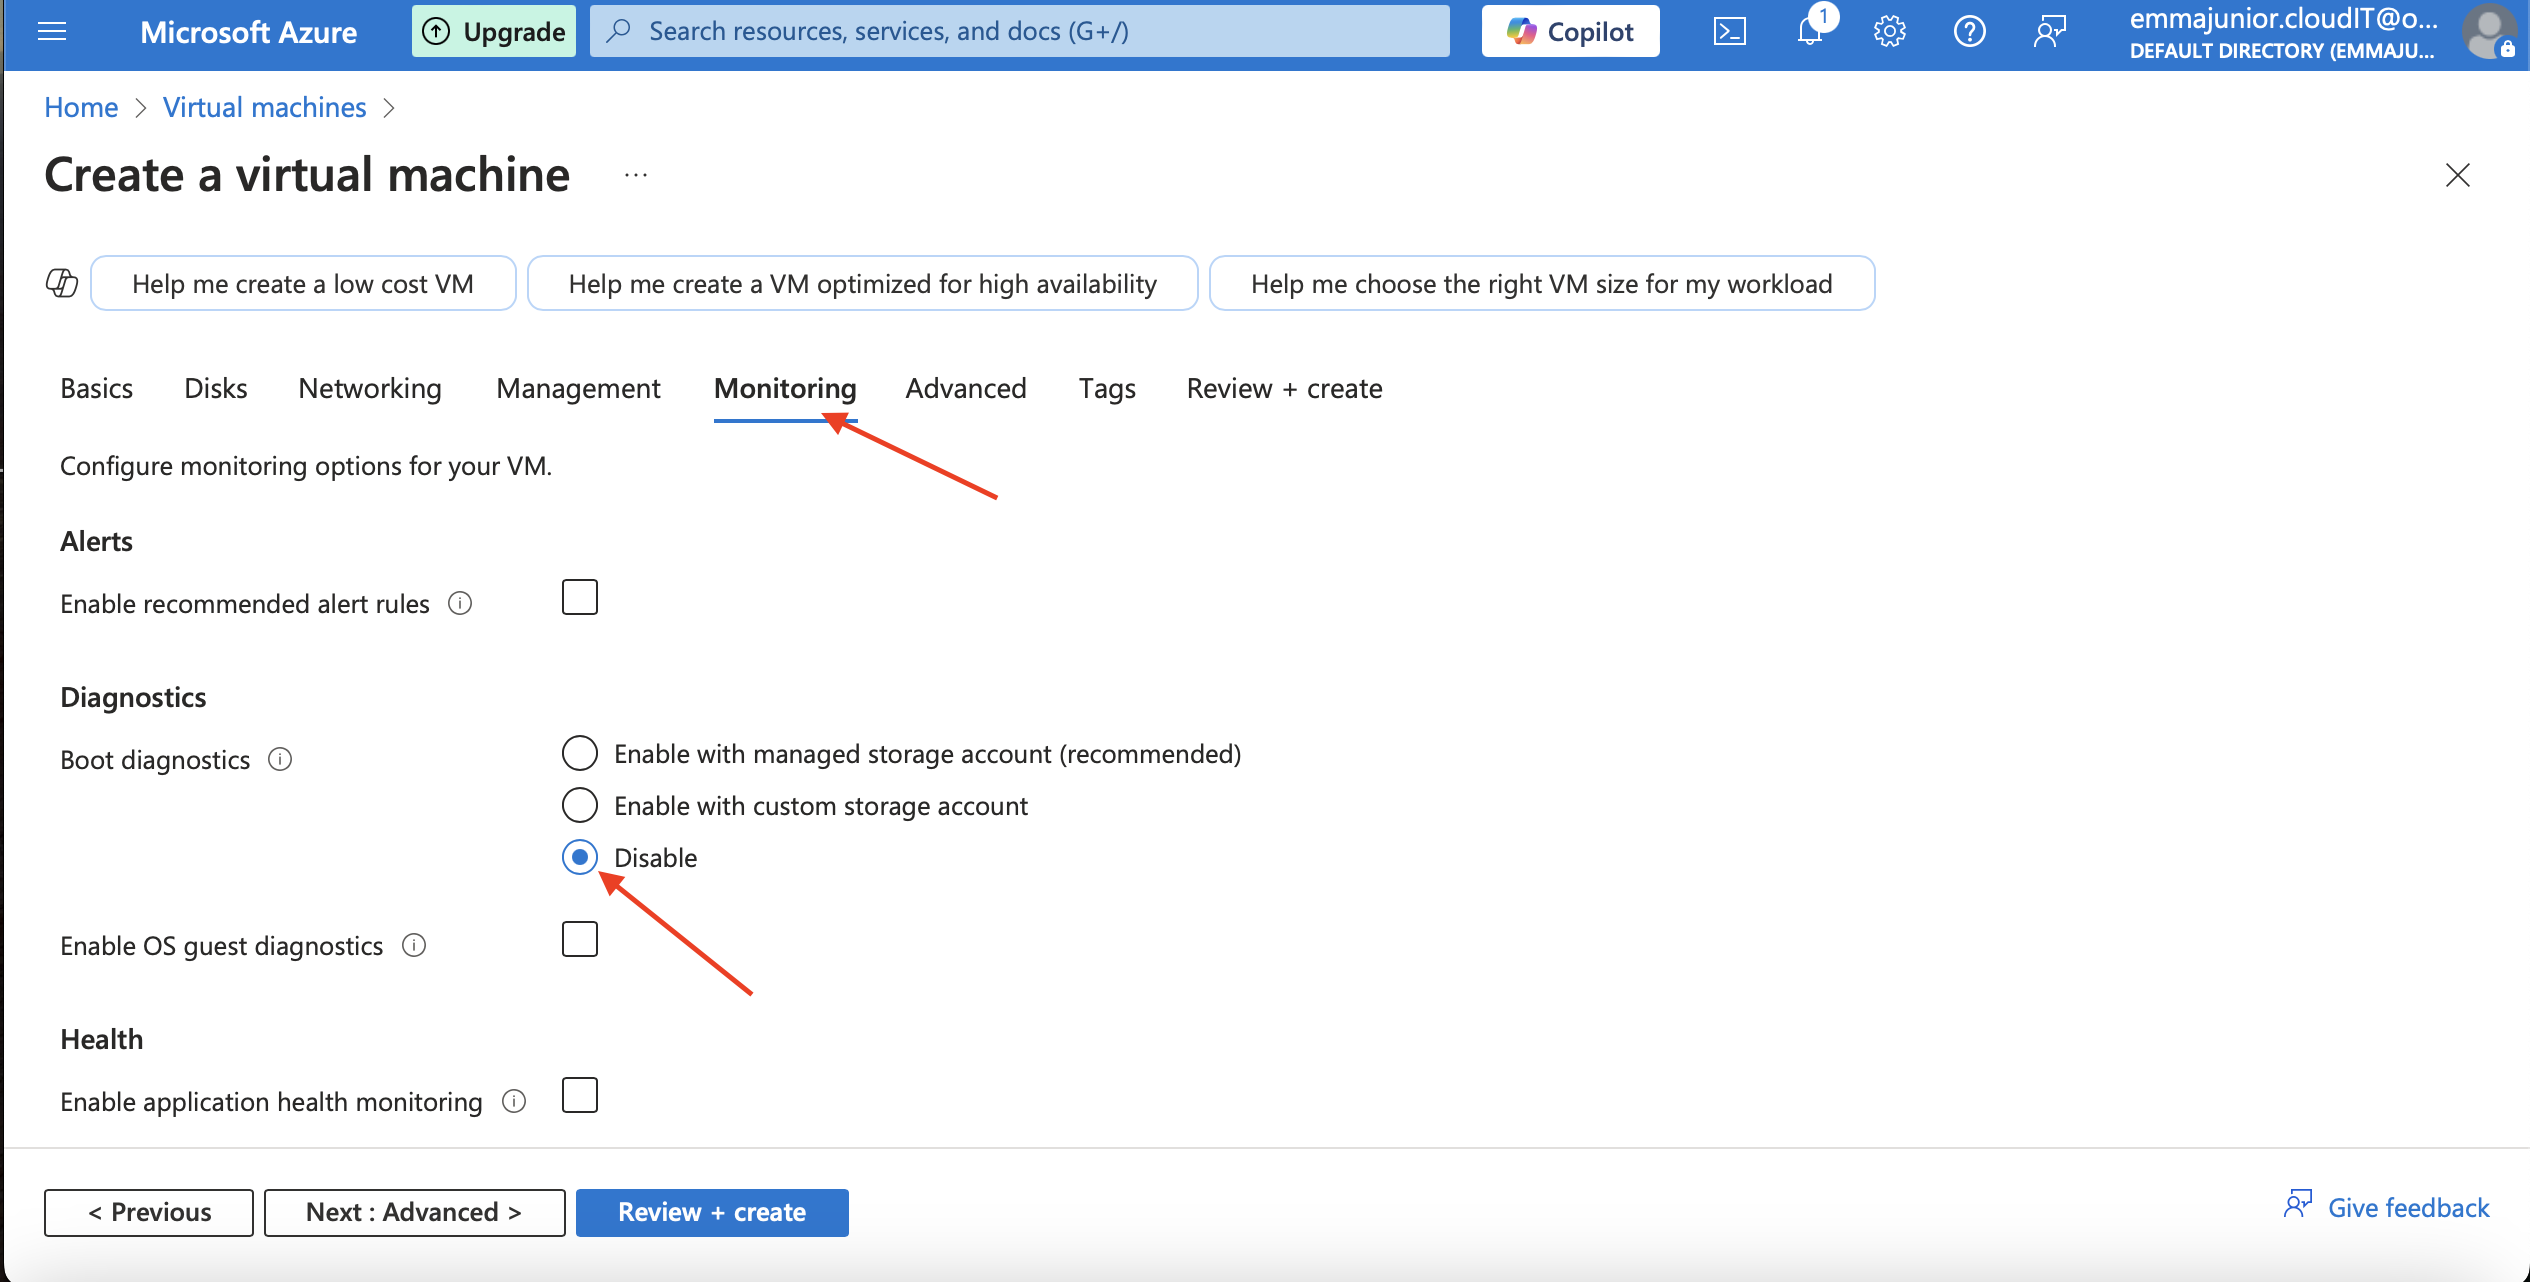
Step 9
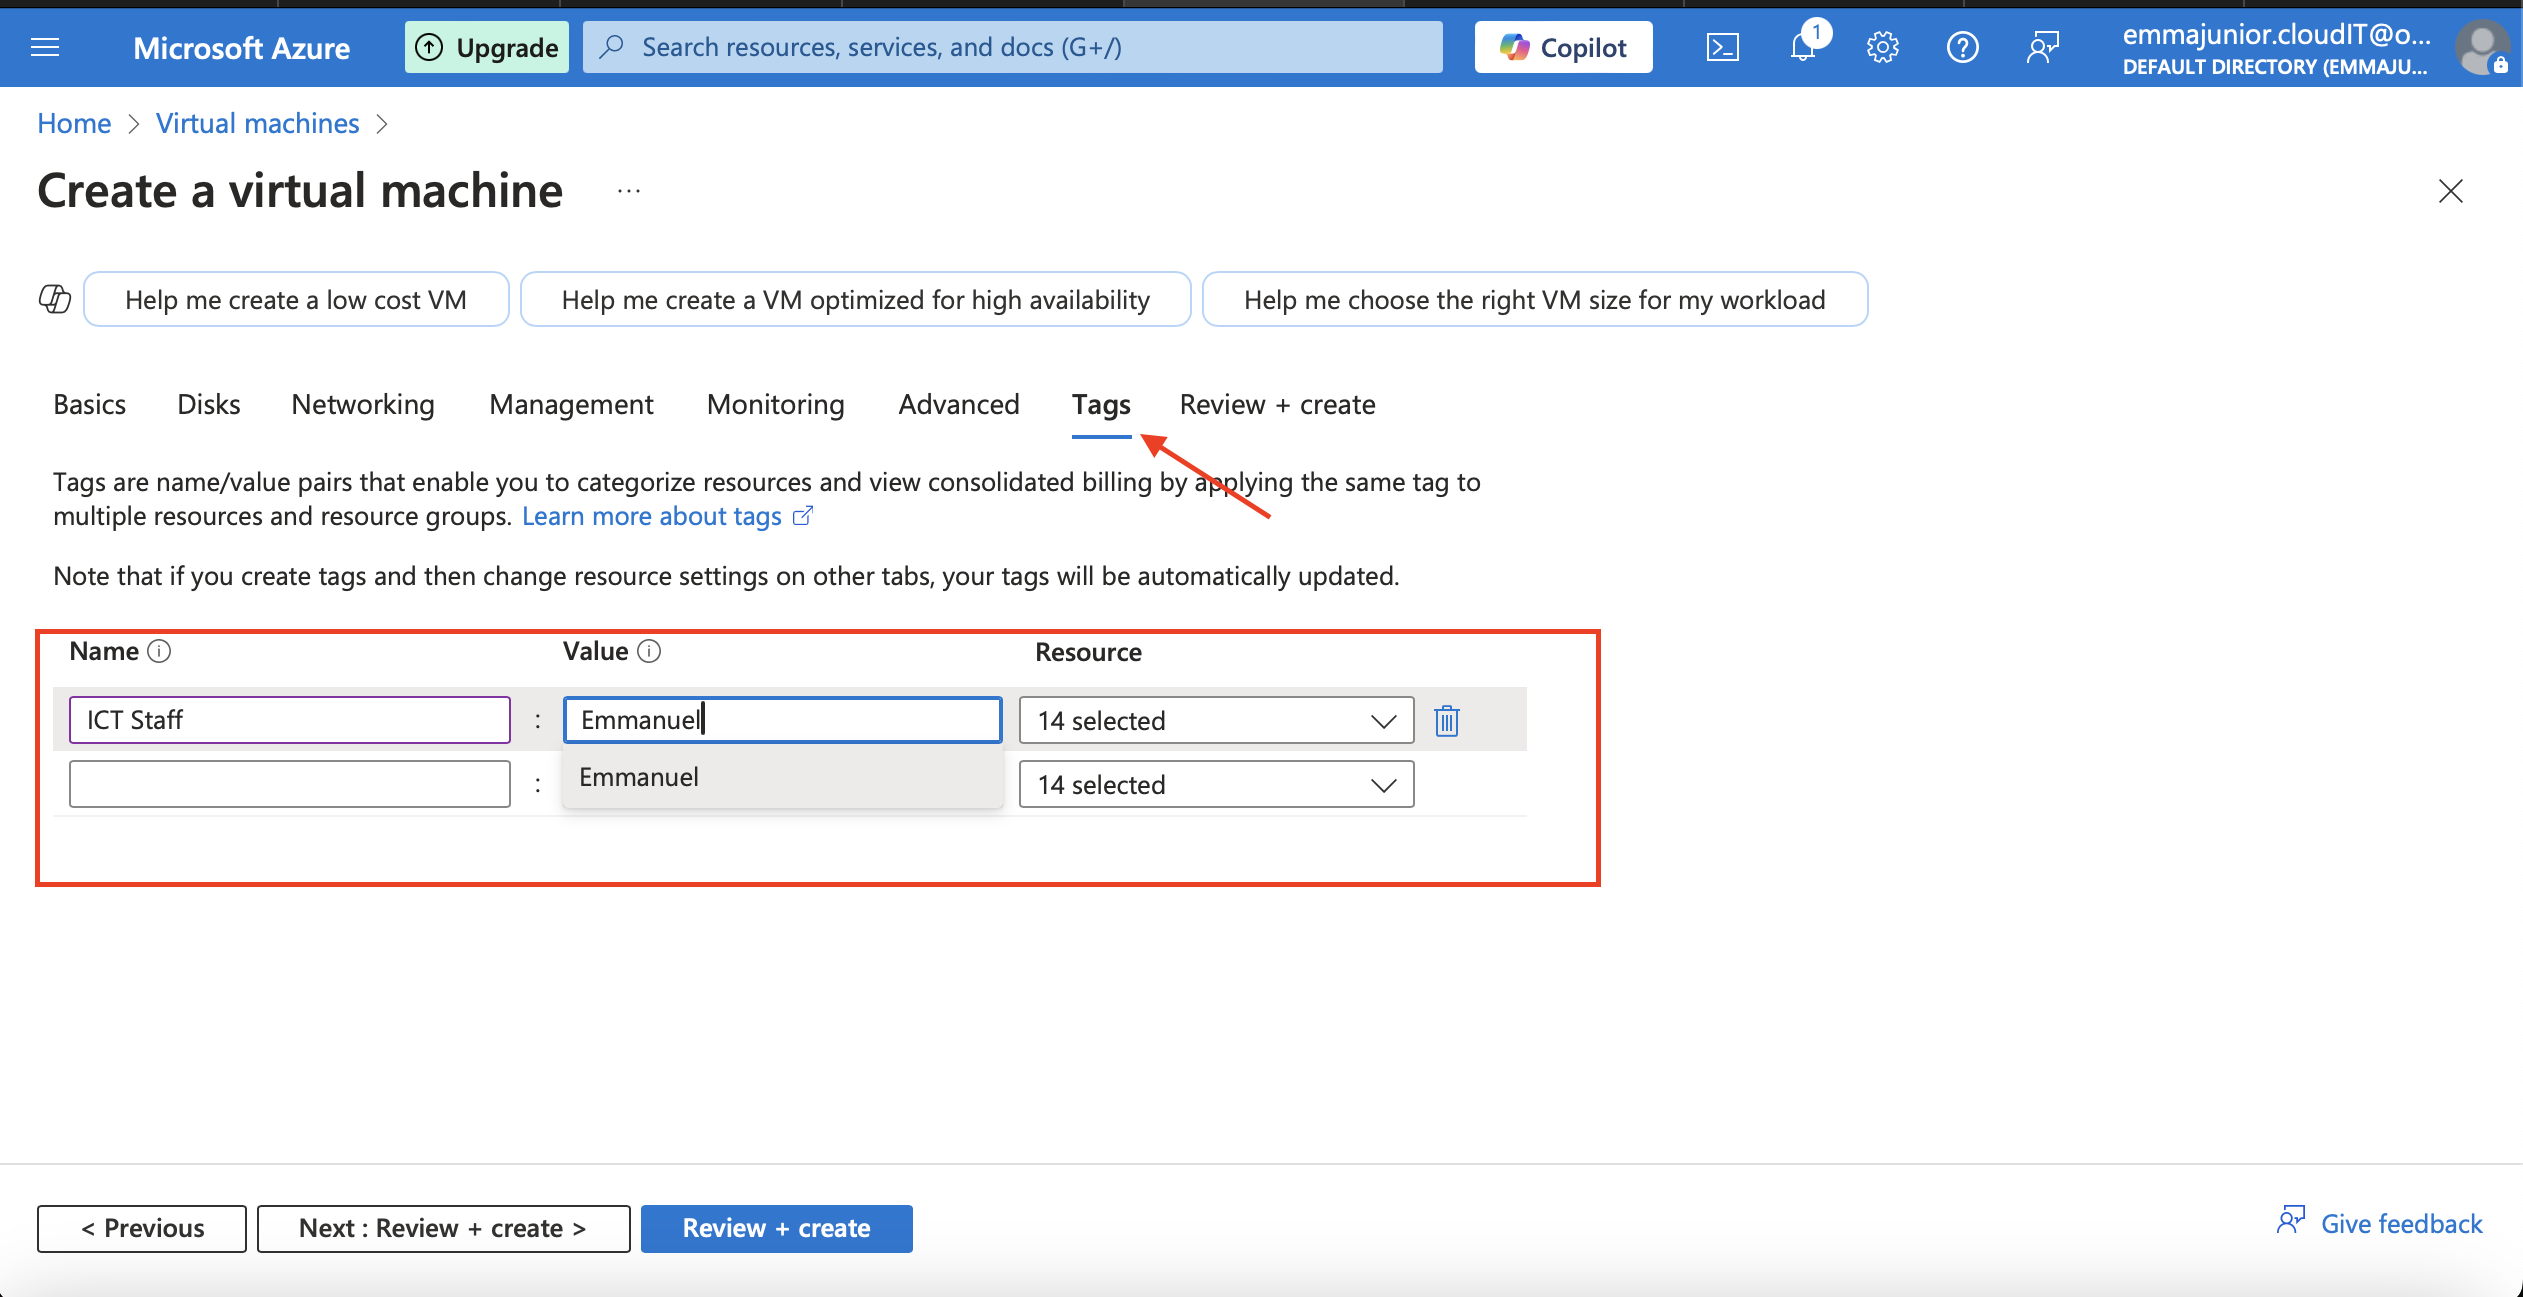
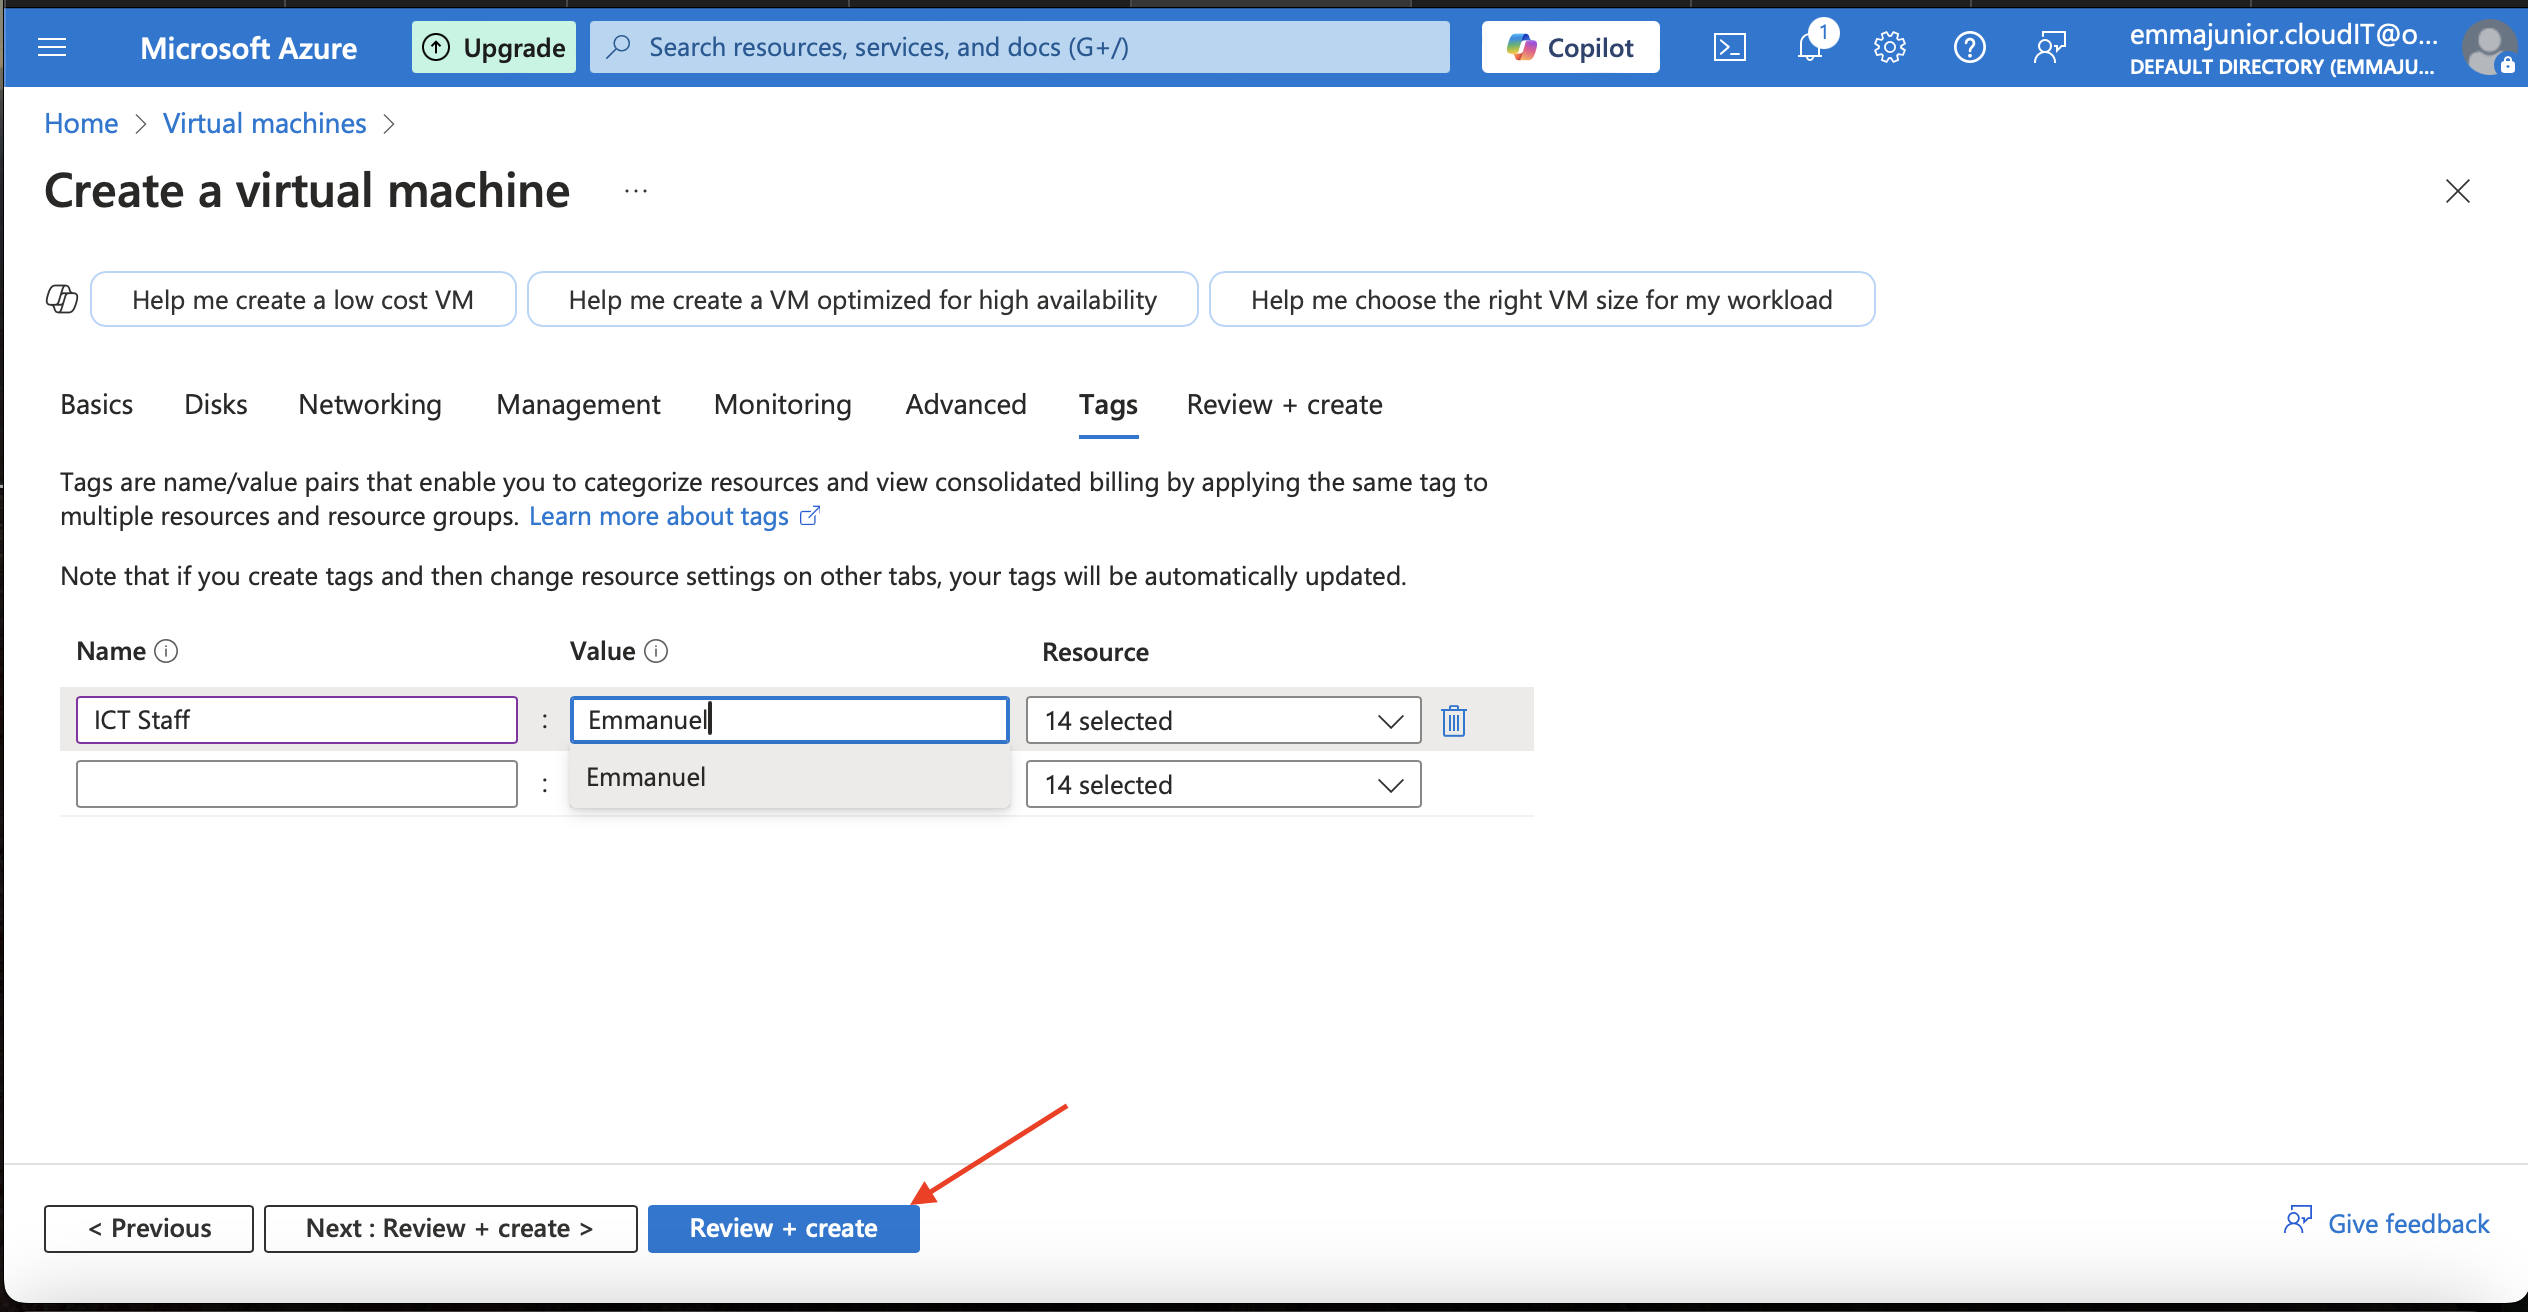
Click on 'Monitoring' to disable the diagnostic.Then click on 'Tag' to name it.
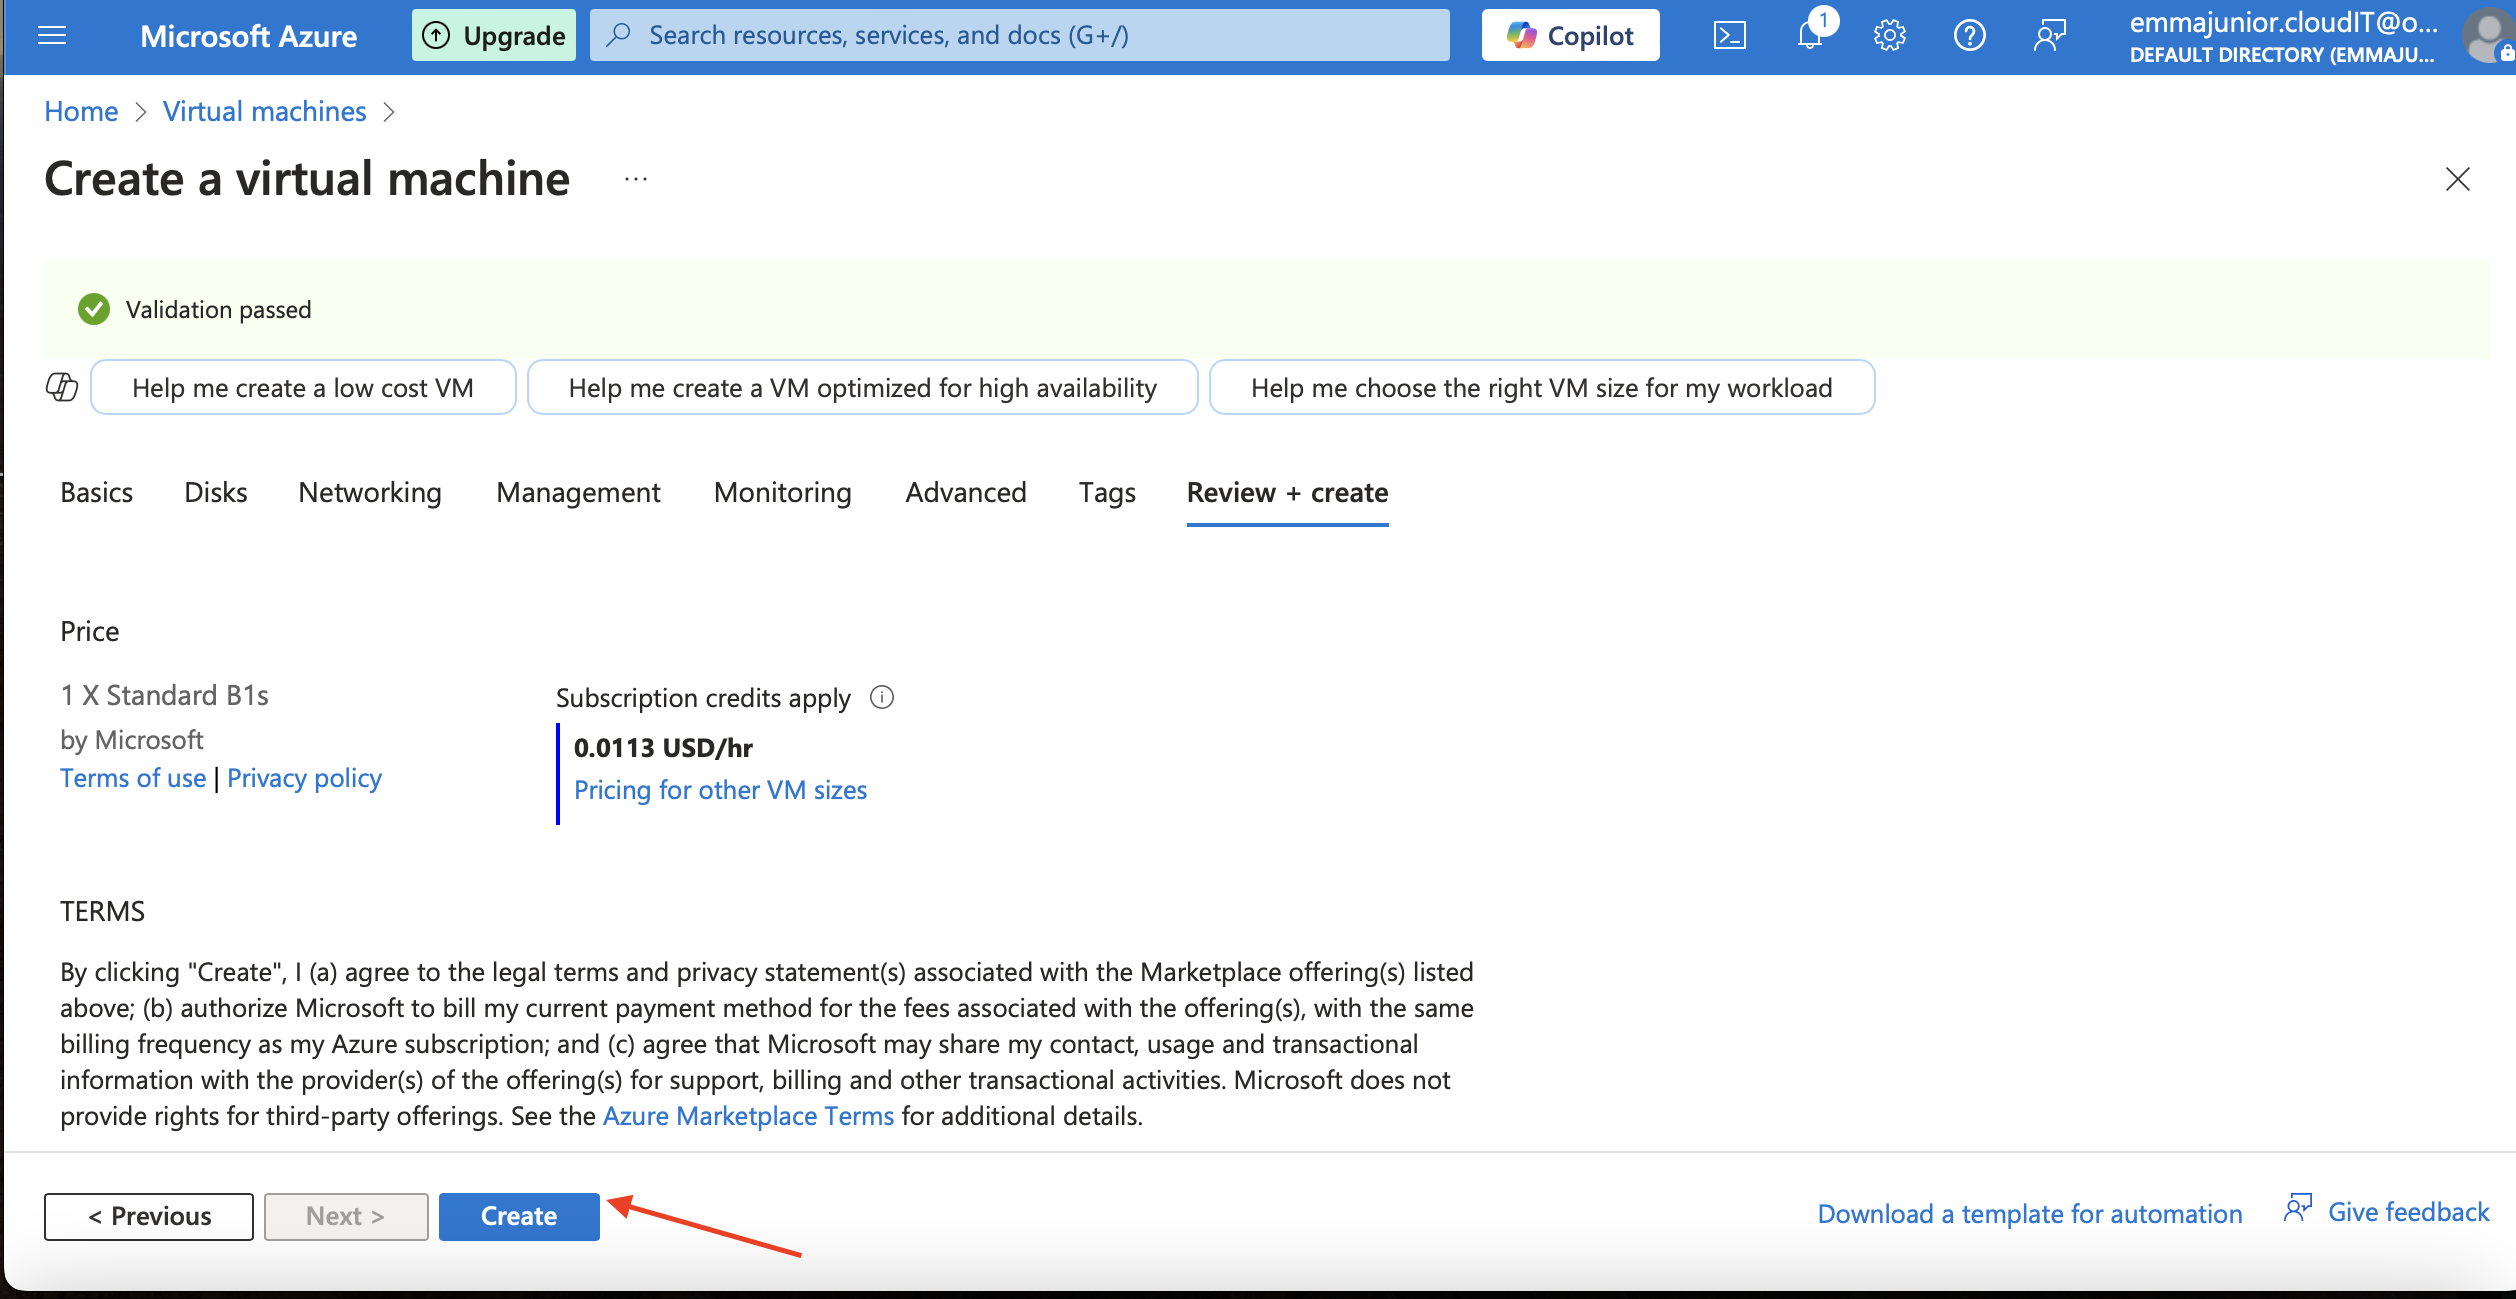
Step 10
Click on 'Review+create'.then when it passed the validation, click on 'Create'.
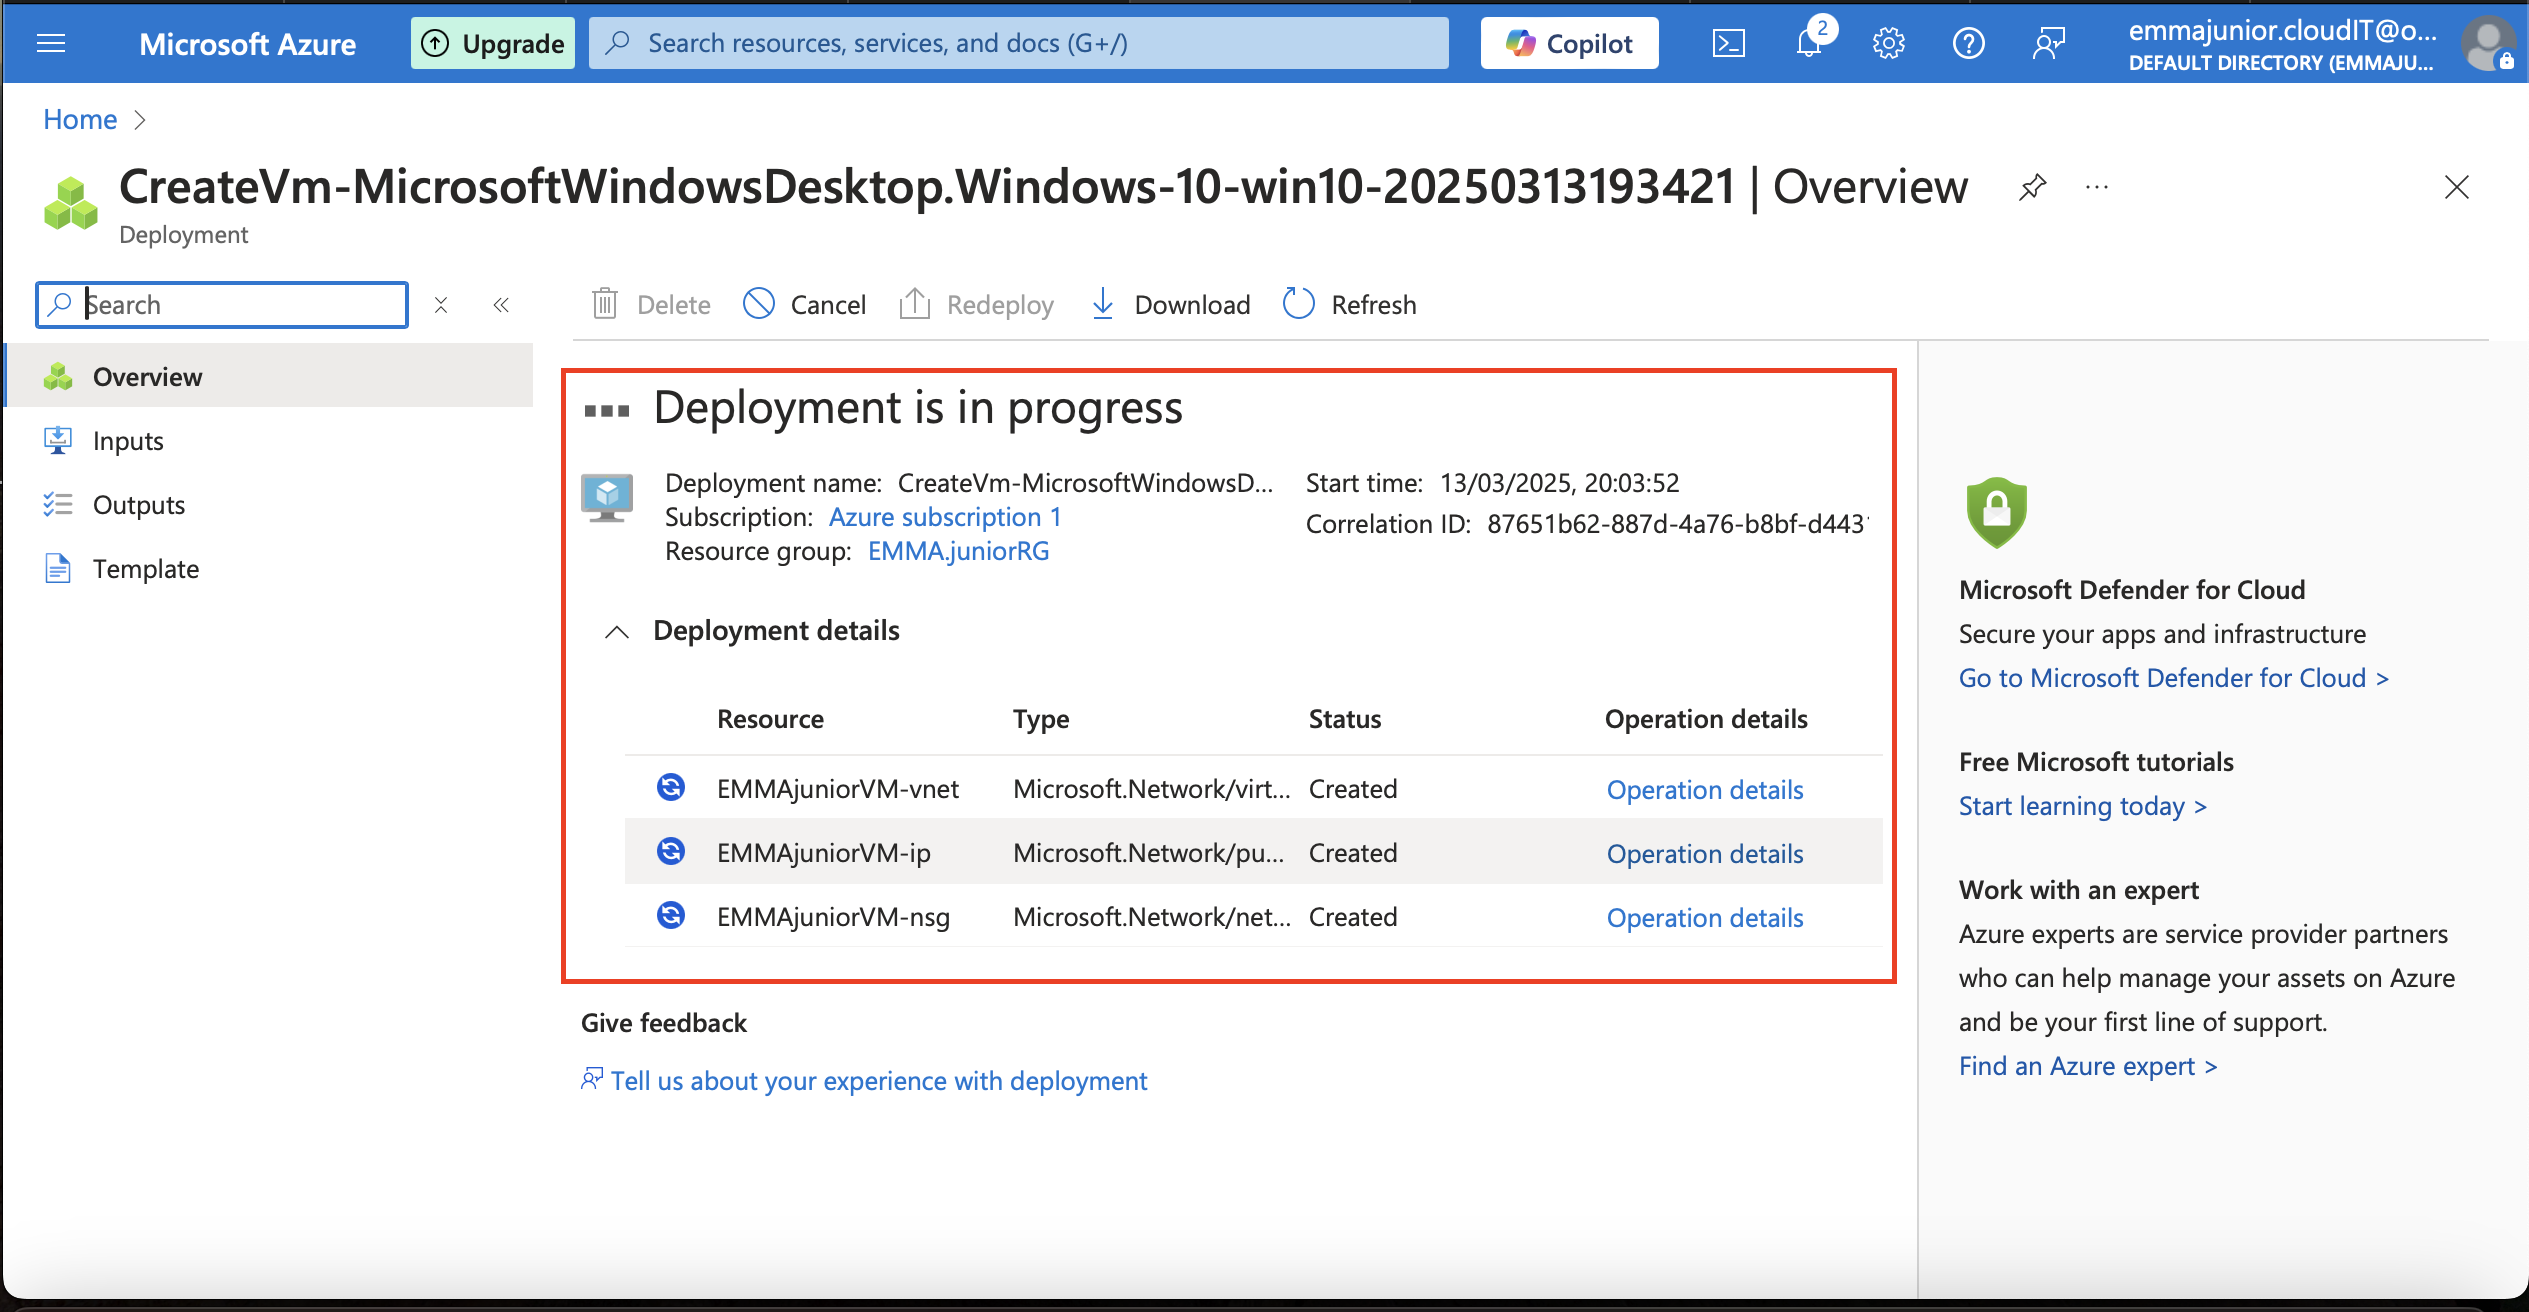
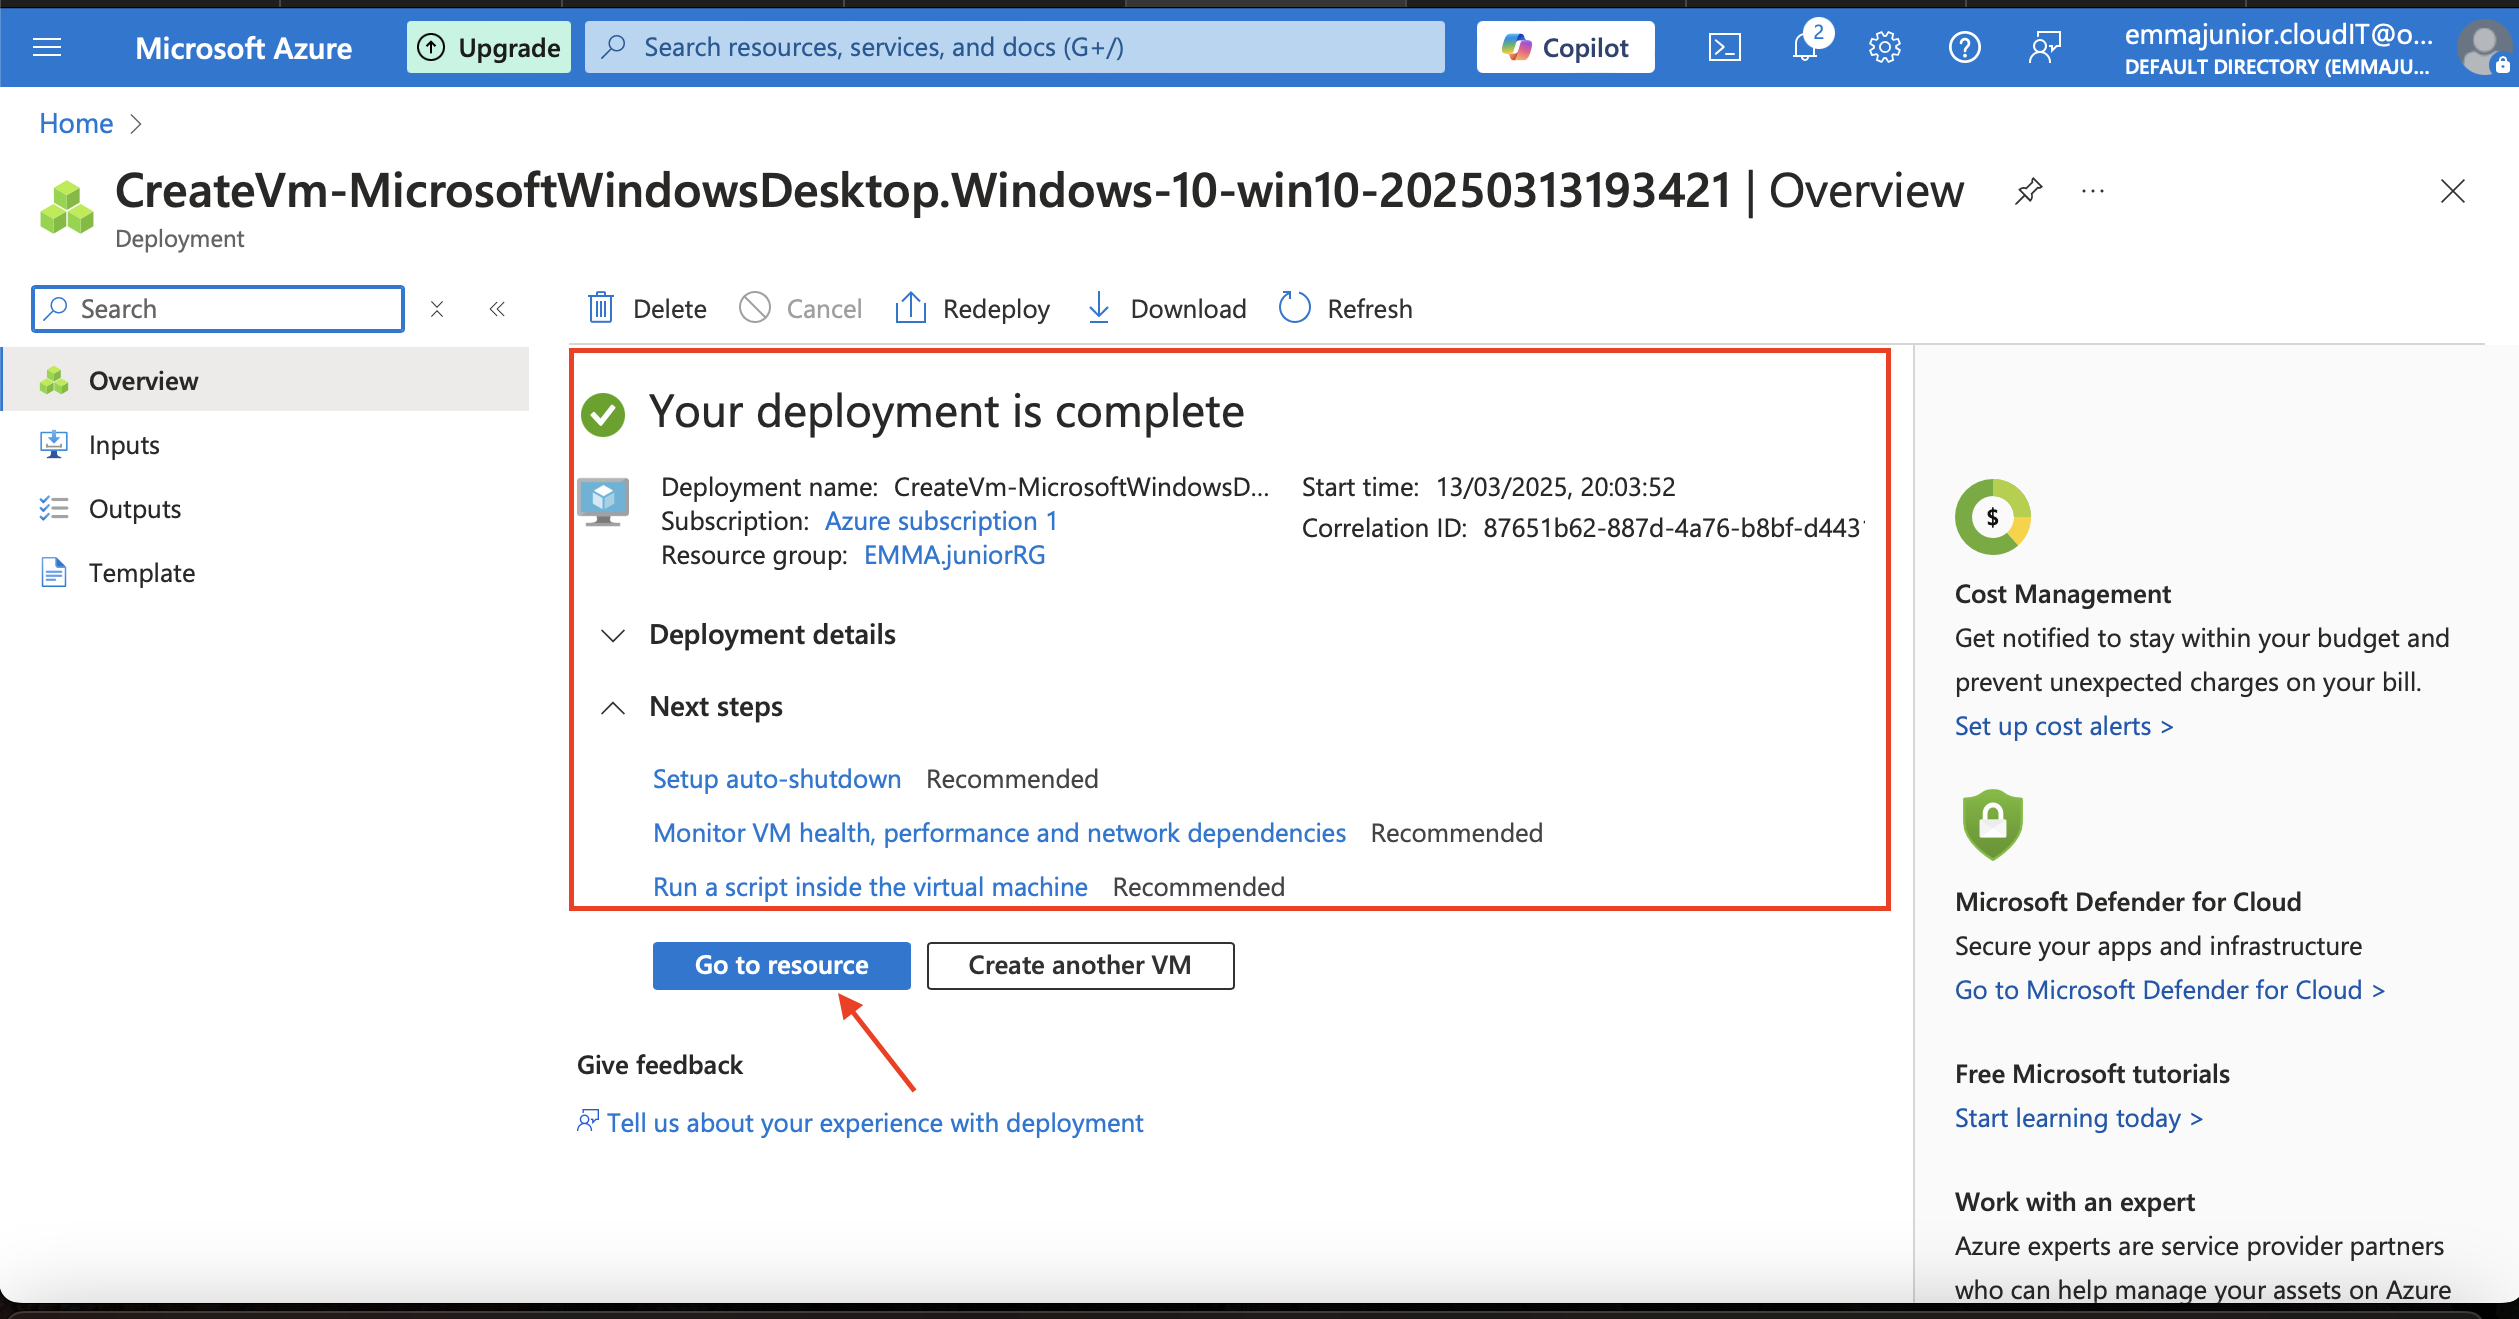
Step 11
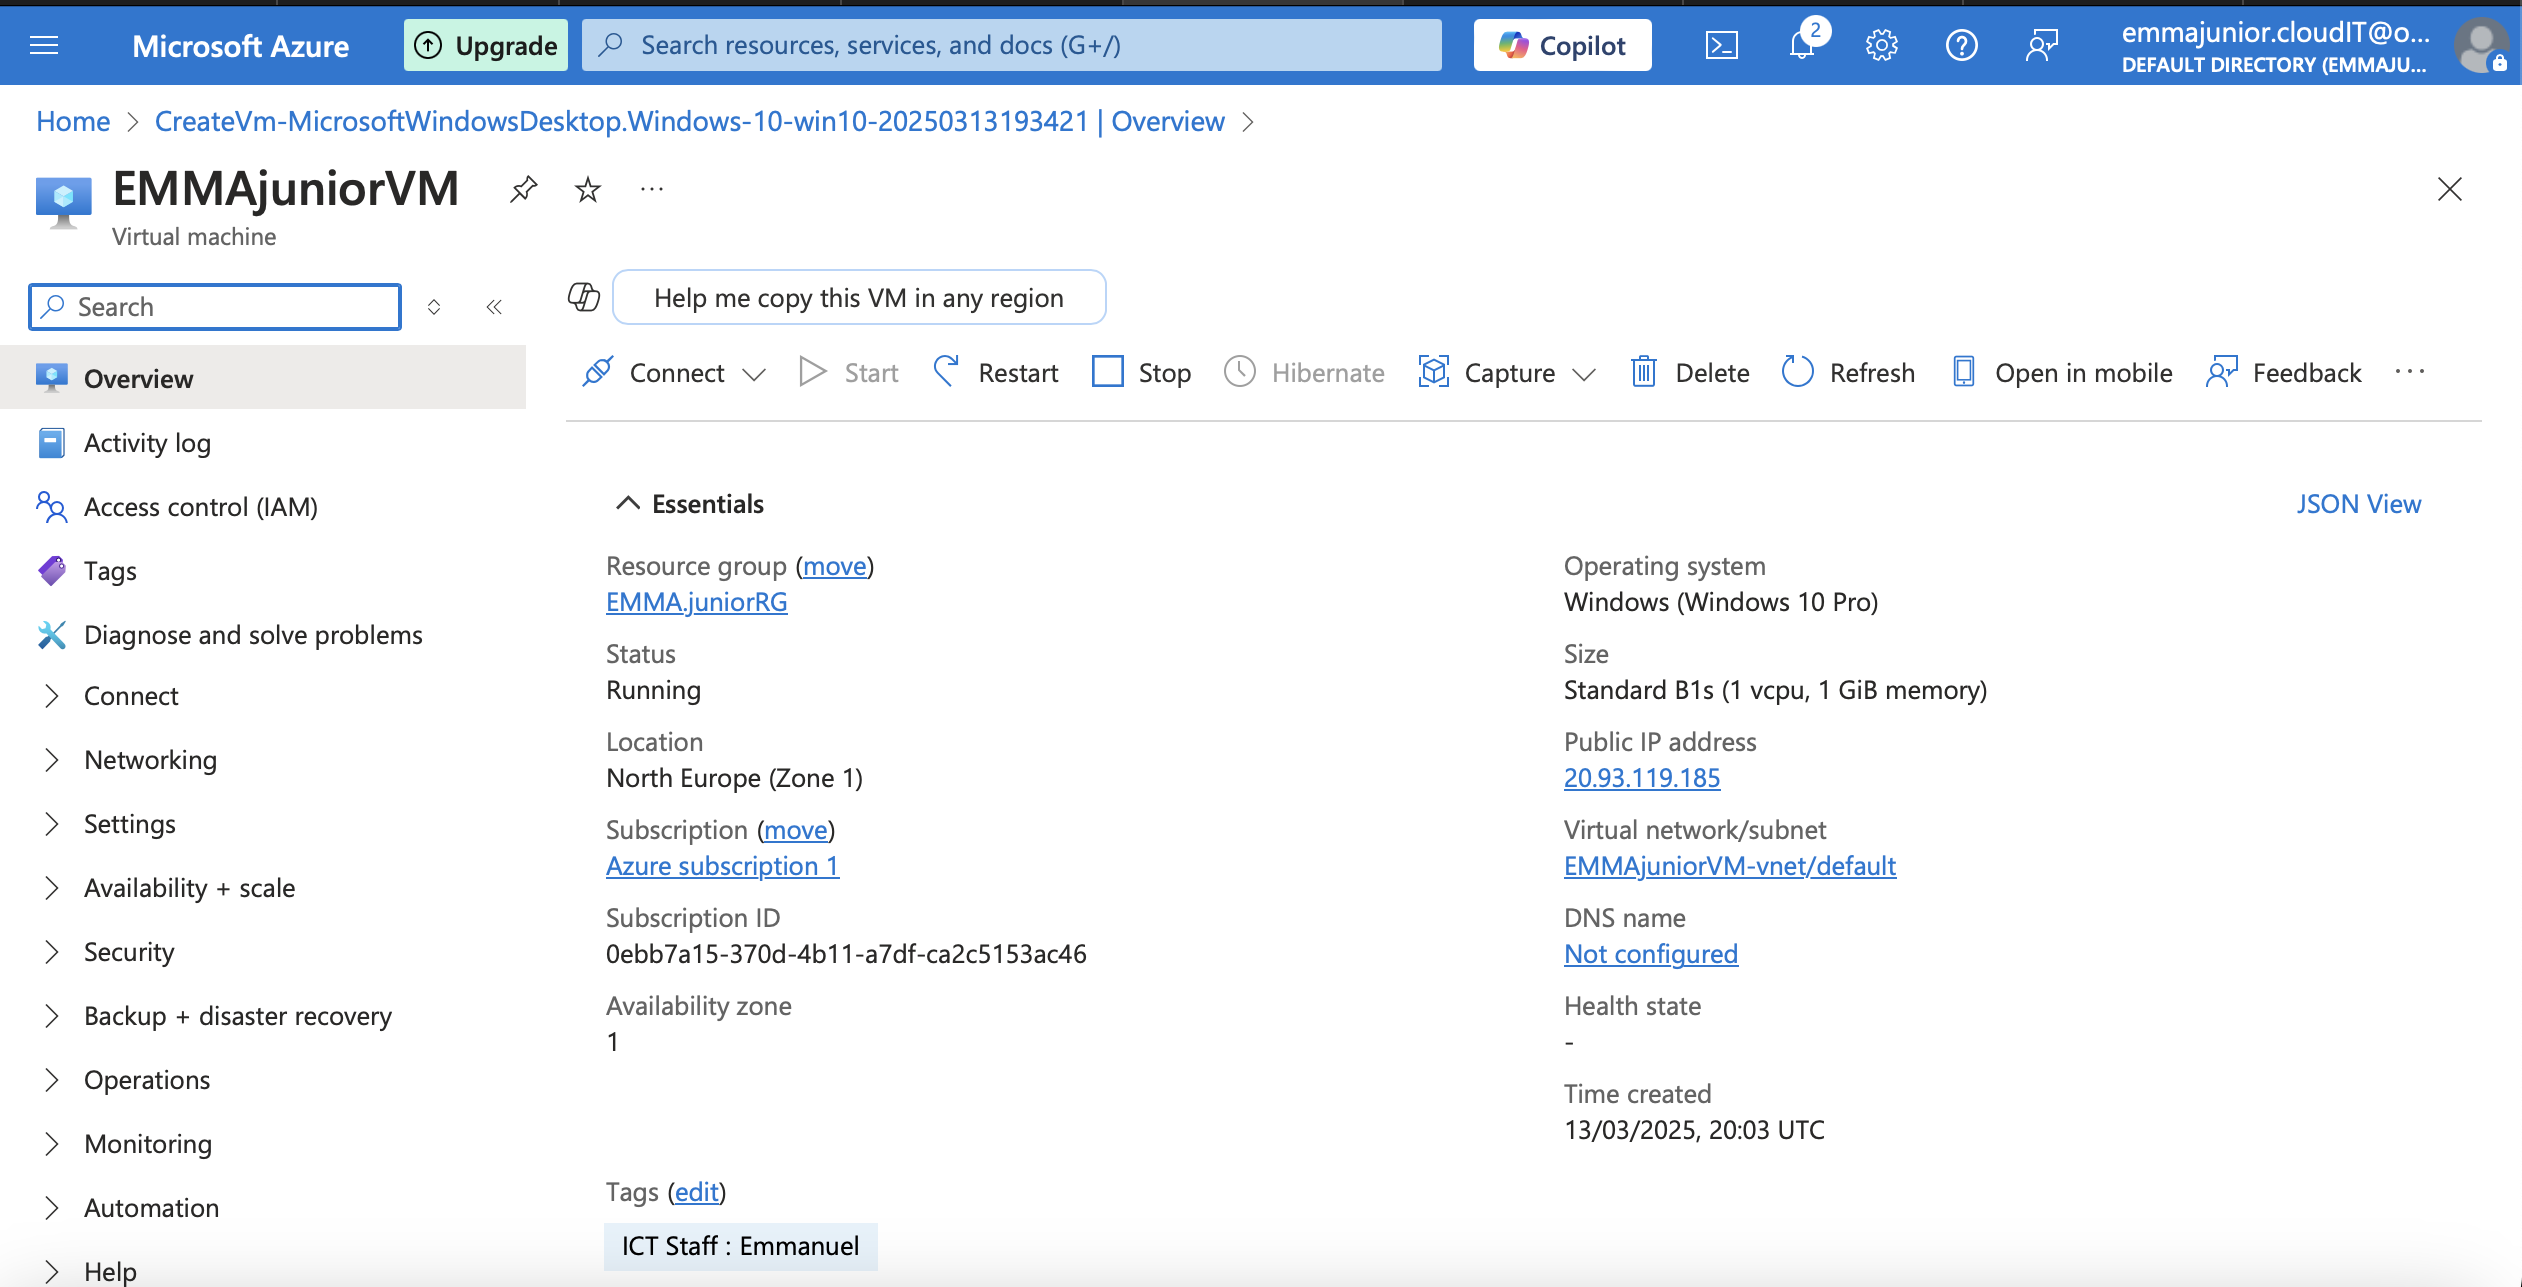
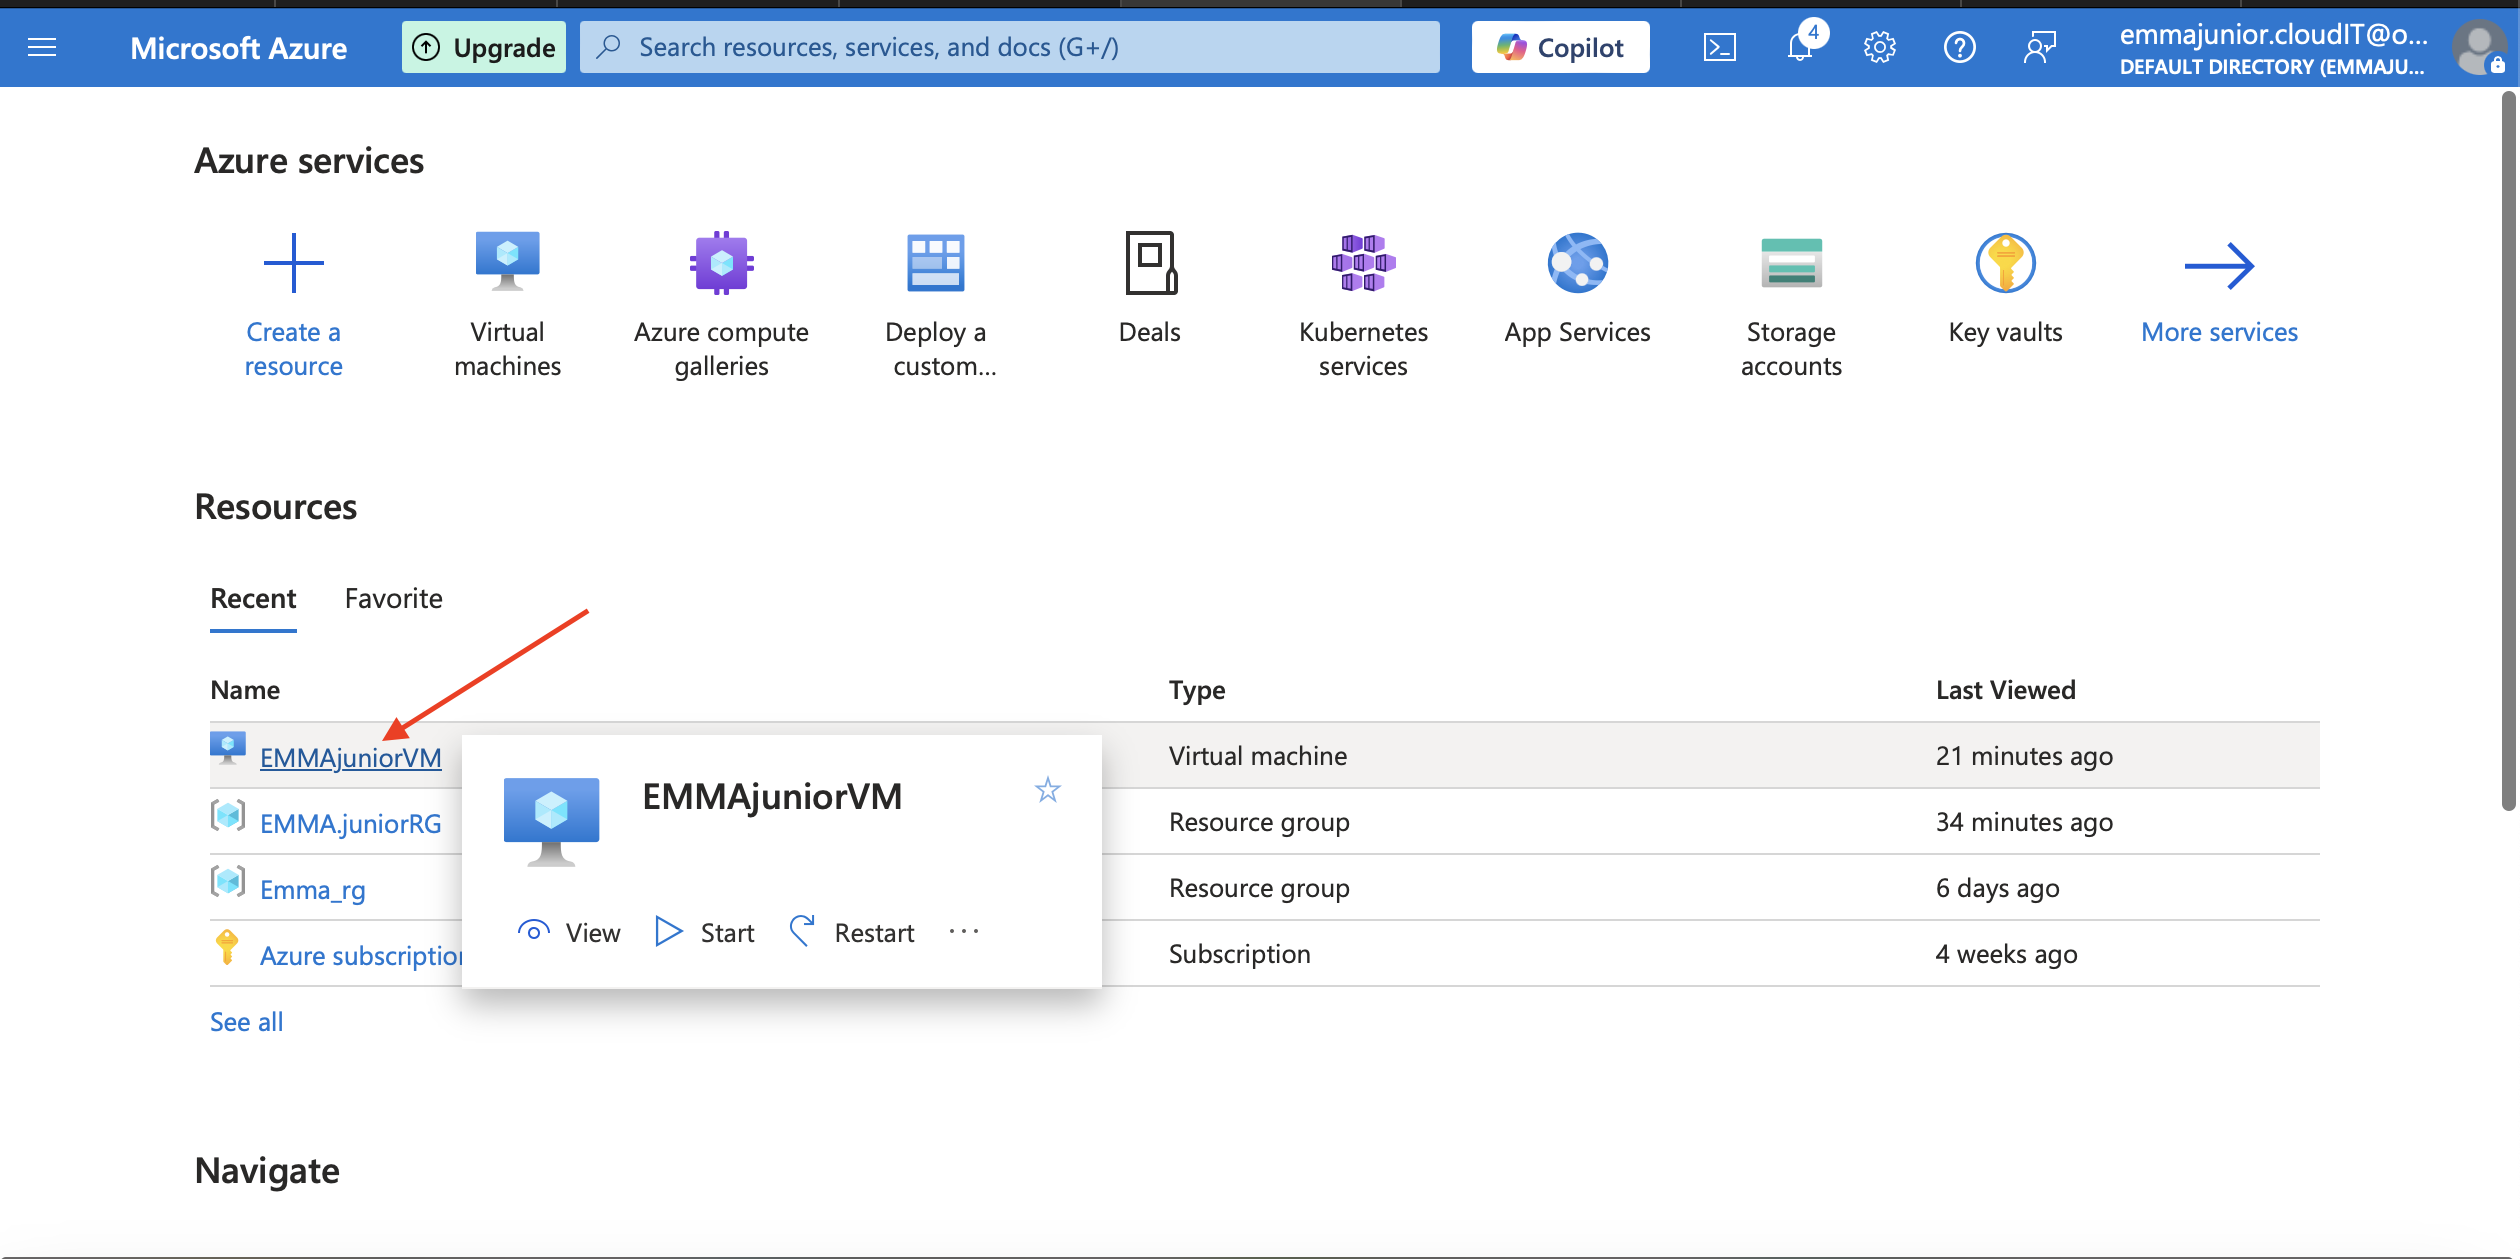
Wait for the virtual machine to deploy and click on 'Go to resource when the deployment is complete.
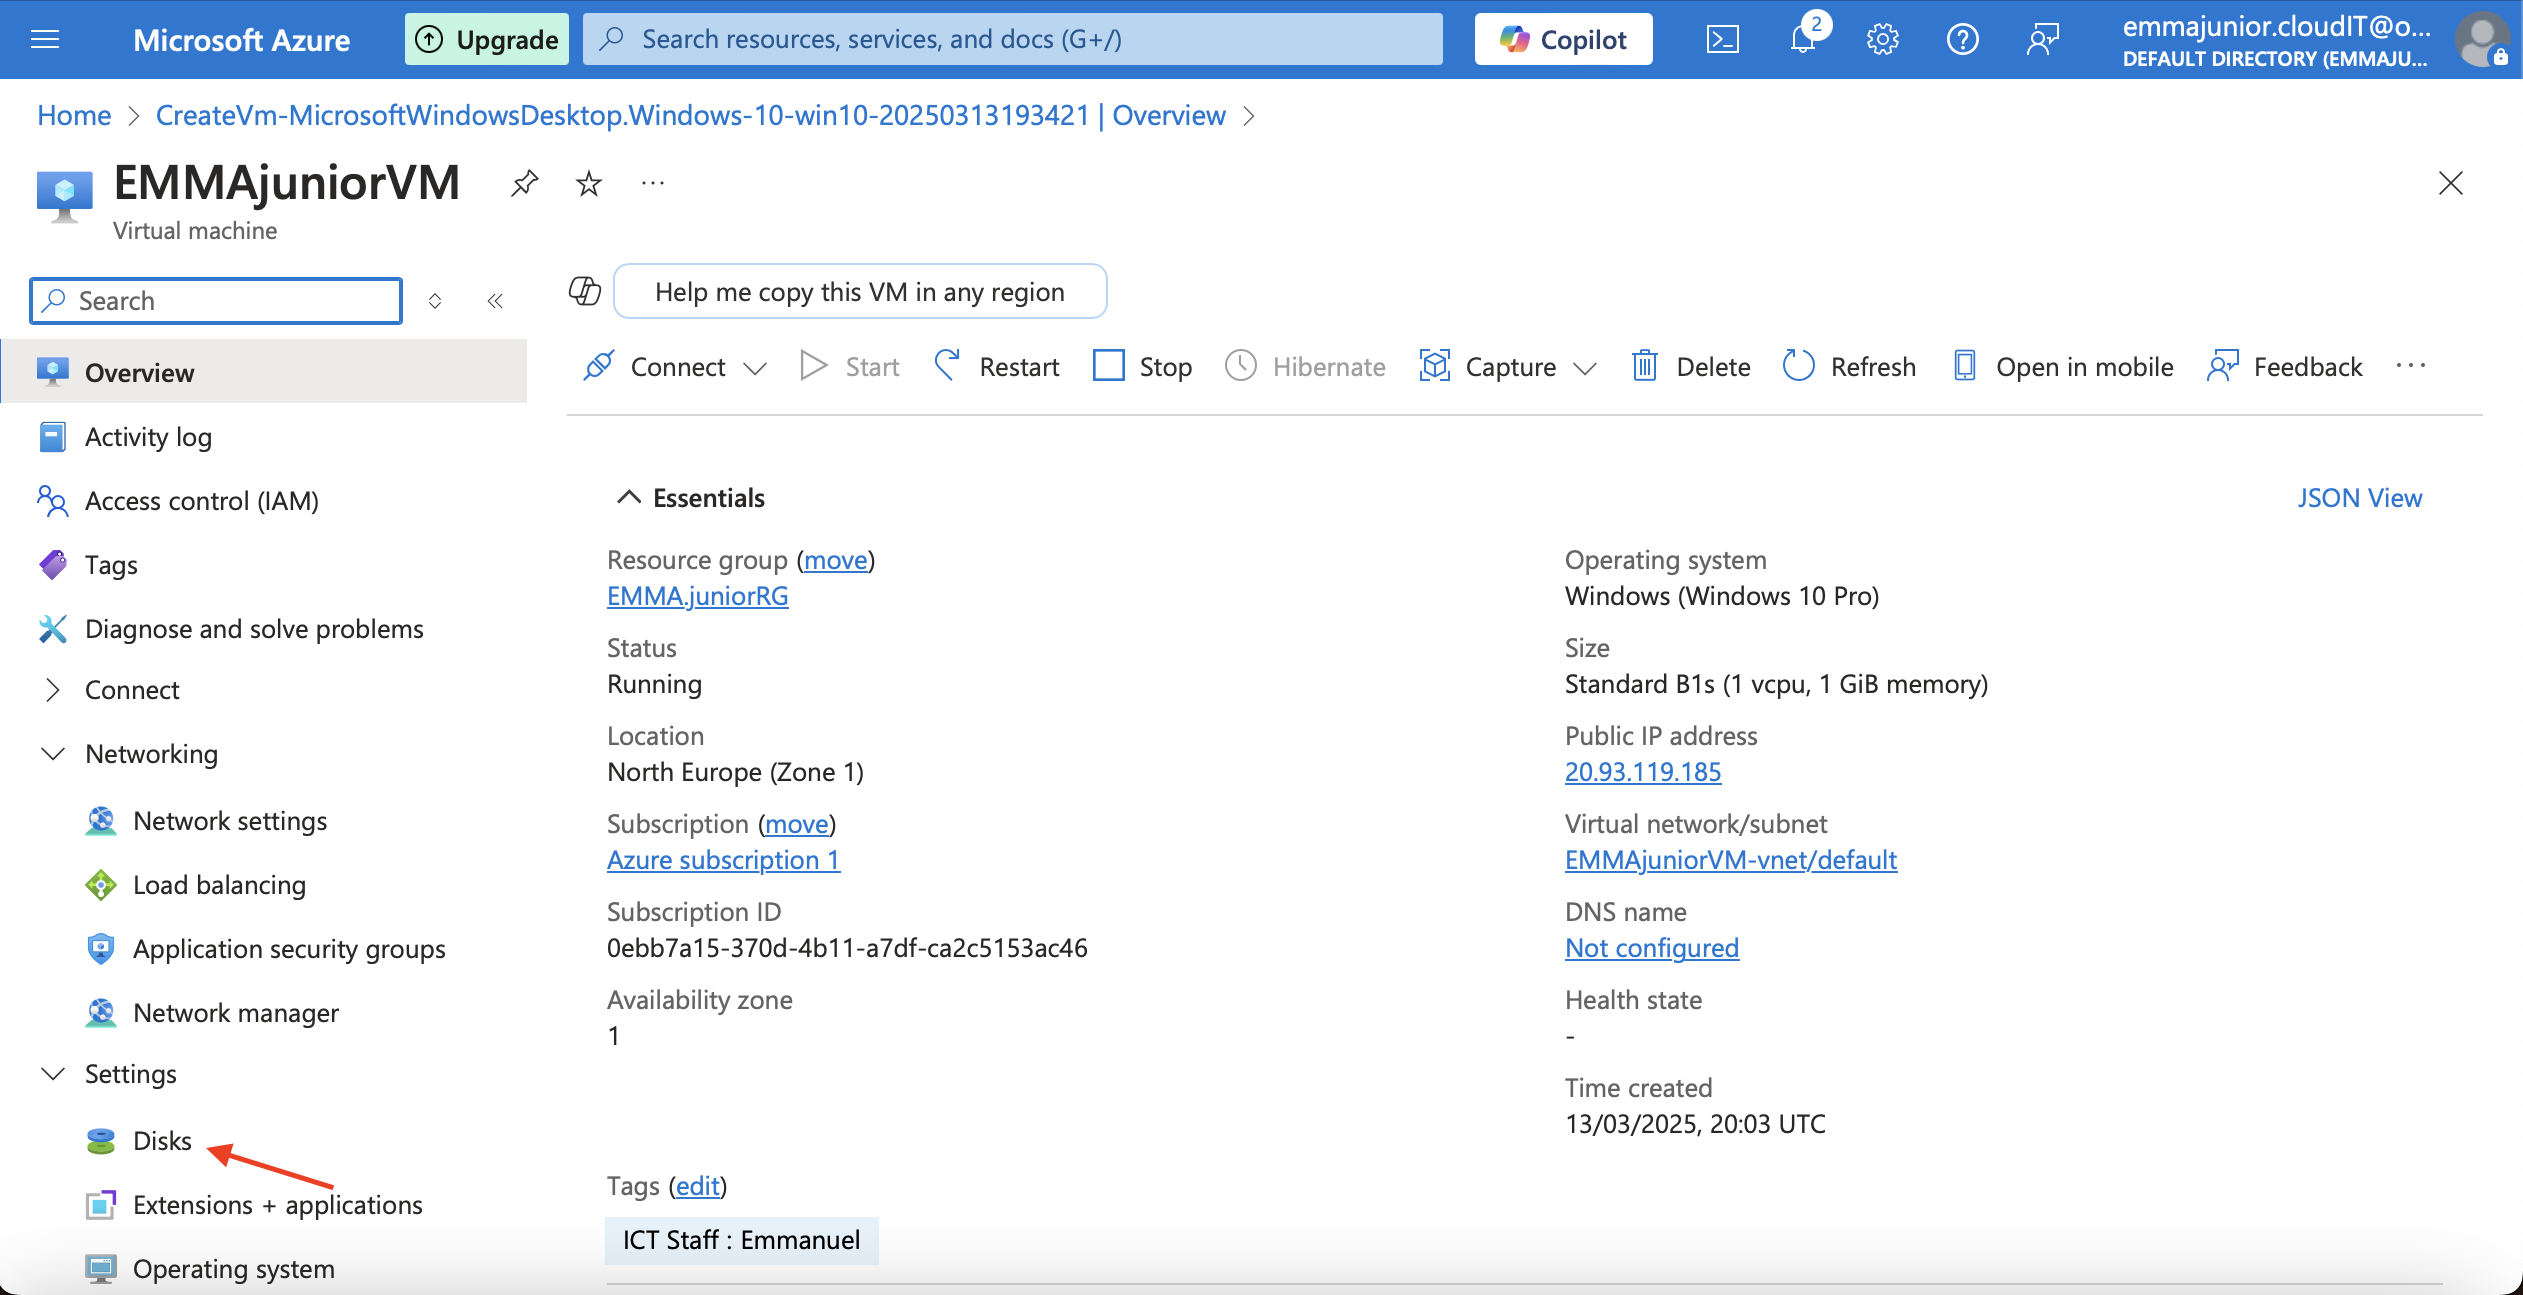
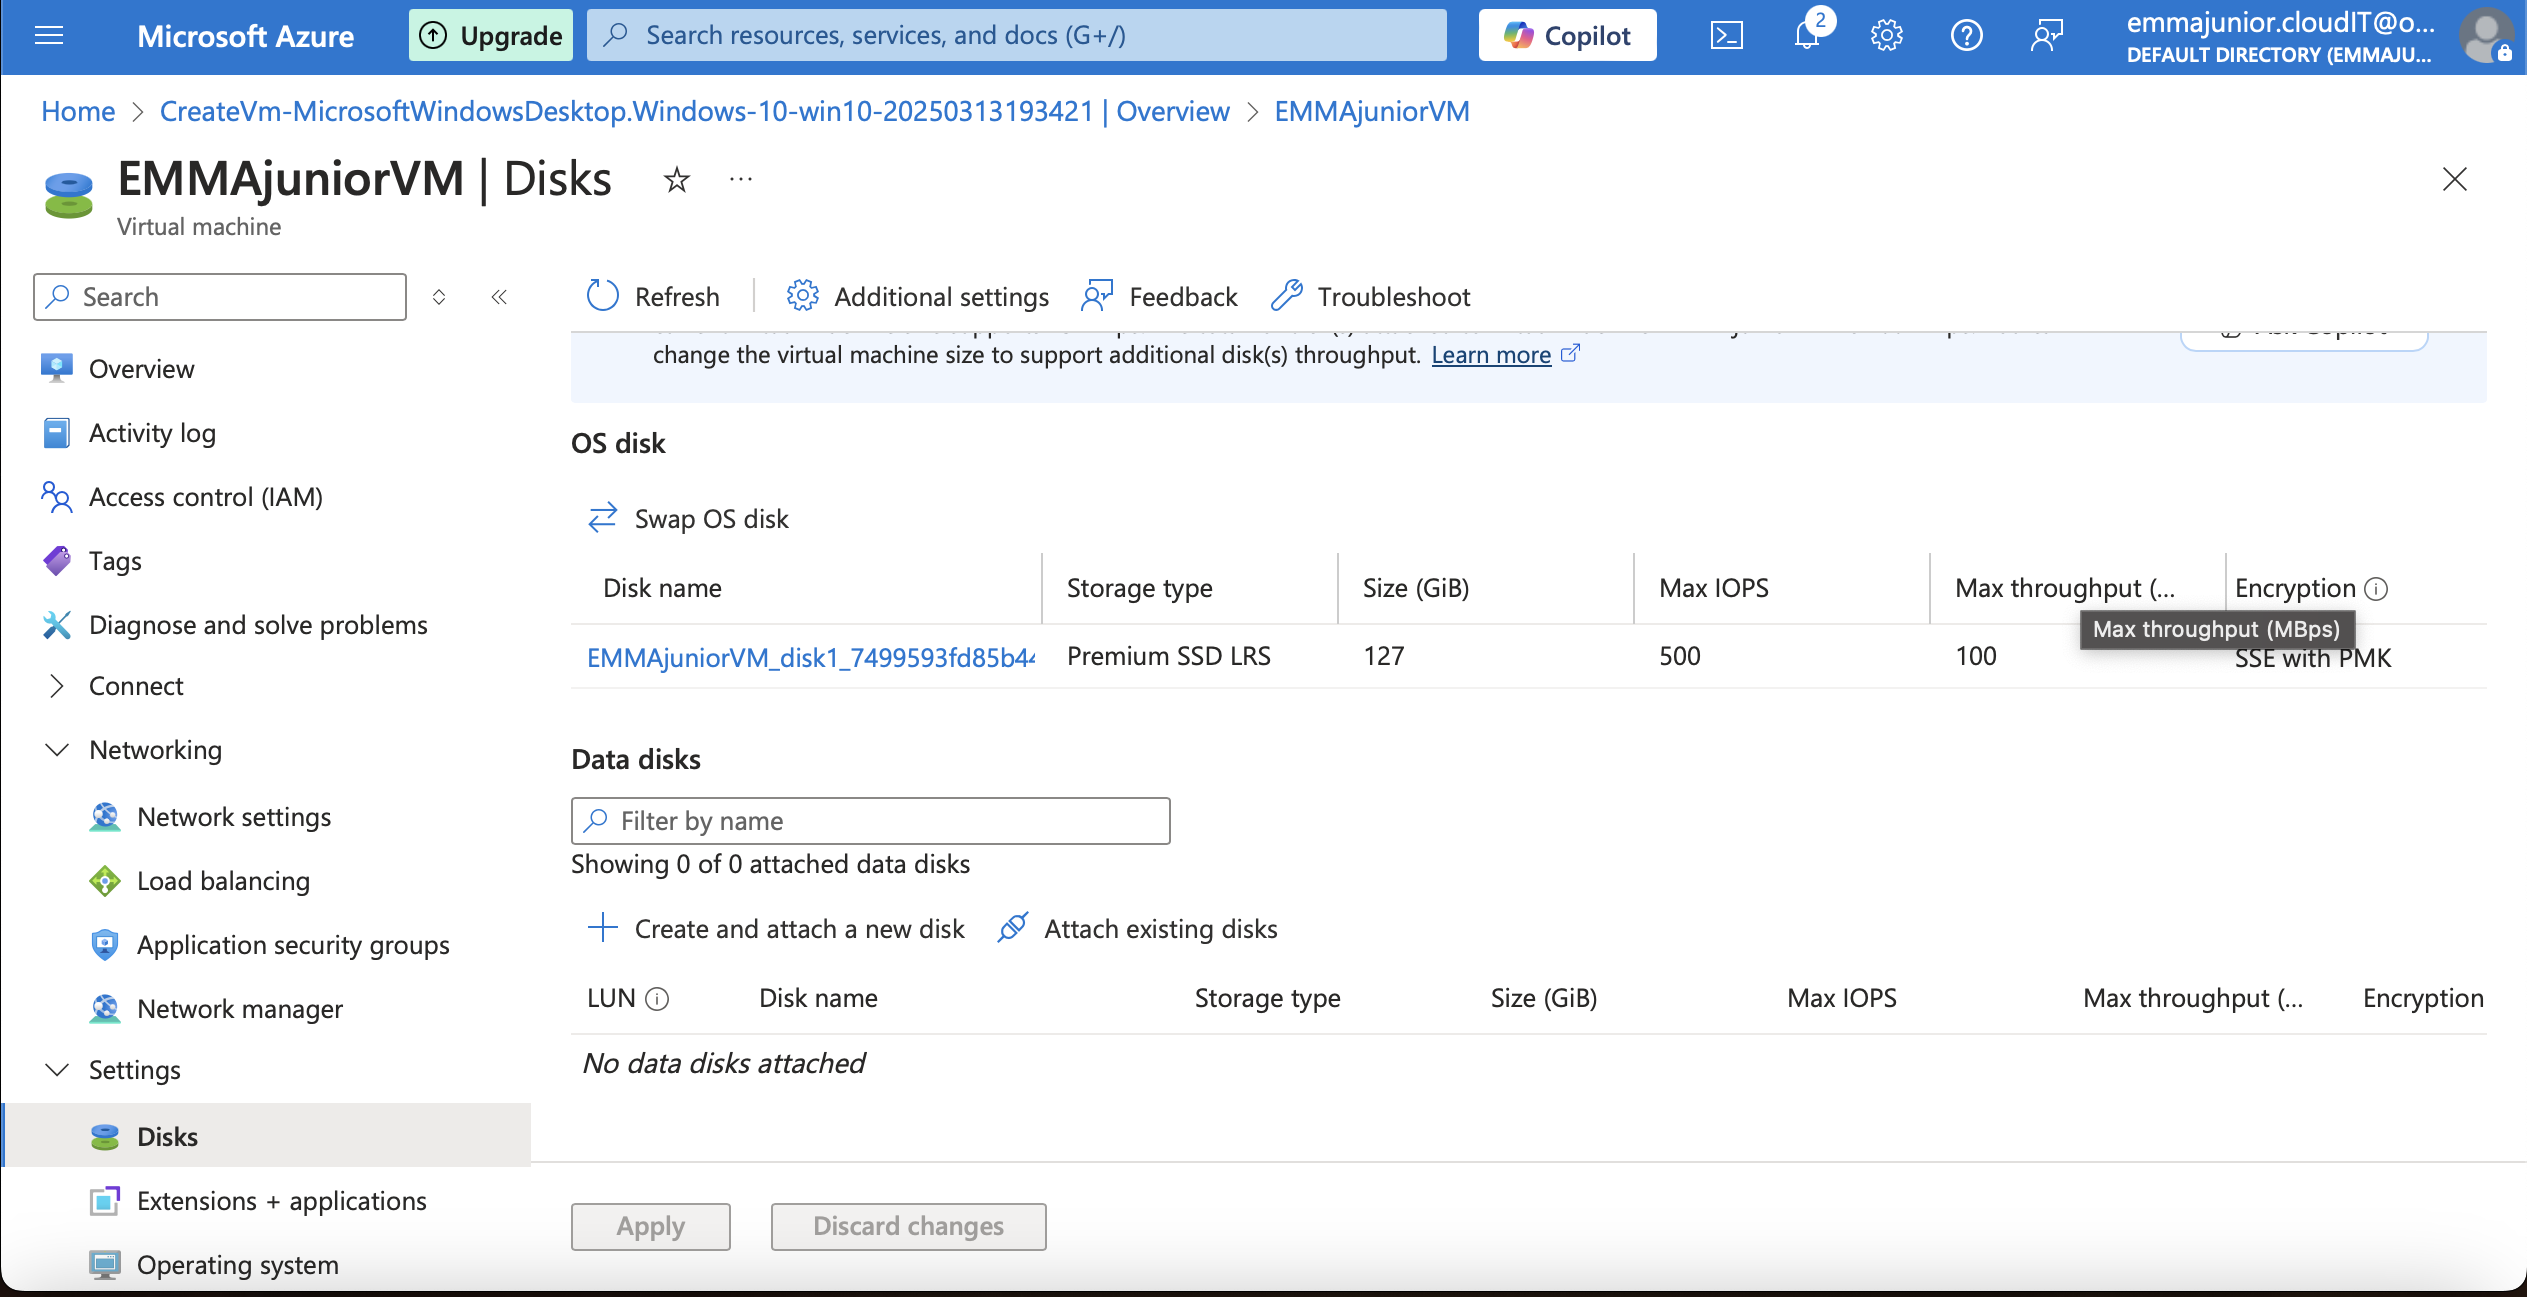
Step 12
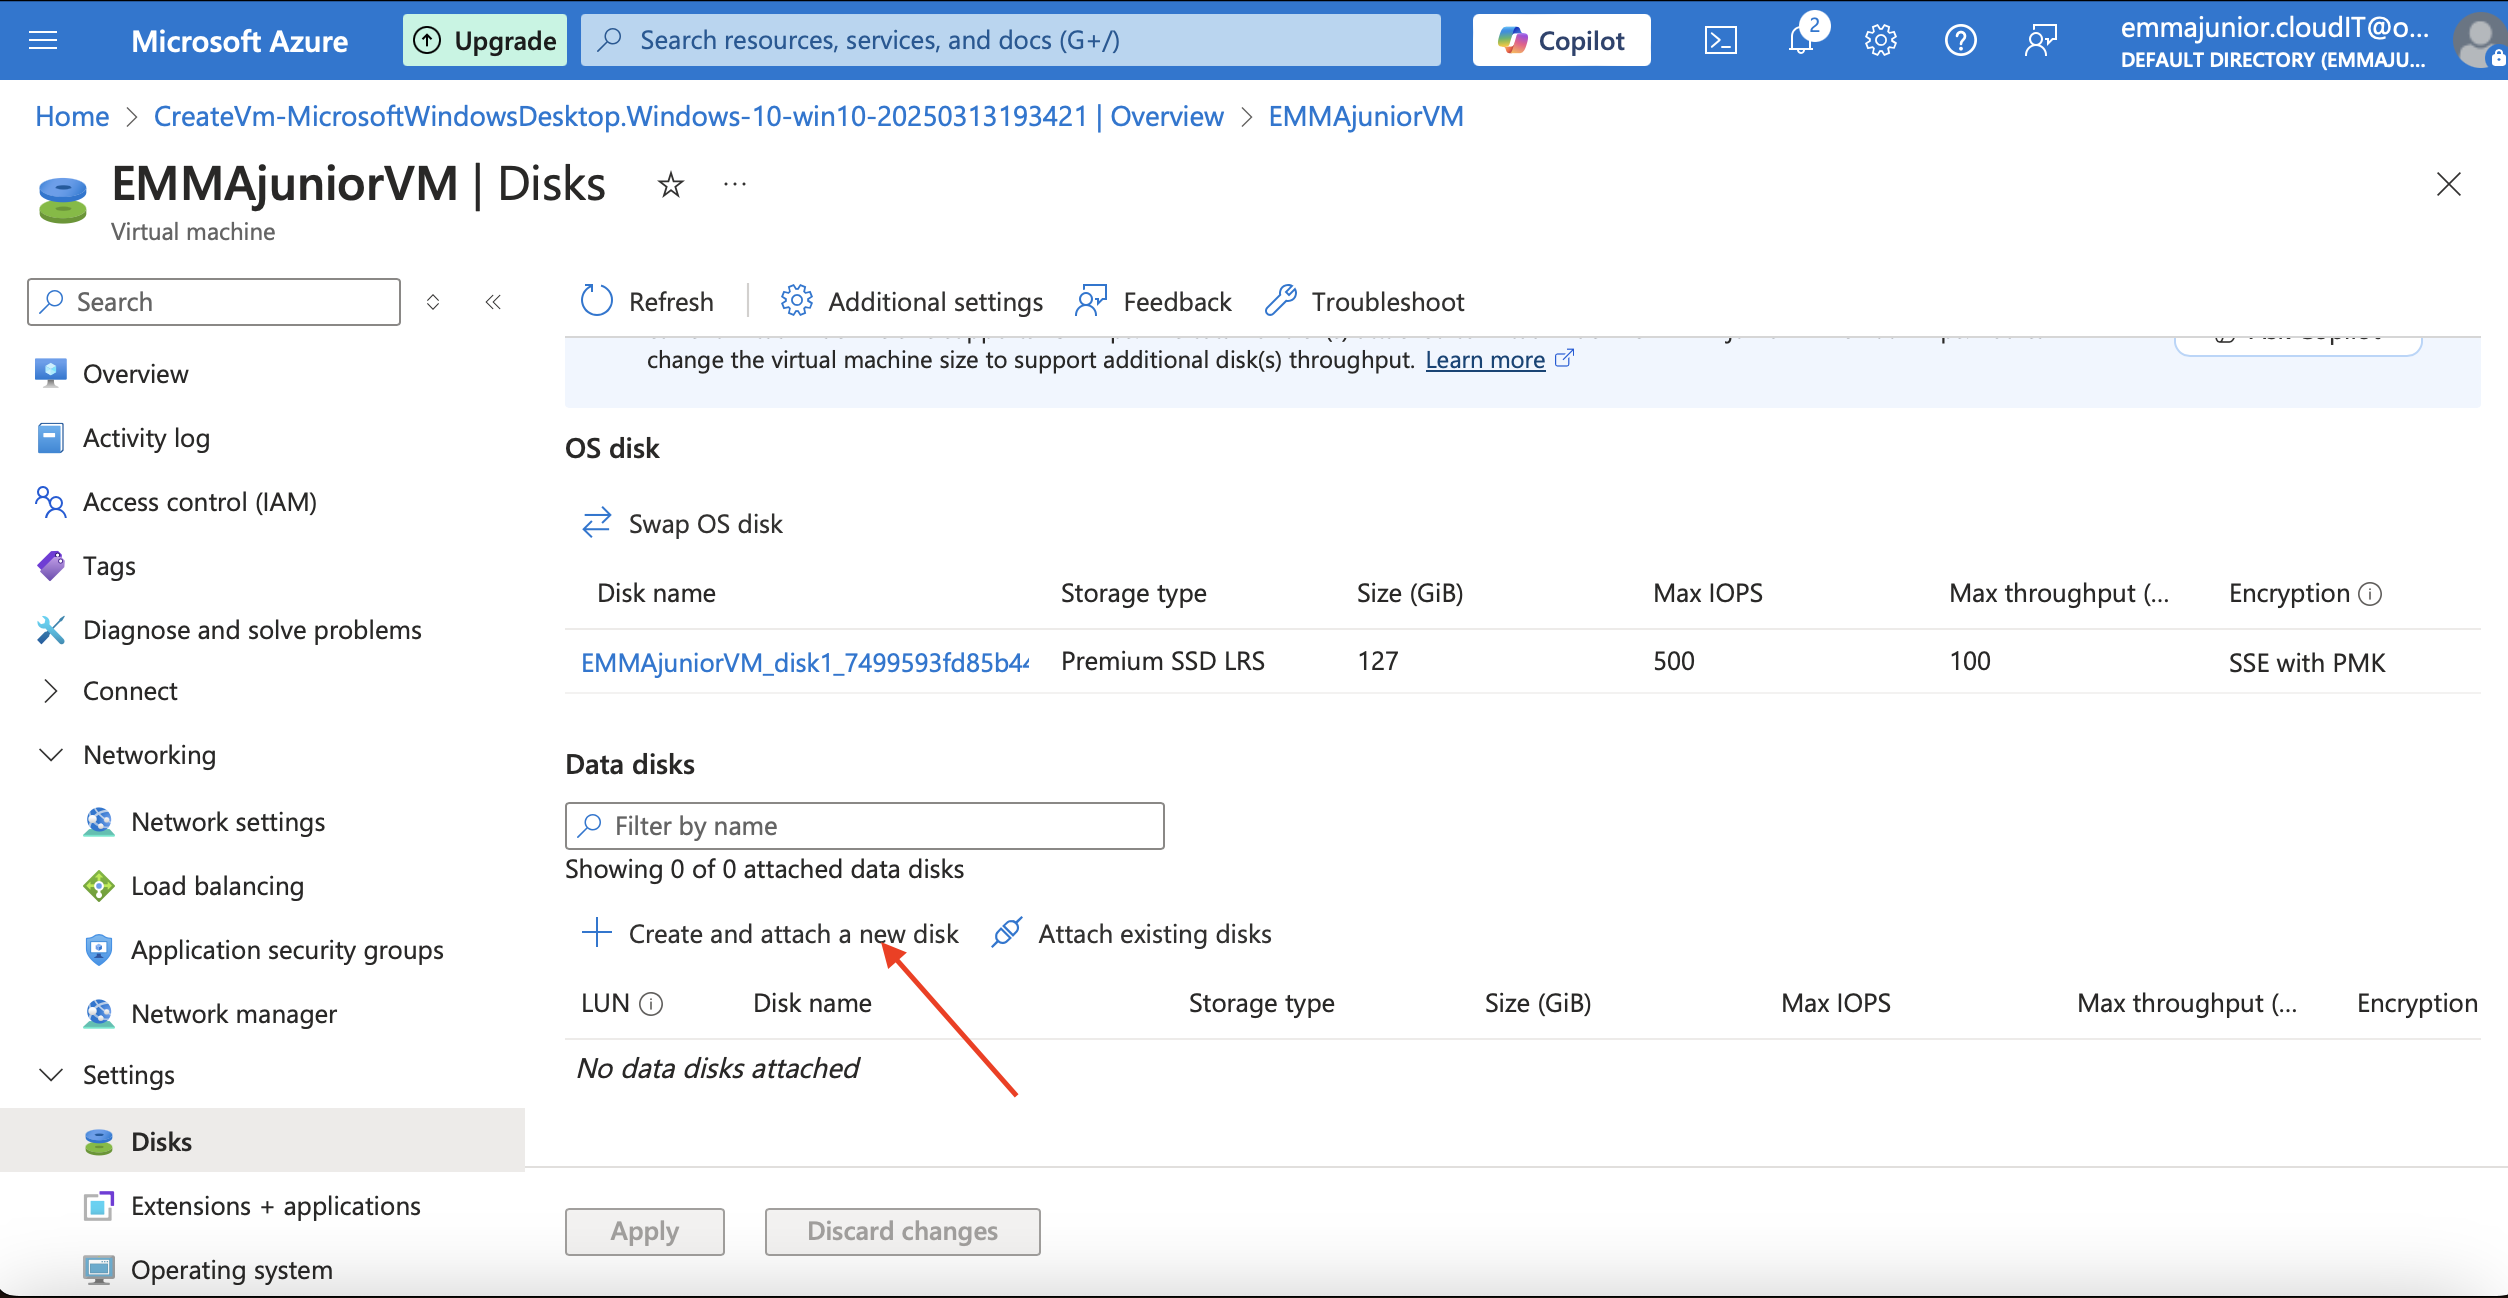
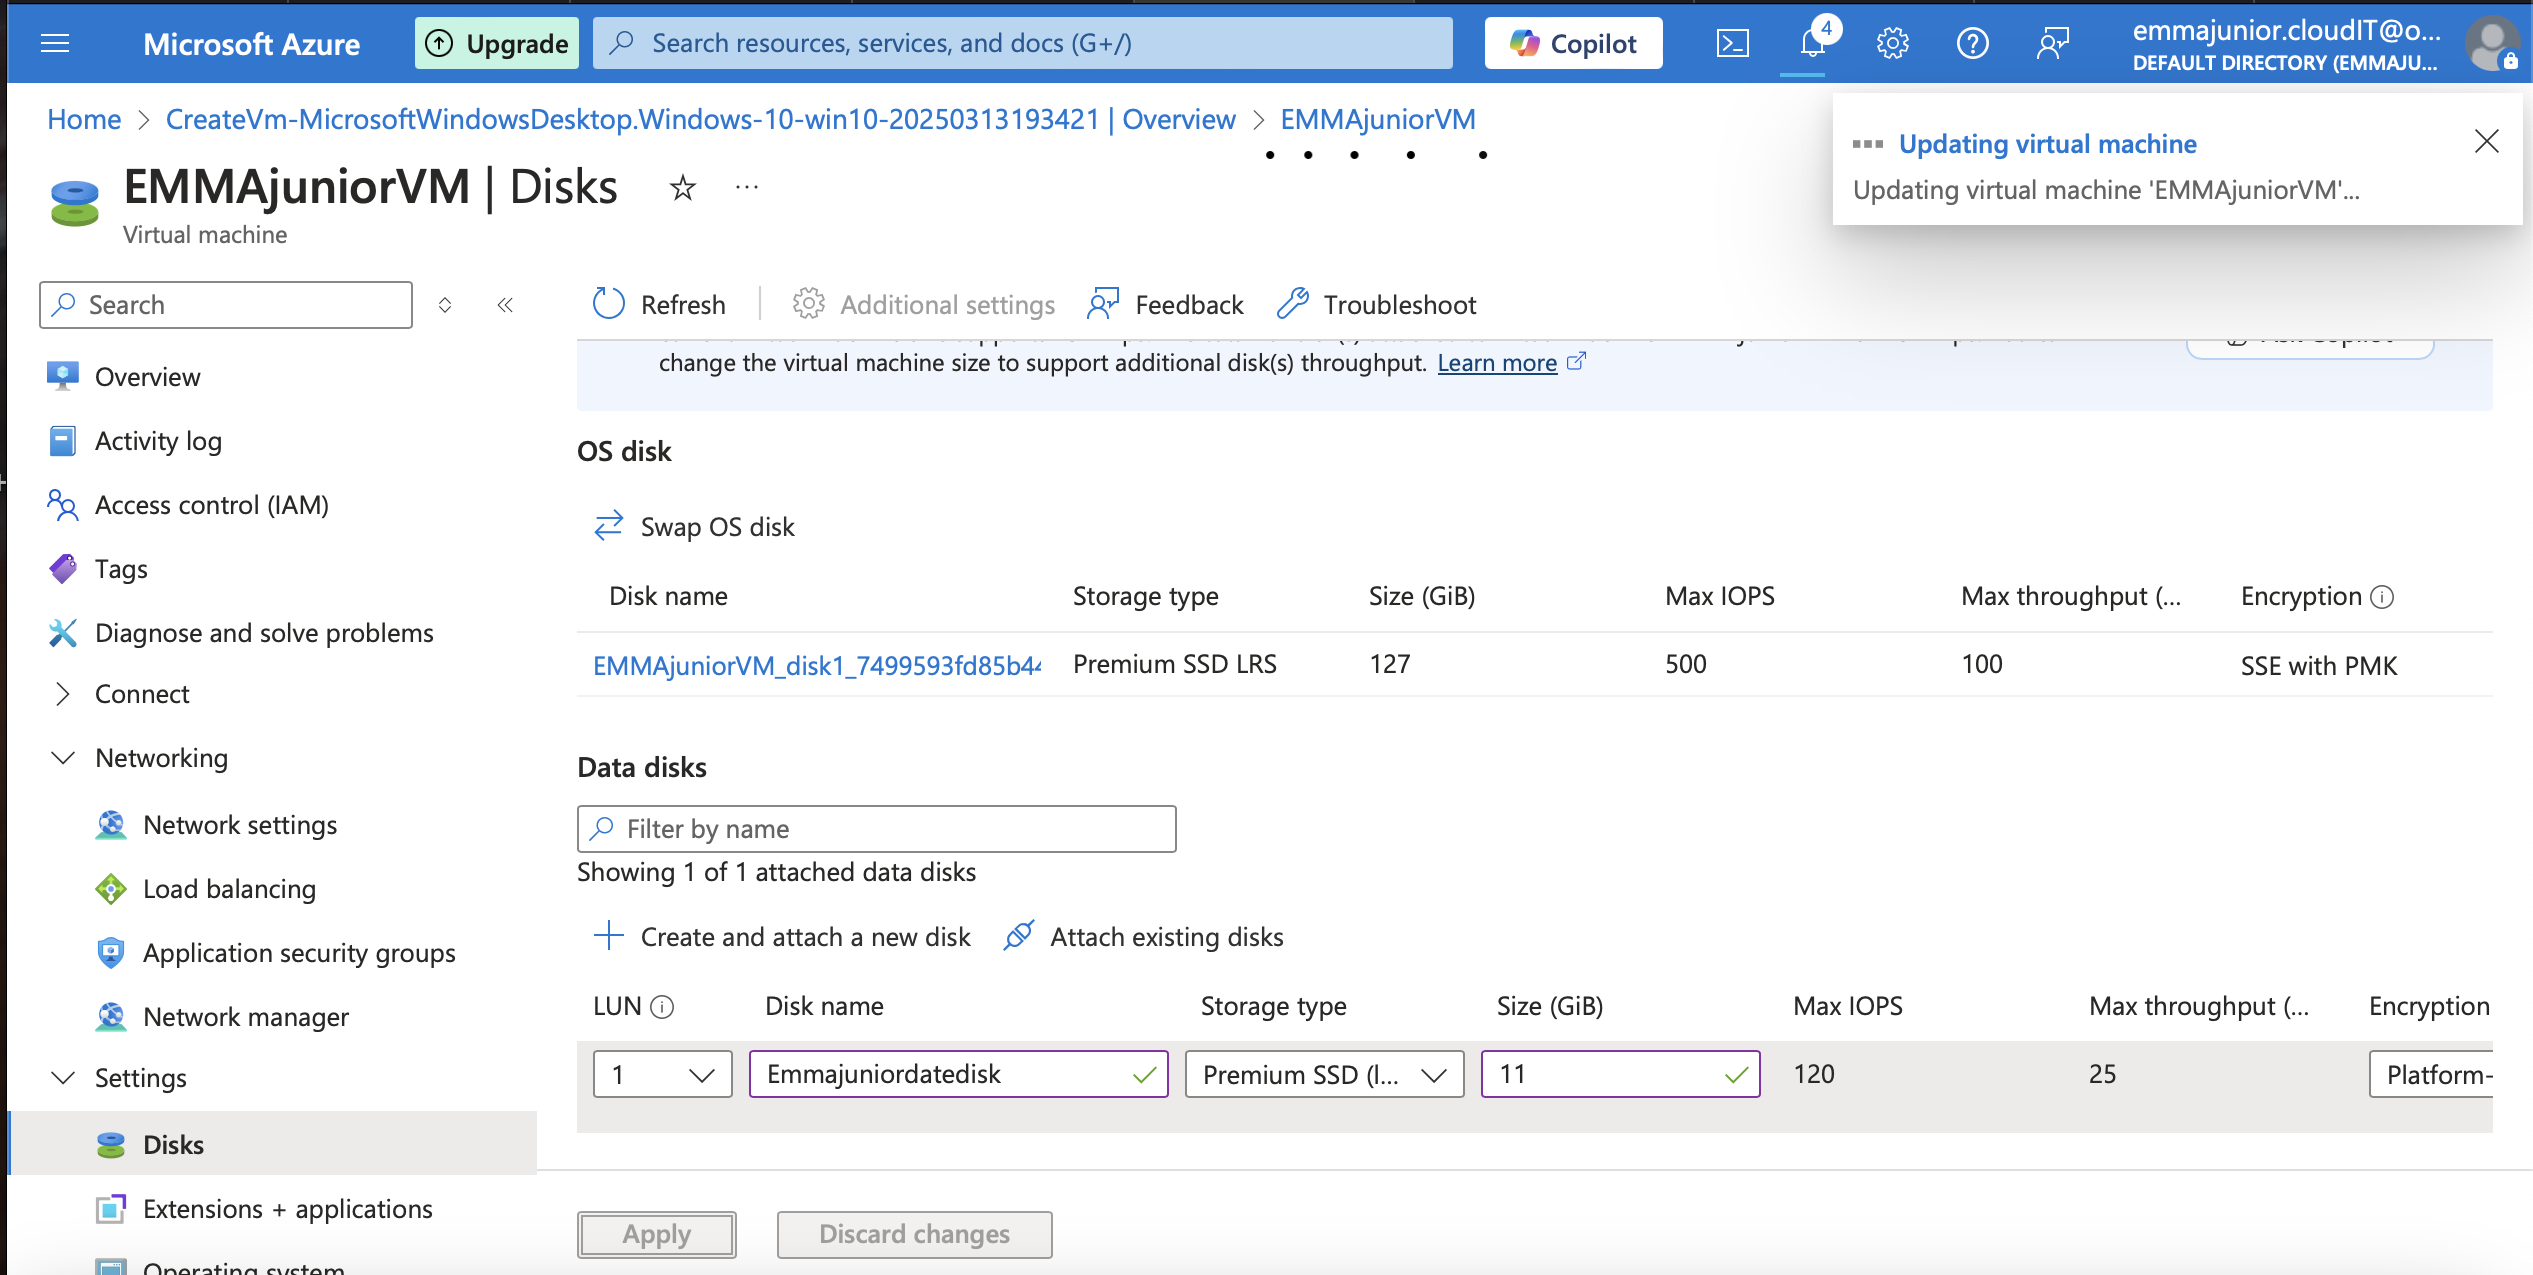
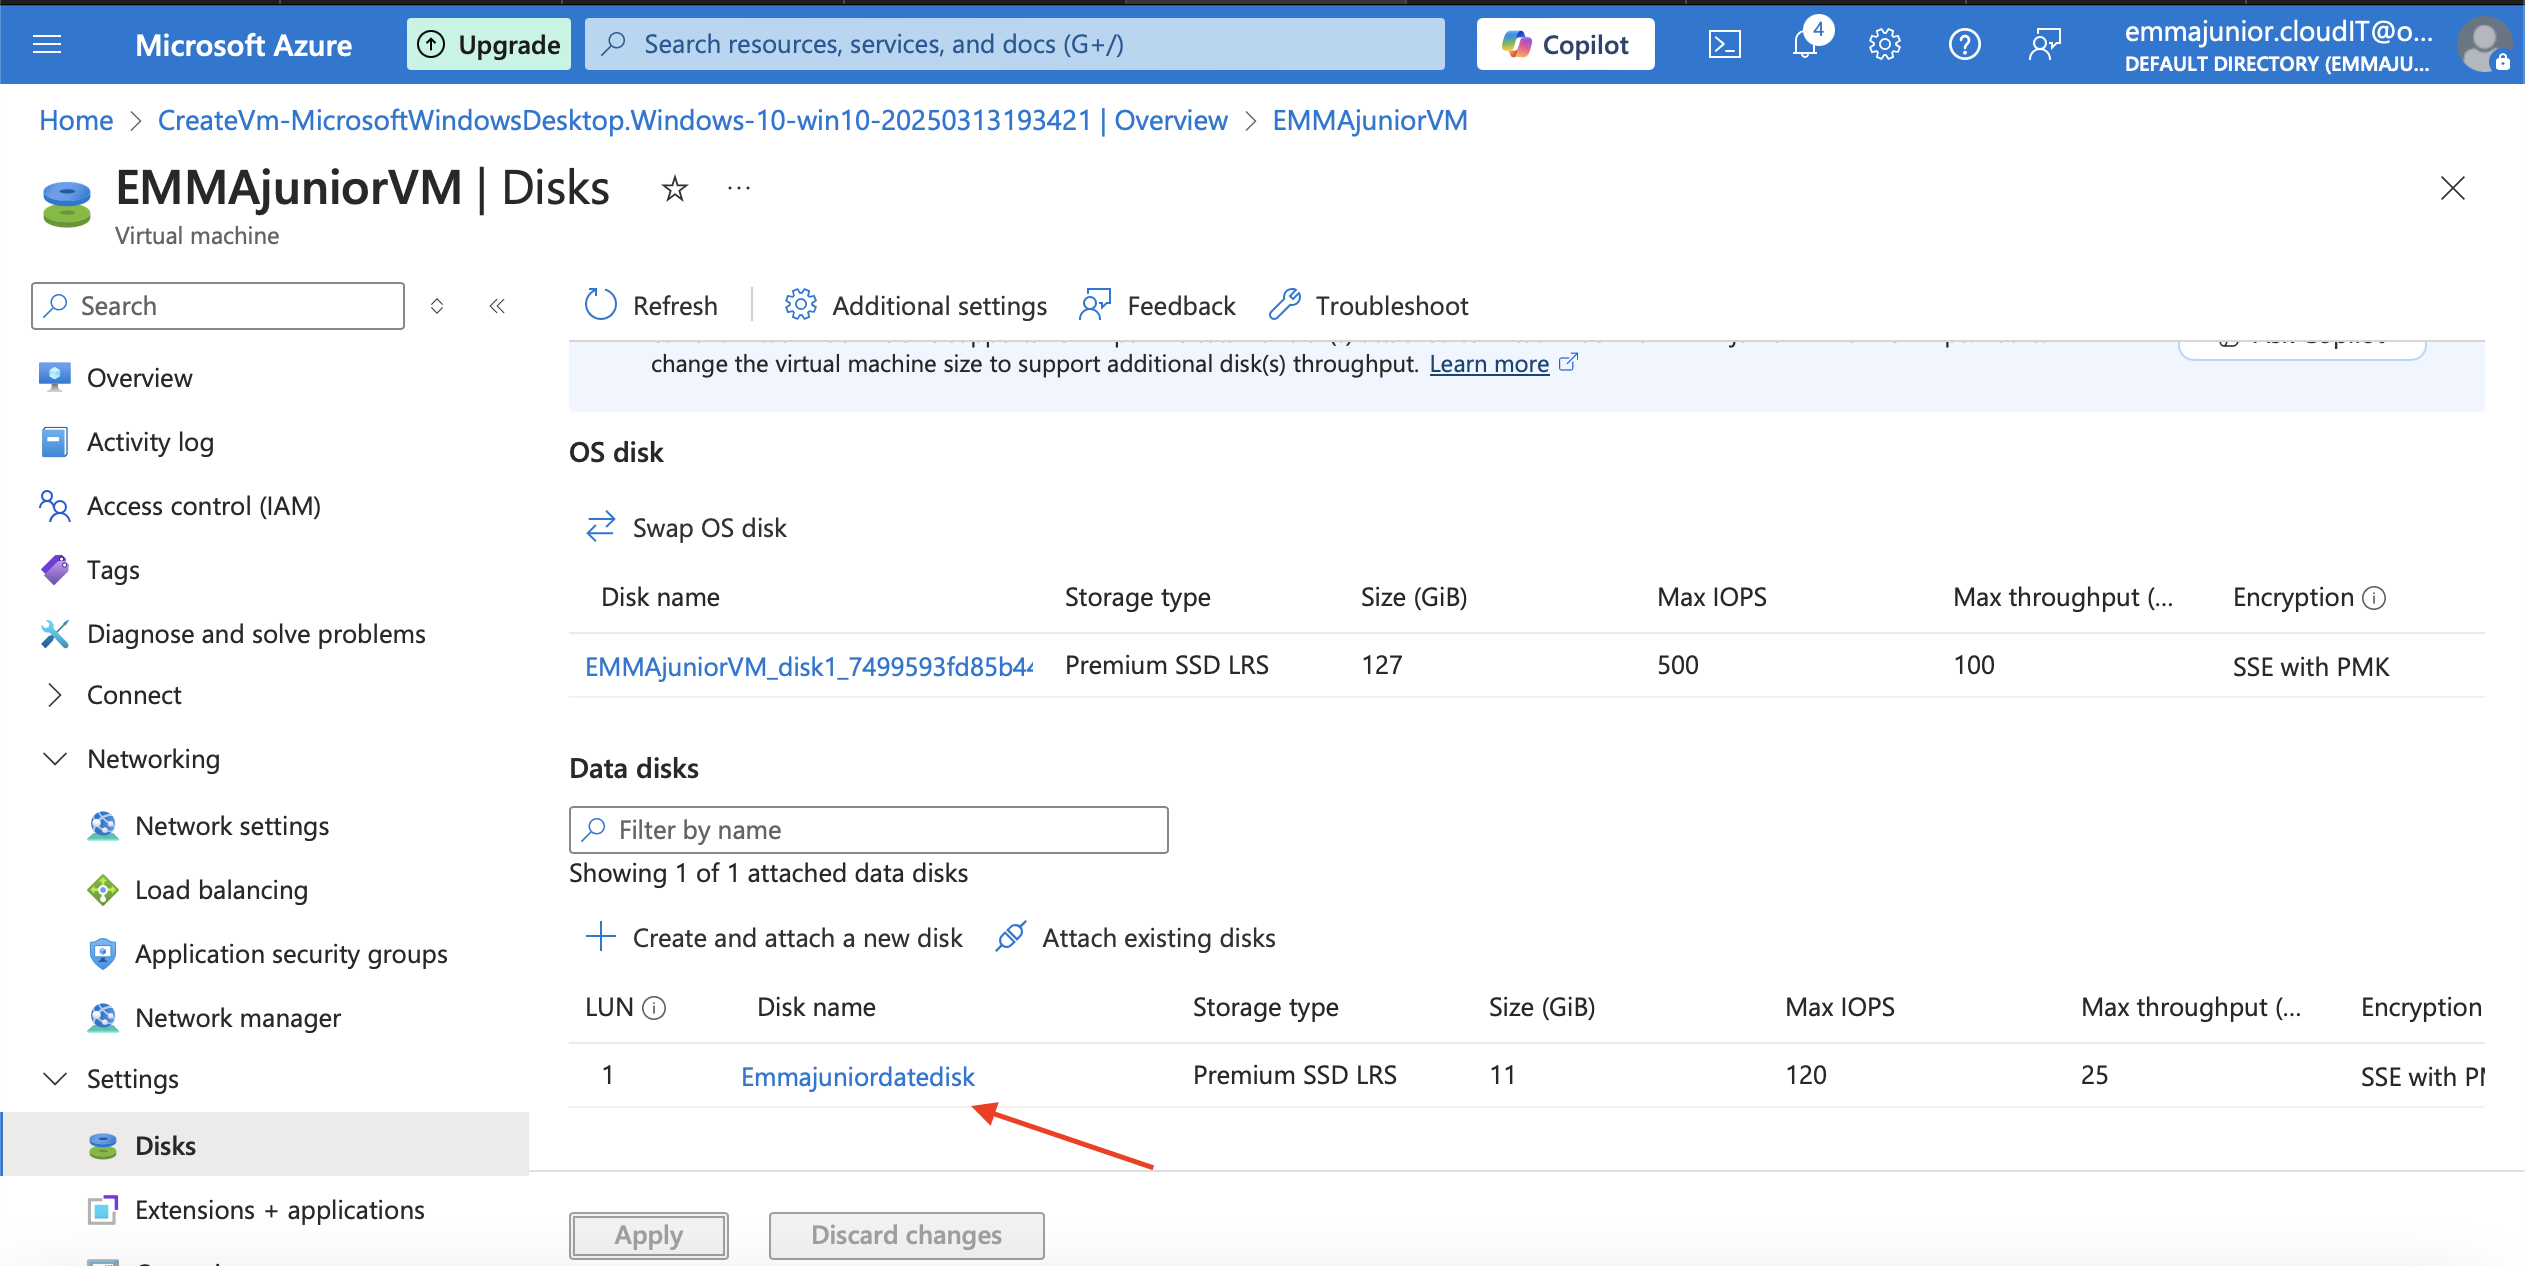
Go to disk section, under 'Settings'.On data disk, click on 'Create and attach a new disk'
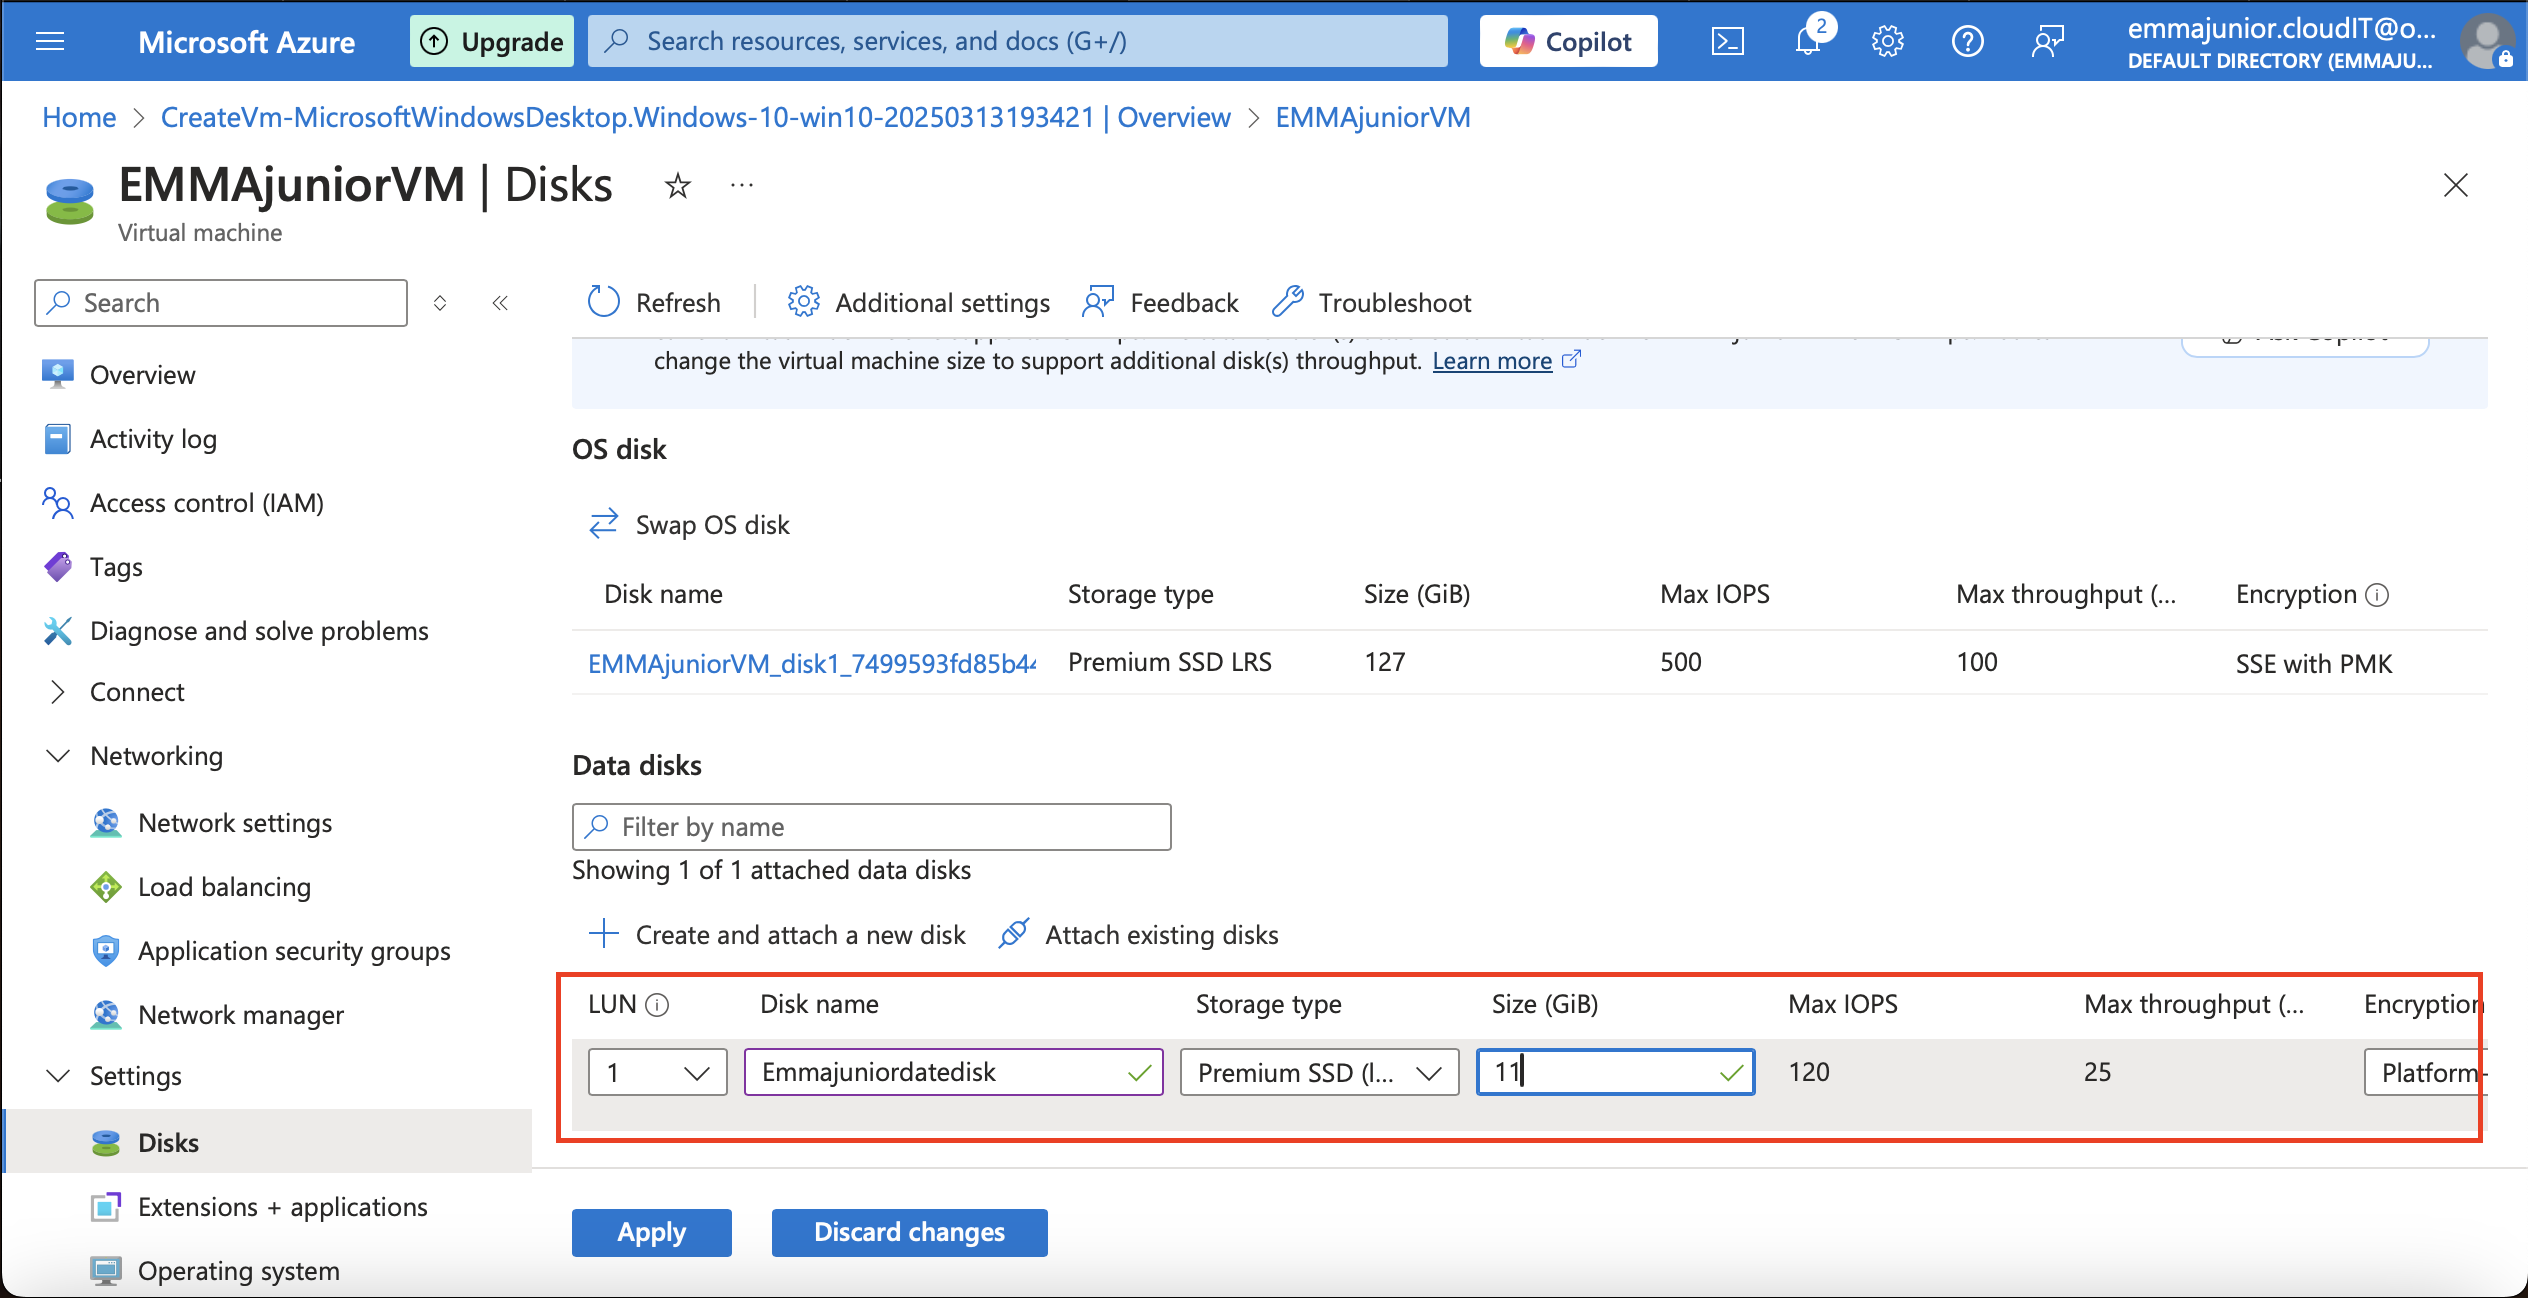
Step 13
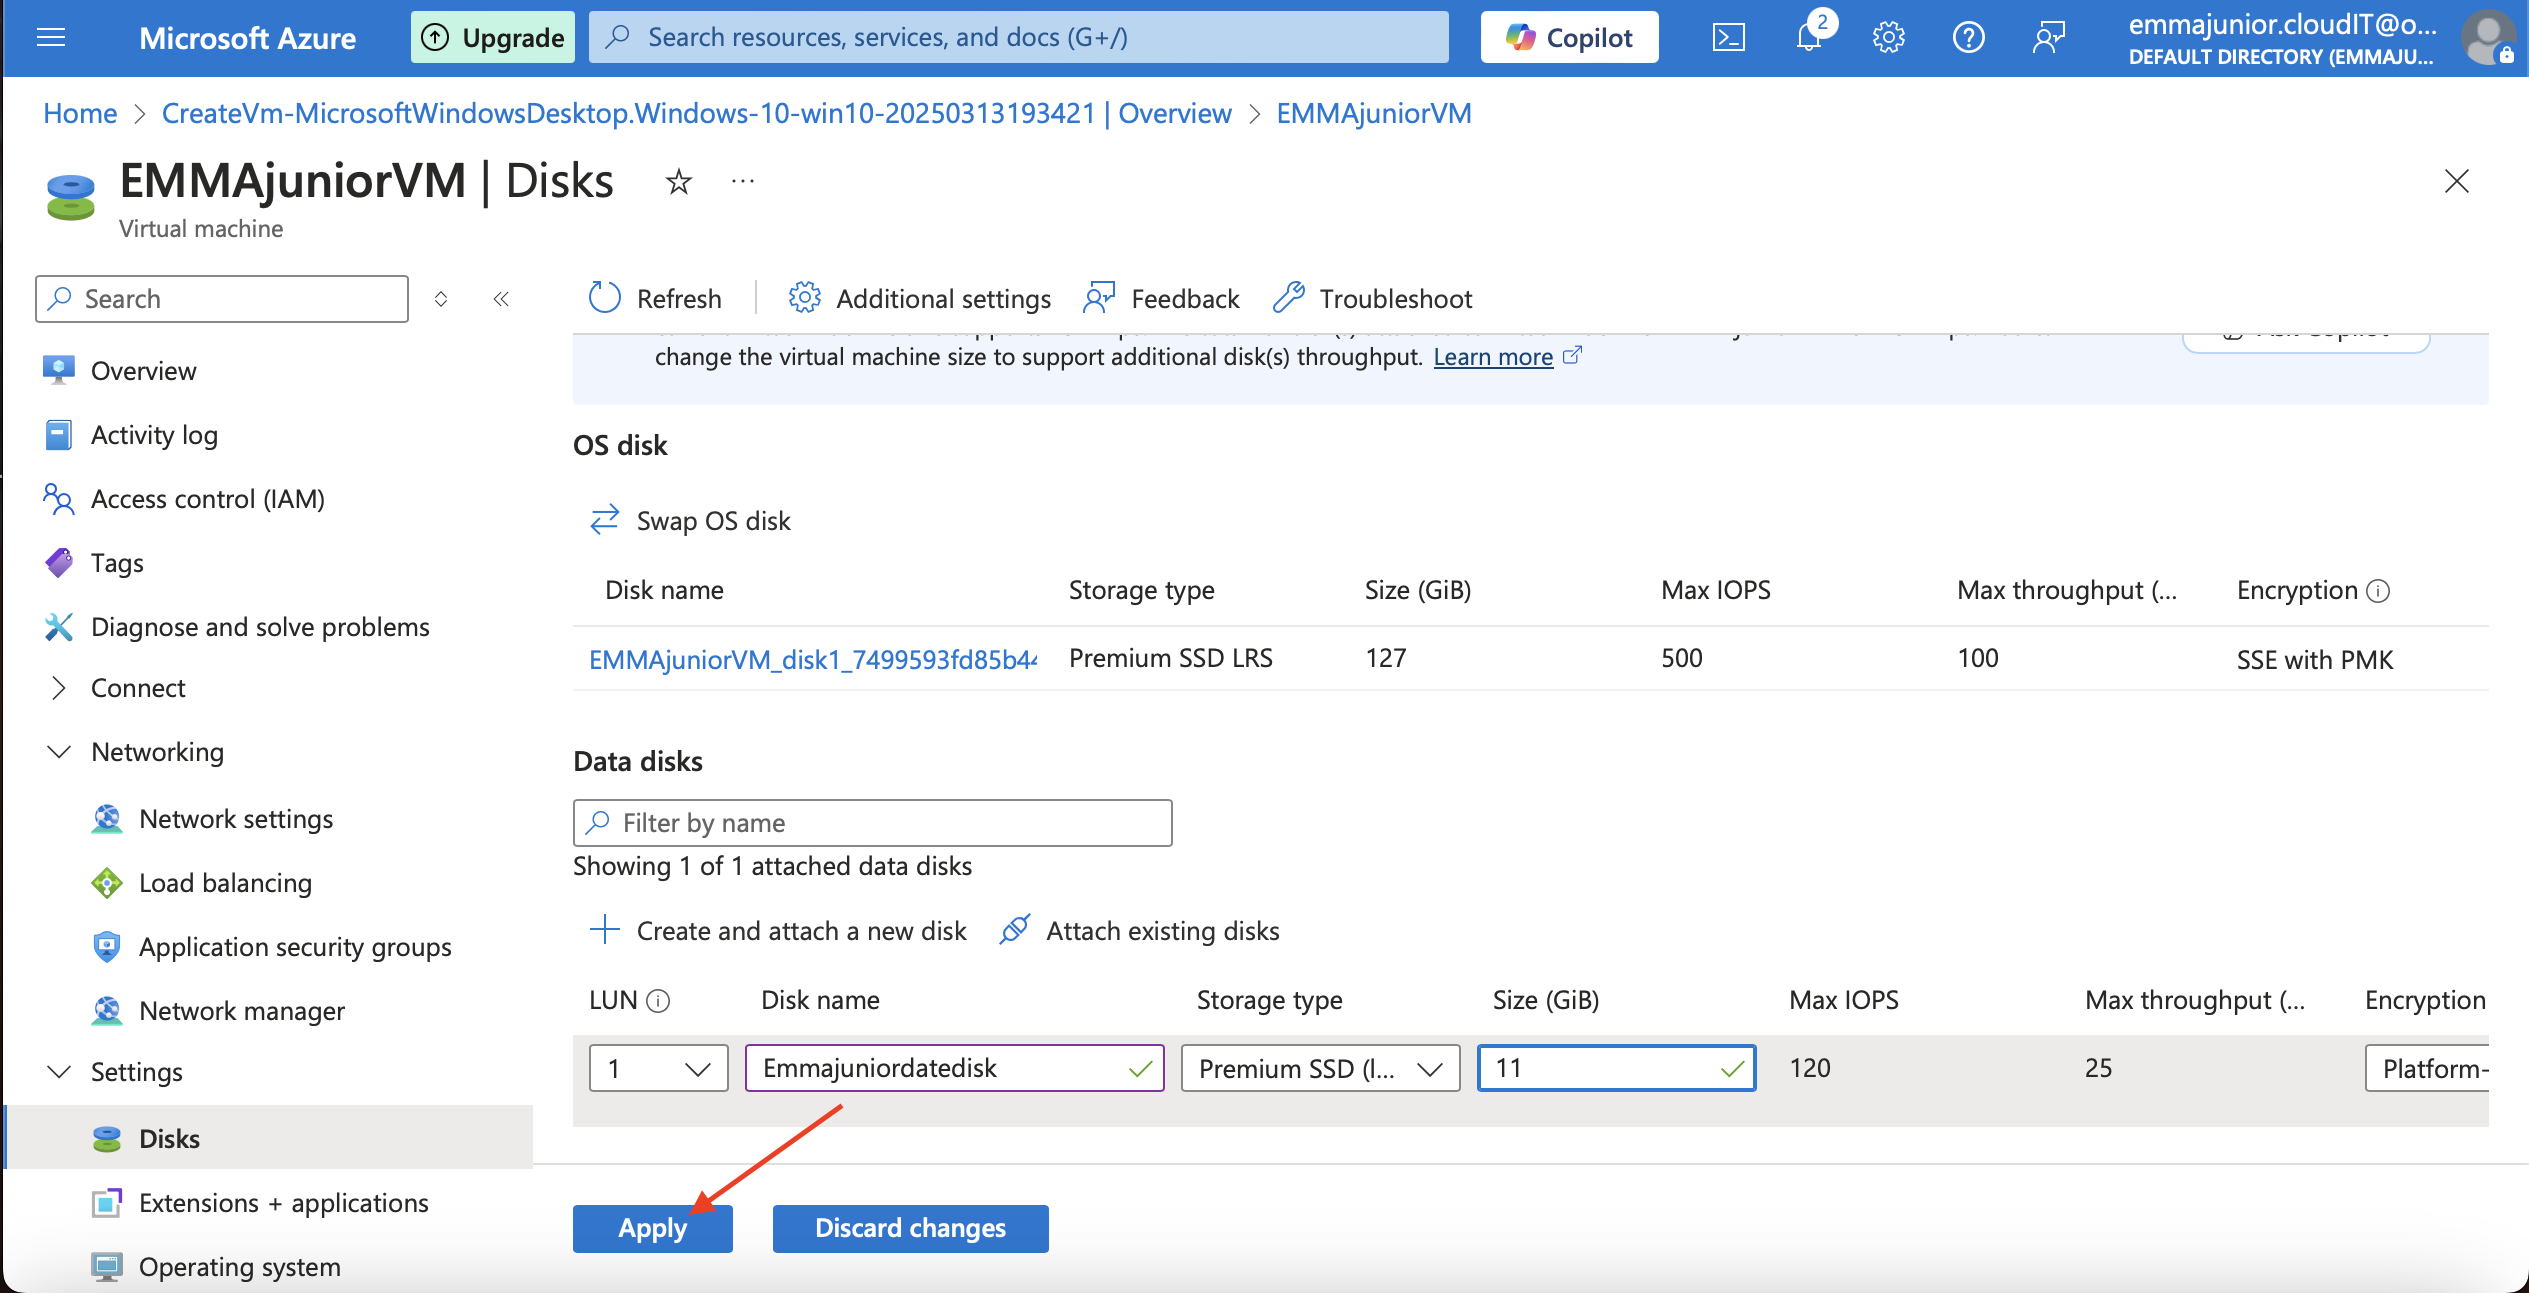
choose the disk name, storage type, LUN, size and apply.Wait for it to successfully create data disk and update the virtual machine.The created data is not usable.
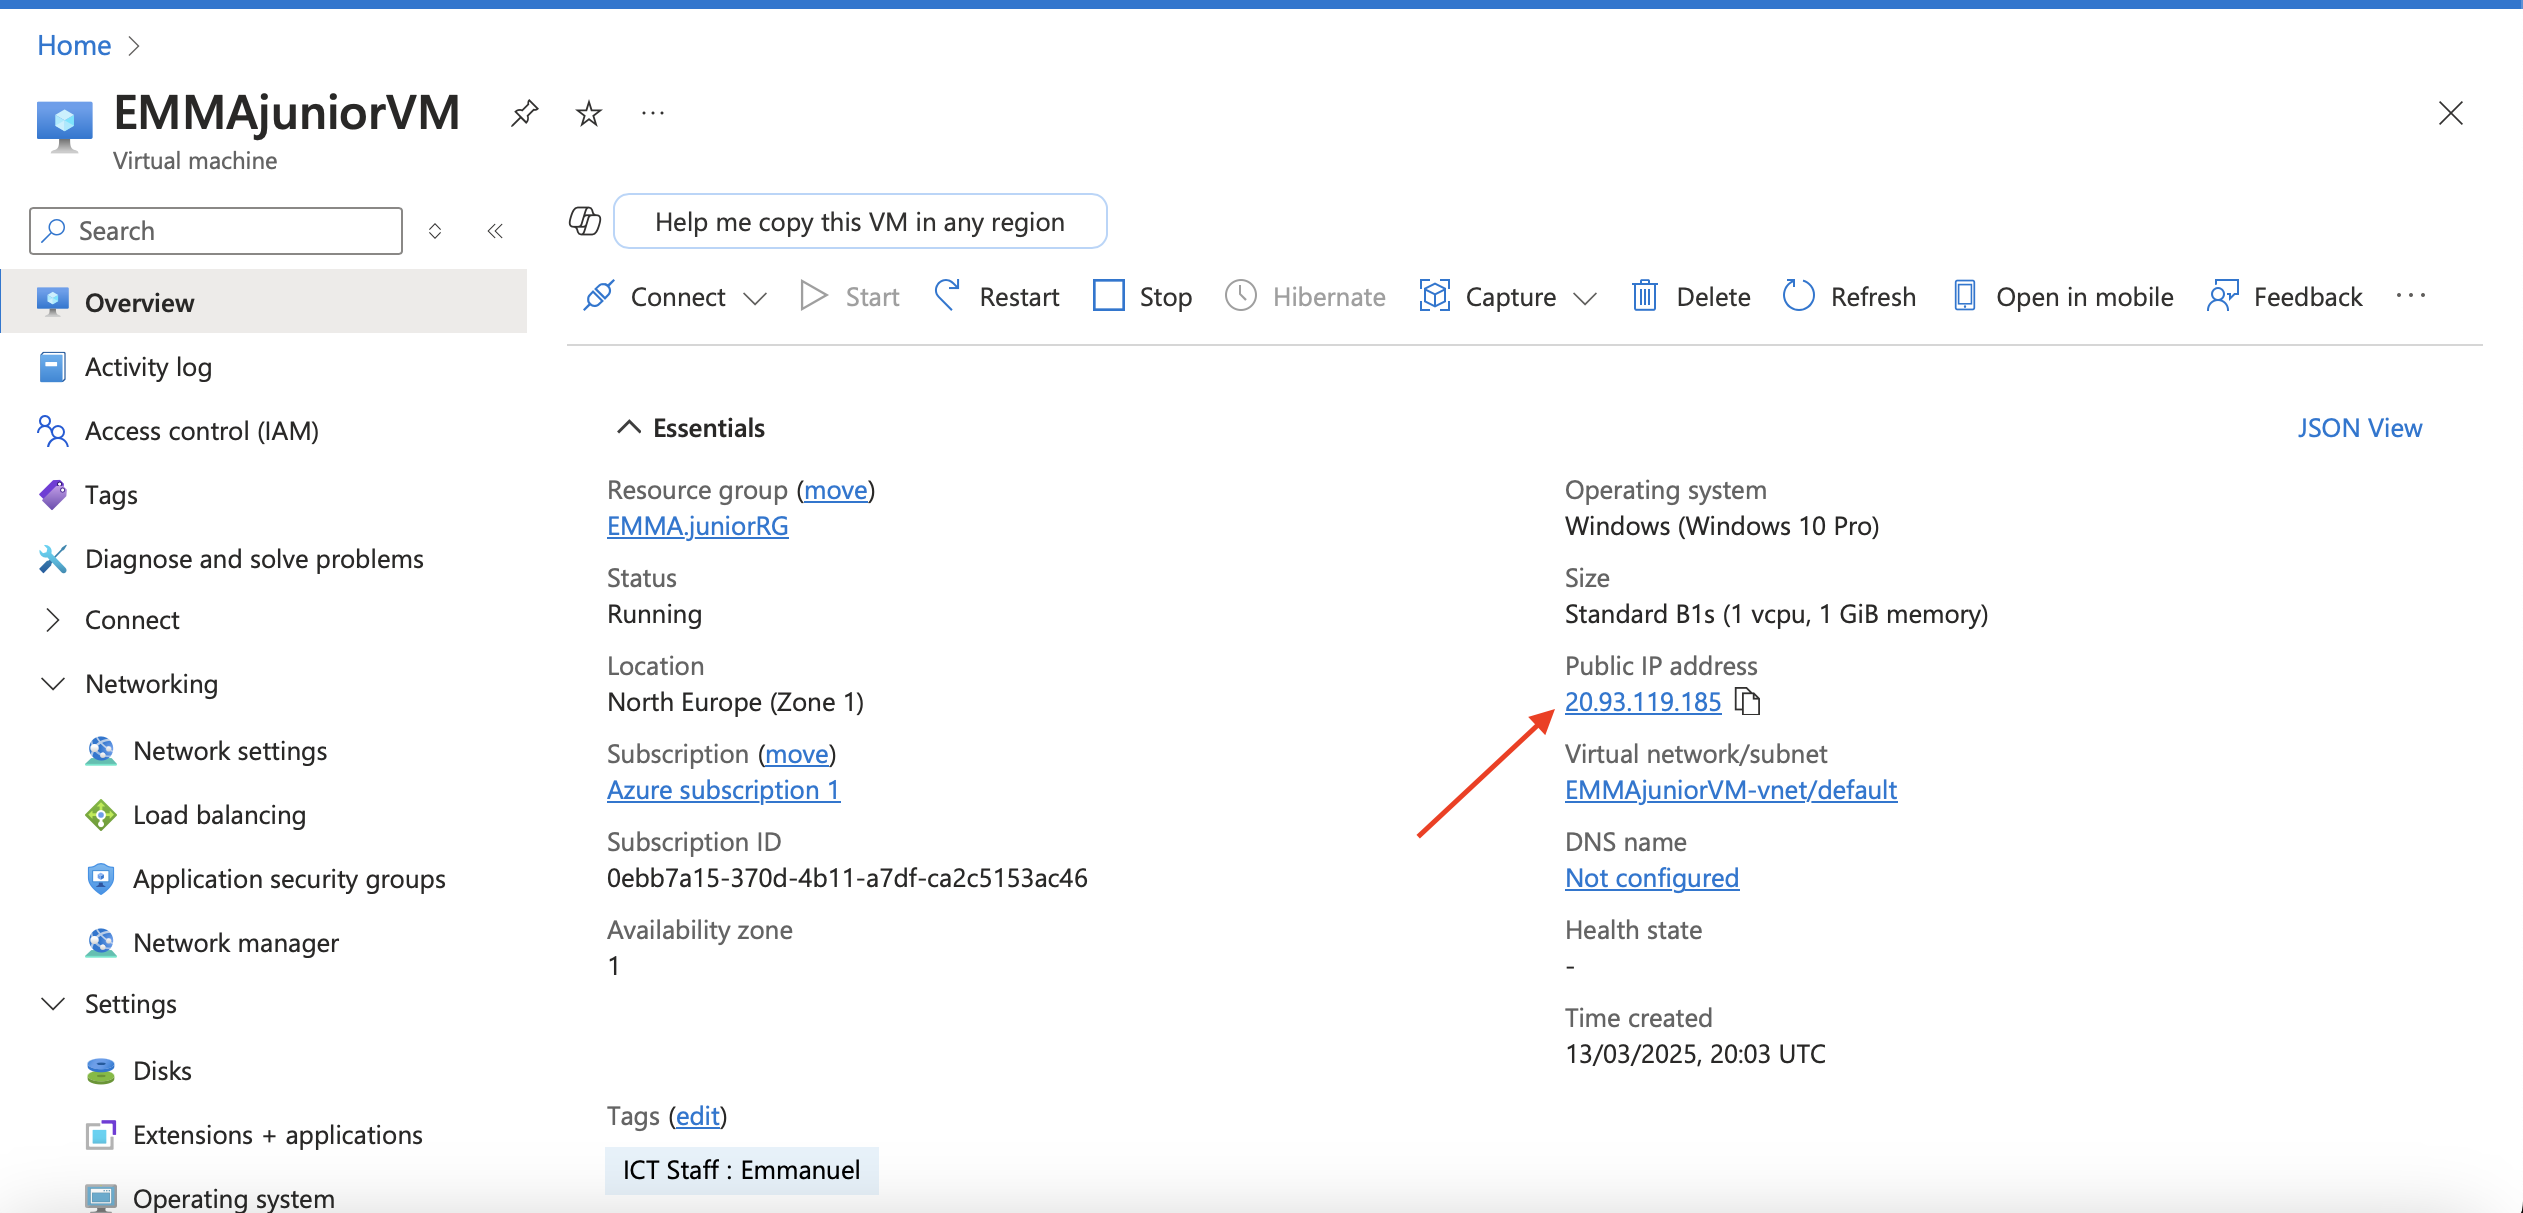
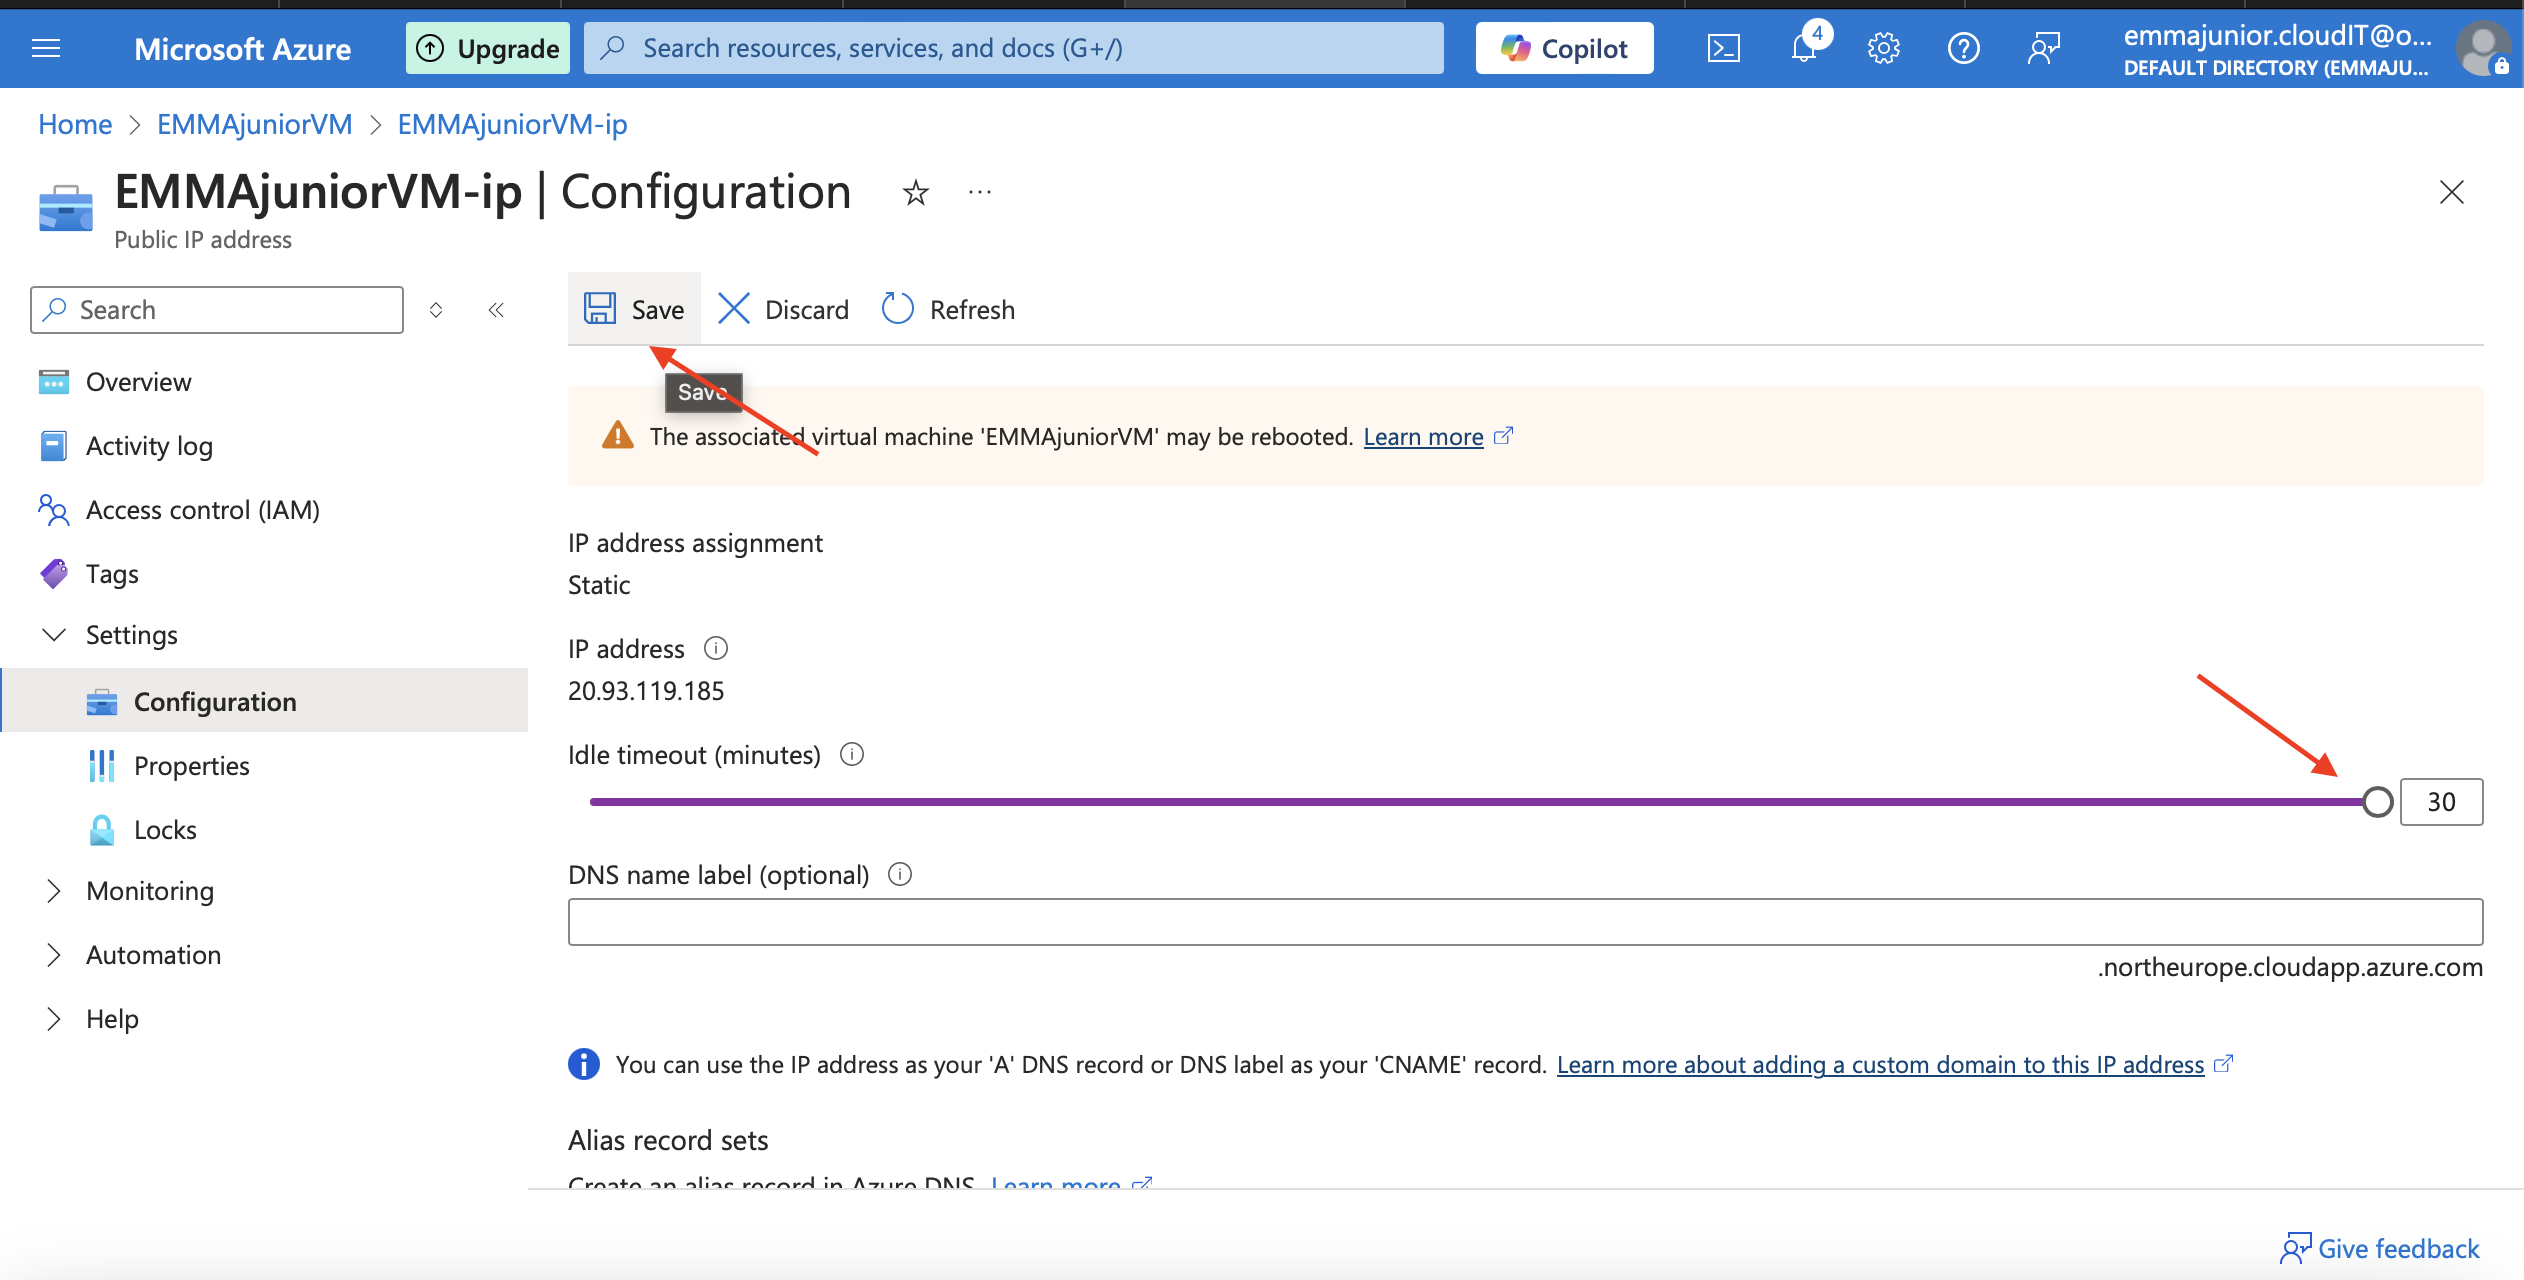
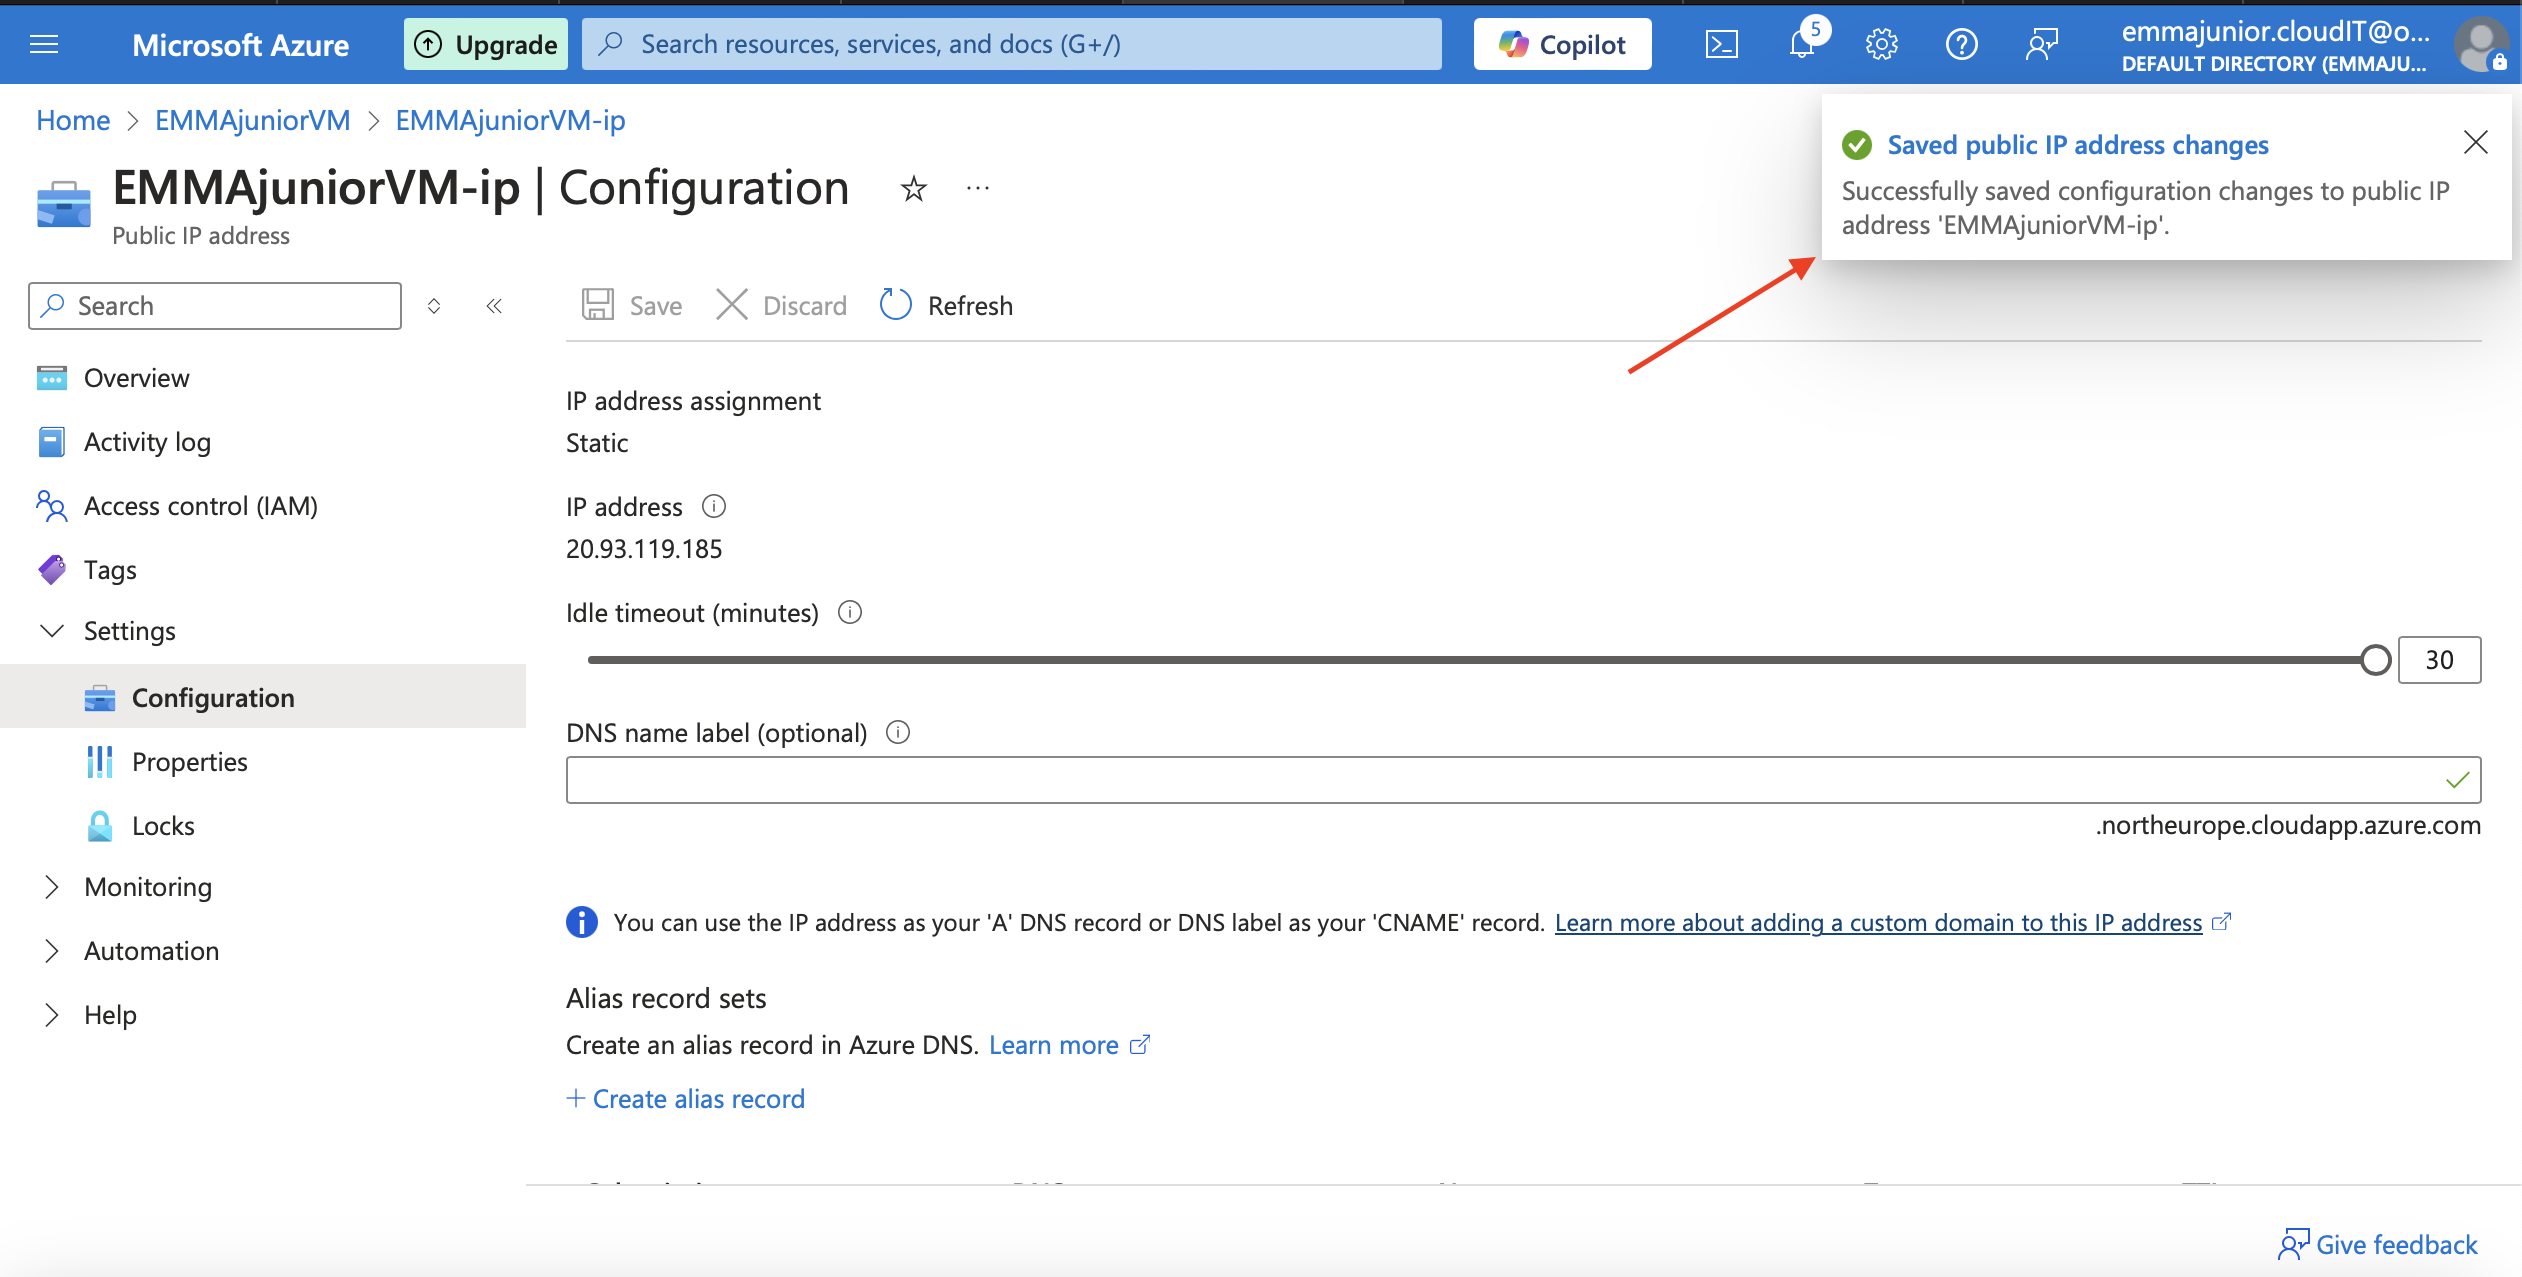
Step 14
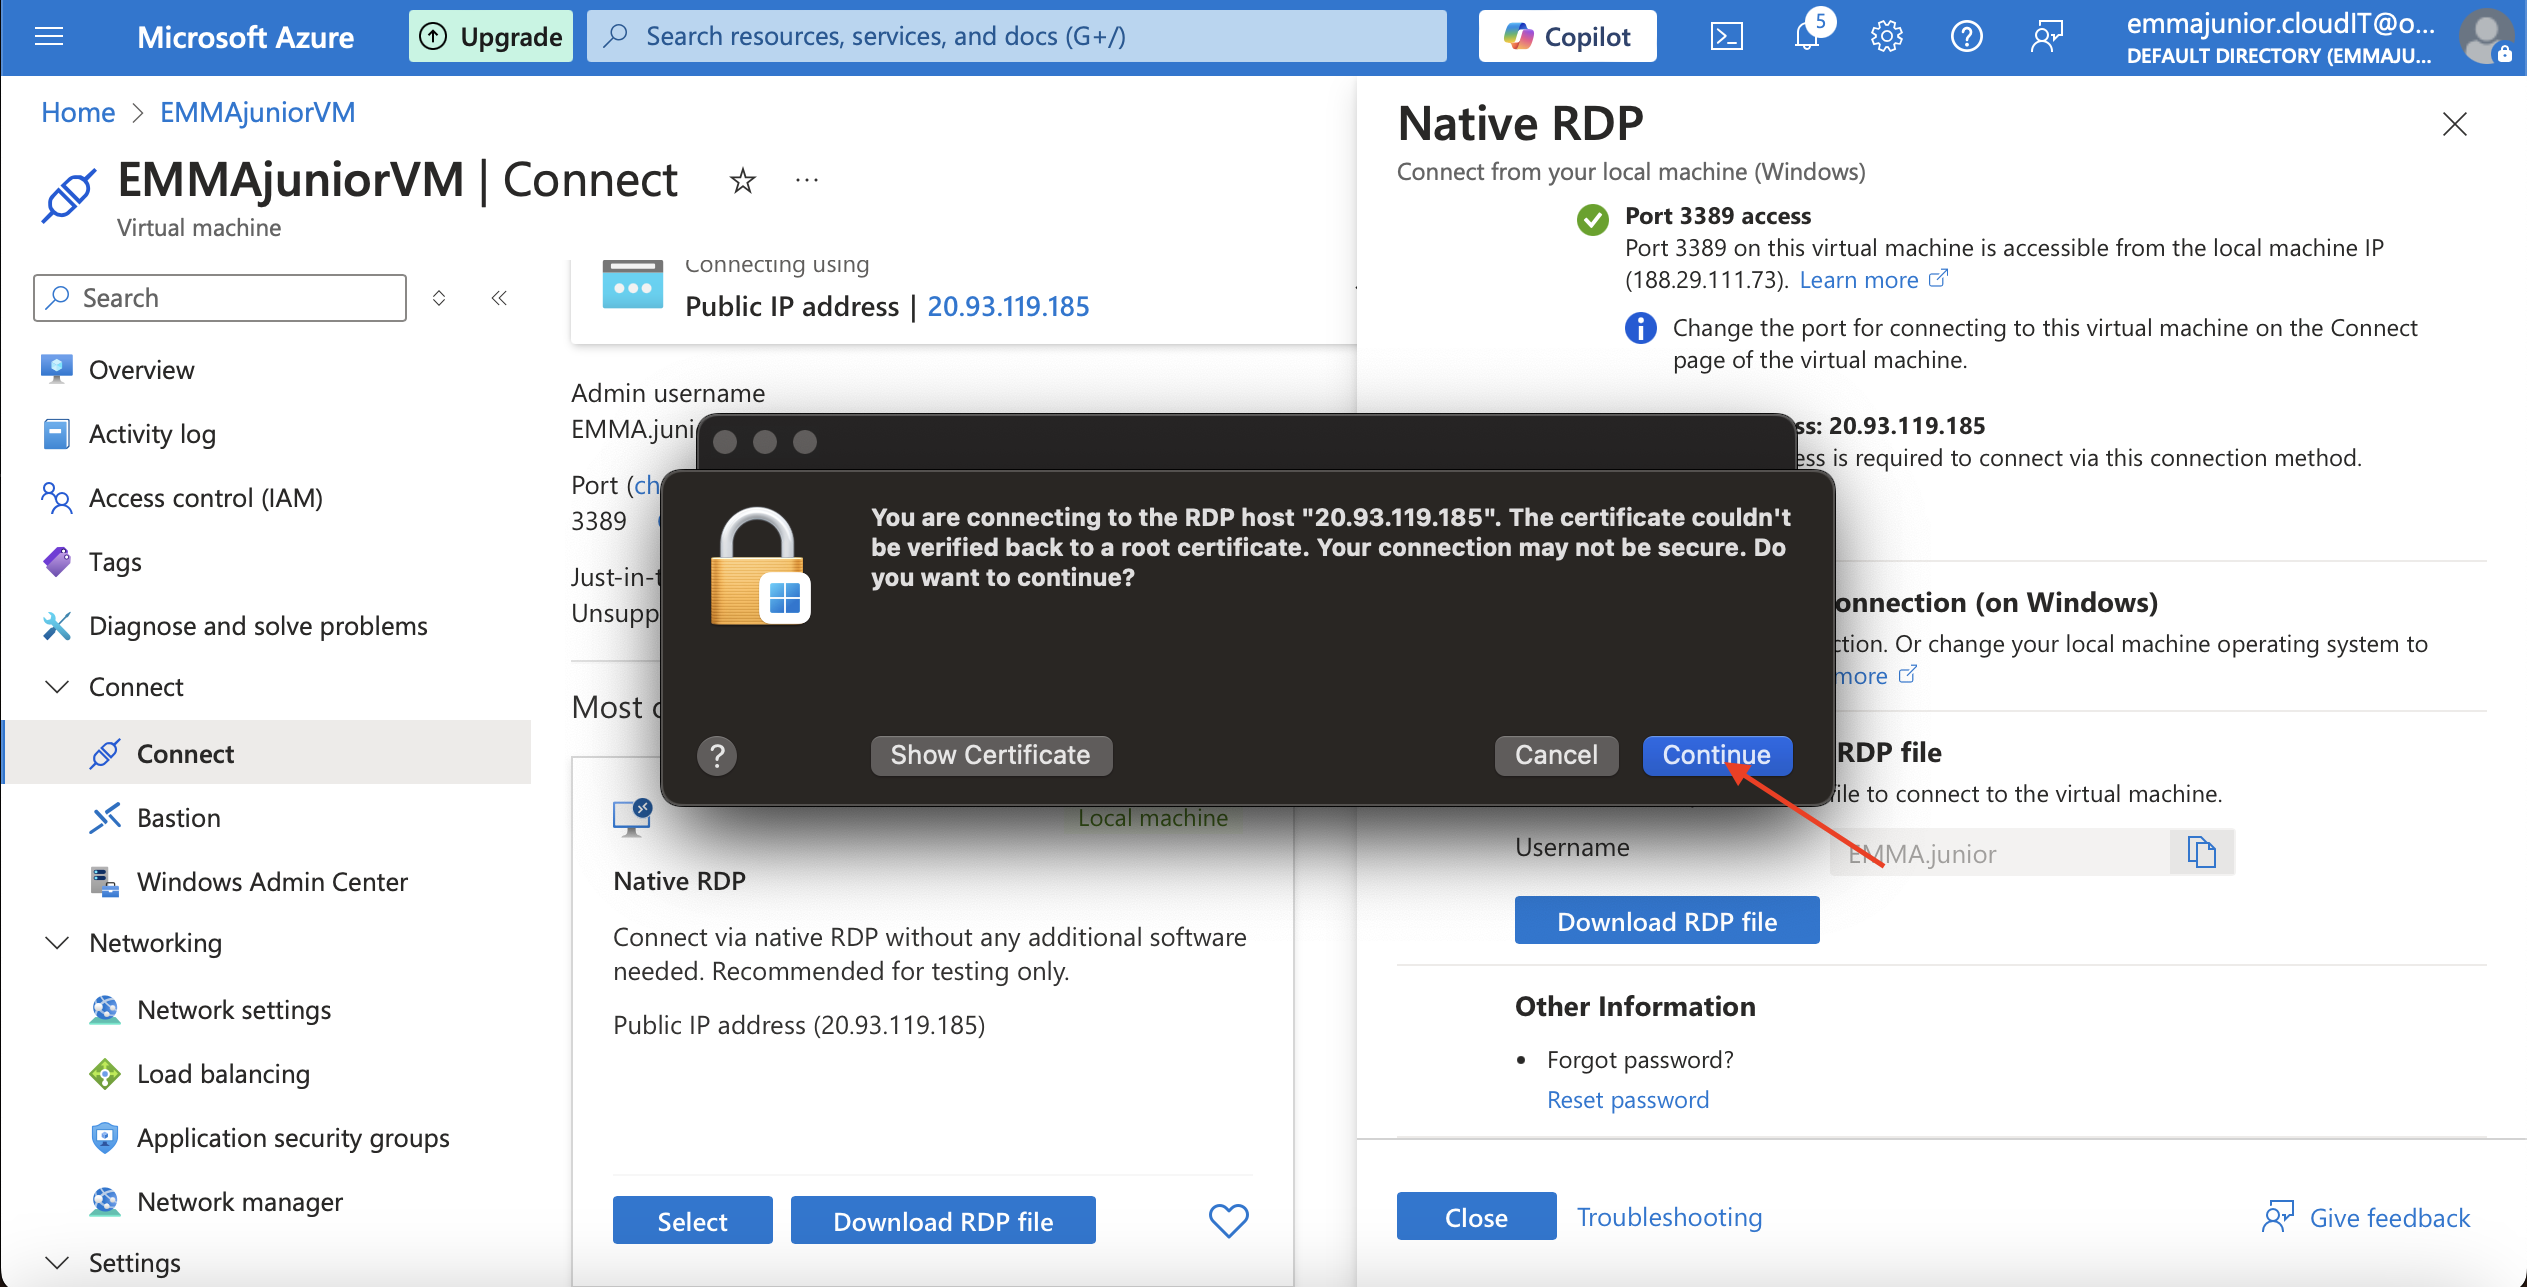
To make data disk usable, so we login to the virtual machines we go the virtual machine we created ,and click on 'Connect' but before doing that we need to increase our idle time by click on the IP Address, so it won't disconnect us .
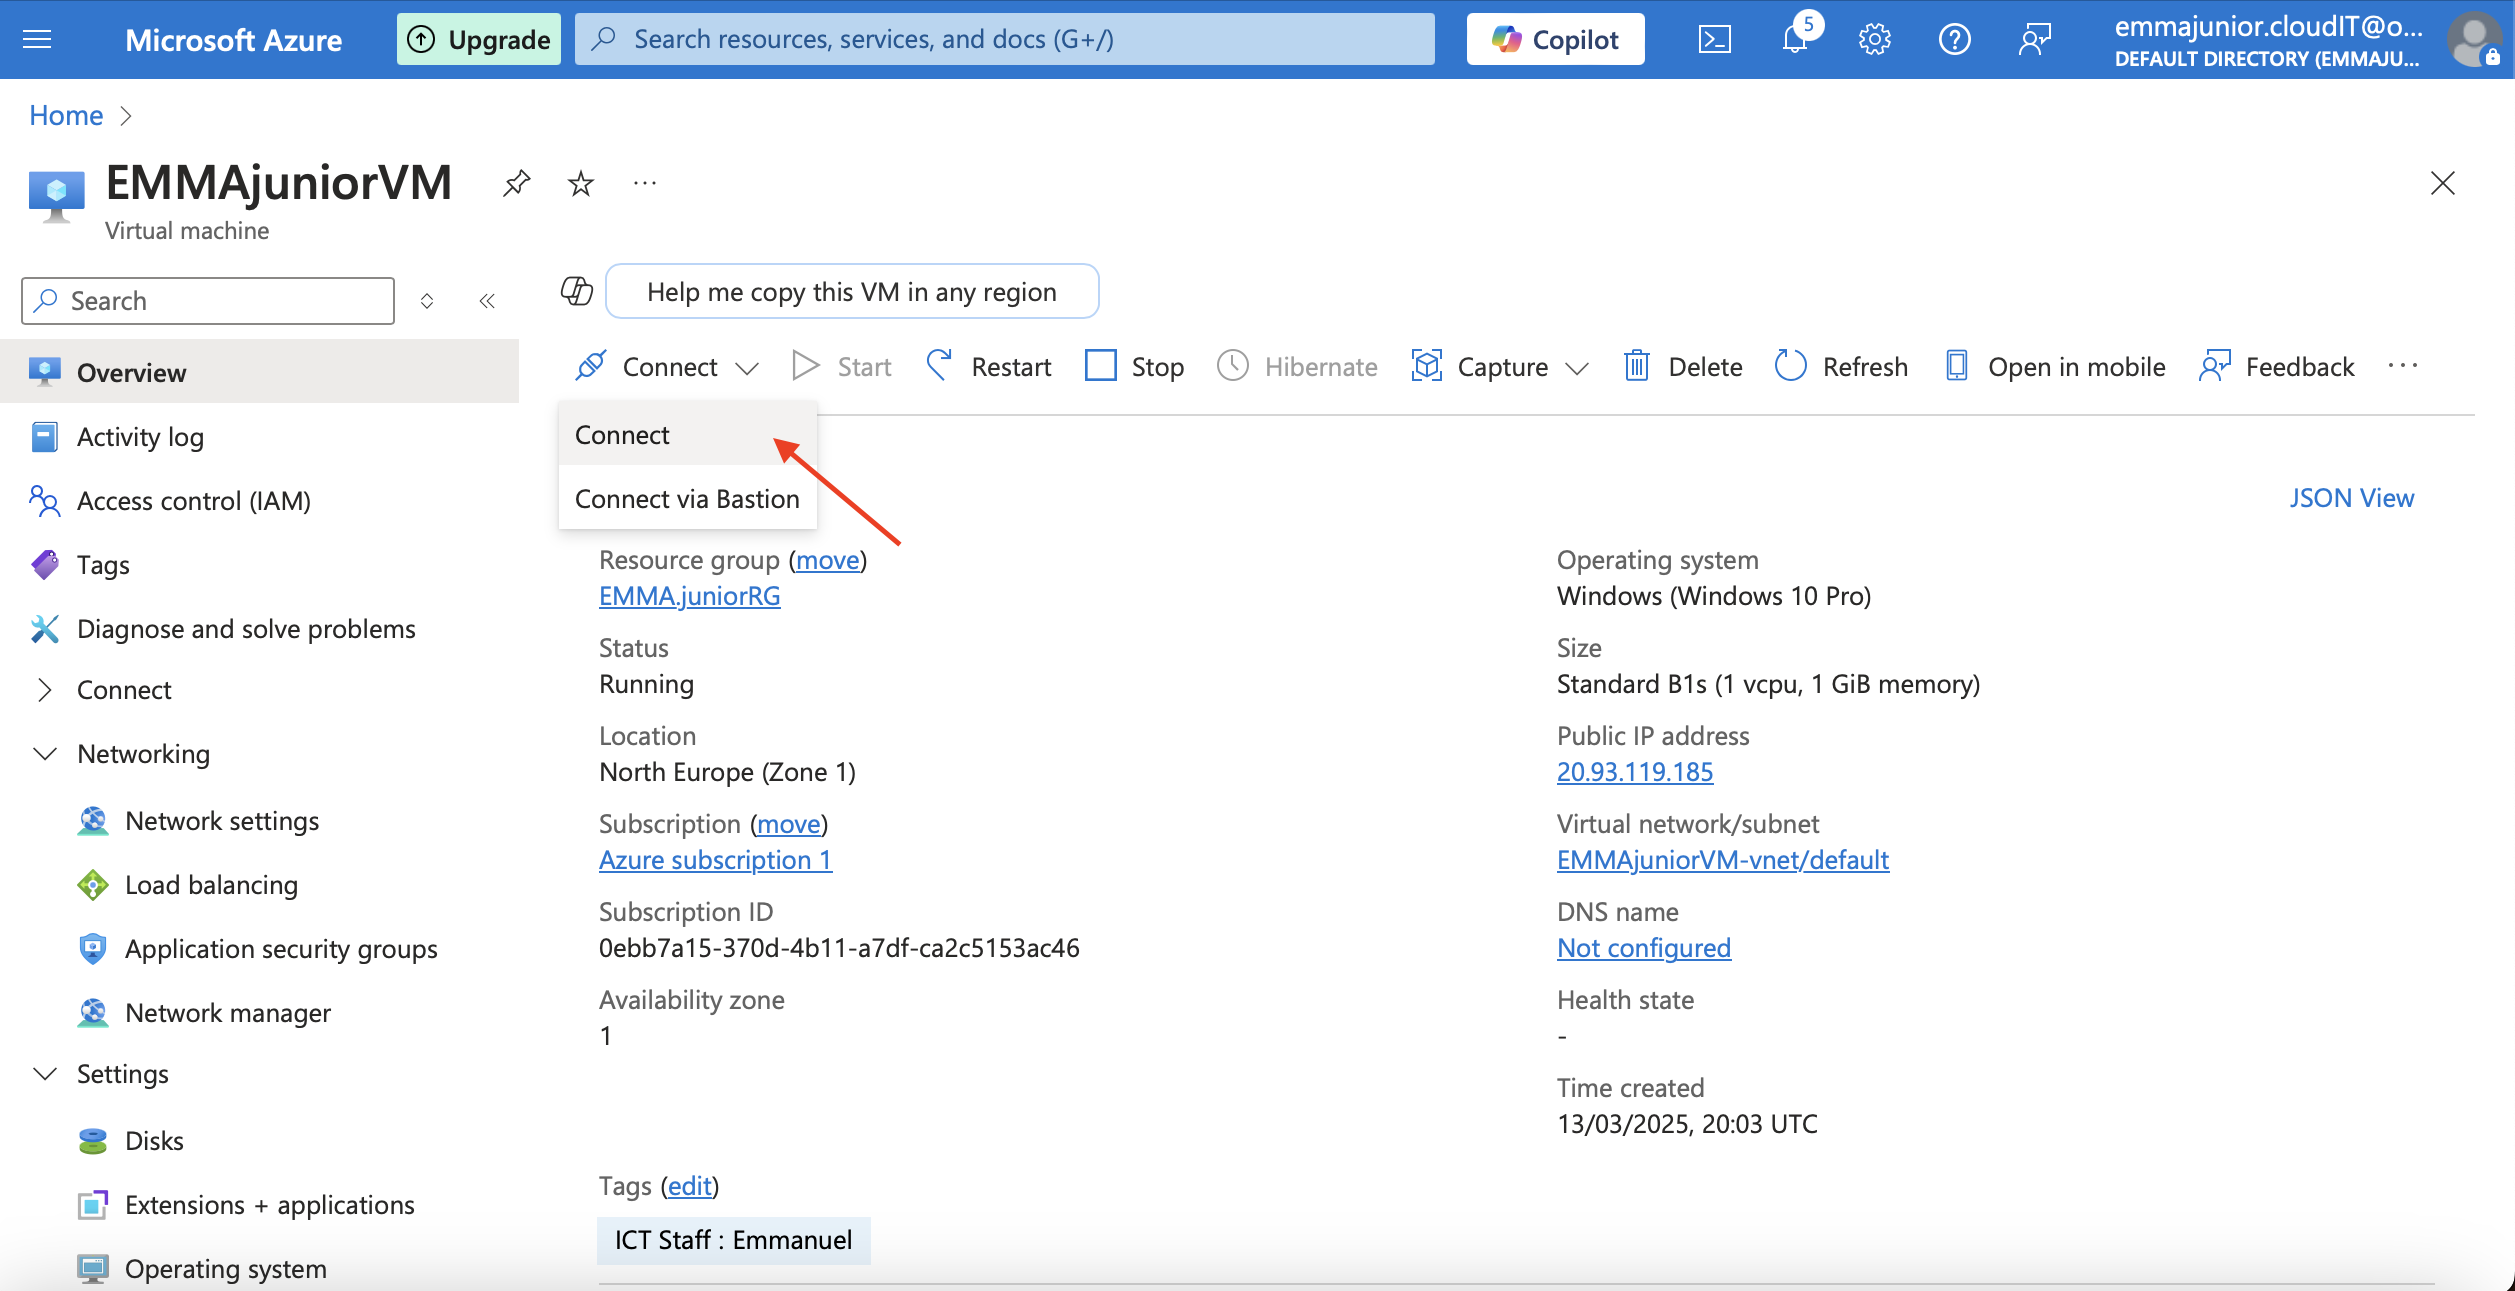
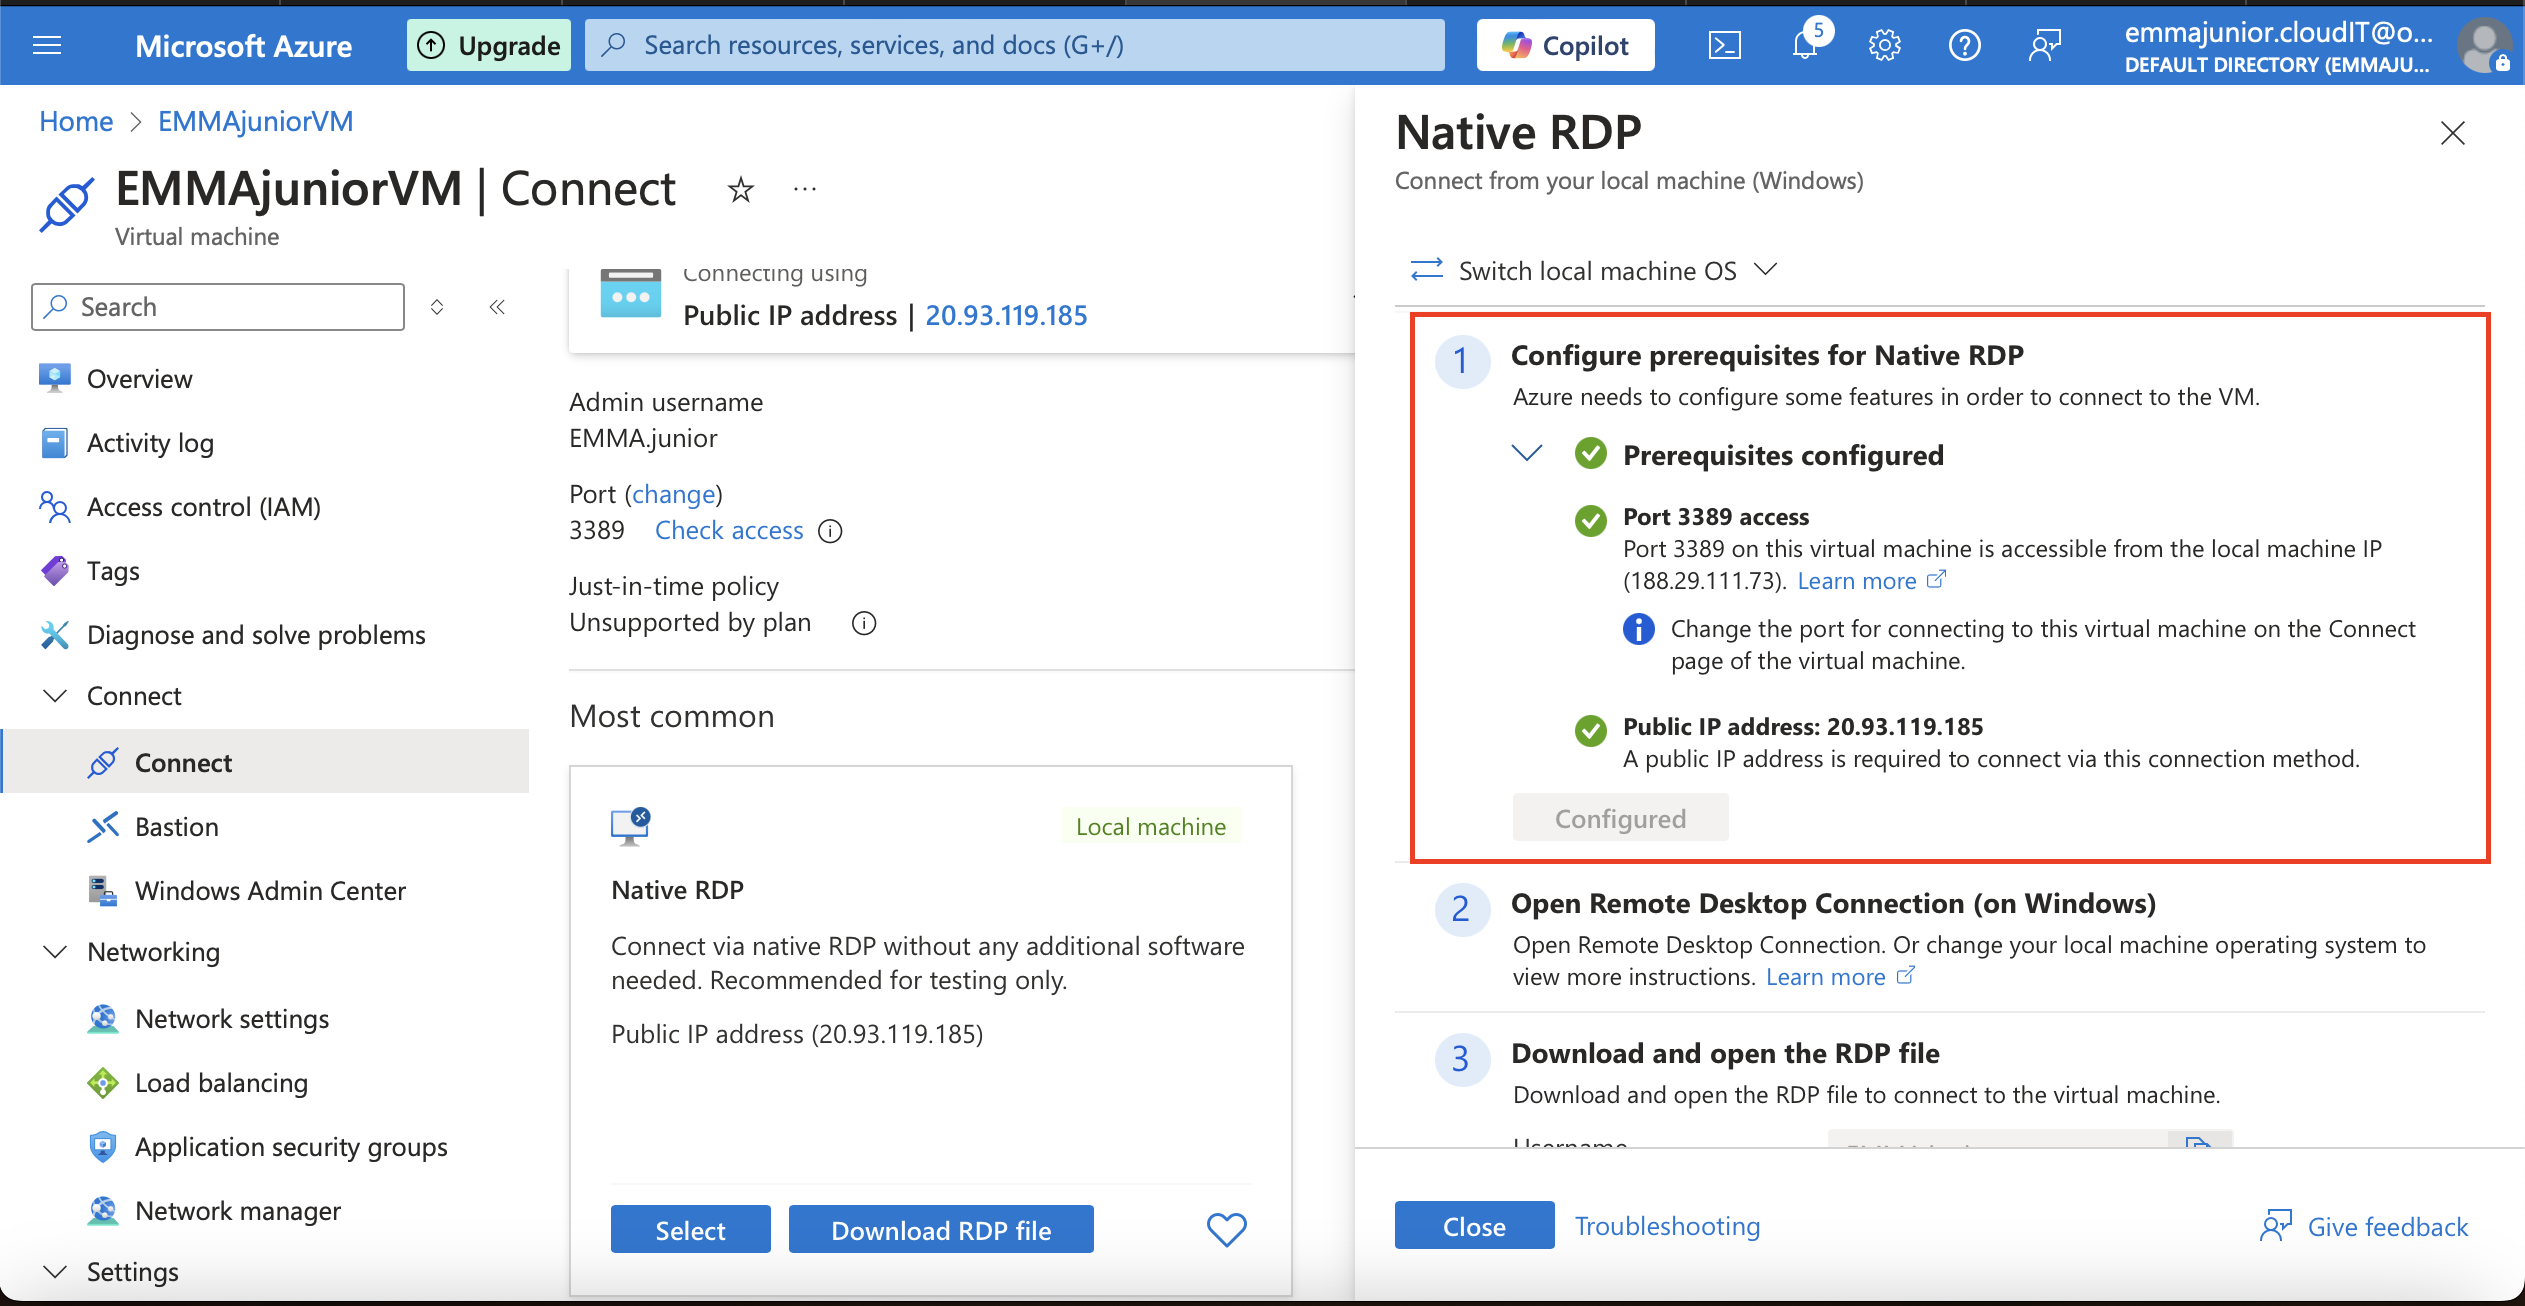
Step 15
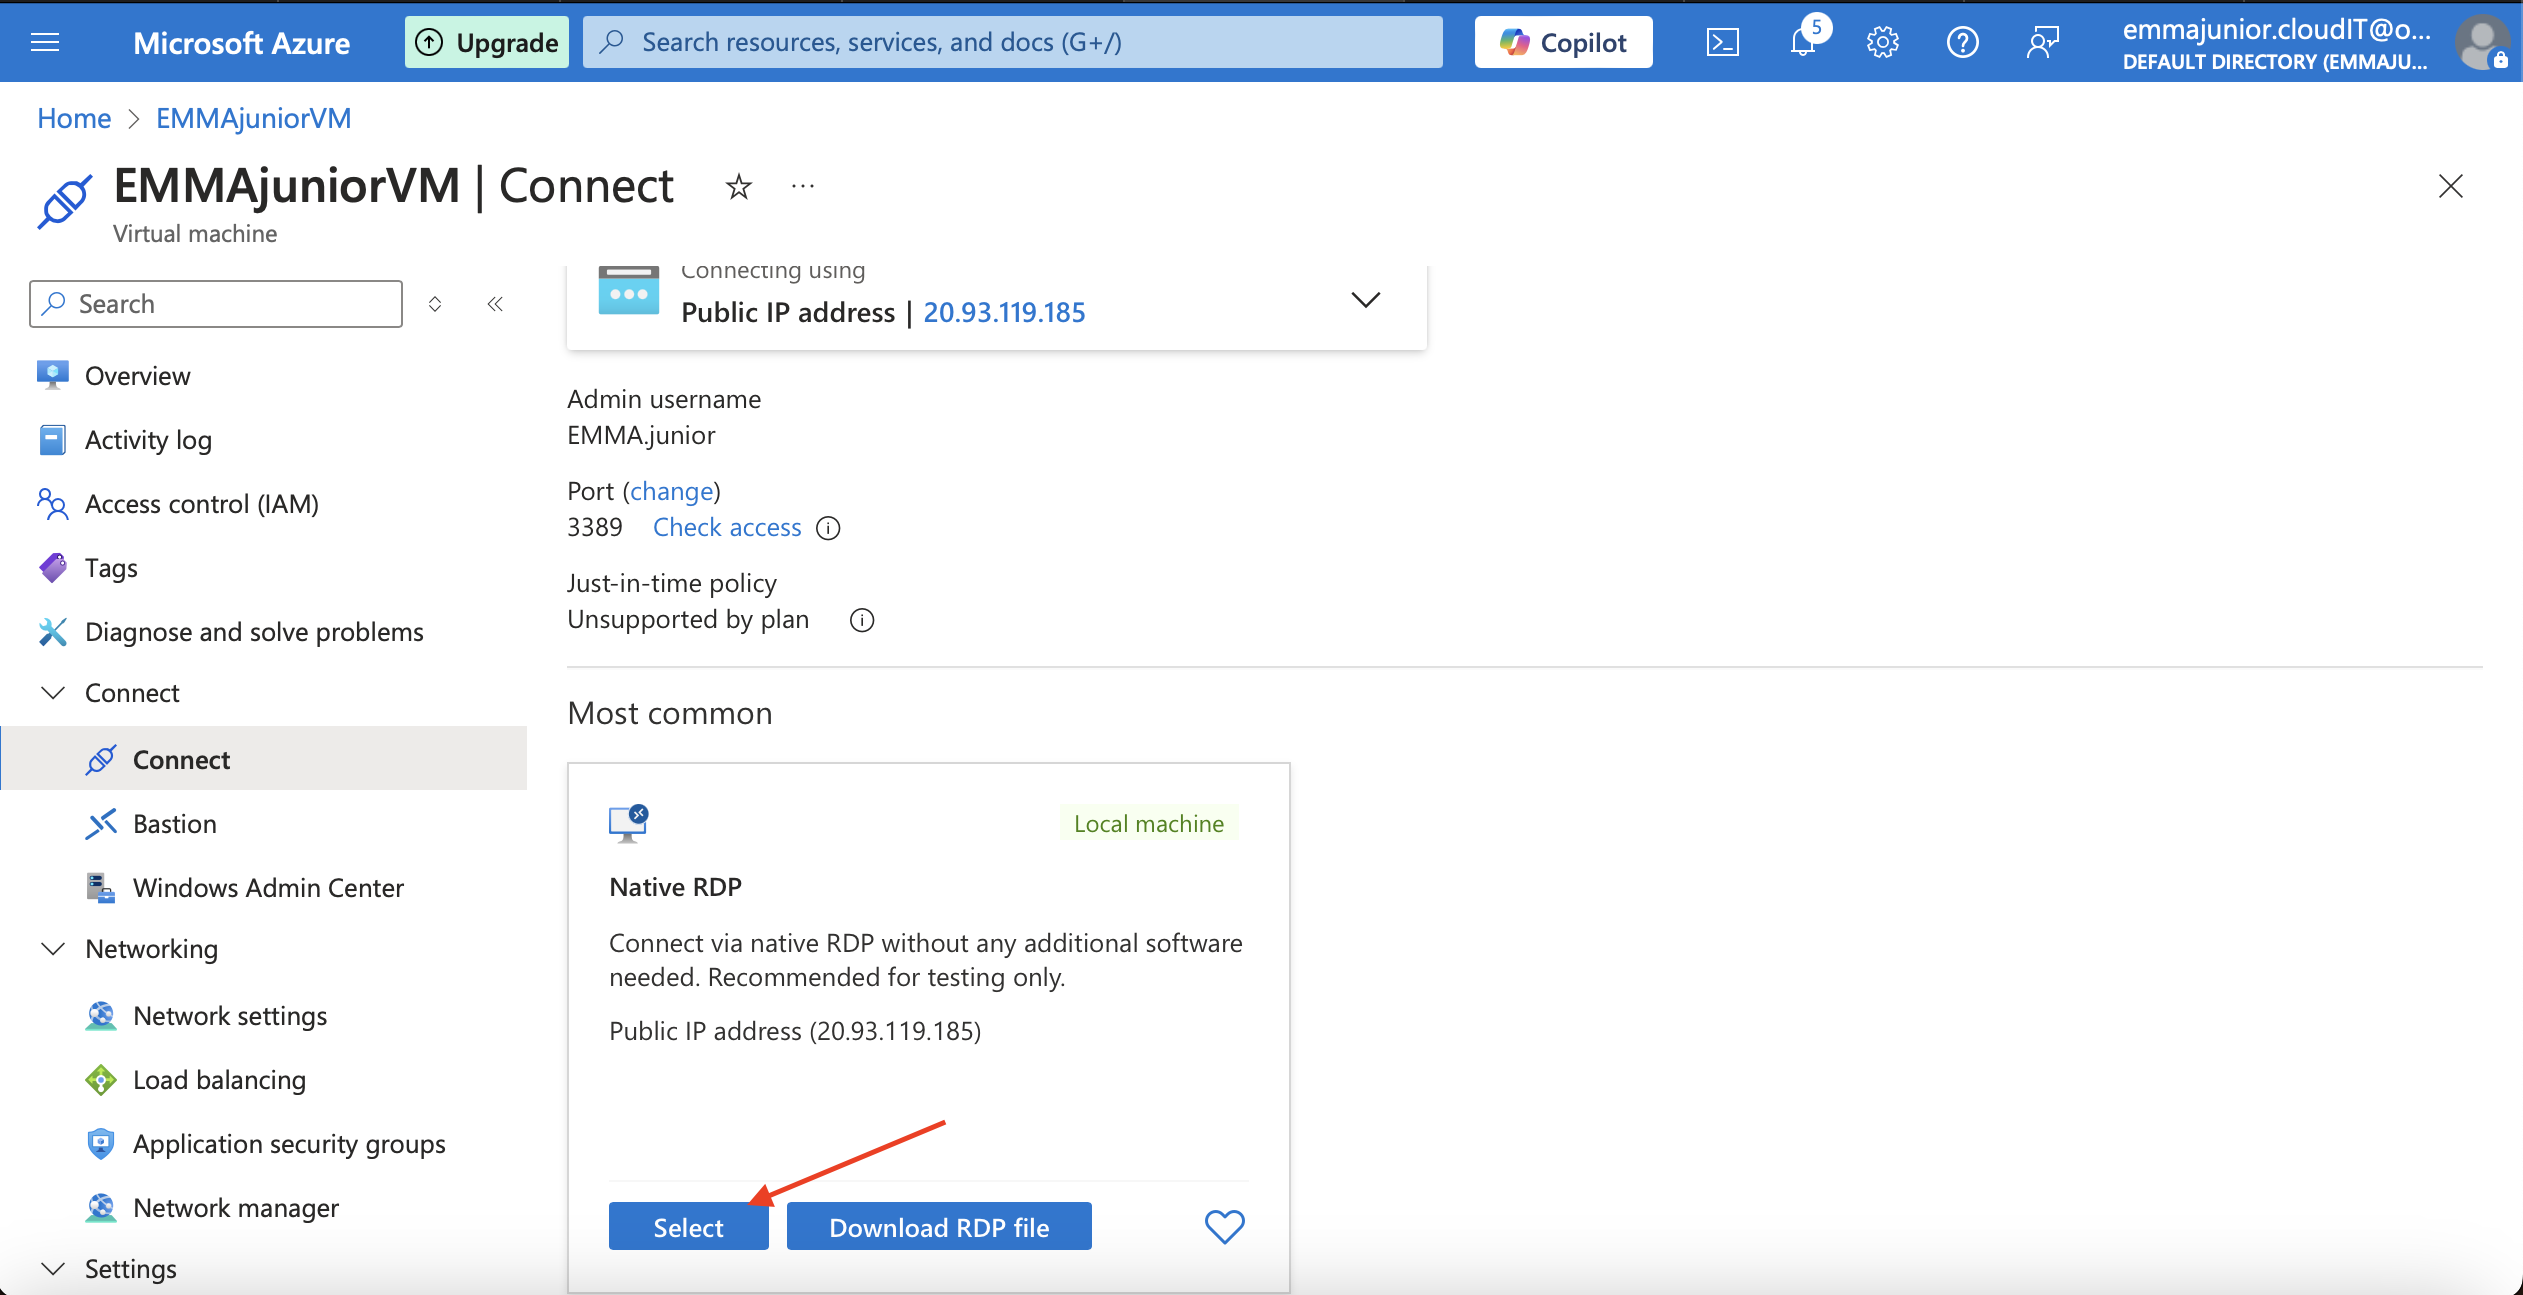
Click on 'Connect',then click on 'Select' RDP, wait for the RDP to validate and be configured.Then click on 'Download RDP'.
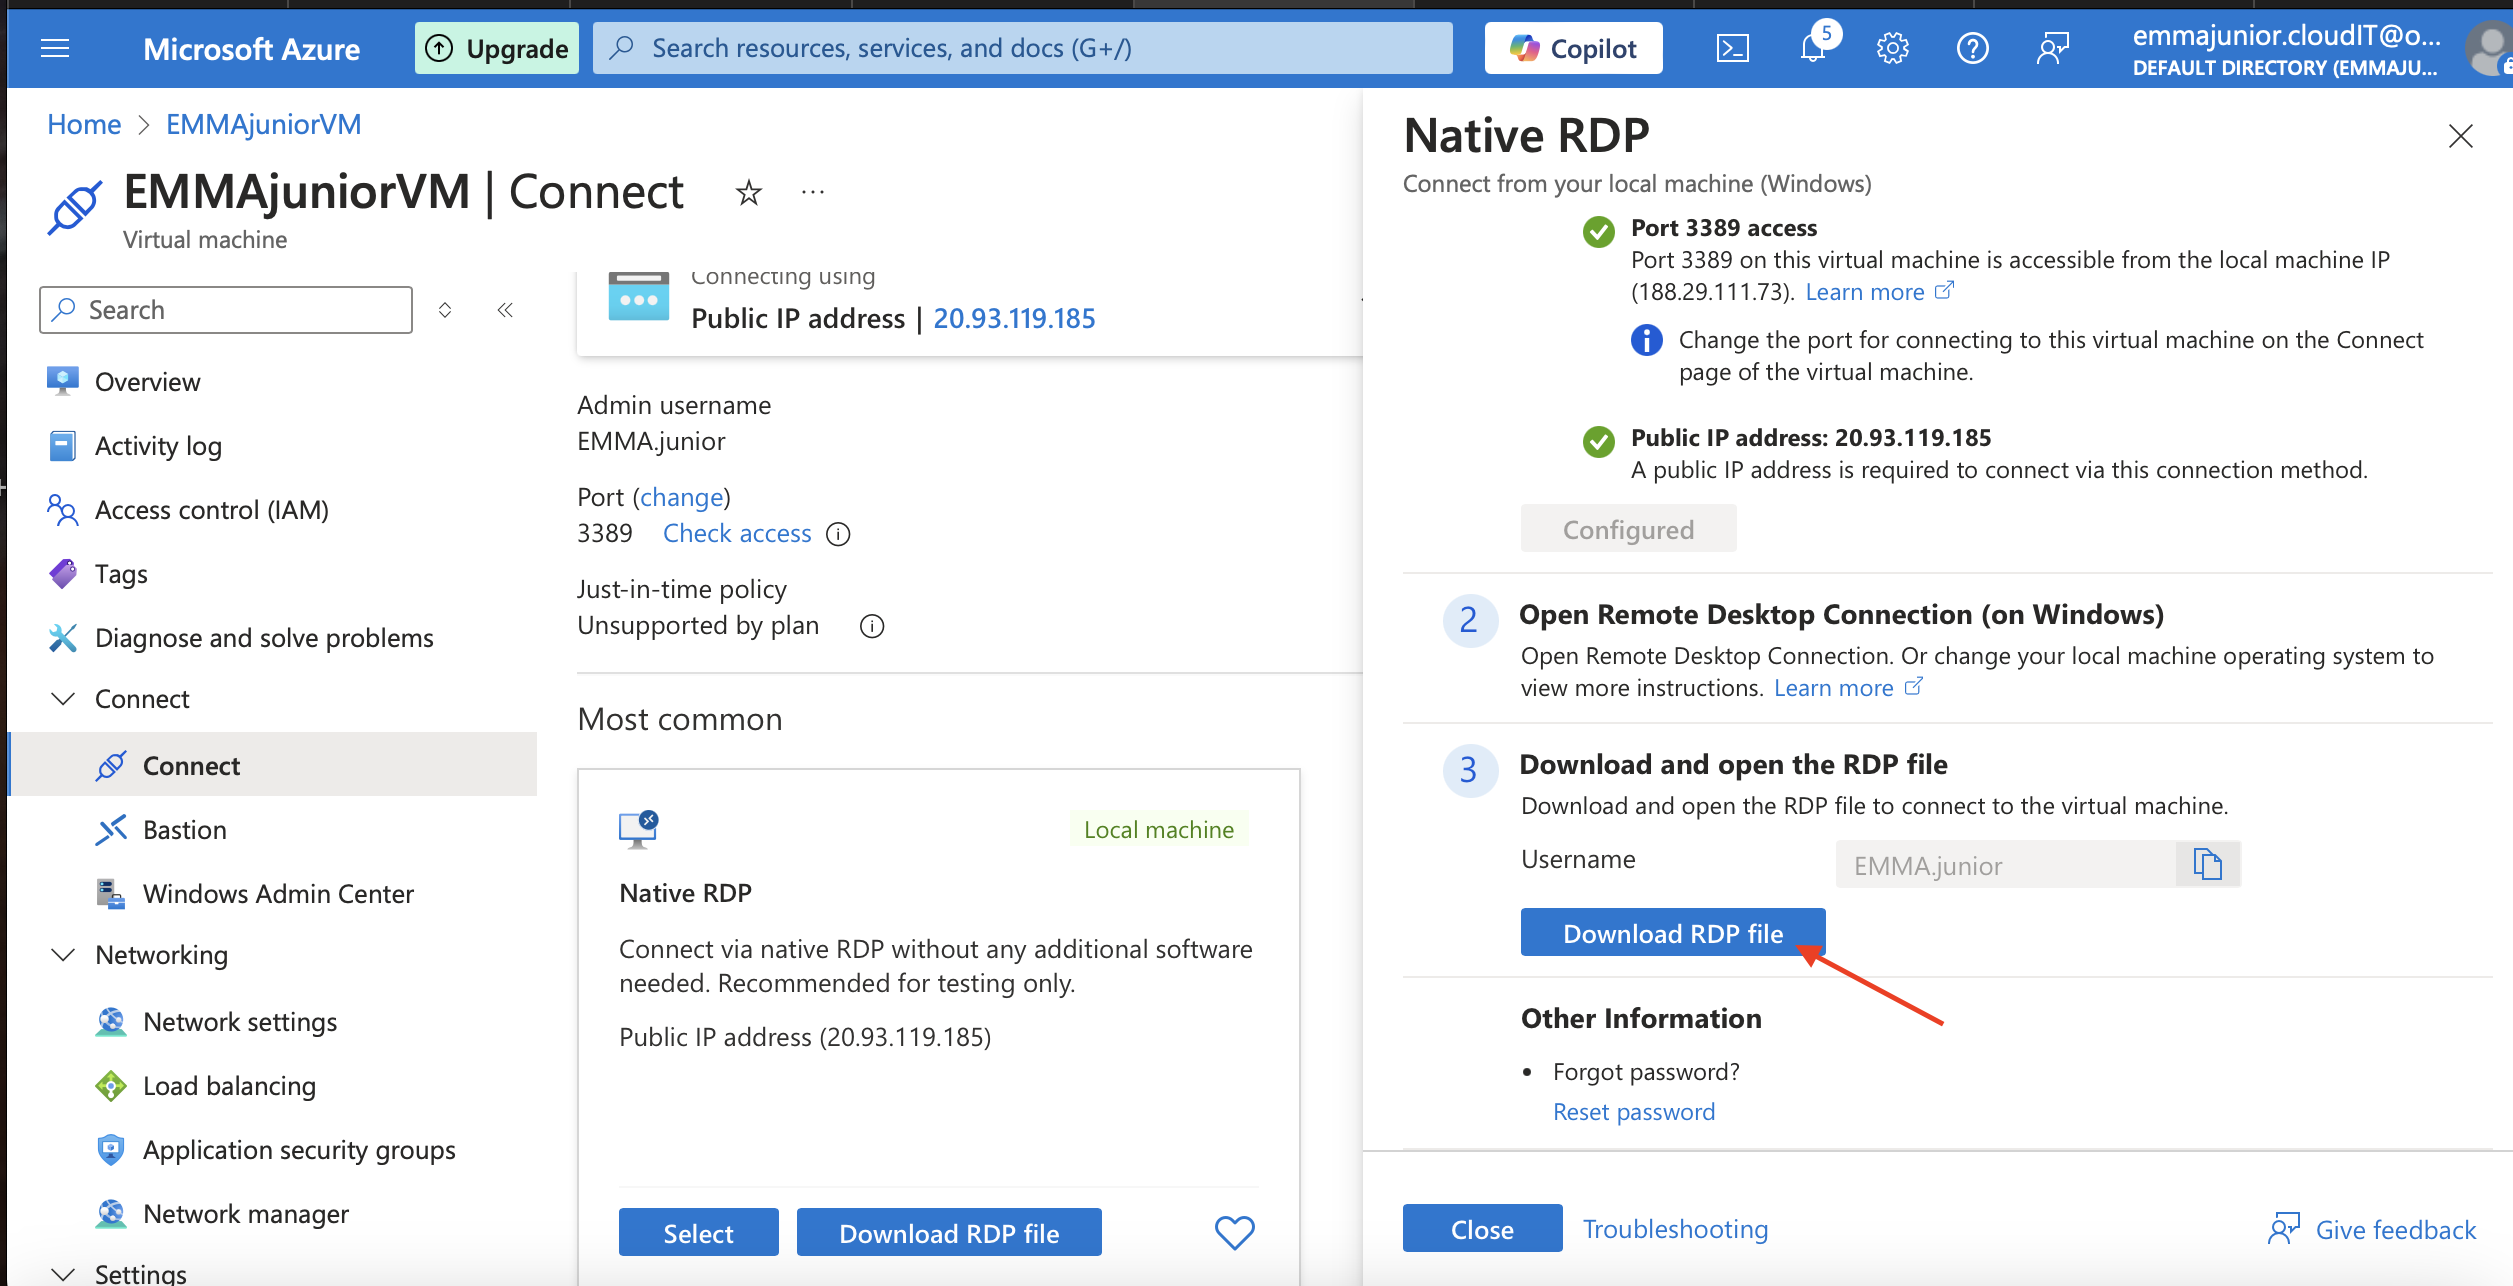
Step 16
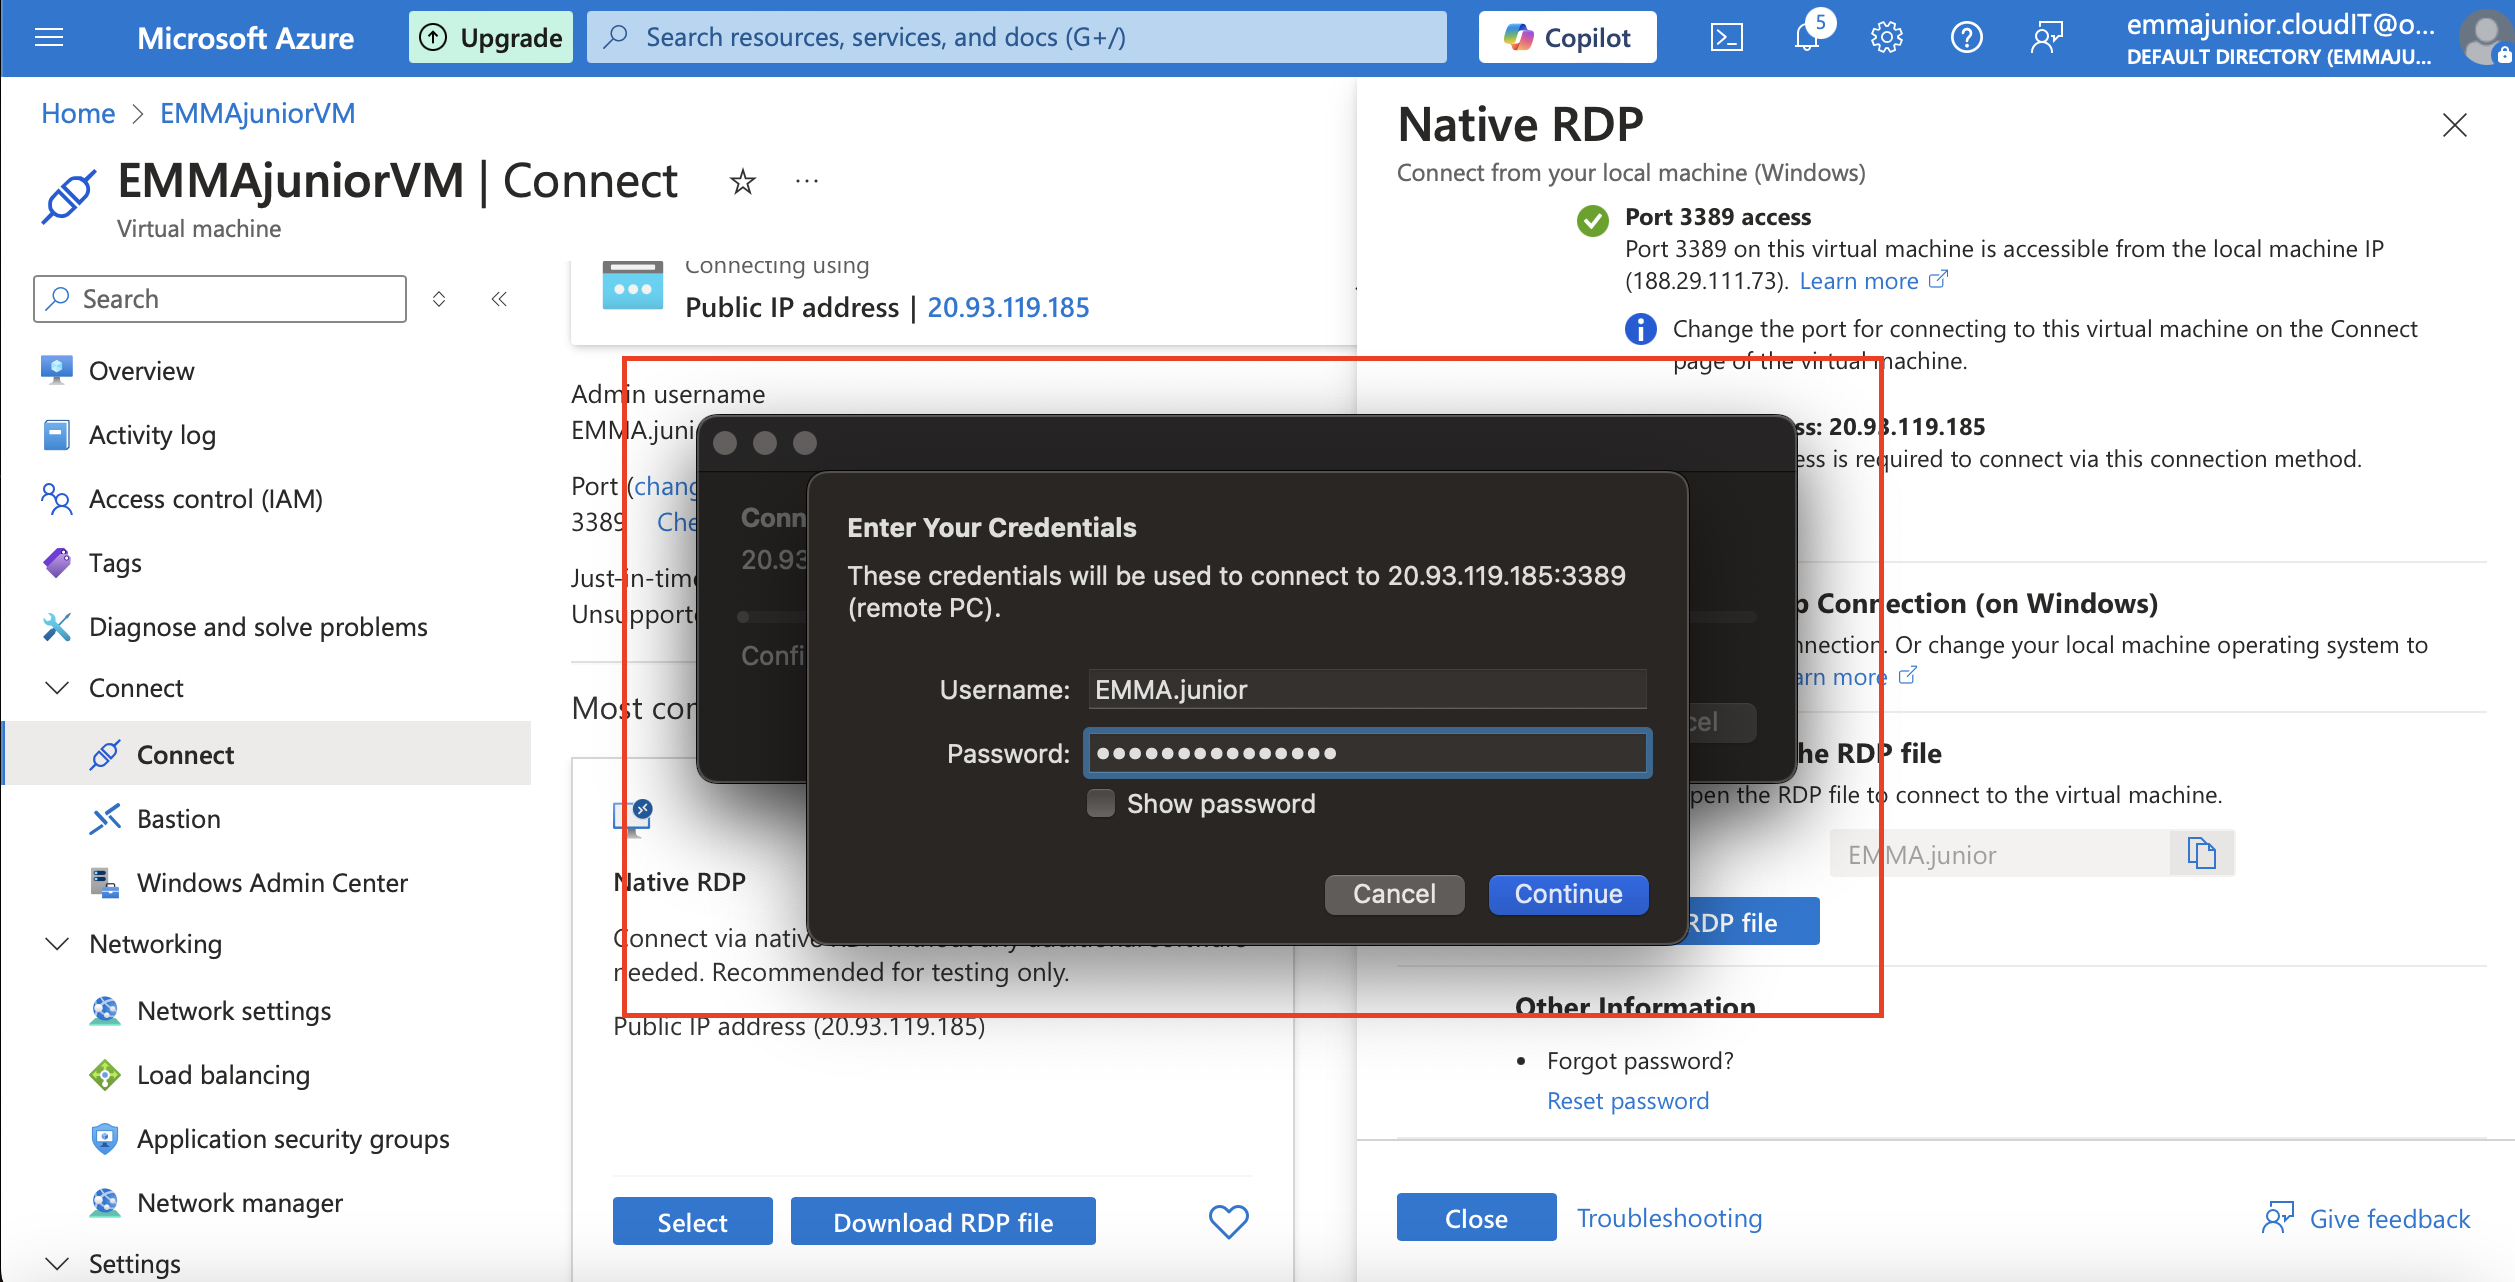
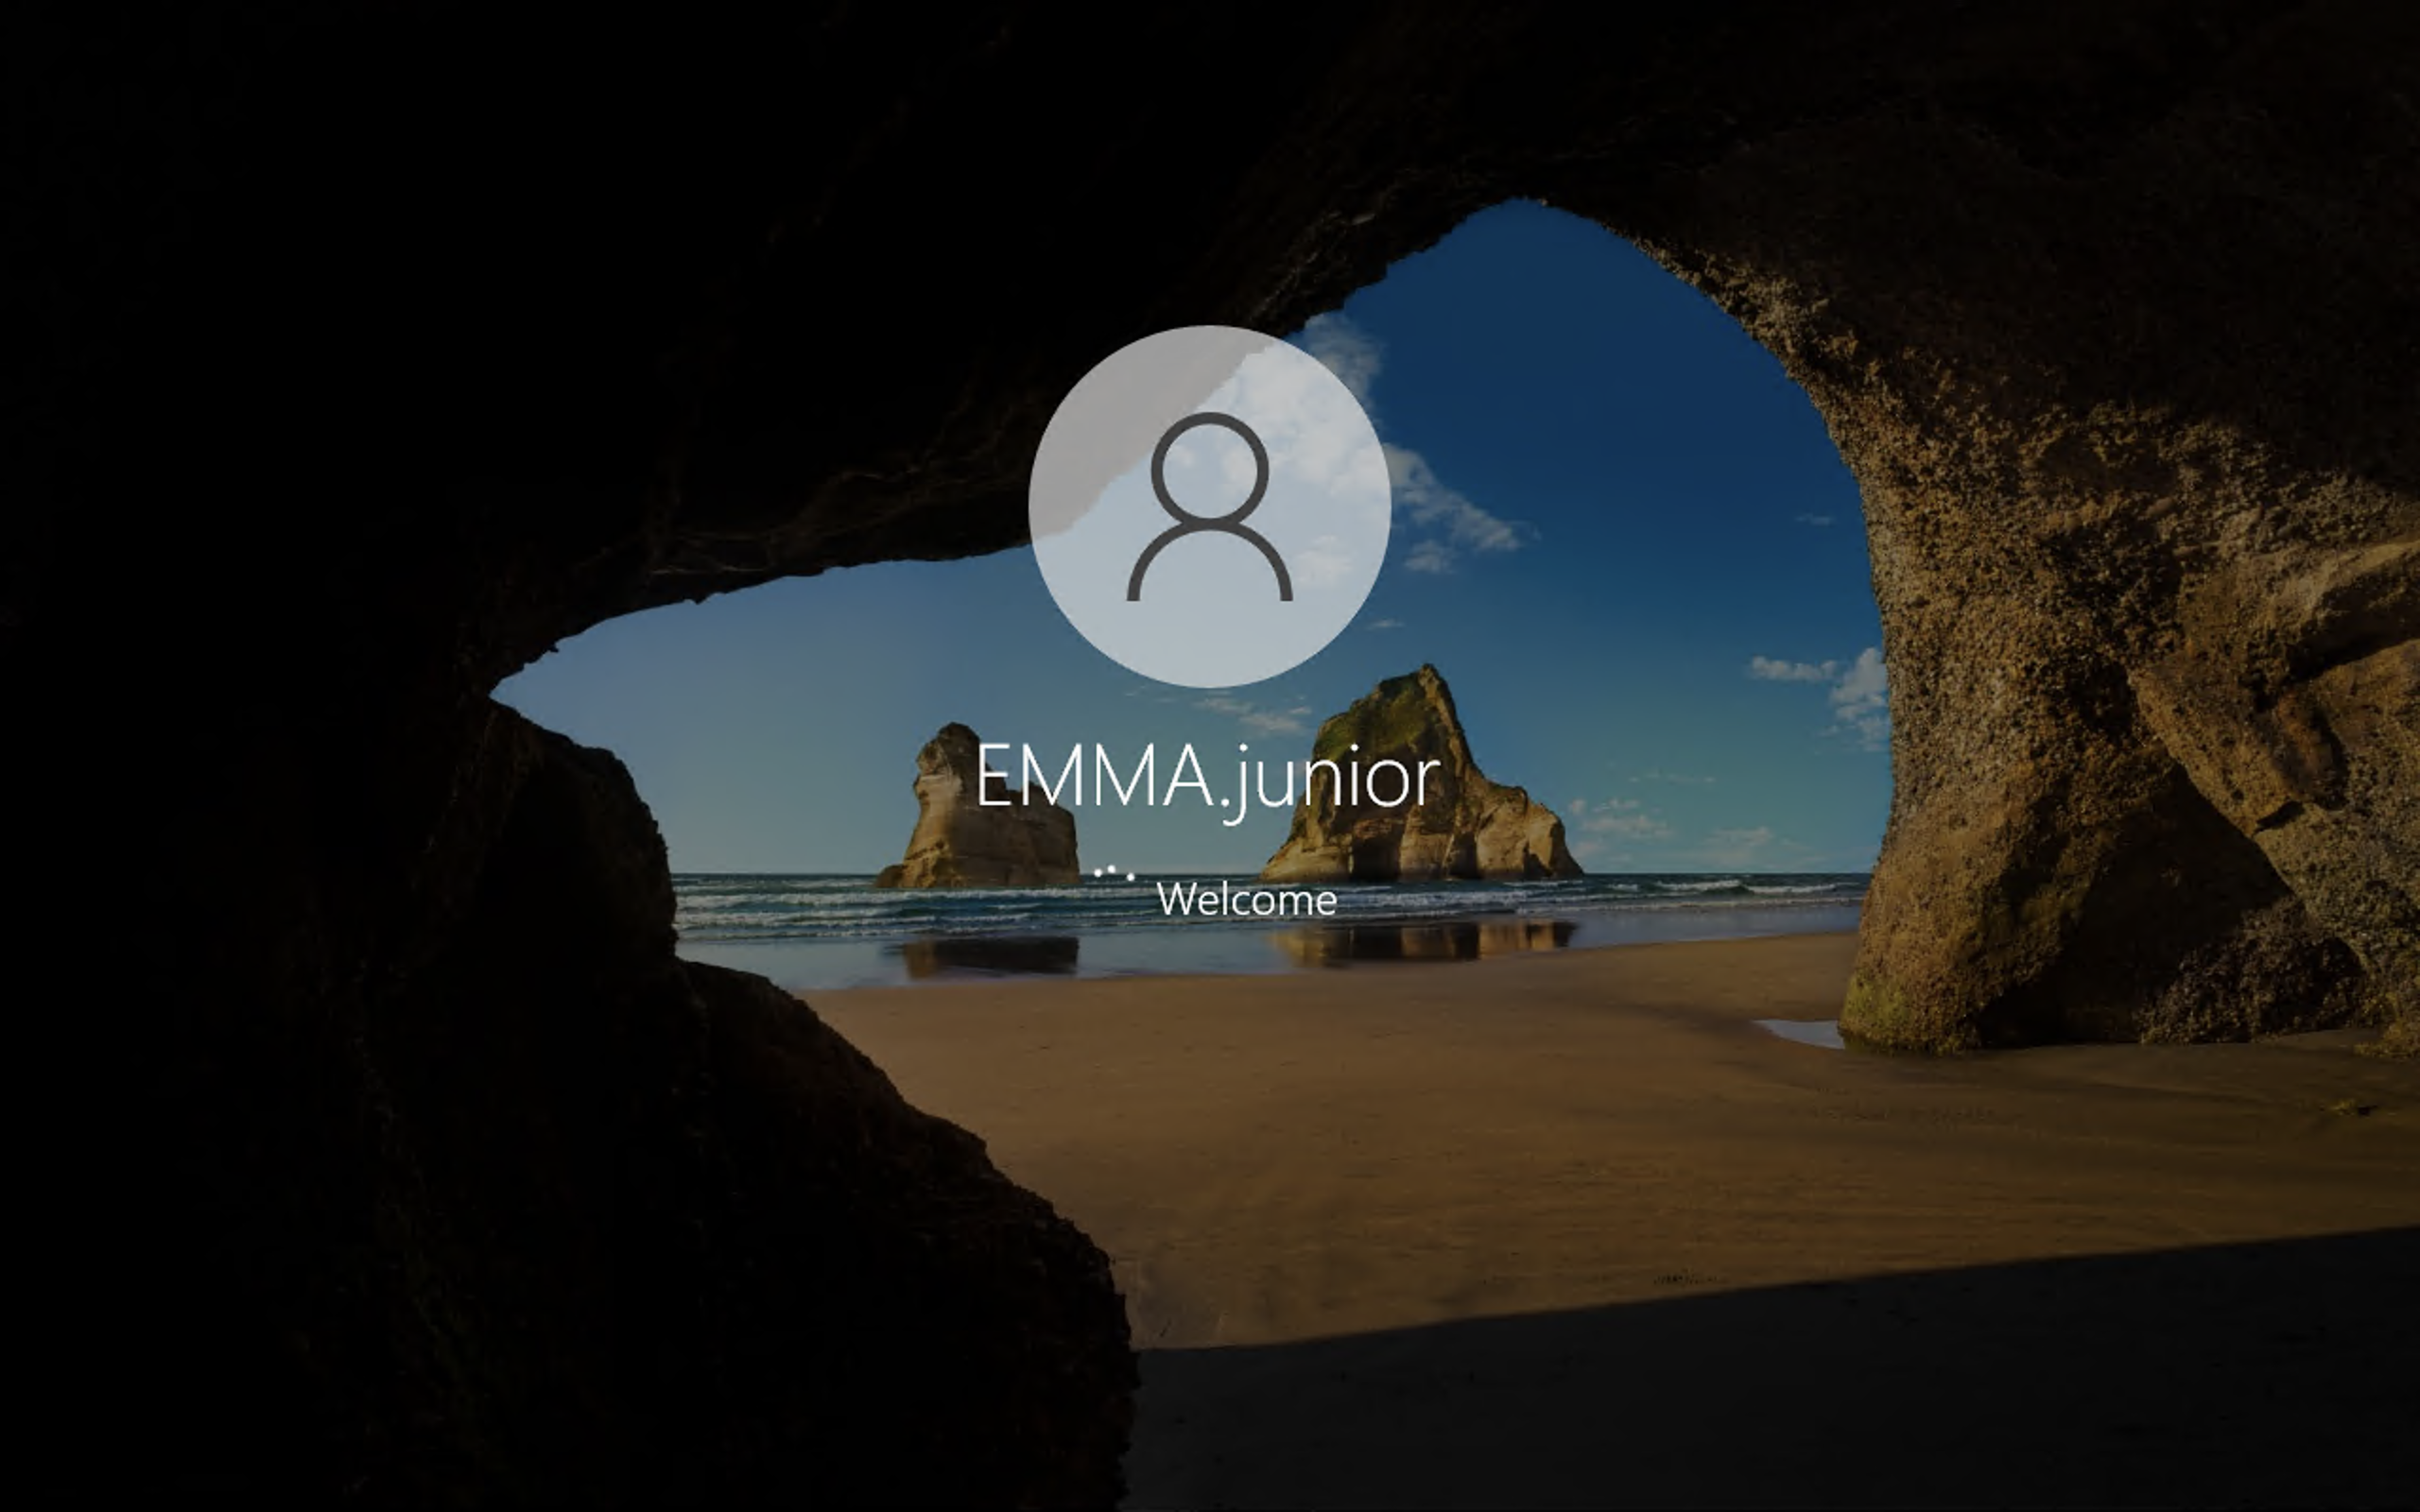
Go to download file on your computer, click on the downloaded RDP file.N/B if you are using MacBook you would need to go to App Store download windows App.
Step 17
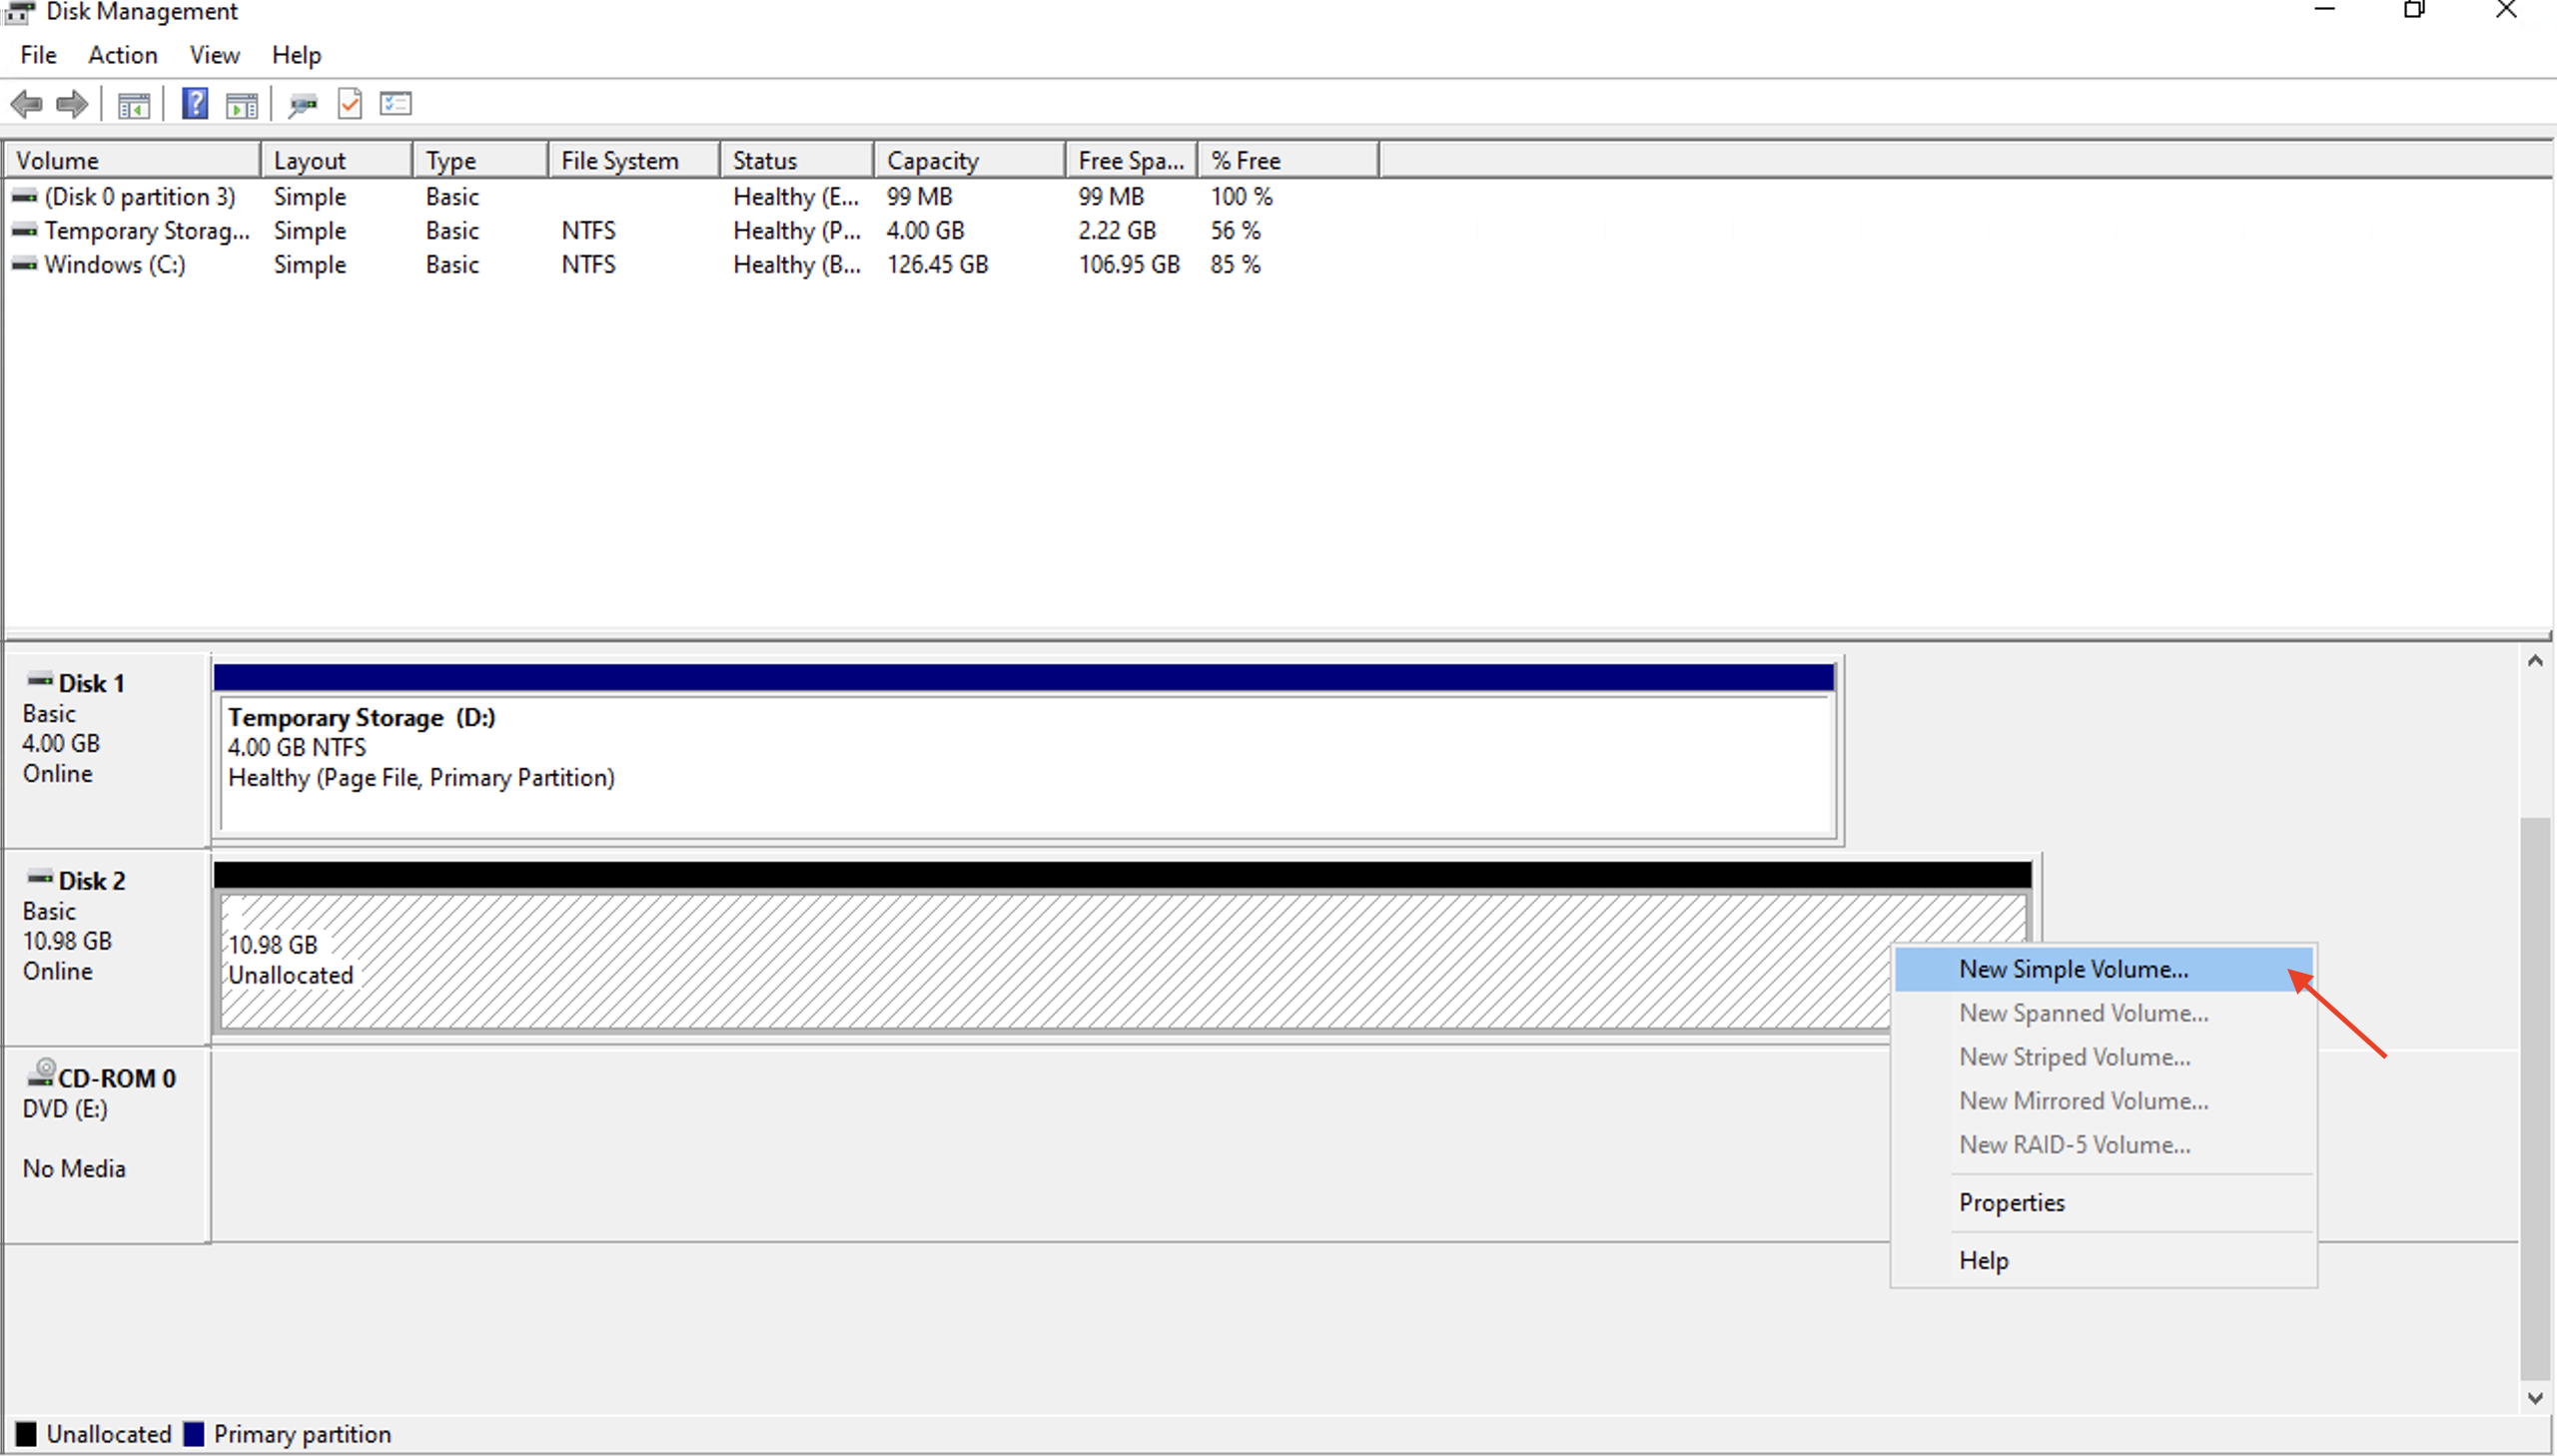
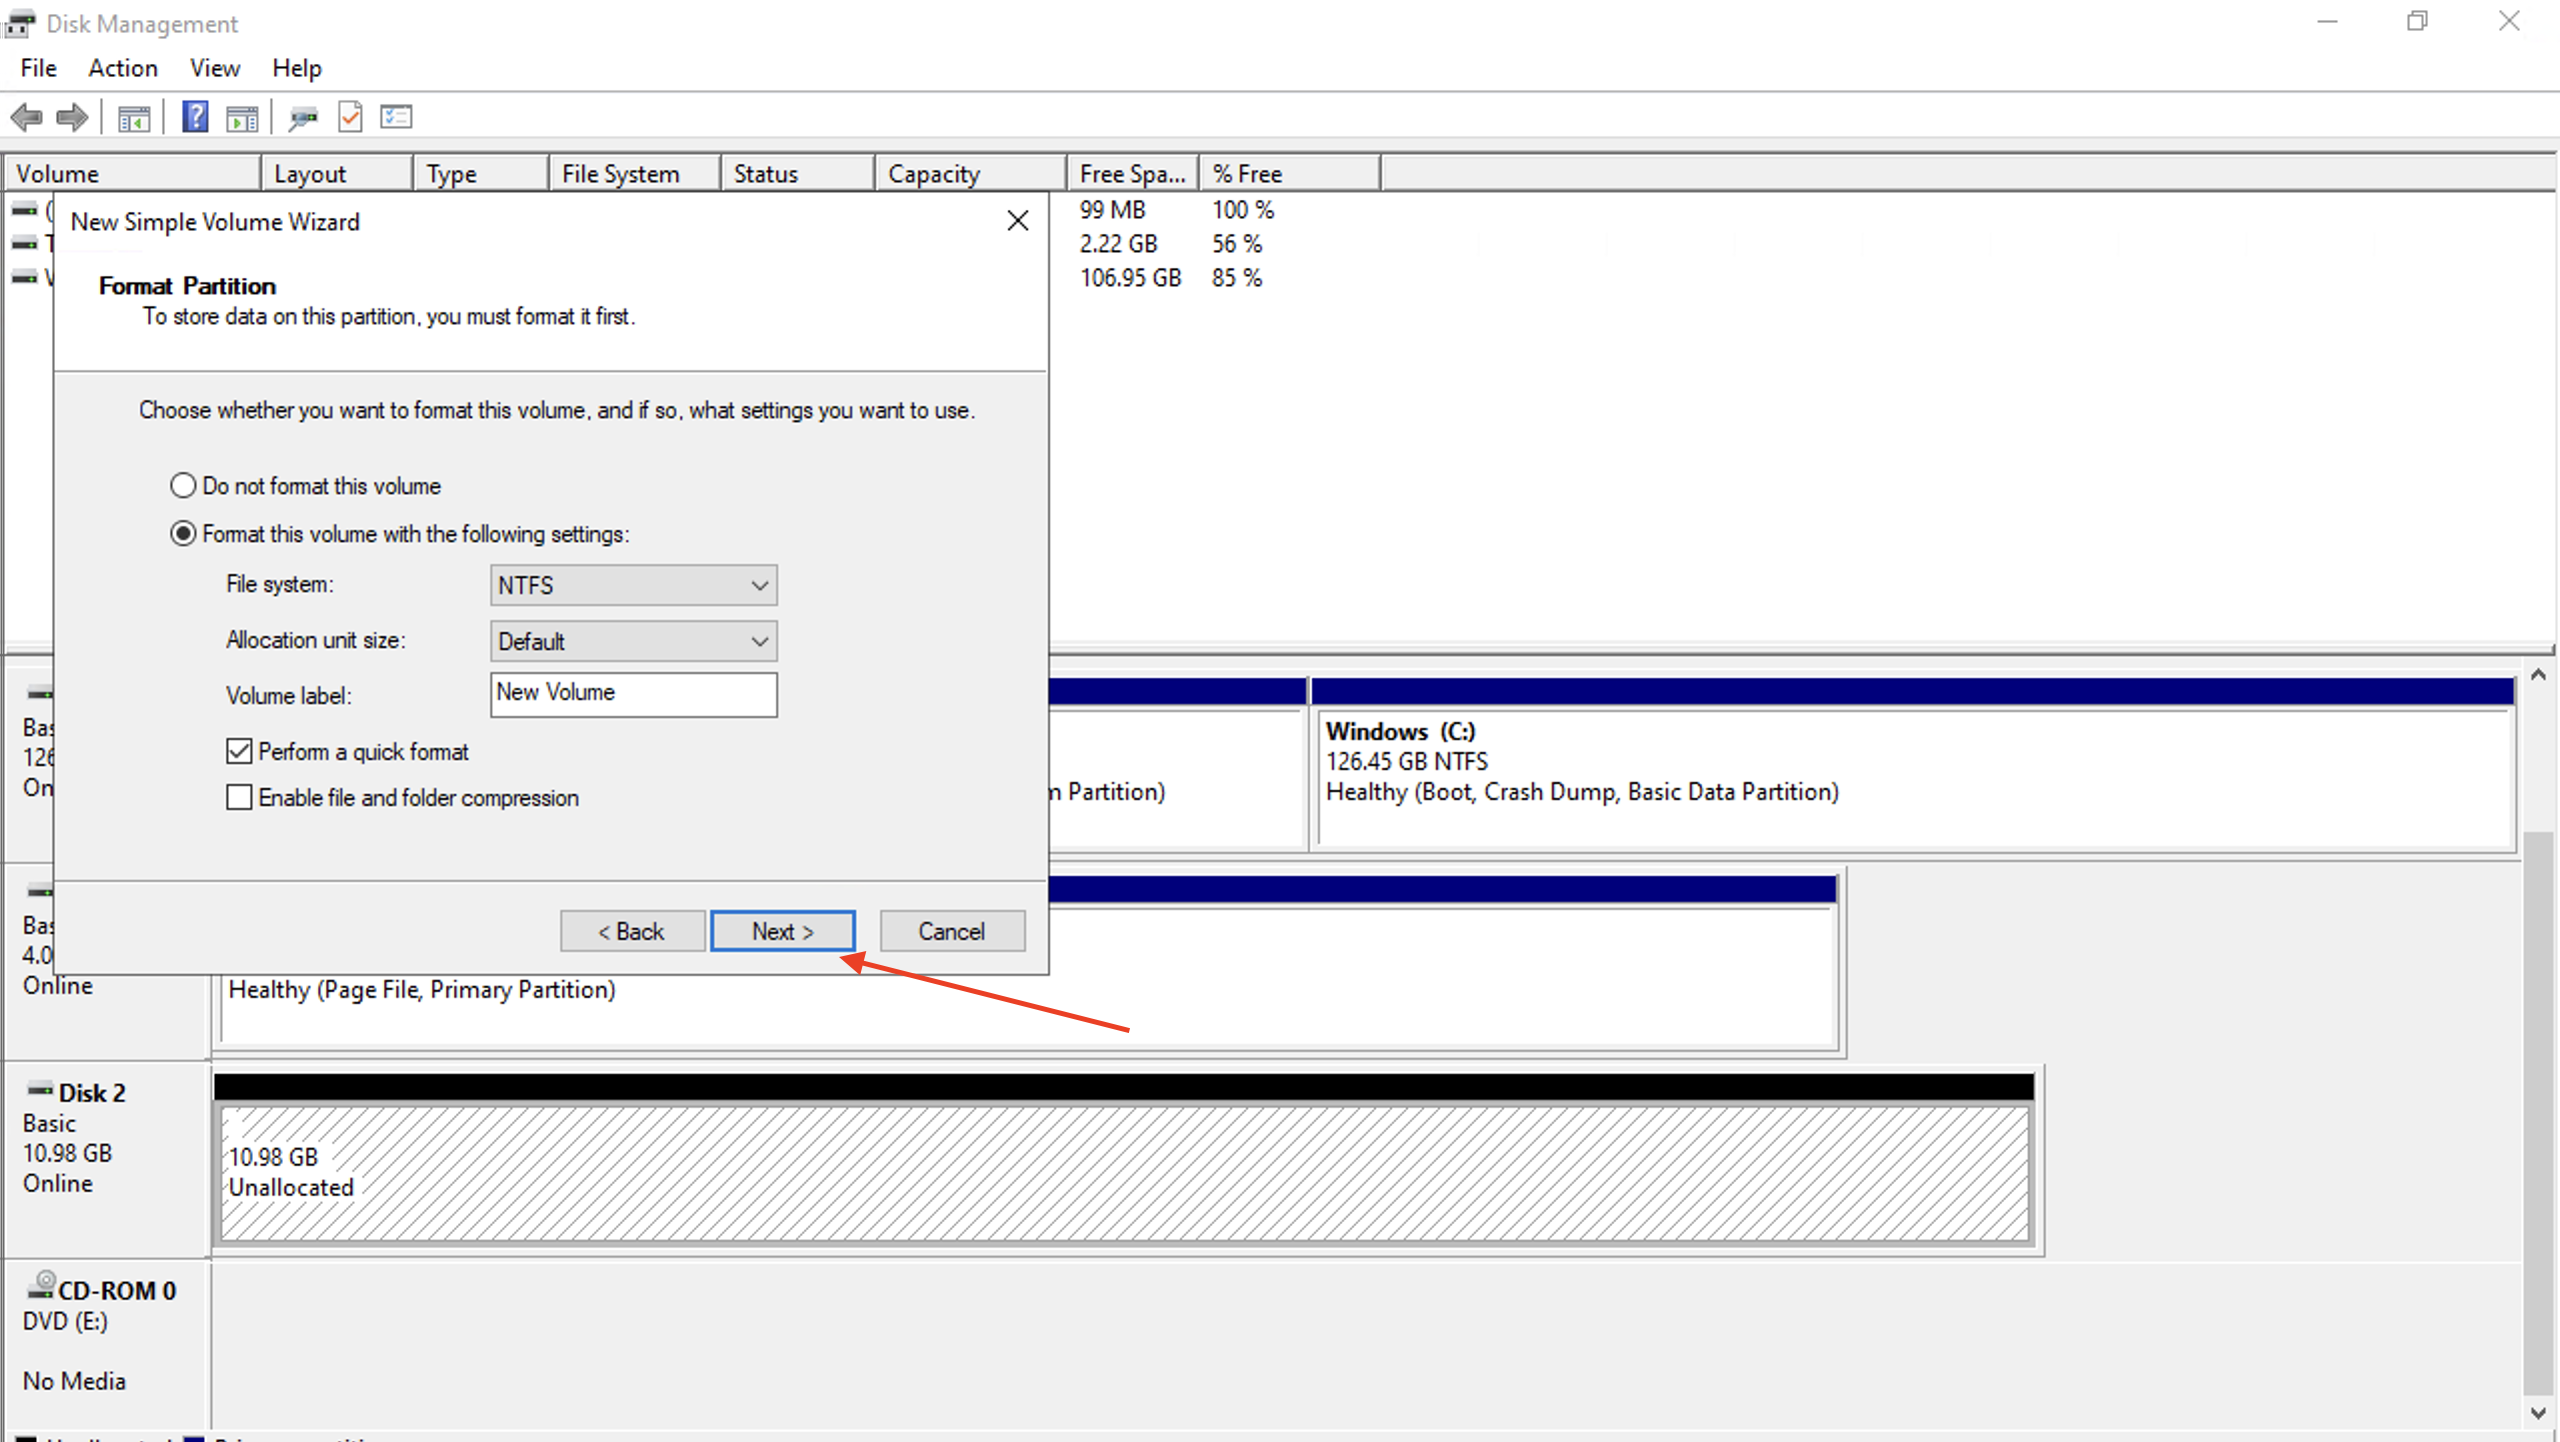
In your Remote computer ,go to your search bar ,type 'Disk management'.To initialise disk will prompt up ,because we created a second disk, so we click ok.

Step 18
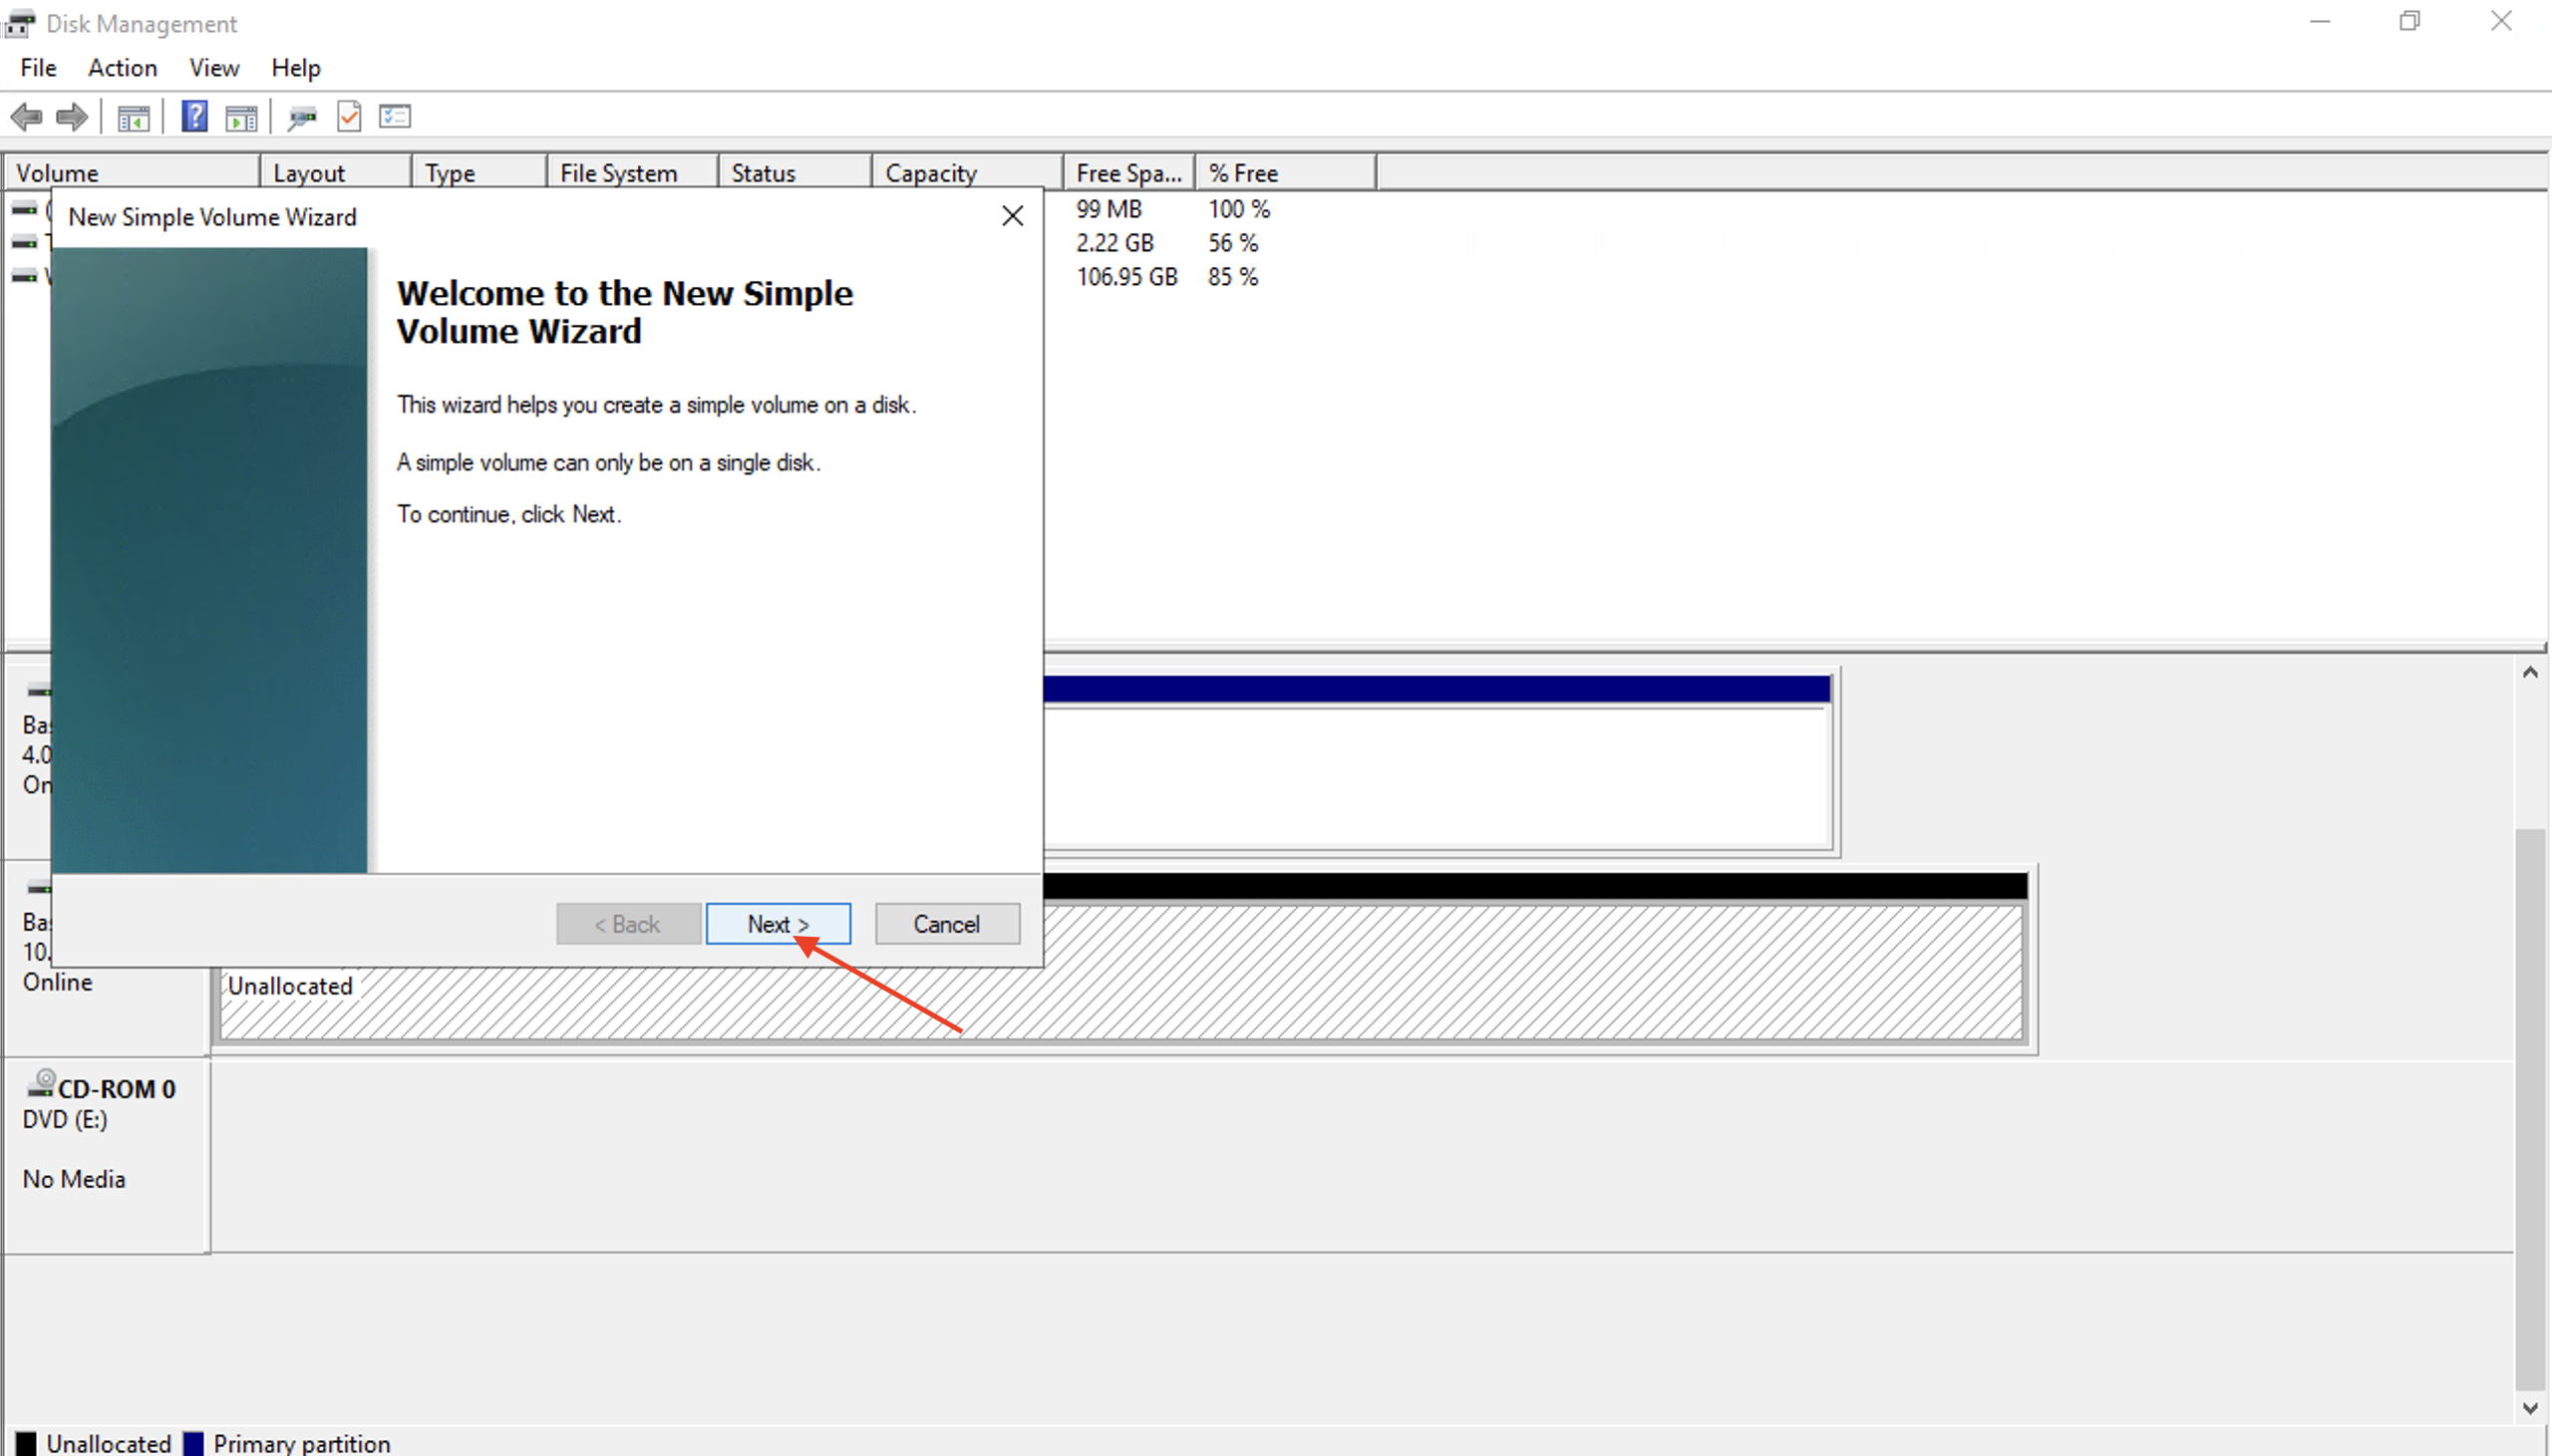
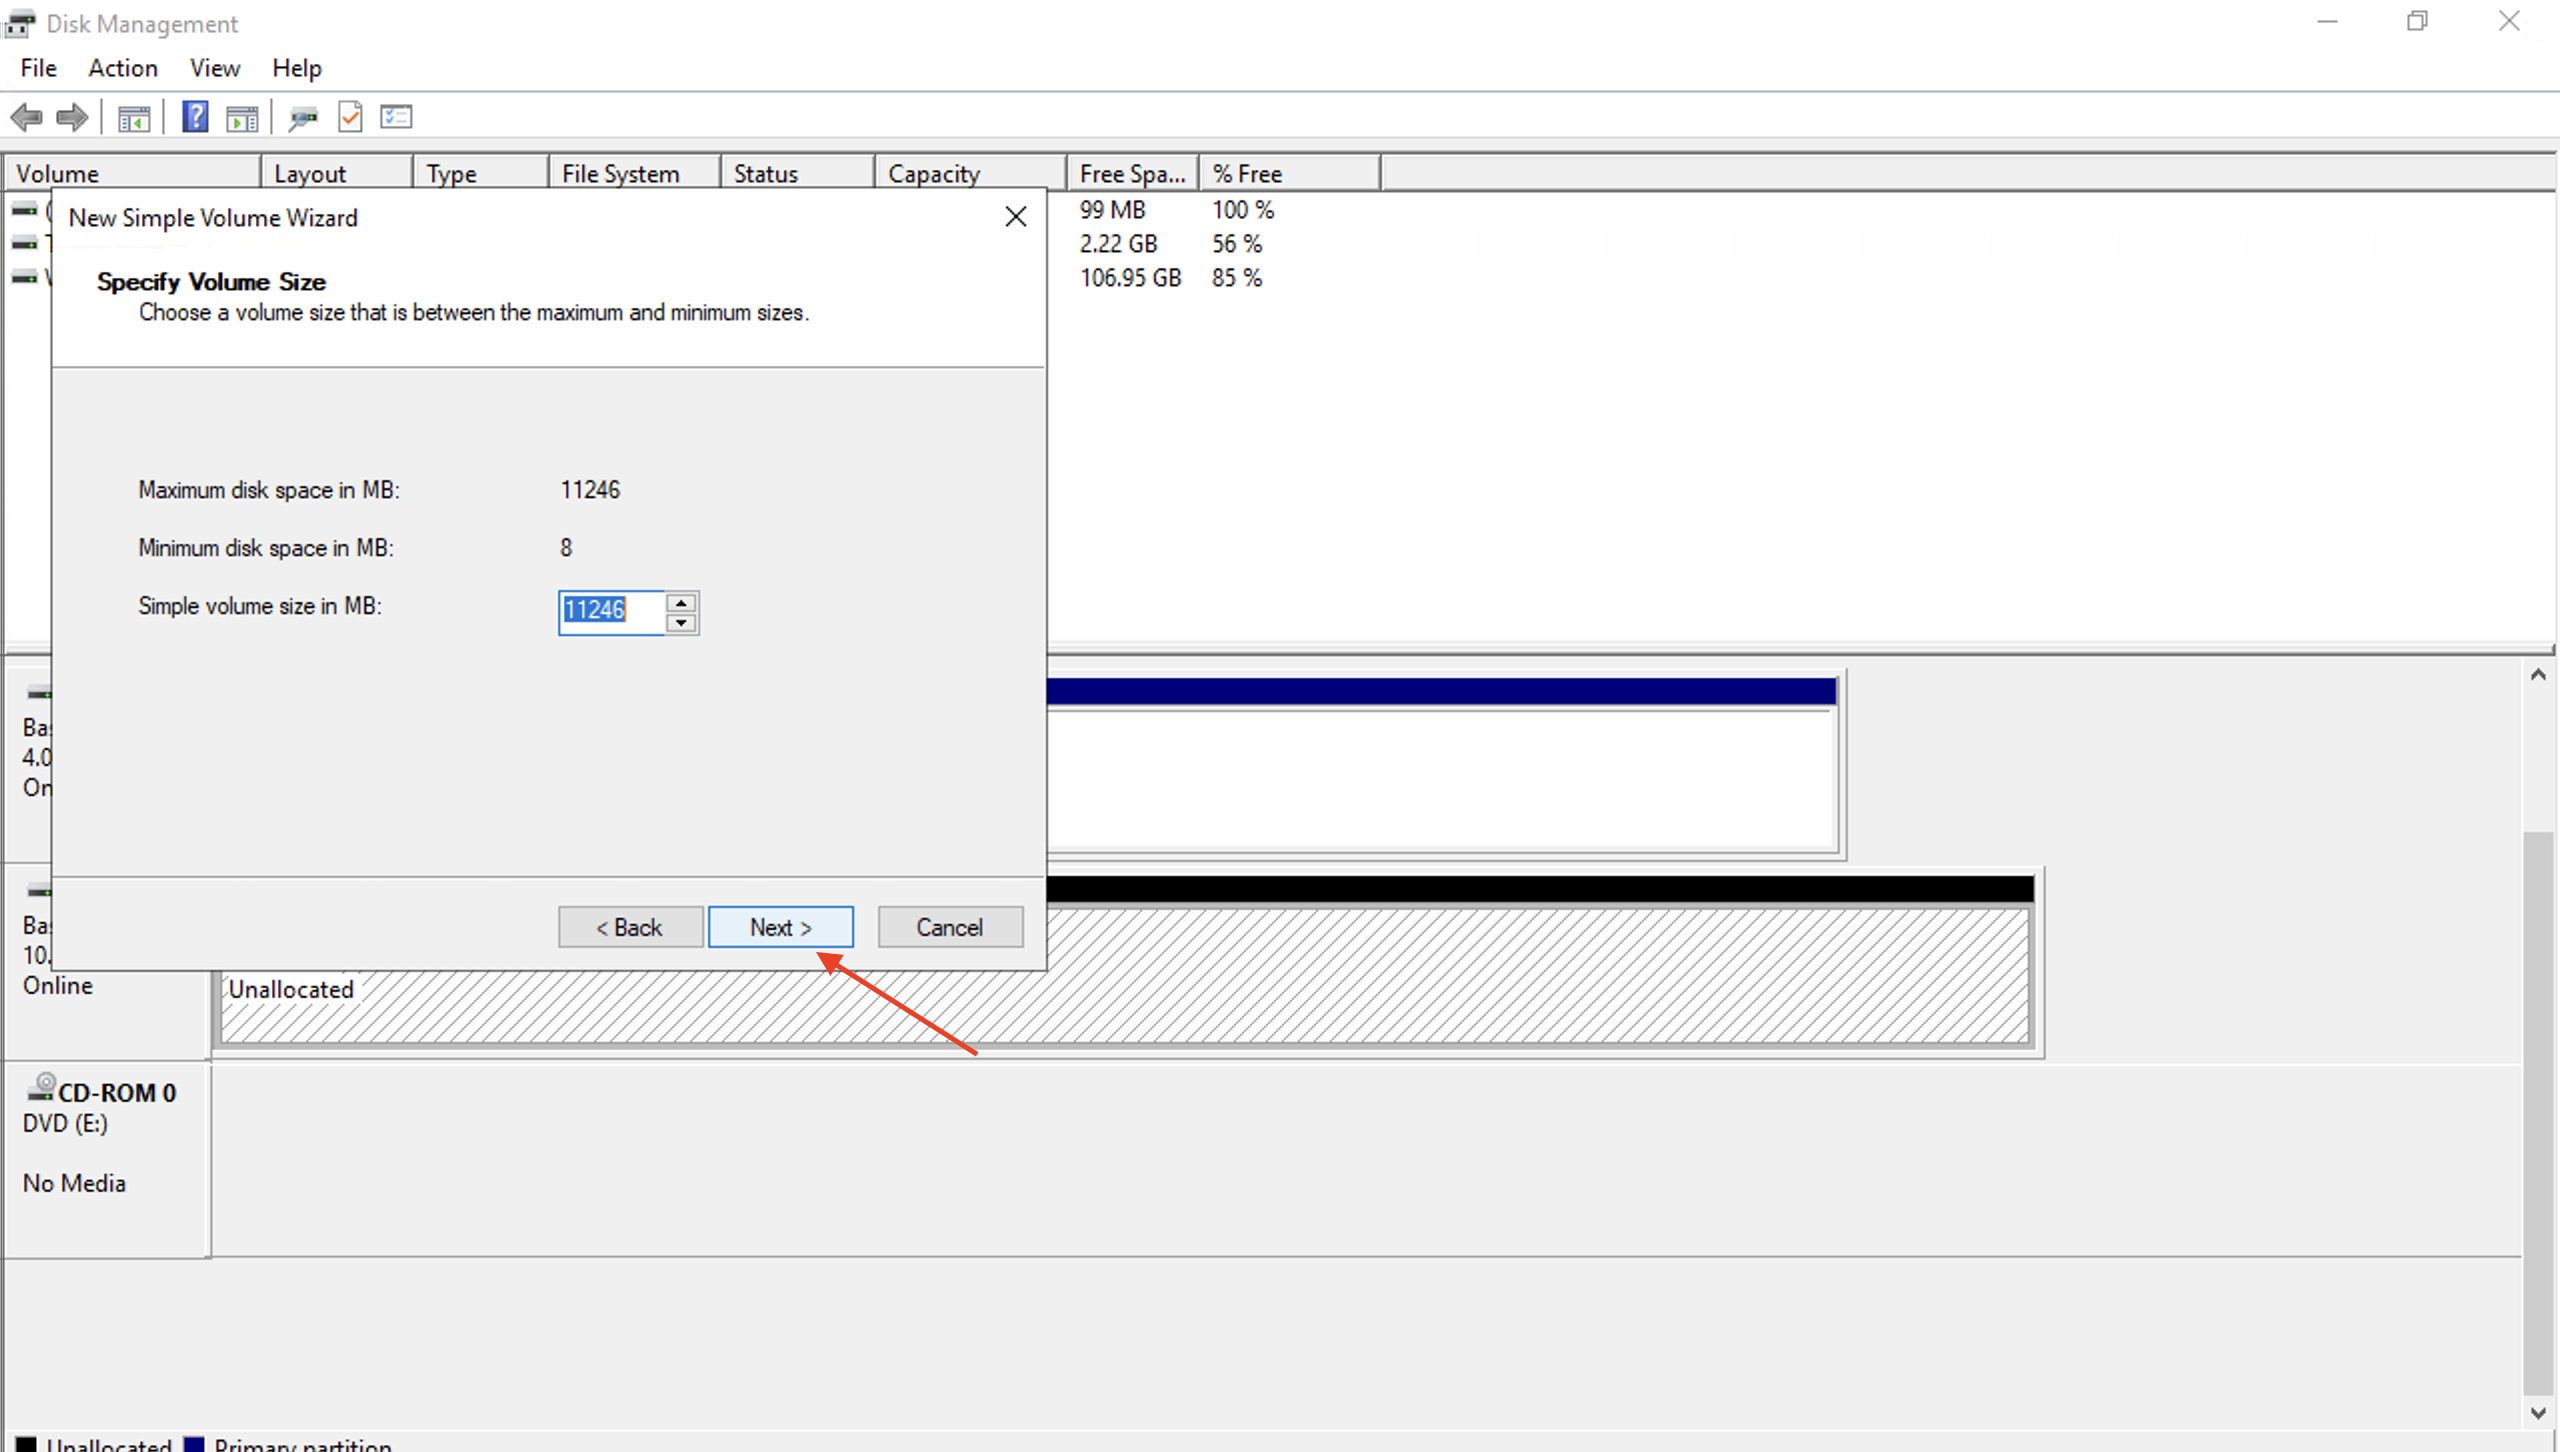
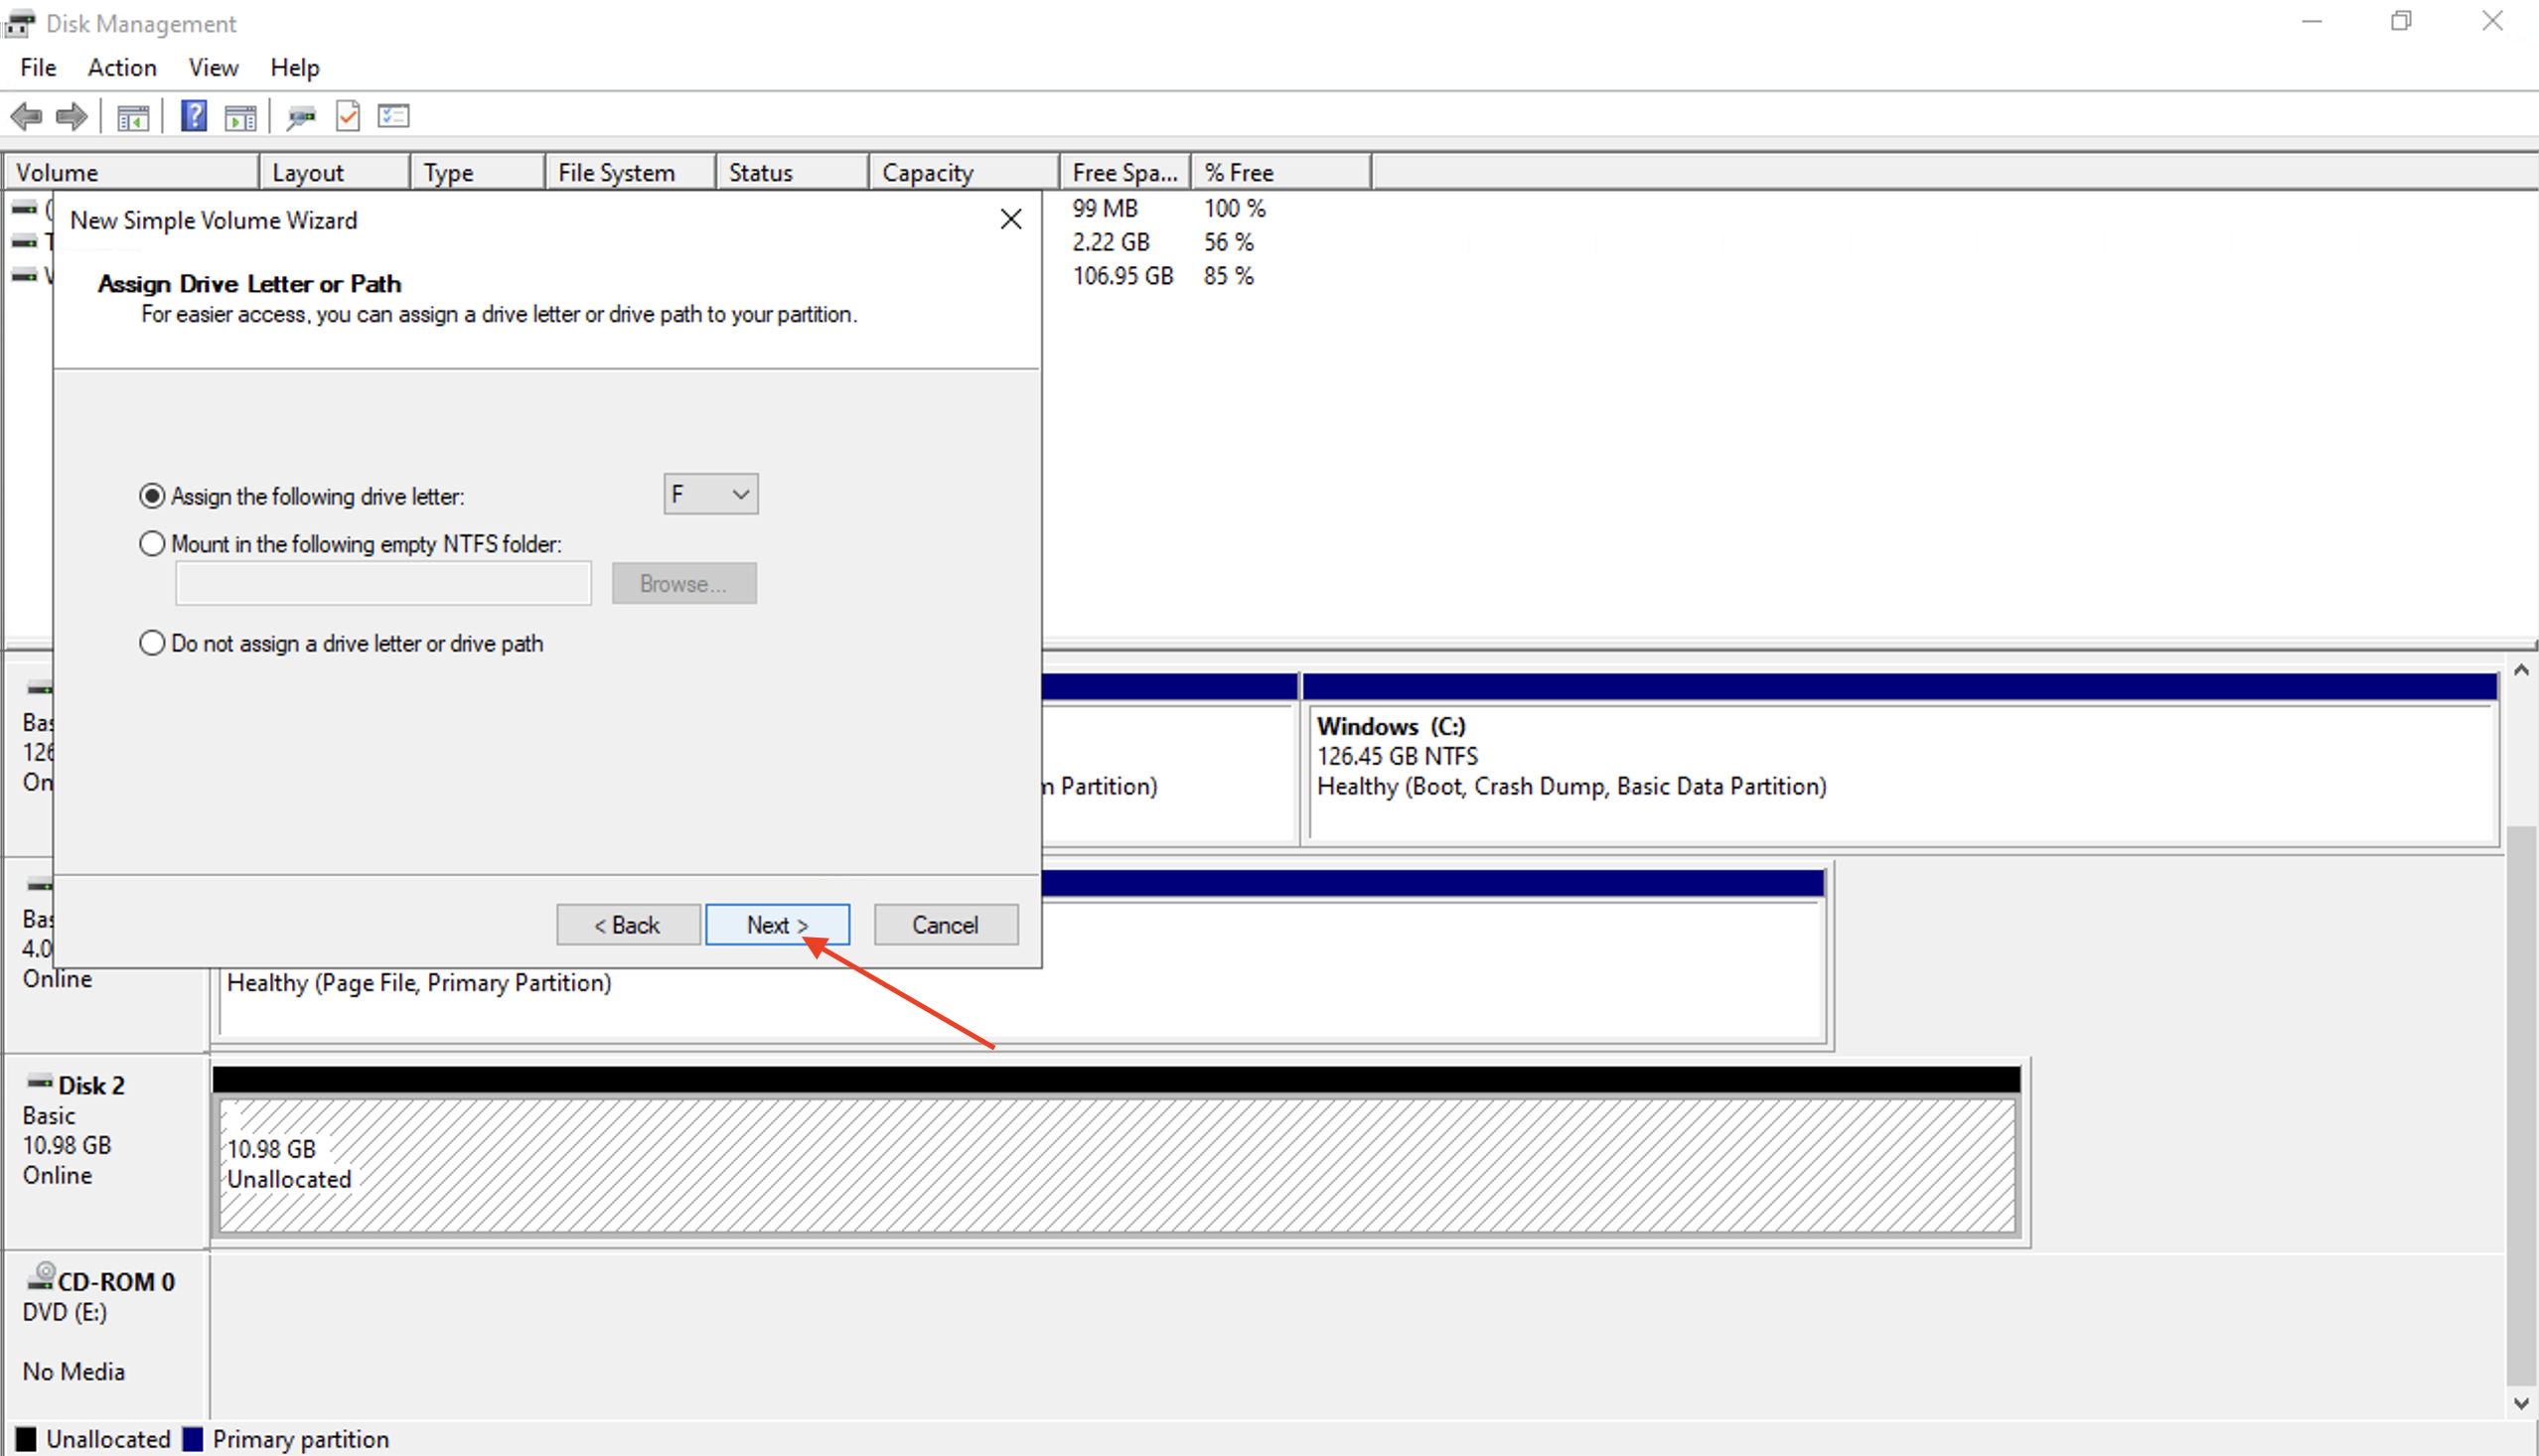
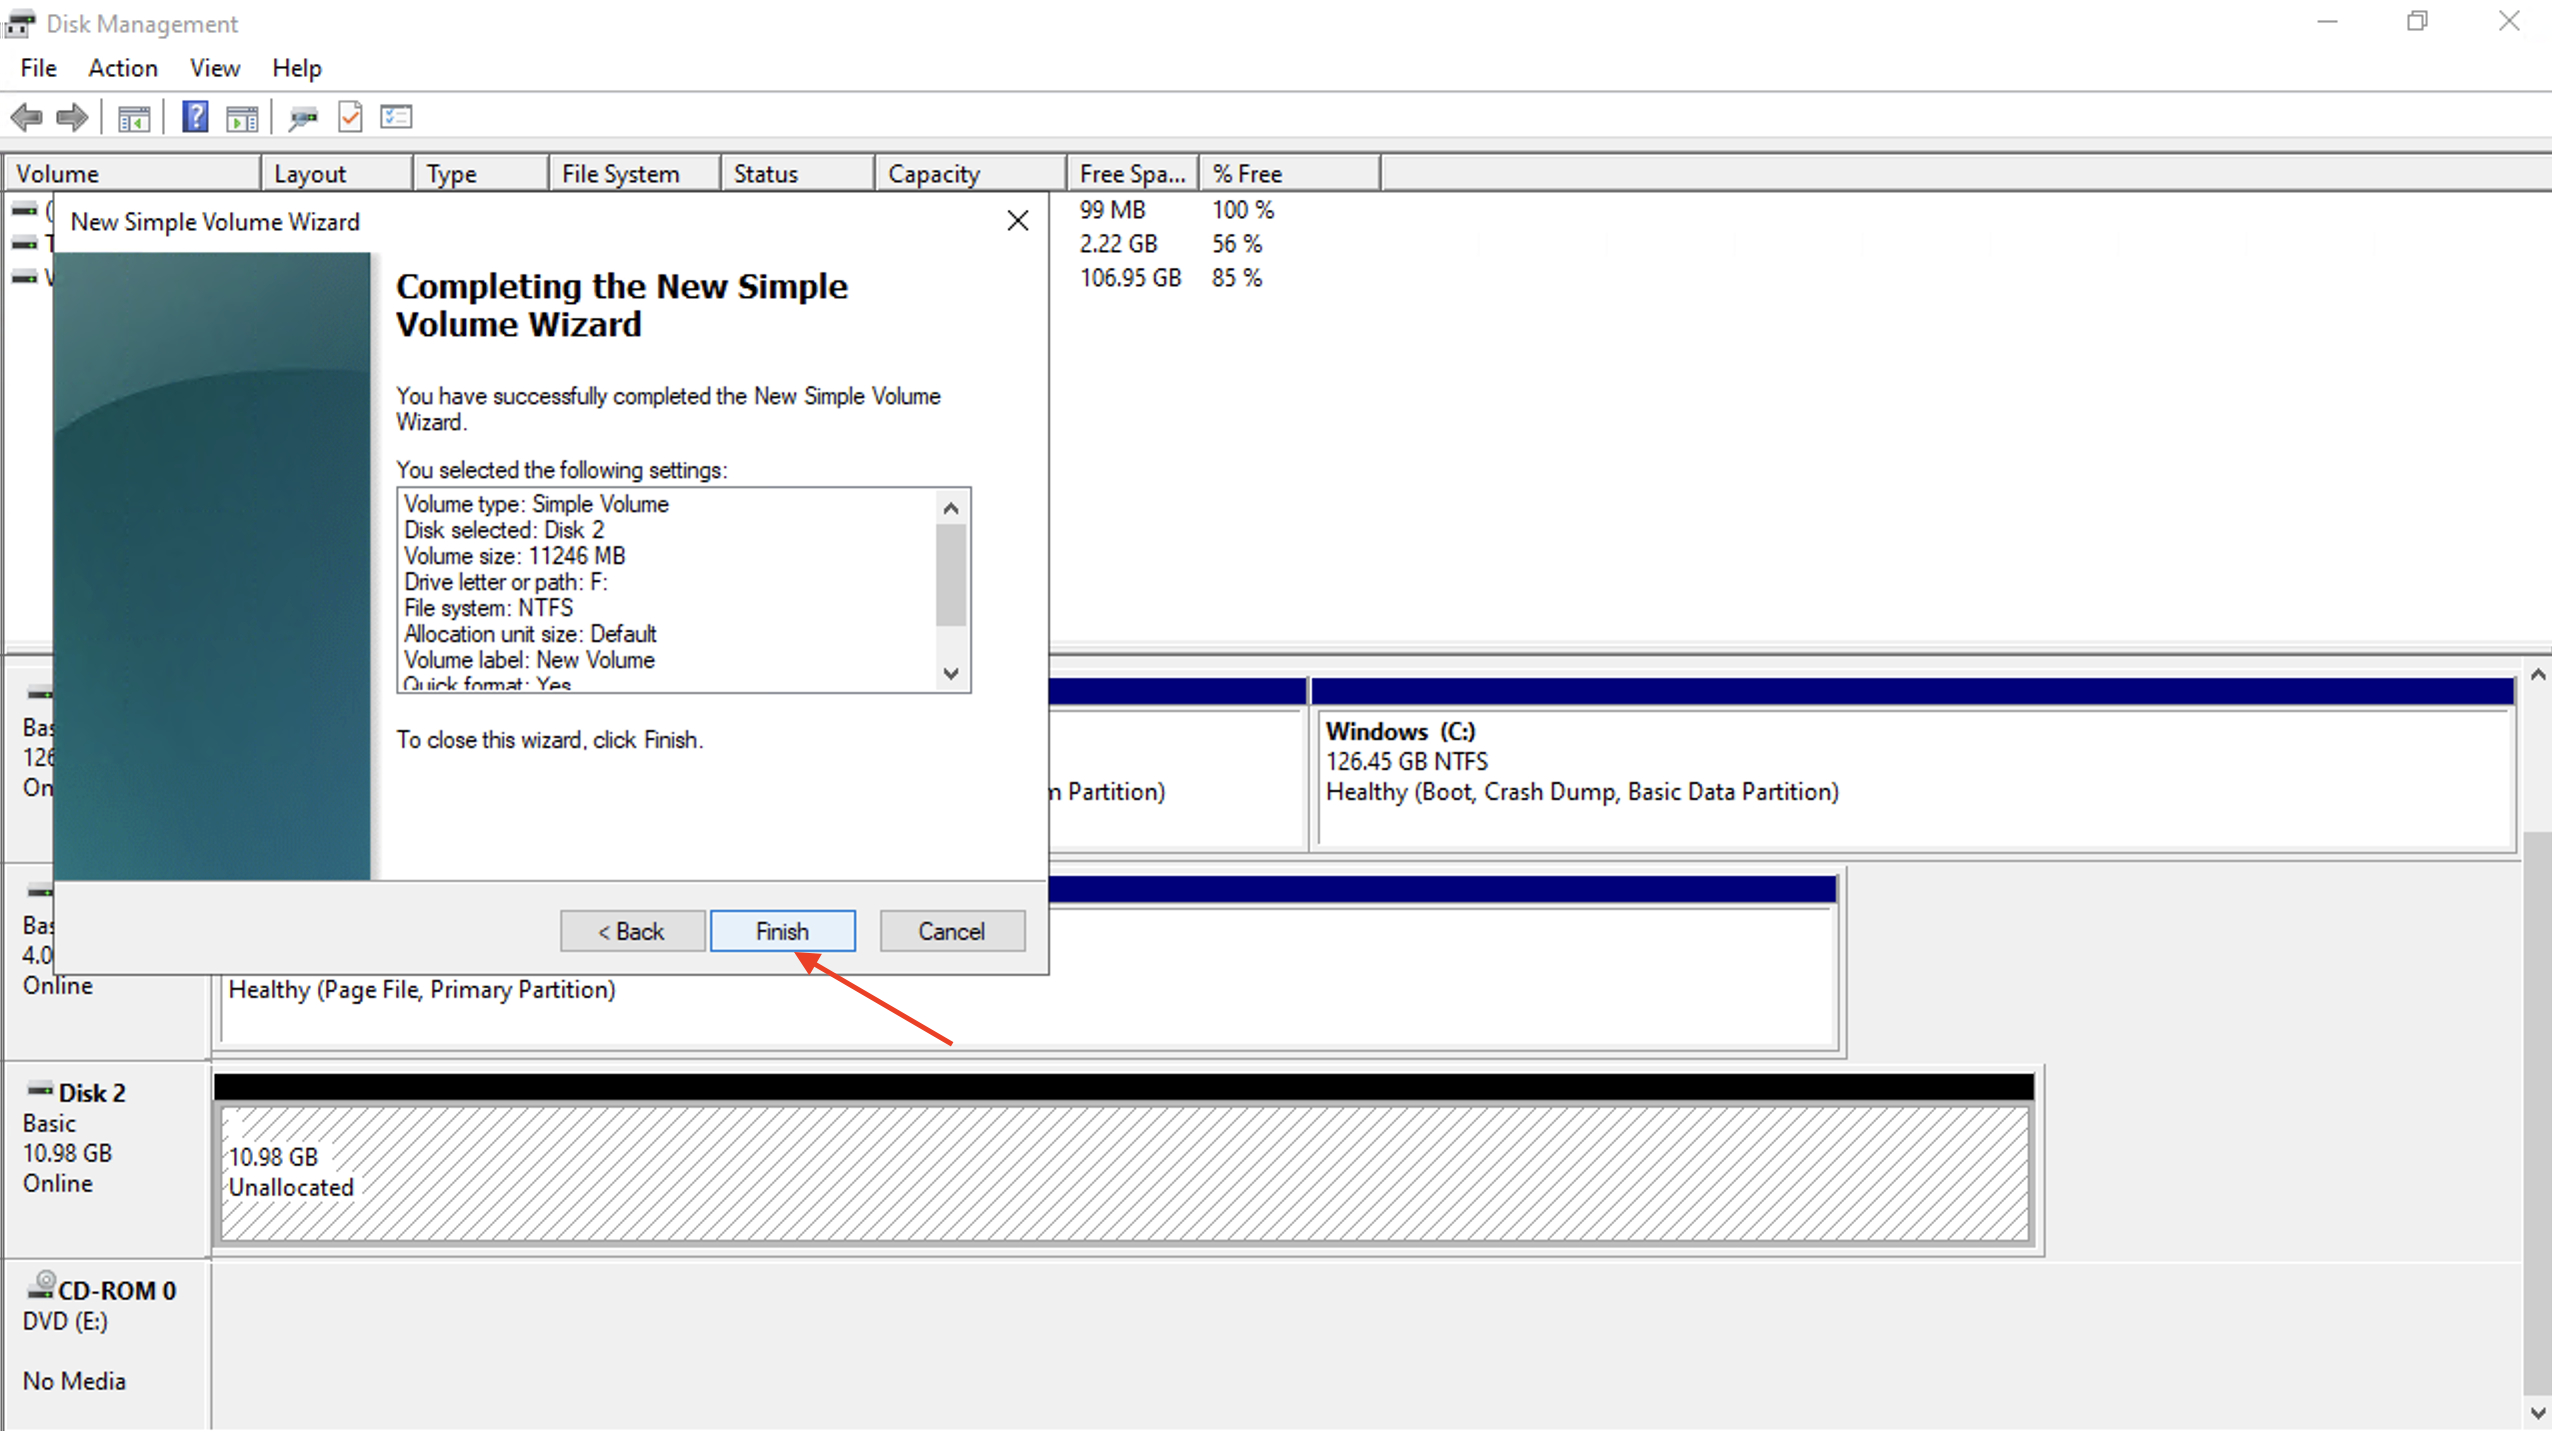
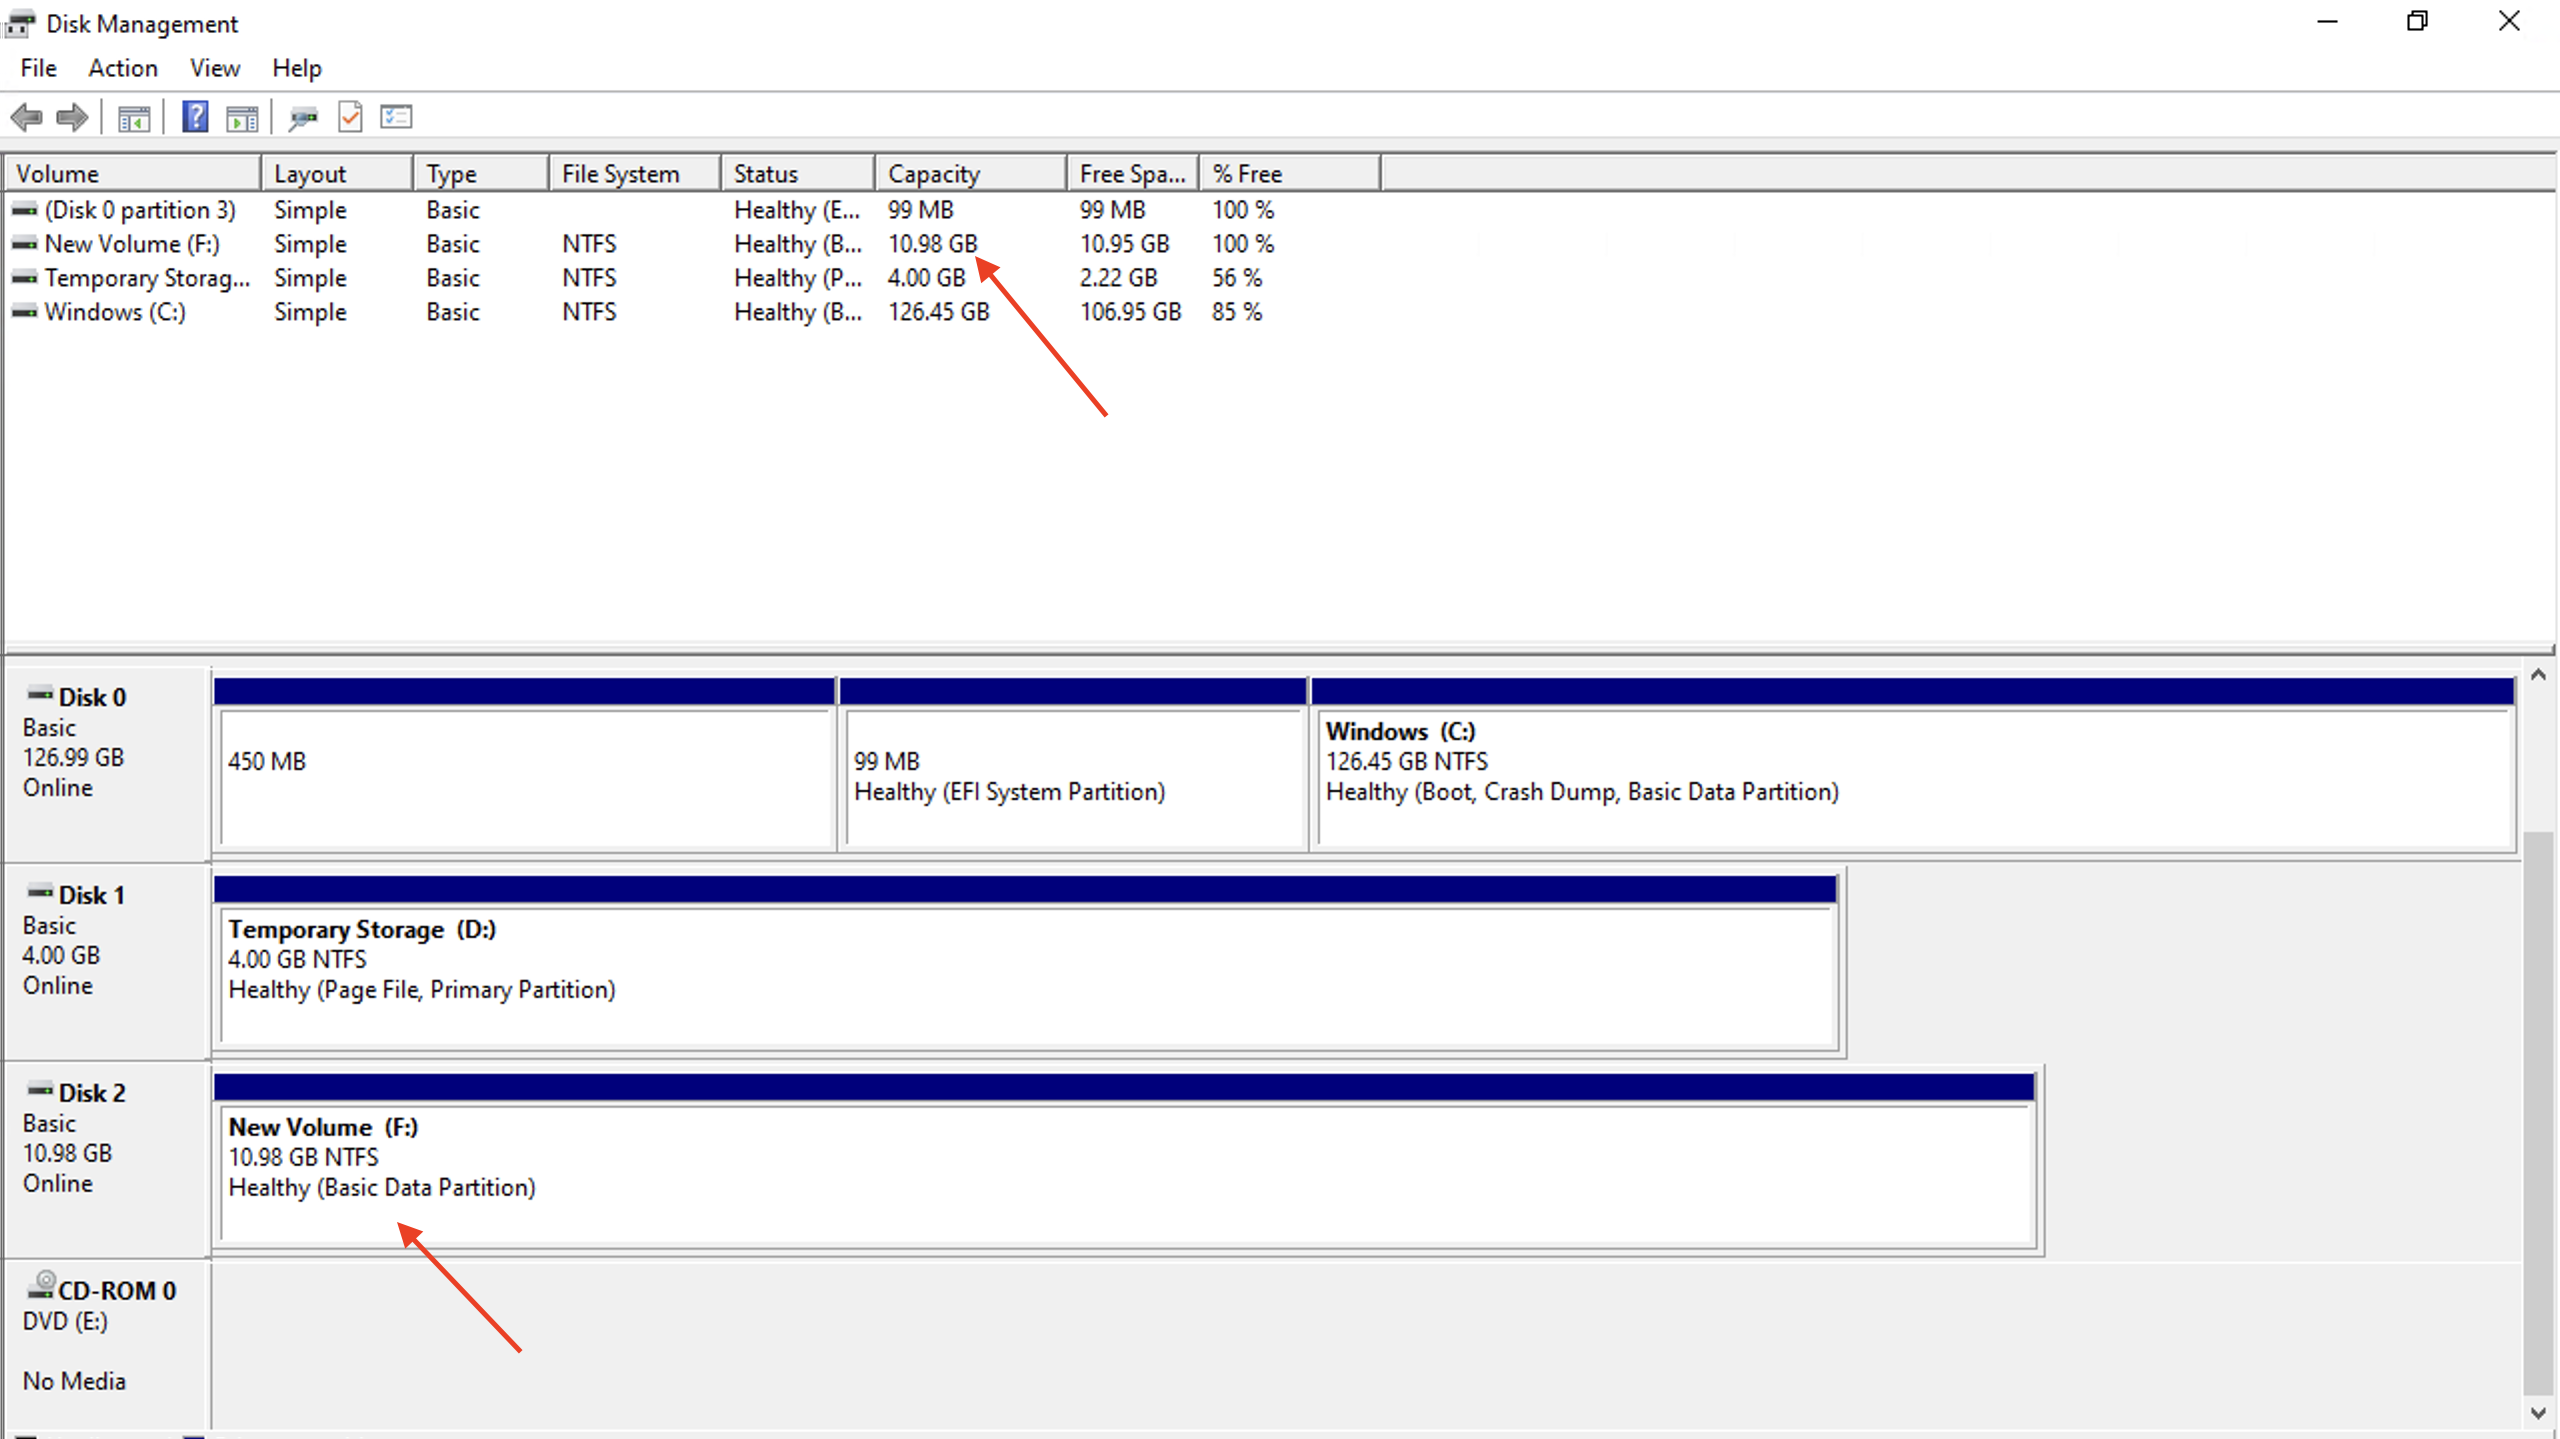
We go to the data disk we created which is in disk 2, and allocate it by right clicking ,and clicking on 'New simple volume" and follow the steps to format it so we can make it healthy or usable.