Phase 1: Running a server
Phase 2: Returning a "Hello World" via HTTP Response
Phase 3: Rendering a proper HTML File
Phase 4: Input, Store, and Display: (Views + Forms + Models + Htmx)
Phase 5: Creating a Task Manager
Introduction:
In this tutorial, we will cover the basics of Django, starting from running a server and building up to creating a task manager with the help of HTMX. We will begin with the fundamentals and gradually add more features, ultimately guiding you through the process of building a fully functional task manager. By the end, you will have a decent understanding of how to use Django to create dynamic web applications.
Why Django?
Django is often marketed as a framework for “fast development” with a “well-structured, categorized workflow,” and it follows a “batteries-included” philosophy. In practice, this means you can focus on building your actual app—your content, your logic—without having to manually implement things like authentication, database access, admin interfaces, or security features. These are all built-in and ready to use with just a few lines of code.
What makes Django especially effective is its consistent and opinionated structure. That structure doesn’t slow you down—it actually speeds you up. It guides you into organizing your code in a clean, scalable way, so you can go from idea to fully functional web app in a surprisingly short amount of time.
Why HTMX?
HTMX is a modern JavaScript library that lets you build dynamic, responsive interfaces—without getting dragged into the chaos of writing vanilla JavaScript by hand. Because let’s be honest: dealing with addEventListener, fetch(), DOM updates, and a cascade of .then()s just to update a small section of a page? That gets old fast.
HTMX takes a different approach. Instead of writing verbose JavaScript, you sprinkle a few HTML attributes—like hx-get, hx-post, hx-target—and suddenly, your buttons, forms, and links can fetch and update data asynchronously like magic. No need to spin up a whole front-end framework or wrap your brain around state management just to show a modal or update a list.
The beauty of HTMX is that it lets you stay in your HTML and server-rendered world, while still giving your users the interactivity they expect. It’s lightweight, intuitive, and honestly, a bit of a relief if you’re tired of turning every project into a JavaScript jungle.
Django and HTMX~
When you combine Django with HTMX, something magical happens:
You get to just build your webpage—no front-end framework, no tangled JavaScript, no fuss. Everything else? Pretty much handled.
Django gives you the backend power: models, views, routing, forms, and templates—all organized and ready to scale. HTMX, on the other hand, handles the interactive bits that would normally have you buried in JavaScript: loading content dynamically, submitting forms without a full page reload, updating specific parts of the page, etc.
Put them together, and you can skip the mental overhead of setting up an entire JavaScript stack. No dealing with API endpoints for every tiny interaction. No endless DOM manipulation. You write server-rendered HTML like you always have—HTMX just wires it up to behave like a modern web app.
In short: build your app, not your frontend stack
What you will learn:
- How to set up a Django project and run the server
- How to render a simple text
- How to render an html file
- How to work with forms and models to insert and display data dynamically
- How to build a full-blown task manager with dynamic updates using HTMX
Phase 1: Running a server
Downloading Necessary Files
Before we can even start coding the basics of Django, we will need to download the requisites.
These include Python, pip, Django, and for this tutorial will be using the Integrated Development Environment Visual Studio Code.
- Install Visual Studio Code (w/Windows)
- Press the given link:
- Download Visual Studio Code - Mac, Linux, Windows
- You can simply follow the given instructions.
- Install Python (w/Windows)
- Press the given link:
- Download Python | Python.org
- Once you finish following the instructions you have successfully installed Python and pip is automatically installed along with your Python.
- Install Django (w/Windows)
- Press the given link:
- https://www.djangoproject.com/
- You can simply follow the given instructions.
Verification
Let's now verify that you have properly downloaded the prerequisites into your computer. Go into your command prompt terminal and input the following lines:
python --version
pip --version
django-admin --version
Setting up the virtual Environment
Preparation and Activation
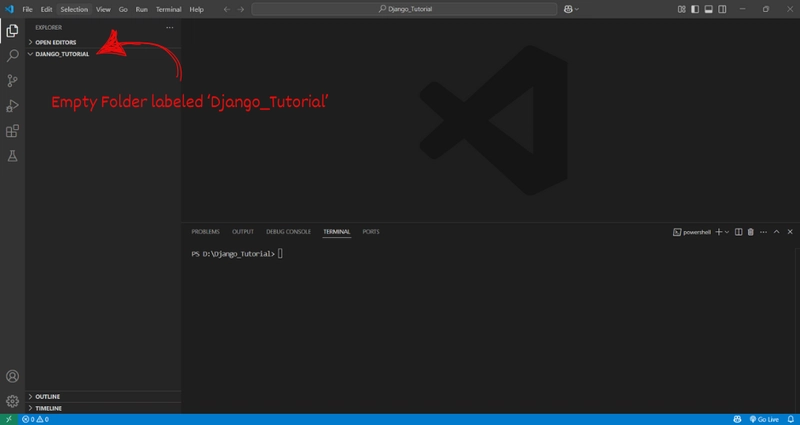
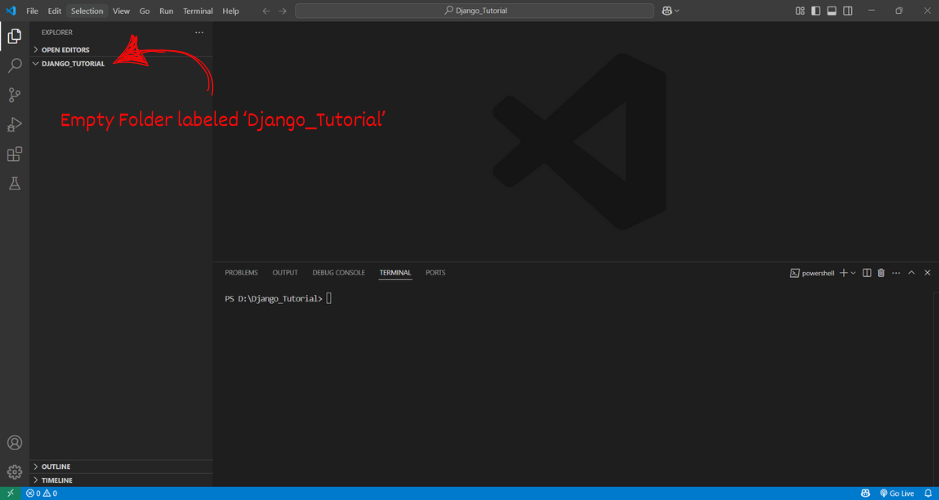
Open VSCode and create a new folder:
Open terminal either by clicking Terminal at the top or pressing ctrl + tilde, then type in these commands in order:
pip install pipenv
#Important to install pipenv so we can activate the Virtual Environment using pipenv

pipenv shell
#We can now create the Virtual Environment

pipenv install django
#Install django so we can begin to do the basic uses

pipenv freeze
#Showcases the existing downloaded extensions
Running the server
Finally, we input these in the terminal to run the server
django-admin startproject ProjectName
#Creates a new Folder ProjectName, once this file is created there will be .py files that will automatically created within its folder.
ls
#Shows the existing files within the current cd in the file, specifically used in this situation to locate the manage.py
python manage.py startapp AppName
#Creates a new Folder AppName, this file will contain another group of .py files that will will automatically be created within its folder. You can change the name to something other than AppName
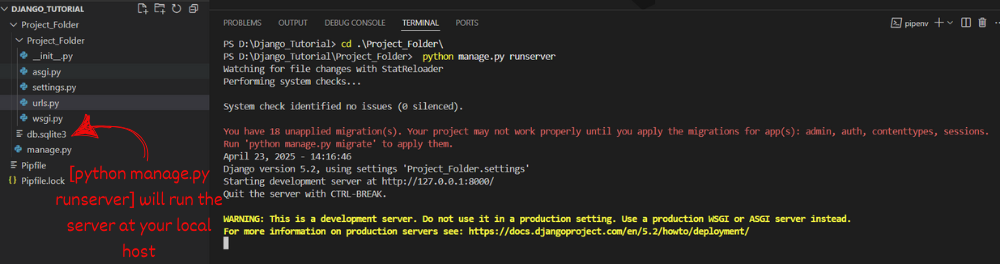
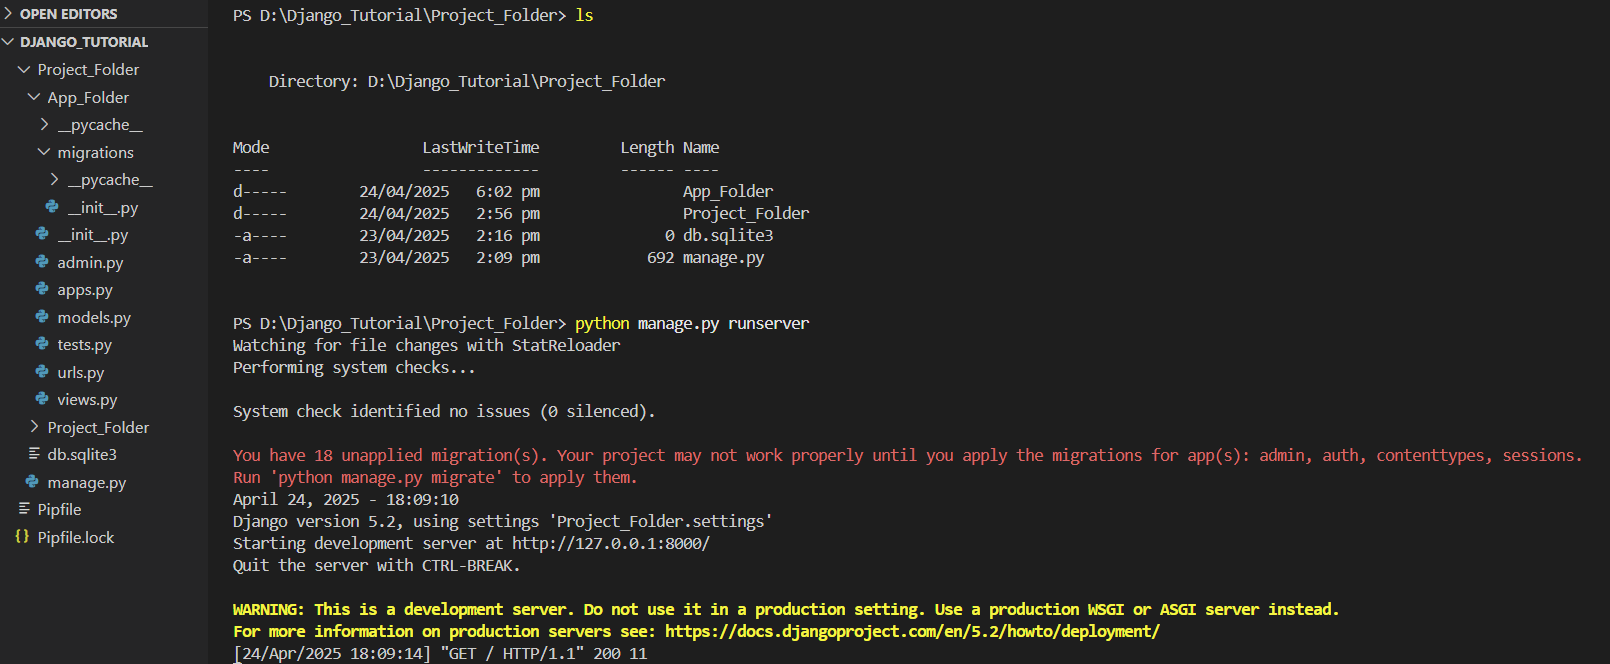
python manage.py runserver
#This will run the current server within the project file. Depending on the gien data it can showcase a default page from django, or the properly formatted data.If everything went well, you will see this:
proceed to ctrl click the server local host (http://127.0.0.1:8000/), and if everything went well, you will see this:
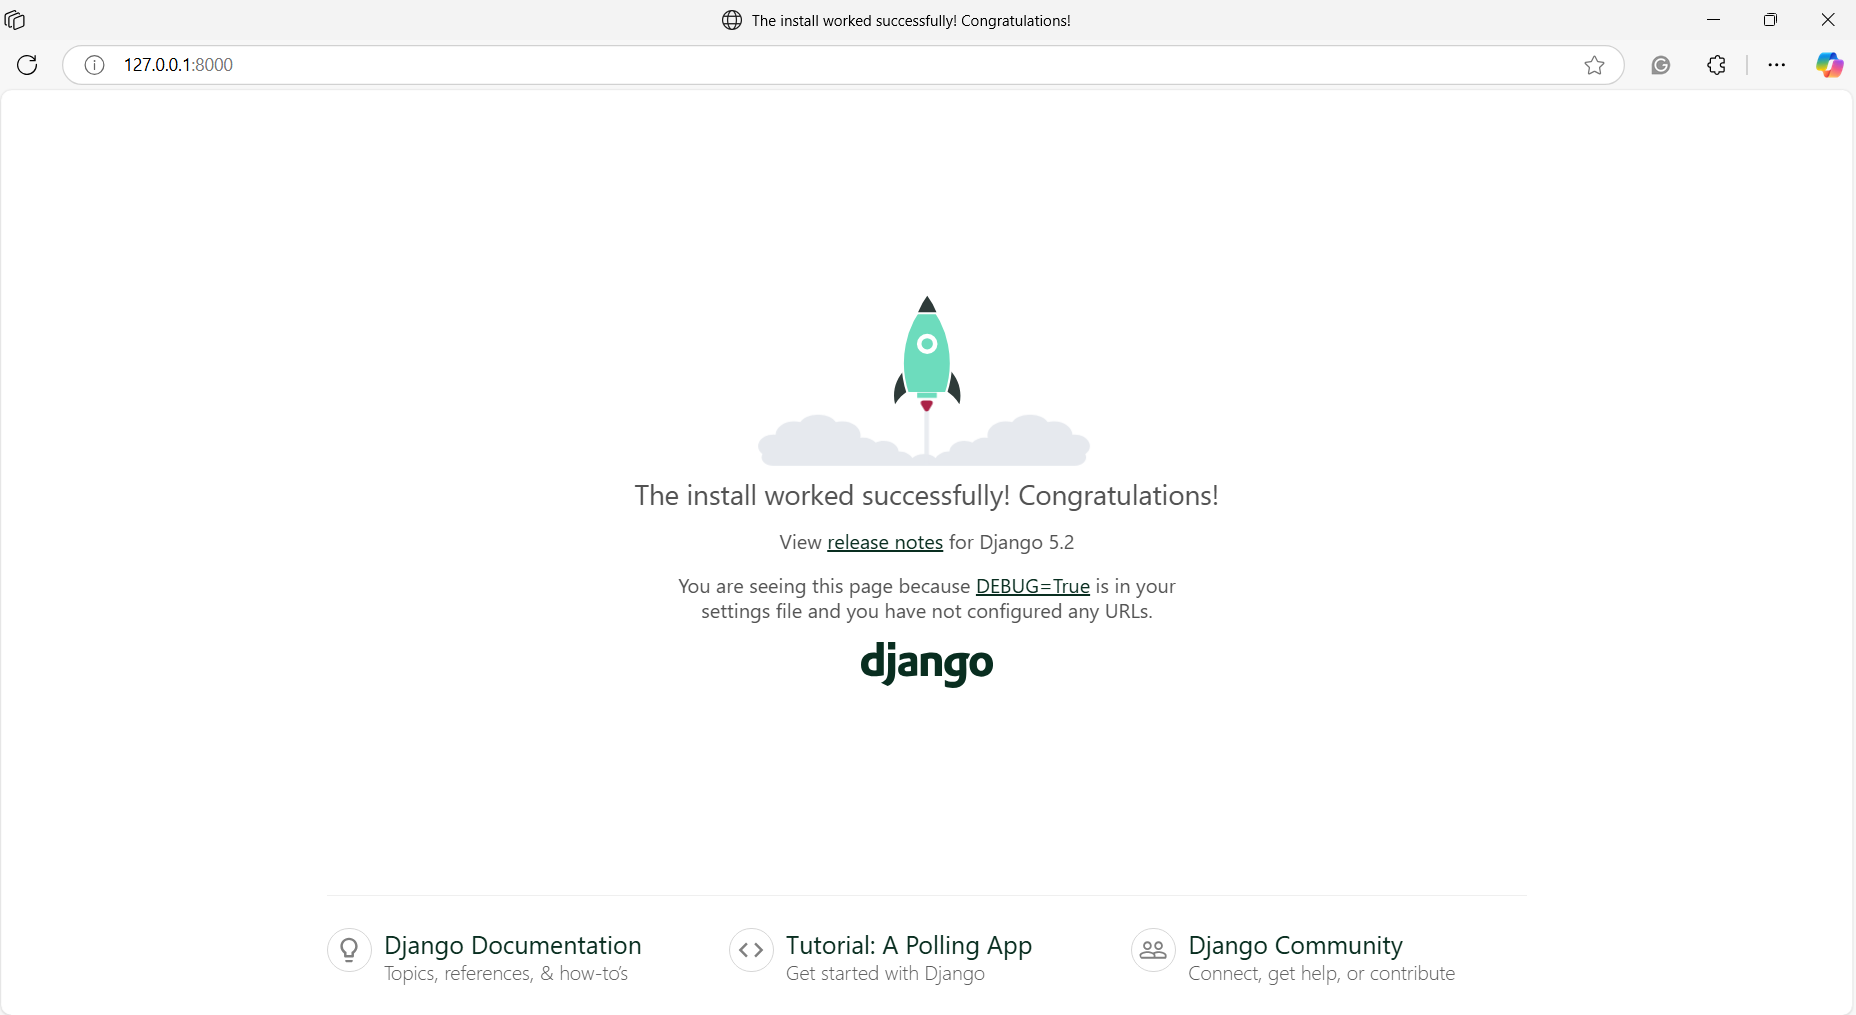
Congratulations on your newly made localhost django server~
Phase 2: Rendering "Hello World" via HTTP Response
New Concepts introduced:
settings.py
To let Django know your app exists and should be included when the project runs, you need to register it in the INSTALLED_APPS list inside the settings.py file. This acts like telling Django, “Hey, this app is part of the project now, load it in.” Without this step, your app’s models, views, and other features won't be recognized by the framework.
urls.py
Django uses URL routing to decide what happens when someone visits a particular path in the browser. At the project level, you define routes that link to each app in your project — sort of like a traffic director pointing requests to the right app. At the app level, you define what happens for specific paths inside that app (like /hello/). This two-level routing helps Django scale by keeping things organized across multiple apps.
Two levels:
-Project level: connects different apps to the project
-App level: defines app-specific paths
views.py
Views are where you define the logic of how the server responds to a given request. In this case, the logic is simple: when someone visits the /hello/ path, Django should return an HTTP response that just says “Hello, world.” You write a function inside views.py that does exactly that, and connect it to the right route in urls.py so it’s triggered when the user accesses that path.
Implementation of Concepts:
for settings.py
Add appname to the app list
INSTALLED_APPS = [
    'django.contrib.admin',
    'django.contrib.auth',
    'django.contrib.contenttypes',
    'django.contrib.sessions',
    'django.contrib.messages',
    'django.contrib.staticfiles',

    'myapp',  # 👈 Your custom app goes here
]
for urls.py
make server know where everything is
-for project-level urls:
from django.contrib import admin
from django.urls import path, include #include added

urlpatterns = [
    path('admin/', admin.site.urls),
    path('', include('App_Folder.urls')), #path to the app added
]
-for app-level urls:
from django.urls import path
from . import views

# Define a list of url patterns

urlpatterns =[
    path('', views.index)
]
for views.py
-make server know what to do when given a request
from django.shortcuts import render
from django.http import HttpResponse
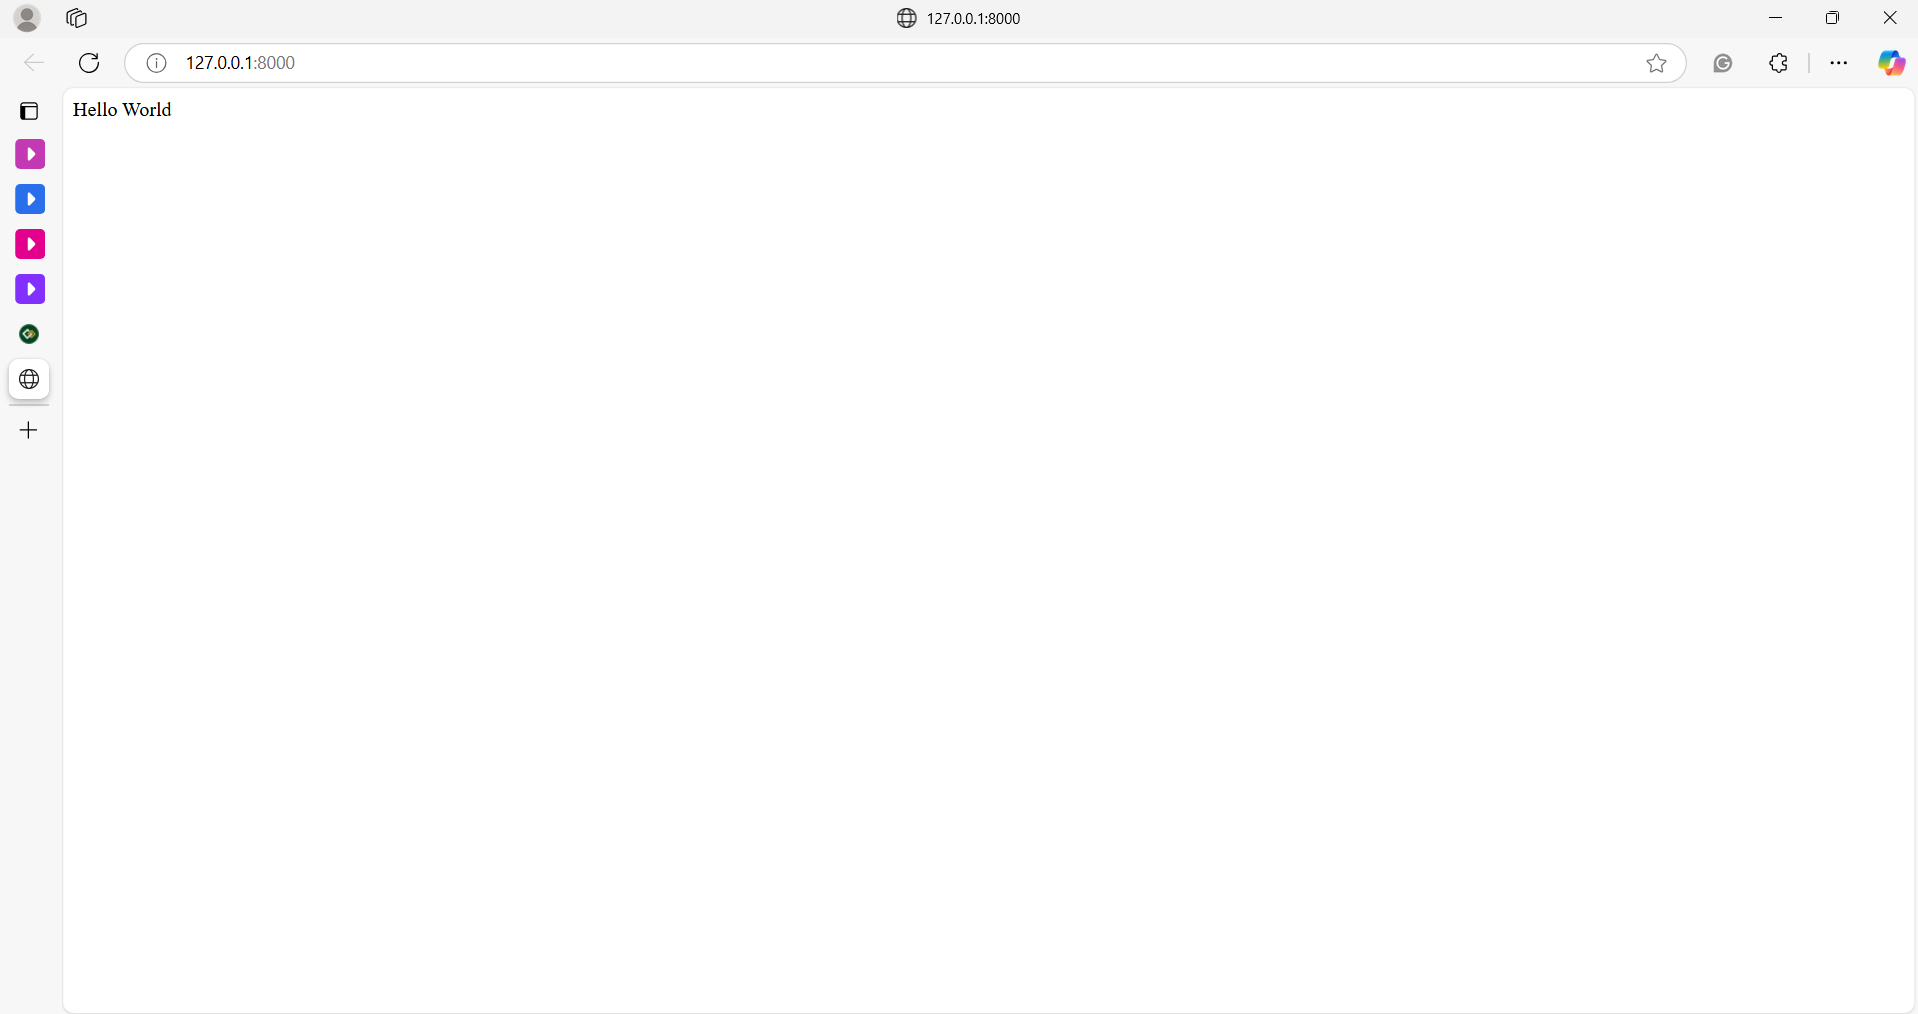
def index(request):
return HttpResponse("Hello World")Here is the output:
Phase 3: Rendering a proper HTML File
New Concepts introduced:
templates folder
Django uses Templates folder to hold all the templates/html_files, allowing a more flexible way to handle the structure
Implementation of concepts:
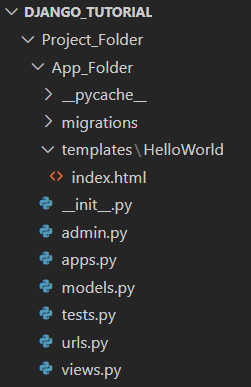
for templates folder
Made a new file the index.html, within a HelloWorld folder and templates folder. The templates folder is important to hold text files like html.
In index.html:
#index.html within the template folder


        Hello World


        Congrats on Making the HTML file


    Enter fullscreen mode


    Exit fullscreen mode


  for views.py

#view.py within the app folder
from django.shortcuts import render
from django.http import HttpResponse

# Create your views here.
def index(request):
    return render(request, 'HelloWorld/index.html')
    #changed to response to render then the path to the index.html


    Enter fullscreen mode


    Exit fullscreen mode


If done successfully, this should be the output:


  Phase 4: Input, Store, and Display: (Views + Forms + Models + Htmx)
Return to Top


  New Concepts introduced:


  models.py
In Django, models are Python classes that define the structure of your data. Each model maps to a single table in your database, and each attribute of the class represents a column in that table. Django takes care of generating SQL code behind the scenes, so you don’t need to write any raw database queries to store, retrieve, or manipulate data. This makes data persistence much easier, especially across server restarts or page refreshes.


  forms.py
Django’s forms system lets you generate HTML forms directly from Python classes. Not only does it generate input fields for you, but it also handles validation, error reporting, and re-rendering forms when input is invalid. There are two main types: regular Form classes and ModelForm, which ties a form directly to a model. This saves you from writing repetitive code and keeps everything in sync.


  HTMX
HTMX is a JavaScript library that allows you to build dynamic user interfaces without writing complex JavaScript. Instead of manually handling events, crafting fetch requests, and updating the DOM, HTMX lets you use simple HTML attributes to say “when this happens, fetch that and put it here.” It integrates well with Django’s templating system, enabling a smoother development experience for adding interactivity.
For this phase, we will use only the POST method via the hx-method parameter, which makes the website send the submitted data to the element specified by hx-target.


  Implementation of concepts:
Let us bring together the concepts learned thus far and create a simple Task Entry System. Here is the overview of the needed structure:

taskmanager/                ← Django project folder
│
├── taskmanager/            ← Project-level settings folder
│   ├── __init__.py
│   ├── settings.py         ← Add app named 'tasks' in settings
│   ├── urls.py             ← Project-level URL config (we'll modify this)
│   └── wsgi.py
│
├── tasks/                  ← Your Django app folder
│   ├── migrations/
│   ├── templates/
│   │   ├── tasks/
│   │   |   └── task_item.html  ← Render individual task dynamically
│   │   |   └── task_list.html  ← Main template
│   ├── __init__.py
│   ├── admin.py
│   ├── apps.py
│   ├── forms.py            ← Define your form here
│   ├── models.py           ← Define your data model
│   ├── tests.py
│   ├── urls.py             ← App-level URL config
│   └── views.py            ← Your main logic lives here
│
└── manage.py


    Enter fullscreen mode


    Exit fullscreen mode


  for HTMX
-first install the requirements for htmx

pipenv install django-htmx


    Enter fullscreen mode


    Exit fullscreen mode


-further configure later in settings.py


  for settings.py
-ensure that your project knows of the existence of its app, as well as htmx

INSTALLED_APPS = [
    'django.contrib.admin',
    'django.contrib.auth',
    'django.contrib.contenttypes',
    'django.contrib.sessions',
    'django.contrib.messages',
    'django.contrib.staticfiles',

    'tasks',  # ← Add this
    'django-htmx',  # ← Add this too
]


    Enter fullscreen mode


    Exit fullscreen mode


-add htmx middleware in the middlewares of settings.py

MIDDLEWARE = [
    'django.middleware.security.SecurityMiddleware',
    'django.contrib.sessions.middleware.SessionMiddleware',
    'django.middleware.common.CommonMiddleware',

    # 👇 Add this
    'django_htmx.middleware.HtmxMiddleware',

    'django.middleware.csrf.CsrfViewMiddleware',
    # other middlewares...
]


    Enter fullscreen mode


    Exit fullscreen mode


  for views.py

# views.py
from django.shortcuts import render, redirect
from .models import Task
from .forms import TaskForm

def task_list_view(request):
    # Get all tasks from the database
    tasks = Task.objects.all()

    # Create a new form instance, pre-populating with POST data if available
    form = TaskForm(request.POST or None)

    if form.is_valid():
        # If the form is valid, save the new task to the database
        task = form.save()

        # If the request is made via HTMX, return only the partial HTML for the new task
        if request.htmx:
            return render(request, 'tasks/task_item.html', {'task': task})

        # If not HTMX, redirect to refresh the page and show the updated task list
        return redirect('task_list')

    # If form is invalid, render the task list page with errors
    return render(request, 'task_list.html', {'tasks': tasks, 'form': form})


    Enter fullscreen mode


    Exit fullscreen mode


  for urls.py
-project-level urls.py
--ensure that django knows how to route to your app's routings

from django.contrib import admin
from django.urls import path, include

urlpatterns = [
    path('admin/', admin.site.urls),
    path('', include('tasks.urls')),
]


    Enter fullscreen mode


    Exit fullscreen mode


-app-level urls.py
--show django how to route to the current app's views

from django.urls import path
from . import views

urlpatterns = [
    path('', views.task_list_view, name='task_list'),
]


    Enter fullscreen mode


    Exit fullscreen mode


  for models.py
-create a container for each instance of task and its attached data fields

# models.py
from django.db import models

class Task(models.Model):
    name = models.CharField(max_length=100)
    description = models.TextField()
    created_at = models.DateTimeField(auto_now_add=True)

    def __str__(self):
        return self.name


    Enter fullscreen mode


    Exit fullscreen mode


  for forms.py
-create a platform where the user can insert the values that matches the container made

# forms.py
from django import forms
from .models import Task

class TaskForm(forms.ModelForm):
    class Meta:
        model = Task
        fields = ['name', 'description']


    Enter fullscreen mode


    Exit fullscreen mode


once the model and form has been created, type this in the terminal:

python manage.py makemigrations
python manage.py migrate


    Enter fullscreen mode


    Exit fullscreen mode


When working with Django models, you’re not directly writing SQL to change the database. Instead, you let Django handle that with these two commands:✅ python manage.py makemigrations
This generates migration files—think of these as Django’s version of “SQL instructions” based on the changes you made in your models.py. It doesn’t change your database yet—it just prepares the changes.Example: You added a Task model? This command will create a file like 0001_initial.py describing how to build that table.✅ python manage.py migrate
This actually applies the instructions from the migration files to your database. It reads the migration files and executes the necessary SQL to create or update tables.This is where your Task table actually gets created in db.sqlite3.


  for templates in templates folder:
-task_list.html


    Task List


    Task Manager


        {% csrf_token %}
        {{ form.as_p }}
        Add Task


    Tasks

        {% for task in tasks %}
            {% include 'partials/task_item.html' with task=task %}
        {% endfor %}


    Enter fullscreen mode


    Exit fullscreen mode


just like that, that's how easy you can attach htmx in html.
-task_item.html


    {{ task.name }}
    {{ task.description }}
    {{ task.created_at }}


    Enter fullscreen mode


    Exit fullscreen mode


Here is the output:


  Phase 5: Creating a Task Manager
Return to Top
Now that we’ve set up task creation and listing, let’s make this a proper task manager by allowing users to edit and delete tasks—without refreshing the page.This is where HTMX continues to shine. With minimal effort, we’ll handle these interactions through Django views and templates, triggered by hx-get, hx-post, and hx-target.


  New Concepts introduced:
hx-get, hx-post, hx-target
These are HTML attributes provided by HTMX. With them, you can define:hx-get: Fetch a URL when an event (e.g., click) happens.hx-post: Send form data to a URL.hx-target: Where in the DOM to place the response.hx-swap: How to inject the returned HTML (e.g., innerHTML, beforeend).


  Structure Overview update:

taskmanager/
│
├── taskmanager/
│   ├── __init__.py
│   ├── settings.py
│   ├── urls.py
│   └── wsgi.py
│
├── tasks/
│   ├── migrations/
│   ├── templates/
│   │   ├── tasks/
│   │   |   └── task_item.html        ← ✅ modified: added Edit/Delete
│   │   |   └── task_list.html
│   │   │   └── edit_task_form.html   ← 🆕 new: form used for inline editing
│   │   └── task_list.html
│   ├── __init__.py
│   ├── admin.py
│   ├── apps.py
│   ├── forms.py
│   ├── models.py
│   ├── tests.py
│   ├── urls.py                       ← ✅ modified: added `edit/` and `delete/` routes
│   └── views.py                      ← ✅ modified: added `task_edit_view` and `task_delete_view`
│
└── manage.py


    Enter fullscreen mode


    Exit fullscreen mode


  for app level urls.py modification:
add routes for the added functionality of editing and deleting each task

from django.urls import path
from . import views

urlpatterns = [
    path('', views.task_list_view, name='task_list'),
    path('edit//', views.task_edit_view, name='task_edit'),
    path('delete//', views.task_delete_view, name='task_delete'),
]


    Enter fullscreen mode


    Exit fullscreen mode


  for views.py
update views to include edit and delete functions

from django.shortcuts import render, get_object_or_404, redirect
from django.http import HttpResponse
from .models import Task
from .forms import TaskForm

def task_list_view(request):
    tasks = Task.objects.all()
    form = TaskForm(request.POST or None)

    if form.is_valid():
        task = form.save()
        if request.htmx:
            return render(request, 'partials/task_item.html', {'task': task})
        return redirect('task_list')

    return render(request, 'task_list.html', {'tasks': tasks, 'form': form})


def task_edit_view(request, pk):
    task = get_object_or_404(Task, pk=pk)
    form = TaskForm(request.POST or None, instance=task)

    if request.method == 'POST' and form.is_valid():
        form.save()
        return render(request, 'partials/task_item.html', {'task': task})

    return render(request, 'partials/edit_task_form.html', {'form': form, 'task': task})


def task_delete_view(request, pk):
    task = get_object_or_404(Task, pk=pk)
    task.delete()
    return HttpResponse('')


    Enter fullscreen mode


    Exit fullscreen mode


  for templates in templates folder and partials folder:
-updating task_item.html to include the edit and delete buttons per task


    {{ task.name }}
    {{ task.description }}
    {{ task.created_at }}


        Edit


        Delete


    Enter fullscreen mode


    Exit fullscreen mode


-adding an edit_task_form.html to allow the user to submit new input


    {% csrf_token %}
    {{ form.as_p }}
    Save


    Enter fullscreen mode


    Exit fullscreen mode


Here is the output:


  Wrapping It Up
In this tutorial, we’ve built a dynamic task manager using Django and HTMX, learning how to efficiently handle form submissions, create tasks, and update the user interface without full page reloads. By leveraging the power of HTMX for dynamic interactions, we were able to make our application feel faster and more responsive without needing to rely on heavy JavaScript or complex frontend frameworks.We've also explored key Django concepts such as model creation, form handling, and template rendering, while keeping our focus on the task at hand — creating a smooth and seamless user experience.


  What's Next?
Now that you’ve learned the core concepts behind a task manager application with Django and HTMX, you can take these techniques and apply them to your own projects. Consider expanding your task manager by adding more features like task prioritization, due dates, user authentication, and even notifications. The possibilities are endless, and with HTMX, the development process becomes even more enjoyable.Feel free to explore the official Django and HTMX documentation to deepen your understanding, and always remember that creating interactive, dynamic web applications can be both powerful and efficient with the right tools.Happy coding!