In my homelab, I installed Keycloak because I thought it would be fun to use SSO login for all my locally installed services.
I'm using Proxmox VE as my hypervisor platform, and it also offers the option to use an OpenID provider—in my case, Keycloak. The settings are fairly straightforward, but I ran into a few pitfalls. Let me describe those first:
Check the CA certificates
I use a self-signed CA to create TLS key pairs for my local services. The CA must be installed on both the Keycloak server and the Proxmox nodes. Until I configured the CA correctly, I kept getting a mysterious HTTP 500 error in the Proxmox UI when I wanted to use the OIDC login option, and there were no useful logs in either Proxmox or Keycloak.
Install CA on AlmaLinux
Keycloak is installed on AlmaLinux in my homelab. I copied the CA chain into /etc/pki/ca-trust/source/anchors/ and ran the update-ca-trust command as root.
Install CA on Debian
Proxmox VE is based on Debian. It stores trusted CA certificates in the /usr/share/ca-certificates/ directory. I copied my CA file there and ran the update-ca-certificates command.
Initially, I used a .pem file, but it wasn't recognized until I renamed it to .crt.
Use the correct issuer URL
In many tutorials people suggest use the following URL: https://auth.arpa/auth/realms/ but the Keycloak dropped the auth/ part out of the URL around the beginning of 2023. So the correct URL is: https://auth.arpa/realms/
Keycloak configuration
In Keycloak I created a Realm that connects to an Active Directory server. Then I configured a Client for the Proxmox. I didn't provided any description about the properties that I set because the Keycloak UI have some nice description for every of them.
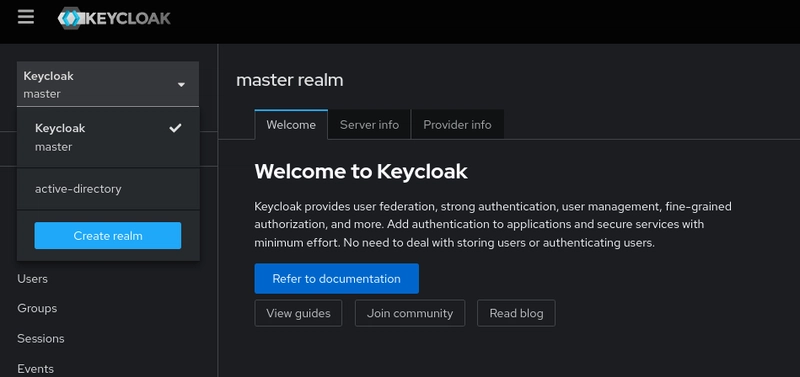
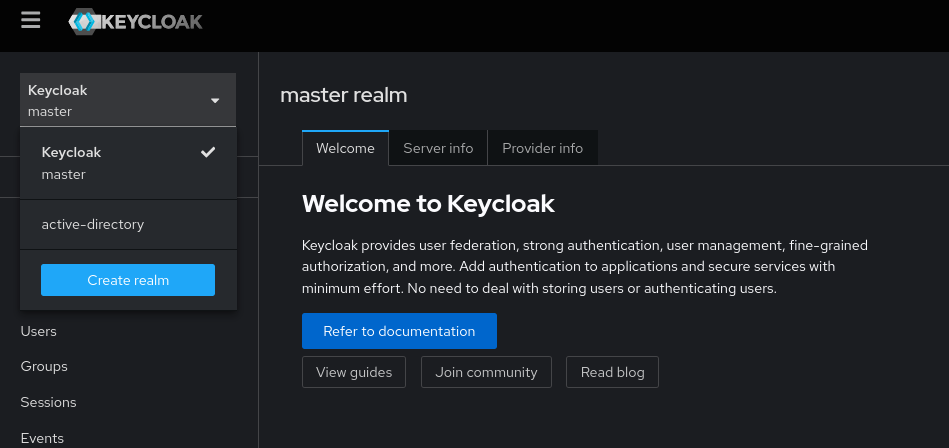
1. Create a new realm
In the Keycloak UI in the left side there's the realm selector. If you click on the dropdown the Create realm button appears. Click on it!
Then specify the Realm name and click on the create button:
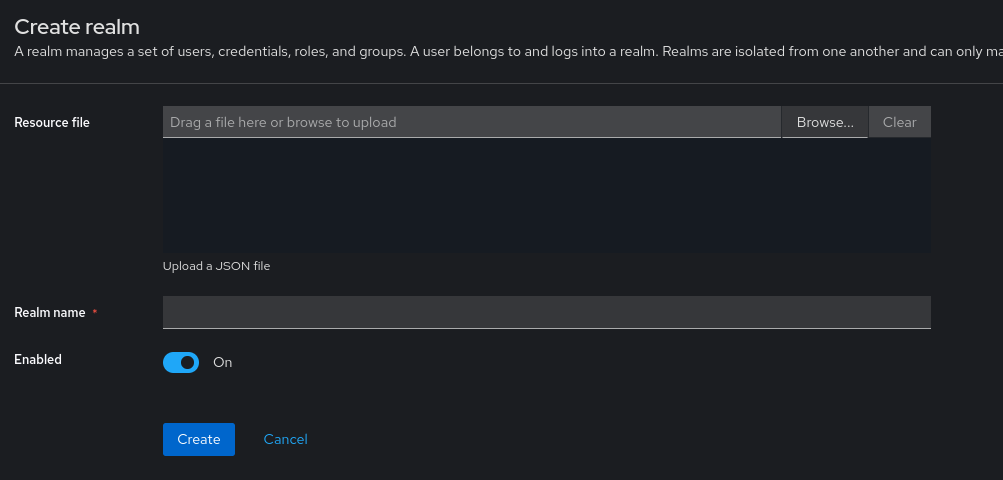
Ensure the newly created realm is selected.
2. Setup ActiveDirectory as provider
On the navigation bar on the left side click on the User federation and click on Add LDAP providers.
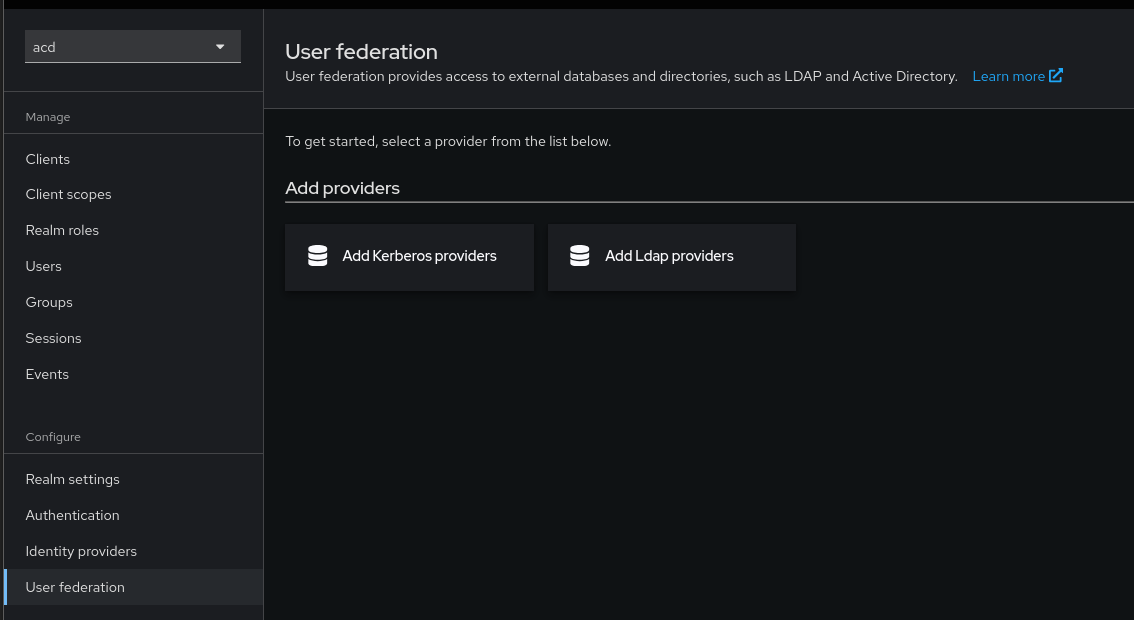
These are the settings that I specified:
-
General options
- UI display name: Choose a name that you like
- Vendor: Should be Active Directory
-
Connection and authentication settings
-
Connection URL: IP address of the Active Directory. Don't forget to add the protocol (
ldap://orldaps://). - Bind type: simple
- Bind DN: The DN of the user that Keycloak can use to run queries in AD
- Bind credentials: password of the bind user
-
Connection URL: IP address of the Active Directory. Don't forget to add the protocol (
-
LDAP searching and updating
- Edit mode: READ_ONLY
- Users DN: the distinguished name of the org. unit where the users are stored. E.g.: OU=Users,DC=homelab,DC=be,DC=local
- Username LDAP attribute: sAMAccountName
- RDN LDAP attribute: cn
- UUID LDAP attribute: objectGUID
- User object classes: person, organizationalPerson, user
I left the other settings on their default values.
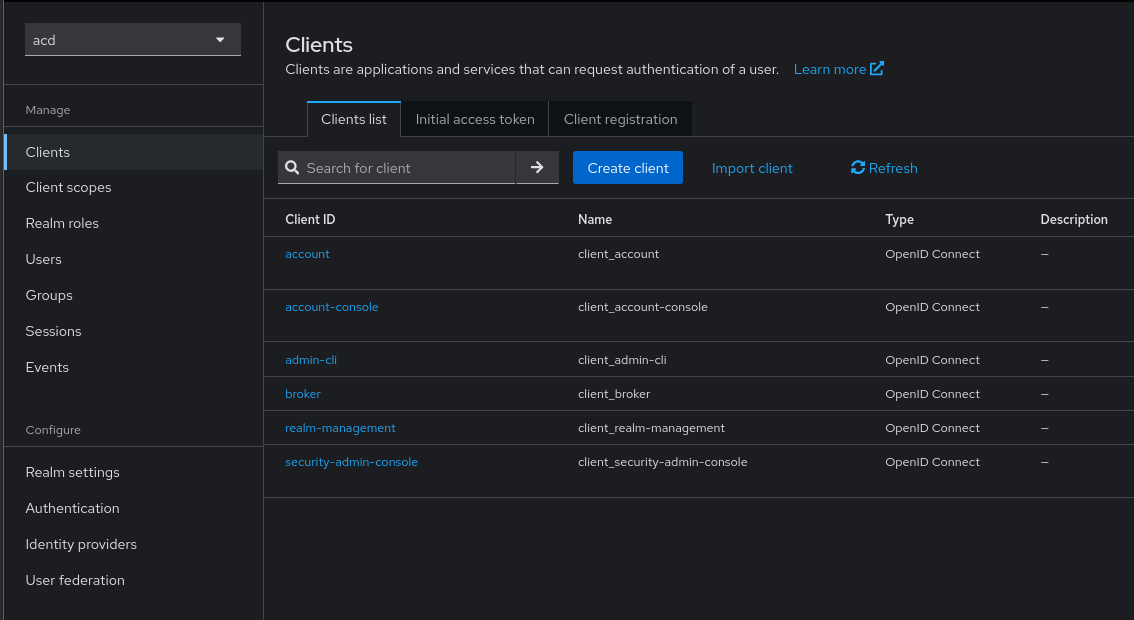
3. Create a client for Proxmox
Select the Clients option from the menu sidebar, and click on the Create client button;
-
General settings
- Client type: OpenID Connect
- Cliend ID: Choose an ID for the client. You can reference the client later from proxmox with this ID.
-
Capability config:
- Client authentication: turn on
- Authorization: turn on
-
Login settings:
- Root URL: https://proxmox.homelab.arpa:8006/
- Home URL: https://proxmox.homelab.arpa:8006/
- Valid redirect URIs: https://proxmox.homelab.arpa:8006/*
- Web origins: *
And click on the Save button.
Proxmox configuration
Create new realm
To create a new real in Proxmox I used the pveum command.
pveum realm add keycloak \
    --type openid \
    --issuer-url  https://auth.homelab.arpa/realms/active-directory \
    --client-id XXXX \
    --client-key YYYY \
    --username-claim username
    --autocreate 1
I turned on the autocreate property because Proxmox needs users that exists in its own database. And after the login the users created automatically based on the provided information by Keycloak and you don't have to create them manually
More about proxmox user management
Grant permissions
- Create a group for the administrators
pveum group add admin -comment "System Administrators"- Grant administrator privileges for the group
pveum acl modify / -group admin -role PVEAdmin- Add the users from the newly created OpenID realm to the group
pveum user modify jhon.doe@keycloak -group admin- Validate, check user permissions
pveum user permissions john.doe@keycloak