Hey folks! 👋
In this post, I'll show you how to create a Docker image for a simple Machine Learning Python program and push it to DockerHub. 🚀
We’ll create a small ML project using the Iris dataset, logistic regression, and model saving.
Let’s get started! 🐳
1️⃣ Create a Python Program
First, create a Python file named hello_world_ml.py with the following code:
from pandas import read_csv
from matplotlib import pyplot
from sklearn.linear_model import LogisticRegression
from sklearn.model_selection import train_test_split
import joblib

# Step 1: Load dataset
filename = "Iris.csv"
data = read_csv(filename)

# Step 2: Display data shape and preview
print("Shape of the dataset:", data.shape)
print("First 20 rows:\n", data.head(20))

# Step 3: Plot and save histograms silently
data.hist()
pyplot.savefig("histograms.png")
pyplot.close()

# Step 4: Plot and save density plots silently
data.plot(kind='density', subplots=True, layout=(3,3), sharex=False)
pyplot.savefig("density_plots.png")
pyplot.close()

# Step 5: Convert to NumPy array and extract features/labels
array = data.values
X = array[:, 1:5]  # Features
Y = array[:, 5]    # Labels

# Step 6: Split data into training and testing
test_size = 0.33
seed = 7
X_train, X_test, Y_train, Y_test = train_test_split(X, Y, test_size=test_size, random_state=seed)

# Step 7: Create and train logistic regression model
model = LogisticRegression(max_iter=200)
model.fit(X_train, Y_train)

# Step 8: Evaluate and display accuracy
result = model.score(X_test, Y_test)
print("Accuracy: {:.2f}%".format(result * 100))

# Step 9: Save the trained model to a file
joblib.dump(model, "logistic_model.pkl")
✅ Make sure you also have the Iris.csv dataset in the same folder.
2️⃣ Create a Dockerfile
Next, create a file named Dockerfile in the same directory:
# Use a lightweight Python image
FROM python:3.12-slim

# Set the working directory
WORKDIR /app

# Copy all files into the container
COPY . .

# Install required libraries
RUN pip install pandas matplotlib scikit-learn joblib

# Define the command to run the app
CMD ["python", "hello_world_ml.py"]
Explanation:
- Base image: Python 3.12 slim.
- Working directory:
/app. - Installs all necessary Python libraries.
- Runs the
hello_world_ml.pyscript when container starts.
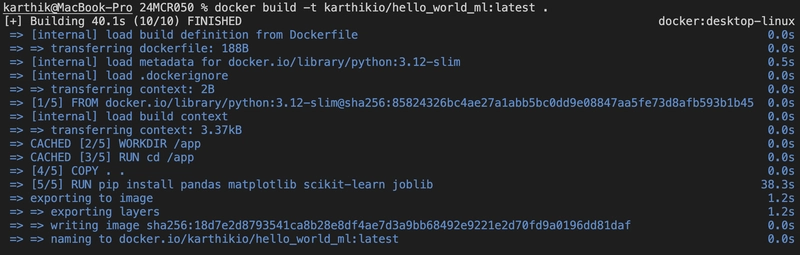
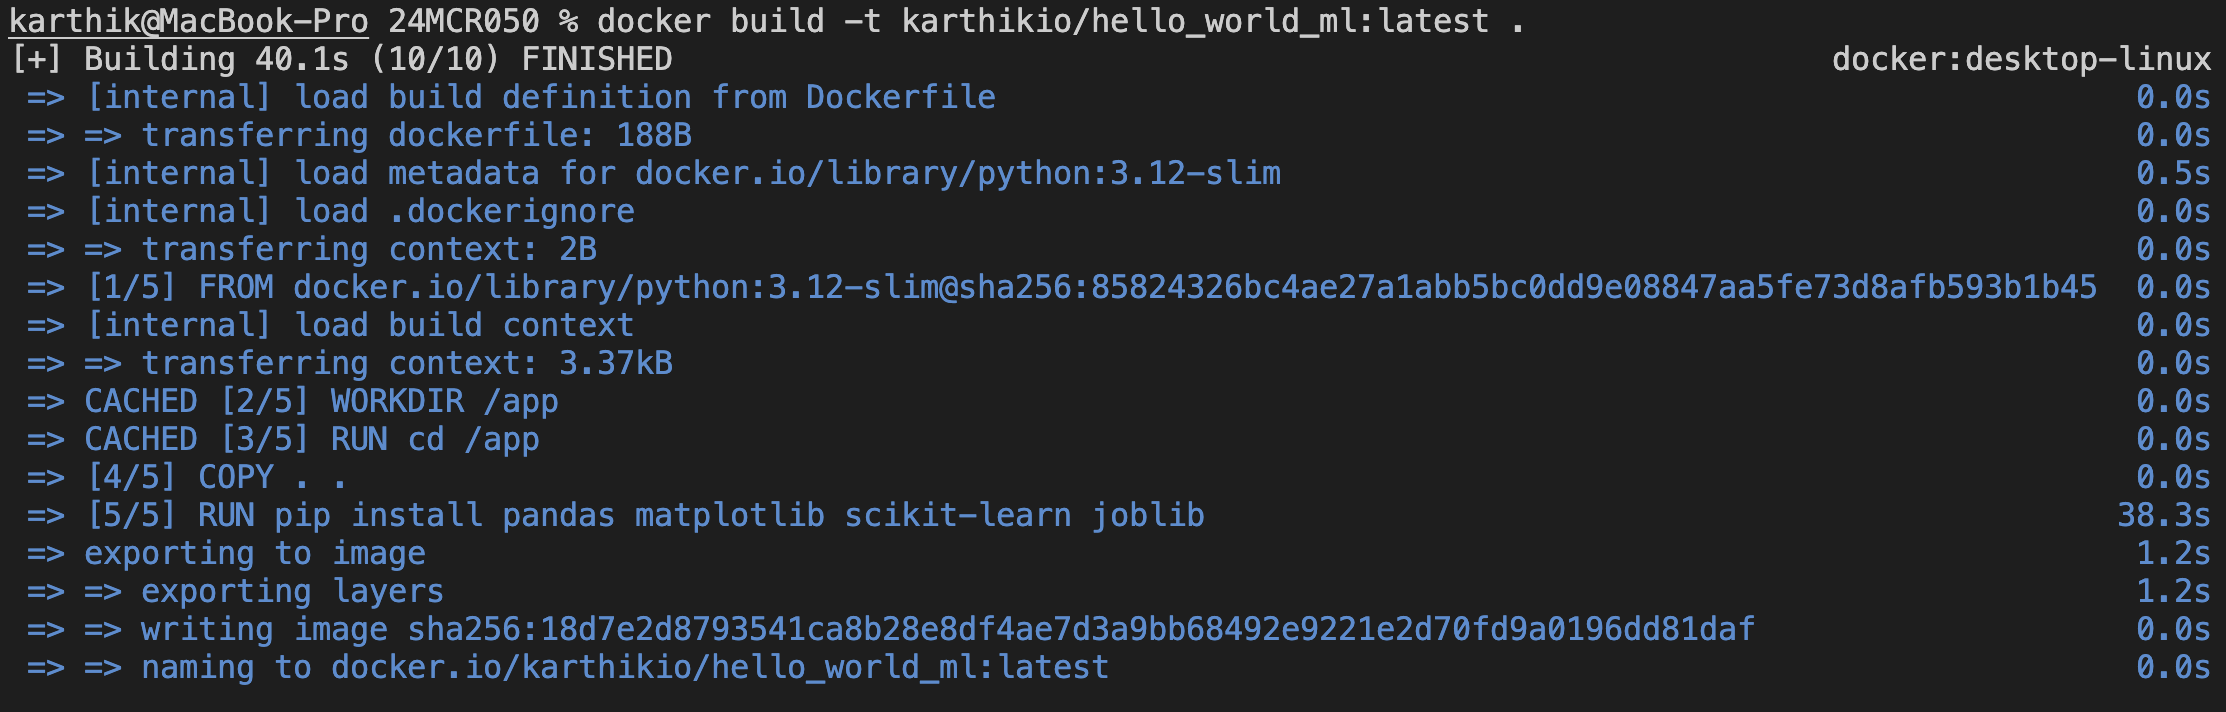
3️⃣ Build the Docker Image
Open your terminal, navigate to your project folder, and run:
docker build -t your-dockerhub-username/ml-docker-app:latest .Example:
docker build -t myusername/ml-docker-app:latest .✅ This command builds the Docker image and tags it.
4️⃣ Login to DockerHub
If not already logged in, run:
docker loginEnter your DockerHub username and password when prompted.
5️⃣ Push the Docker Image to DockerHub
After building and logging in, push the image:
docker push your-dockerhub-username/ml-docker-app:latestExample:
docker push myusername/ml-docker-app:latest✅ This uploads your image to your DockerHub repository.
6️⃣ Pull and Run the Image from Anywhere
Anyone can now pull and run your ML app like this:
docker pull myusername/ml-docker-app:latest
docker run myusername/ml-docker-app:latest
🎯 The container will load the Iris dataset, train a logistic regression model, save graphs, and display model accuracy!
Example output:
Shape of the dataset: (150, 6)
First 20 rows:
    Id  SepalLengthCm  SepalWidthCm  PetalLengthCm  PetalWidthCm      Species
0   1            5.1           3.5            1.4           0.2  Iris-setosa
...
Accuracy: 94.00%
—
🔥 Final Tips
- Add
.dockerignoreto avoid copying unnecessary files. - Keep your Docker images lightweight.
- Make sure your
Iris.csvis included while copying files (COPY . .does this). - You can extend this with Flask API for serving predictions!
—
📢 That's it!
You now know how to Dockerize a Machine Learning Python app and share it worldwide via DockerHub. 🐳✨
If you found this helpful, smash that ❤️ and share it with your dev friends!
Until next time, Happy Coding! 🚀