Git
GIT is a free and open-source software for distributed version control for developers.It helps to track changes in any set of files. This makes it easier for software developers to collaborate with each other for a coordinated work while developing a source code during software development.It is the main technology behind GitHub.
Github
GitHub is a cloud-based platform for version control and collaboration, primarily used by developers to store, manage, and share code. It is built on Git, an open-source version control system that tracks changes in code and allows multiple people to collaborate on a project efficiently.
Key Features of GitHub:
*Repositories (Repos) – A storage space for code, documentation, and other files.
*Version Control – Tracks changes in code and allows rollbacks to previous versions.
*Branches & Merging – Developers can work on different versions of a project simultaneously and merge their changes.
Git Bash
Git Bash is a command-line interface (CLI) application for Windows that allows users to use Git commands and a Unix-like terminal environment. It is included with Git for Windows and provides an easy way to interact with Git repositorie.
Essential Git Bash Commands:
1.GIT PUSH: This command is used to upload local repository content to a remote repository. (In Git, a local repository is a version-controlled directory on your local computer where your project files are stored, along with the metadata Git uses to track changes to these files.)
2.GIT COMMIT -M: This takes a snapshot of your repository at one point in time. The -m flag helps u add a message to the commit
3.GIT ADD As the name implies it adds a change in the working directory to the staging area. It tells git that u want to include updates to a particular file.
4.GIT REMOTE ADD ORIGIN: This creates a new empty Git repository on your remote server.
*Steps on how to use Git BASH command to create a sample resume and push it to Github pages.
*
Step 1
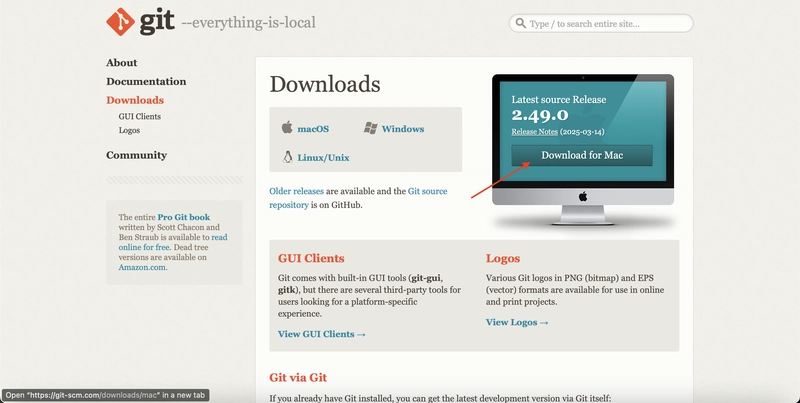
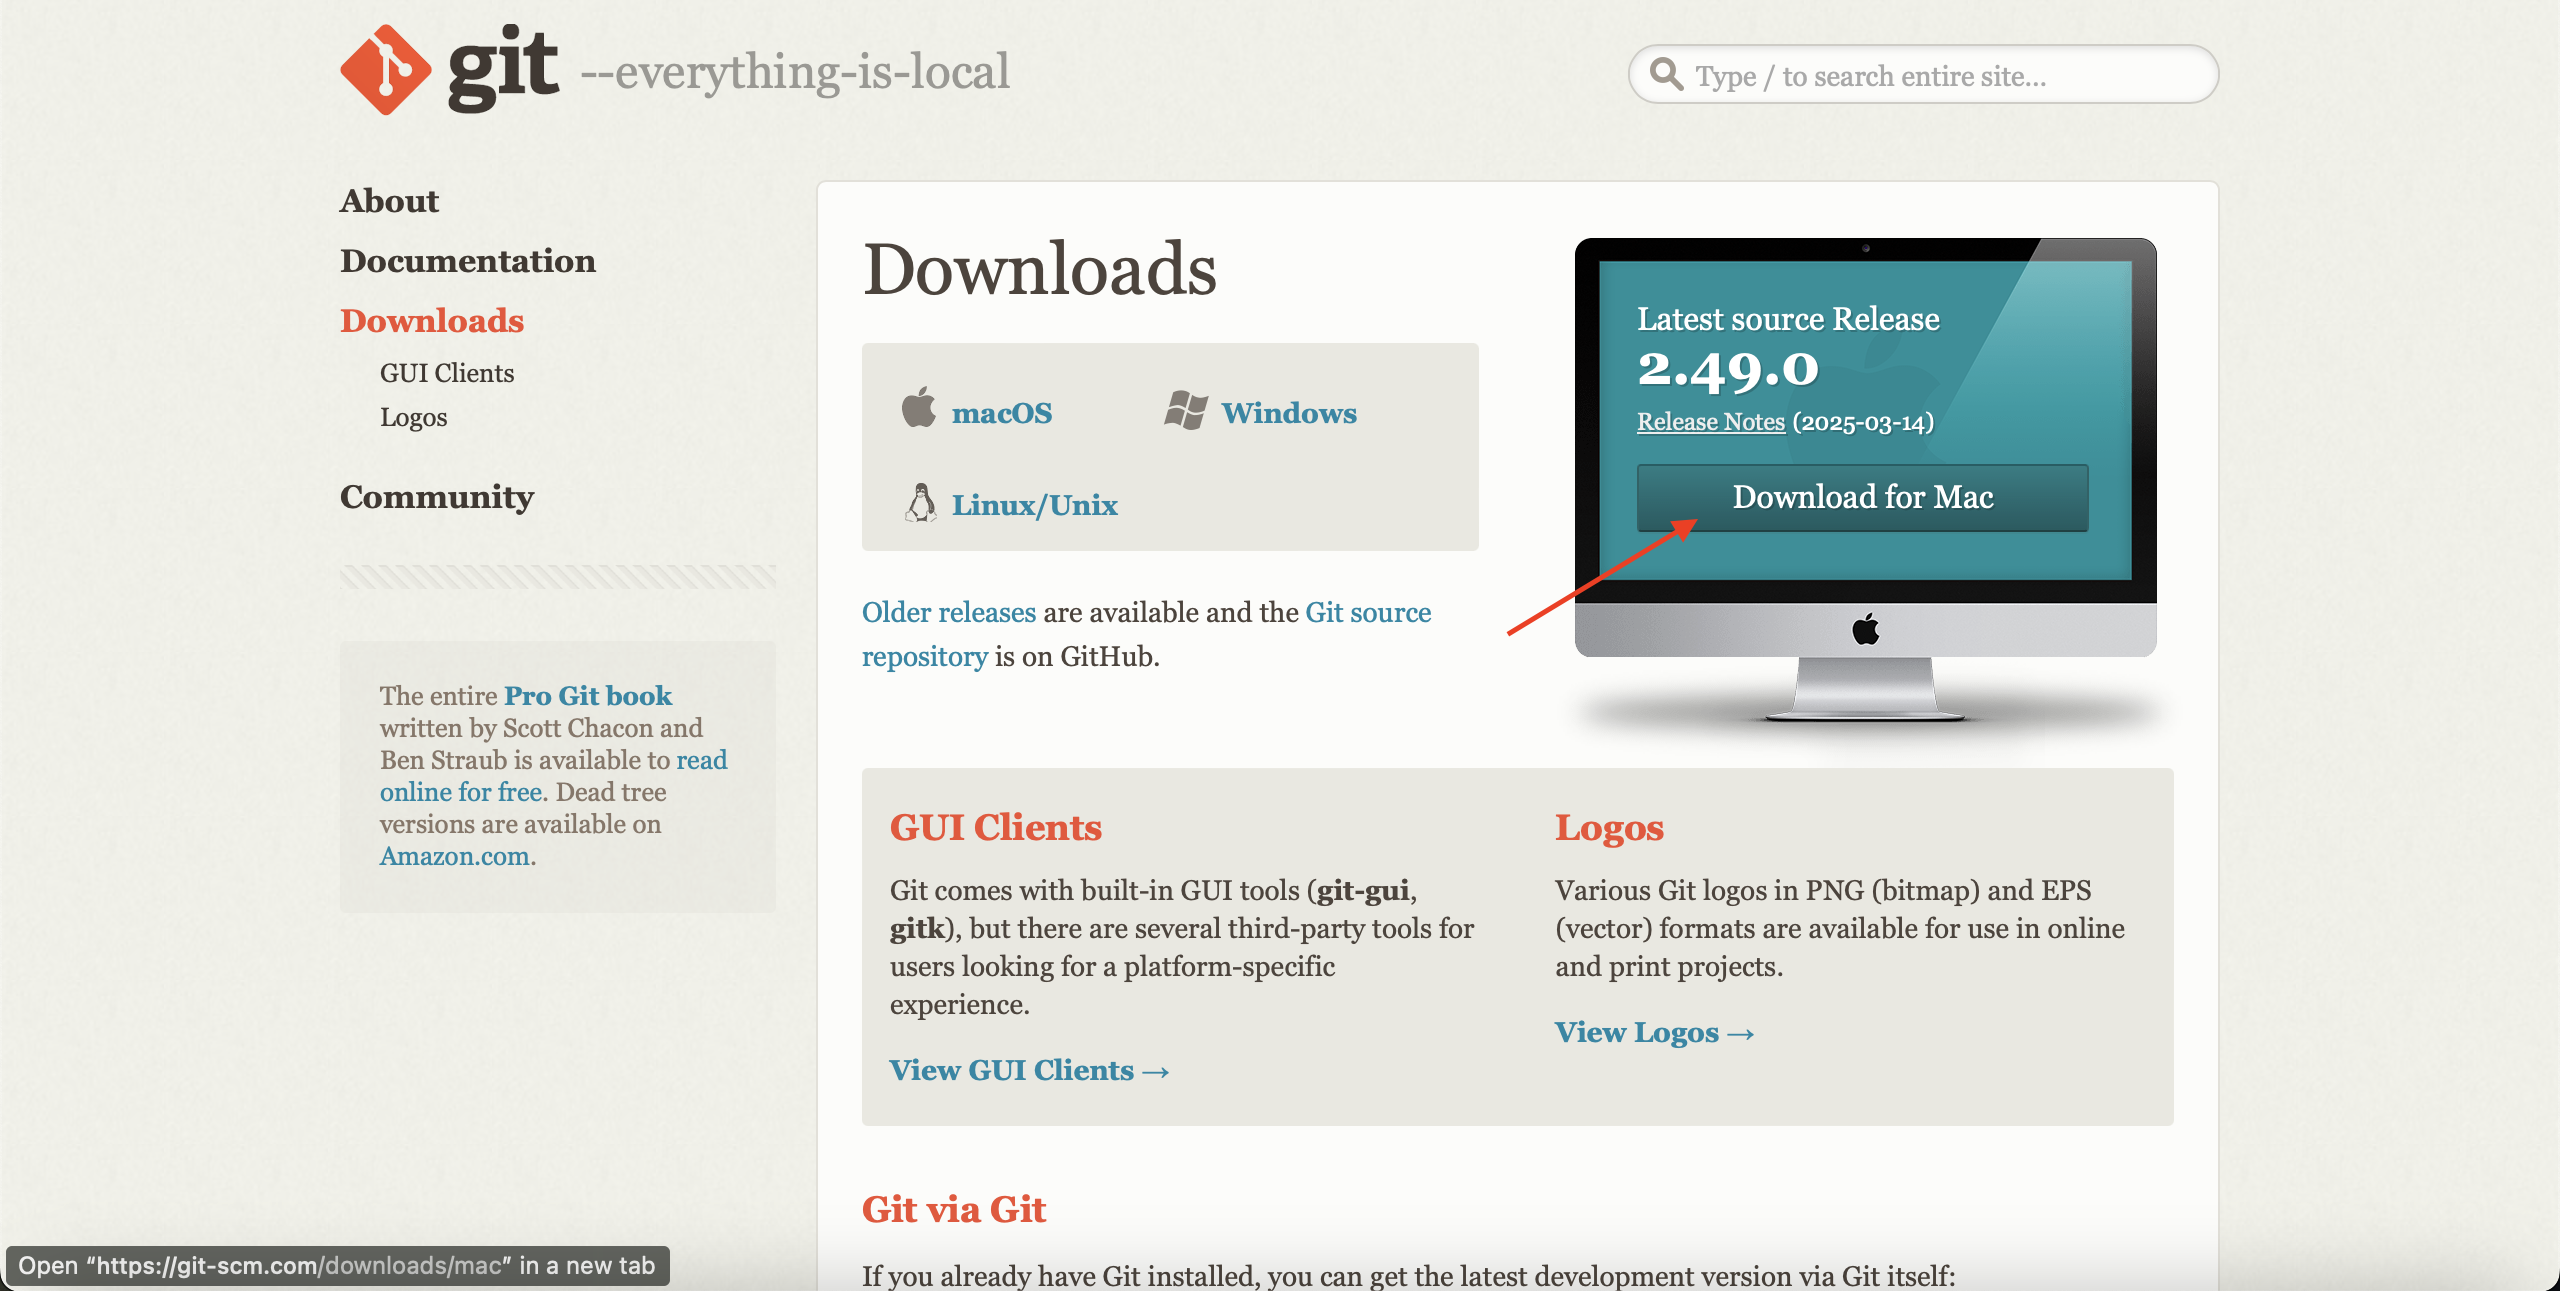
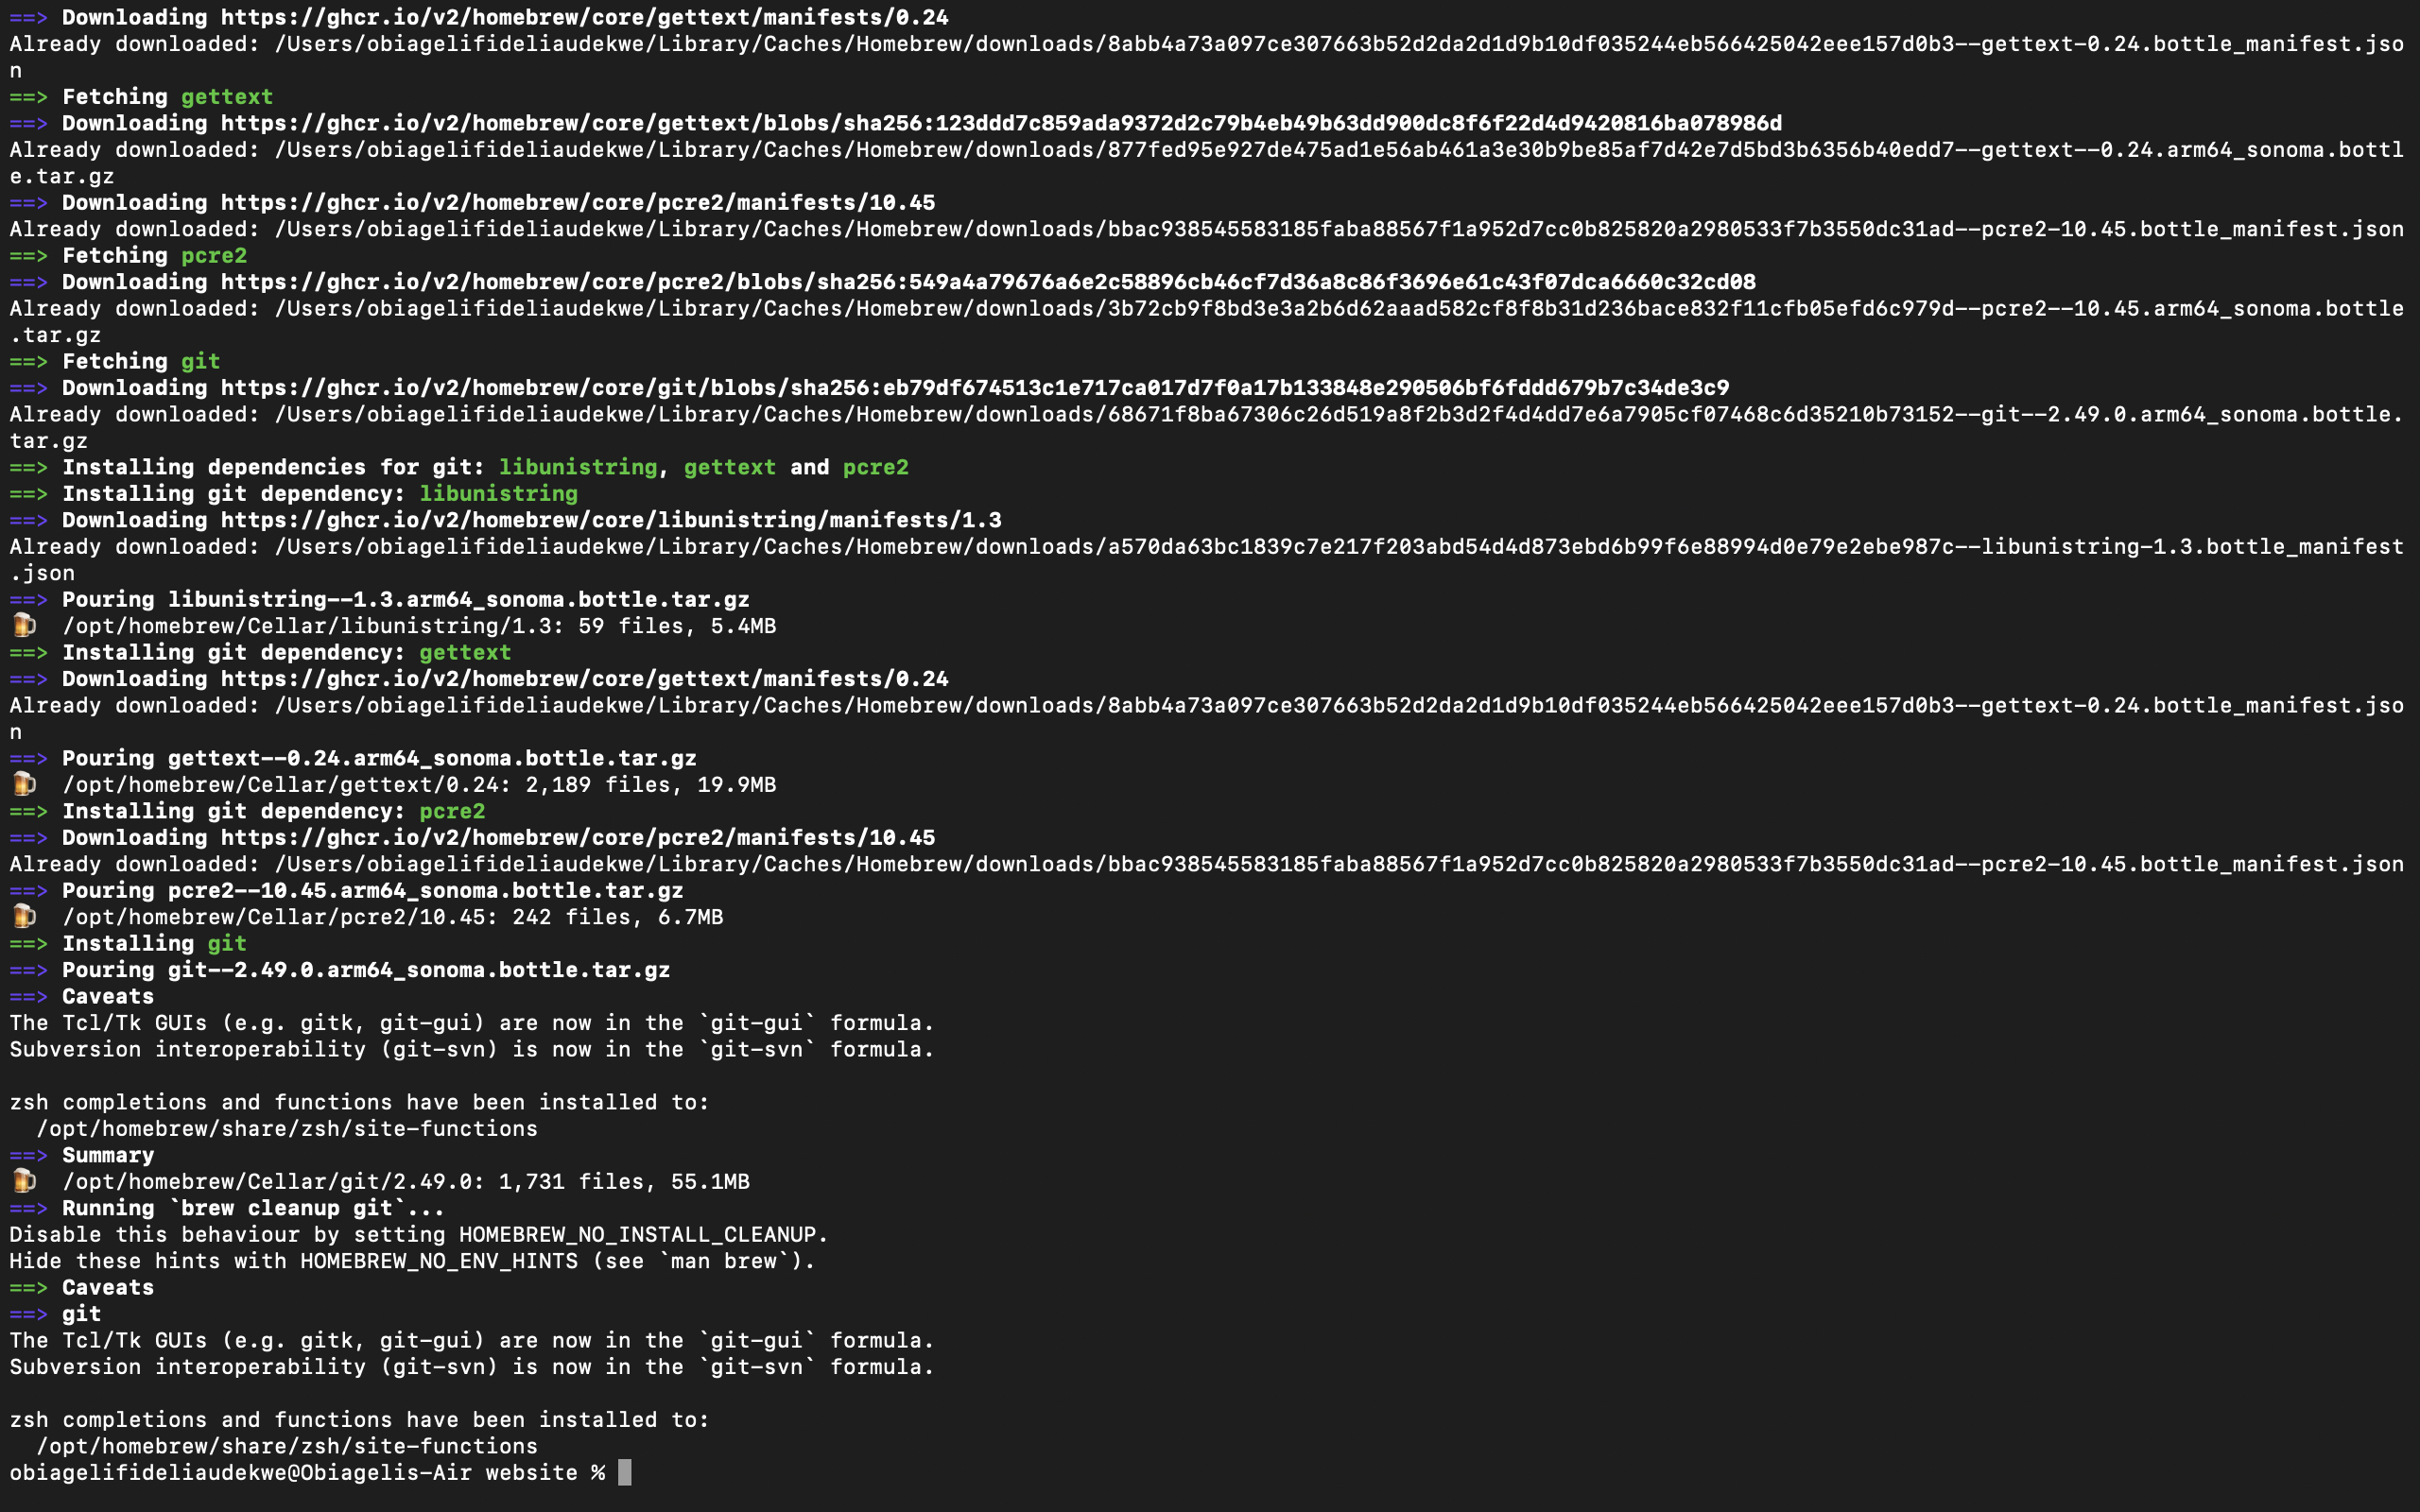
Download GIT BASH or click on the link to download https://git-scm.com/downloads.Choose your operating system version and download and then Install. If you are using macOS, after installing the git,Install homebrew if you don't already have it, then your Terminal
brew install git
Step 2
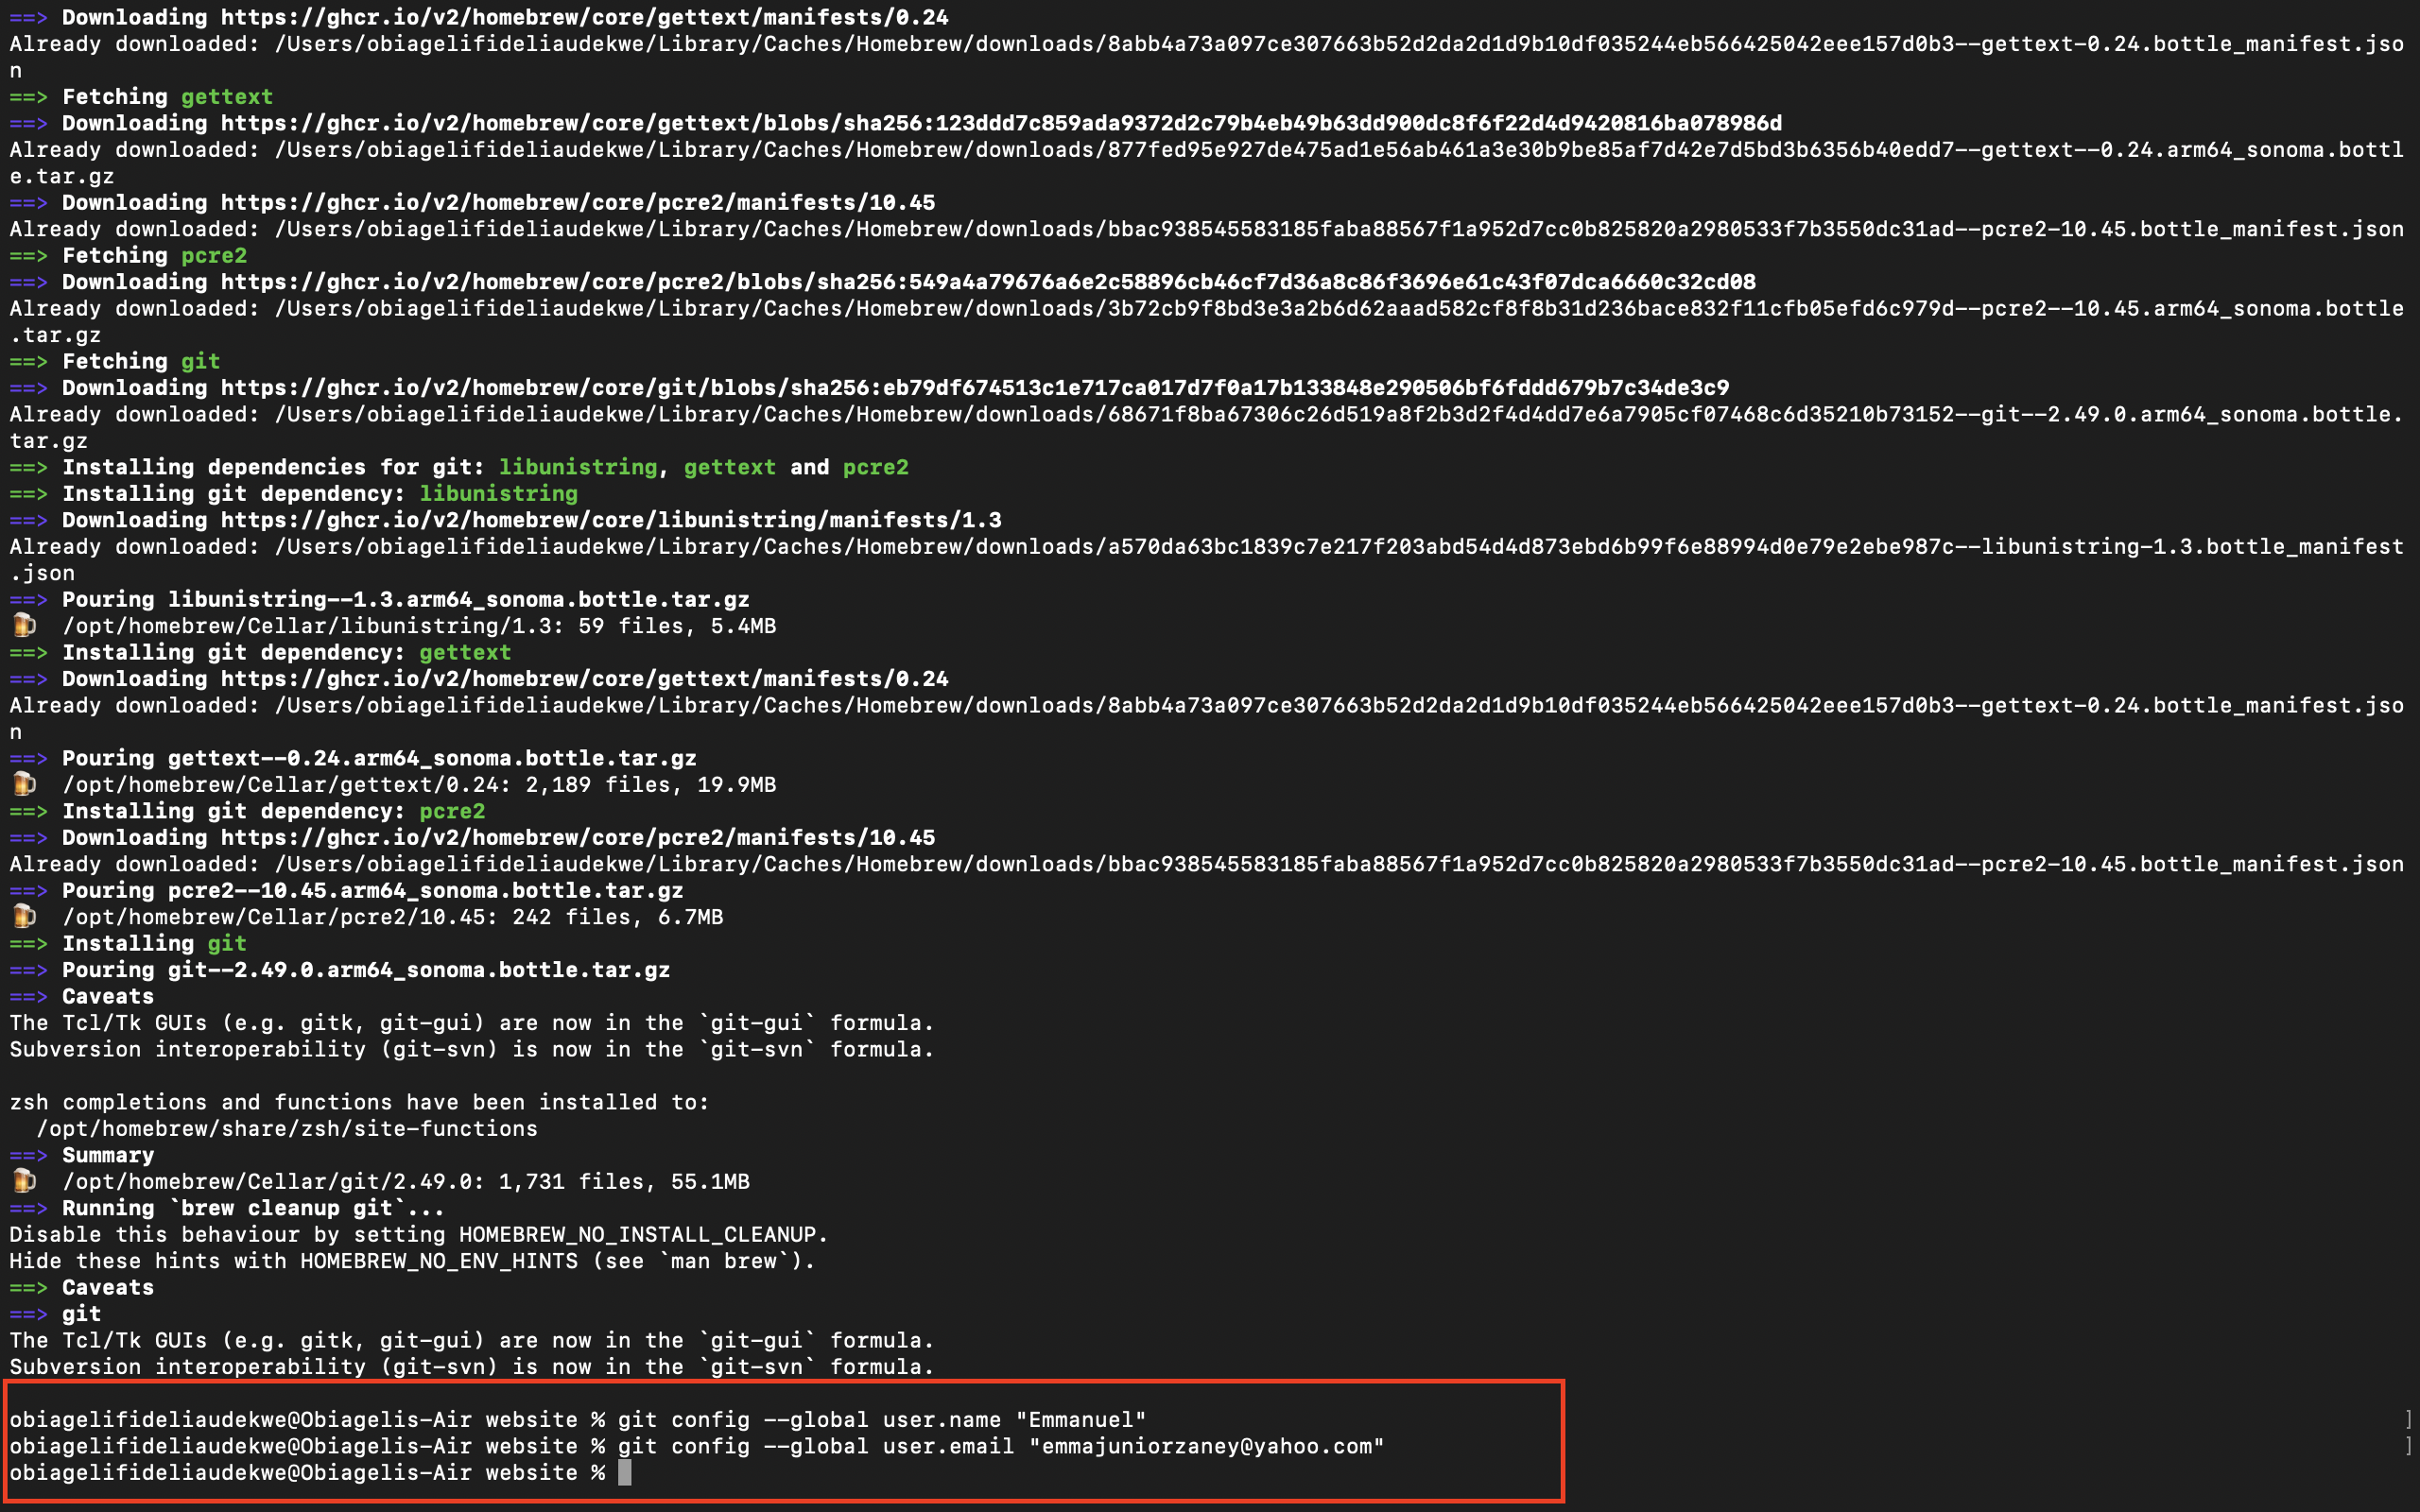
Configure Gitbash with an Identity.Create a name and an Email with the following commands
git config --global user.name "name"
git config --global user.email "email"
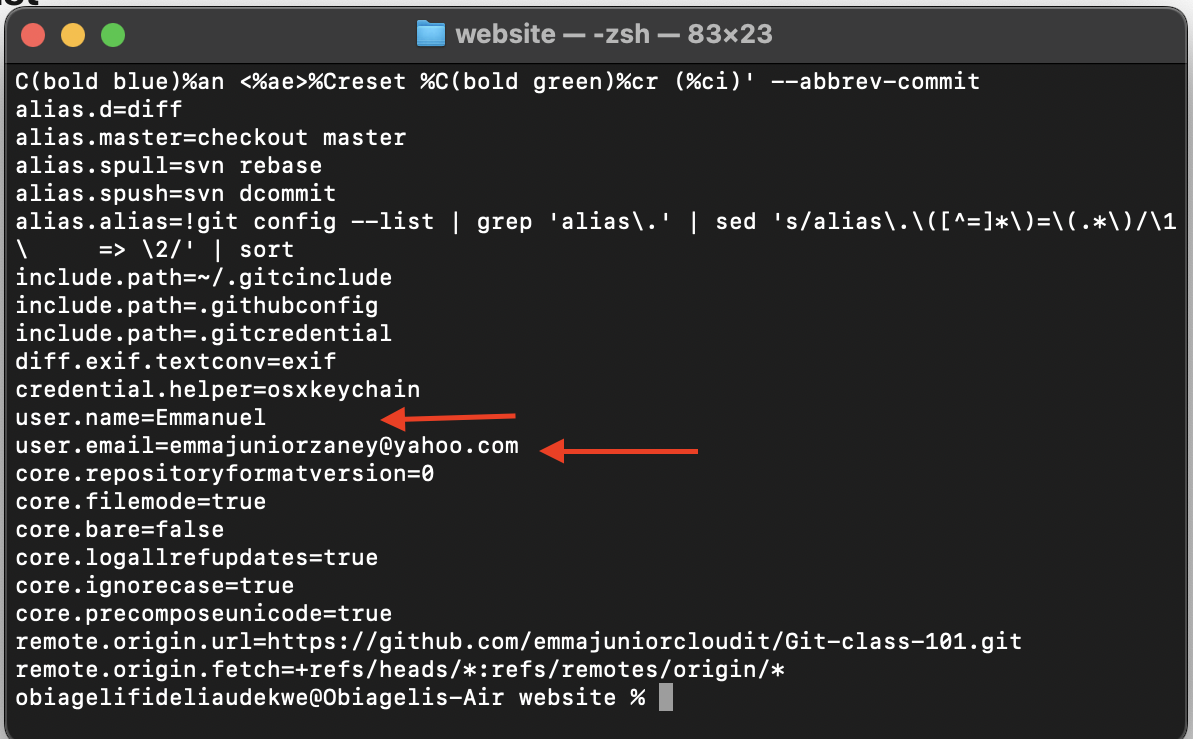
.Use this command git config --list to confirm the configuration is successful.
Step 3
To Configure our work environment to work with it.
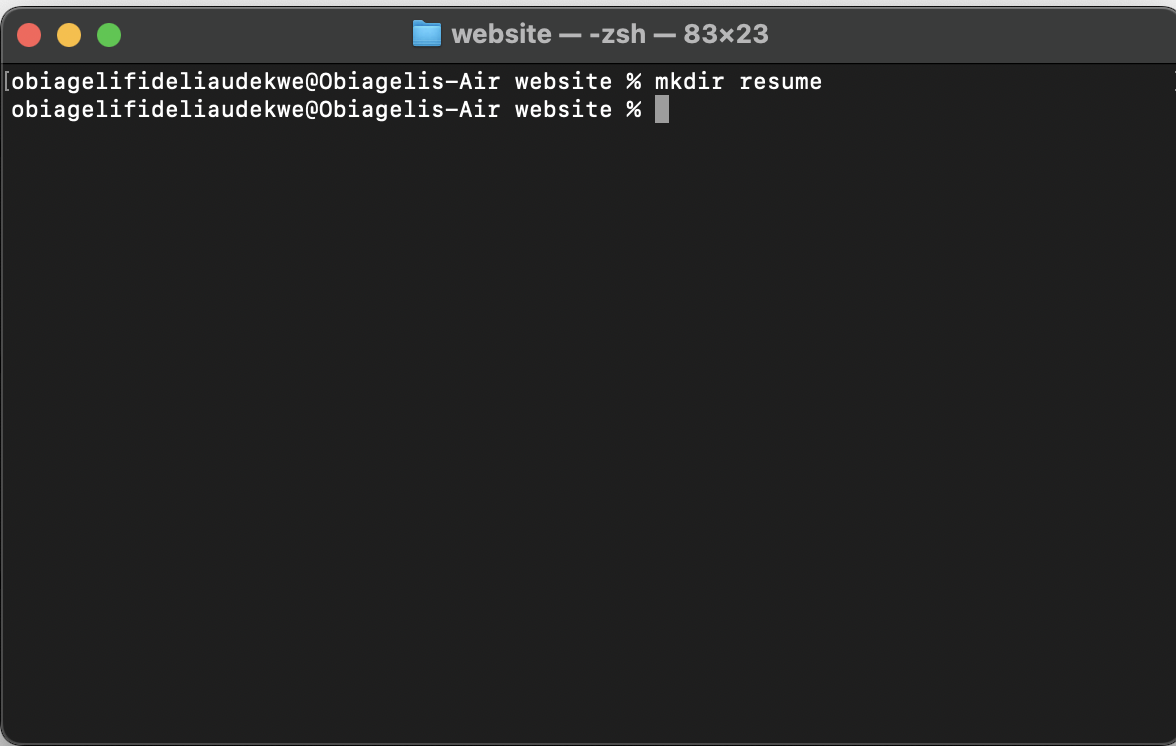
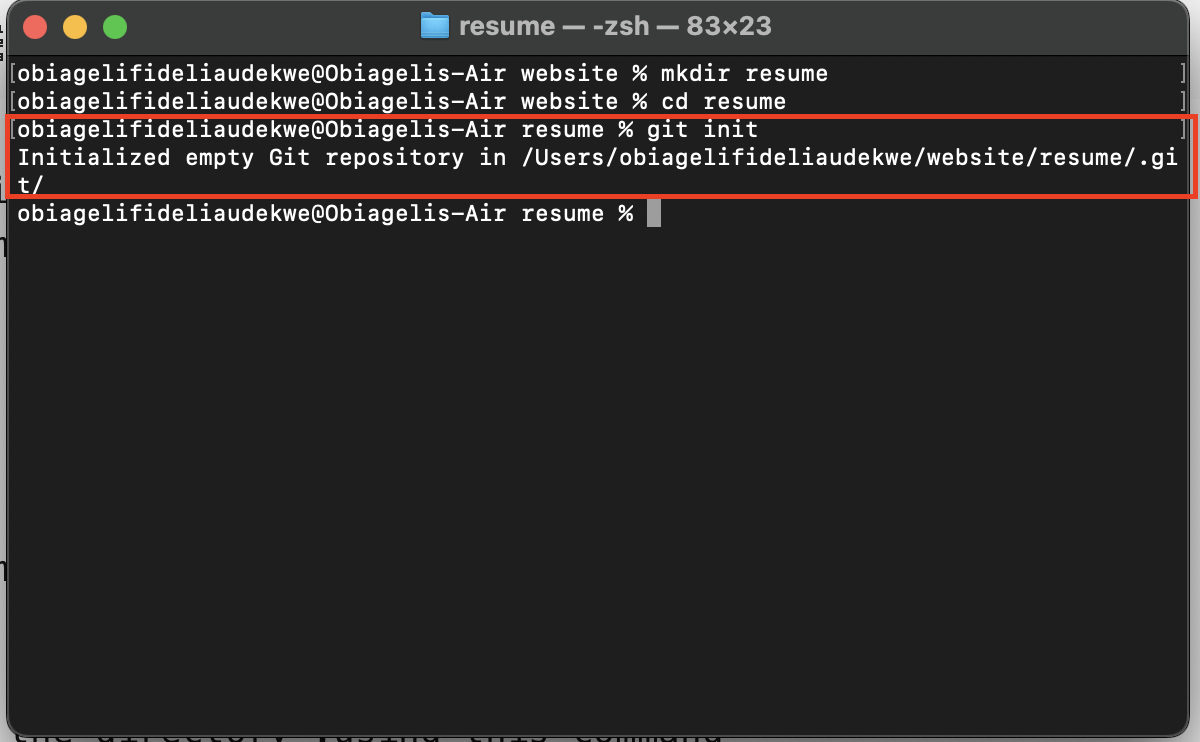
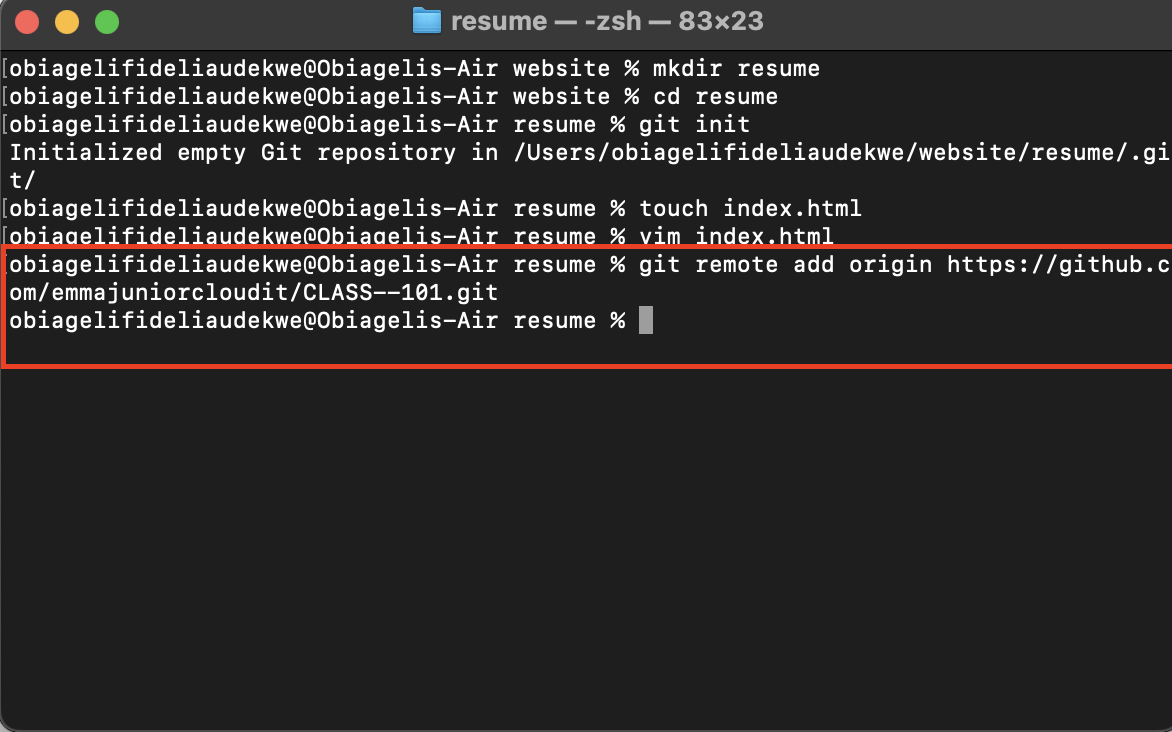
a.First thing to do, is to create a directory (a place to keep all similar items together
).
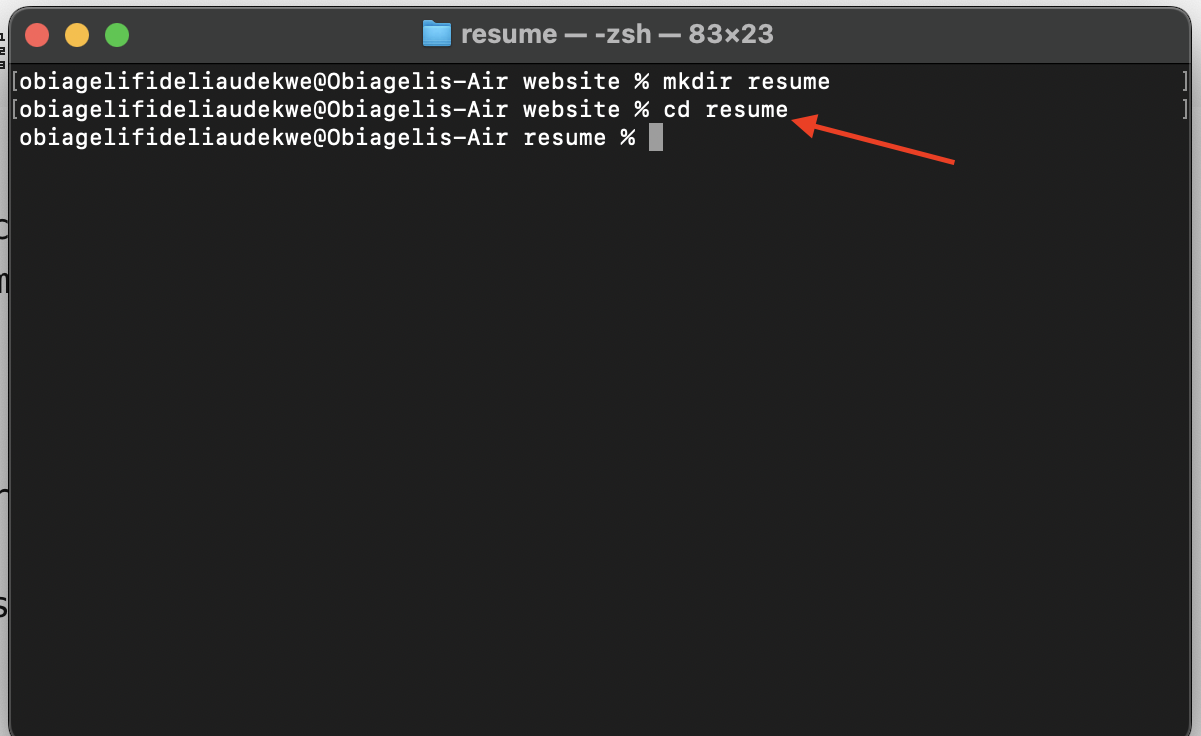
b.Enter into the resume by using CD command.
c.Initialise the directory.I
It is at this point, the resume is converted into a local repository.using this command below to initialise the directory.
git init
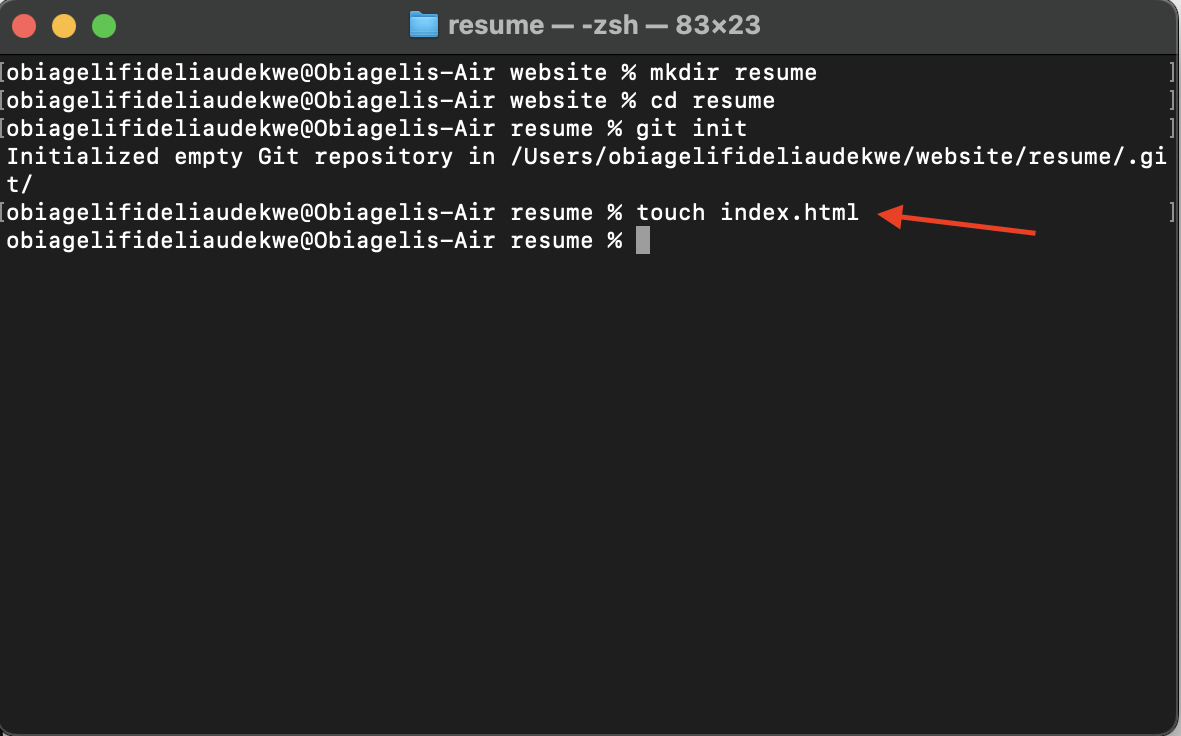
d. Create an empty document (text file) using touch index command.touch index.html
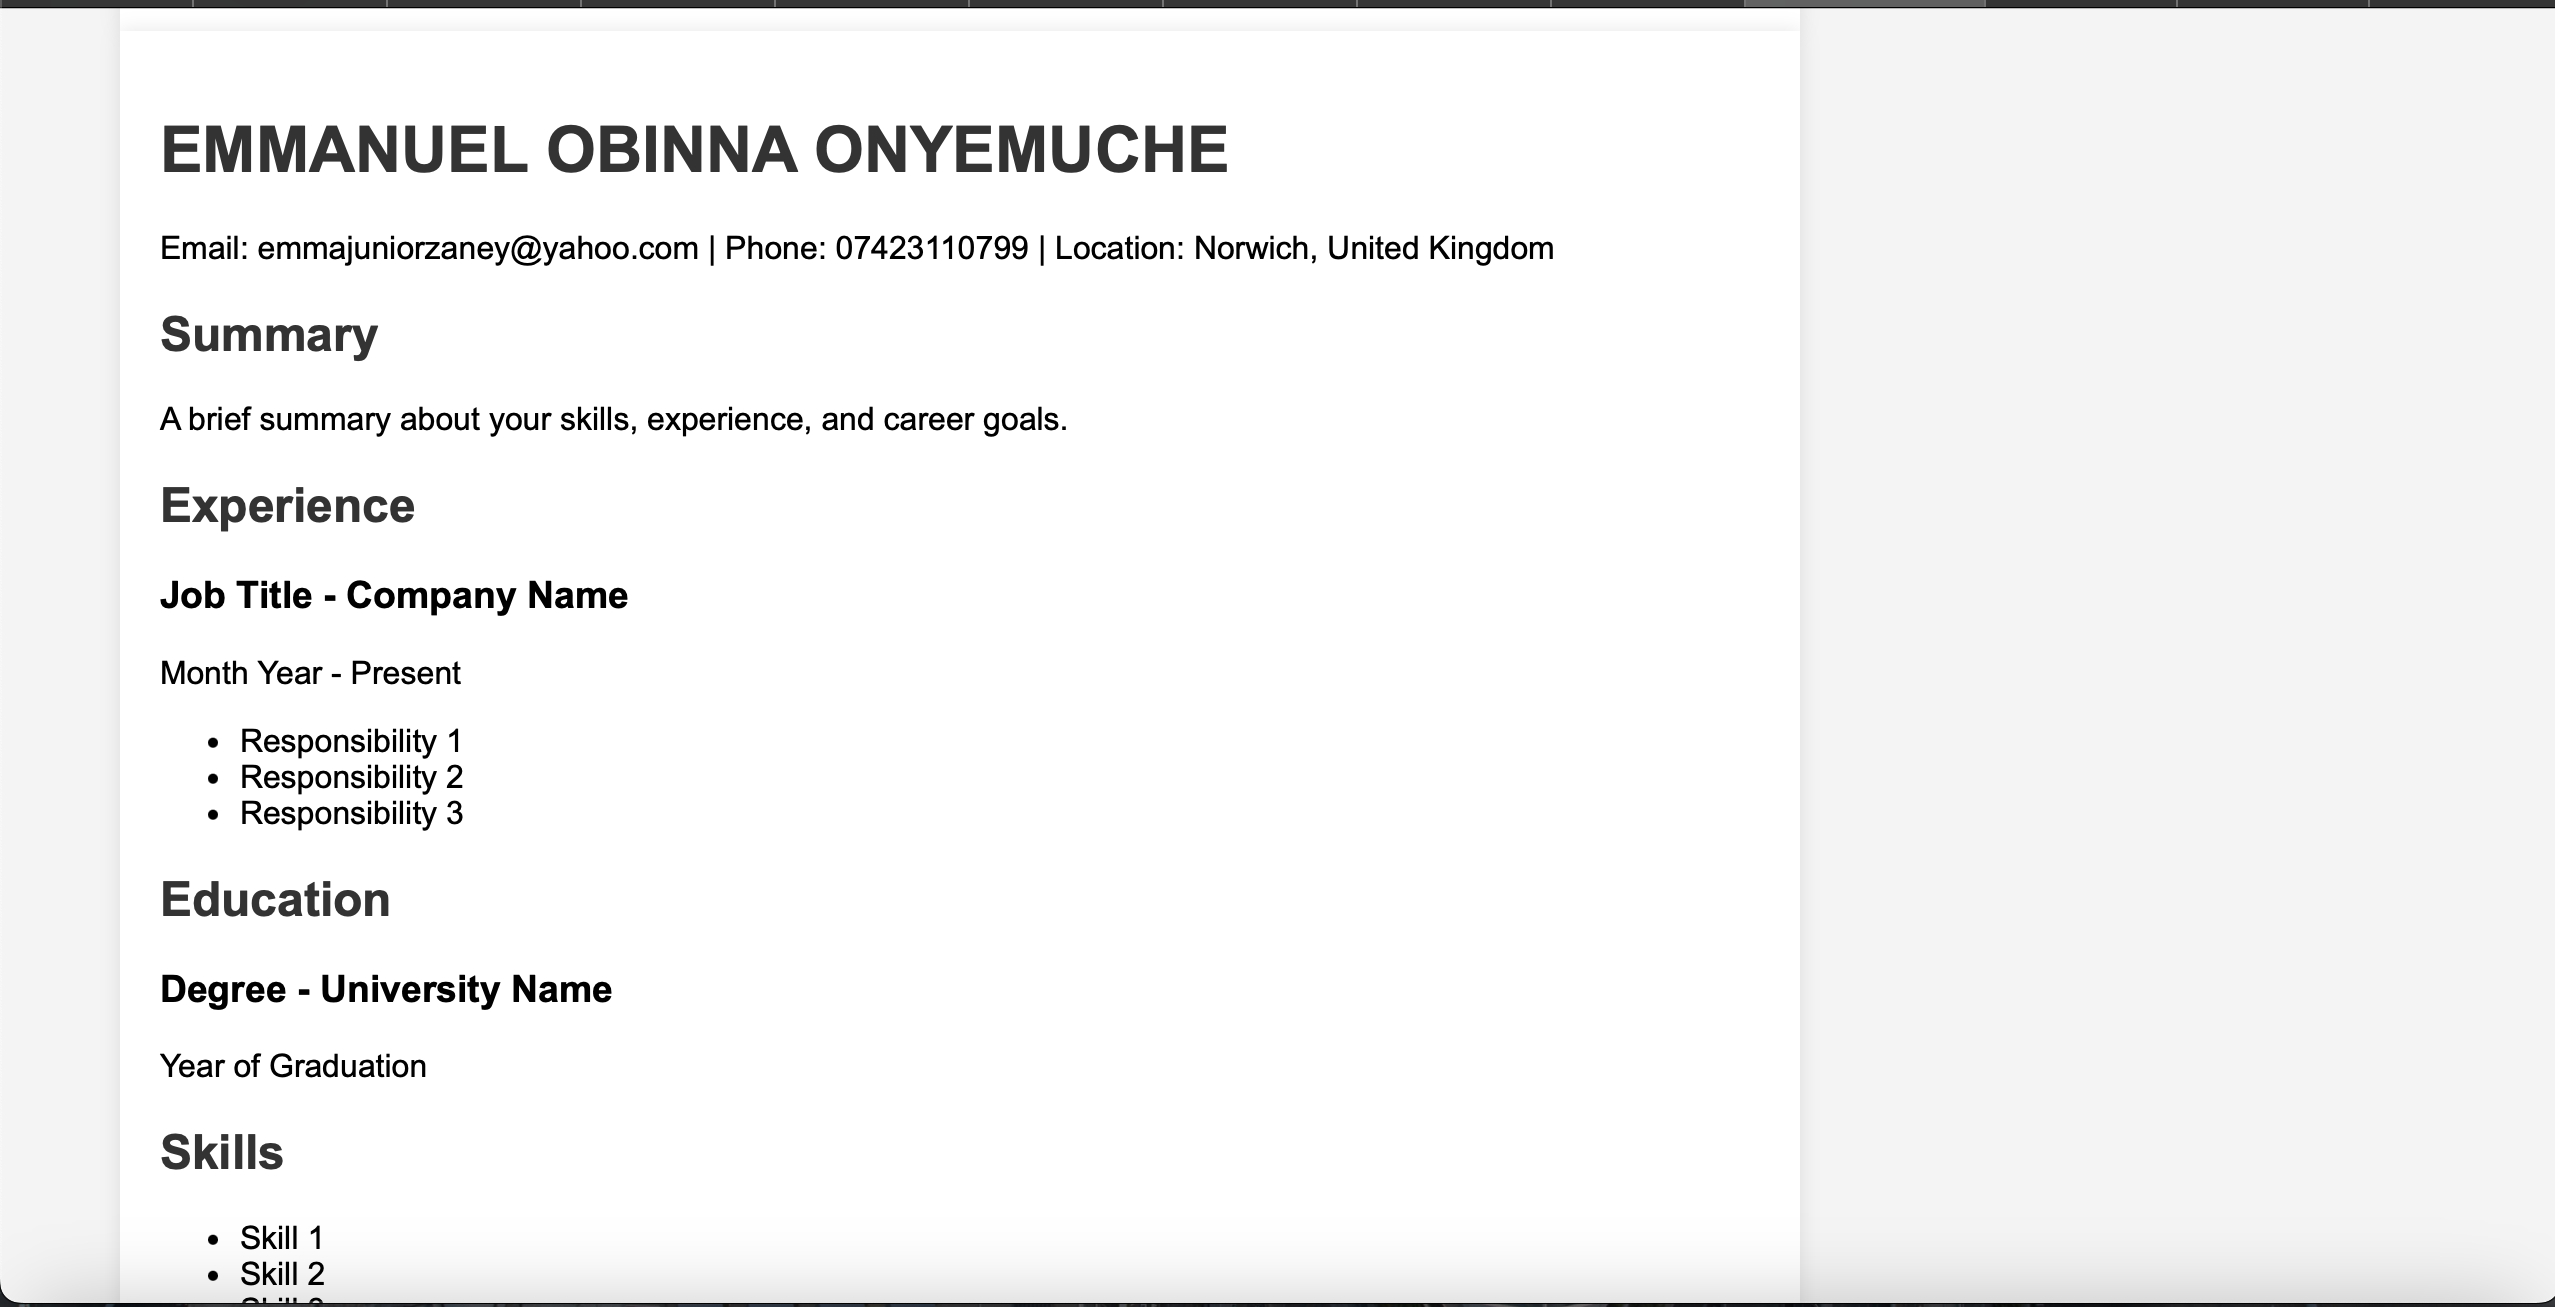
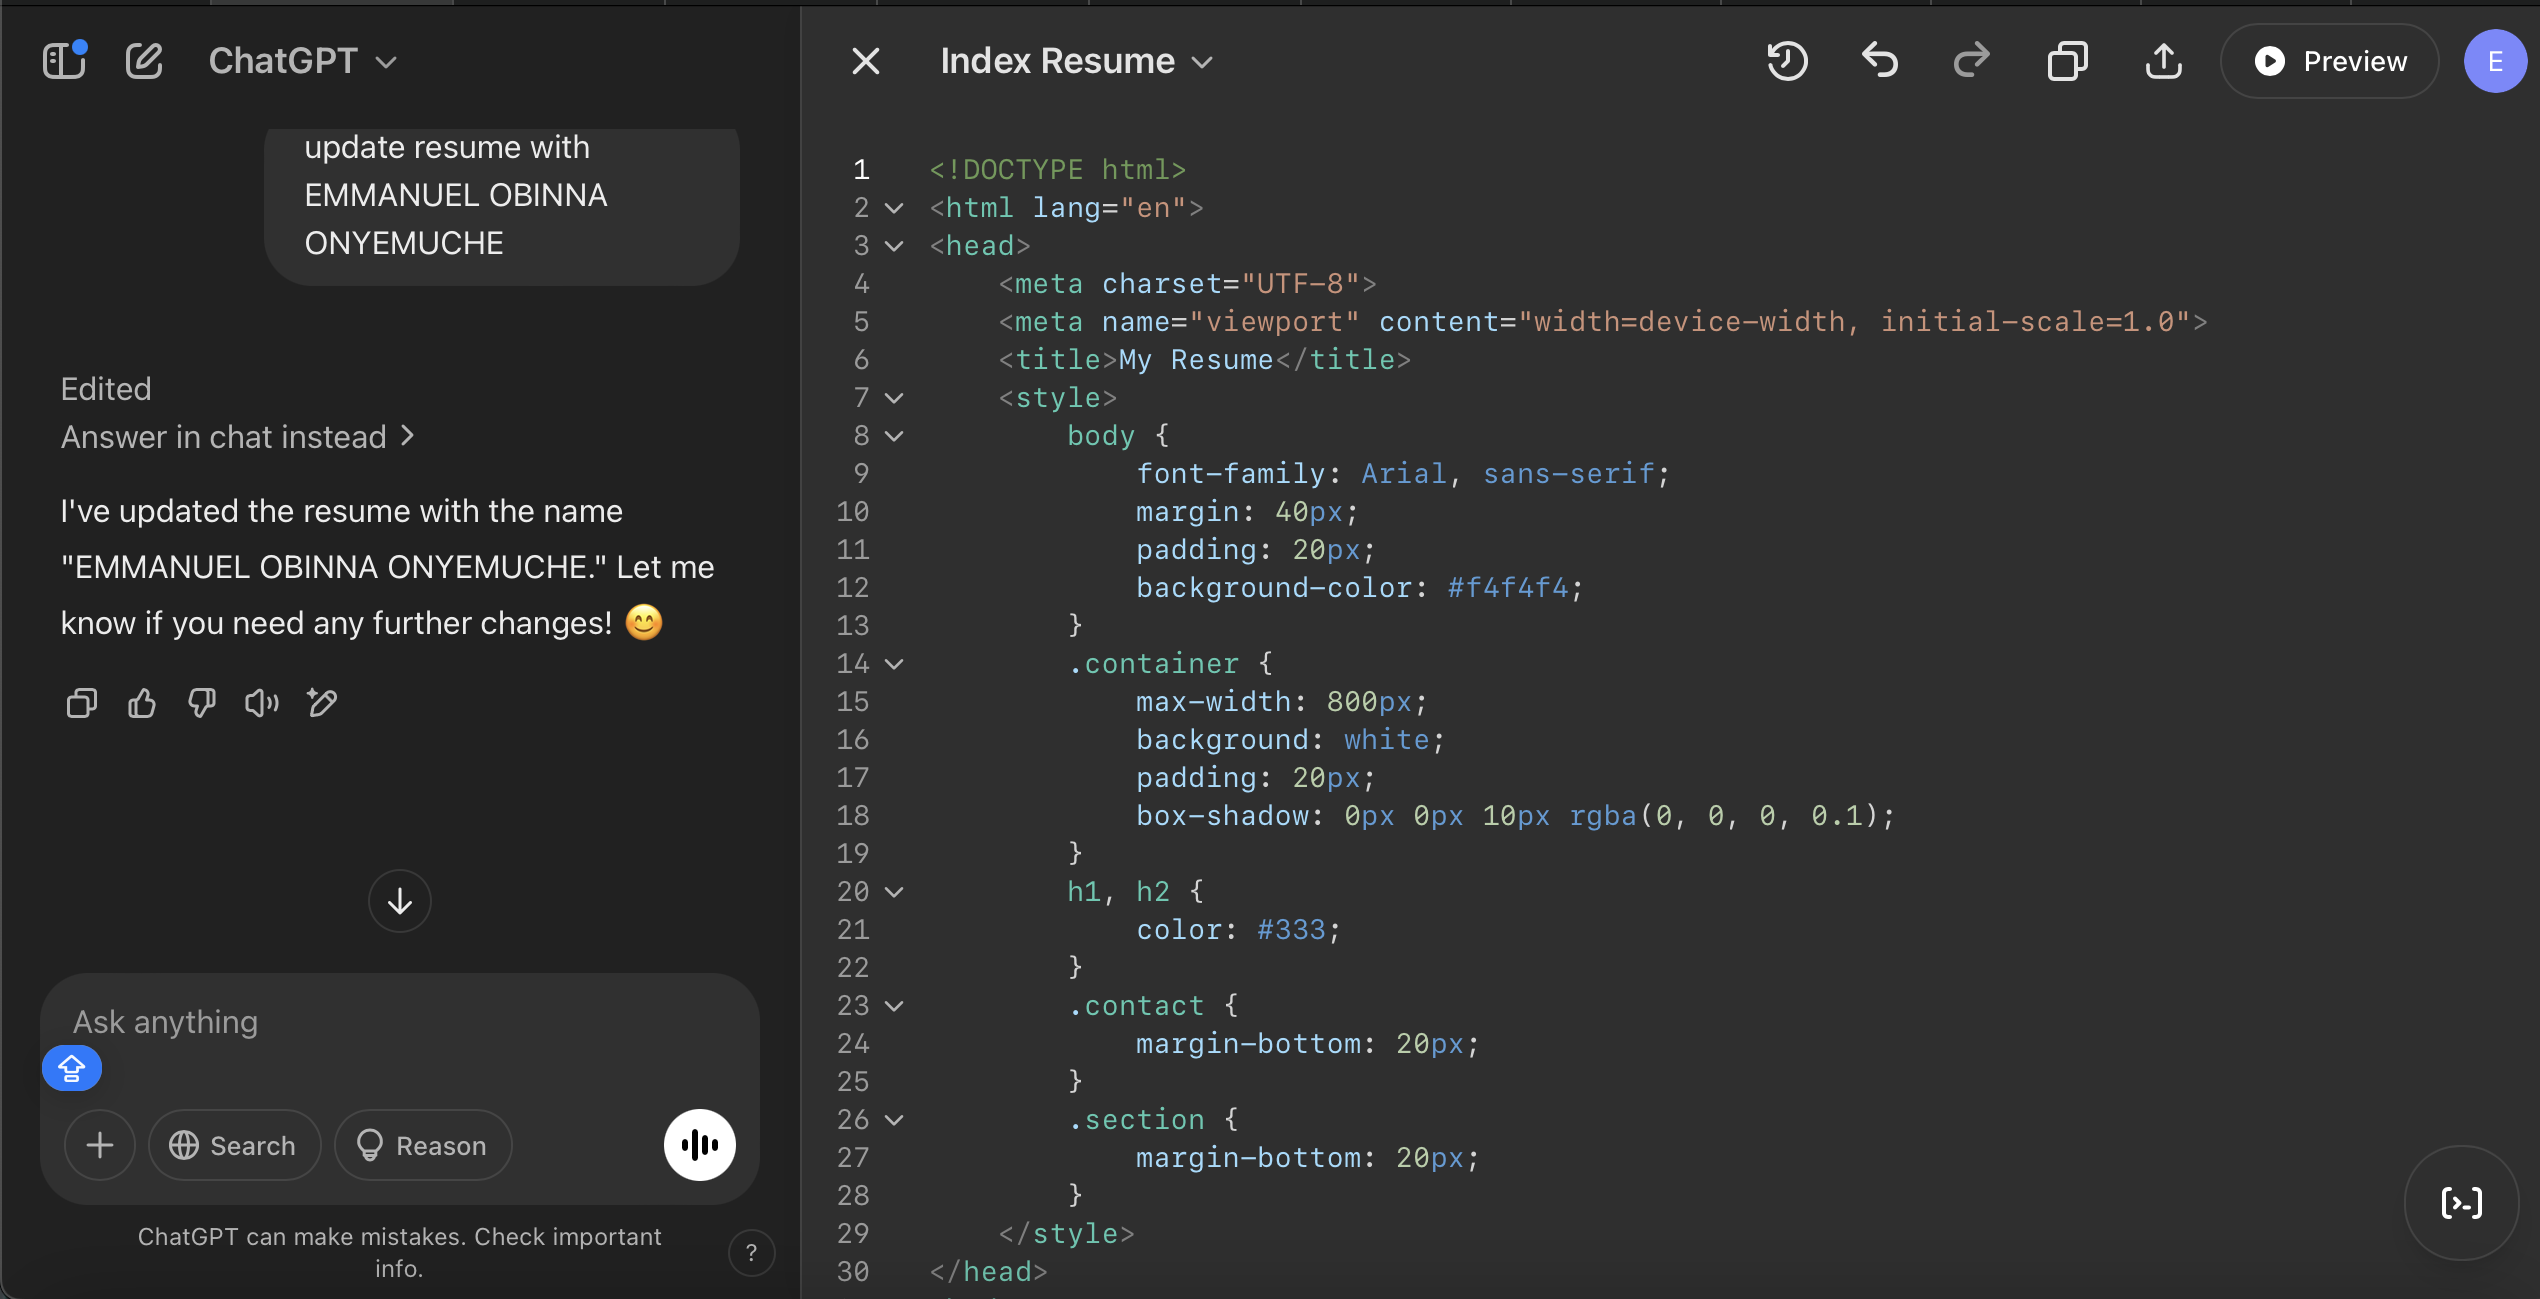
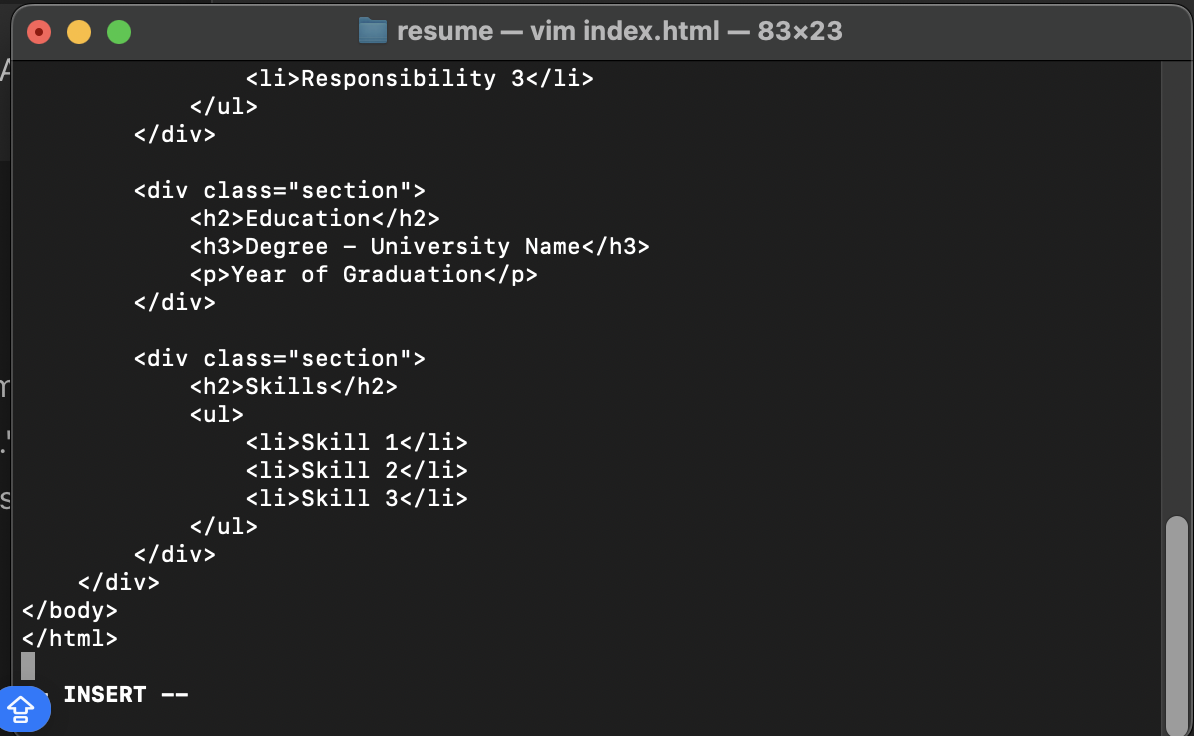
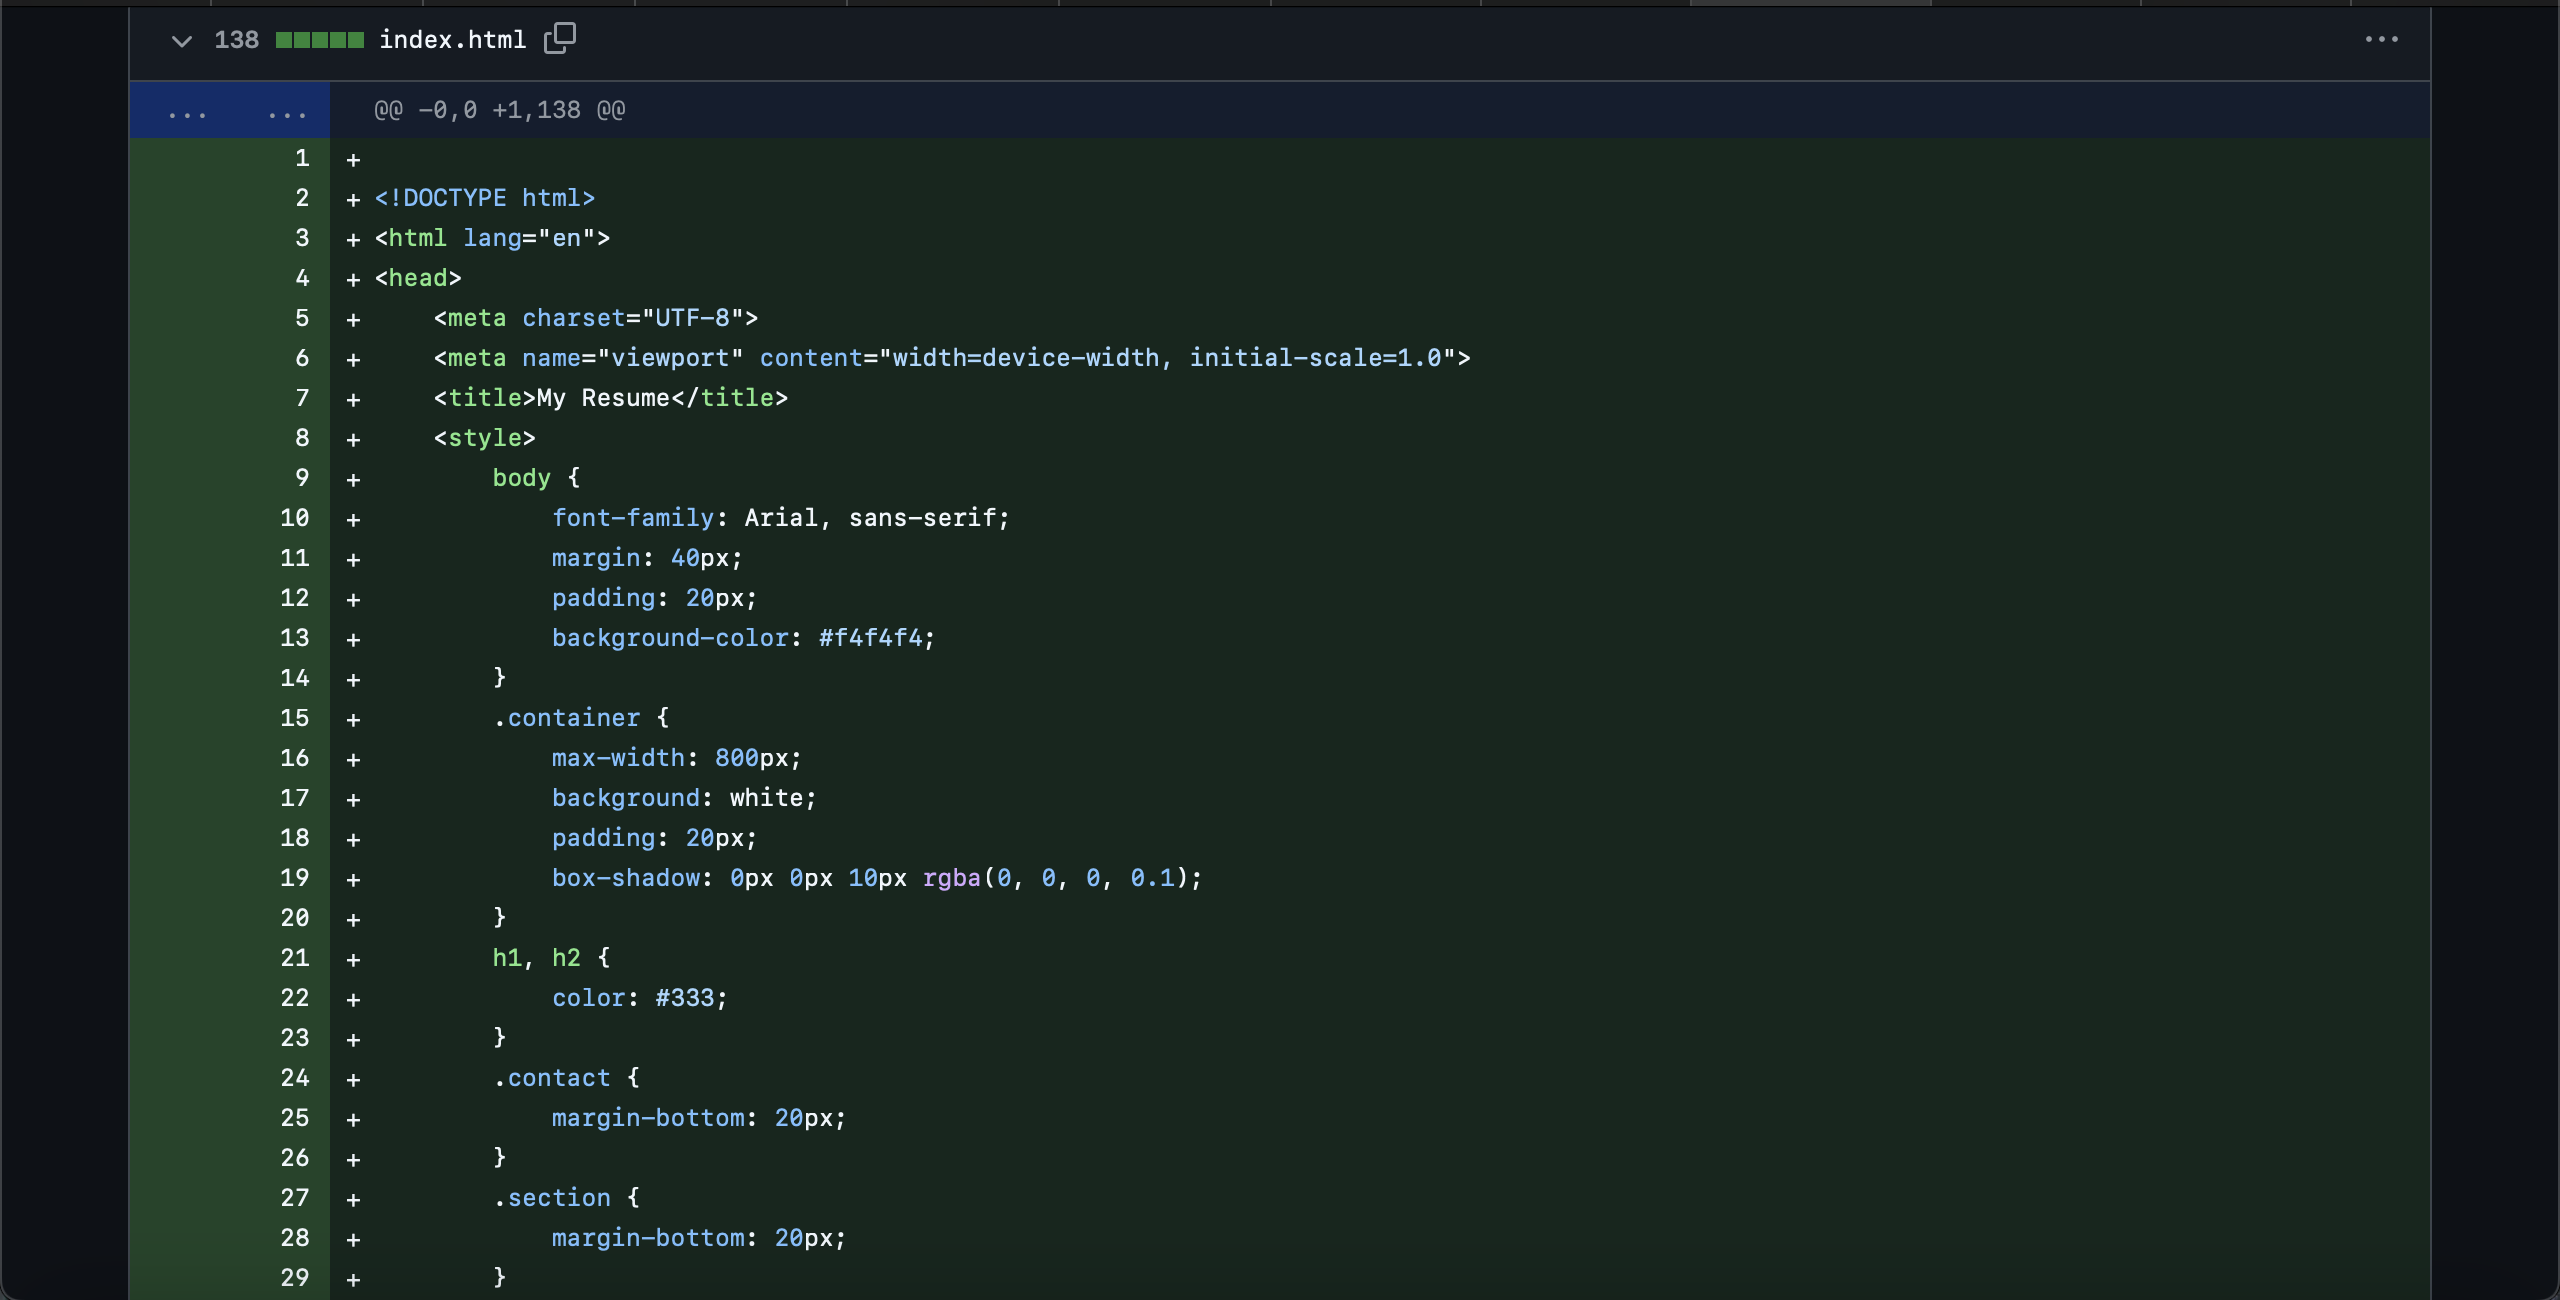
e.Open the index.html file for editing using **vim index.html **command. To edit we need to be in INSERT mode by pressing I on the keyboard and hitting Enter.Then we head to ChatGPT and search sample index.html resume to generate some codes.After we type UPDATE RESUME WITH FULL NAME. After making all the necessary changes you copy the html and paste.To save the file we press Escape Button, Shift and Column after that command we press WQ.

Step 4
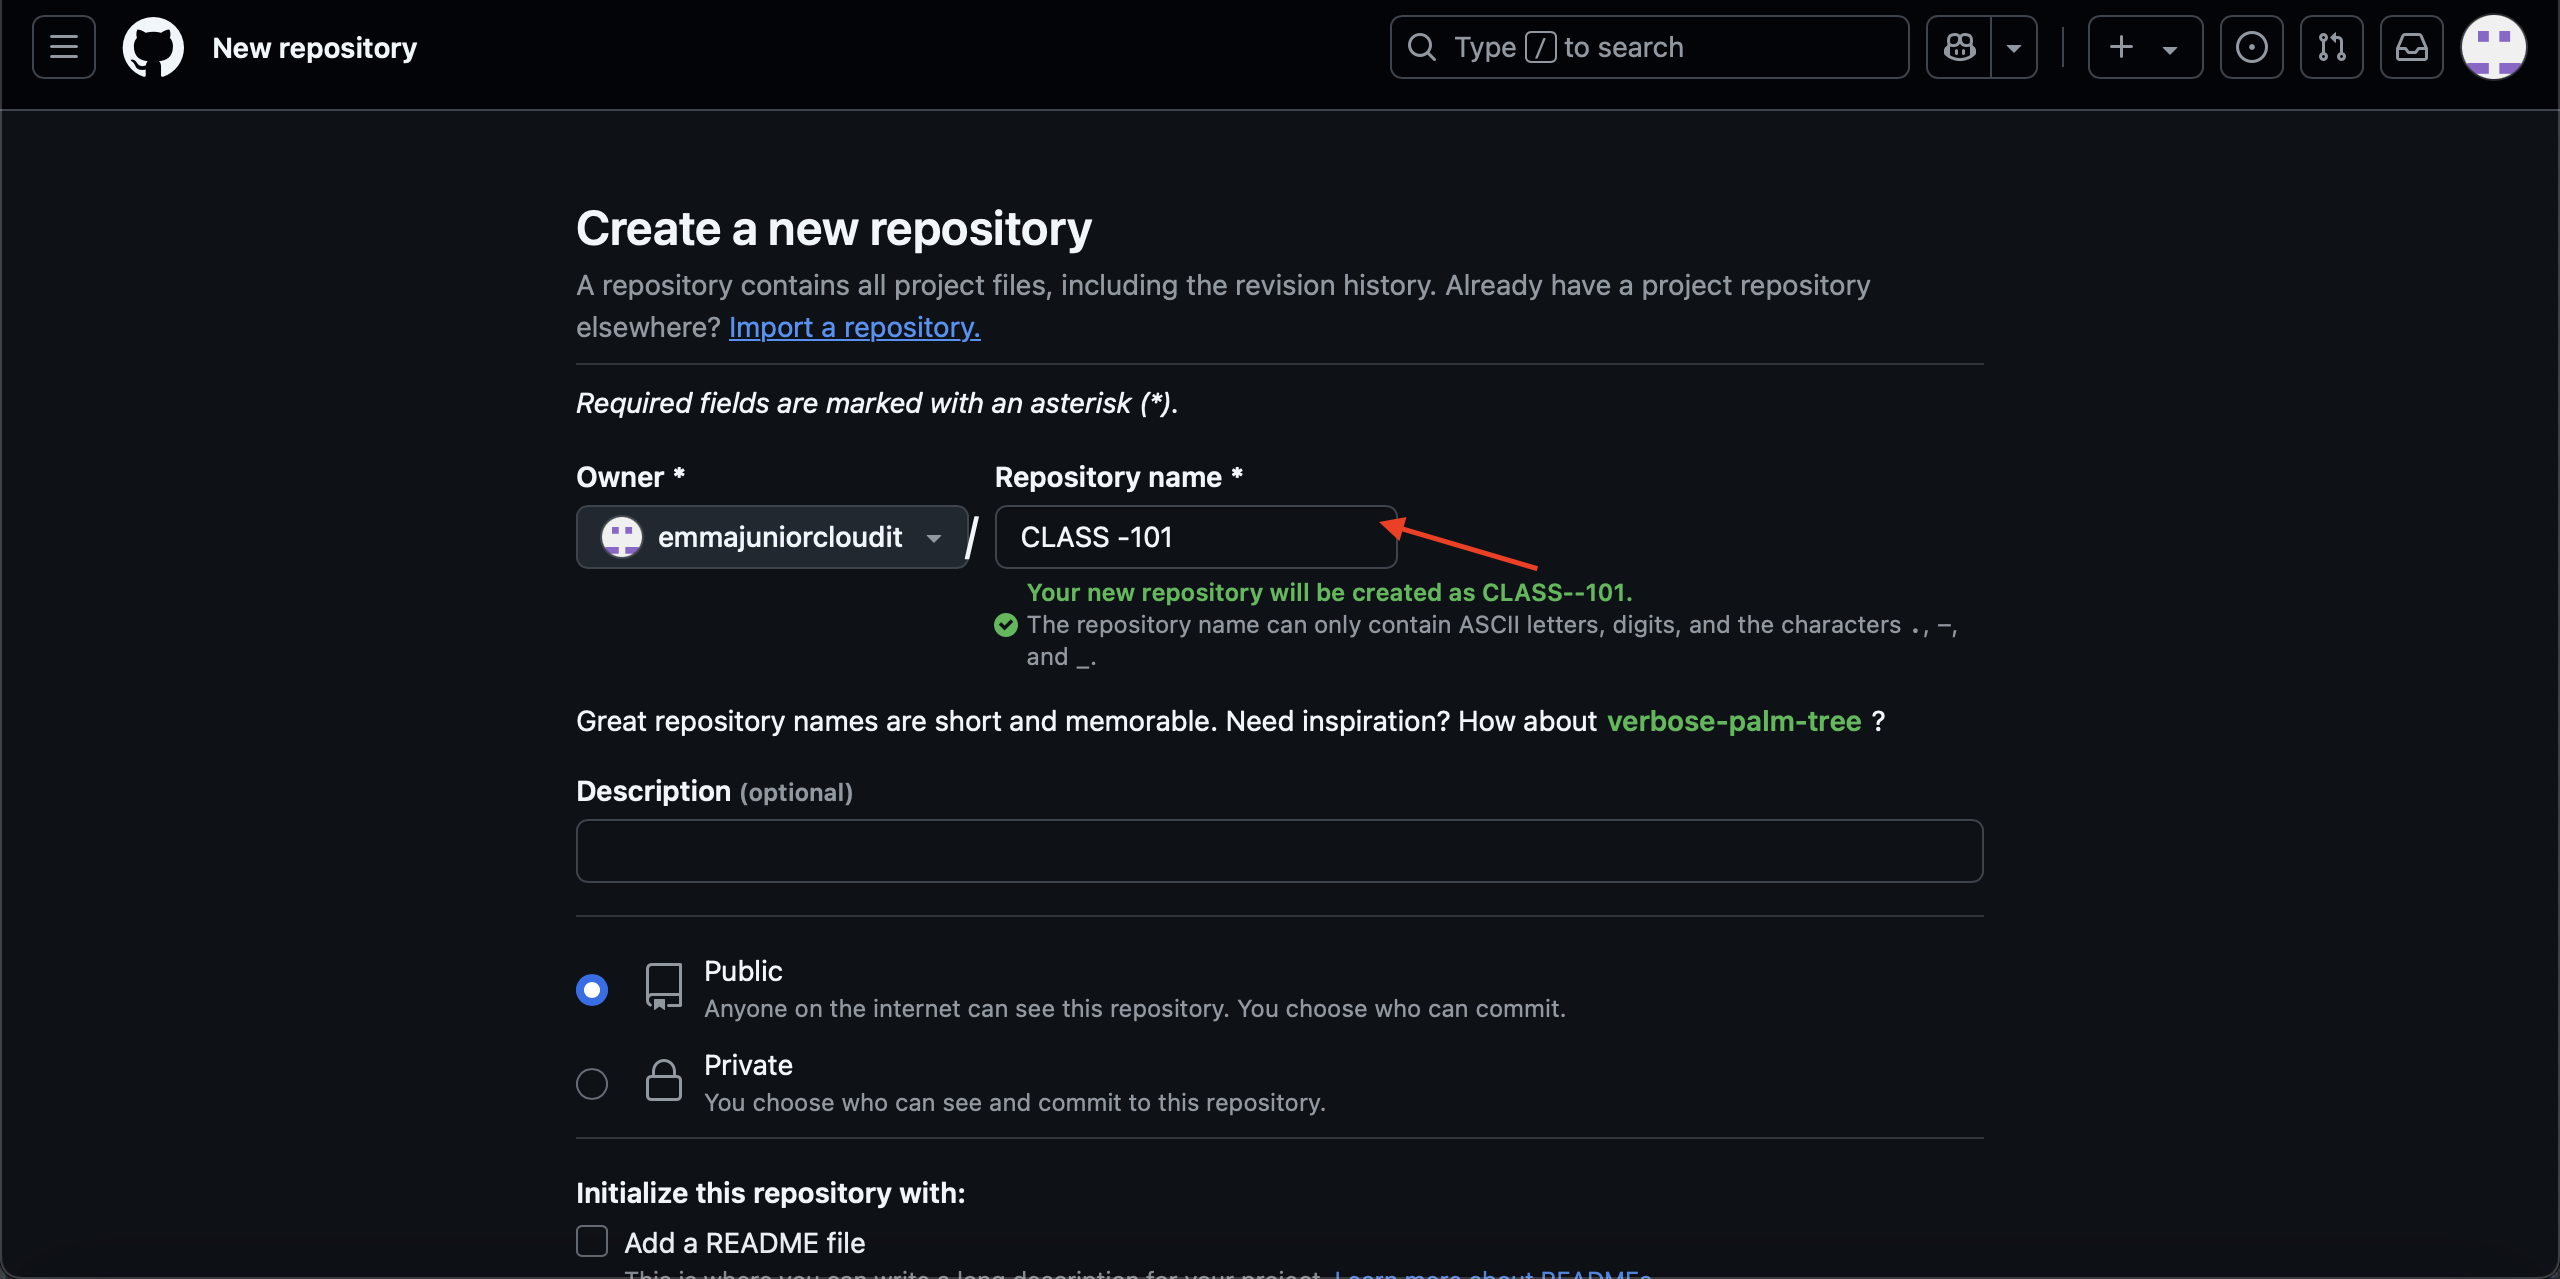
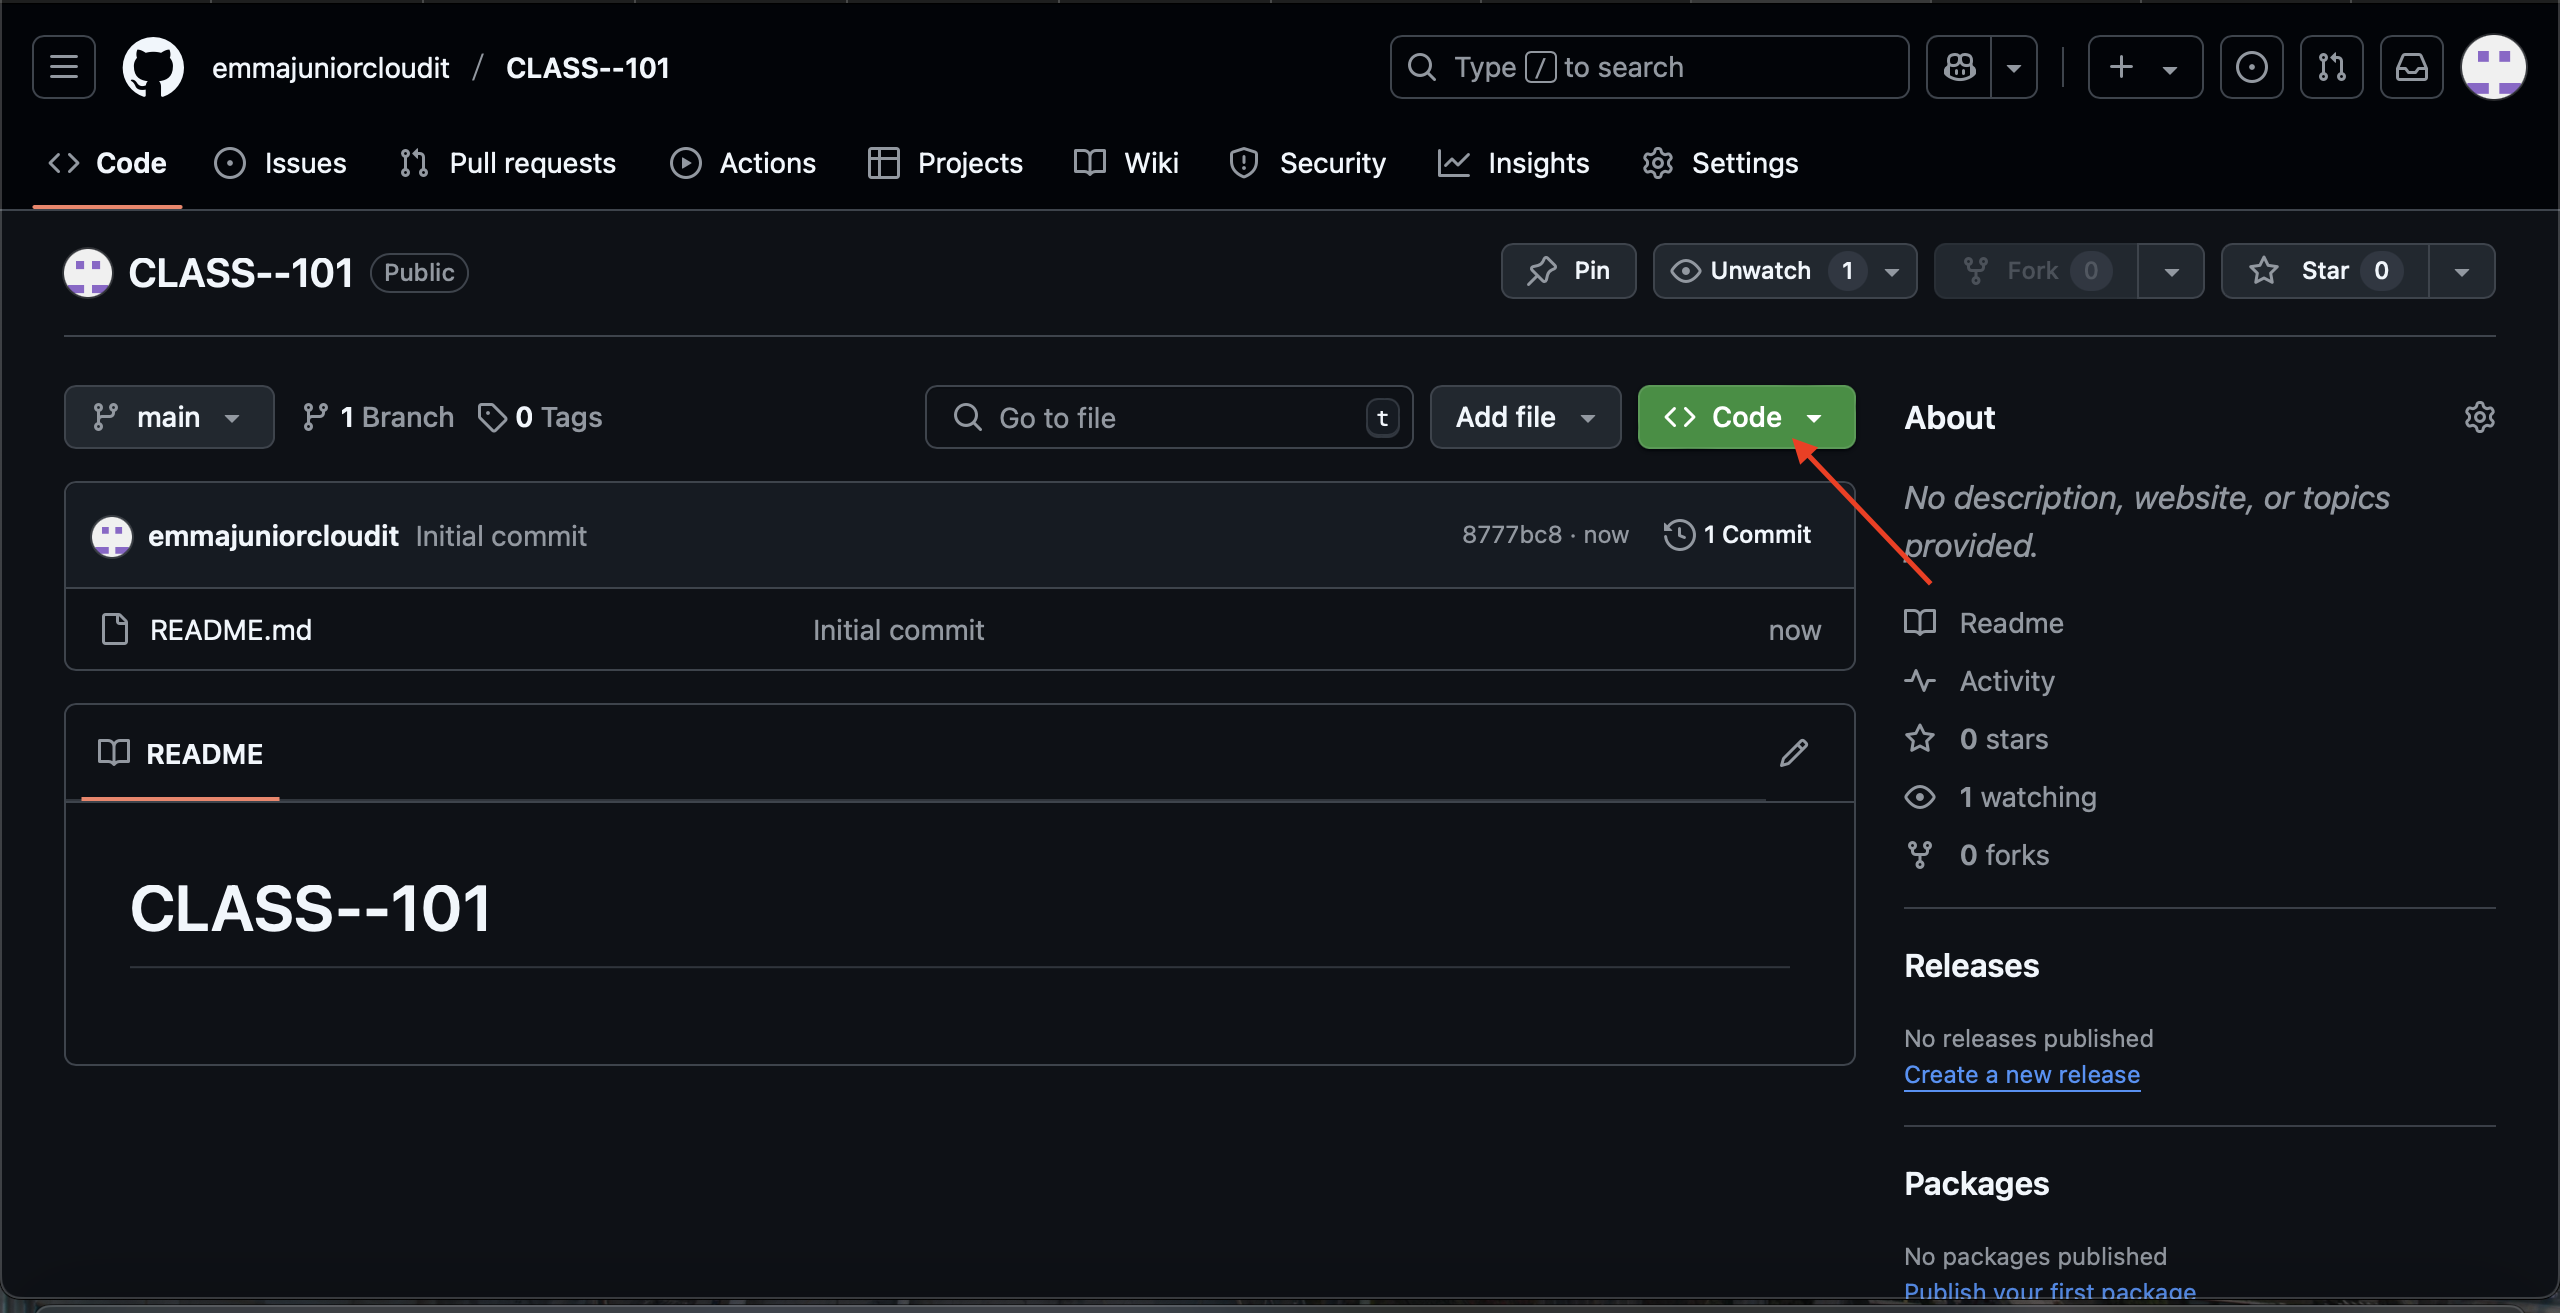
To clone our Github repository, sign in into your GITHUB account click the plus symbol on the top right, then click on new repository, after that on the next page give the repository a name option ADD A README FILE click on it then go ahead to create a REPOSITORY. After succesfully creating a REPO the next page click on the top green option that show code. We are going to copy the URL.To clone the REPO we created above, to do this we use the command git remote add origin (REPO URL).


Step 5
To bring text file we created to the staging area we use a command:GIT ADD INDEX.HTML to prove that the file has been added we are going to use the **GIT STATUS **command to verify.

Step 6
To allow git to take a snapshot and push to git hub we use the command: git commit -m "commit message" the m there means message.

Step 7
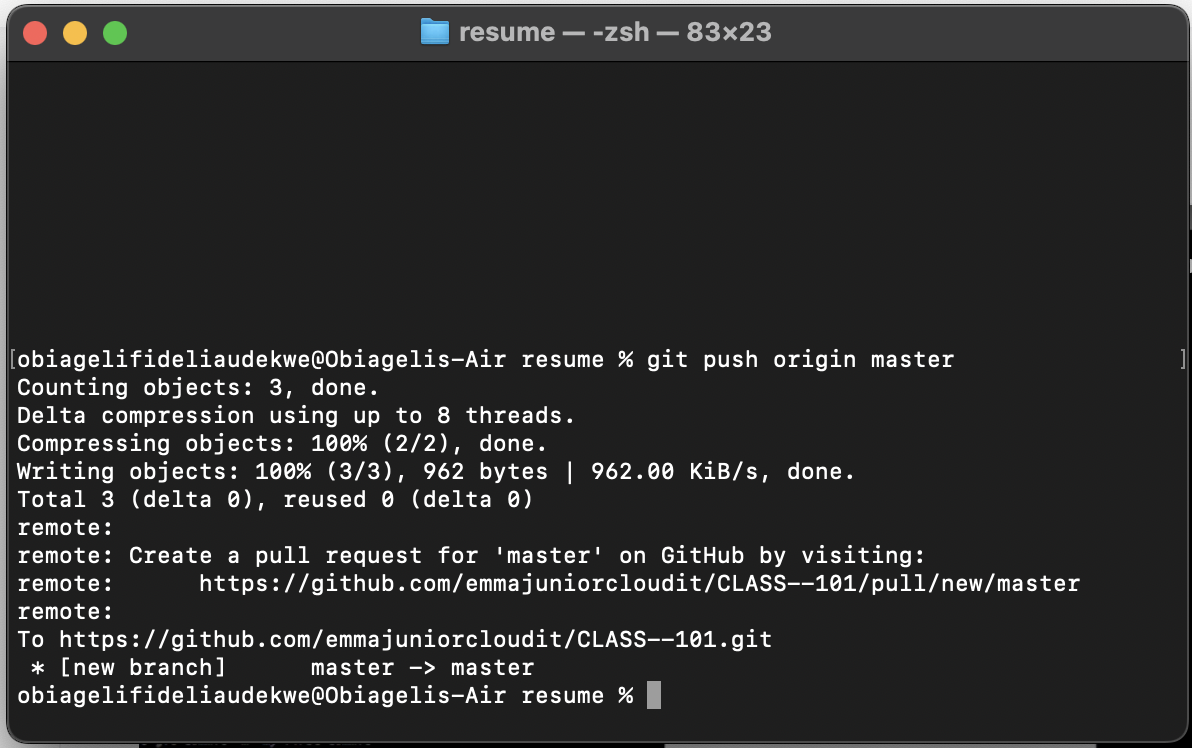
To push the file to git hub. Use the command git push origin master ,after that you will be asked to sign into your GIT HUB account.
Step 8
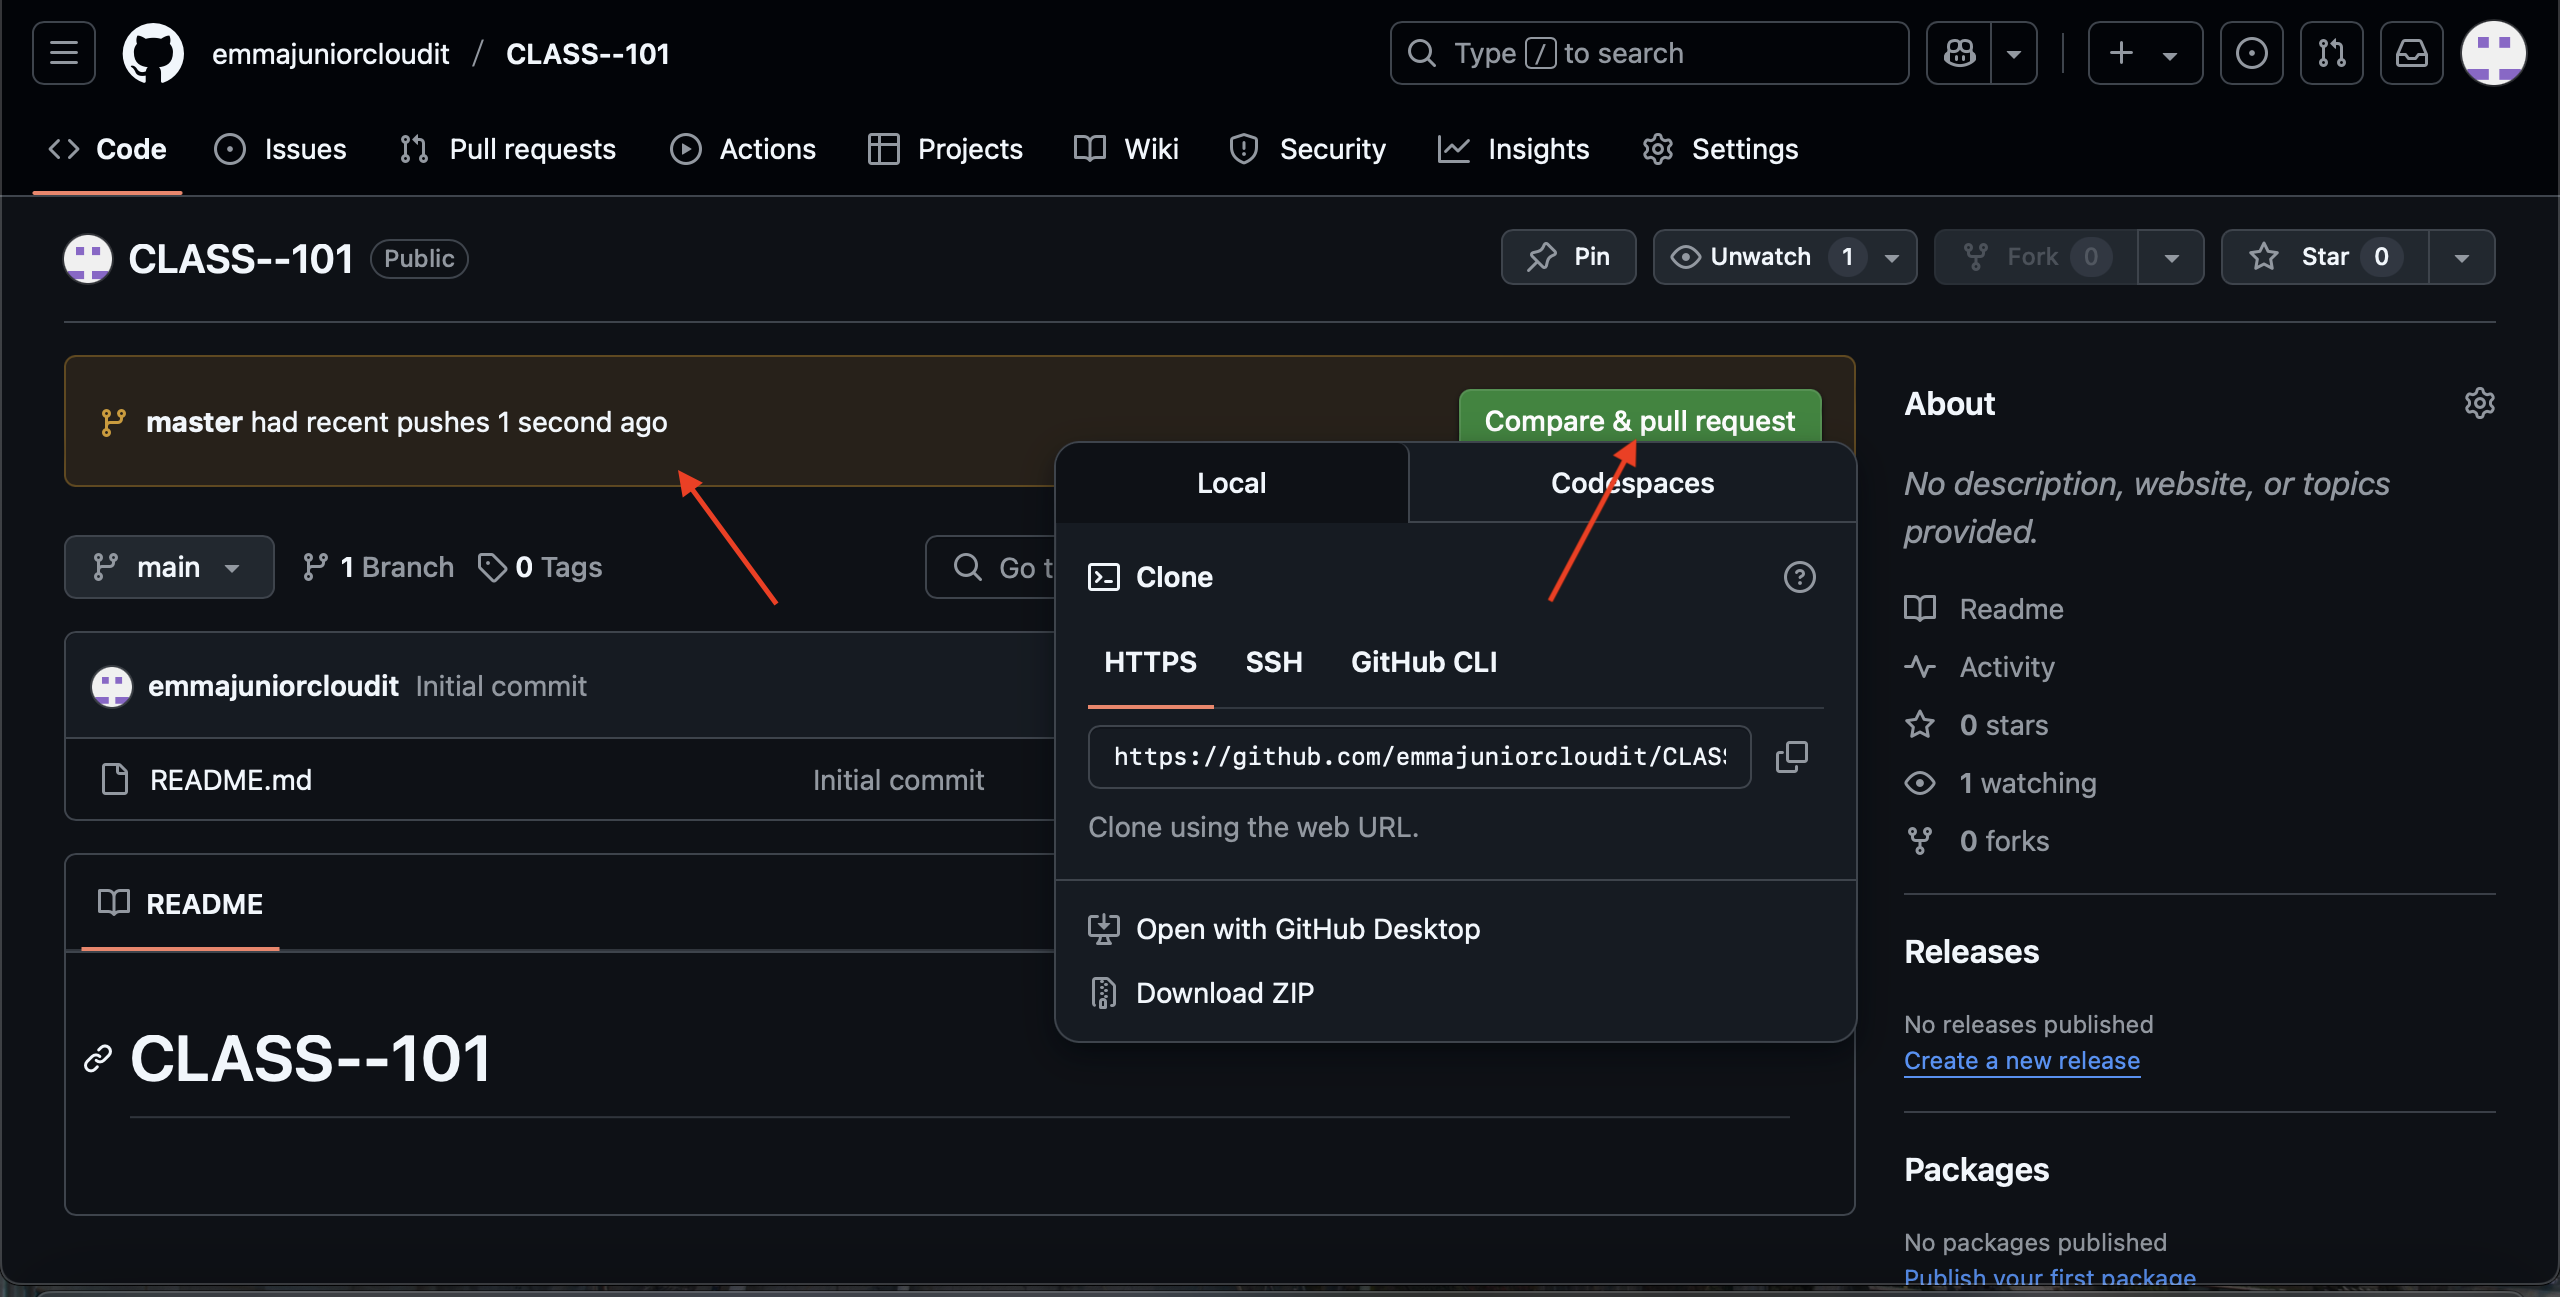
Go to your repo u created on git hub to accept the pull request from git bash.
Step 9
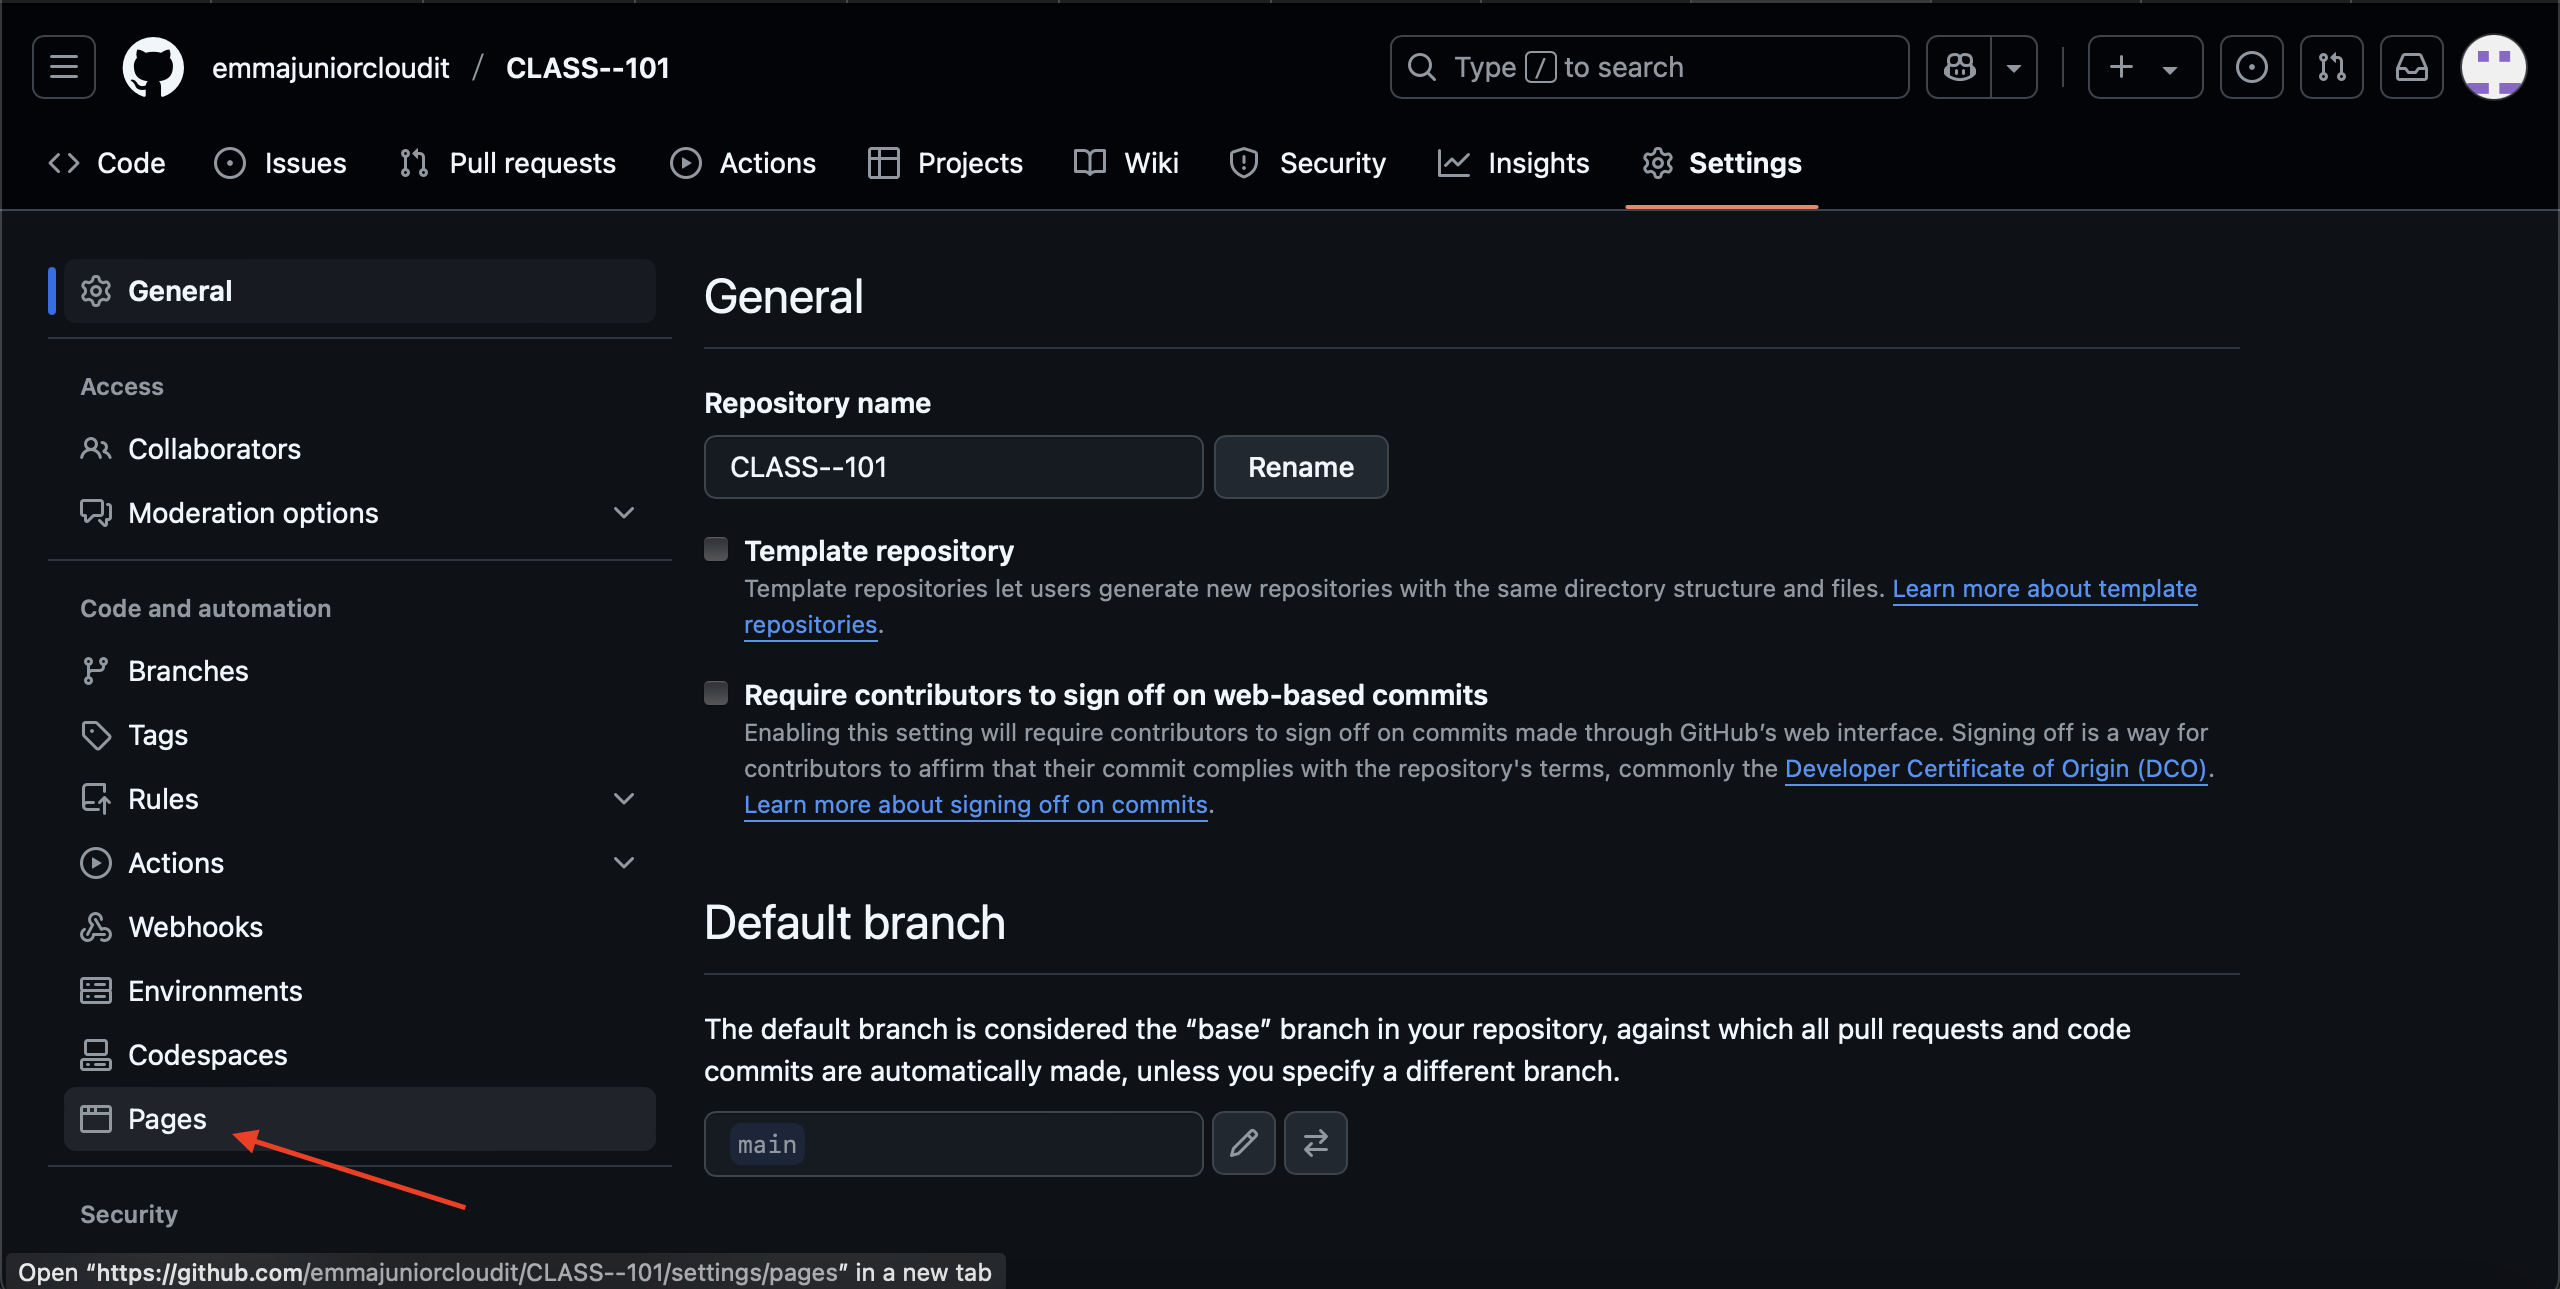
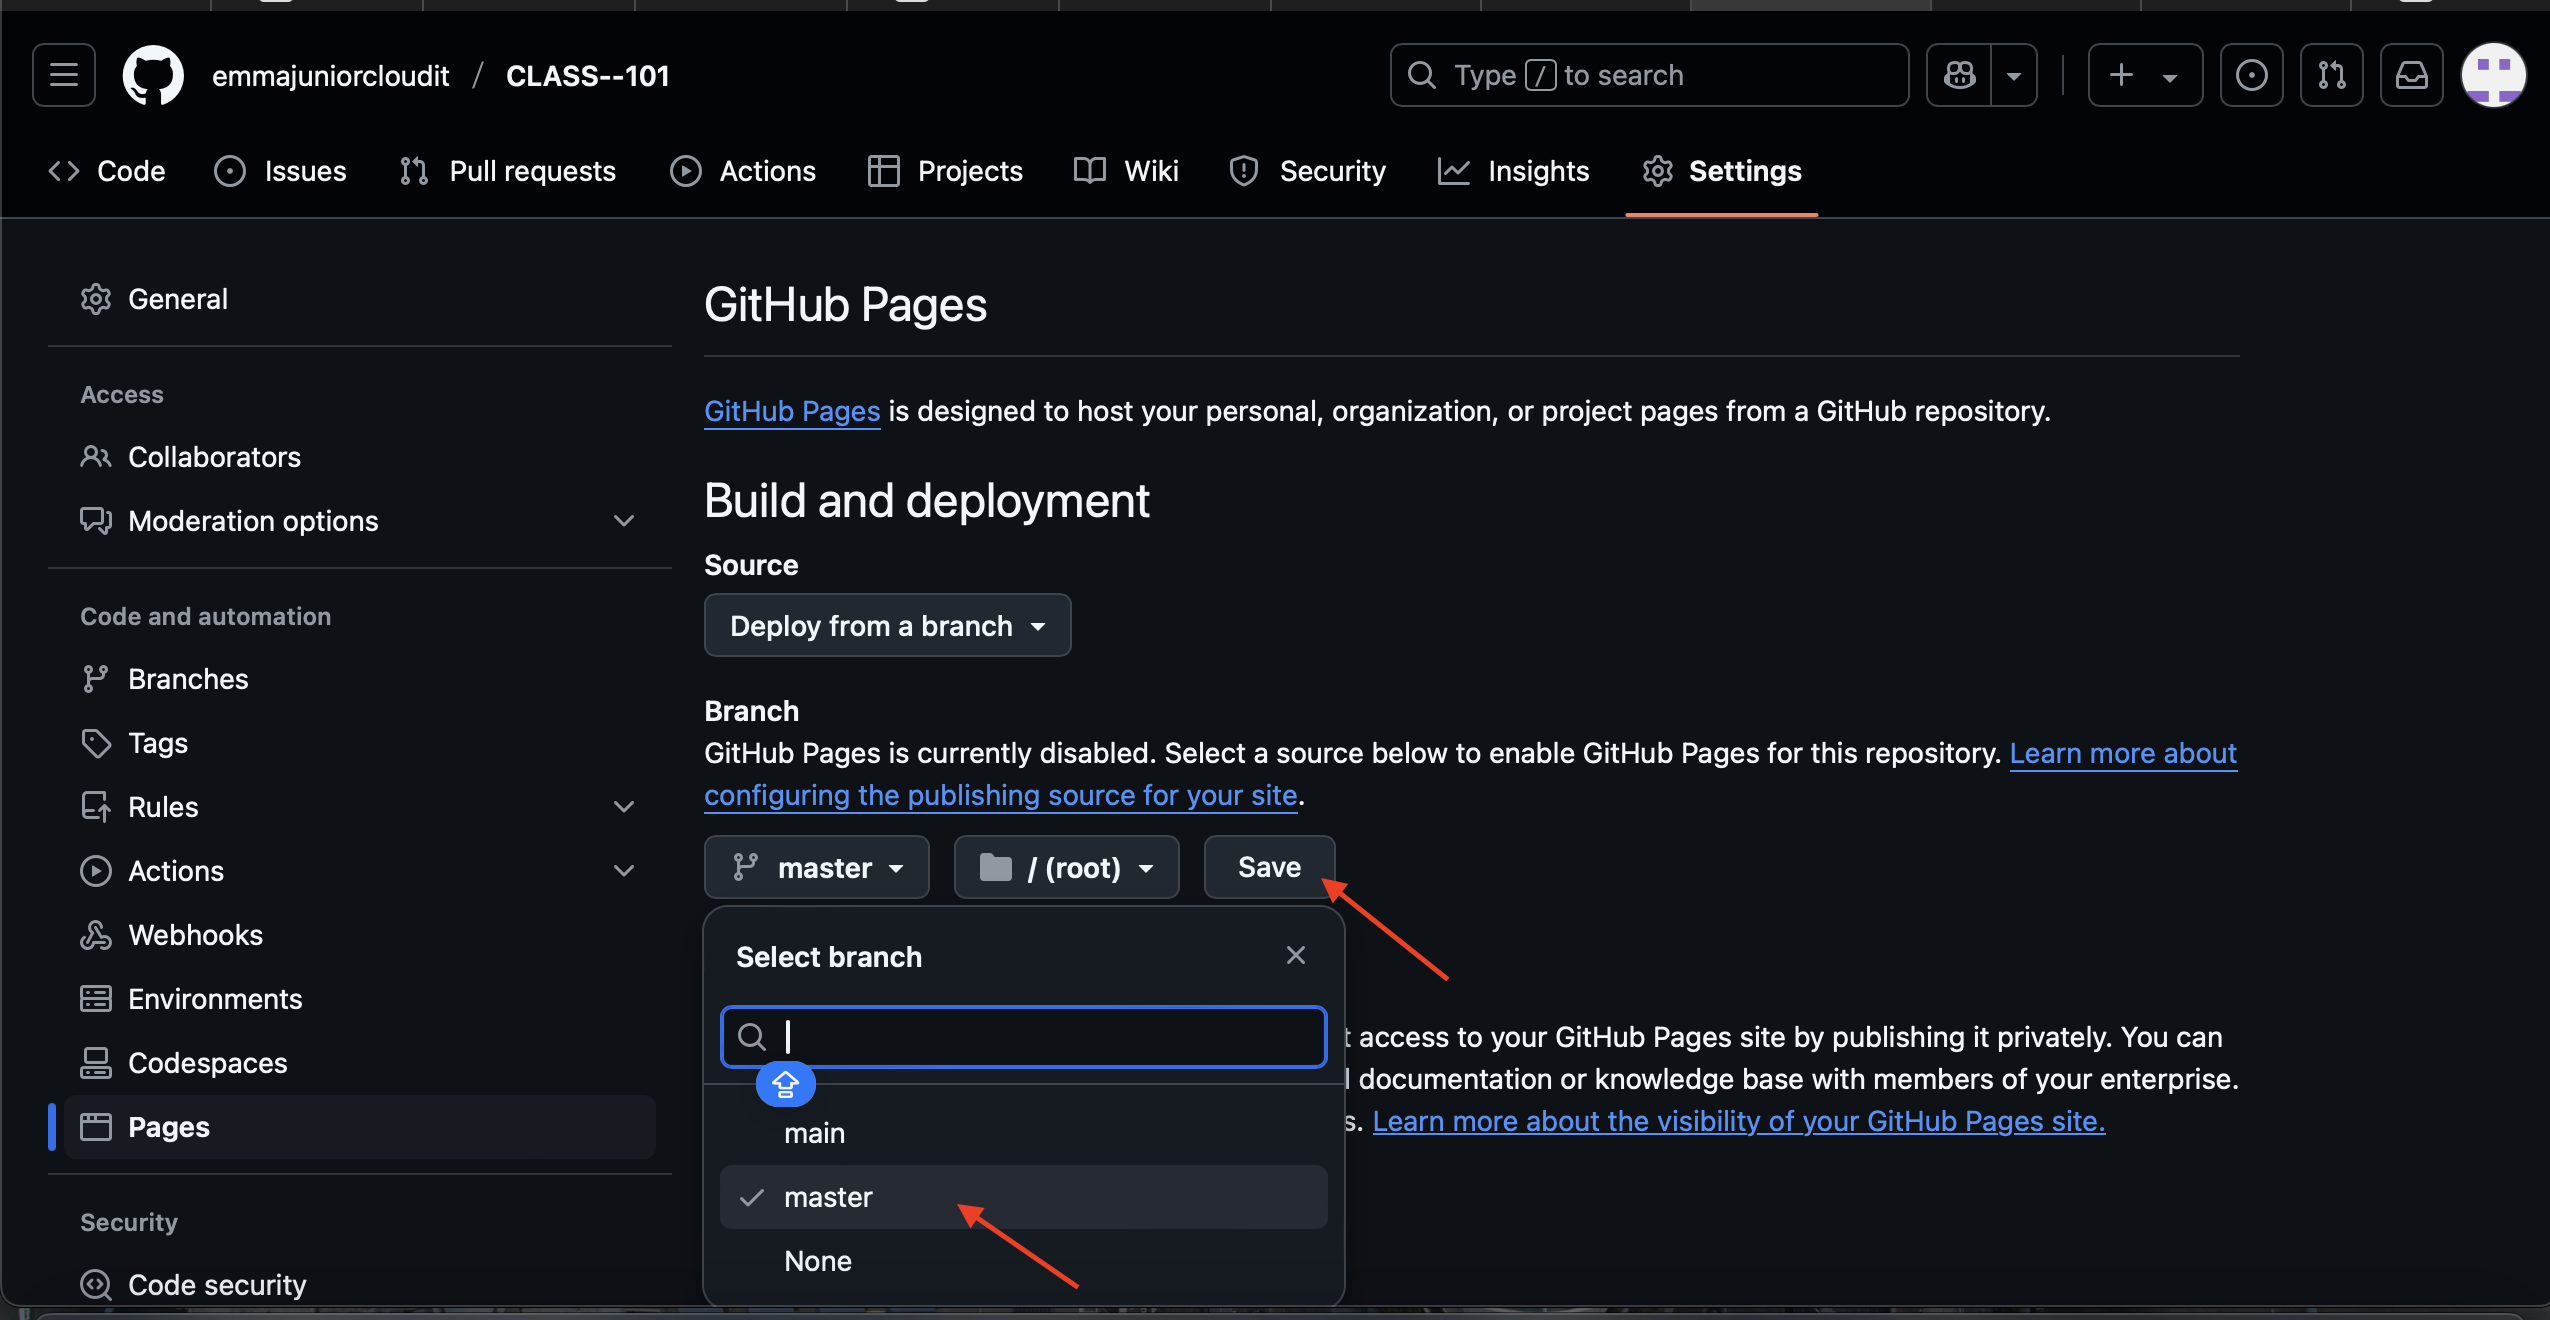
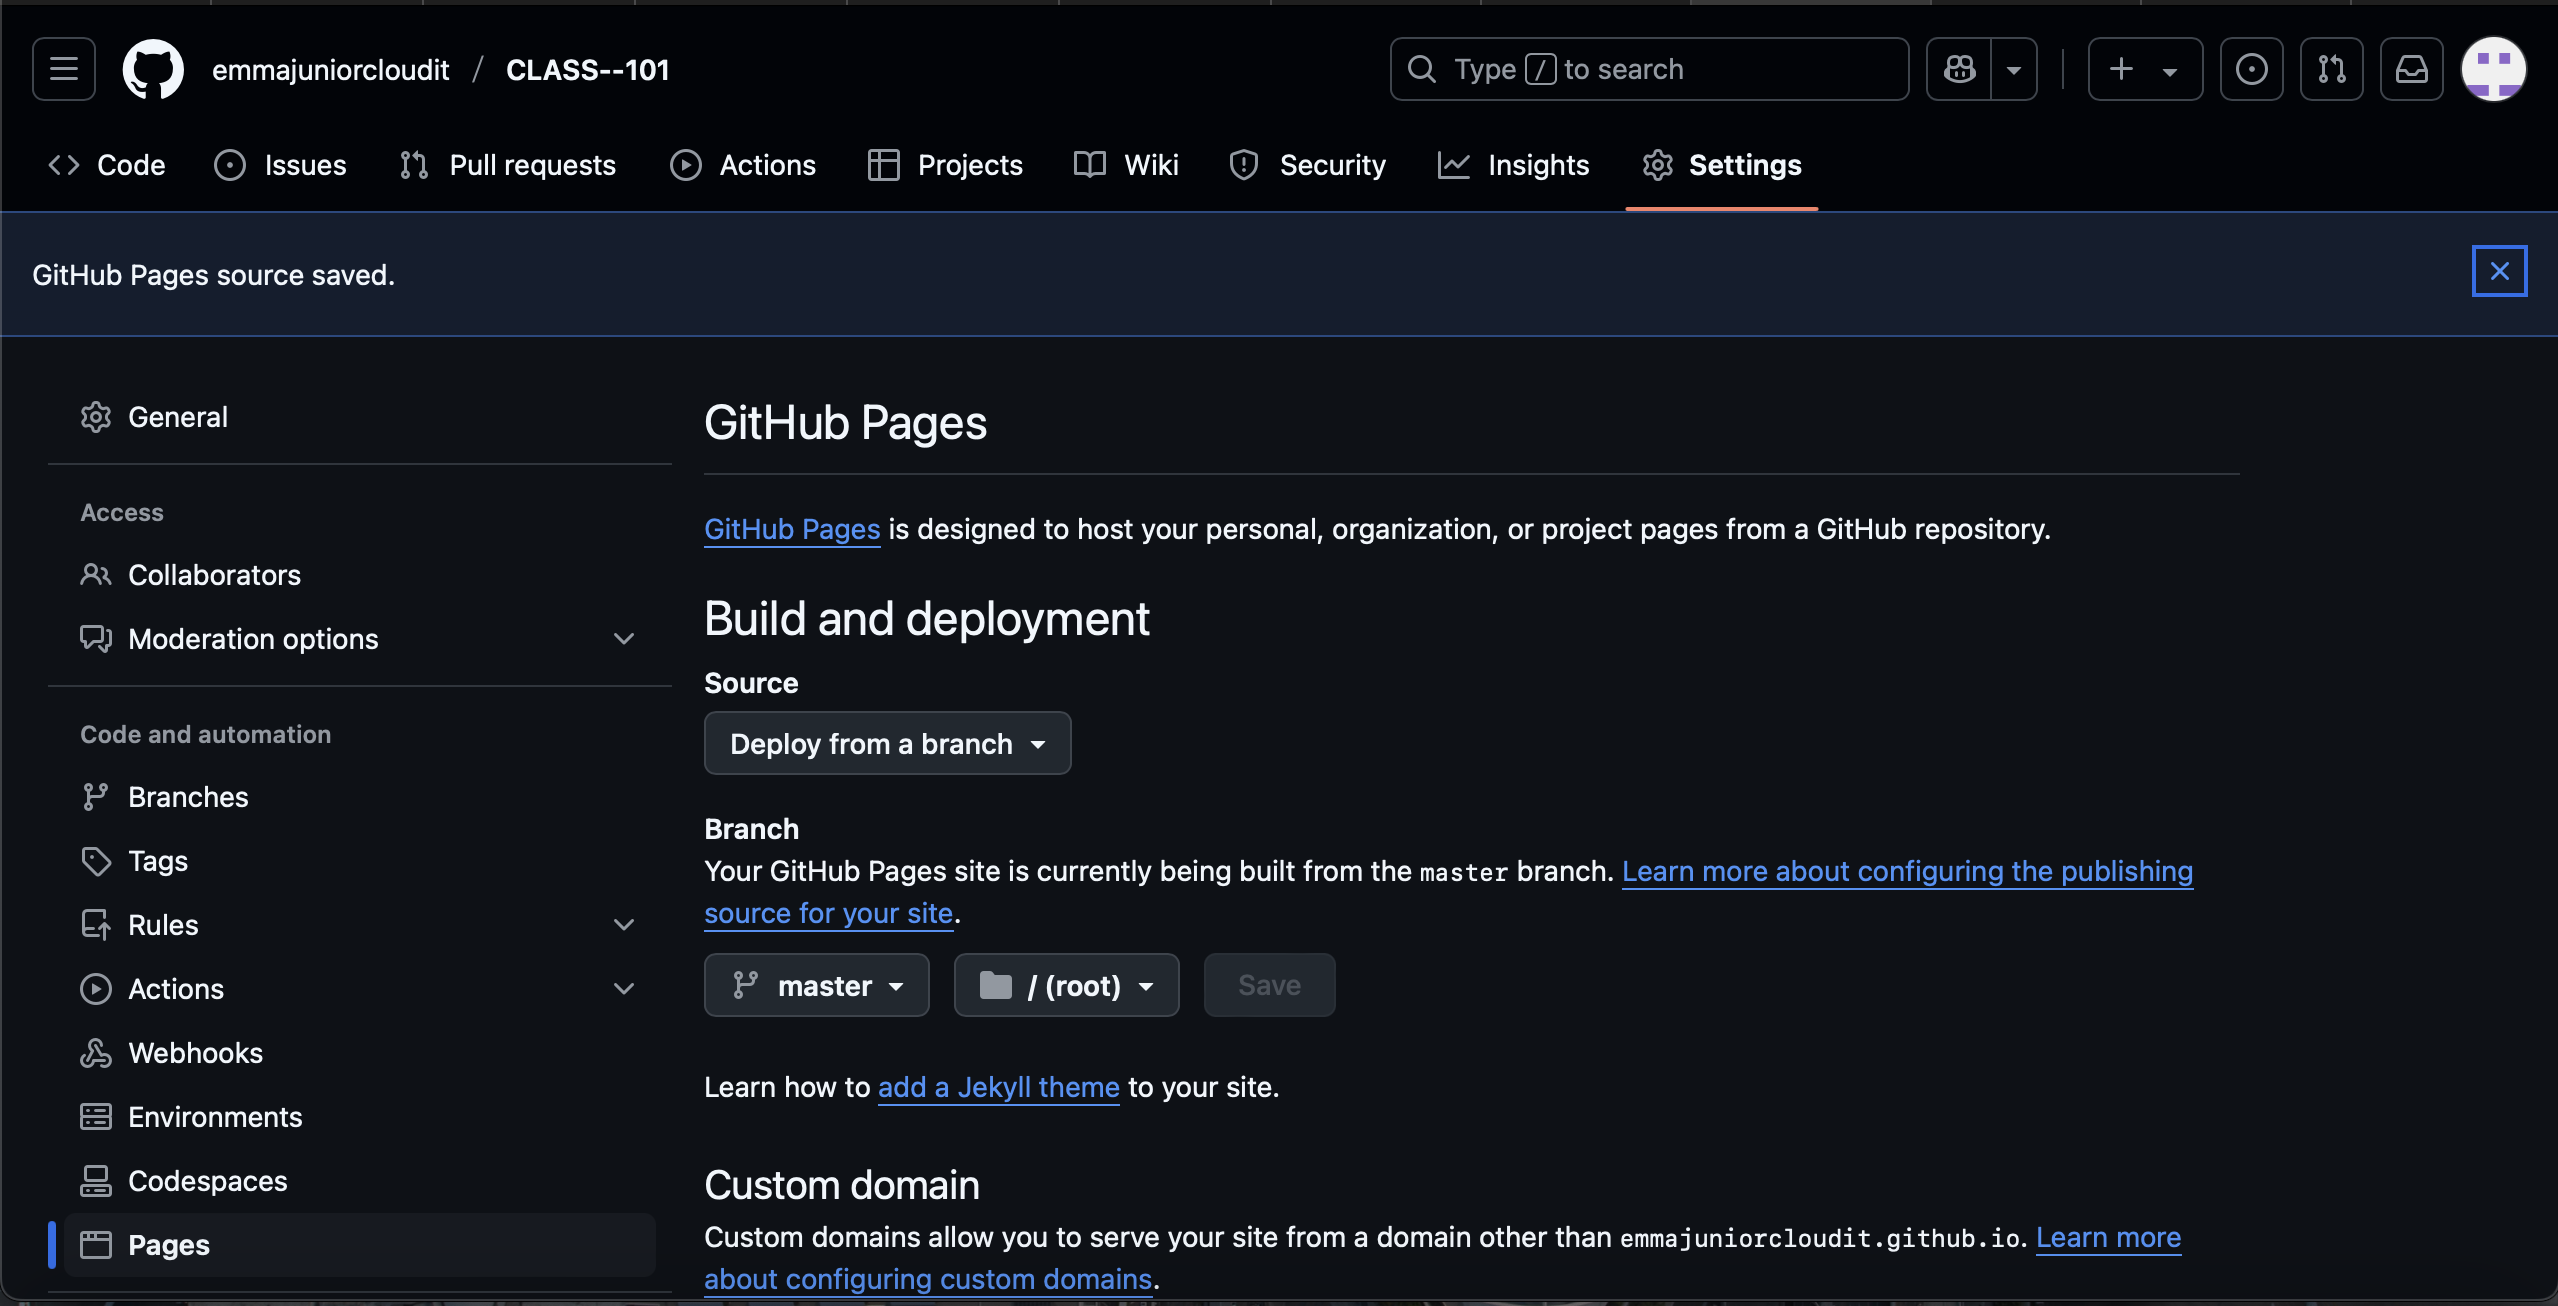
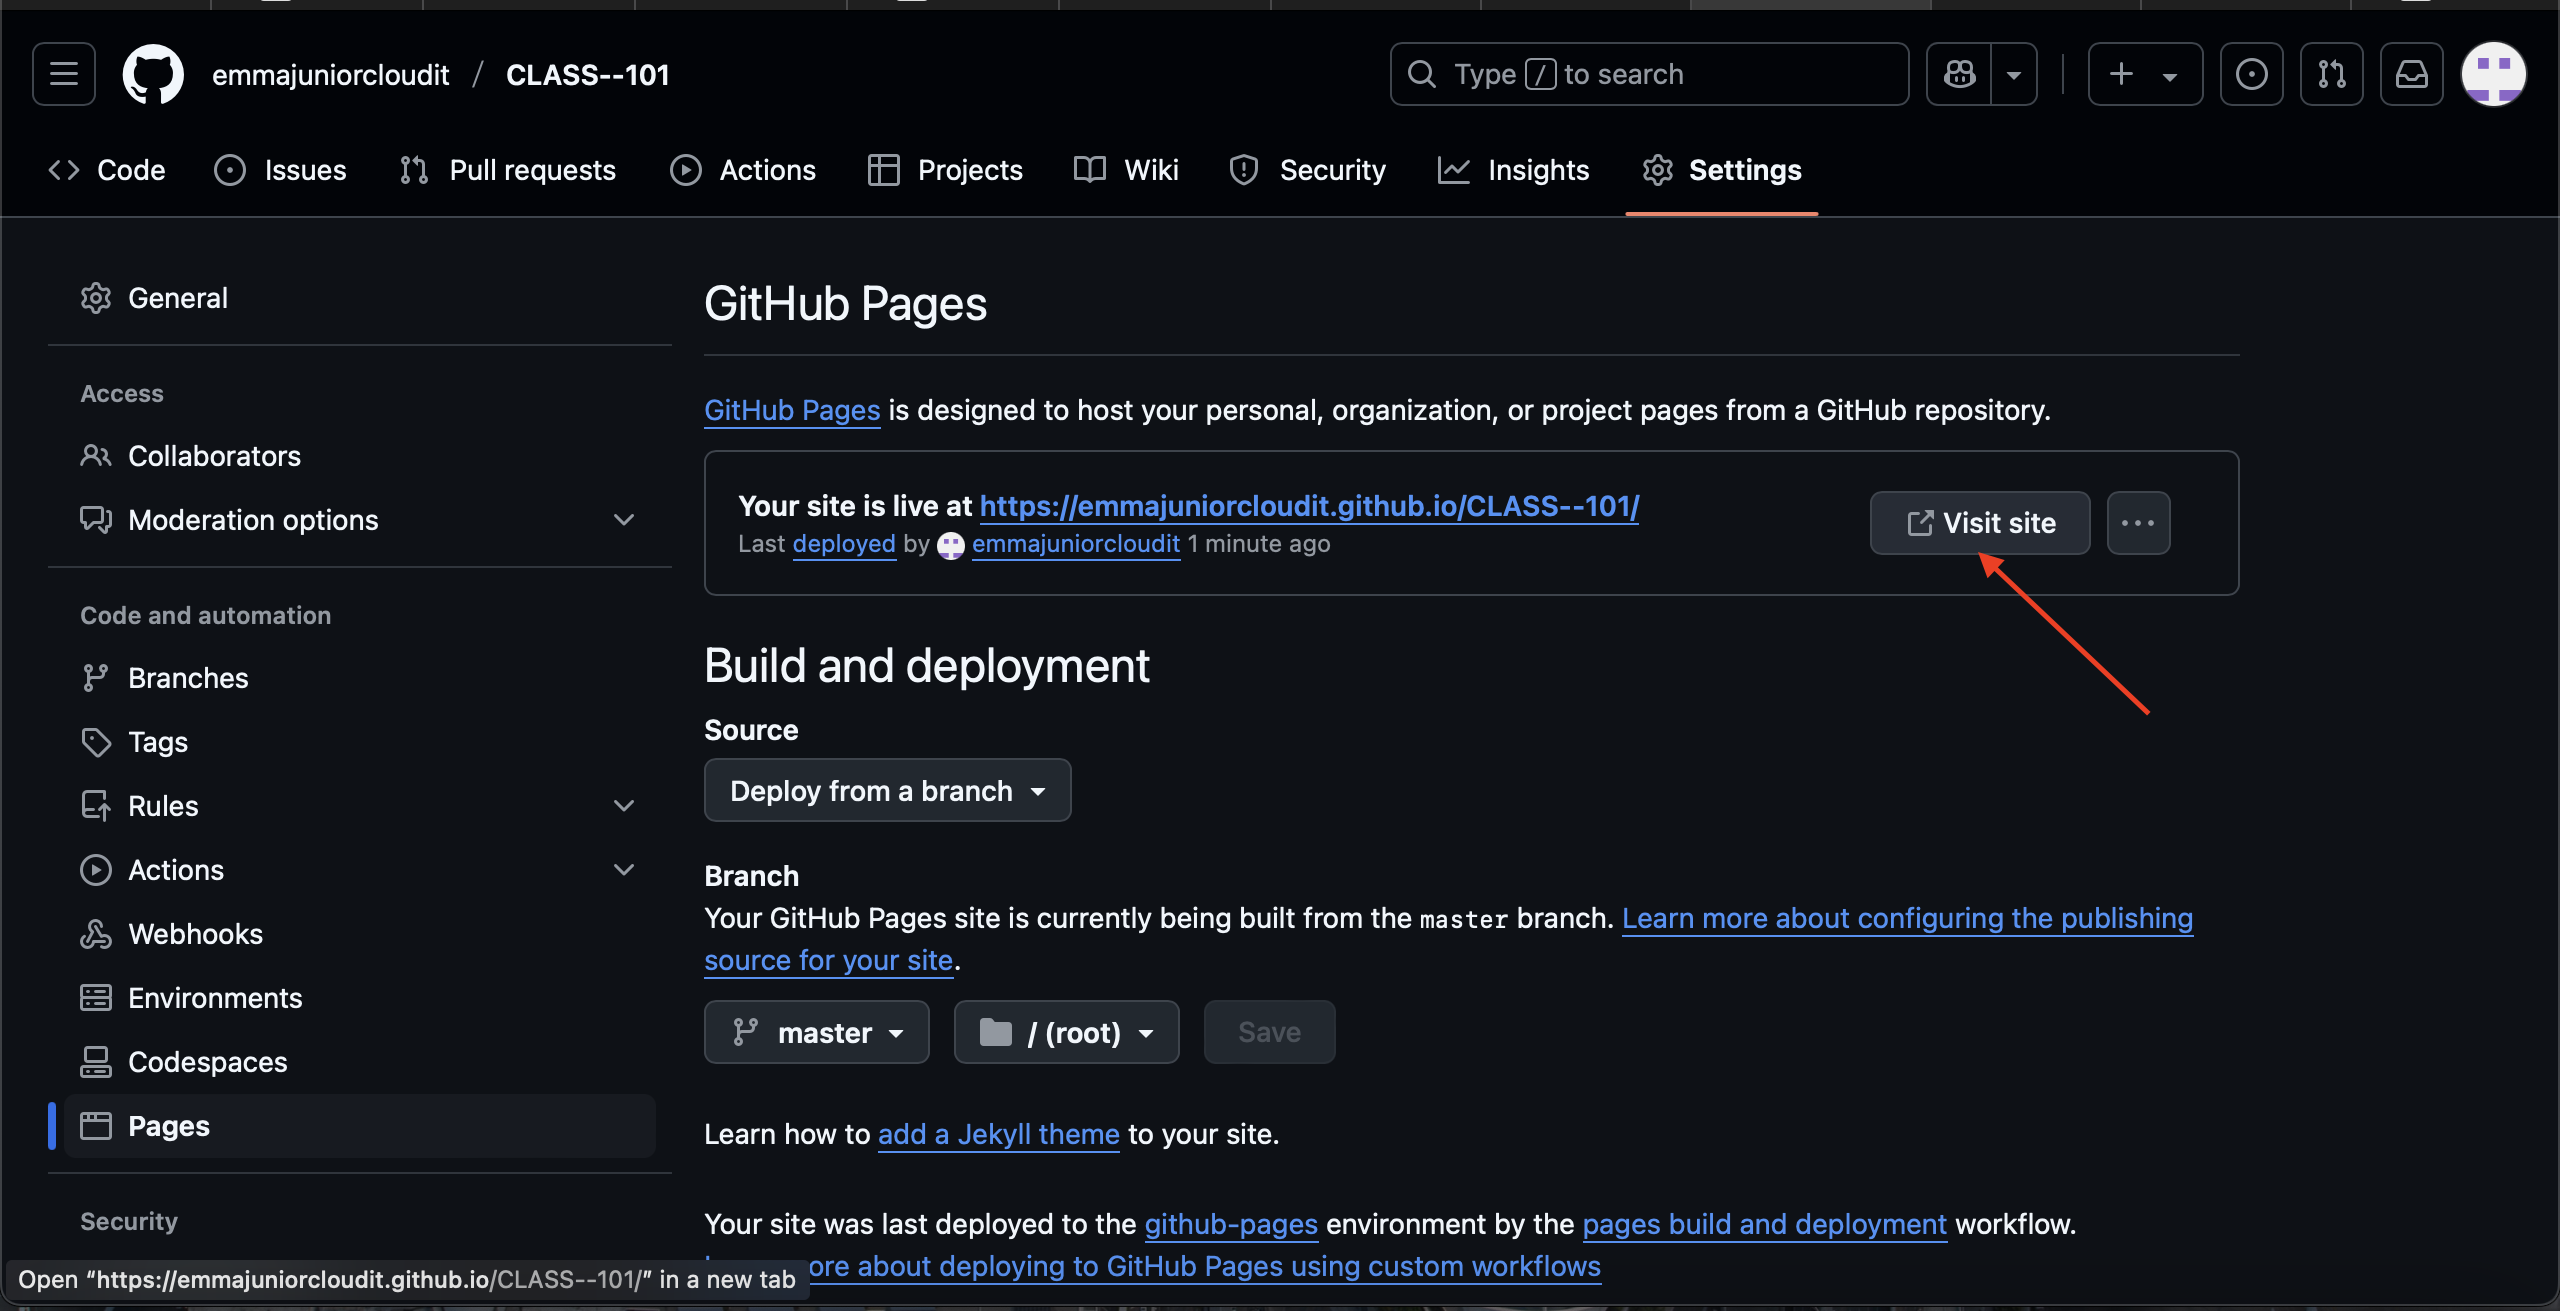
Push to Github.Click on settings on the left hand side, click on pages now select the branch u deployed it from either MASTER/ MAIN u select master hit save and then refresh the page then a link will be created.Click on visit site.