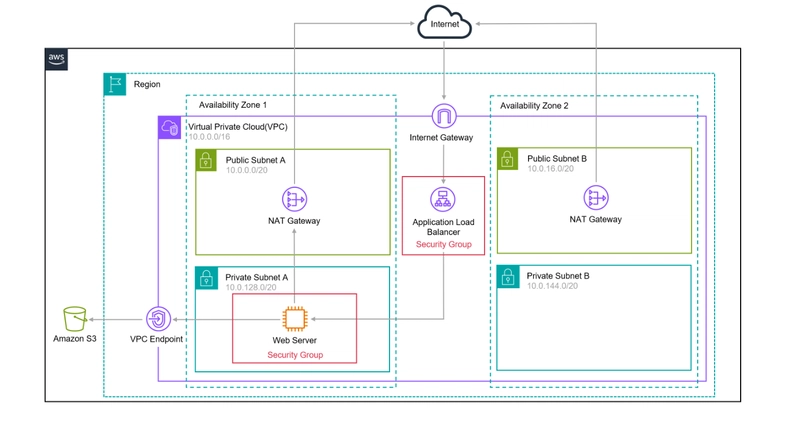

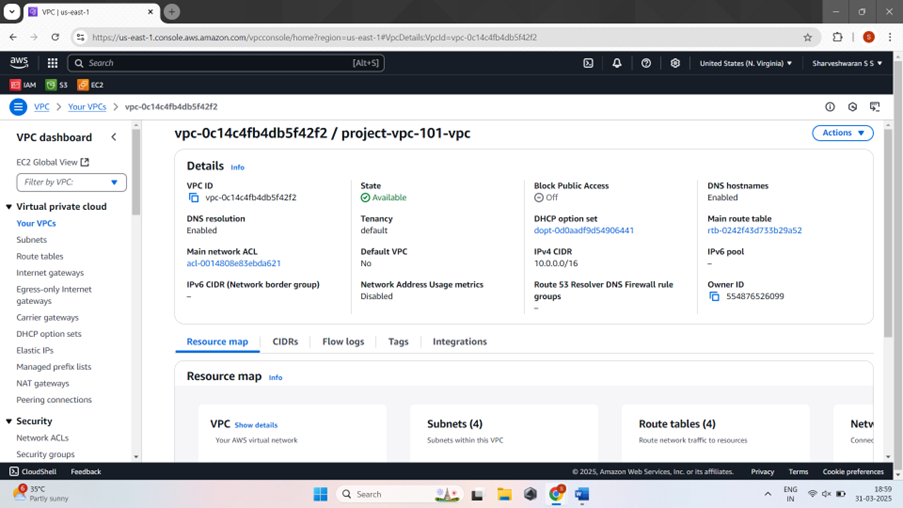
Navigate to the AWS Management Console and locate the VPC service.
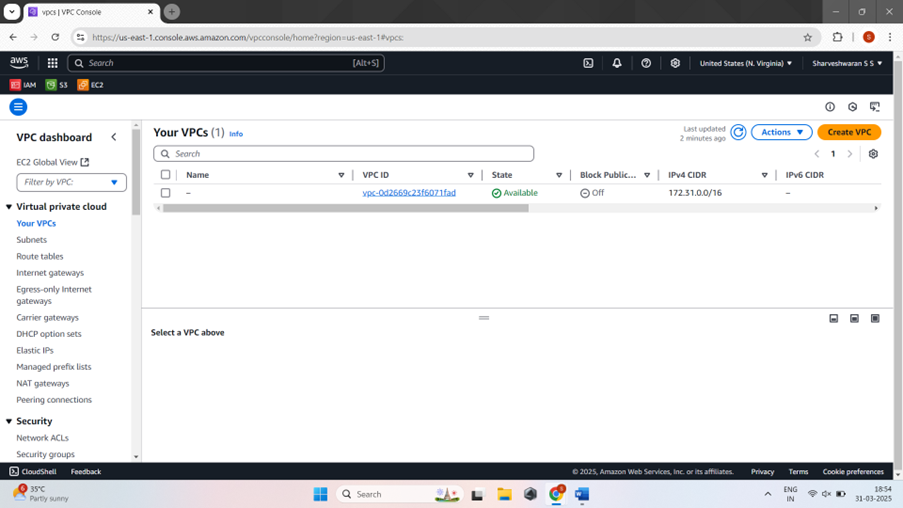
Click Create VPC.
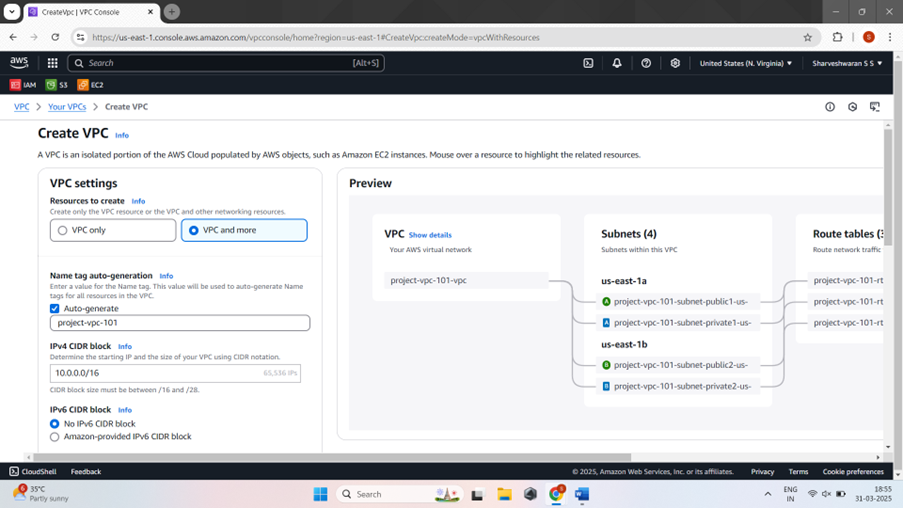
Select VPC and more.
In the NAT gateways section, select 1 per AZ.
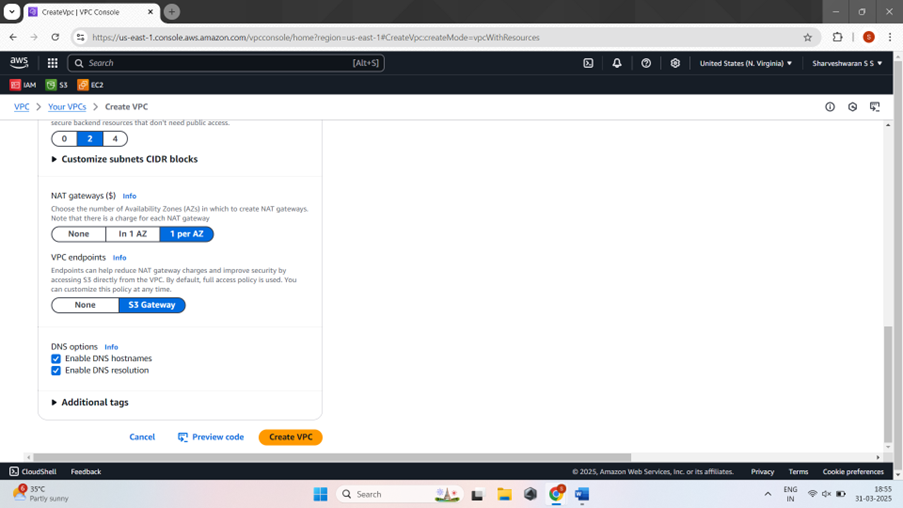
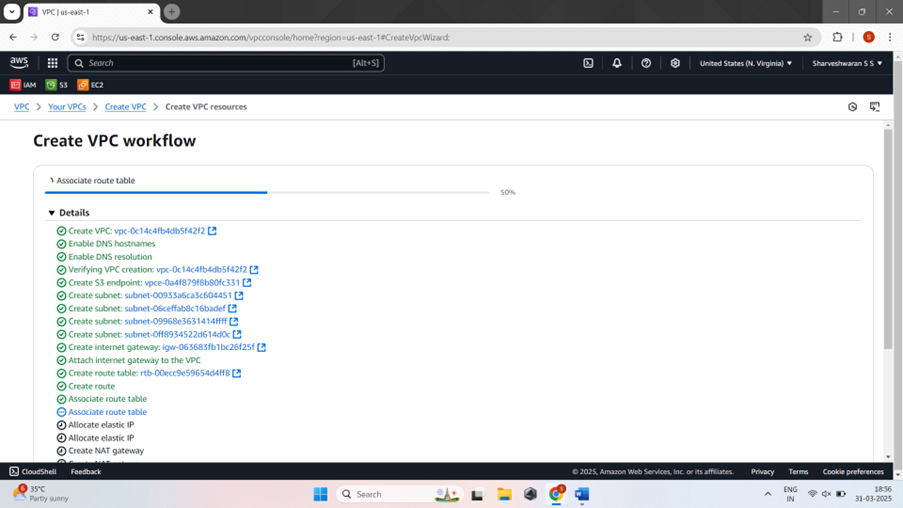
We're ready to create the network. Click Create VPC.


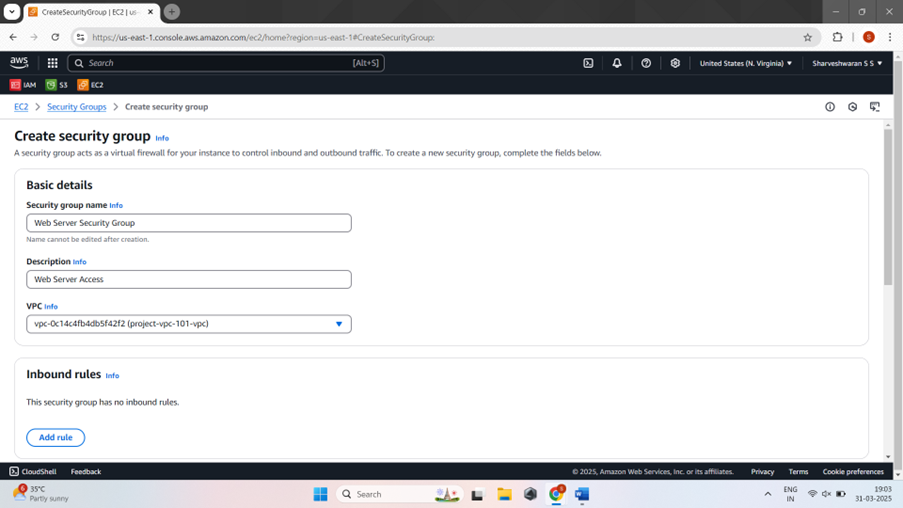
Browse to the Security Groups part of the Amazon EC2 service.
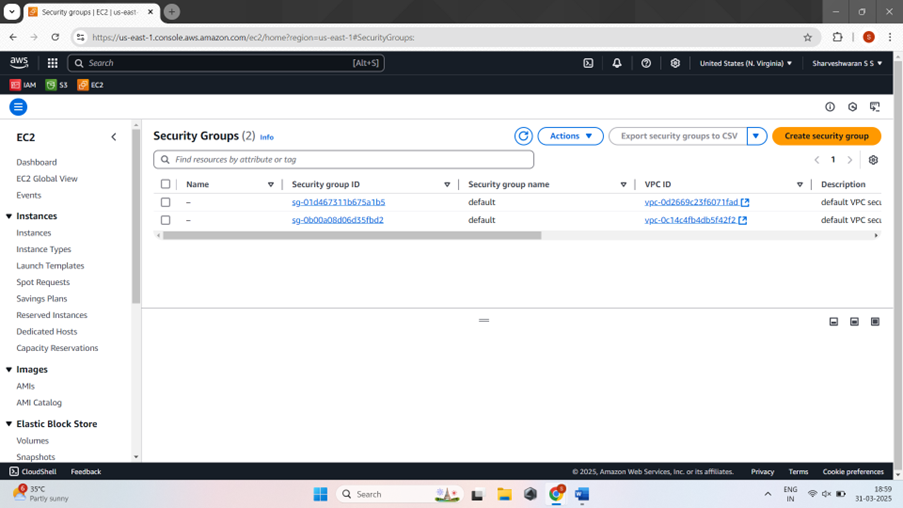
Notice the default security group that is already present, then proceed to click Create security group to define a new custom security group for our resources.
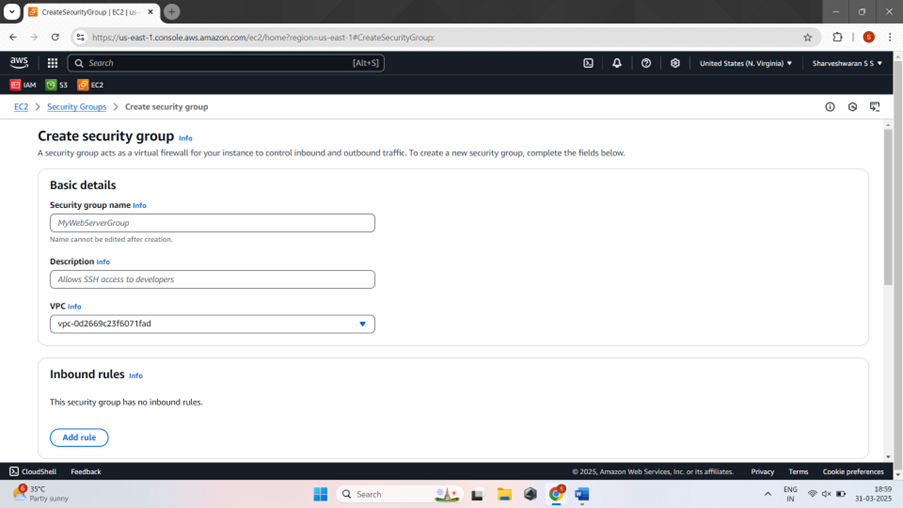
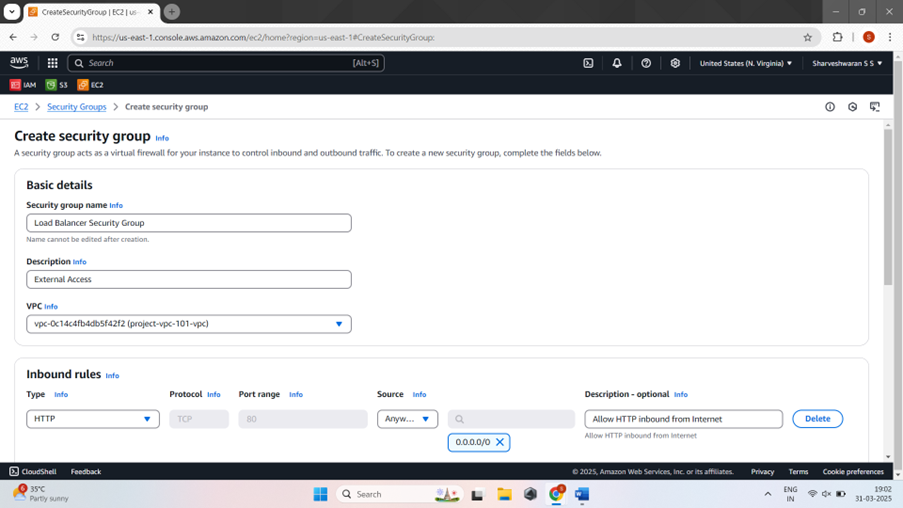
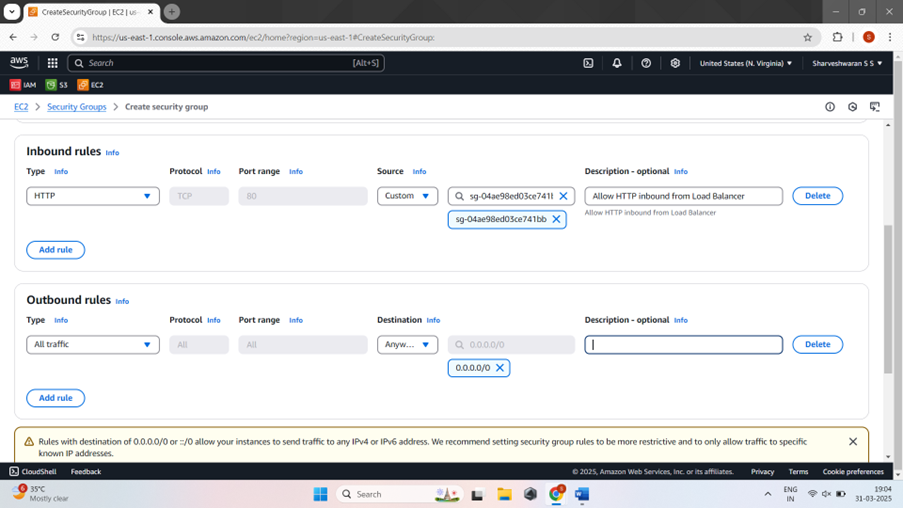
In the Inbound rules section click Add rule


Next, repeat the process to create an Security Group
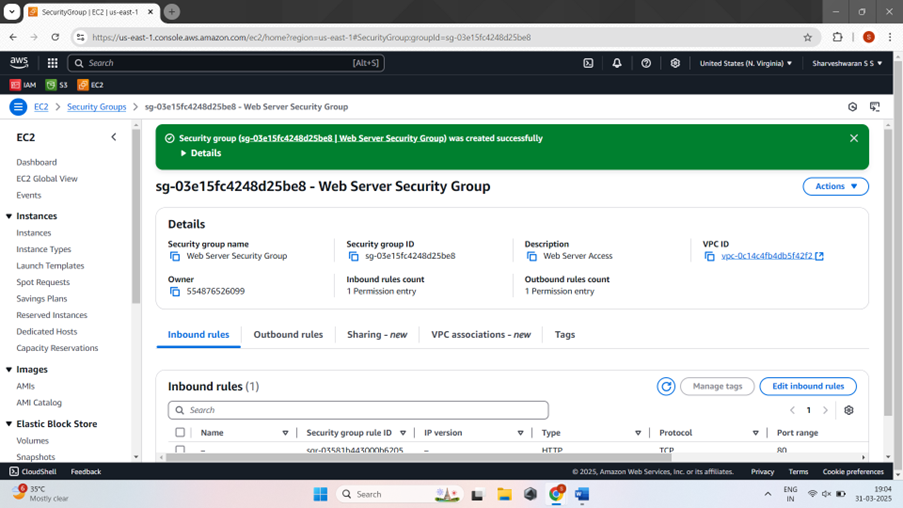
Confirm the 2 security groups have been created.
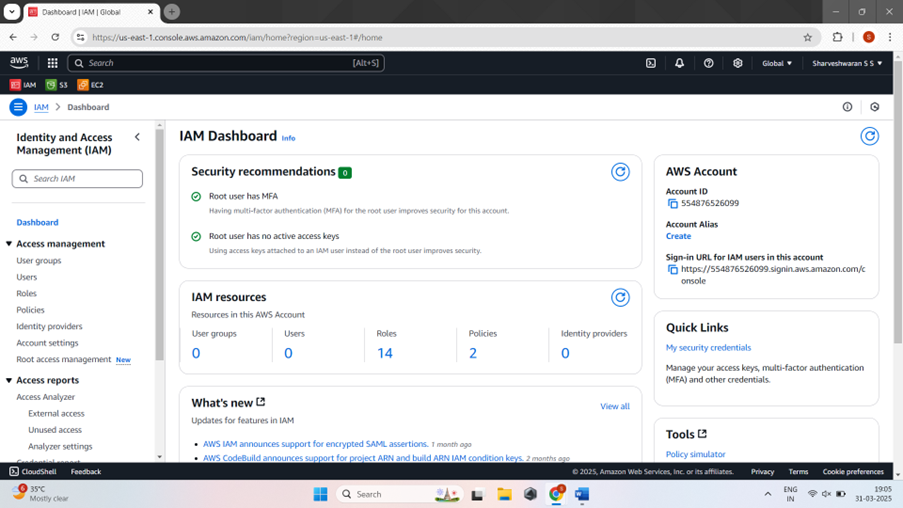
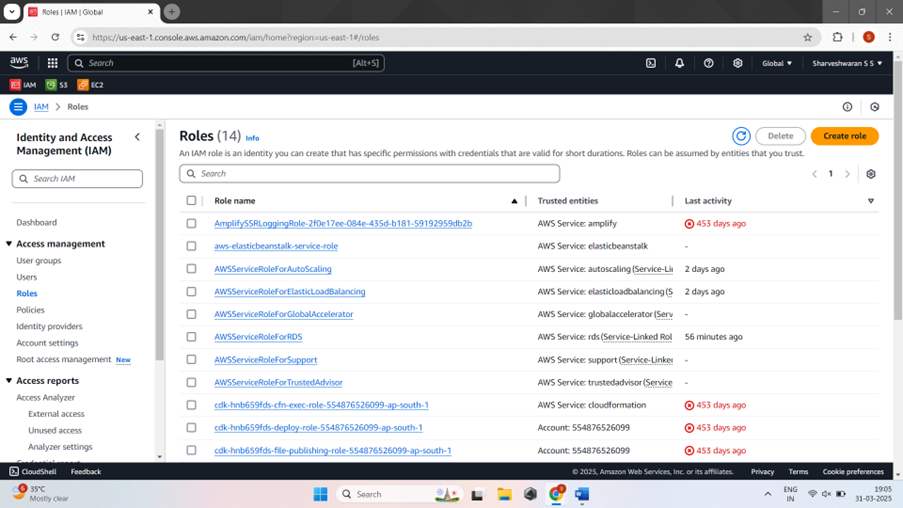
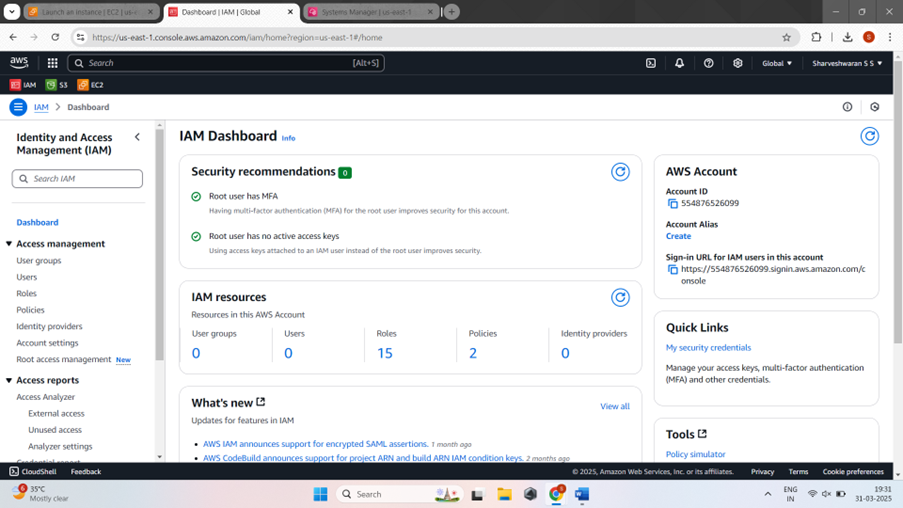
Browse to the IAM service.
To grant permissions, we create IAM policies. These policies can then be assigned to an IAM role. IAM roles can be assumed by trusted entities, such as an EC2 instance, to access permitted AWS resources. An EC2 Instance Profile is a container that holds an IAM Role and attaches it to an EC2 instance.
Create a new IAM role and associate it with the EC2 instance profile for the web server.
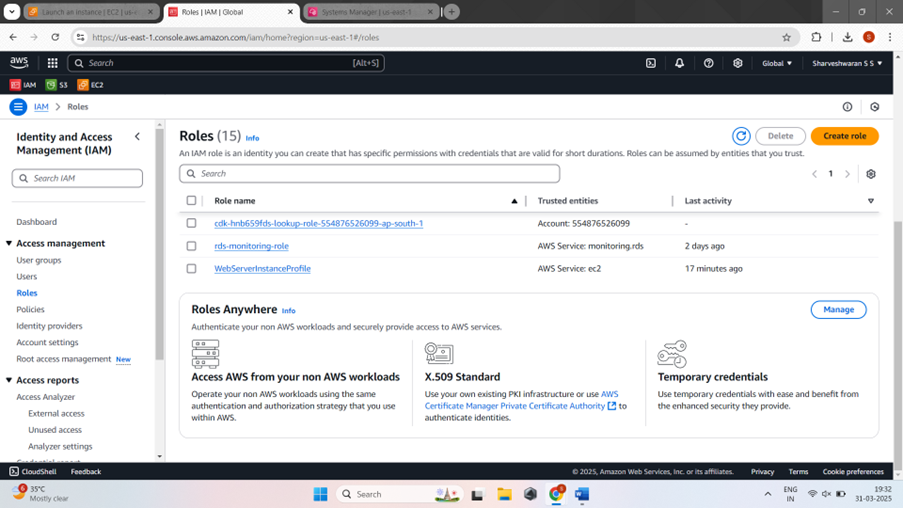
Select Roles, then click Create role.
Attach IAM policies to the role being created. Instead of defining the policies manually, an existing AWS managed policy will be used to save time.
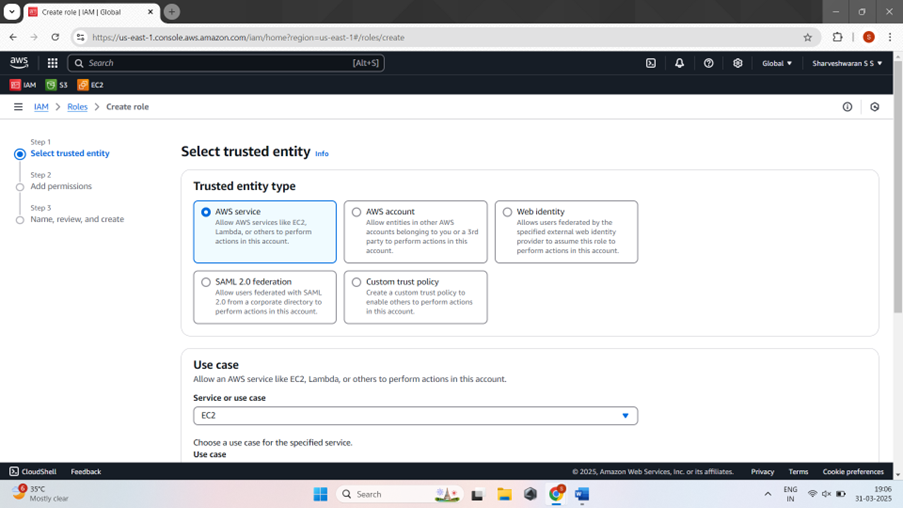
Select AWS Service. Choose EC2 for the service or use case.
Select EC2 Role for AWS Systems Manager and click Next

Confirm that the AmazonSSMManagedInstanceCore policy has been added to the role and click Next
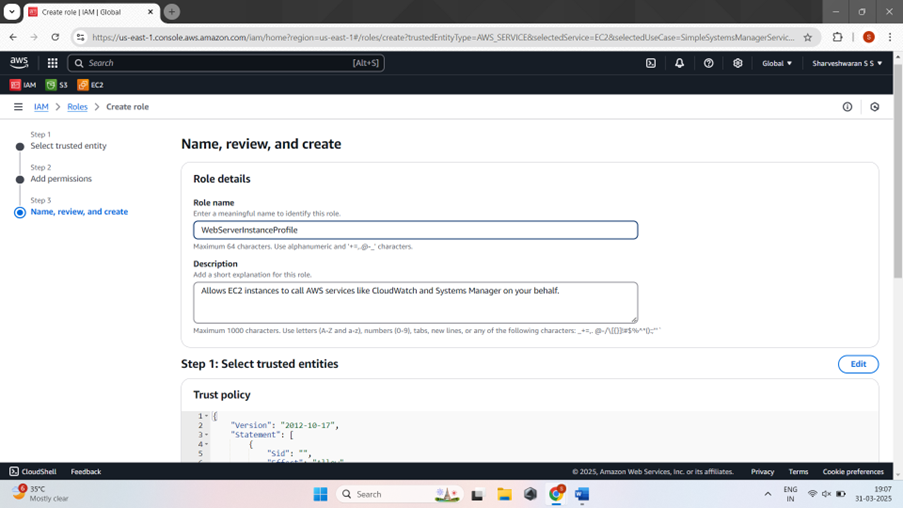
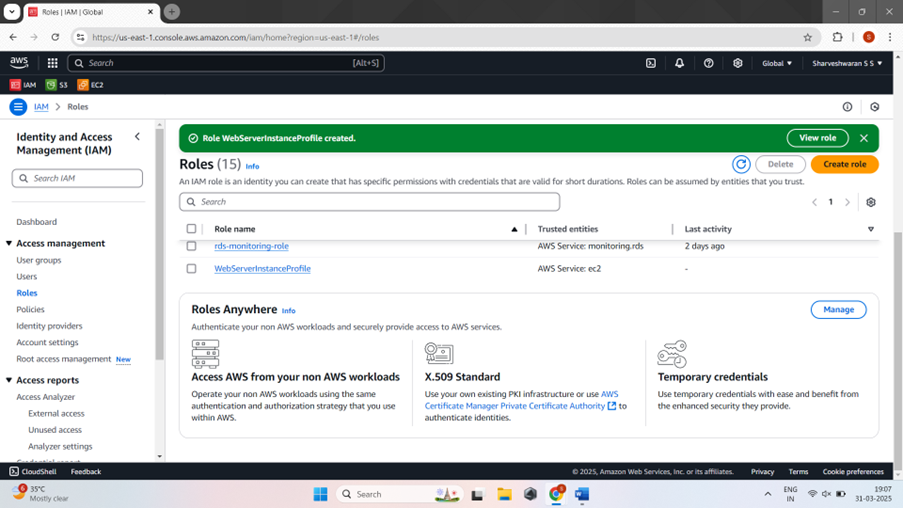
Name the role WebServerInstanceProfile . Scroll to the bottom and click Create role.
Browse to the EC2 service.

Click Launch Instance.
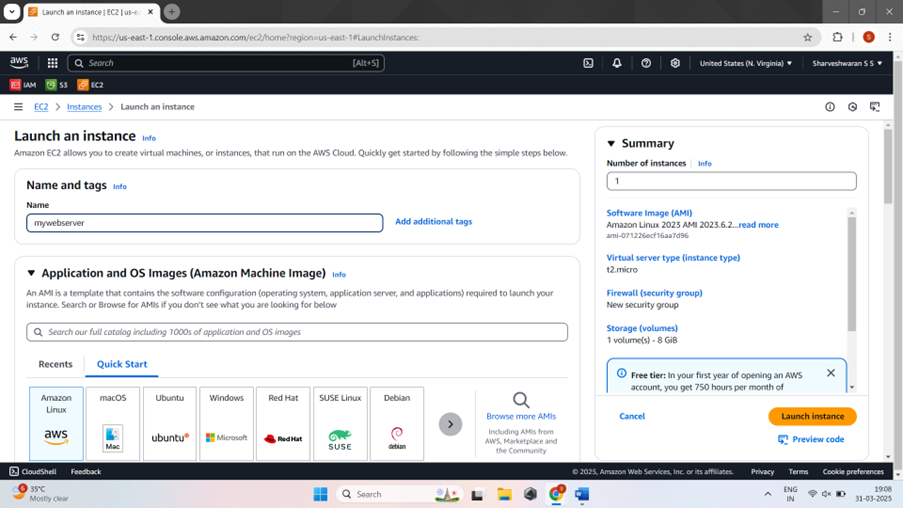
Name the server mywebserver
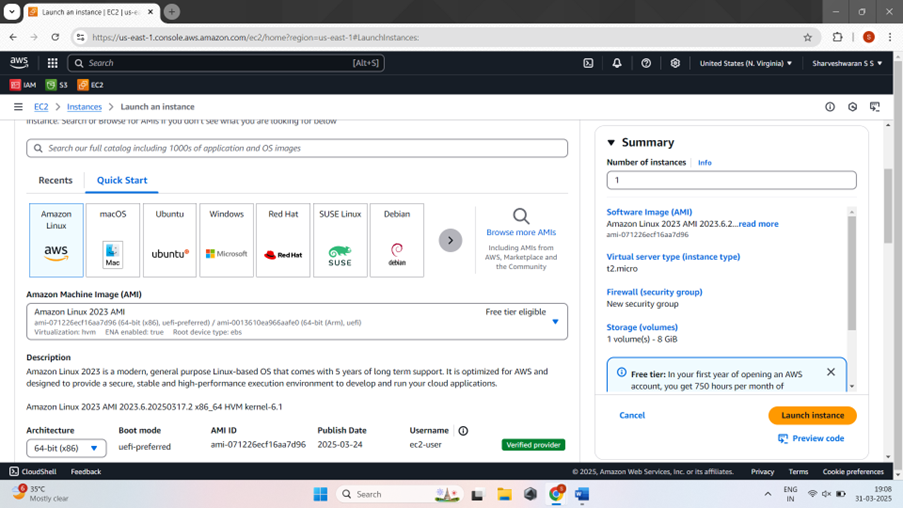
Customers have the flexibility to launch Amazon EC2 instances with a wide selection of operating systems and pre-configured images.
For our simple web server, we'll select the Amazon Linux 2023 AMI (Amazon Machine Image) in the 64-bit (x86) architecture.
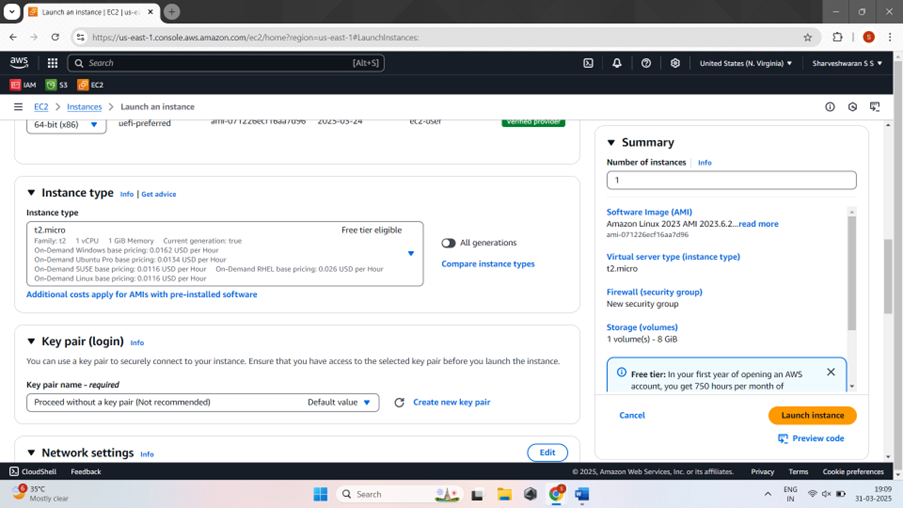
Let's select the t2.micro instance type, which provides 1 vCPU and 1 GiB of memory.
Normally, you'd create a key pair to enable secure SSH access to the EC2 instance. But in this case, we'll skip the key pair since we'll be using AWS Systems Manager to connect, rather than direct SSH.
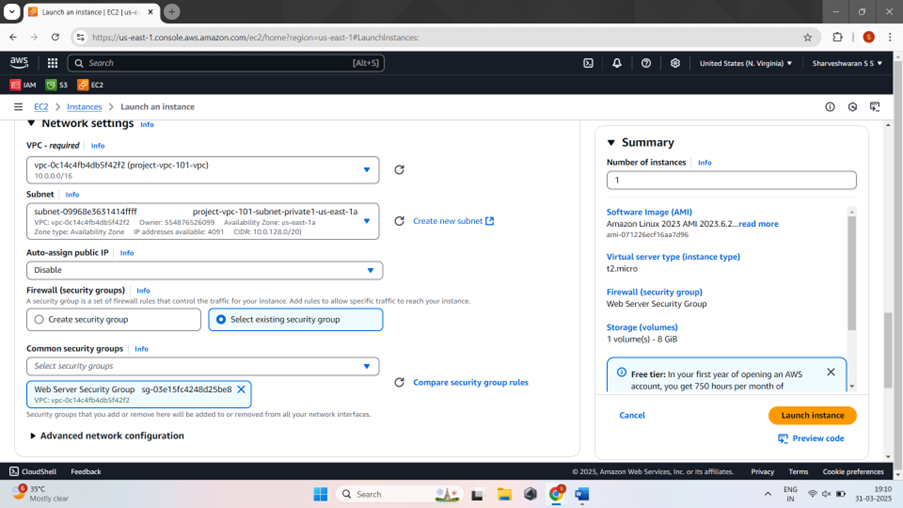
In Network settings, click the Edit button to configure the EC2 instance's networking. Associate the new instance with the Amazon VPC and private subnet we set up earlier.
For Firewall (security groups), choose Select existing security group and pick the Web Server Security Group you created earlier. This configuration will allow incoming traffic on port 80 from the public subnets.

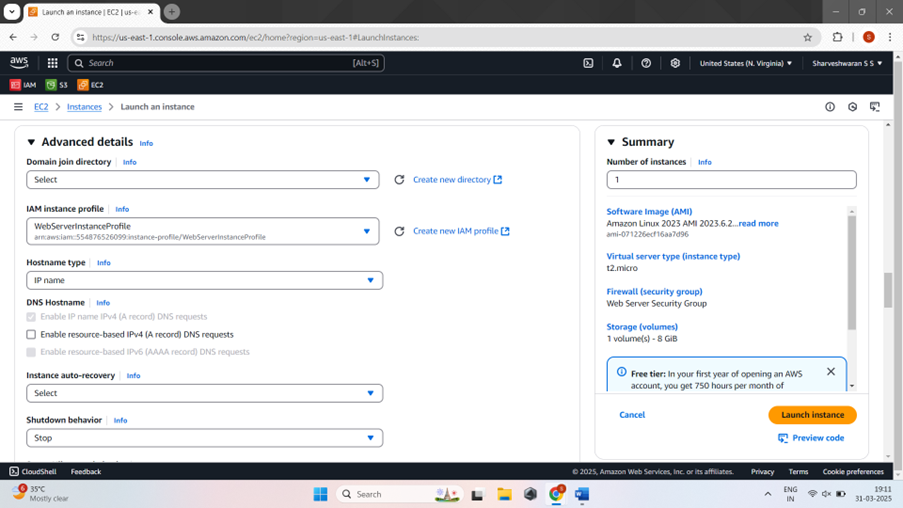
Expand Advanced details. Under IAM instance profile, choose WebServerInstanceProfile. This is the instance profile we created earlier, which will allow us to privately connect to the server.
!/bin/bash
yum update -y
Install Session Manager agent
yum install -y https://s3.amazonaws.com/ec2-downloads-windows/SSMAgent/latest/linux_amd64/amazon-ssm-agent.rpm
systemctl enable amazon-ssm-agent
Install and start the php web server
dnf install -y httpd wget php-json php
chkconfig httpd on
systemctl start httpd
systemctl enable httpd
Install AWS SDK for PHP
wget https://docs.aws.amazon.com/aws-sdk-php/v3/download/aws.zip
unzip aws.zip -d /var/www/html/sdk
rm aws.zip
Install the web pages for our lab
if [ ! -f /var/www/html/index.html ]; then
rm index.html
fi
cd /var/www/html
wget https://ws-assets-prod-iad-r-iad-ed304a55c2ca1aee.s3.us-east-1.amazonaws.com/2aa53d6e-6814-4705-ba90-04dfa93fc4a3/index.php
Update existing packages
dnf update -y
We want the server to run a script on boot that installs the necessary PHP web server components. We can accomplish this by specifying User data.
Enter the code above into the User data field.
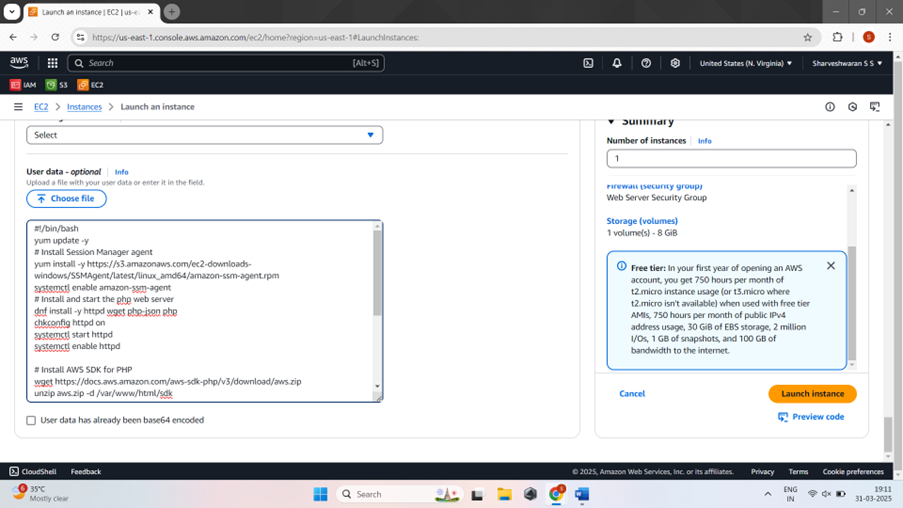
Click Launch Instance to complete the configuration and launch the new web server.

Once the instance is launched, you'll see a success message. Click on the underlined Amazon EC2 instance ID to navigate back to the EC2 dashboard.
Wait until the Status check shows 2/2 checks passed.
In the Amazon EC2 dashboard, select the web server instance. You'll notice it only has a private IP address, not a public one.
Ensure the web server instance is still selected and click Connect.
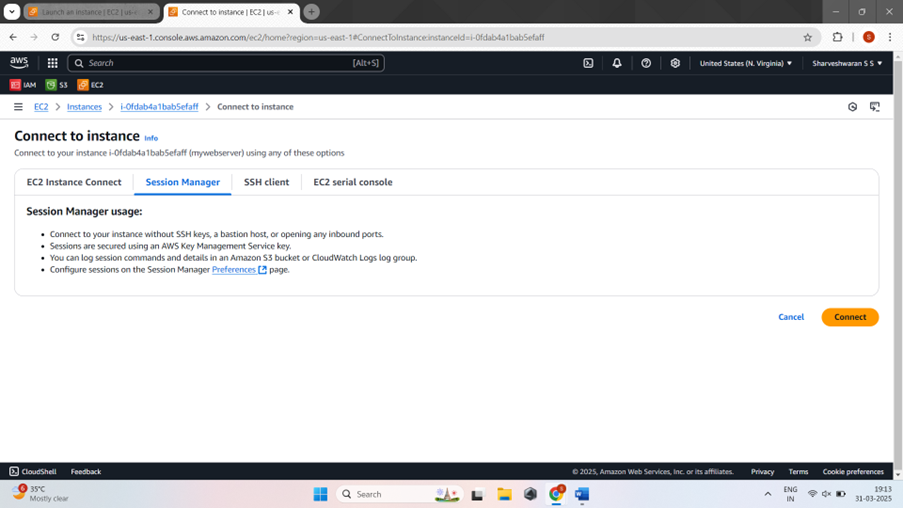
Select the Session Manager tab and click Connect.

Take a moment to marvel at the web server shell, then proceed to run the following commands:
echo -n 'Private IPv4 Address: ' && ifconfig enX0 | grep -i mask | awk '{print $2}'| cut -f2 -d: && \
echo -n 'Public IPv4 Address: ' && curl checkip.amazonaws.com
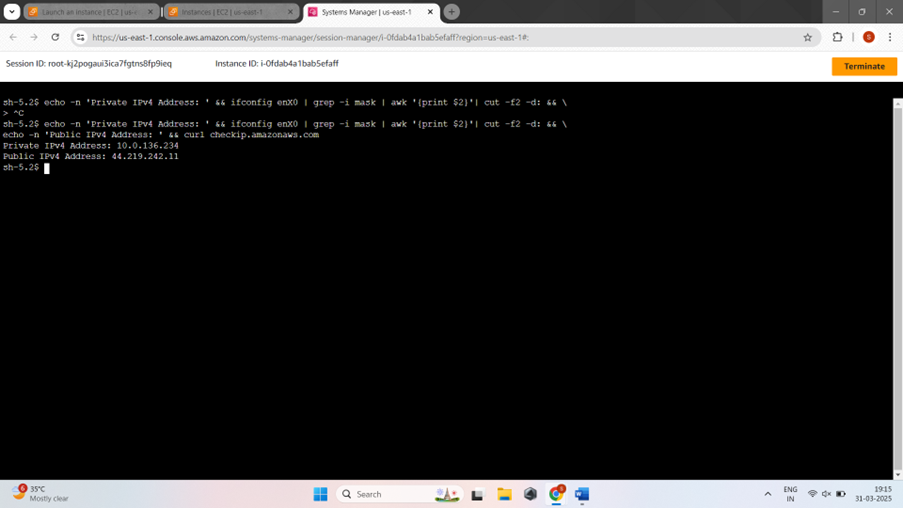
Excellent, there's the private IP address you noted in step 1 This means we successfully connected to the right instance without exposing the SSH protocol. However, you'll also notice there is a Public IP address - this is the Elastic IP allocated for the NAT Gateway. The NAT Gateway allows resources in the private subnet, like our web server, to communicate with the Internet.
Browse to the EC2 service.
From the navigation menu, click on the Load Balancers link, then click Create load balancer.
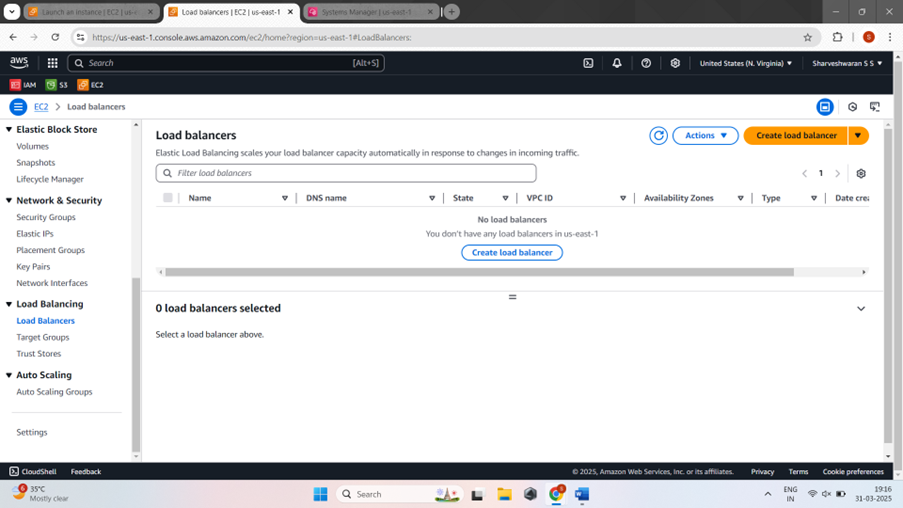
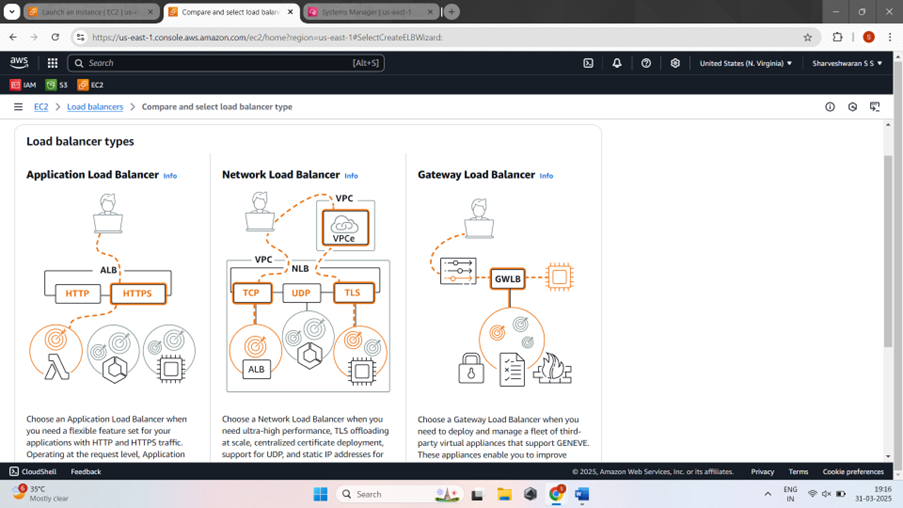
The Application Load Balancer (ALB) operates at the application layer, providing advanced traffic routing capabilities, in contrast to other load balancer options like the Network Load Balancer which functions at the network layer.
Click Create under Application Load Balancer.
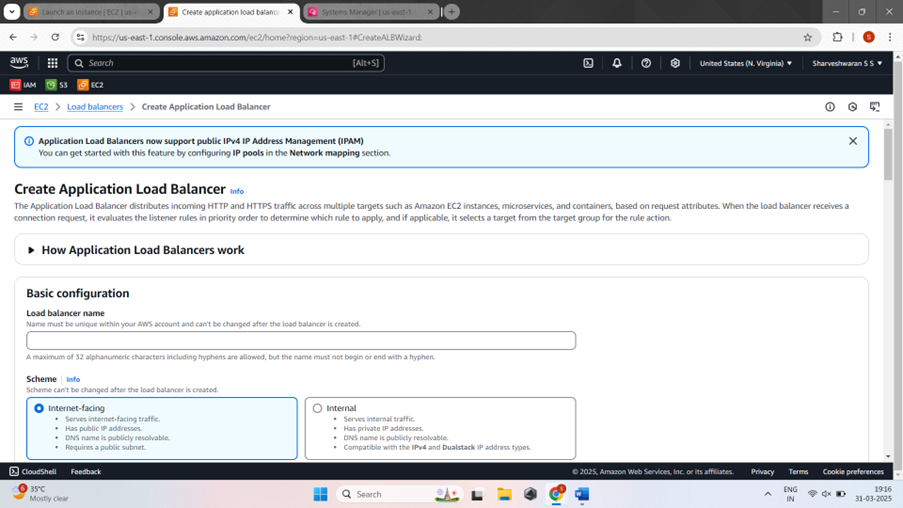
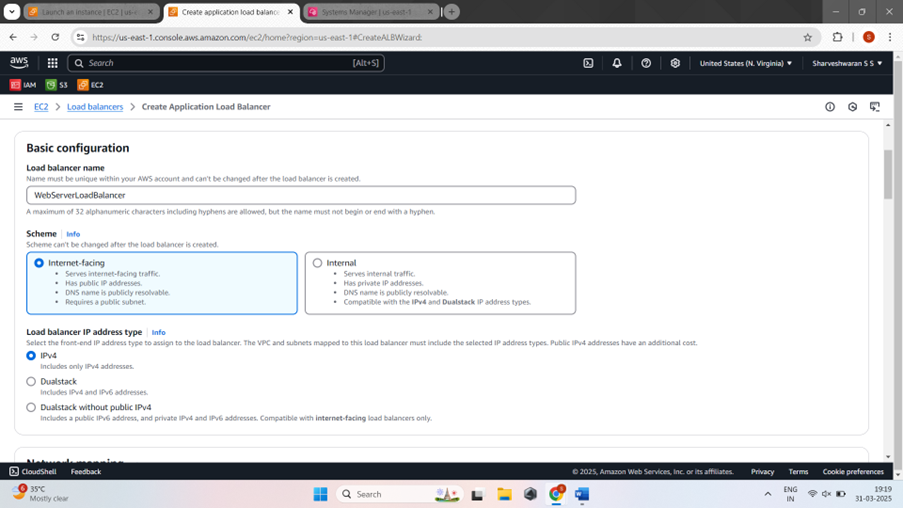
Configure the Application load balancer with the following basic and network settings:
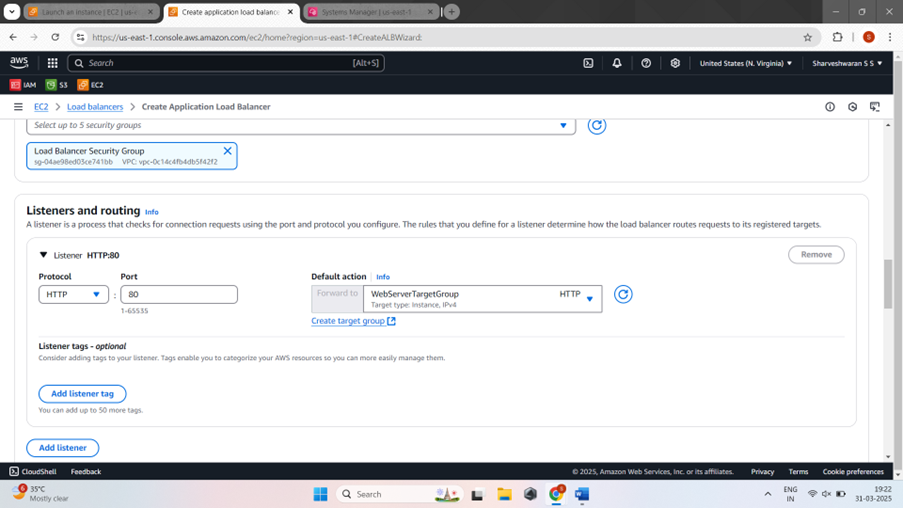
In the Security Groups section, delete the default group and add the Load Balancer Security Group you created earlier. This configuration will allow incoming traffic on port 80 from the Internet.
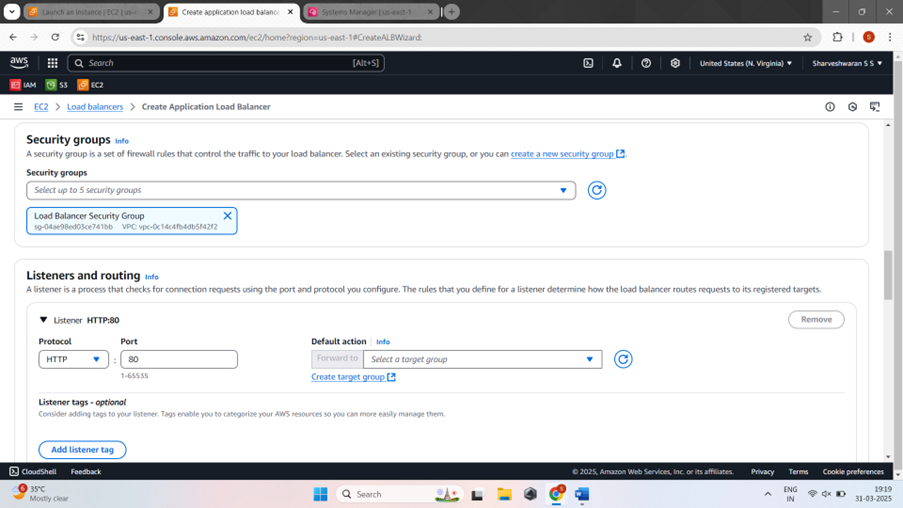
Leave the default settings of HTTP and port 80 in the Listeners and routing section, then click Create target group.
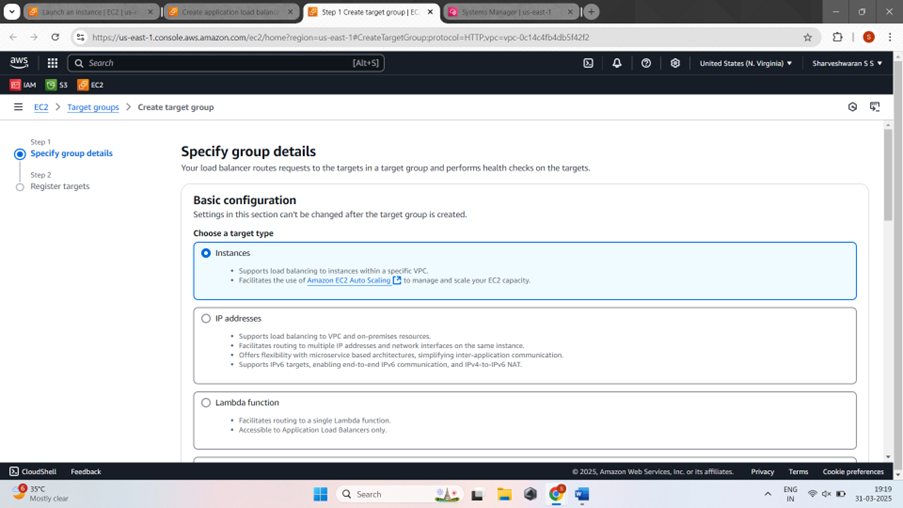
A target group defines the targets (e.g. EC2 instances) that the load balancer will route traffic to. Configure the new target group with the following settings:


Click Next to proceed to the register targets settings.
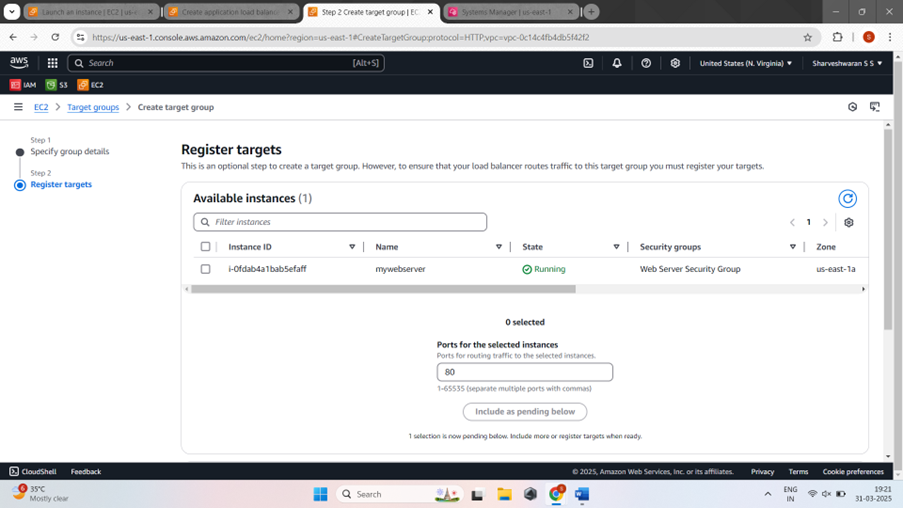

Select mywebserver and click include as pending below. This will configure the load balancer to route web traffic from the Internet to the EC2 web server instance
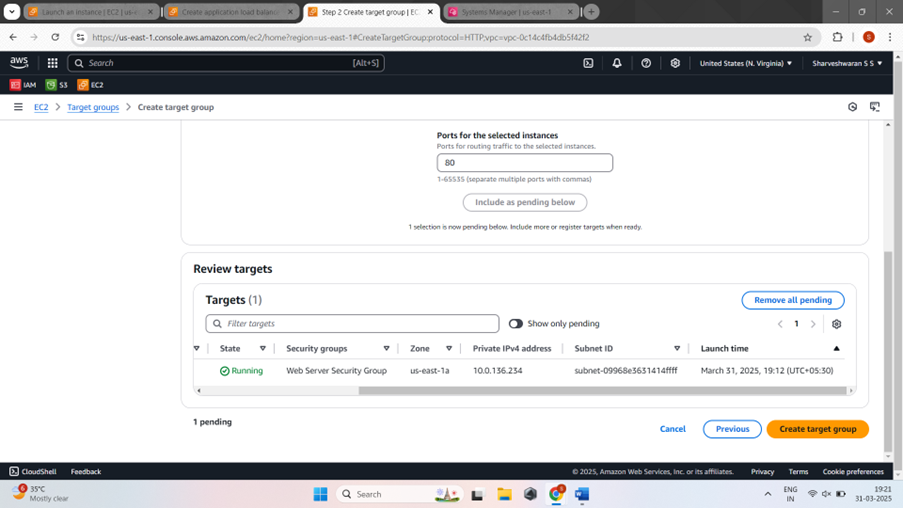
Click Create target group to finalize the setup, then close the browser tab to return to the load balancer configuration
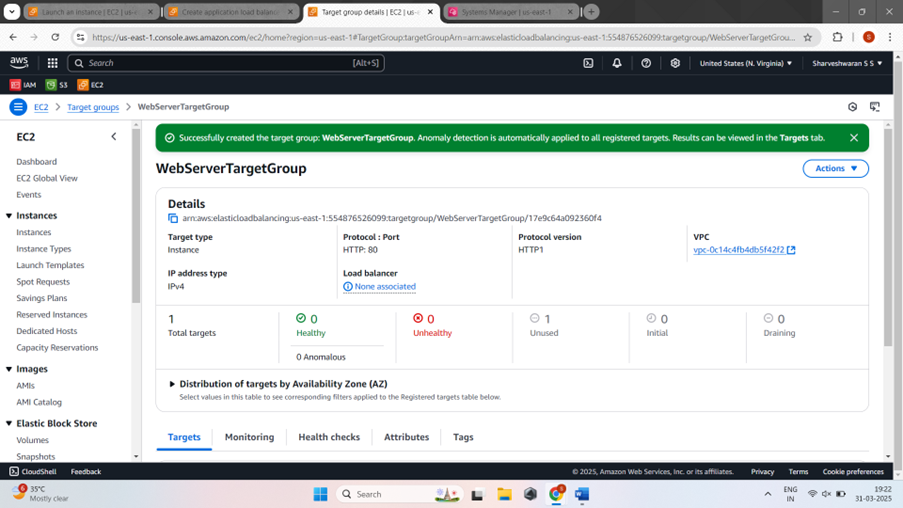
In the Listeners and routing section, click the refresh button and select the WebServerTargetGroup we just created.
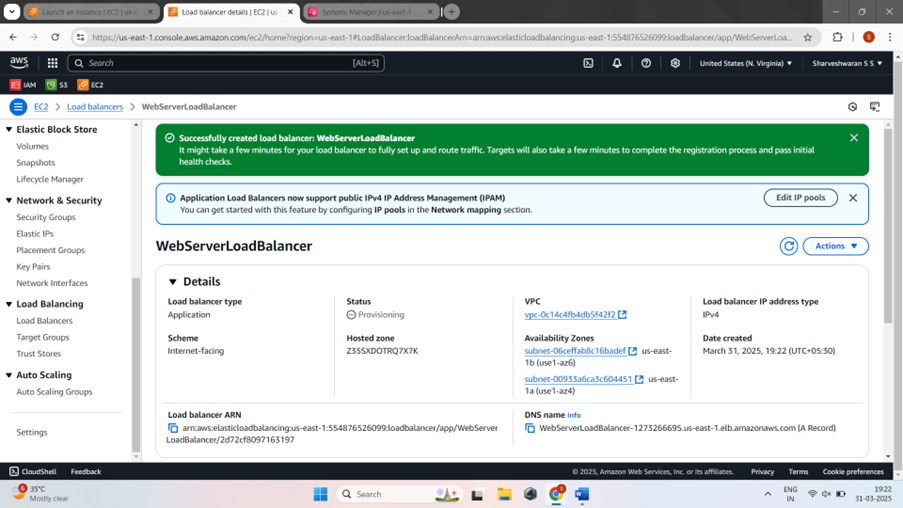
Leave the remaining settings as default and click Create load balancer
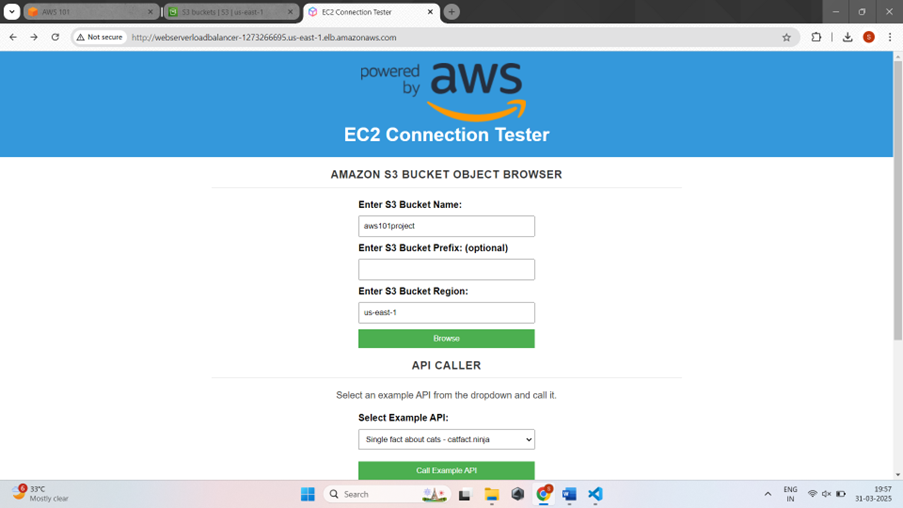
Browse to the Amazon S3 service.
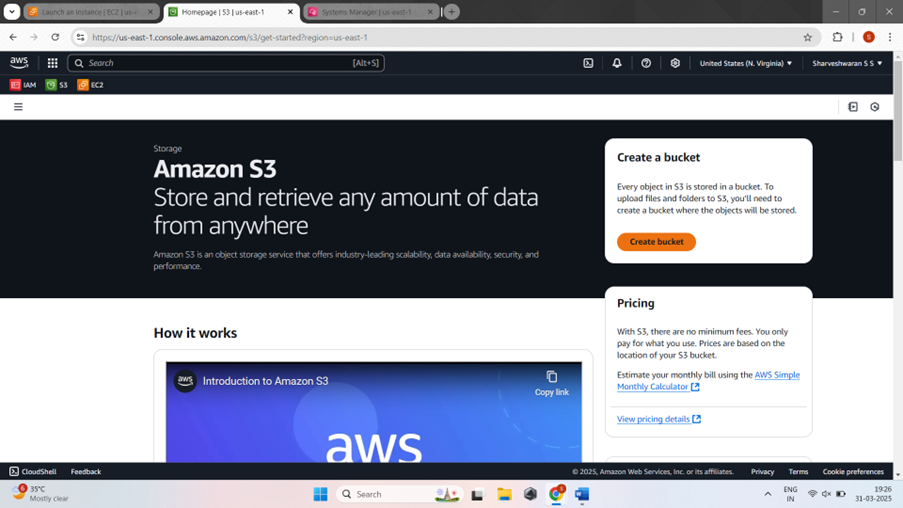
Click Create Bucket

Let's give the S3 bucket a fun and unique name. Think of something clever or memorable. It needs to be globally unique.
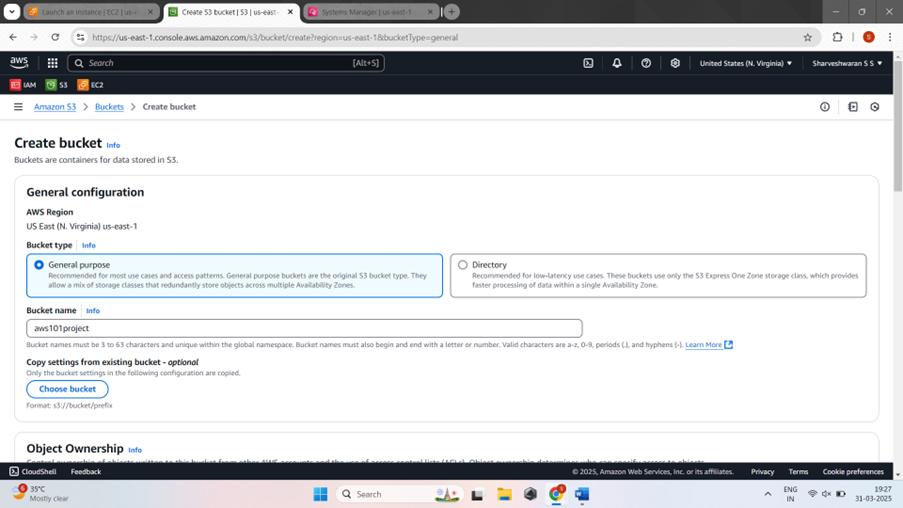
Leave the other settings as the defaults, then click Create bucket.

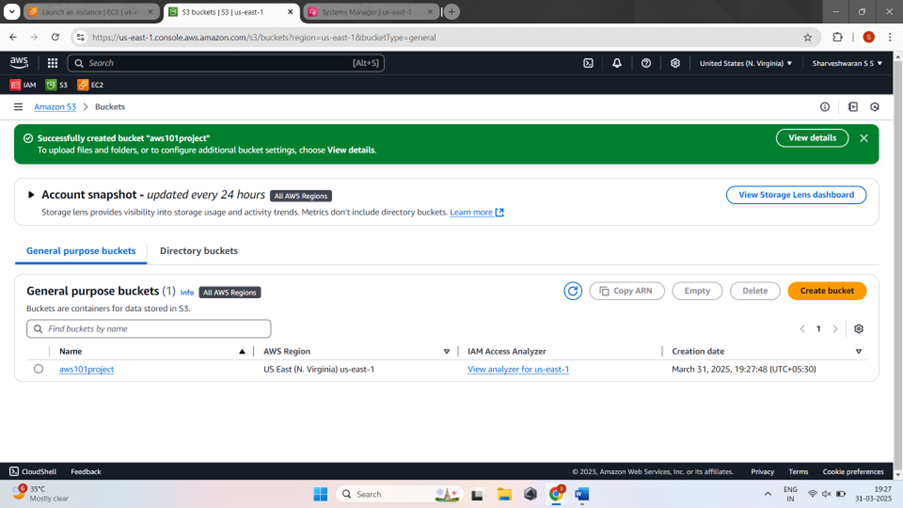
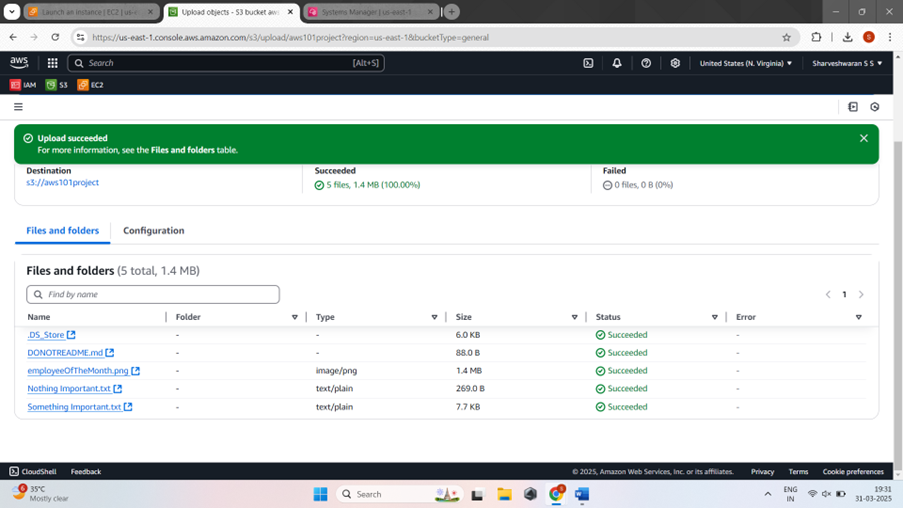
Click on the name of the S3 bucket you created, then click Upload.
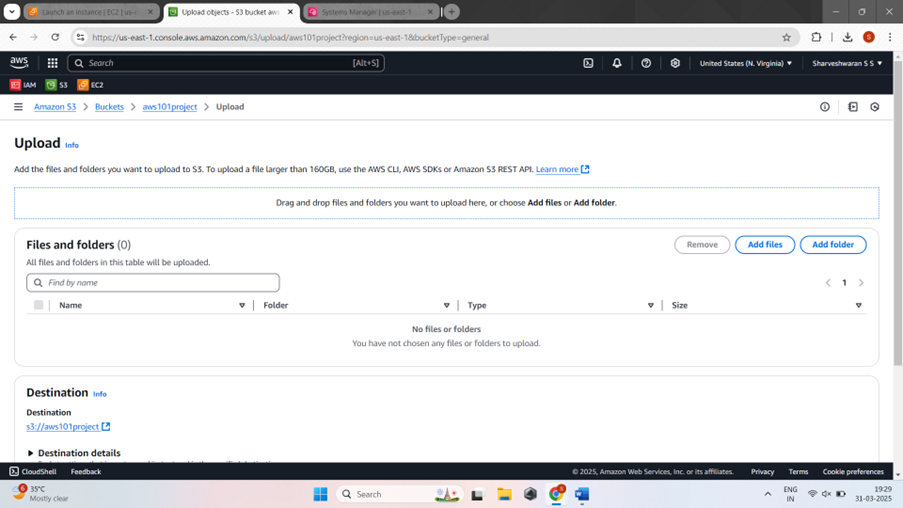
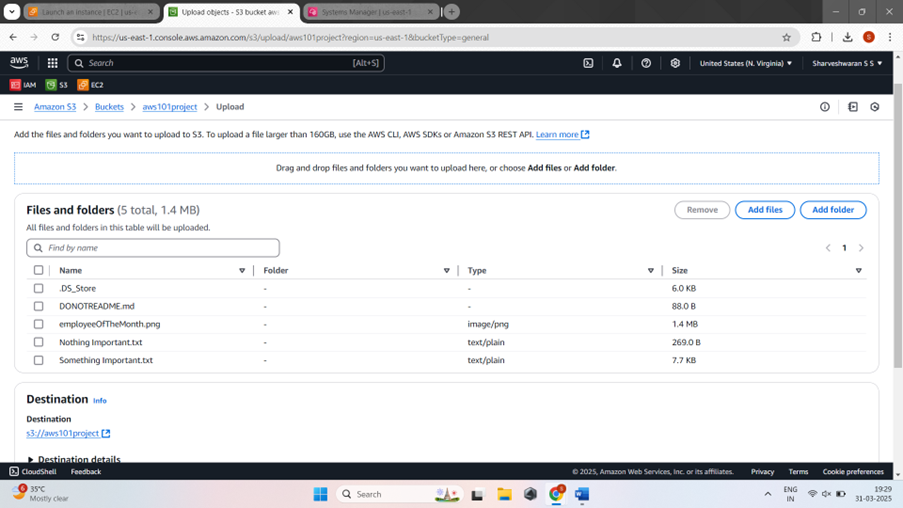
Use the S3 console to upload the files you downloaded. Click Add files
Browse to the IAM service.
Navigate to Roles, then search for and click on the WebServerInstanceProfile role.
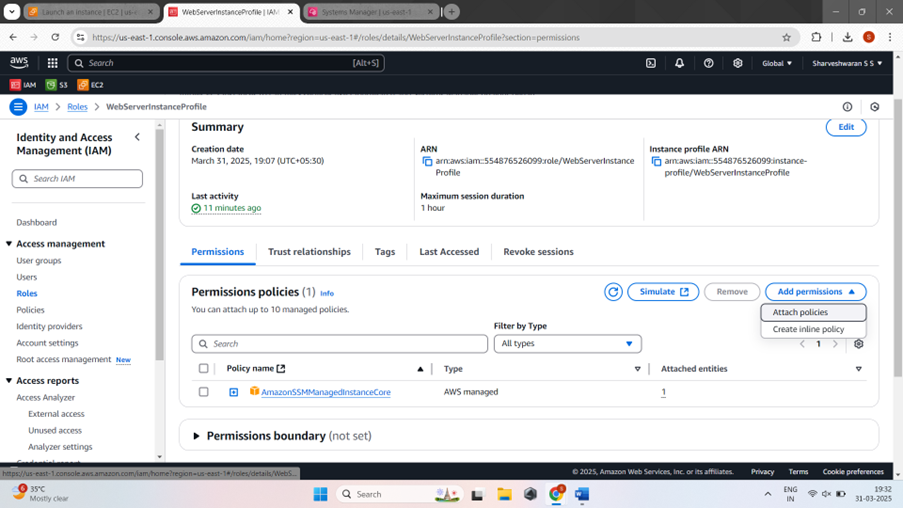
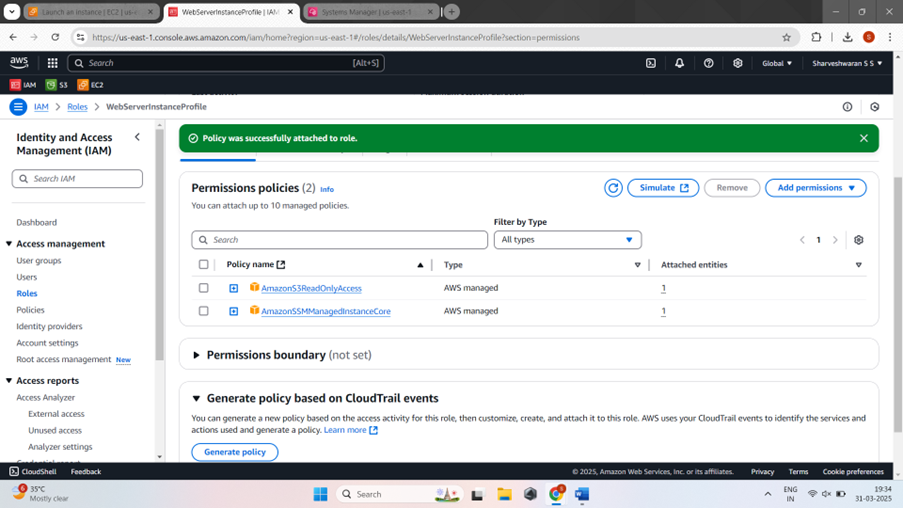
Under Permission policies, click Add permissions and select Attach policies
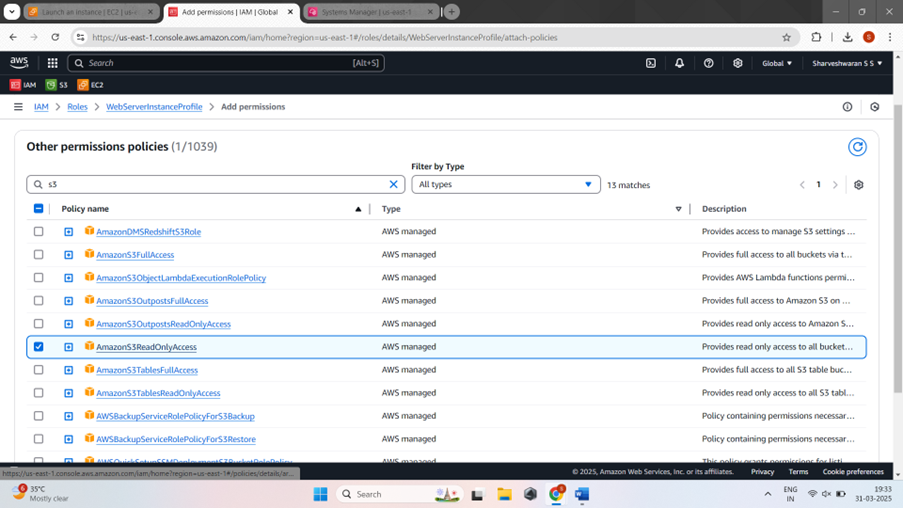
Search for s3. Select the AmazonS3ReadOnlyAccess AWS managed policy and click Add permissionsExpand the AmazonS3ReadOnlyAccess AWS managed policy attached to the role, and review the JSON policy definition.
Browse to the EC2 service.
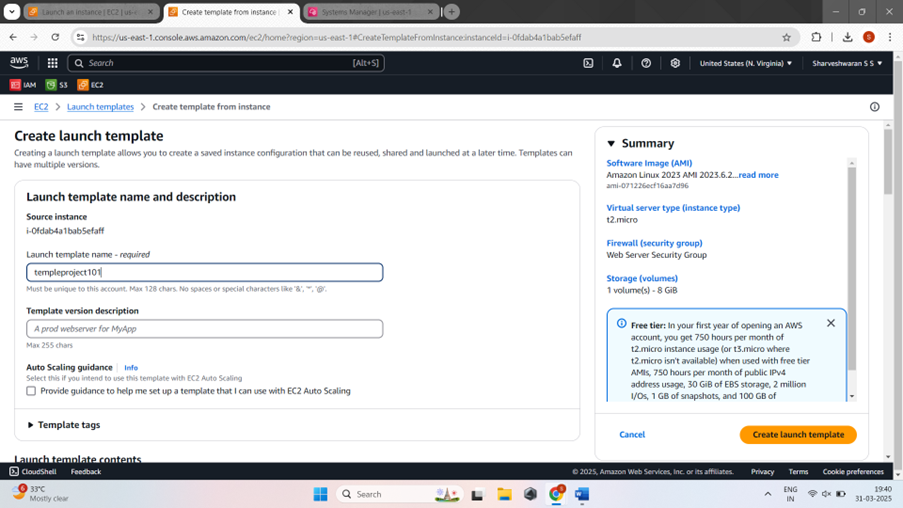
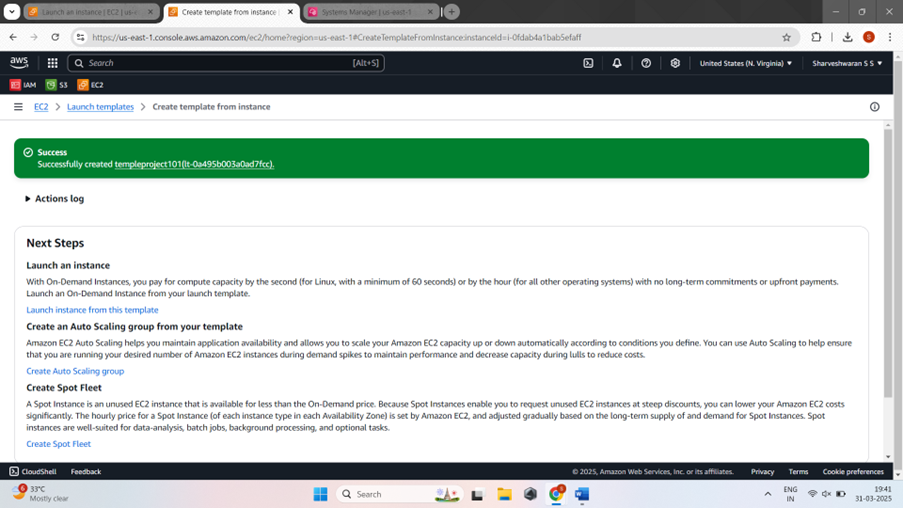
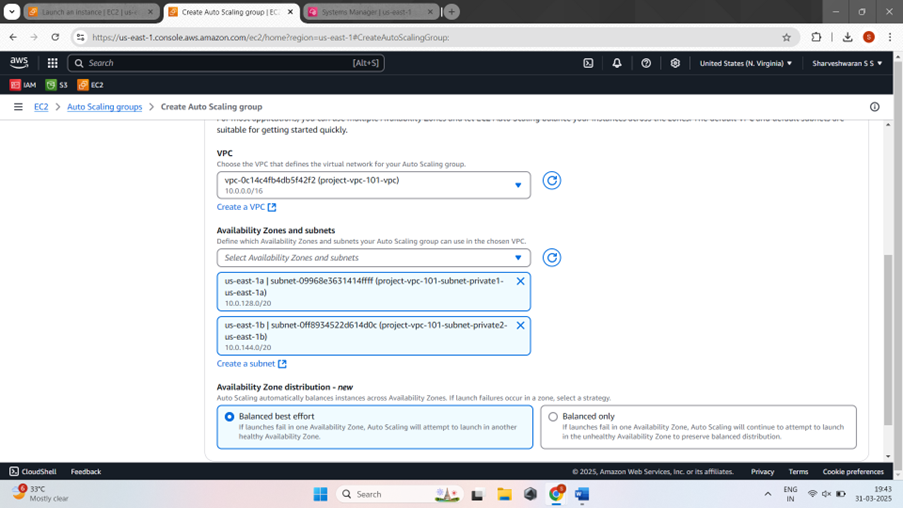
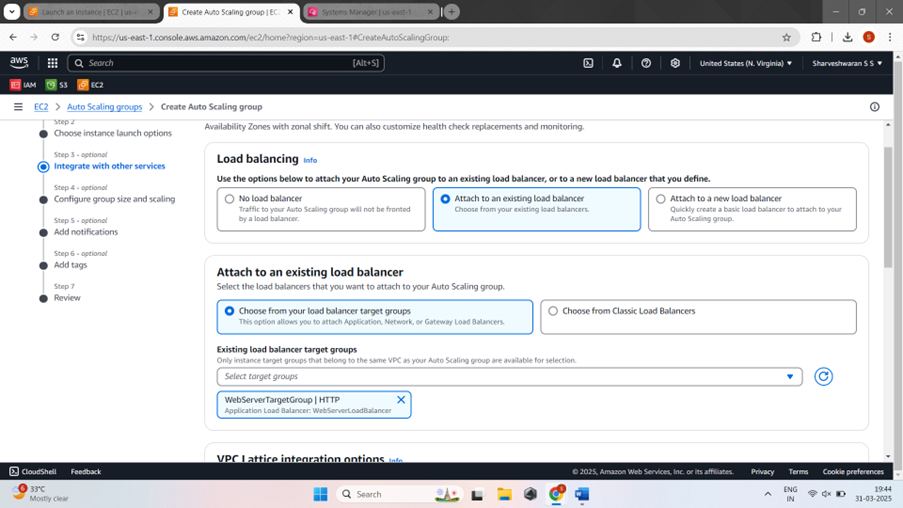
Then, build the Auto Scaling Group, which can run alongside the existing Amazon EC2 instance without the need to delete it.

Follow image


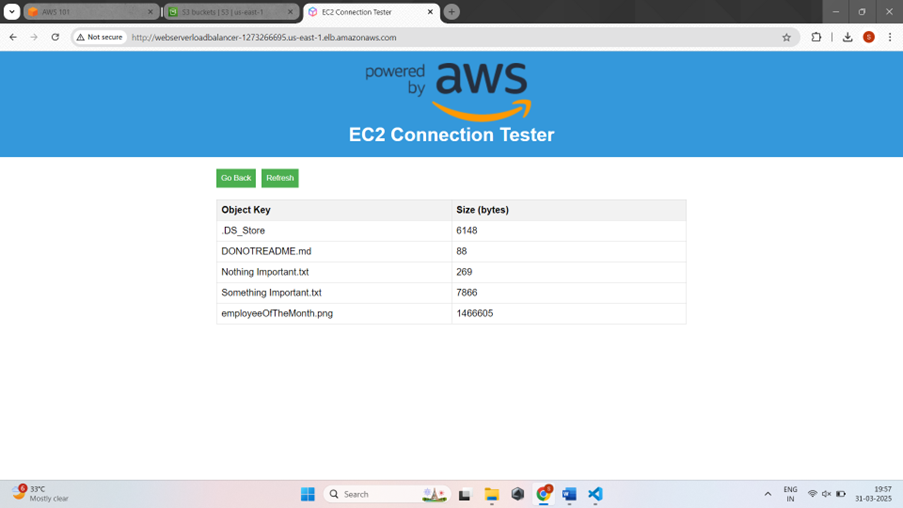
Using load balancer DNS Link