
co-authored with @chello_serion
If you’re a newbie in programming, you might have heard about Linux and might even be fascinated about the idea of involving Linux in your small coding practices, yet you’re unclear where to begin. Maybe you're a student preparing for a computer science class, or you just want to learn about new technology without feeling overwhelmed. Not just that, even if you’re already familiar in the field of software or application development and want to enhance and improve your current scope and skills, you might be interested to explore Windows Subsystem for Linux (WSL) as an environment for development, given that you haven’t yet.
With WSL, you may run Linux-based tools, frameworks, and languages directly on your Windows computer—no complicated setup, no need to leave your comfortable environment.
In this article, we will show you how to install WSL and run your first c program in WSL.
Why You’ll Love This and What Makes Using WSL Better?
WSL gives you the flexibility to develop programs and applications using the features of both Linux and Windows on one computer without having to set up separate virtual machines and dual-boot, allowing you to create and test programs on Linux seamlessly and efficiently without costing too much time and effort.
Setting Up Windows Subsystem For Linux
PREREQUISITES
- Windows 10/11: Version 2004+ (Build 19041+)
- Stable internet connection
INSTALL WSL
Open your Command Prompt or Windows PowerShell:
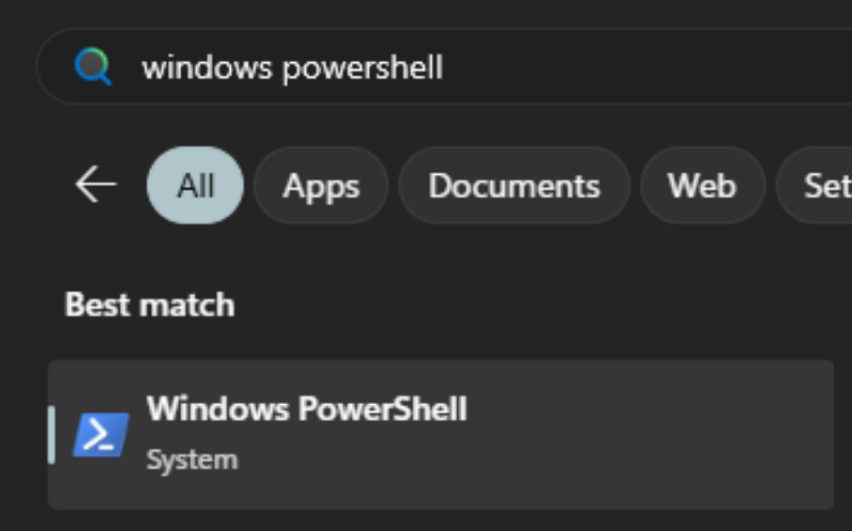
Run the following command in Windows PowerShell or Terminal:
wsl --install

After running the program to install the WSL, your machine may reboot. After the reboot or the installation, you can check the version of the WSL you have installed using:
wsl -l -v

INSTALL LINUX DISTRIBUTION
After restarting your computer, you must install and select your Linux distribution, which is Ubuntu by default (take note that some machines automatically install the Linux distribution, and some may need to manually install the distribution). If you want to change or add an additional distribution, use the following command:
wsl --install -d
Replace with the corresponding distribution name.
Typing in the command wsl --list --online will show the list of available Linux distributions that can be installed on your computer.

Here, we are installing the Linux distro called Ubuntu 24.04 LTS (Long Term Support), so running the prompt wsl --install -d Ubuntu-24.04 initiates the distro installation.

This distro version is better than the standard Ubuntu distro because it receives maintenance and security updates for a longer period compared to the standard Ubuntu distribution.

After the installation, it will prompt you to launch the Linux distro by running:
wsl.exe -d
and in this case, wsl.exe -d Ubuntu-24.04, because we’re specifically launching the Ubuntu 24.04 LTS Linux distro.
POST-INSTALL SET-UP
After installing WSL and Ubuntu (or other Linux distributions that you have installed) on your computer, you should:
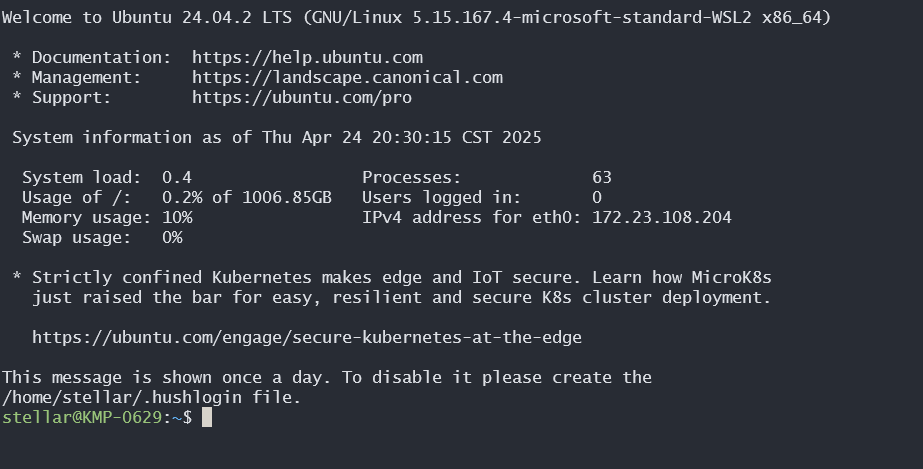
- Launch installed Linux distro (distribution) by
wsl.exe -d. Here, we’re launching the Ubuntu distribution to set our default Unix user account.

- Create your Unix username and password for the distro (each distro has a separate account which means our account in the Ubuntu distro is different from another distro account), which will be considered as the Linux administrator and will automatically log in during launch.

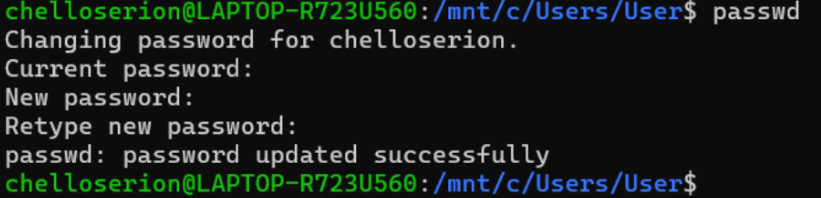
- When entering your password, keep in mind that you cannot see what you are typing nor is there any indication that you have already inputted a character, which is completely normal.

- To change or reset your password, use the command:
passwd
- If you have forgotten your password, make sure you know your username in that designated distro: (replace with the username you have created, and with the non-default Linux distro name):
wsl -u root (or wsl -d for other distro accounts that are not default)
passwd
exitto log out of the root user
- Update and upgrade the system using these Super User Do commands:
sudo apt update && sudo apt upgrade

Now that you've successfully installed and updated your WSL, we'll execute a basic C program from a specified directory.
Running a Simple C Program in WSL from a Specific Directory
PREREQUISITES
- WSL is installed on your Windows computer.
- A Linux distribution installed in WSL
- Installed GCC (C/C++ Compiler)
To install GCC on your WSL, launch WSL on your terminal and run this prompt for GCC installation:
sudo apt install gcc

After finishing the installation, enter y and try checking if it has been successfully installed GCC compiler by running: gcc --version

- A C program saved in a directory.
If you are just beginning your coding journey, open any text editor app and copy and paste the following:
#include


int main() {
    printf("Hello, you have successfully installed WSL on your computer!\n");
    return 0;
}
Save your file as sample.c (make sure the file extension is .c for it to become a C source file), and the sample program expects an output of “Hello, you have successfully installed WSL on your computer!”
STEPS TO RUN A C PROGRAM
Open your Window PowerShell or Terminal and navigate to your specific directory
- To go to the directory where your C file is located, run this command to your terminal:
cd \path\to\your\directory

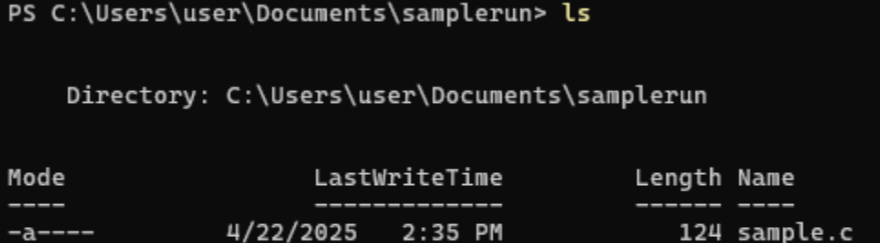
- To verify that your file is in the directory, run this command:
ls
After reaching your specified directory and verifying your file is saved there, launch WSL by typing wslon your command prompt and run your C program using the following commands:
- Compile the program using GCC (the filename at the end of the command prompt refers to the filename of the executable file that it will create after compiling):
gcc filename.c -o filename

- Execute the compiled program using the filename of the executable file:
./filename

Launching and Using Linux GUI Apps on Windows
Now that we have installed WSL, let us explore another one of its features, which is to open and run applications on Windows that are usually restricted or pre-installed on Linux Operating systems only.
Let’s try running _Gedit _ on Windows using the newly-built WSL. But what exactly is Gedit? If you’re unfamiliar with this application, this is the default text editor on Linux systems - something like Notepad on Windows. This is lightweight and ‘line-numbered' which is perfect for test developing in HTML or Python.
First, run sudo apt update (just in case, to reduce the risk of encountering errors)

Next is to install the Gedit app using sudo apt install gedit -y. You might have to wait for the installation to finish for a few seconds or minutes.

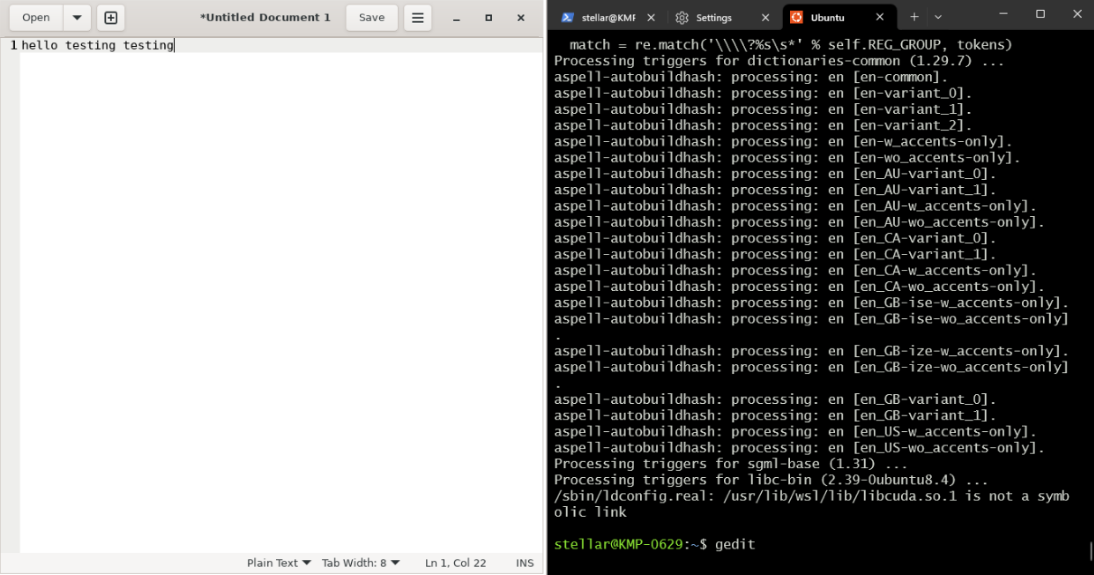
After the installation, you can launch Gedit by entering gedit

This will run the Gedit GUI application on your Windows with its very own window and icon. It can even function the same as if you are using it on a Linux machine.
Customization: Changing the Themes and Font Face
Customizing the way your terminal looks is also possible with WSL. You can change the themes and font face of your terminal per profile, in this case, per Linux distro. It’s very helpful for developers who use more than one distro for their development as they can easily differentiate each distro from one another, or it can simply enhance productivity for some developers who can code more with terminals aesthetically designed for their eyes!
USING DEFAULT SETTINGS
First, with your Windows Terminal or PowerShell open, right click on the title or menu bar of the software. It should display a tab with all the possible actions to apply on the software. Make sure to click on ‘Settings’

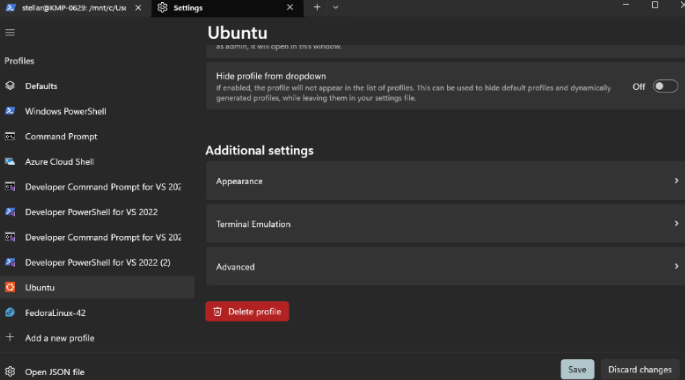
On the left menu of the settings, scroll down until you can see the lists of terminals and Linux distros. Here, we see Ubuntu, press on it to check on its settings.
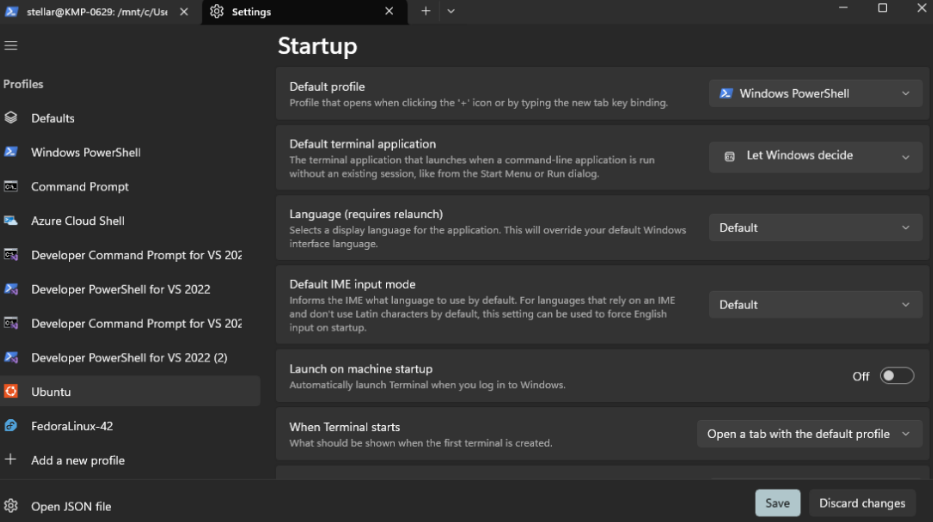
Now, scroll down on the right side of the screen until you see the additional settings: where you must see the ‘Appearance’ settings.
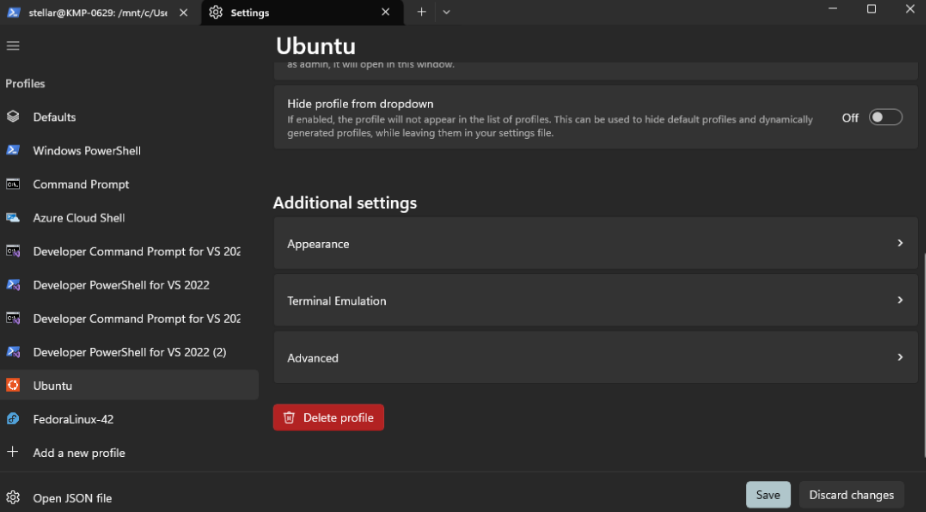
After you have entered the Appearance settings, you should now be able to see the different settings you can customize such as the Terminal theme, font color, font faces, and etc.
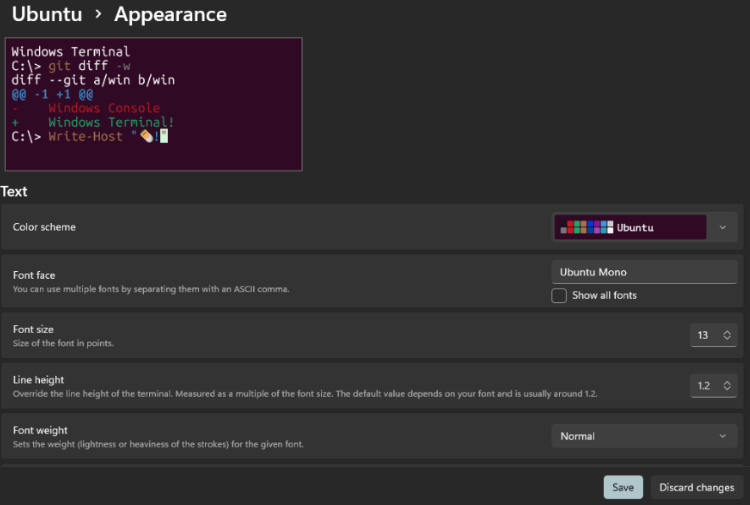
Choose what you think suits your development environment best. Don’t forget to save and apply your changes by clicking on the save button on the bottom right. Here's a sample look of one of the default themes:
USING OH MY POSH
For a more flexible customization, you can utilize Oh My Posh. It allows you more freedom to edit colors and themes for your terminal prompt and add other font faces that were previously unavailable in the default settings.
Set Ubuntu (or your preferred distro) as Default Profile in Windows Terminal:
SET UP TERMINAL
To enable full color support for Oh My Posh, change the $TERM environment variable in your terminal's configuration file to xterm-256color. This allows the terminal to render the whole color palette utilized by Oh My Posh, resulting in a more visually appealing prompt. Use this command:
set $TERM to xterm-256color

To install the newest version for your system, execute the following command:
curl -s https://ohmyposh.dev/install.sh | bash -s

If you want to install Oh My Posh to a custom directory (e.g., ~/bin), use this command:
curl -s https://ohmyposh.dev/install.sh | bash -s -- -d ~/bin

SETTING CUSTOM THEME USING OH MY POSH
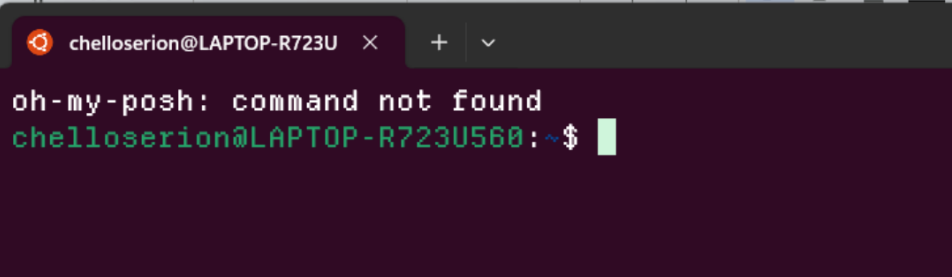
If you're unsure which shell you're currently using, Oh My Posh provides a utility to help you identify it. Simply run the following command:
oh-my-posh get shell

Editing the.bashrc file to complete the Oh My Posh setup. To change the.bashrc file and finish the Oh My Posh Bash configuration, follow these steps:
- Open the.bashrc file using nano.

- Scroll to the bottom of the file and add the following snippet:
eval "$(oh-my-posh init bash)"

To confirm the changes, press Enter **after saving them with **Ctrl+O. Use the Ctrl+X key to close the editor.
To apply changes, run the following command:
exec bash

Steps to Apply Your Chosen Theme
Choose Your Theme: Go to the Oh My Posh Themes Page, and click on the theme you like after perusing the selection.
Copy the Raw GitHub URL for the theme: You will be taken to the theme's GitHub page after clicking on it.
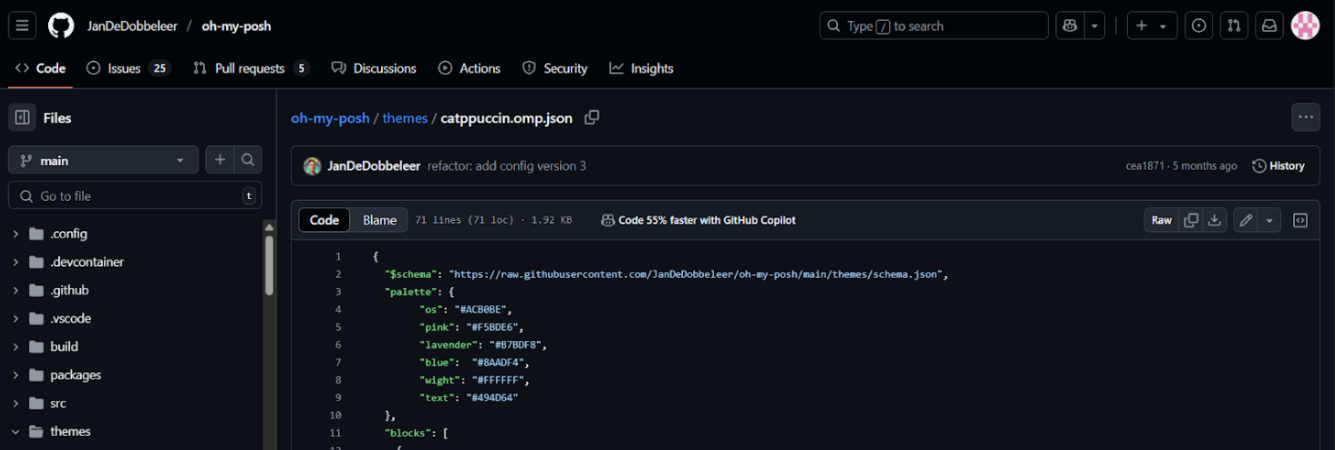
- To see the raw theme code on GitHub, click the Raw button.
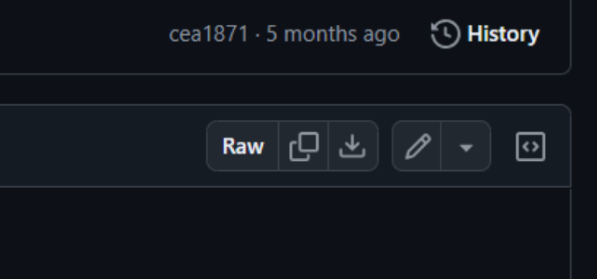
- From the address bar of the browser, copy the raw file's URL.
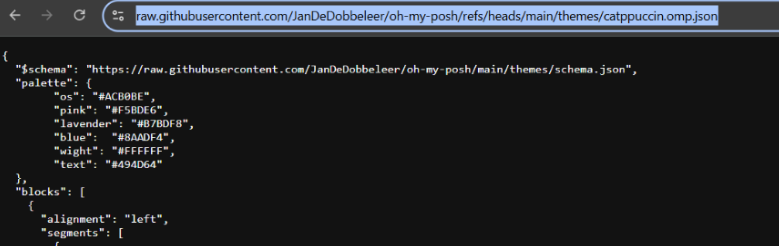
- Edit .bashrc File: Open the .bashrc file using nano in the terminal:
nano ~/.bashrc
- Modify the eval Command: Locate the line with the eval "$(oh-my-posh init bash)" in it. Use the URL of the raw theme you copied to replace it with the next line:
eval "$(oh-my-posh --config '' init bash)"

Replace with the URL you copied from GitHub.
Save and Exit: Press CTRL + O and then Enter to save the changes. You can use CTRL + X to close the nano editor.
Reload the configuration of your terminal: To implement the modifications, type the following command into your terminal:
exec bash

SETTING CUSTOM FONT USING OH MY POSH
Use the following steps to install a Nerd Font on Ubuntu and begin using Oh My Posh:
Open Ubuntu Command Prompt: Start your Ubuntu system's terminal.
To install the Oh My Posh font, execute the subsequent command:
oh-my-posh font install
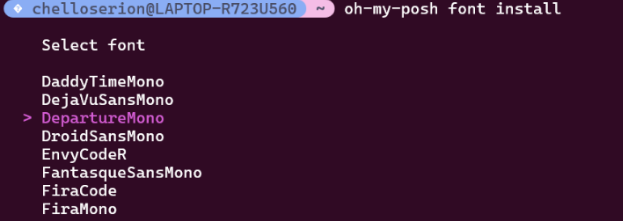
Then, as explained in the following stages, you can choose and set up the font in your terminal.
You can use the Oh My Posh CLI or manually download a
Nerd Font. To download manually, visit the Nerd Fonts Download Page.From the Nerd Fonts page, select your preferred font (e.g., “DepartureMono”, etc.), download it, and install it.
Extract the Font: Open the downloaded .zip file and extract the font files to a folder of your choice.
Install fonts. After installing, you need to exit to reload the fonts
In the Settings window, select the Ubuntu profile. Scroll down to the Appearance section.
- Under Text, click the Font face dropdown and select the installed font.
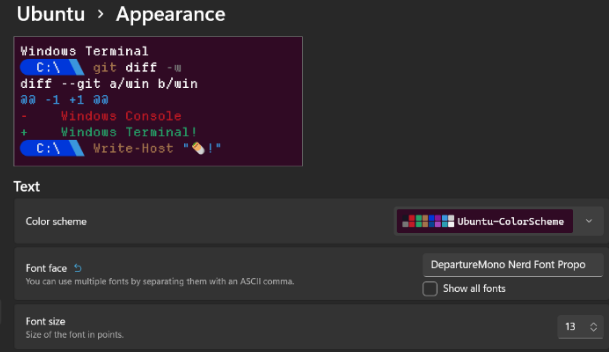
- Save the changes.

Why use Oh My Posh with WSL?
While WSL's default terminal works, Oh My Posh adds significant features:
Visual Context, so we can view Git branches, Node/Python versions, and command status.
Customization since there are dozens of themes, icons, and divisions to suit your workflow. (Make a workspace just FOR YOU!)
Productivity for less typing, fewer errors, and greater attention.
Cross-Shell Support as it's compatible with WSL.
Modern Design because it's simple, informative, and user-friendly.
Easy to set up and operate, this combination is great for students and novice developers seeking a seamless, powerful coding experience.
What Just Happened?
You've now made a significant step toward simplifying your development workflow by building and executing a native Linux binary right from your Windows machine—no rebooting, no switching operating systems, and no need for cumbersome virtual machines. This was all made possible by WSL (Windows Subsystem for Linux), a strong technology that bridges the gap between the Windows and Linux environments.
Using WSL, you can:
Execute Linux commands seamlessly on your Windows PC, combining the best features of both environments.
Compile and run a C program in a Linux environment without leaving your Windows workstation, directly inside WSL.
Personalize your terminal experience by selecting themes, fonts, and even color schemes based on your Linux distribution, ensuring that it is not only functional but also visually intuitive and pleasant.
Enhance the visual and functional experience with Oh My Posh, generating a lovely and informative prompt that improves both efficiency and aesthetics.
Dual-booting or complete virtual machines were avoided, resulting in a reduction in storage space and system resources.
Windows Subsystem for Linux (WSL) offers an ideal blend of efficiency, integration, and performance, making it an excellent choice for both developers and learners. Unlike resource-intensive options like VirtualBox or bare-metal Linux installation, WSL seamlessly combines the freedom of Linux with the familiarity of Windows. This seamless integration not only increases productivity but also simplifies the development process by providing native-like performance and complete compatibility with contemporary programming tools. By selecting WSL, you have access to a dynamic, cloud-ready, and streamlined environment that can grow with your abilities and projects, all while retaining the comfort of working inside your Windows ecosystem. With WSL, you're prepared to take on any coding task, from little scripts to large-scale programs.
Thank you for going through this article for your WSL set-up tutorial, and may your software development journey sail smoothly!
References
