🚀 How to Setup RHEL 9 on Windows Using VirtualBox – Day 1 of My 30-Day Linux Challenge
👋 Introduction
I’ve recently kicked off my 30-day Linux challenge as part of my preparation for the RHCSA exam. This post marks Day 1, where I show you how I set up a Red Hat Enterprise Linux 9 lab on Windows using Oracle VirtualBox—step-by-step.
Whether you’re just getting started with Linux or gearing up for a certification, this setup guide is for you.
Stay tuned—29 more days of Linux adventures ahead!
📋 Requirements
✅ Oracle VirtualBox – https://www.virtualbox.org/
✅ RHEL 9 ISO File (requires a free Red Hat Developer account) – https://developers.redhat.com/products/rhel/download
✅ A machine with at least 4GB RAM
🛠 Step-by-Step Lab Setup in Oracle VirtualBox
Step 1: Create a New Virtual Machine
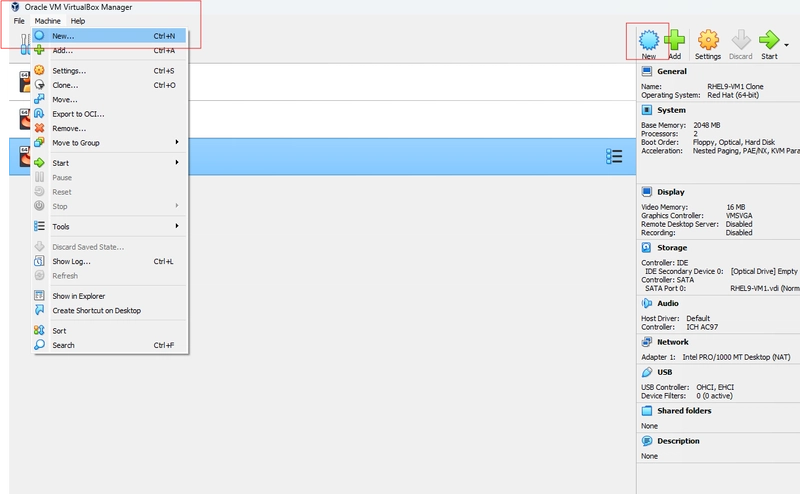
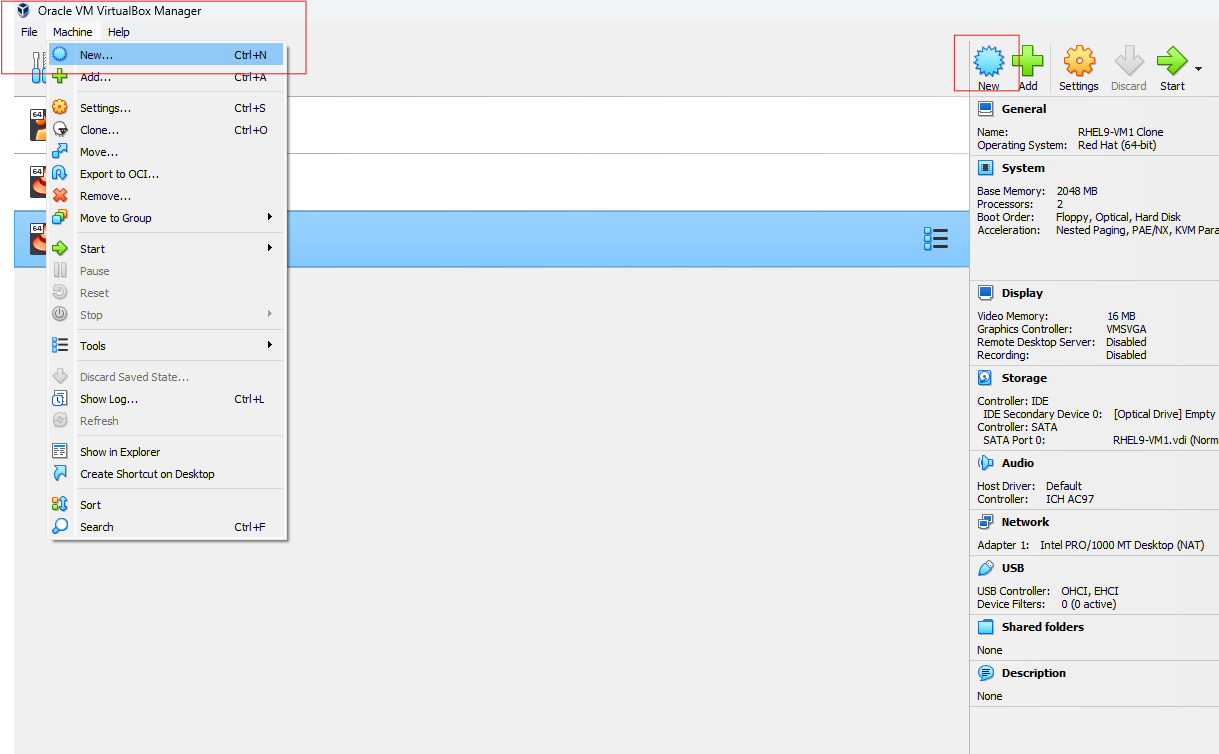
Open VirtualBox
Go to Machine → New
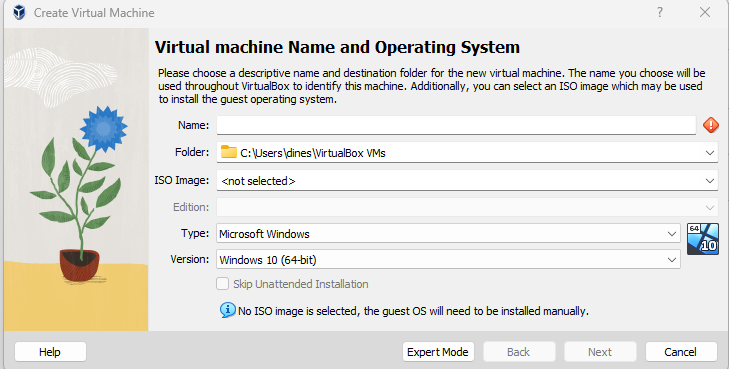
Step 2: Enter VM Details
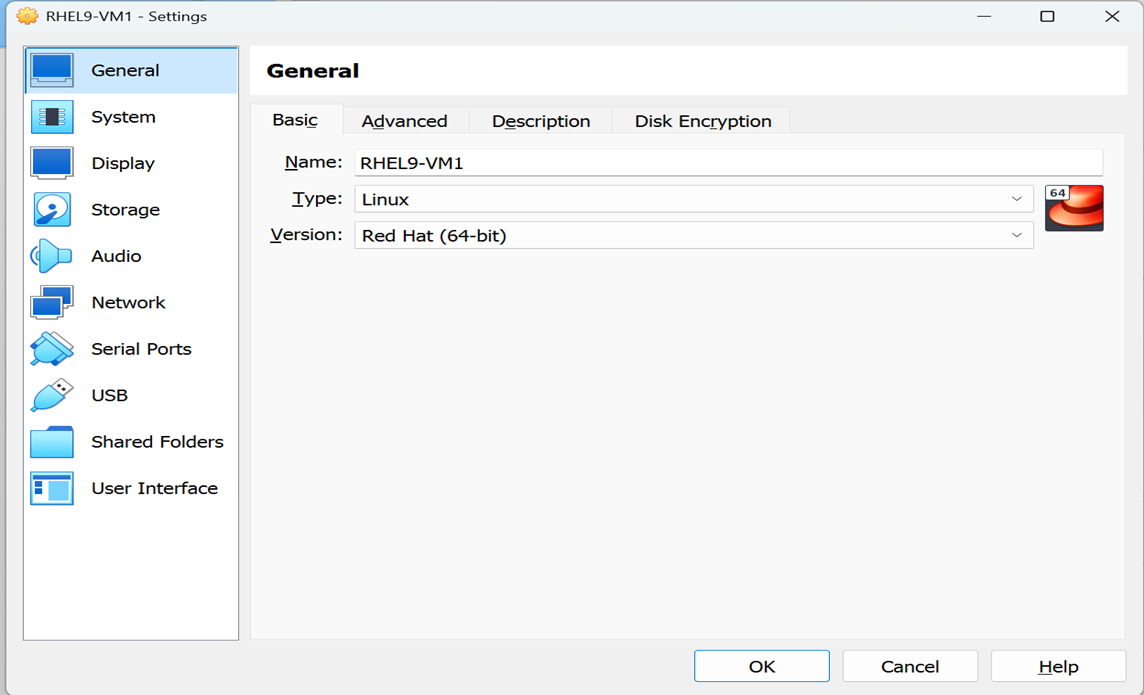
Name: RHEL9-VM1
Type: Linux
Version: Red Hat (64-bit)
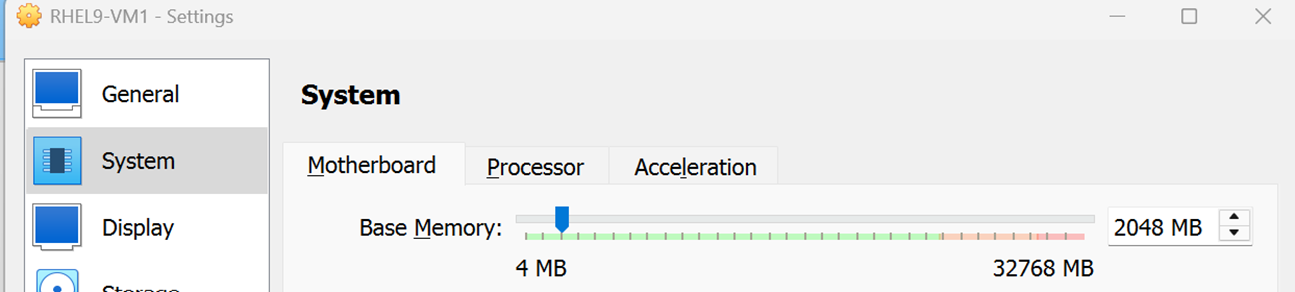
Step 3: Set Memory Size
Allocate 2GB RAM (2048 MB)
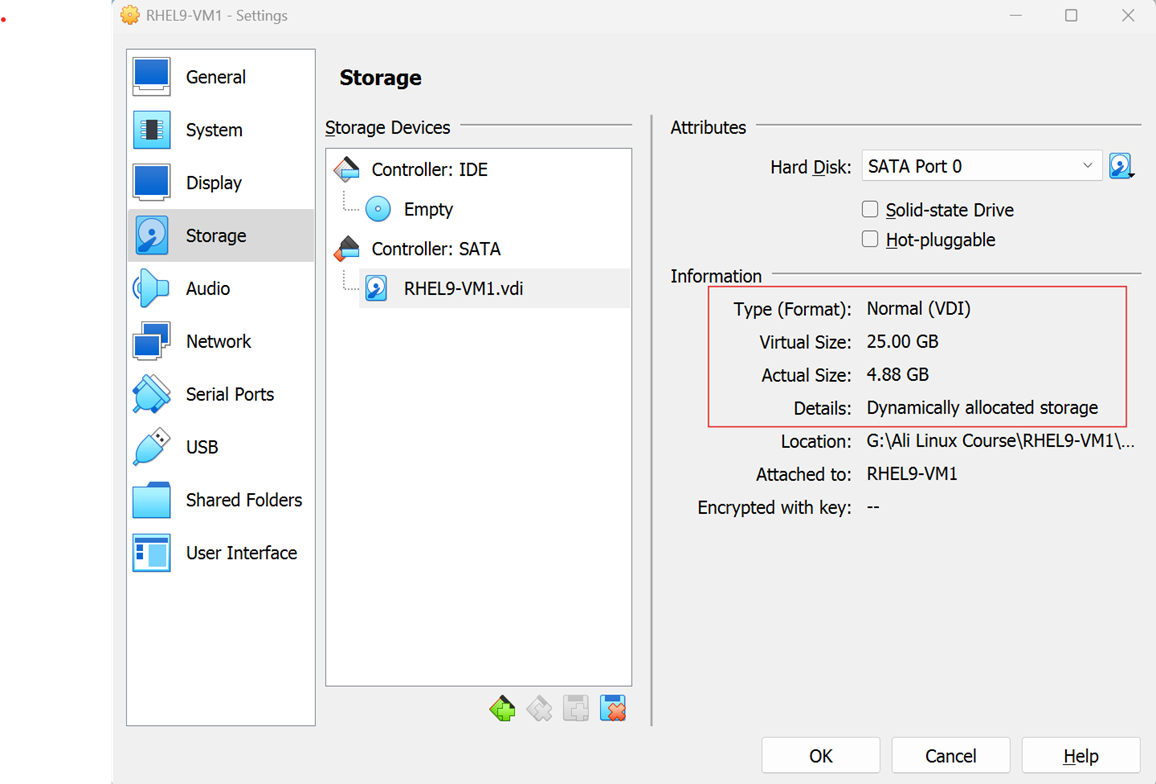
Step 4: Created a Virtual Hard Disk
While in the installation process
Choose VDI (VirtualBox Disk Image)
Select Dynamically allocated
Set size to 25GB
Click Create
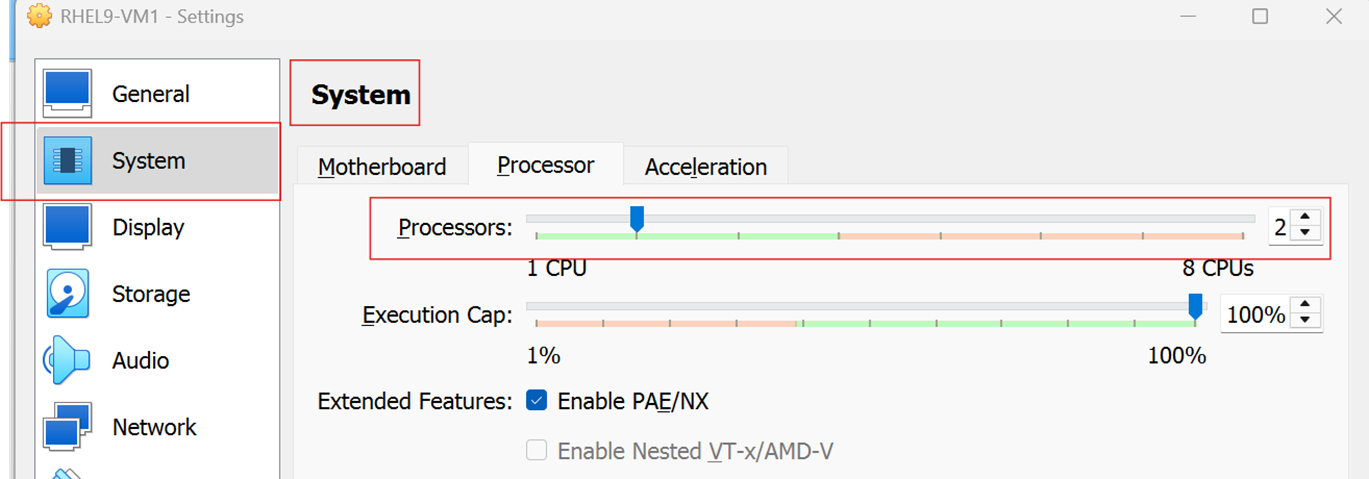
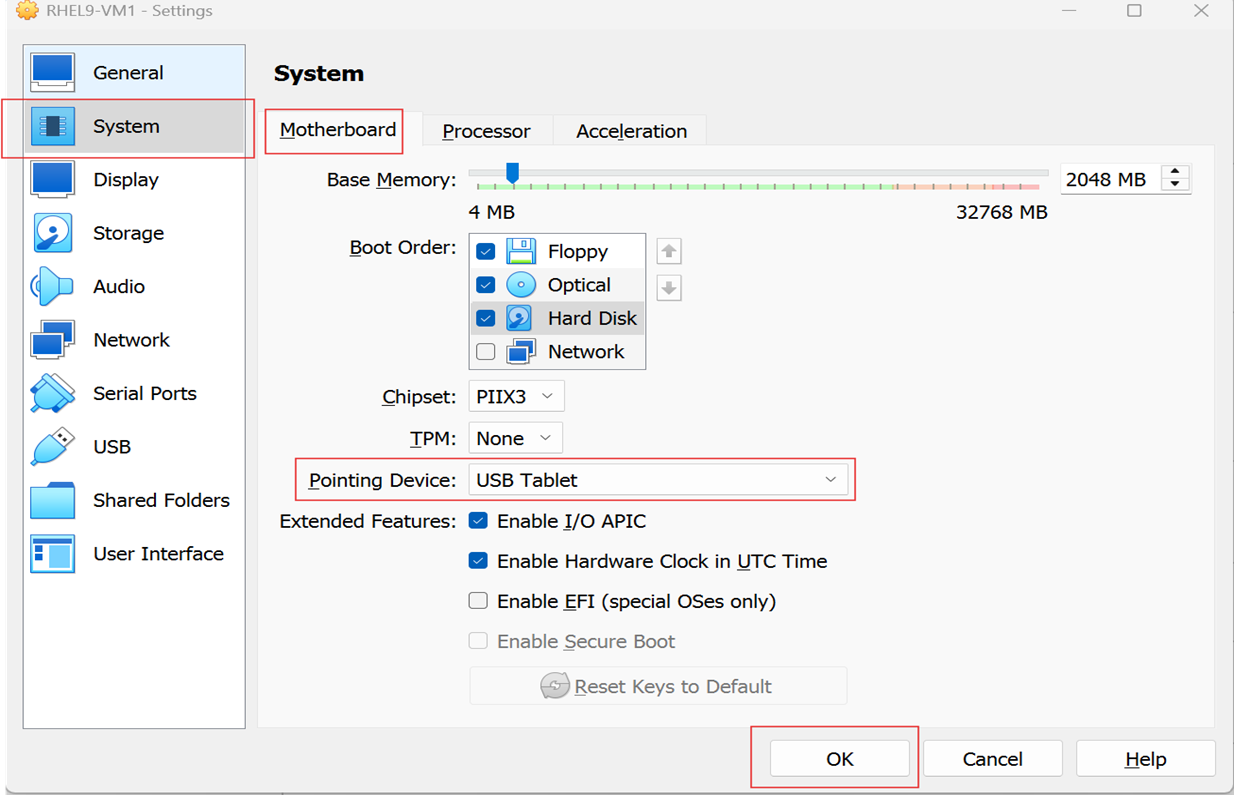
Step 5: Adjust VM Settings
Settings → System → Processor
Set processor count to 2
System → Motherboard
Change pointing device to USB Tablet
Click OK to save changes
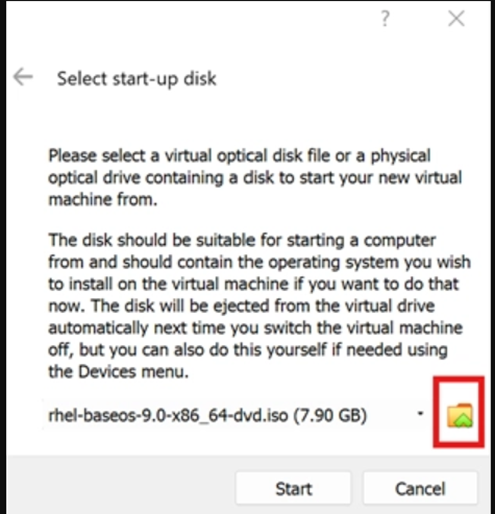
Step 6: Attach the RHEL 9 ISO
Click Start on the VM
When prompted, click the folder icon to choose a disk
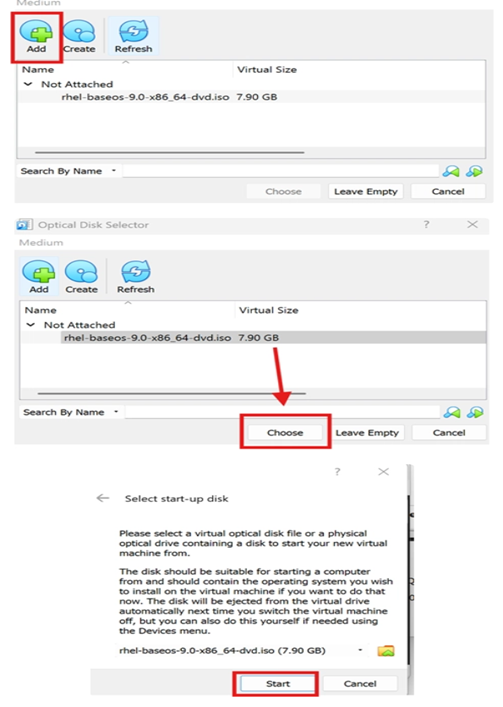
Click the folder icon and select the rhel-baseos-9.0-x86_64-dvd.iso
Click Start
🧑💻 Begin Installation
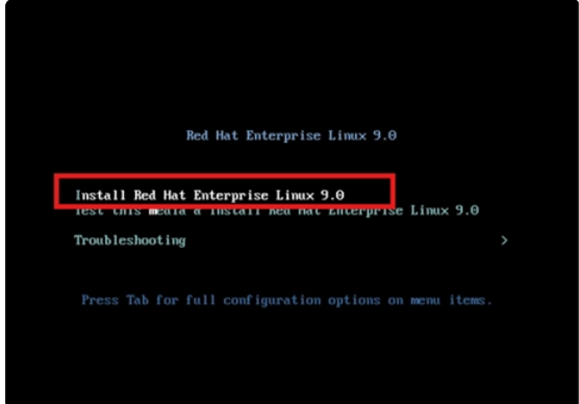
Step 7: Start RHEL Installer
Use arrow keys to select Install Red Hat Enterprise Linux 9. Press Enter
Step 8: Language Selection
Select your preferred language
Click Continue
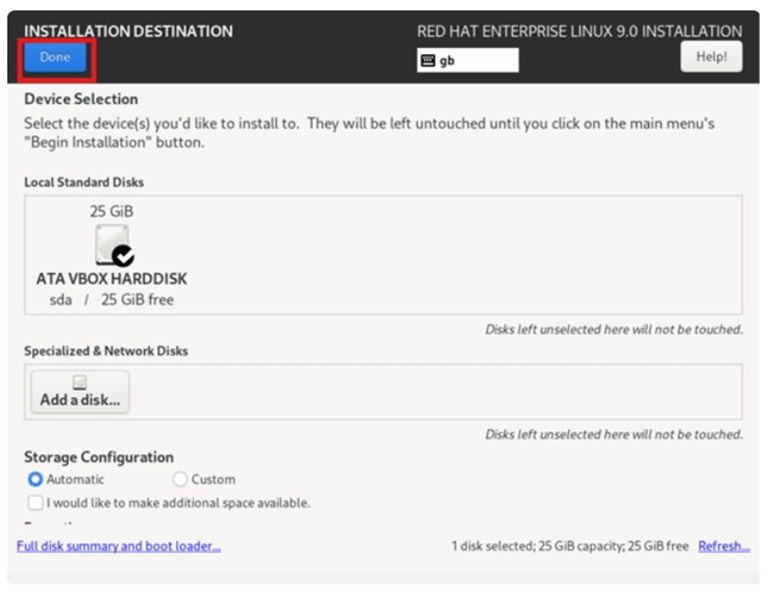
Step 9: Installation Destination
Click Installation Destination
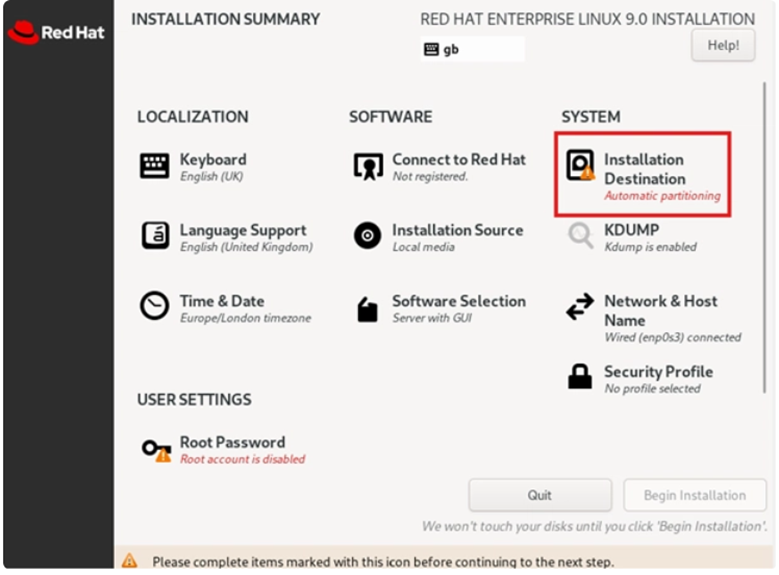
Confirm your 25GB disk is selected
Click Done
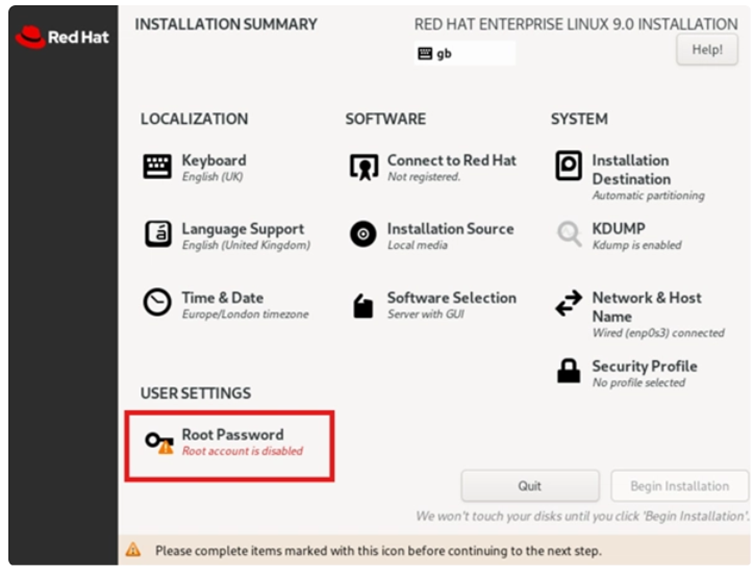
Step 10: Set Root Password
Click Root Password under "USER SETTINGS"
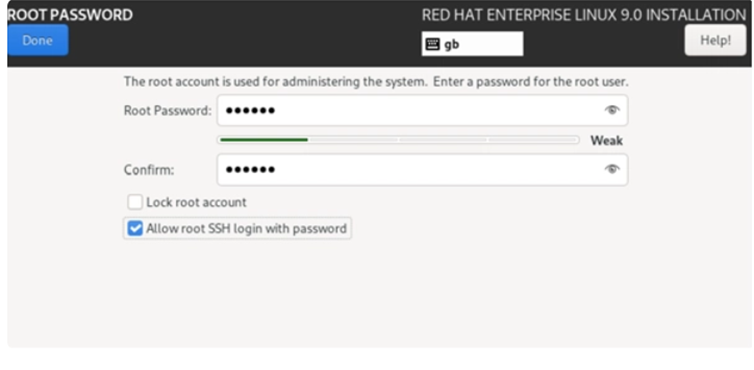
Set: redhat or (user wish)but make sure do not to forgot the root password
Enable Allow root SSH login with password
Click Done
Step 11: Begin Installation
Click Begin Installation
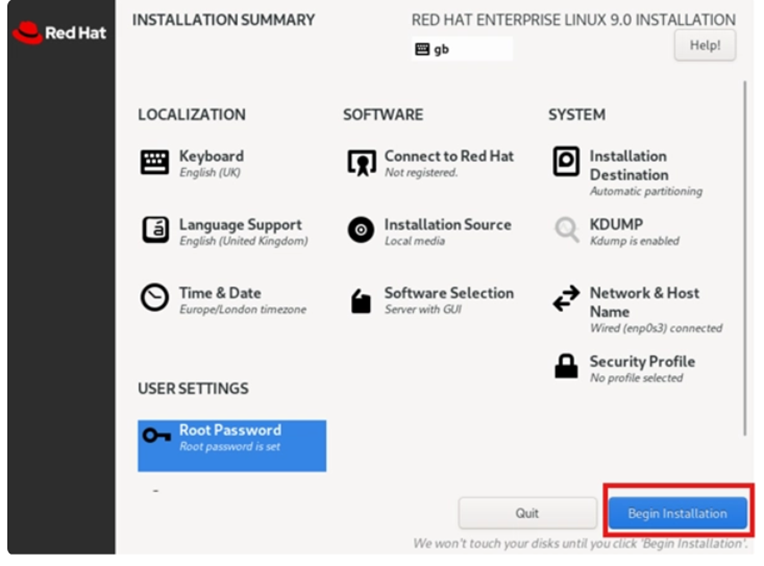
Wait until installation completes
🎯 Final Setup Steps
Reboot when prompted
Eject ISO from virtual drive
🥳 Congratulations! Your RHEL 9 virtual machine is ready for use.
💡 Recommendations & Best Practices
🌟 Pro Tips
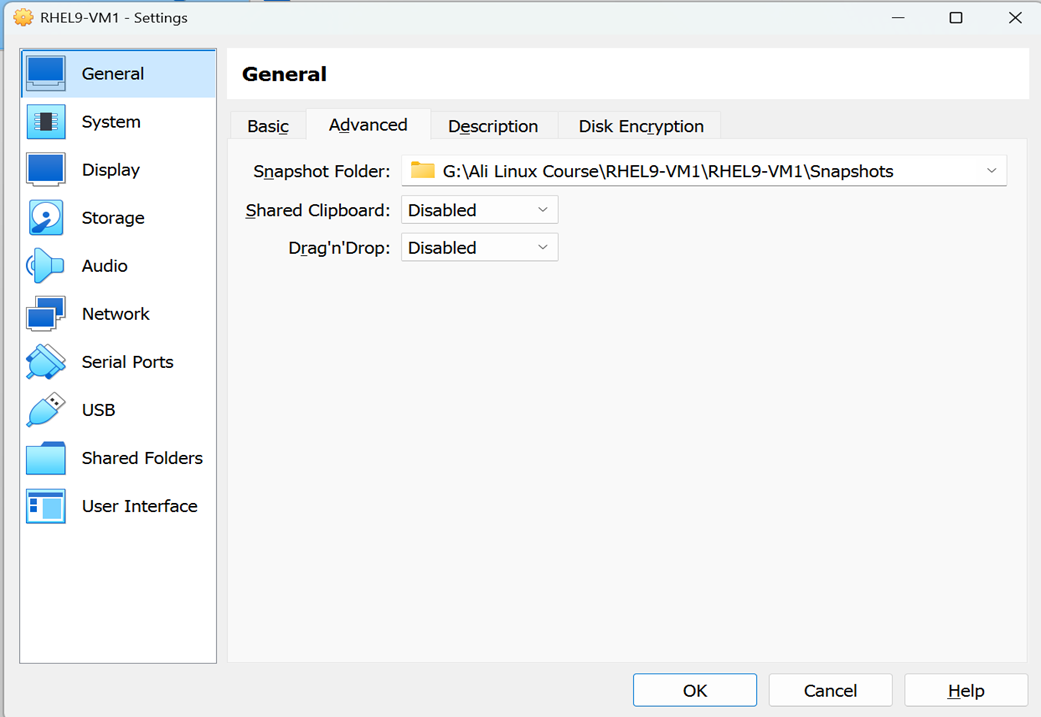
💾 Take a snapshot right after installation
🔁 Enable bidirectional clipboard and drag-and-drop
🆕 Update system after first login:
bash
Copy
Edit
sudo dnf update -y
✅ Quick Summary
2GB RAM, 2 CPUs, 25GB disk
Install RHEL 9 via ISO
Tweak settings for smooth performance
Ready for Day 2 of Linux exploration!
💬 Let’s Connect! https://www.linkedin.com/in/dinesharumugam86/
Feel free to share your thoughts or questions, or even join me on this challenge. Let’s grow those real-world Linux skills together.
