Hey Angular developers! 🅰️ Most of the time, we find ourselves in an endless cycle of updating hard-coded content, making code changes, rebuilding our apps, and redeploying just to fix a typo or update a small description, which is not efficient because there's a smarter way to go about it. In this guide, I'll walk you through how to integrate Sanity CMS, with Angular.
Pro tip: Sanity content platform lets your marketing team edit content directly on the application while you focus on building great features.
Why Sanity And Angular?
- Real-time content updates without app redeploys
- Structured content modeling for consistent data
- TypeScript-first developer experience
- Image optimization built-in
- Free tier perfect for getting started
Prerequisites
Before we dive in, make sure you've got:
- An Angular project
- Node.js v16+ installed
- A Sanity.io account (free tier works)
Section 1: Setting Up Sanity Studio
Installation
Run the command npm install -g @sanity/cli to install Sanity CLI globally. After successful installation, run the command sanity init to initialise a new sanity project
Setting Up Your Content Structure
When running sanity init, you'll encounter an important choice:
? Select project template
❯ Clean project with no predefined schemas
  Blog (schema)
  E-commerce (schema)
  Portfolio (schema)
For this tutorial, select Blog (schema) because:
- Provides ready-to-use content models
- Demonstrates Sanity's core concepts
- Lets us focus on Angular integration
The blog schema includes:
- Posts with titles, slugs, and rich text
- Author management
- Category system
This is perfect for learning how Sanity structures content before creating custom schemas.
For Experienced Users
Choose Clean project with no predefined schemas if you:
- Need complete control
- Have existing content models
- Want to build from scratch
If you’re in the sanity project directory, run:
sanity devThen, open your browser and go to:
http://localhost:3333Expected Output:
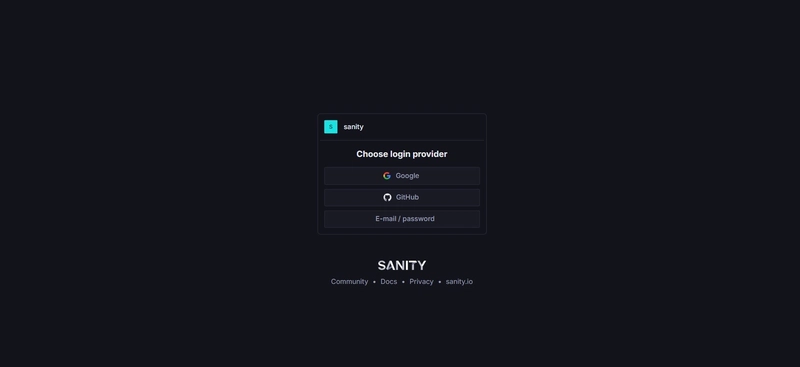
If everything goes as planned, the http://localhost:3333 will show the page below:
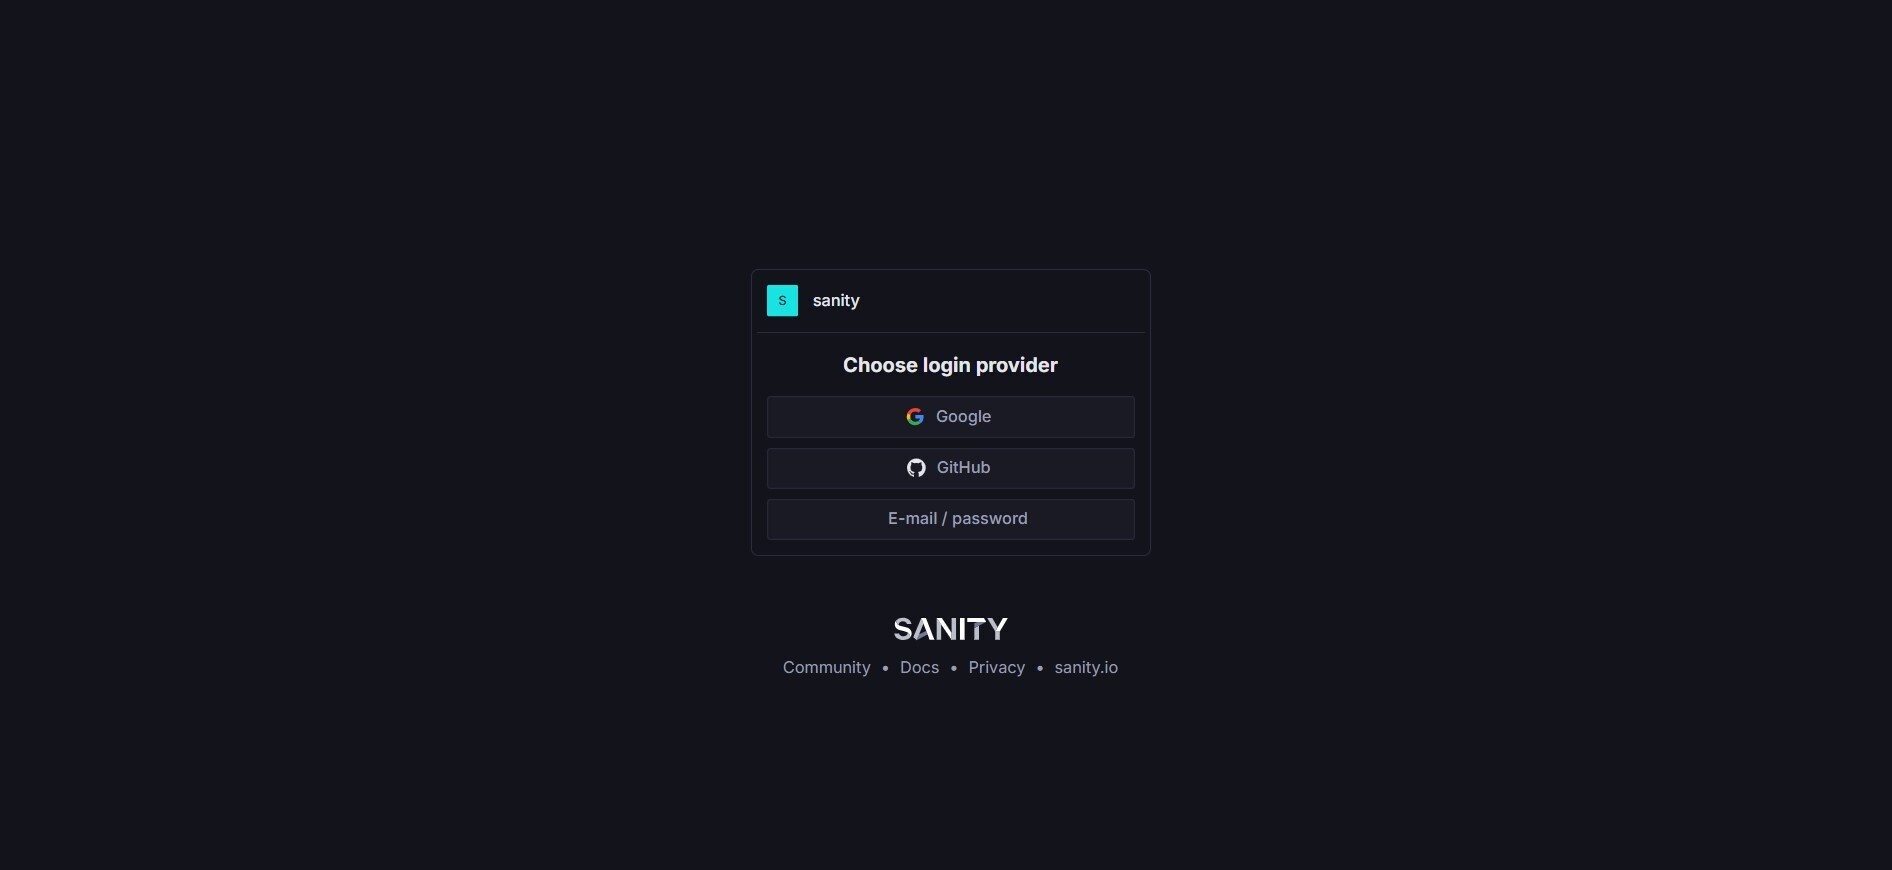
The view shows a page for you to log in to your sanity studio
After a successful login based on the provider chosen, if you selected the Blog (Schema) as the project template, below is how the structure is going to look:
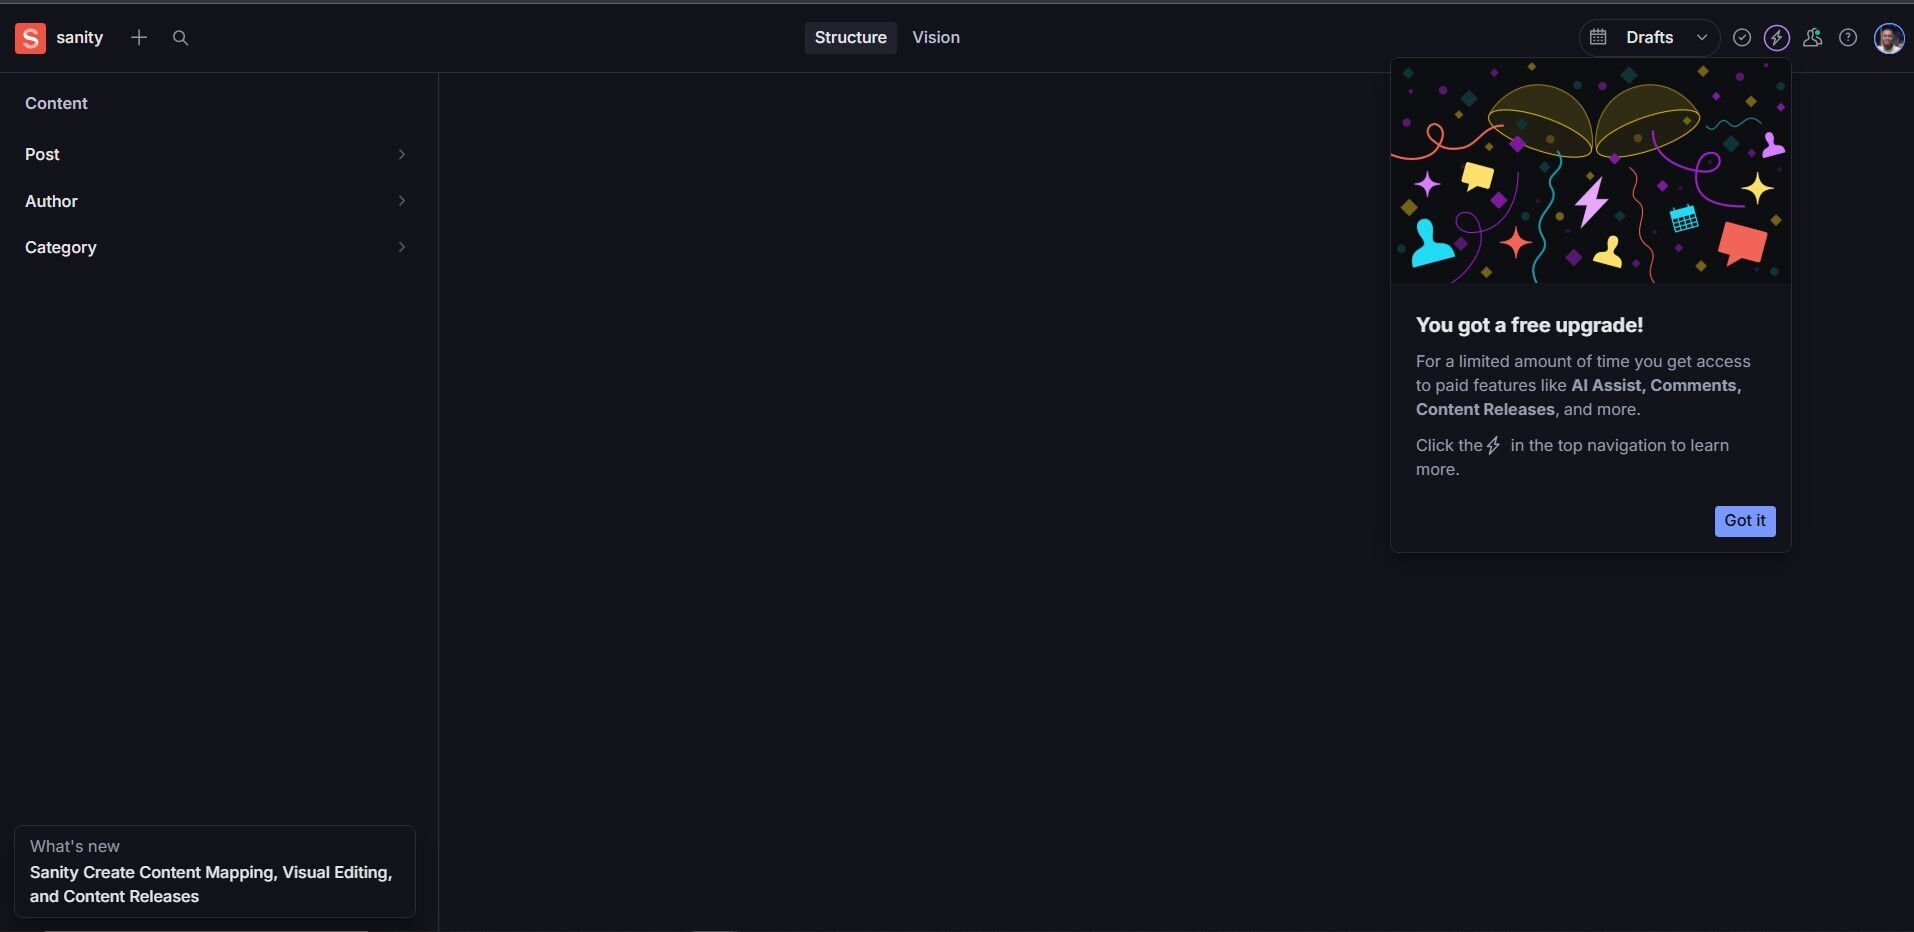
The view shows the structure for the blog schema
Section 2: Configuring Sanity In Angular
Now that our Sanity Studio is running, it’s time to configure Sanity Client in the Angular app.
Step 1: Install Required Packages
We’ll need a few npm packages to fetch and work with data from Sanity:
npm install @sanity/clientClick on the user profile section on the http://localhost:3333
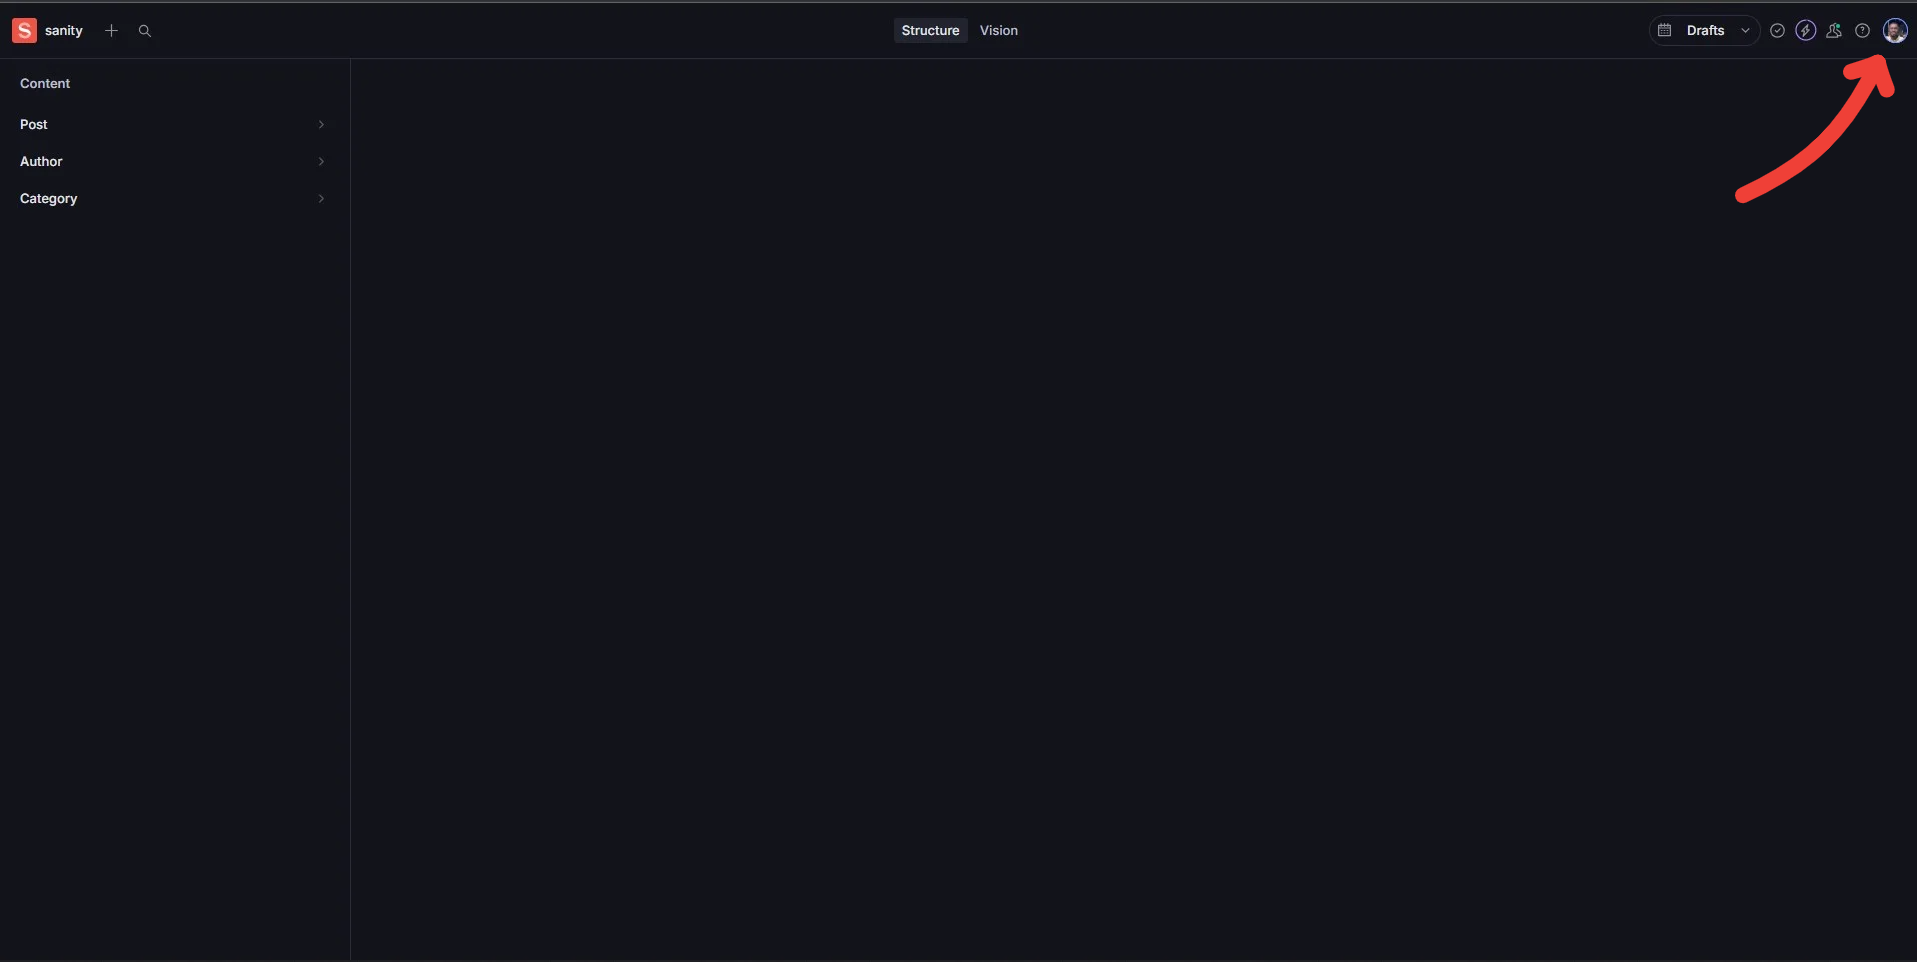
From the displayed dropdown, select the Manage Project to navigate to the Sanity Dashboard

In the Sanity Dashboard below, we can find the projectId and can manage datasets, tokens, and collaborators. We'll need this info to configure the Angular client.
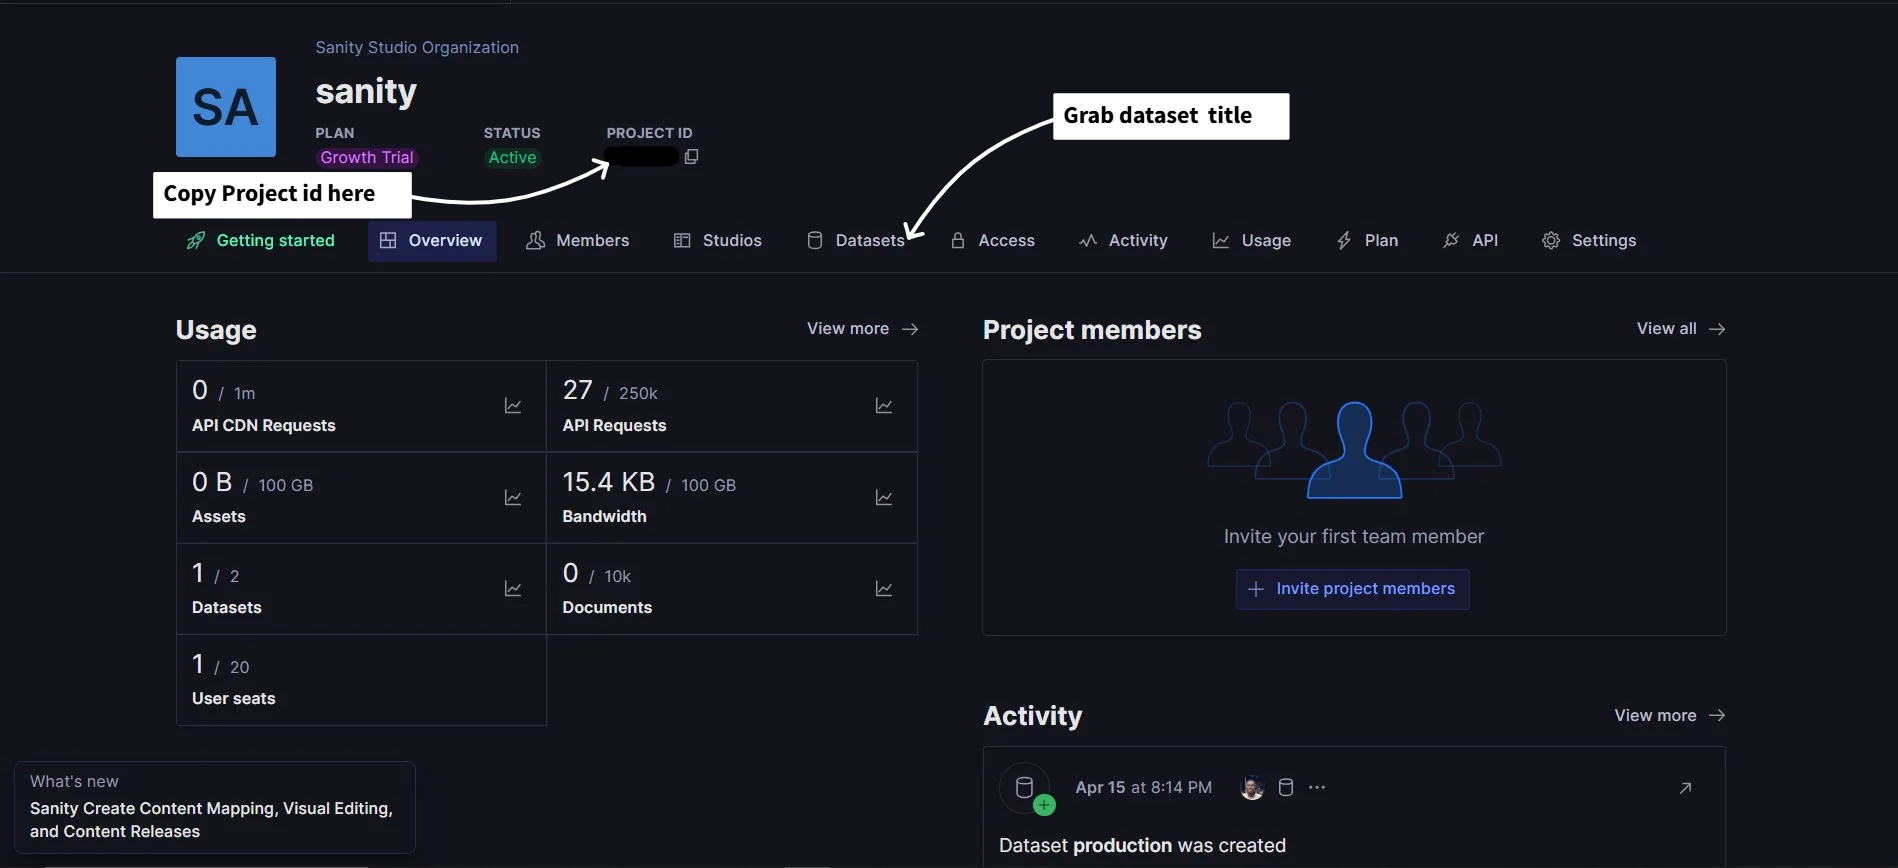
The image above is a general overview of the Sanity Dashboard
Step 2: Set Up Sanity Client in Angular
Create a new directory, e.g., config and a new file inside the config app directory, to handle the setup for sanity in Angular.
Here is a simplified structure:
src/app/config/sanity-client.tsThen, add the following code details:
// src/app/config/sanity-client.ts
import sanityClient from '@sanity/client';
export const client = sanityClient({
  projectId: 'your_project_id',
  dataset: 'your-dataset-title',
  useCdn: true,                 // `false` if you want fresh data
  apiVersion: '2023-01-01',     // Use a UTC date string
});
Placing Sanity config in its file keeps things modular and reusable, especially if we need to call the client from different parts of the Angular app (services, components, etc)
Section 3: Creating Sanity GROQ Queries In Angular
Now that we’ve set up Sanity Studio and configured the Angular app to connect to it, it’s time to define the actual queries we'll use to fetch content.
With GROQ, we can:
- Filter documents
(*[_type == "post"]) - Fetch nested and referenced fields (author->name)
- Sort, limit, and slice data
- Shape your responses exactly how you want
To keep our project clean and maintainable, let’s create a dedicated directory for all our GROQ queries.
Here's a simplified structure
src/app/queries/posts.groq.tsCreate the file and paste in the following query to get all posts:
// src/app/queries/posts.groq.ts

export const getAllPostsQuery = `
*[_type == "post"]{
  _id,
  title,
  slug,
  mainImage {
    asset->{
      url
    }
  },
  author->{
    name,
    image{
    asset->{
       url
      }
    }
  },
    categories[]->{
      title,
      description
    },
  publishedAt,
  body[0]
} | order(publishedAt desc)
`;
In the query above,
- [_type == "post"] – Fetch all documents of type post
- { ... } – Project only the fields we want: title, slug, mainImage, etc.
- mainImage.asset->url – Traverse the image reference to get its url
- author->name – Follow the reference to the author and grab their name
- body[0] – Just grab the first block of the body (optional for previews)
- | order(publishedAt desc) – Sort posts from newest to oldest
Let's add another query in the src/app/queries/posts.groq.ts file to get full post details by slug:
export const getPostBySlugQuery = (slug: string) => `
*[_type == "post" && slug.current == "${slug}"][0]{
  _id,
  title,
  slug,
  publishedAt,
  mainImage {
    asset->{
      url
    }
  },
  author->{
    name,
    bio,
    image {
      asset->{
        url
      }
    }
  },
  categories[]->{
    title
  },
  body
}
`;
In the slug query above,
-
[_type == "post" && slug.current == "${slug}"] – Find a post where the
slugmatches the one passed in - [0] – Get just the first (and hopefully only) match
- mainImage.asset->url – Resolve the image reference to its URL
- author-> – Expand author details to get both name and profile image
- categories[]-> – Get titles for all linked categories
- body – Get the full post content (use this for rendering detail view)
Add Sample Data to Sanity
Before jumping into building the Angular service, let’s add some sample data to our Sanity Studio so we actually have something to display.
- Go to
http://localhost:3333to access the Sanity Studio. -
Click the
"Category"tab and add a few categories:- Programming concepts
- CMS & Headless
- TypeScript
- Angular
-
Then move to the
"Author"tab and add authors:- Kingsley Amankwah – Tech Writer with a passion for clean code
- Angelina Jolie – Full Stack Dev & Coffee Enthusiast
- Iddris Alba – Dev Advocate @ AngularVerse
- Jason Stathan – GDE Dev Advocate @ Google
- Tommy Shelby – NgRx Co-Founder
Finally, go to the
"Post"tab and add posts:
“Building a Blog with Sanity and Angular from Scratch”
- Author: Iddris Alba
- Categories: Angular, CMS & Headless
“Creating SEO-Friendly Angular Apps with SSR and Sanity”
- Author: Iddris Alba
- Categories: Angular, Programming Concepts, CMS & Headless
“Why Angular + Sanity CMS is a Power Combo”
- Author: Jason Stathan
- Categories: Programming Concepts, Angular, CMS & Headless
“TypeScript Tips for Clean Angular Code”
- Author: Tommy Shelby
- Categories: Angular, TypeScript
“How to Handle Rich Text from Sanity in Angular Without Packages”
- Author: Kingsley Amankwah
- Categories: TypeScript, Angular, CMS & Headless
“Top 5 CMS Choices for Angular Developers in 2025”
- Author: Angelina Jolie
- Categories: CMS & Headless
Here's a simplified image of how to add a Category:
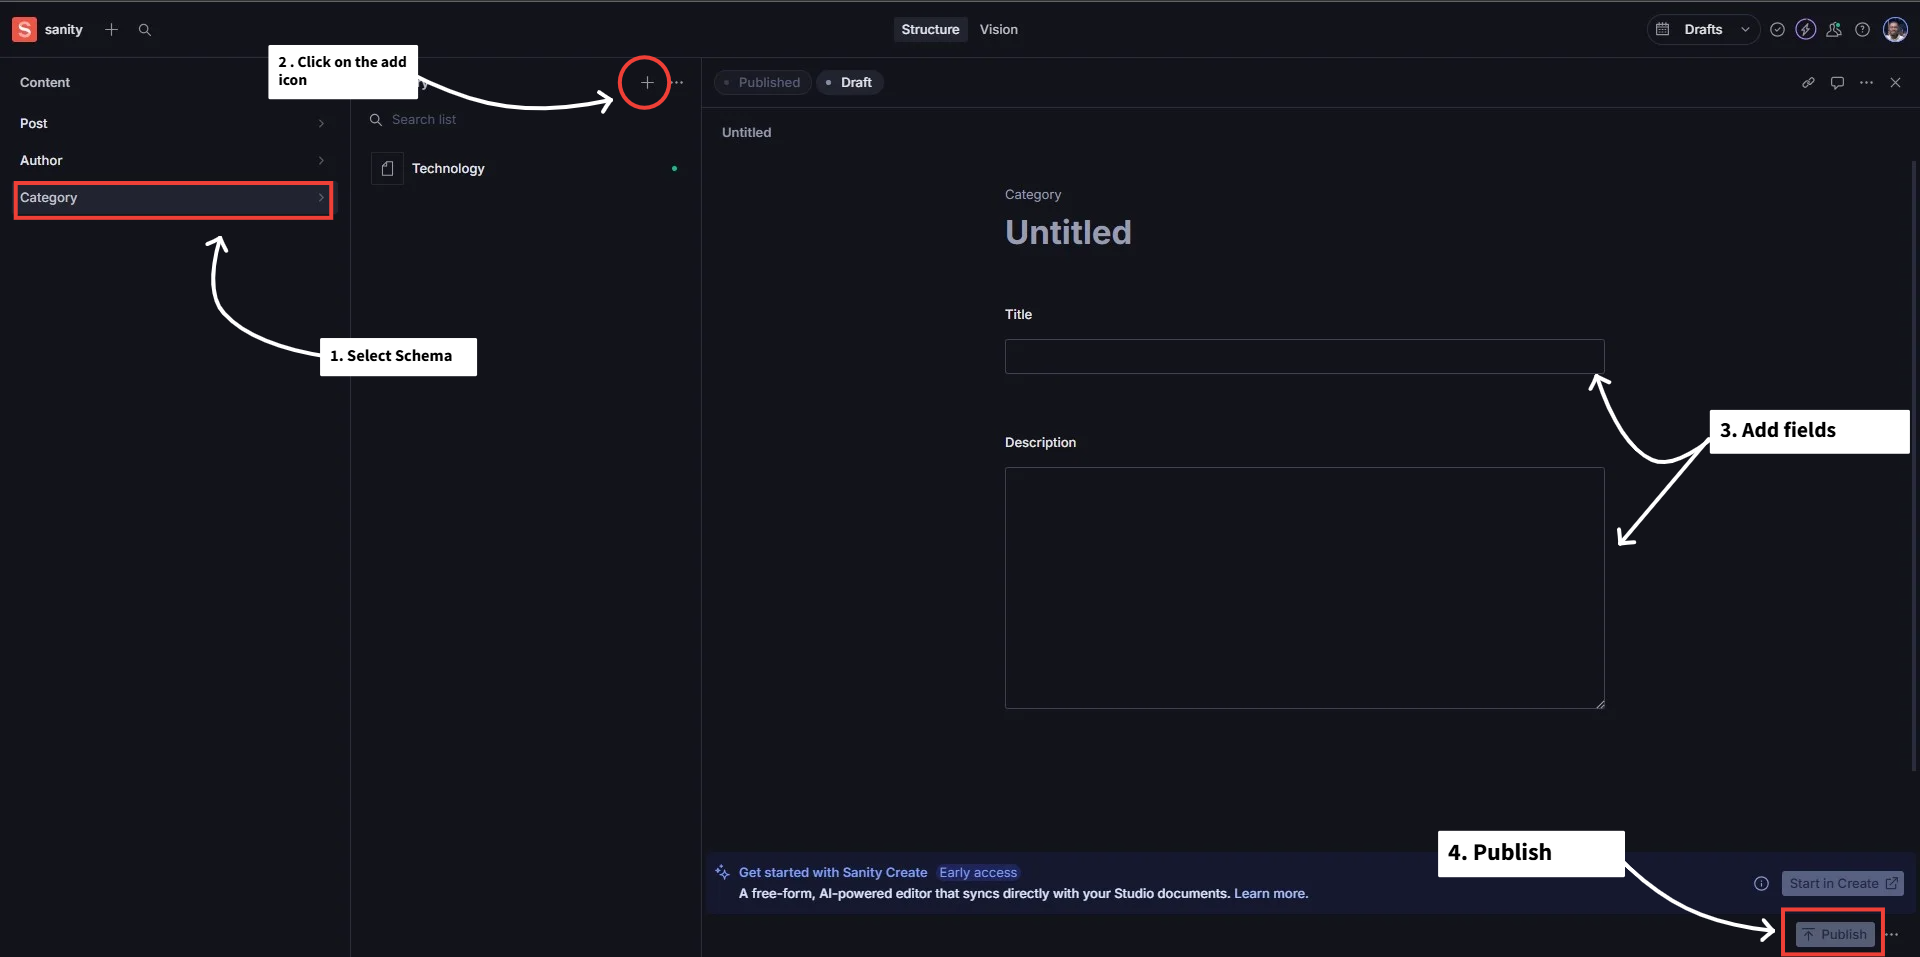
Now that we have data in our Sanity Studio, we’re ready to create a service in Angular that pulls this content and renders it in the UI.
Section 4: Creating a Sanity Service in Angular
Now that our Sanity client is configured, let’s create an Angular service to fetch content from Sanity. This service will handle communication with the Sanity API using the GROQ queries we defined earlier.
Step 1: Generate the Sanity Service
From your terminal, generate a new service inside the sanity directory:
ng generate service services/sanityThis will create two files: sanity.service.ts and sanity.service.spec.ts in the src/app/services directory.
Step 2: Set Up the Service to Use the Sanity Client
Open the newly created sanity.service.ts file and update it as follows:
//src/app/services/sanity.service.ts
import { Injectable } from '@angular/core';
import { client } from '../config/sanity-client';
import { getAllPostsQuery, getPostBySlugQuery } from '../queries/posts.groq';
import { Post } from '../models/post.model';

@Injectable({
  providedIn: 'root',
})
export class SanityService {
  async getPost() {
    try {
      return await client.fetch(getAllPostsQuery);
    } catch (error) {
      console.log(error);
      throw error;
    }
  }

  async getPostBySlug(slug: string): Promise {
    try {
      const query = getPostBySlugQuery(slug);
      return await client.fetch(query);
    } catch (error) {
      console.error(`Error fetching post with slug "${slug}":`, error);
      throw error;
    }
  }
}
Section 5: Displaying Content from Sanity
Now that we’ve created our Angular service, let’s proceed to generate components that will display the content fetched from Sanity.
Step 1: Generate the Post Component
From your terminal, generate a new component inside the directory:
ng generate component postThis will create:
src/app/postWhich will contain the component class, its template, and its styles.
Inside src/app/post/post.component.ts, update the component to fetch data from Sanity:
export class PostsComponent implements OnInit {
  private readonly sanityService = inject(SanityService);
  private readonly router = inject(Router);

  protected posts = signal([]);


  ngOnInit() {
    this.loadPosts();
  }

  protected async loadPosts() {
    const fetchPosts = await this.sanityService.getPost();
    this.posts.set(fetchPosts);
      }

  protected navigateToPostBySlug(slug: string) {
    this.router.navigate(['post', slug]);
  }
}
The code above contains:
- A method to fetch all posts from Sanity.
- A method to navigate to a post's detail page using the slug.
Add the Component Template
Here’s a simple UI template to display the posts using TailwindCSS:
💡 Note: Sanity returns rich text content in a
blockformat. To cleanly display this in the Angular templates (e.g., for the post body),
we can use a custom pipe likeblockContentToText.You can access the pipe implementation in the codebase here.
class="text-3xl font-bold mb-6 text-gray-800">Latest Posts
class="grid gap-6 md:grid-cols-2 lg:grid-cols-3">
@for (post of posts(); track post._id) {
class="bg-white rounded-2xl shadow-md overflow-hidden hover:shadow-lg transition-shadow duration-300"
>
[src]="post.mainImage?.asset?.url"
alt="{{ post.title }}"
class="h-48 w-full object-cover"
/>
class="p-5">
class="text-xl font-semibold text-gray-800 mb-2">
{{ post.title }}
class="text-gray-600 text-sm mb-3">
{{ post.body | blockContentToText : 100 }}
class="flex flex-wrap gap-2 mt-4">
@for (category of post.categories; track $index) {
class="bg-gray-200 text-gray-800 text-xs px-3 py-1 rounded-full"
>
{{ category.title }}
}
class="flex items-center gap-2 mt-4">
[src]="post.author.image?.asset?.url"
alt="{{ post.author.name }}"
class="w-8 h-8 rounded-full object-cover"
/>
class="text-gray-700 text-sm">By {{ post.author.name }}
(click)="navigateToPostBySlug(post.slug.current)"
class="bg-blue-400 text-white text-sm ml-auto px-3 py-1 rounded-full cursor-pointer"
>Read more...>
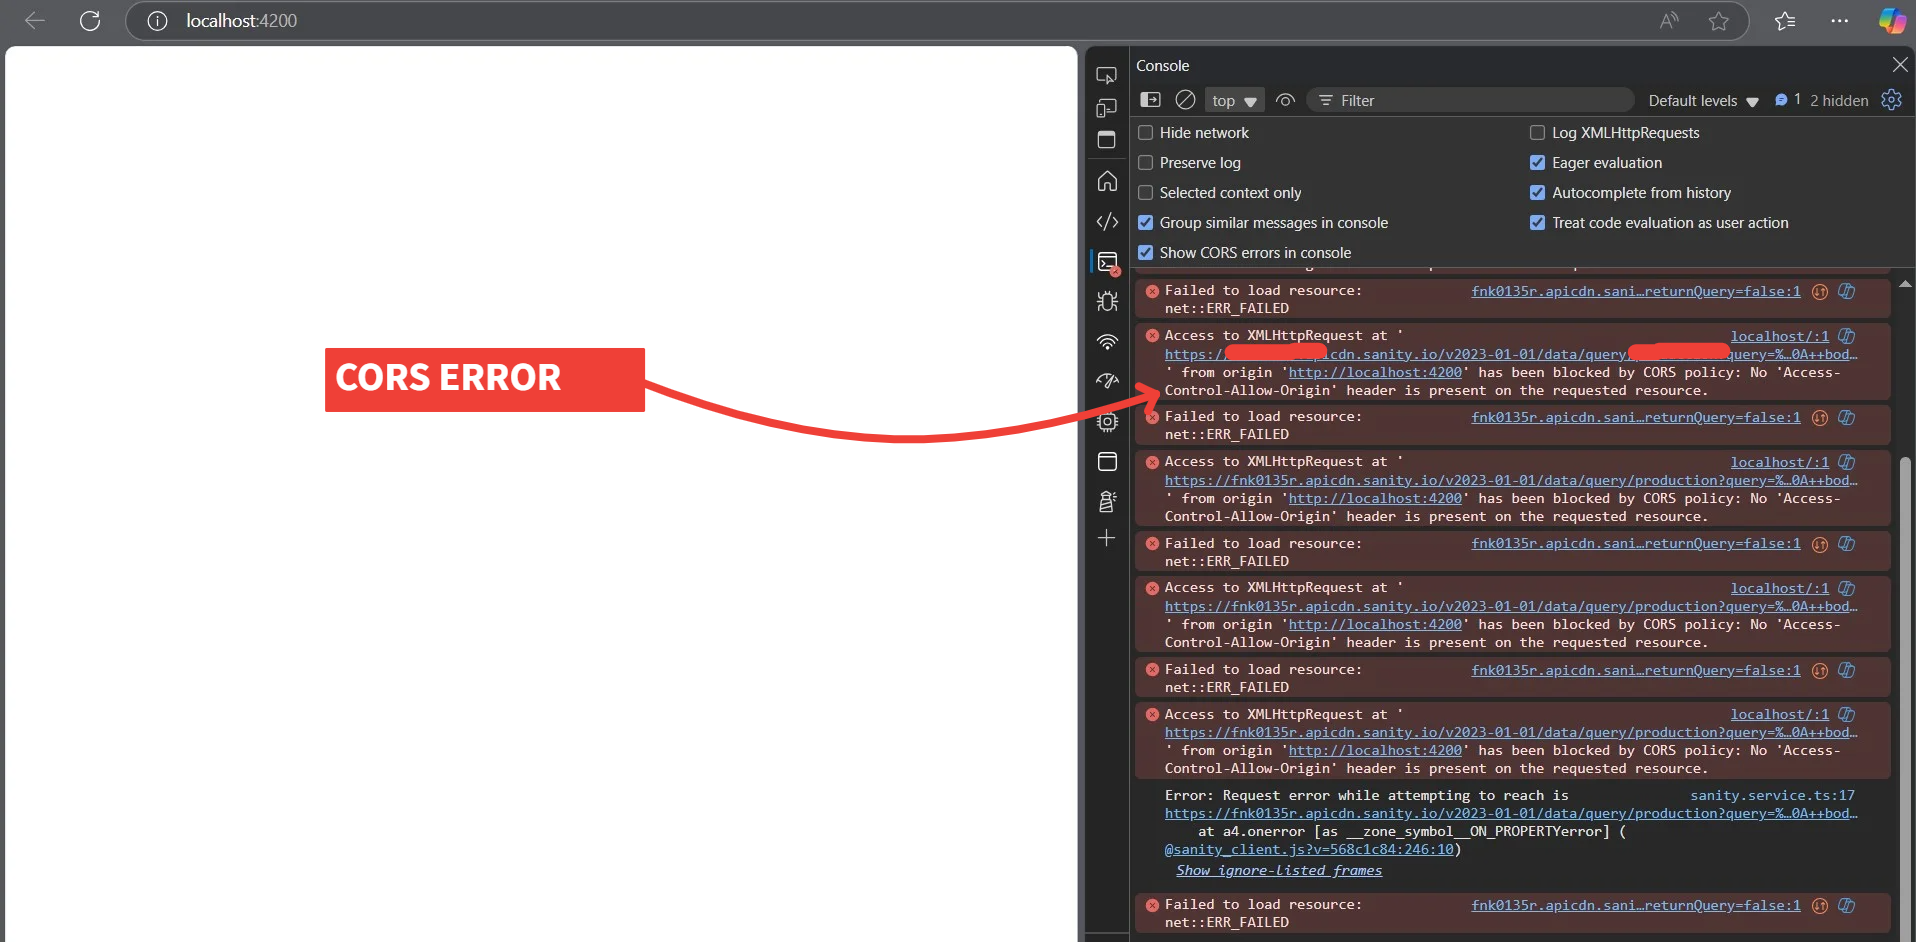
}With this setup the first error we will encounter is CORS ERROR
Below is an image showing how it will be displayed:
To fix that, go to the Sanity Dashboard and follow the instructions in the image below to fix the CORS ERROR:
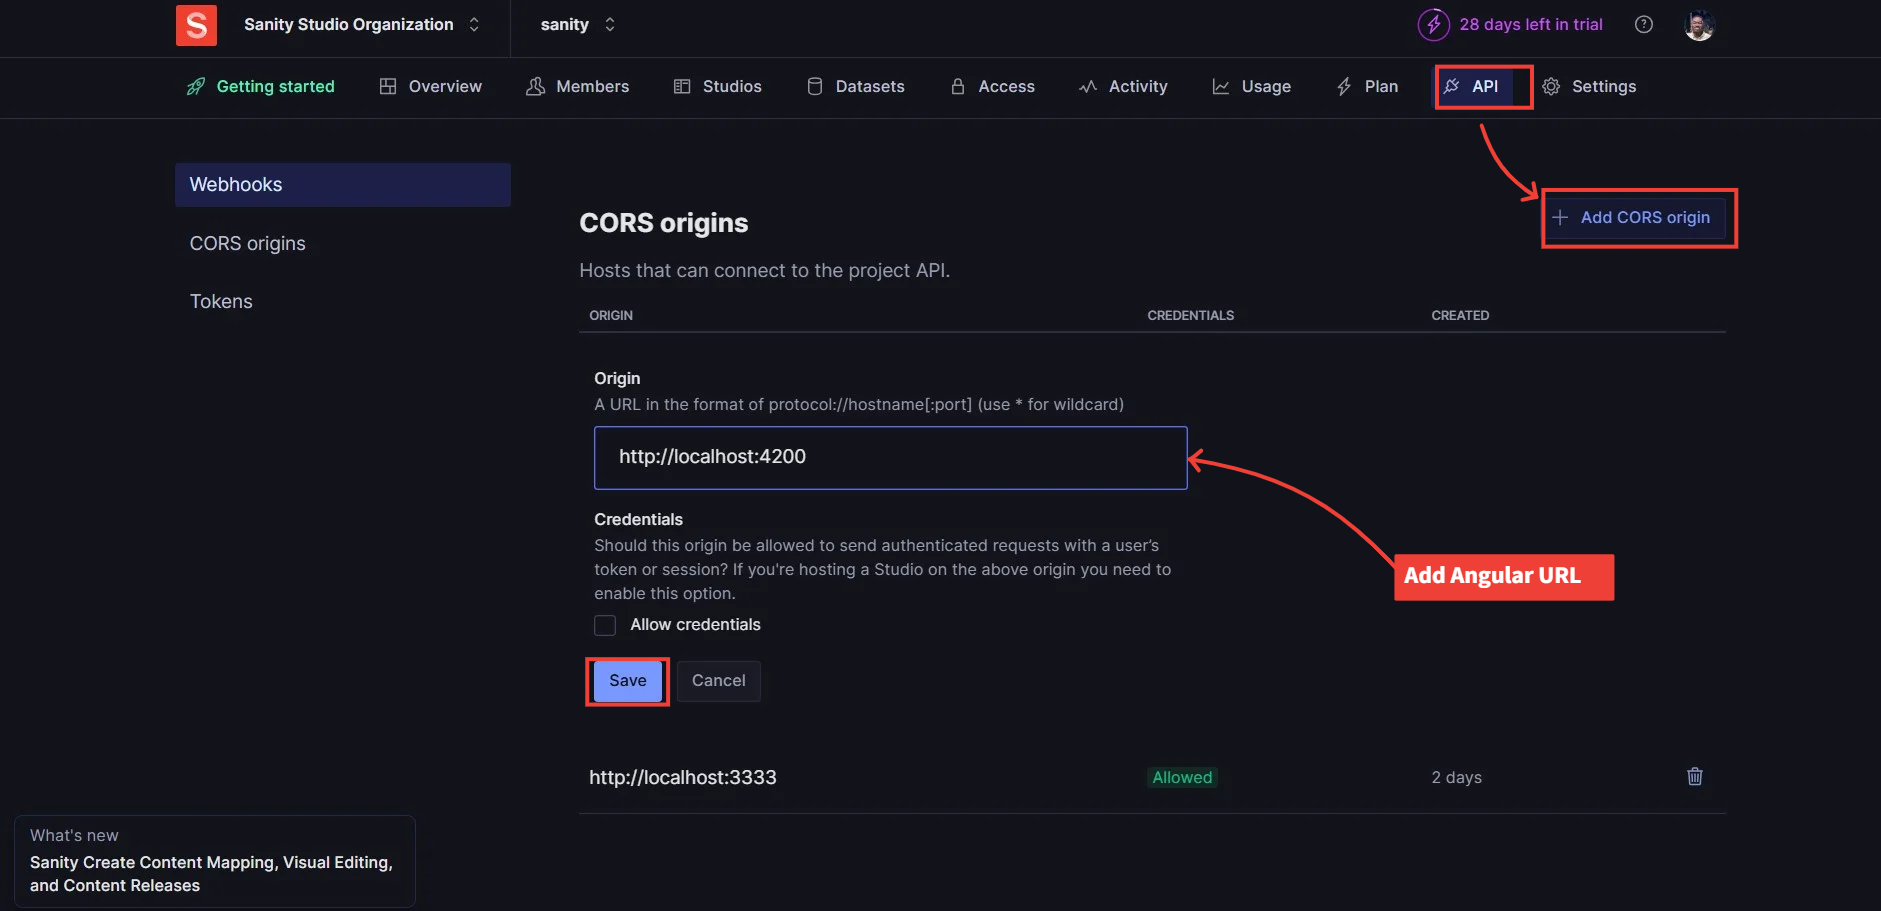
After adding the development URL e.g (http://localhost:4200) to the allowed CORS origins, re-run the application. You should now see the content fetched from Sanity.
Here’s what the UI will look like after successful integration:
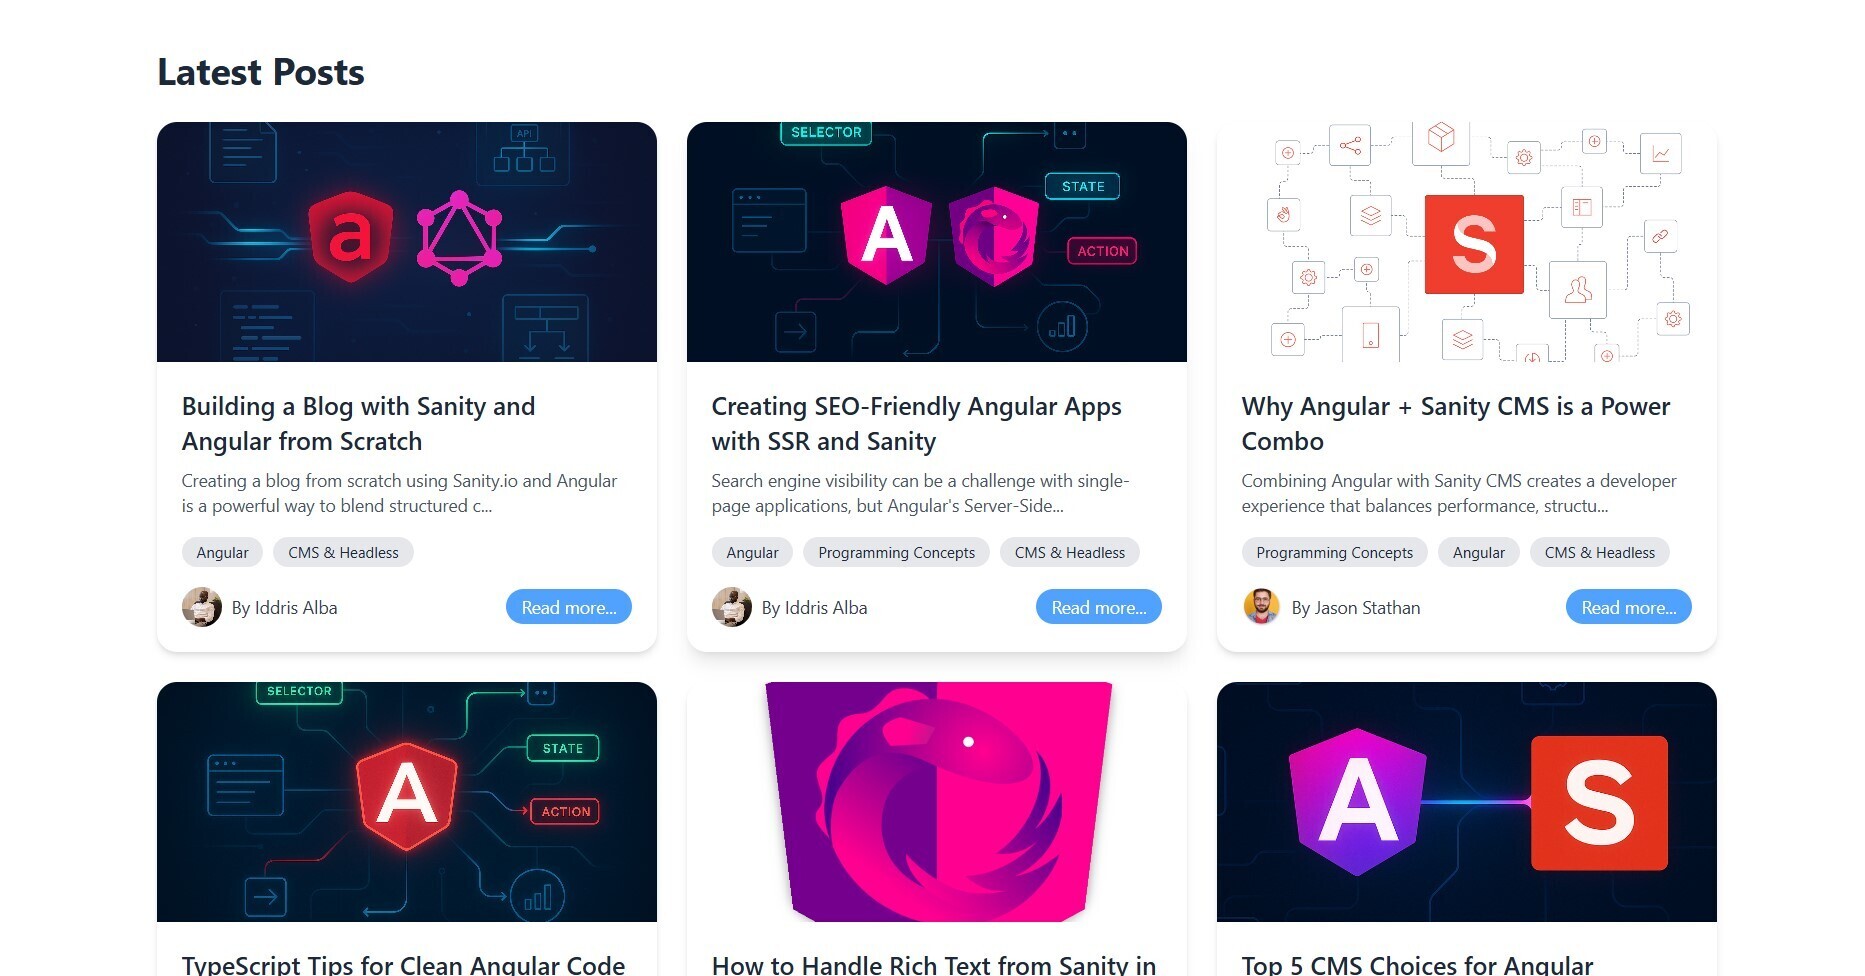
Note: This UI is styled with TailwindCSS , which helps achieve a clean, responsive layout.
Step 2: Generate the View Post Component
Now, let's proceed to fetch the content using the getPostBySlugQuery.
Run the following in your terminal:
ng generate component view-postThis will create:
src/app/view-postWhich will contain the component class, its template, and its styles.
In src/app/view-post/view-post.component.ts, use the code below to fetch the post by it's slug:
export class ViewPostComponent implements OnInit {
  private readonly sanityService = inject(SanityService);
  private readonly route = inject(ActivatedRoute);

  protected post = signal(null);

  ngOnInit() {
    this.fetchPostDetails();
  }

  protected async fetchPostDetails() {
    const slug = this.route.snapshot.paramMap.get('slug') ?? '';
    const response = await this.sanityService.getPostBySlug(slug);
    this.post.set(response);
  }
}
The code above contains a method to fetch post details by utilizing the activate route to get content slug
Inside the src/app/view-post/view-post.component.html, add this UI to display full post:
class="max-w-4xl mx-auto px-4 py-12">
  [src]="post()?.mainImage?.asset?.url"
    alt="{{ post()?.title }}"
    class="w-full h-96 object-cover rounded-xl shadow-md mb-8"
  />

  <!-- Title -->
  class="text-4xl font-bold text-gray-900 mb-4">
    {{ post()?.title }}


  class="flex items-center justify-between text-sm text-gray-500 mb-6">
    class="flex items-center gap-2">
      [src]="post()?.author?.image?.asset?.url"
        alt="{{ post()?.author?.name }}"
        class="w-8 h-8 rounded-full object-cover"
      />
      class="font-medium text-gray-700"
        >By {{ post()?.author?.name }}>

    {{ post()?.publishedAt | date : "longDate" }}


    class="flex flex-wrap gap-2 mt-4">
    @for (category of post()?.categories; track $index) {
    class="bg-gray-200 text-gray-800 text-xs px-3 py-1 rounded-full">
      {{ category.title }}

    }


  class="prose prose-lg max-w-none text-gray-800 leading-relaxed">
    class="text-gray-600 text-sm mb-3">
      {{ post()?.body | blockContentToText }}


  class="mt-12 border-t-gray-400 border-t-[0.2px] pt-6">
    class="text-lg font-semibold text-gray-800 mb-2">About the author
    class="flex items-center gap-4">
      [src]="post()?.author?.image?.asset?.url"
        alt="{{ post()?.author?.name }}"
        class="w-12 h-12 rounded-full object-cover"
      />

        class="font-medium">{{ post()?.author?.name }}
        class="text-sm text-gray-600">
          {{ post()?.author?.bio | blockContentToText }}
Below is an image of the content fetched using the getPostBySlugQuery:
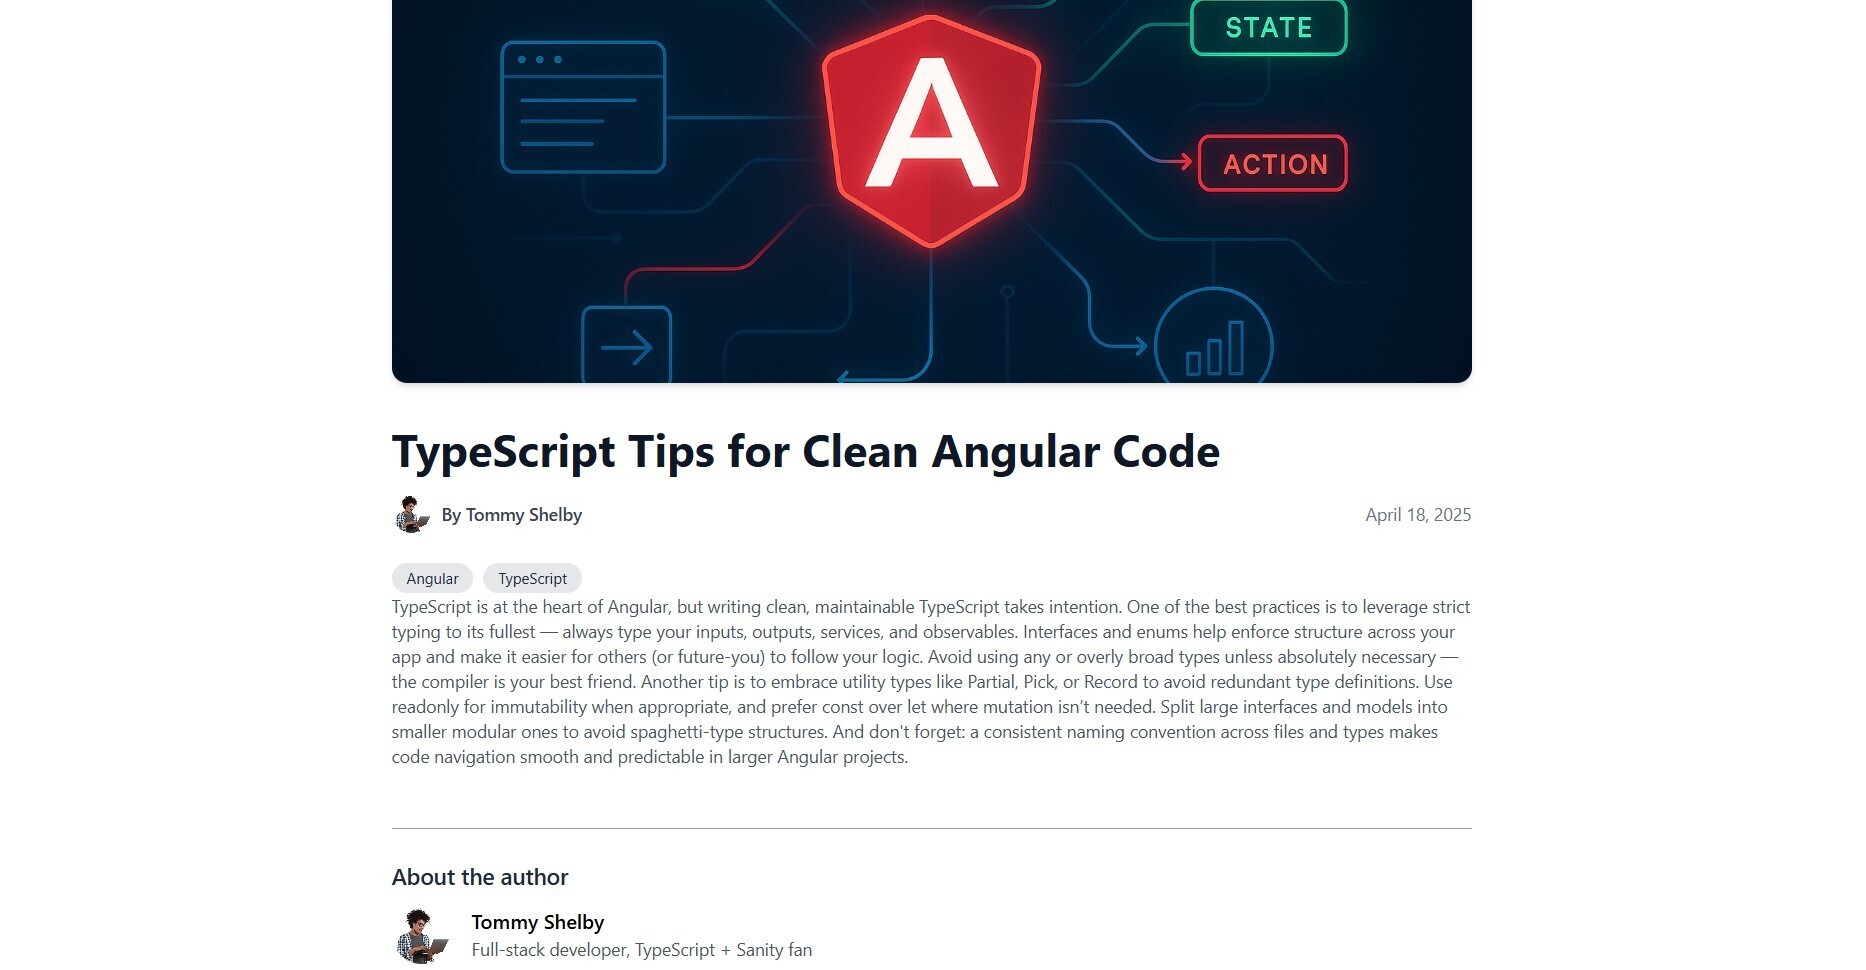
PS: As stated ealier, the UI has been styled using TailwindCSS hence the reason for the nice design
Tips When Writing Queries
- Always start with [_type == "yourType"]
(e.g., "post", "author") - Use {} to specify the fields you want back
- Use -> to follow references
- Use [0] to get the first result, or slice/limit ([0...5])
Conclusion
In this tutorial, we walked through the full process of integrating Sanity CMS with Angular, covering everything from setting up the Sanity Studio to displaying dynamic blog content in an Angular application. Here’s a quick recap of what we achieved:
- Set up and configured Sanity CMS
- Defined GROQ queries for fetching posts and post details
- Created Angular services to interact with Sanity
- Displayed content using Angular components
- Styled everything beautifully using TailwindCSS
- Handled CORS configuration for local development
- Built a full blog-like experience with navigation to post detail pages
Whether you're building a blog, portfolio, or a content-driven application, this Sanity + Angular combo gives you the flexibility of a headless CMS with the power of Angular’s frontend ecosystem.
Access the Full Code on GitHub
The entire source code for this project is available on GitHub:
Access the Full Code Here
Don't forget to leave a star if you found it helpful!
Let's Connect!
If you have questions, feedback, or want to see more tutorials like this, feel free to reach out or follow me on my socials:
Twitter/X: @IAmKingsley001
LinkedIn: KingsleyAmankwah
GitHub: KingsleyAmankwah
