Azure provides a highly scalable and secure platform for storing data, and one of its most fundamental services is Azure Storage. Whether you are storing files, blobs, or data for your web and mobile applications, Azure Storage accounts provide a reliable and cost-effective solution. In this guide, we’ll walk you through the process of creating a storage account in Azure using both the Azure Portal and Azure CLI.
Prerequisites
Before creating an Azure Storage account, ensure that:
- You have an active Azure subscription. If you don't have one, you can sign up for a free account here.
- You have an Azure Active Directory (AD) account with the necessary permissions to create resources in the Azure subscription.
Step-by-Step Guide to Creating a Storage Account in Azure
Method 1: Using the Azure Portal
The Azure Portal offers a user-friendly graphical interface for managing Azure resources. Here’s how you can create a storage account using the Azure Portal:
-
Sign in to the Azure Portal:
- Visit portal.azure.com and log in with your Azure account credentials.
-
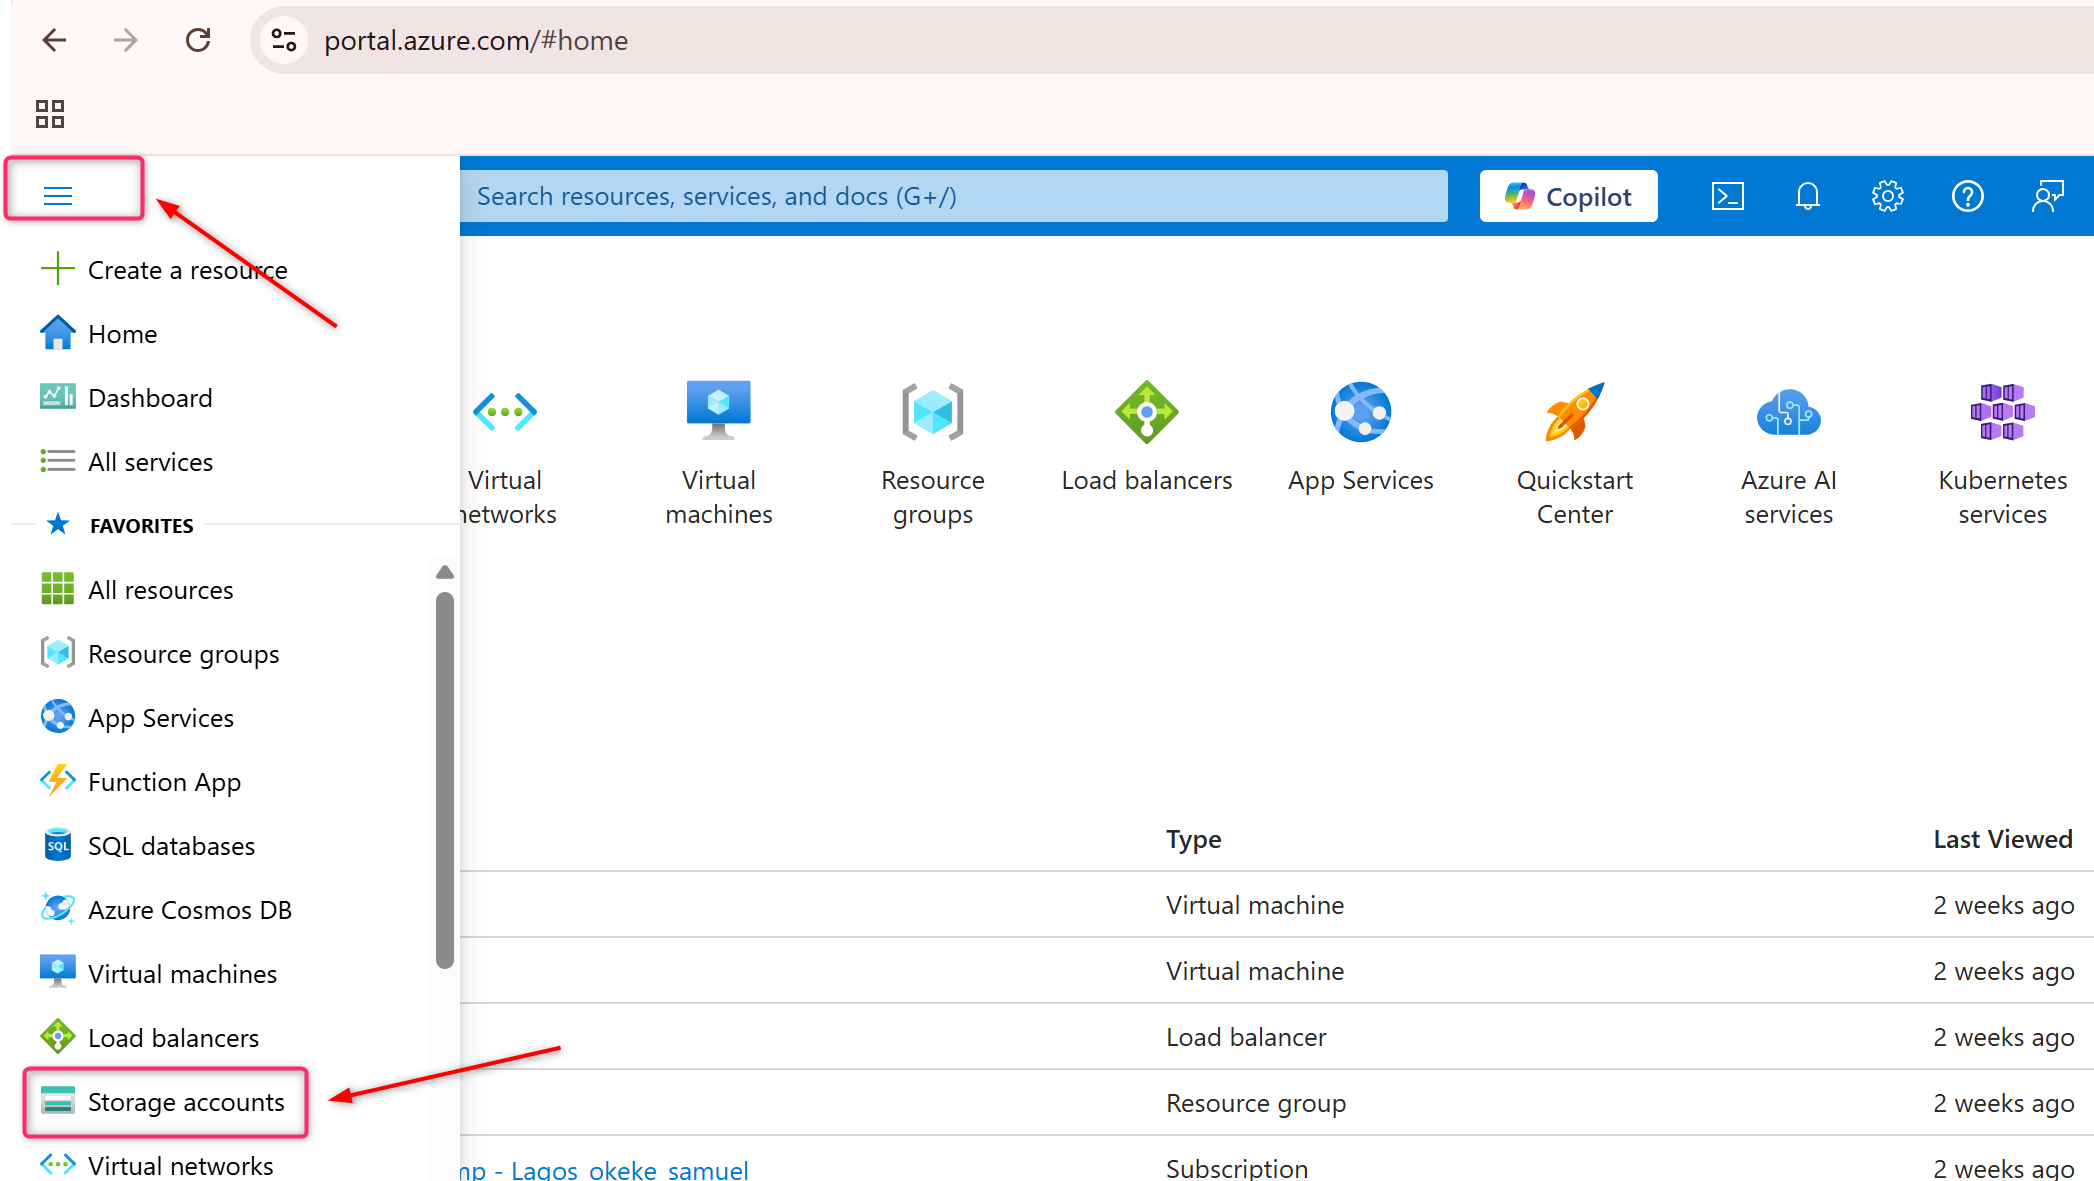
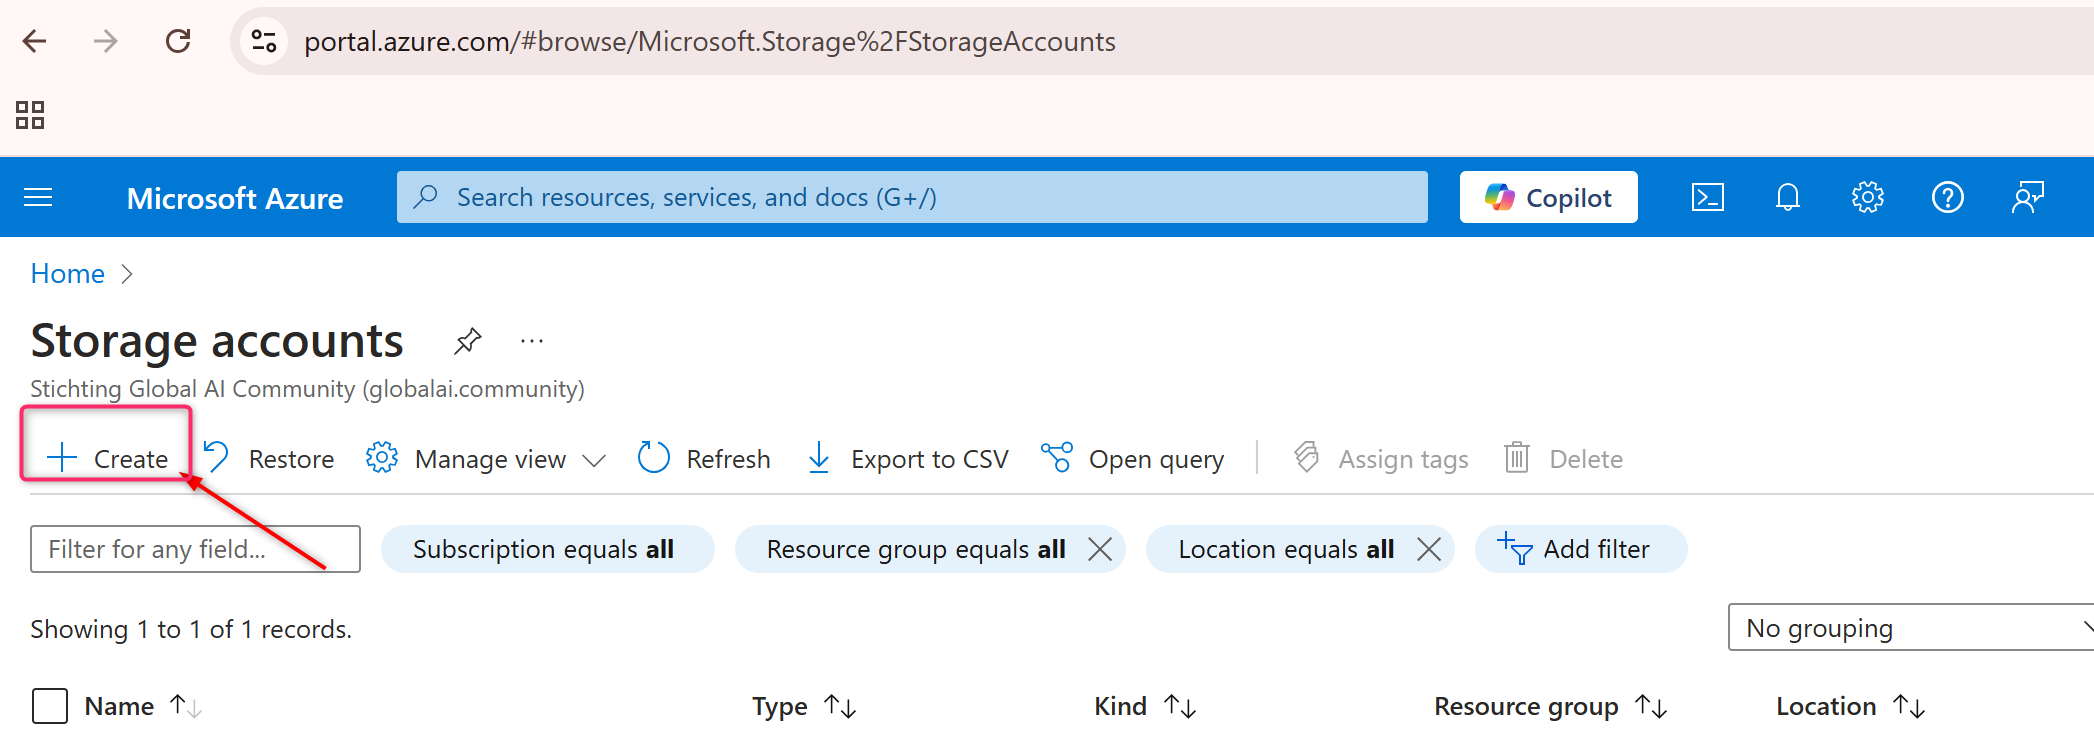
Navigate to Storage Accounts:
- In the left sidebar, click on “Create a resource.”
- In the search box, type “Storage Account” and select “Storage Account” from the list of options.
-
Configure the Storage Account:
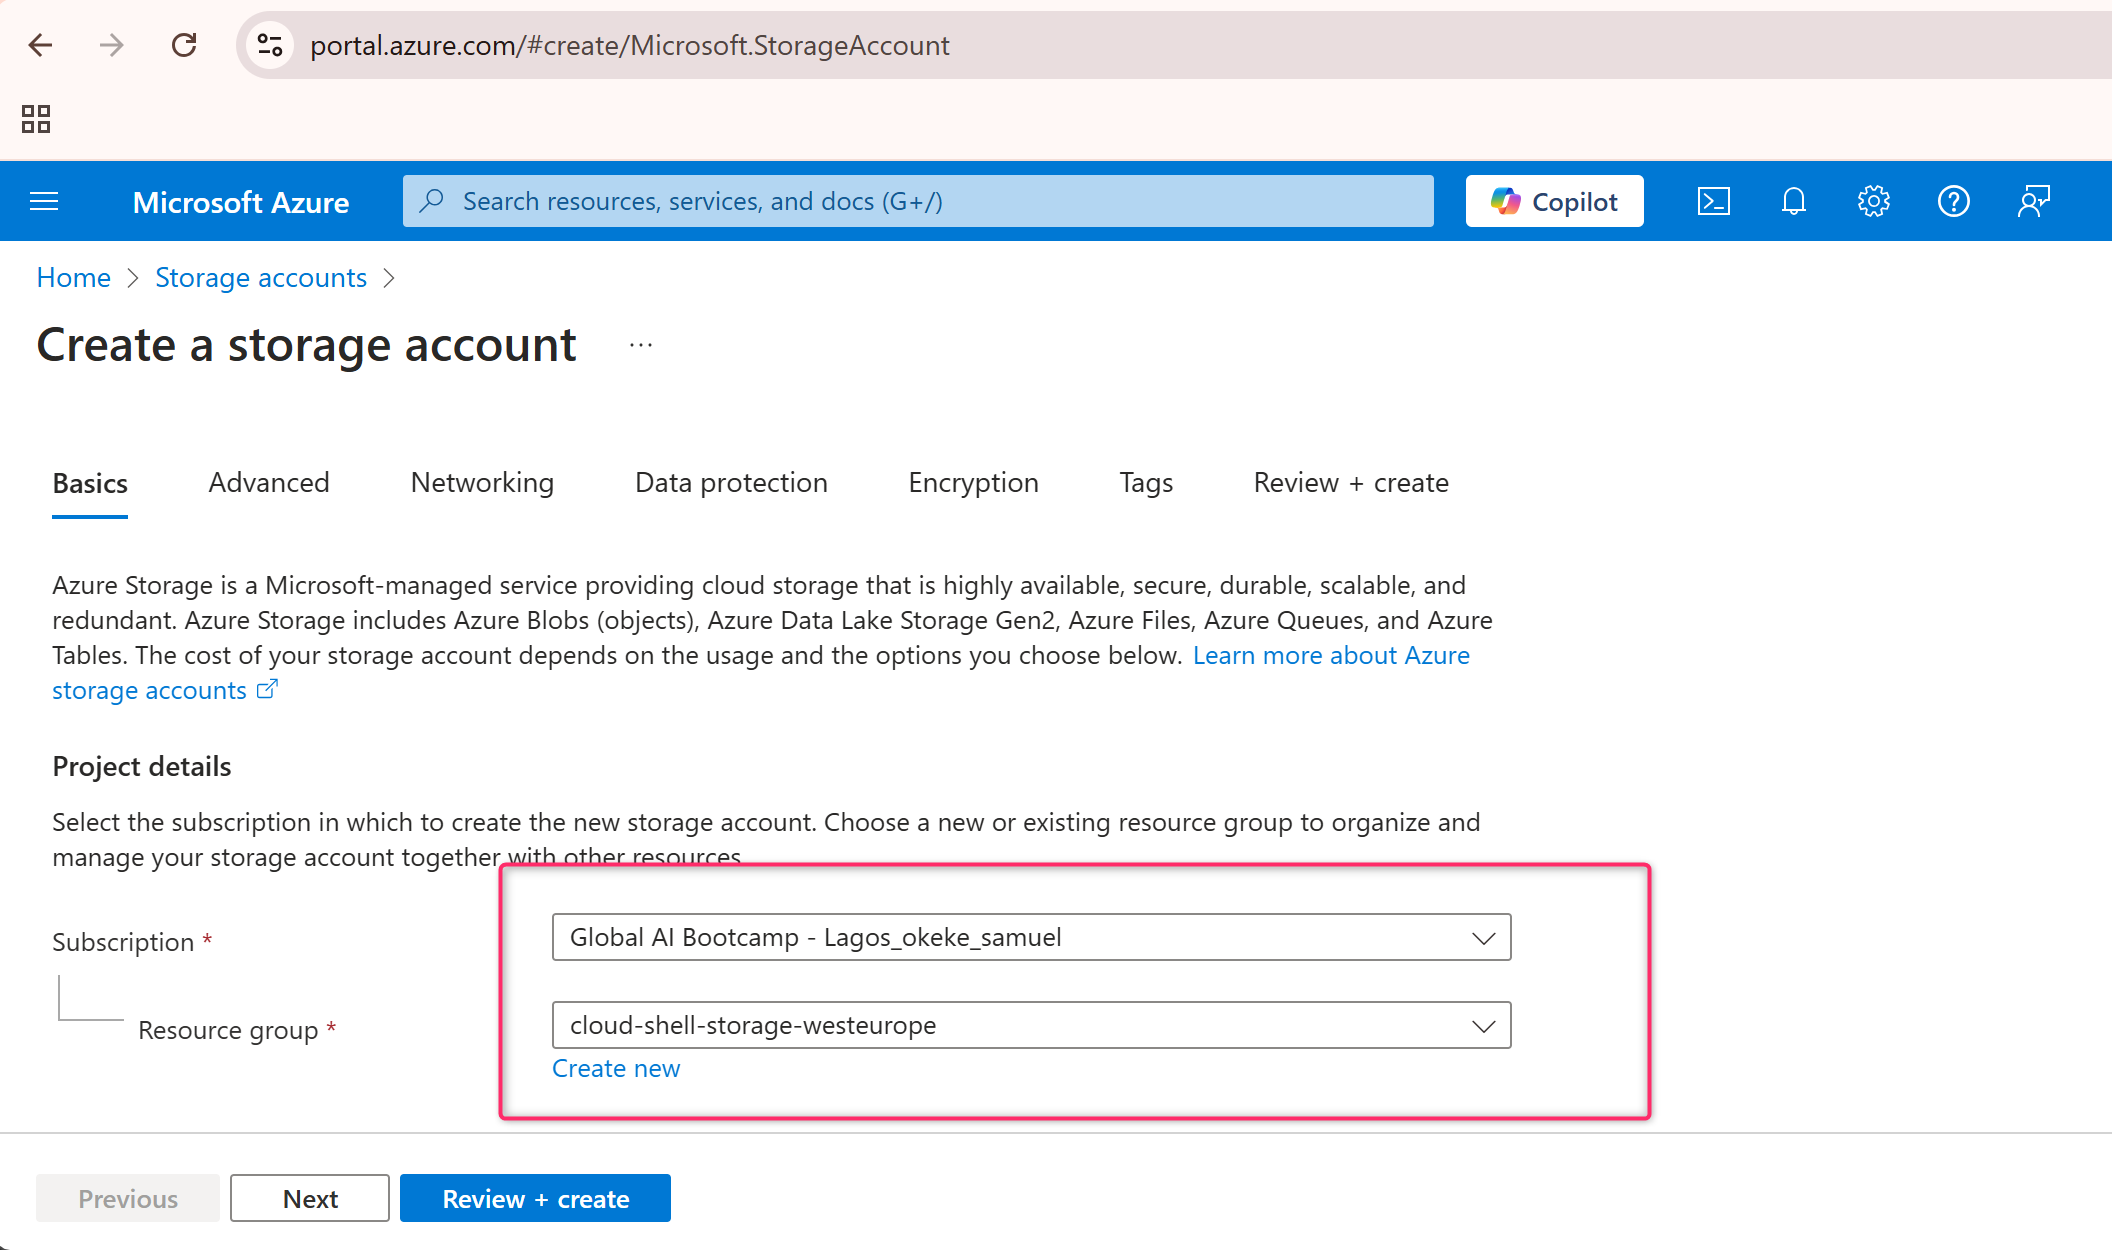
- Subscription: Choose the Azure subscription you want to use.
- Resource Group: Either select an existing resource group or create a new one by clicking on “Create new.”
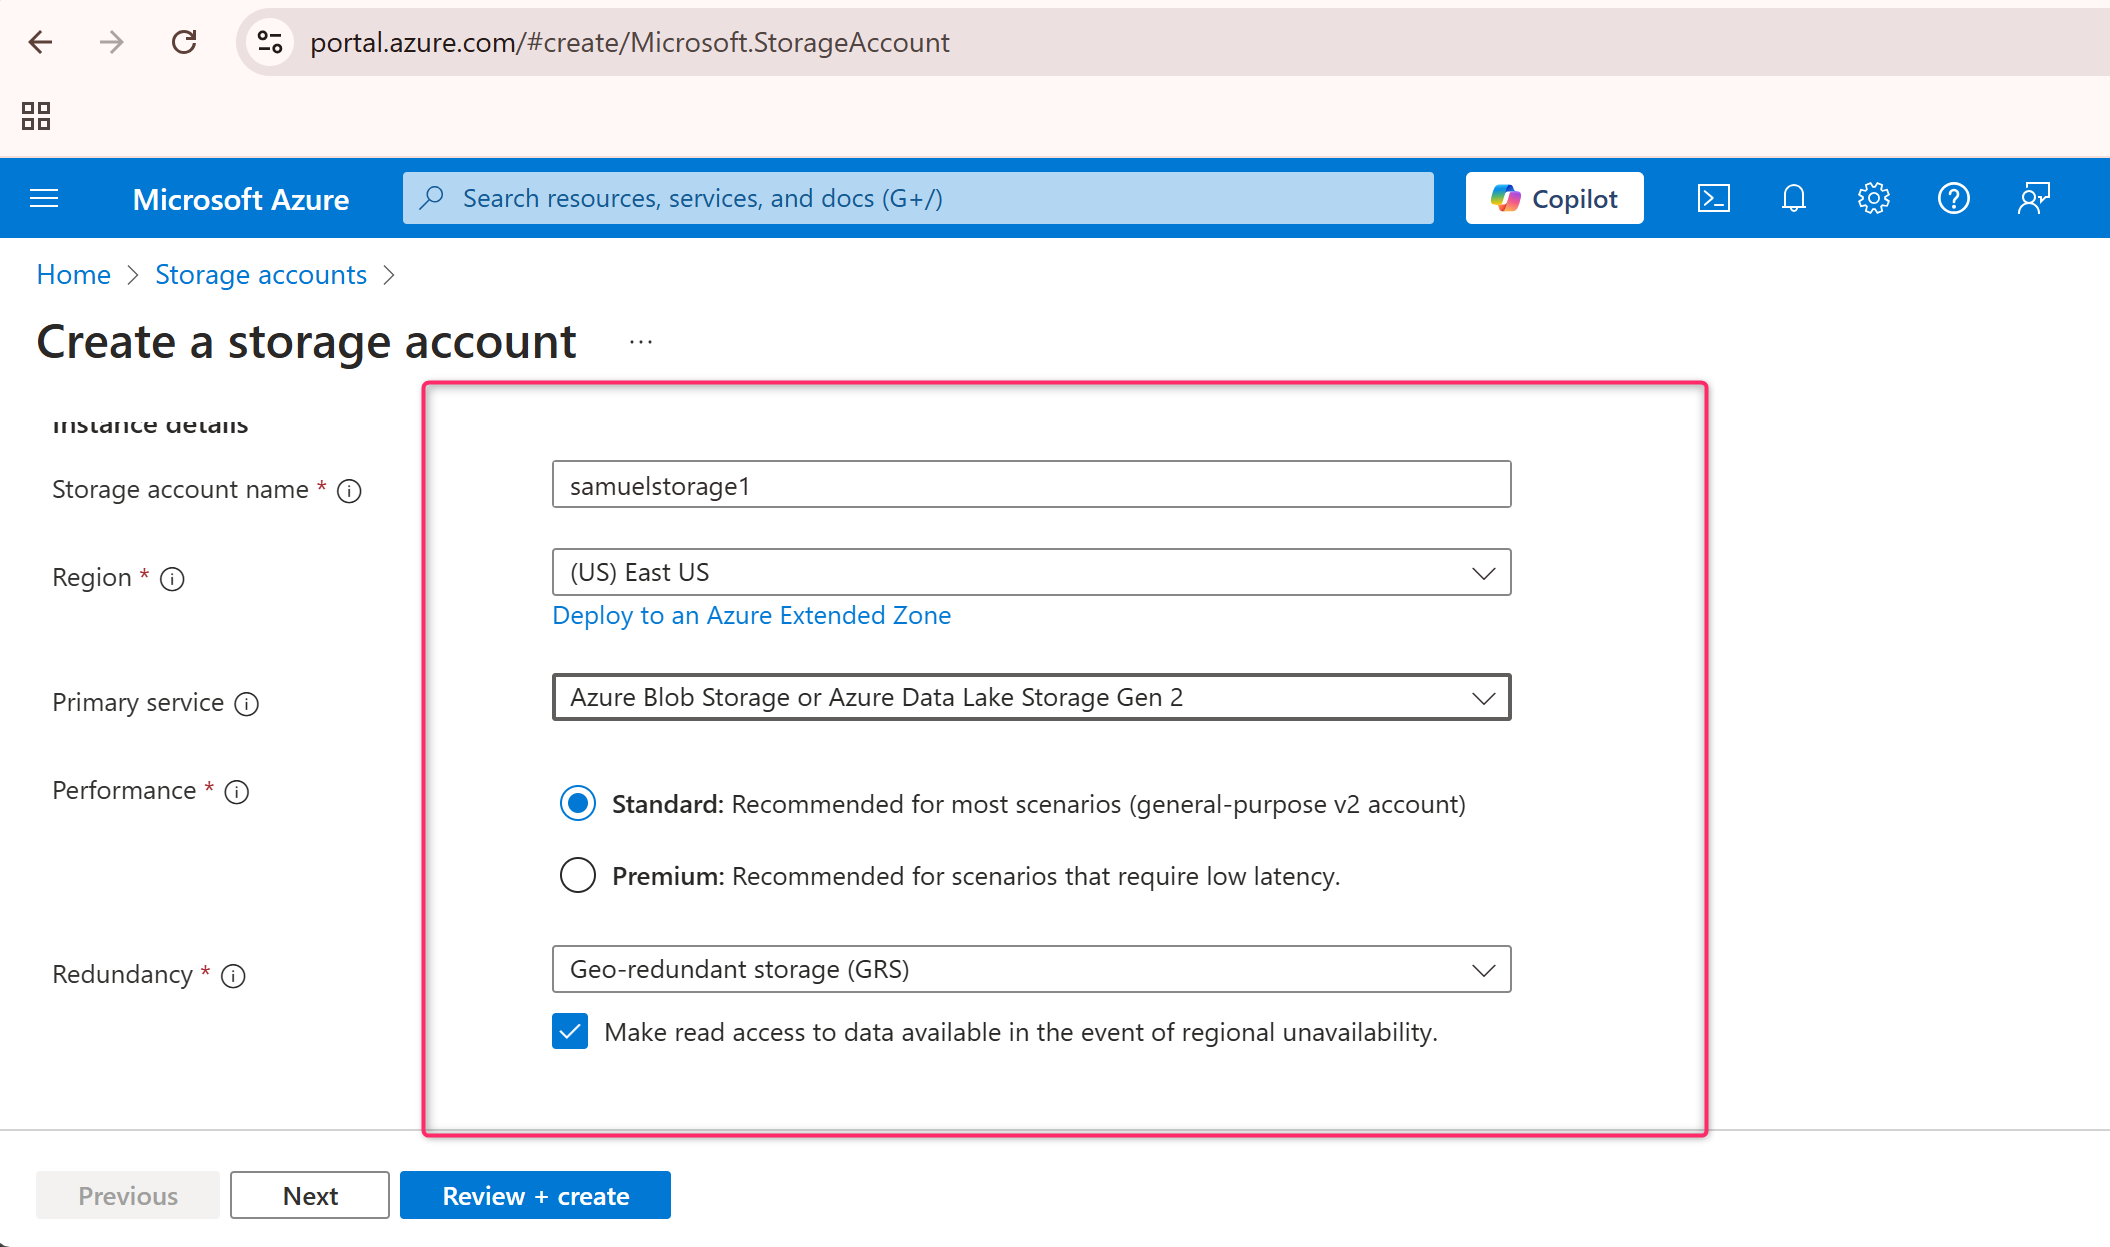
- Storage Account Name: Choose a unique name for your storage account. This name must be between 3 and 24 characters and can contain only lowercase letters and numbers.
- Region: Select the Azure region where the storage account will be created. Choose a region close to your users to reduce latency.
-
Performance: You can choose between two performance tiers:
- Standard: Best for most workloads and offers cost-effective performance.
- Premium: Designed for high-performance workloads with lower latency.
-
Account Kind: You can select from several account types based on your needs:
- StorageV2 (general-purpose v2): Most versatile, supports blob, file, and table storage.
- BlobStorage: Optimized for storing large amounts of unstructured data, such as text and binary data.
- General-purpose v1: Older version, not recommended for new workloads.
-
Replication: Choose how your data will be replicated:
- Locally redundant storage (LRS): Data is replicated three times within a region.
- Geo-redundant storage (GRS): Data is replicated across regions for higher availability.
- Read-access geo-redundant storage (RA-GRS): Same as GRS but allows read access to the secondary region.
-
Advanced Settings (Optional):
- You can configure additional settings such as networking, access control, and encryption. For most users, the default options are sufficient.
-
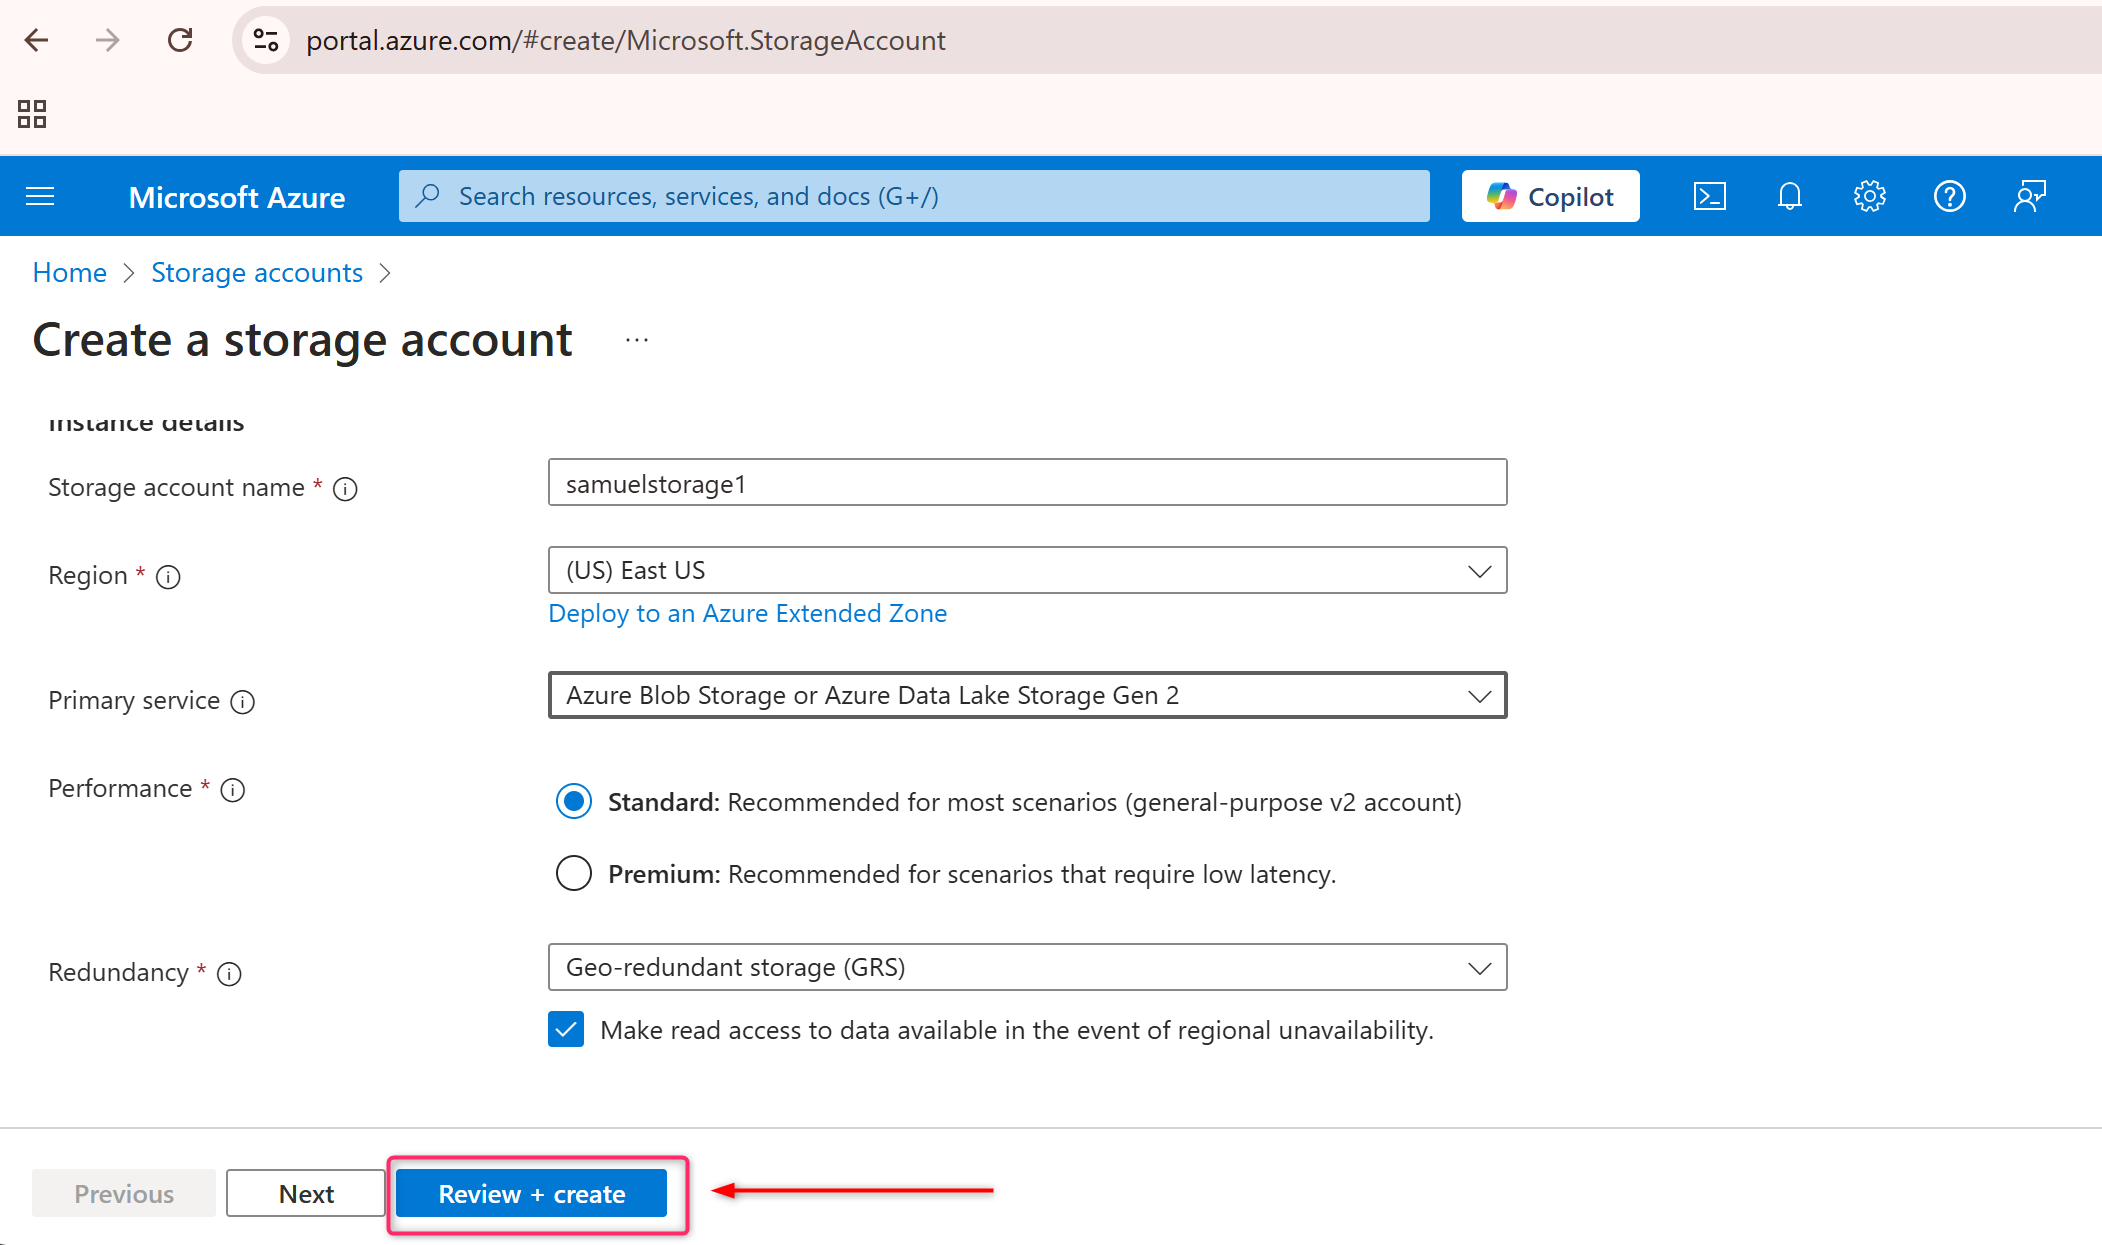
Review + Create:
- After configuring your storage account, click “Review + Create.” Azure will validate the settings you’ve chosen.
- If everything looks good, click “Create” to start the deployment process.
-
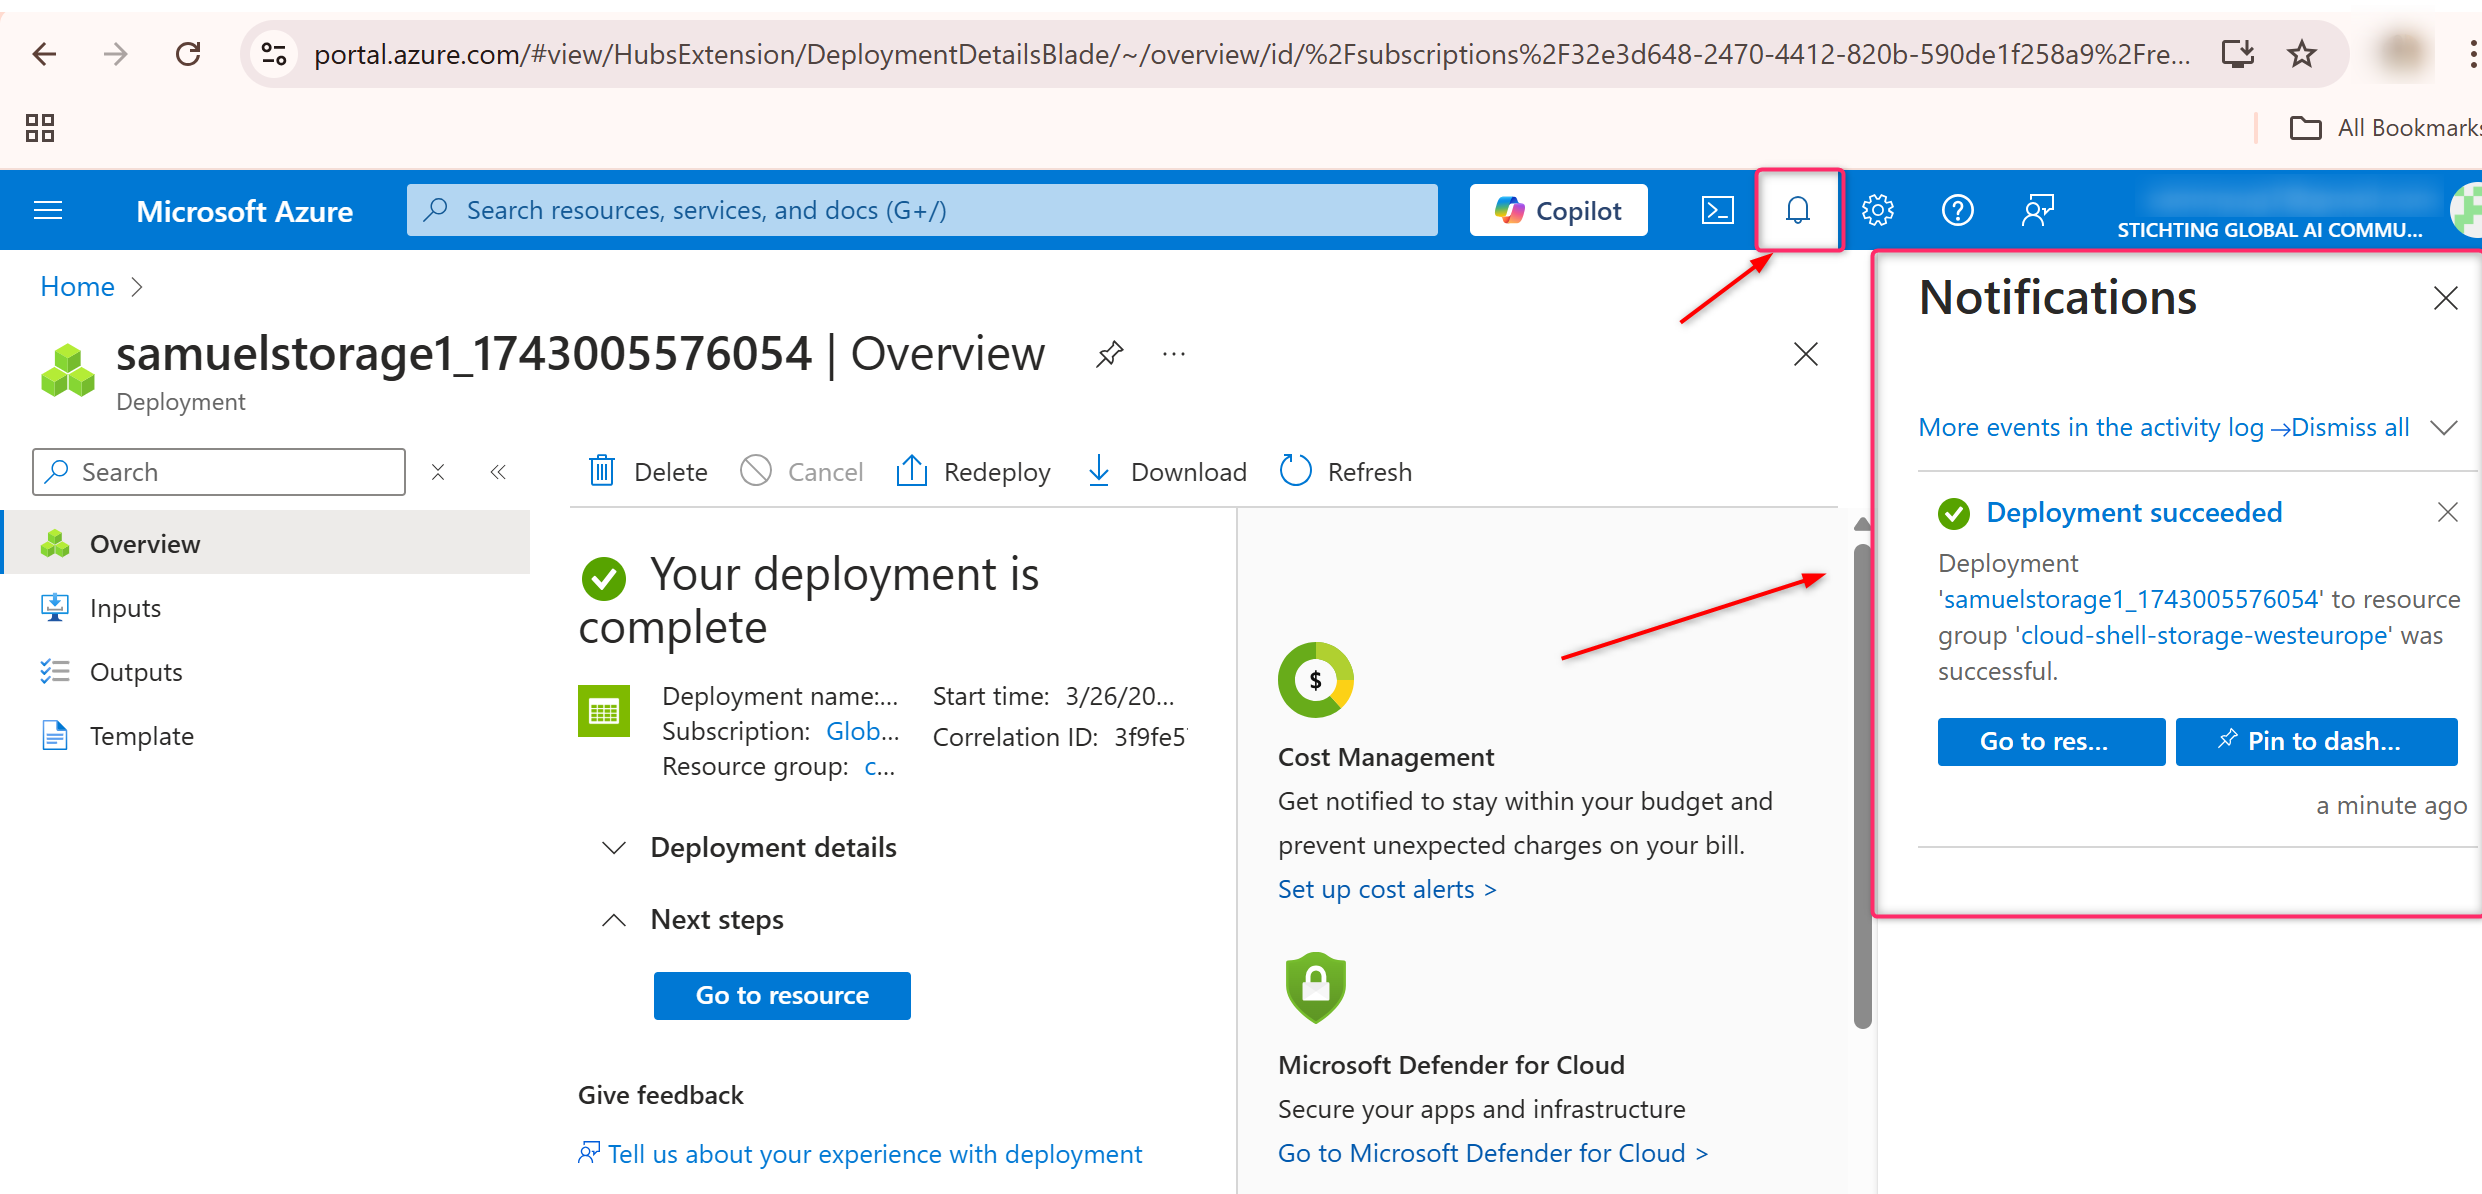
Wait for Deployment:
- It will take a few moments for Azure to create the storage account. Once the process is complete, you will be notified, and you can access your new storage account from the Storage Accounts section of the Azure Portal.
Method 2: Using Azure CLI
Azure CLI is a powerful tool for managing Azure resources via the command line. If you prefer automation or scripting, here’s how to create a storage account using Azure CLI.
-
Install Azure CLI:
- If you haven't already, install the Azure CLI on your system.
-
Sign in to Azure CLI:
- Open a terminal or command prompt and log in to your Azure account by typing:
az login
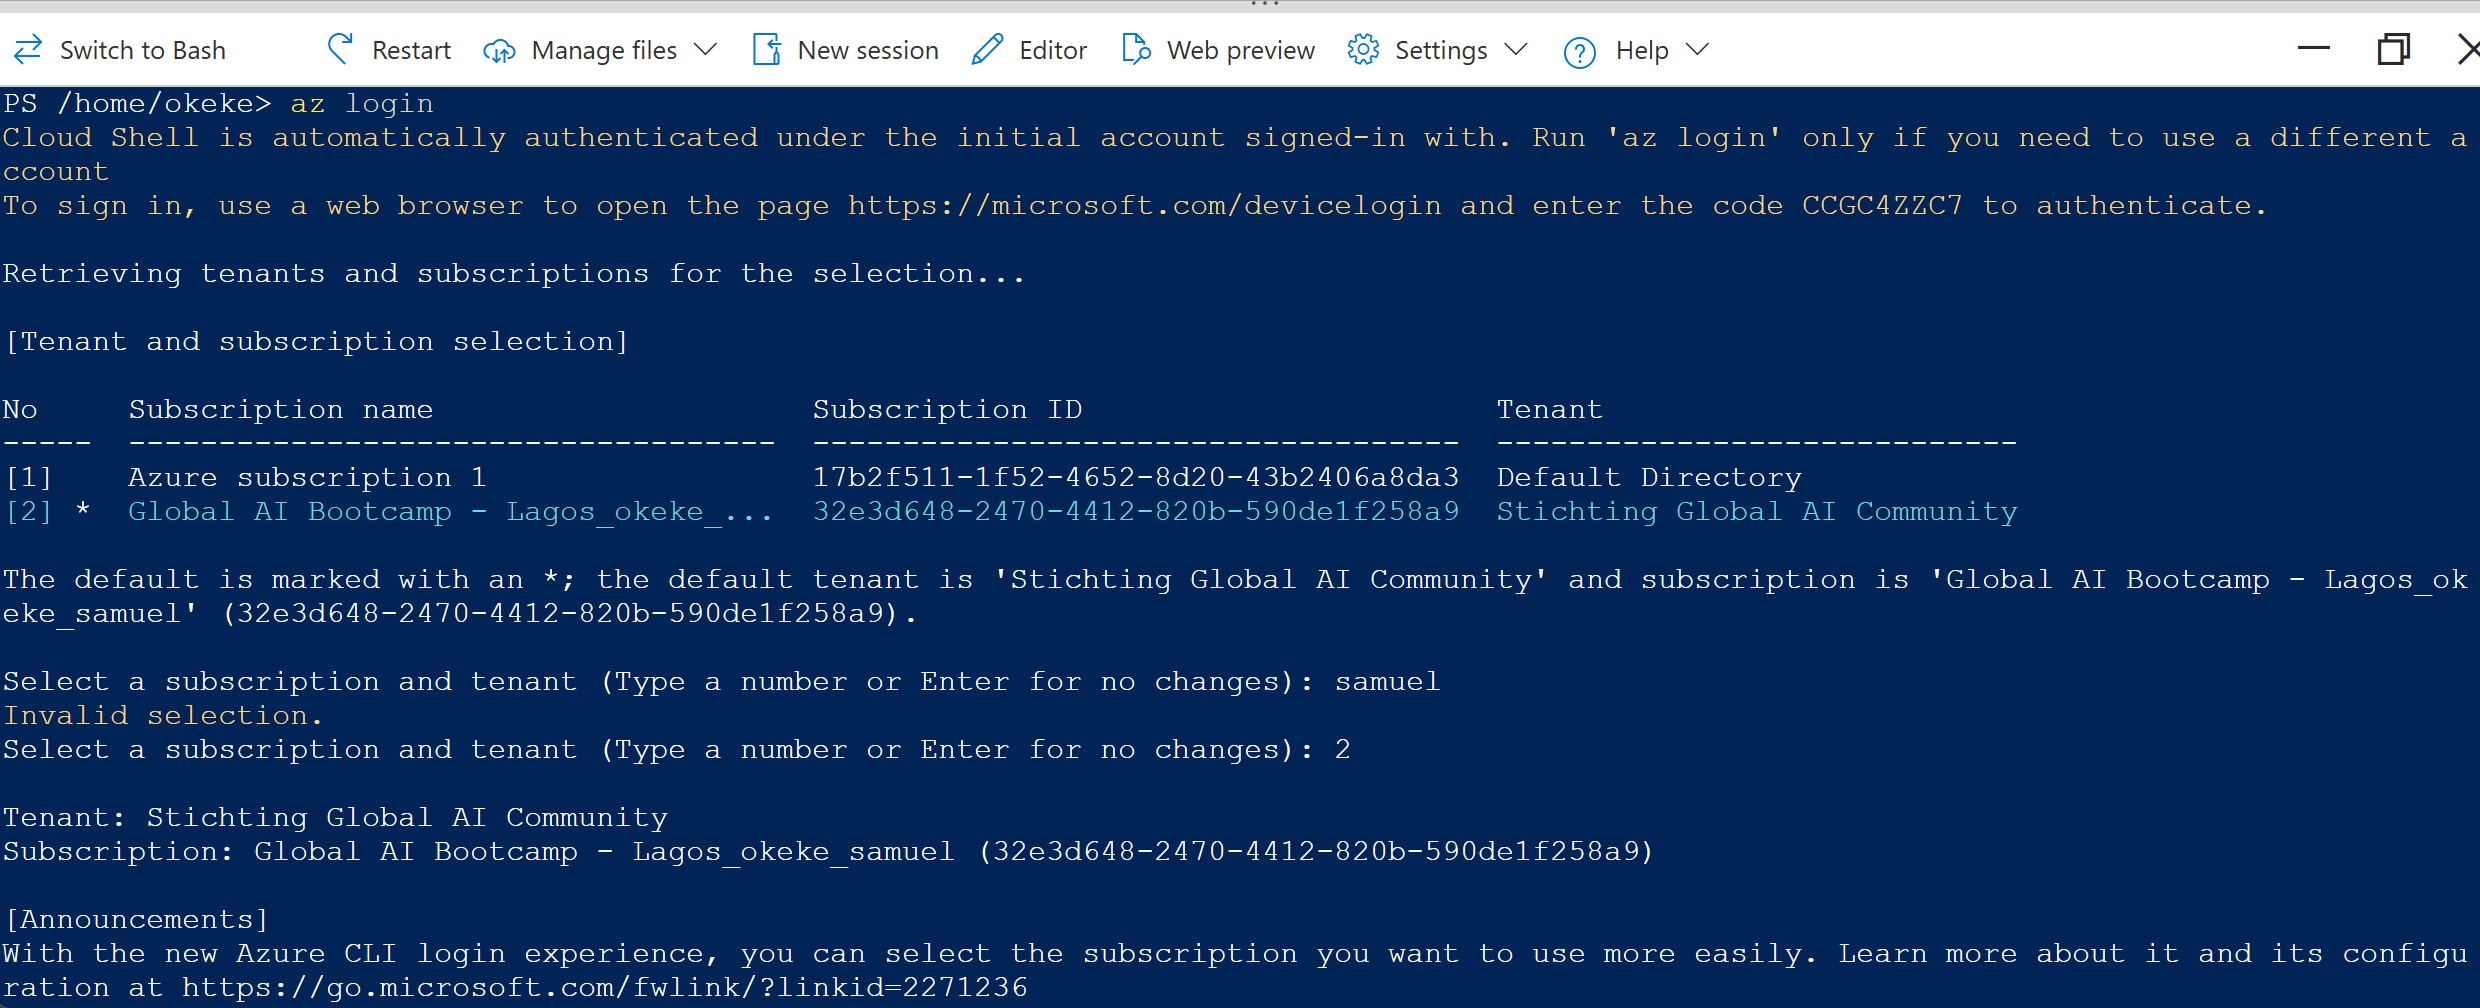
(Make sure to follow the log in link)
-
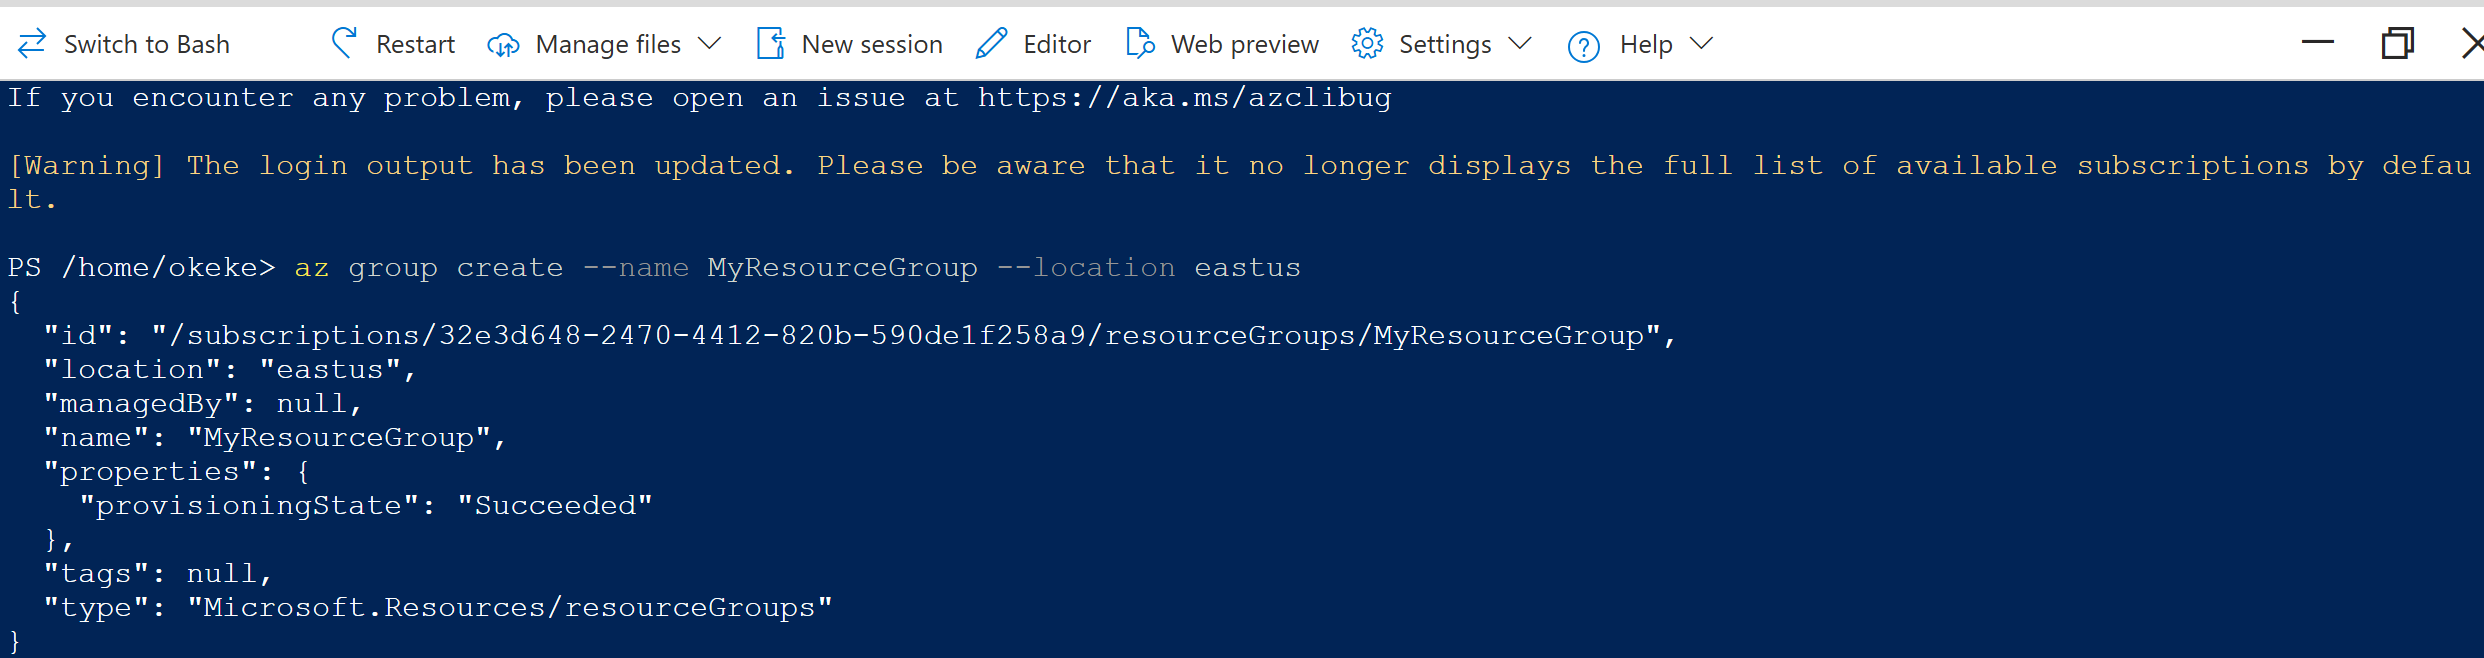
Create a Resource Group (if necessary):
- If you don’t already have a resource group, create one with the following command:
az group create --name MyResourceGroup --location eastus
Replace MyResourceGroup with your desired resource group name and eastus with your preferred region.
-
Create the Storage Account: - Run the following command to create a storage account:
az storage account create --name mystorageaccount --resource-group MyResourceGroup --location eastus --sku Standard_LRS --kind StorageV2
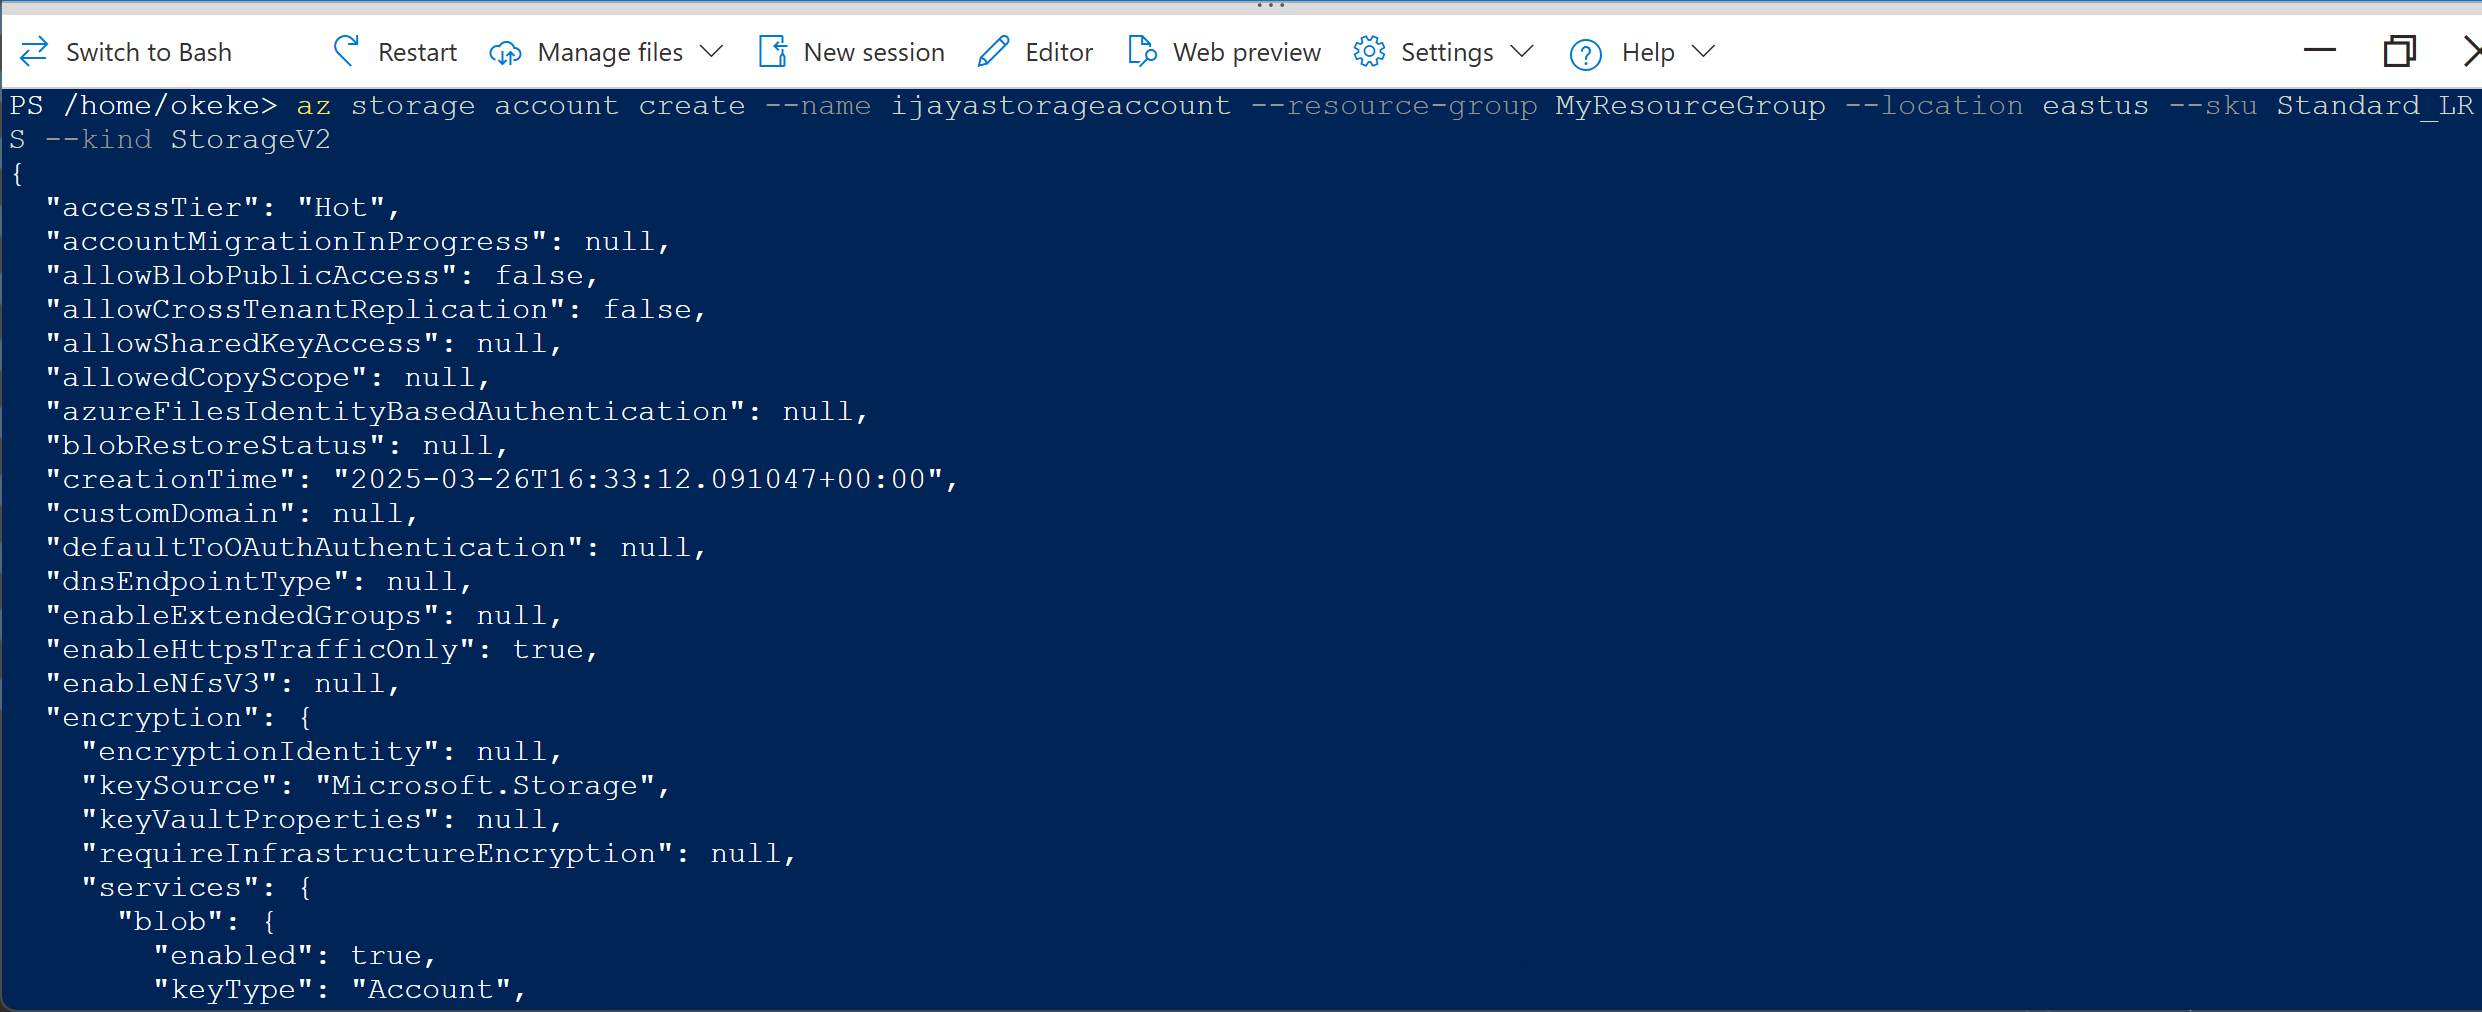
Here’s a breakdown of the parameters:
-
--name mystorageaccount: Specify a unique name for your storage account. -
--resource-group MyResourceGroup: The resource group where the storage account will be created. -
--location eastus: The region where the storage account will reside. -
--sku Standard_LRS: The replication type (Standard_LRS stands for locally redundant storage). -
--kind StorageV2: Specifies the account type (StorageV2 is the most flexible).
-
Confirm Creation:
- After running the command, you should receive a JSON output with details about your storage account, including the resource ID and location.
-
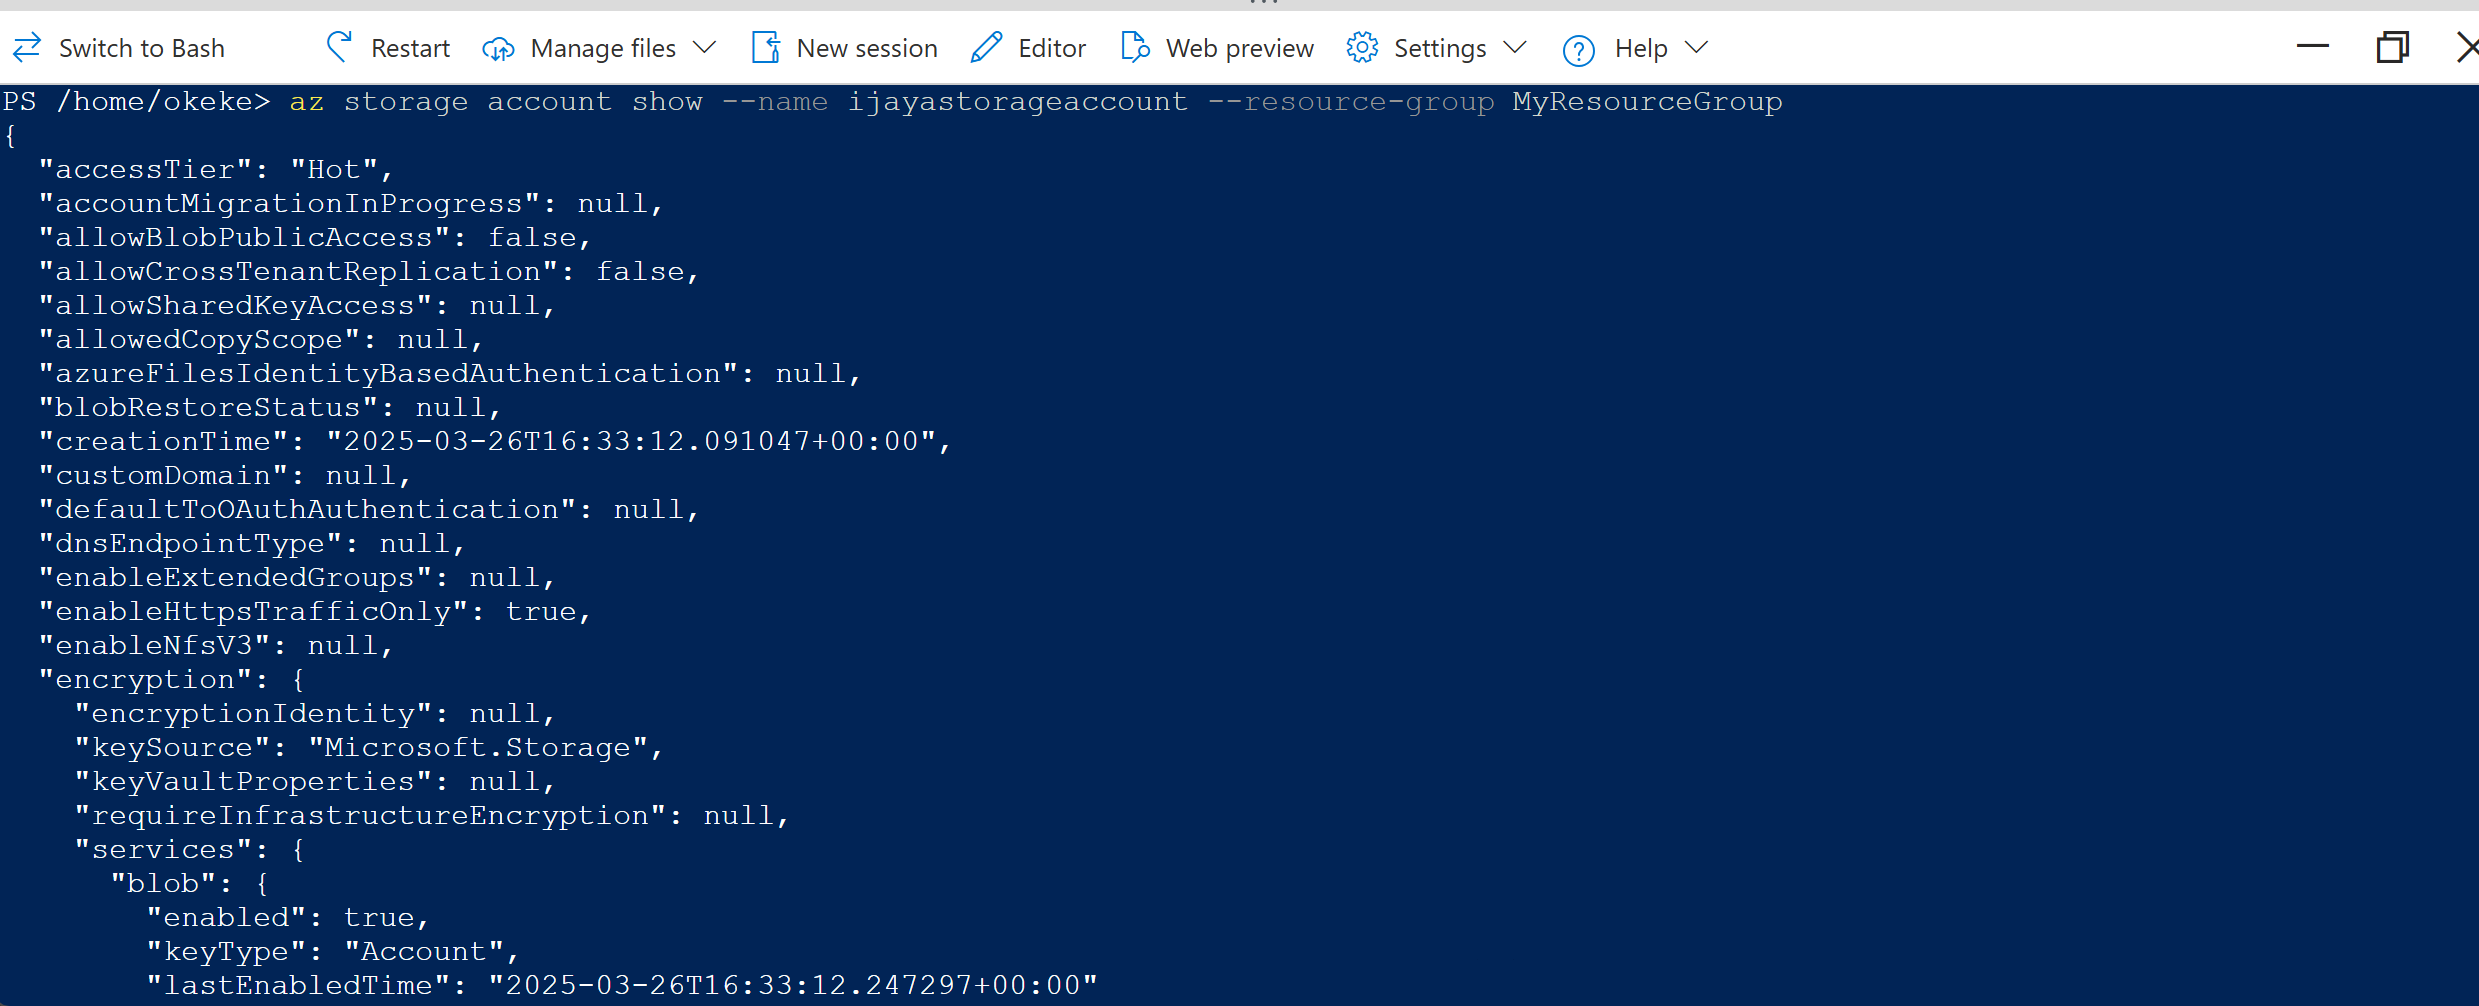
Access Your Storage Account:
- To manage your storage account or list the storage account details, you can use commands like:
az storage account show --name mystorageaccount --resource-group MyResourceGroup
Conclusion
Creating a storage account in Azure is a straightforward process, whether you prefer to use the Azure Portal for a graphical interface or Azure CLI for automation and scripting. Once your storage account is created, you can start using it to store various types of data, including blobs, files, queues, and tables, depending on your needs.
Azure Storage provides excellent scalability, reliability, and security, making it ideal for storing application data, backup solutions, and much more.