To execute the strategy of moving a bucket without downtime, it is necessary to work with an interactive script to standardize the actions, as well as perform some application updates during the process.
In Parte 1 we understood the required steps to start the migration strategy.
After executing it, we need to analyze if any issues occurred — such as errors accessing old files, difficulties inserting new objects into the new bucket, or any unexpected application errors.
After completing all necessary validations, we can mitigate any concerns that deleting the old and temporary buckets could cause problems.
Completing the Migration Process
To execute this script, the account authenticated in the gcloud CLI must have the following permissions
- Storage Admin or equivalent permissions in both the source and destination projects.
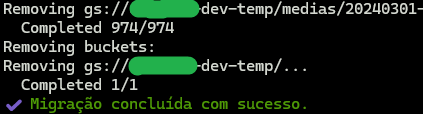
Execute Script 2 (which includes deletion actions)

Confirm the deletion of the old bucket

Notice that the script deletes the old bucket and creates a new one with the same name in the new destination project.
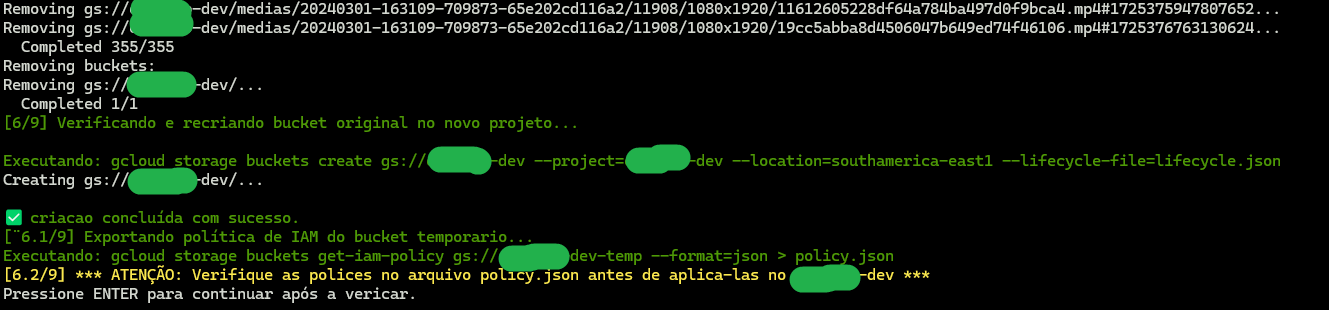
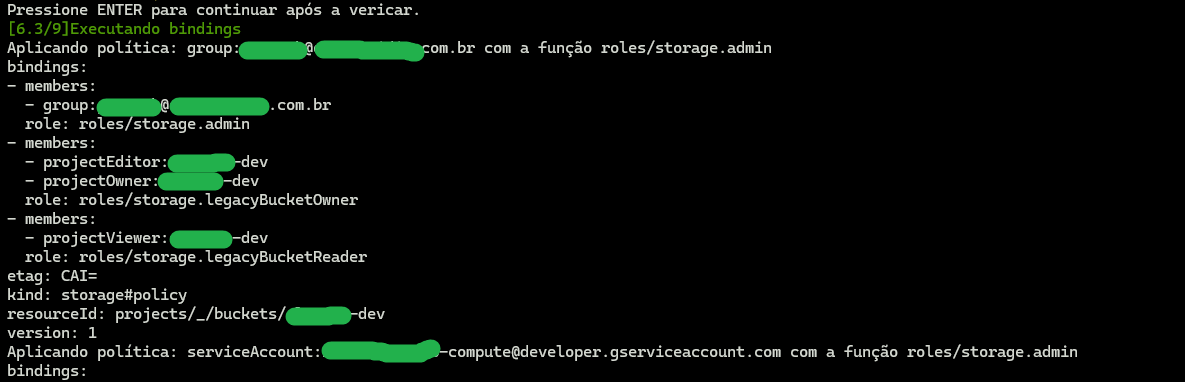
After validating and confirming the information inside the policies.json file, and pressing ENTER, the policies will be added one by one
The script then starts copying the files from the temporary bucket to the newly recreated bucket

Once the copy finishes, the script will prompt you to update your application to use the newly created bucket (if it is not already), and will wait until you press ENTER to proceed.

After updating the application, the script will perform a final sync to ensure consistency, and then prompt you to confirm the deletion of the temporary bucket.

Congratulations! 🎉
You have successfully completed a bucket migration with zero downtime.