Using “Data Prep Kit” to embed data in Milvus and query it! This is the part 2 of hands-on experience with the kit from IBM Research.
Introduction
As mentioned in the part 1, alongside with Docling, “IBM Research” open-sourced another sets of tool which could be very useful in the context of data preparation for LLMs or AI Agents. The tool is “Data Prep Kit” and is available on public Github repository.
In my previous test, I crawled a website and stored it locally on my laptop. The idea of this article, is to test the rest of the process; transforming HTML to Markdown, embedding into a vector database (Milvus) and querying the data.
Features of Data-Prep-Kit
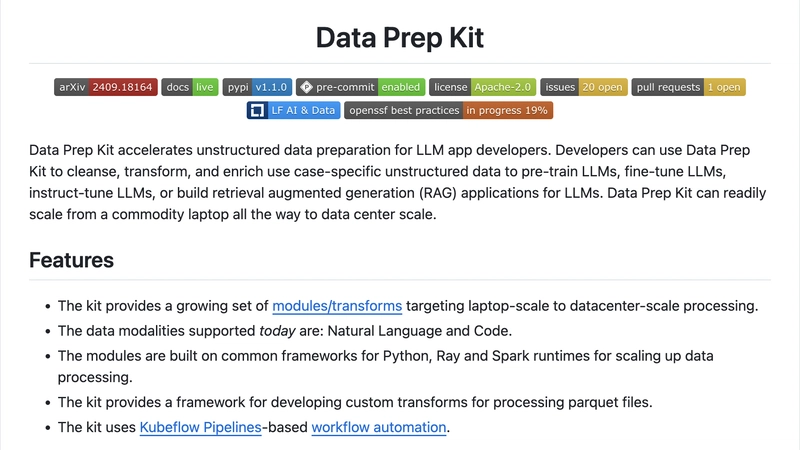
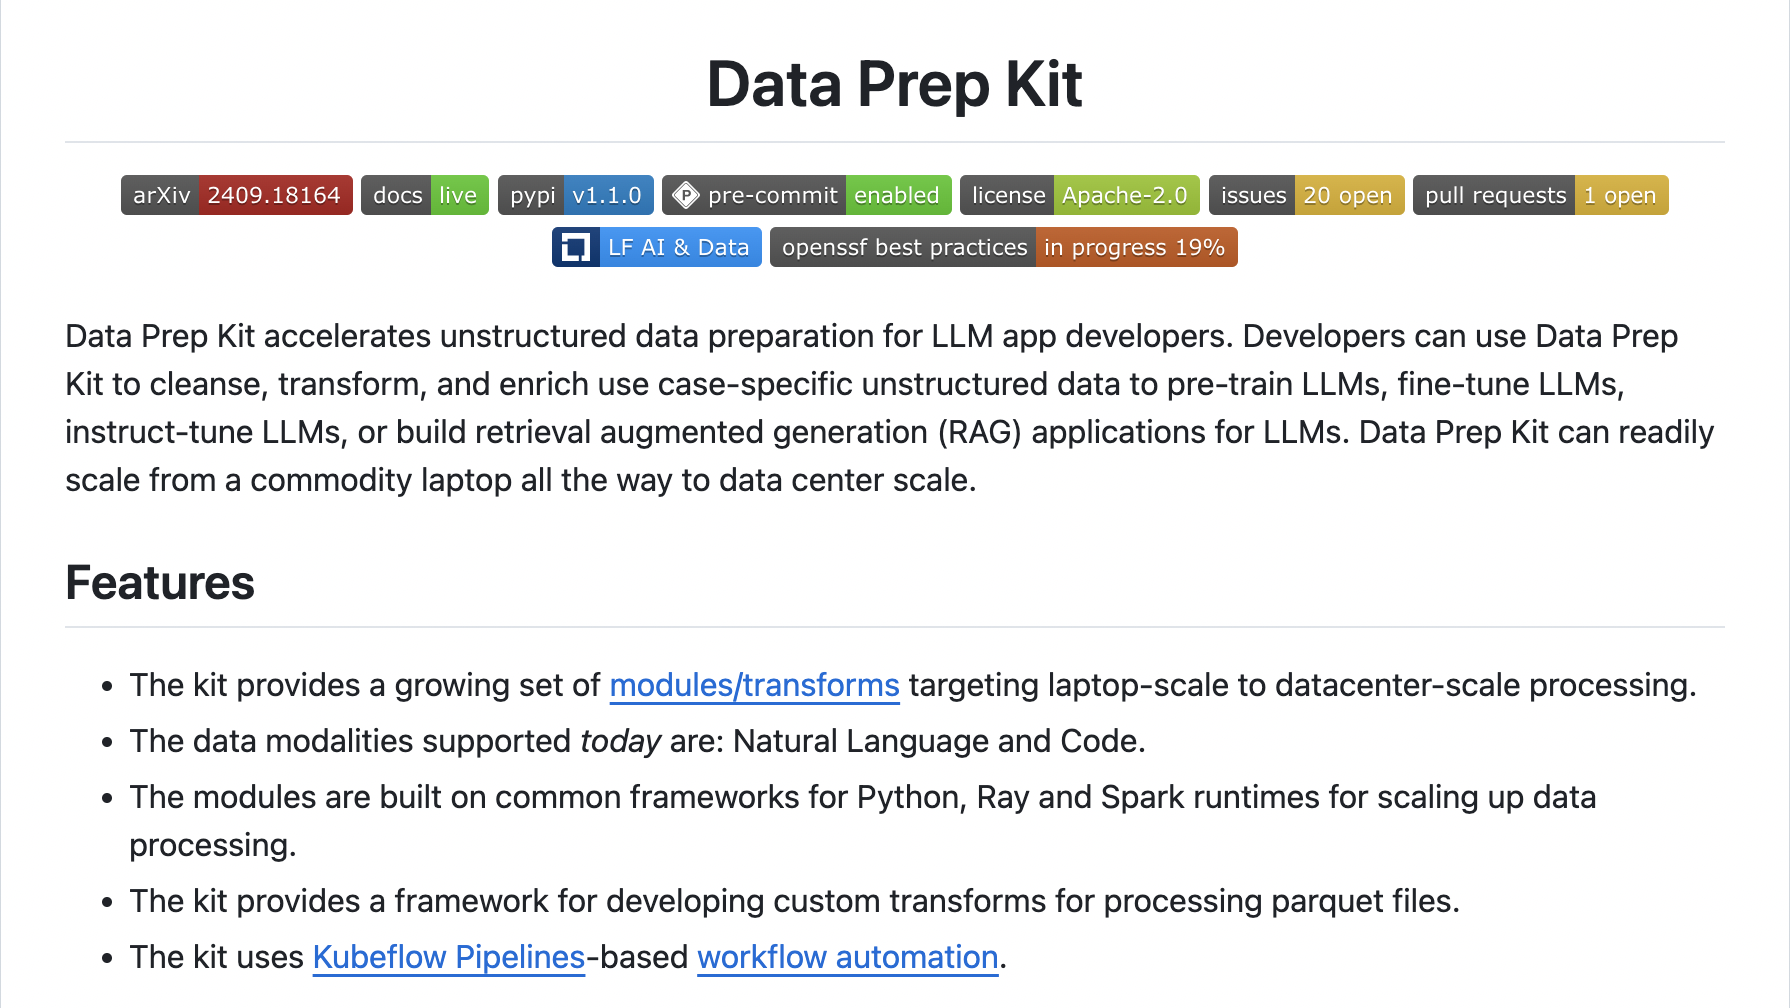
The kit provides a growing set of modules/transforms targeting laptop-scale to datacenter-scale processing.
The data modalities supported today are: Natural Language and Code.
The modules are built on common frameworks for Python, Ray and Spark runtimes for scaling up data processing.
The kit provides a framework for developing custom transforms for processing parquet files.
The kit uses Kubeflow Pipelines-based workflow automation.
Tools needed locally
In order to make the environment ready for the test, you need Ollama and Podman desktop (for the ease of use and using a GUI to manipulate images) and Podman (or Docker desktop if you prefer). To run the code I use Jupyter Lab. Last but not least, you will need Milvus.
Ollama and Podman are very straightforward to install and use, download them from their respective websites and install them. Milvus setup is easy too, I provide what I did on my laptop.
# downloads the script to fetch and run the image locally
curl -sfL https://raw.githubusercontent.com/milvus-io/milvus/master/scripts/standalone_embed.sh

# make these subfloders
mkdir volumes/milvus

# for my convenience, I replaced 'docker' with 'podman' in the script
# the script will downloand all necessary stuff
bash ./standalone_embed.sh start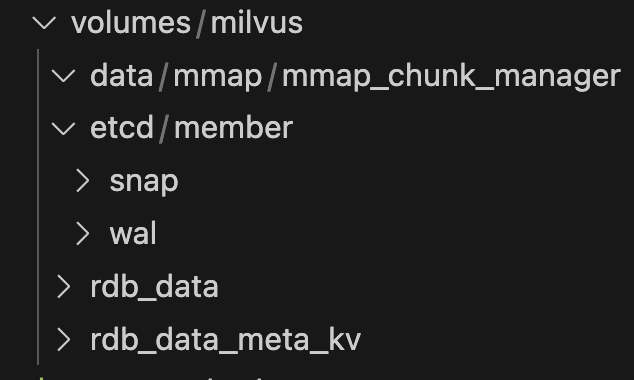
The image above is where your Milvus data will be stored.
For the LLMs you’re going to use with Ollama, the kit’s page provide the following as configuration;
## LLM Model
MY_CONFIG.LLM_MODEL = "meta/meta-llama-3-8b-instruct"
# MY_CONFIG.LLM_MODEL = "meta/meta-llama-3-70b-instruct"
# MY_CONFIG.LLM_MODEL = "ibm-granite/granite-3.2-8b-instruct"
However it’s up to you to modify it in the way that suits your applications. I made a slight change for my tests. You can always play with these parameters.
## LLM Model

# MY_CONFIG.LLM_MODEL = "meta/meta-llama-3-8b-instruct"
# MY_CONFIG.LLM_MODEL = "meta/meta-llama-3-70b-instruct"
# MY_CONFIG.LLM_MODEL = "ibm-granite/granite-3.0-2b-instruct"
# ---- AAM
MY_CONFIG.LLM_PROVIDER = "ollama"
MY_CONFIG.LLM_MODEL = "granite3-dense:latest"
#MY_CONFIG.LLM_MODEL = "granite3-dense:8b-instruct"
Alright, let’s test the code.
In the 1st part I crawled the “The AI Alliance / https://thealliance.ai/” site. Be careful when crawling sites… not every site is crawlable legally ⚠️!
To launch the Jupyter lab environment;
conda create -n dpk-html-processing-py311  python=3.11

conda activate dpk-html-processing-py311

conda activate dpk-html-processing-py311
Part 1 — Transforming HTML to Markdown
# Processing HTML Files

We will be using **html2parquet transform**

References
- [html2parquet](https://github.com/data-prep-kit/data-prep-kit/tree/dev/transforms/language/html2parquet/python)
## Step-1: Data

We will process data that is downloaded using [1_crawl_site.ipynb](1_crawl_site.ipynb).

We have a couple of crawled HTML files in  `input` directory.
## Step-2: Configuration
## setup path to utils folder
import sys
sys.path.append('../utils')
## All config is defined here
from my_config import MY_CONFIG
import os, sys
import shutil

shutil.rmtree(MY_CONFIG.OUTPUT_DIR, ignore_errors=True)
shutil.os.makedirs(MY_CONFIG.OUTPUT_DIR, exist_ok=True)
shutil.os.makedirs(MY_CONFIG.OUTPUT_DIR_HTML, exist_ok=True)
shutil.os.makedirs(MY_CONFIG.OUTPUT_DIR_MARKDOWN, exist_ok=True)

print ("✅ Cleared  output directory")
## Step-3: HTML2Parquet

Process HTML documents and extract the text in markdown format
from dpk_html2parquet.transform_python import Html2Parquet

result = Html2Parquet(input_folder= MY_CONFIG.INPUT_DIR,
               output_folder= MY_CONFIG.OUTPUT_DIR_HTML,
               data_files_to_use=['.html'],
               html2parquet_output_format= "markdown"
               ).transform()

if result == 0:
    print (f"✅ Operation completed successfully")
else:
    raise Exception (f"❌ Operation  failed")
## Step-4: Inspect the Output

from file_utils import read_parquet_files_as_df

output_df = read_parquet_files_as_df(MY_CONFIG.OUTPUT_DIR_HTML)

print ("Output dimensions (rows x columns)= ", output_df.shape)

output_df.head(5)

## To display certain columns
#parquet_df[['column1', 'column2', 'column3']].head(5)
output_df.iloc[0,]['title']
output_df.iloc[0,]['document']
## Display markdown text
print ('content length:', len(output_df.iloc[0,]['contents']), '\n')
print (output_df.iloc[0,]['contents'])

## display markdown in pretty format
# from IPython.display import Markdown
# display(Markdown(output_df.iloc[0,]['contents']))

## Step-5: Save the markdown
import os

for index, row in output_df.iterrows():
    html_file = row['document']
    base_name = os.path.splitext(os.path.basename(html_file))[0]
    md_output_file = os.path.join(MY_CONFIG.OUTPUT_DIR_MARKDOWN, base_name +  '.md')

    with open(md_output_file, 'w') as md_output_file_handle:
        md_output_file_handle.write (row['contents'])
# -- end loop ---

print (f"✅ Saved {index+1} md files into '{MY_CONFIG.OUTPUT_DIR_MARKDOWN}'")
At the end of this script you’ll get a message as the one below.
✅ Saved 20 md files into 'output/2-markdown'Part 2 — Save Markdown text into Vector DB
The markdown created in the previous step would be stored in a vector database , and Milvus is the one used in the example and the one I kept. The code could be adapted for a vector database of your choice.
The settings used for Milvus are set in the “my_config.py” file in the repository, but again all these file names and settings could be adapted to one’s specific use case.
### Milvus config
MY_CONFIG.DB_URI = './rag_html.db'  # For embedded instance
MY_CONFIG.COLLECTION_NAME = 'docs'
## --- AAM
MY_CONFIG.CHUNK_SIZE = 512
MY_CONFIG.CHUNK_OVERLAP = 100# Save Markdown text into Vector DB
## Step-1: Config
from my_config import MY_CONFIG
## Step-2: Read Markdown
import os
import glob
pattern = os.path.join(MY_CONFIG.OUTPUT_DIR_MARKDOWN, '*.md')
md_file_count = len(glob.glob(pattern, recursive=True))
from llama_index.core import SimpleDirectoryReader
reader = SimpleDirectoryReader(input_dir=MY_CONFIG.OUTPUT_DIR_MARKDOWN, recursive=True )
documents = reader.load_data()
print (f"Loaded {len(documents)} documents from {md_file_count} files")
## Inspect a sample doc
print (documents[0])
## Step-3: Create Chunks
from llama_index.core import Document
from llama_index.core.node_parser import SentenceSplitter
parser = SentenceSplitter(chunk_size=MY_CONFIG.CHUNK_SIZE, chunk_overlap=MY_CONFIG.CHUNK_OVERLAP)
nodes = parser.get_nodes_from_documents(documents)
print(f"Created {len(nodes)} chunks from {len(documents)} documents")
## Step-4: Setup Embedding Model
# If connection to https://huggingface.co/ failed, uncomment the following path
import os
os.environ['HF_ENDPOINT'] = 'https://hf-mirror.com'
from llama_index.embeddings.huggingface import HuggingFaceEmbedding
from llama_index.core import Settings
Settings.embed_model = HuggingFaceEmbedding(
model_name = MY_CONFIG.EMBEDDING_MODEL
)
## Step-5: Connect to Milvus
## Clear up any old data
from pymilvus import MilvusClient
milvus_client = MilvusClient(MY_CONFIG.DB_URI)
print ("✅ Connected to Milvus instance: ", MY_CONFIG.DB_URI )
# if we already have a collection, clear it first
if milvus_client.has_collection(collection_name = MY_CONFIG.COLLECTION_NAME):
milvus_client.drop_collection(collection_name = MY_CONFIG.COLLECTION_NAME)
print ('✅ Cleared collection :', MY_CONFIG.COLLECTION_NAME)
# connect llama-index to vector db
from llama_index.core import VectorStoreIndex, StorageContext
from llama_index.vector_stores.milvus import MilvusVectorStore
vector_store = MilvusVectorStore(
uri = MY_CONFIG.DB_URI ,
dim = MY_CONFIG.EMBEDDING_LENGTH ,
collection_name = MY_CONFIG.COLLECTION_NAME,
overwrite=True
)
storage_context = StorageContext.from_defaults(vector_store=vector_store)
print ("✅ Connected Llama-index to Milvus instance: ", MY_CONFIG.DB_URI )
## Step-6: Save to DB
# %%time
## We save entire md documents into vector store
# from llama_index.core import VectorStoreIndex
# index = VectorStoreIndex.from_documents(
# documents, storage_context=storage_context
# )
# print (f"✅ Saved {len(documents)} documents to db: {MY_CONFIG.DB_URI}" )
%%time
# save chunks into vector db
from llama_index.core import VectorStoreIndex
index = VectorStoreIndex(
nodes=nodes,
storage_context=storage_context,
)
print(f"Successfully stored {len(nodes)} chunks in Milvus collection '{MY_CONFIG.COLLECTION_NAME}'")The output to be expected is something like the one provided.
Successfully stored 63 chunks in Milvus collection 'docs'
CPU times: user 605 ms, sys: 148 ms, total: 753 ms
Wall time: 1.86 s
Part 3 — Query your Vector DB
In the last part of the sample application provided, we will use the LLM of our choice to query the Milvus vector database.
# RAG on HTML documents

## Step-1: Configuration
from my_config import MY_CONFIG
## Step-2: Setup Embeddings
# If connection to https://huggingface.co/ failed, uncomment the following path
import os
os.environ['HF_ENDPOINT'] = 'https://hf-mirror.com'
from llama_index.embeddings.huggingface import HuggingFaceEmbedding
from llama_index.core import Settings

Settings.embed_model = HuggingFaceEmbedding(
    model_name = MY_CONFIG.EMBEDDING_MODEL
)
## Step-3: Connect to Milvus
# connect to vector db
from llama_index.core import VectorStoreIndex, StorageContext
from llama_index.vector_stores.milvus import MilvusVectorStore

vector_store = MilvusVectorStore(
    uri = MY_CONFIG.DB_URI ,
    dim = MY_CONFIG.EMBEDDING_LENGTH ,
    collection_name = MY_CONFIG.COLLECTION_NAME,
    overwrite=False  # so we load the index from db
)
storage_context = StorageContext.from_defaults(vector_store=vector_store)

print ("✅ Connected to Milvus instance: ", MY_CONFIG.DB_URI )
## Step-4: Load Document Index from DB
%%time

from llama_index.core import VectorStoreIndex

index = VectorStoreIndex.from_vector_store(
    vector_store=vector_store, storage_context=storage_context)

print ("✅ Loaded index from vector db:", MY_CONFIG.DB_URI )
## Step-5: Setup LLM
from llama_index.llms.replicate import Replicate
from llama_index.core import Settings

llm = Replicate(
    model= MY_CONFIG.LLM_MODEL,
    temperature=0.1
)

Settings.llm = llm
## Step-6: Query
query_engine = index.as_query_engine()
res = query_engine.query("What is AI Alliance?")
# res = query_engine.query("What is Apache license?")
print(res)
query_engine = index.as_query_engine()
res = query_engine.query("Where was the demo night held?")
# res = query_engine.query("What are some Apache software?")
print(res)
query_engine = index.as_query_engine()
res = query_engine.query("When was the moon landing?")
print(res)
So if you ask the question: “What is AI Alliance?” you can expect the following answer 😎
The AI Alliance is a collaborative initiative aimed at advancing artificial intelligence (AI) technology by fostering open innovation across various topical areas. It brings together leading developers, scientists, academics, students, business leaders, and partners from governments, non-profit, and civil society organizations. The Alliance focuses on improving foundational capabilities, safety, security, and trust in AI, while ensuring responsible and beneficial outcomes for people and society globally.

Key aspects of the AI Alliance include:

1. Formation of member-driven working groups across major AI topics.
2. Establishment of a governing board and technical oversight committee to advance project areas and set overall project standards.
3. A lightweight operating and governing structure that empowers individual collaborators and organizational members and sponsors to pursue projects according to their best fit.
4. Adherence to a community Code of Conduct, Competition Law Guidelines, and minimum criteria for projects during the incubation process.
5. Emphasis on grassroots collaboration, discovering, enabling, and scaling good ideas and contributions from the global AI community.

For more information, visit: https://thealliance.ai
Conclusion
The data-prep-kit is designed to streamline and simplify the complex process of preparing data for analysis and machine learning. It offers a collection of modular and reusable tools. By providing these functionalities the toolkit reduces the manual effort and coding required for data preparation, enabling users to more efficiently get their data into a usable and high-quality state for downstream tasks.
Happy data preparation 🍻
Links
Data prep kit github repository: https://github.com/data-prep-kit/data-prep-kit?tab=readme-ov-file
Quick start guide: https://github.com/data-prep-kit/data-prep-kit/blob/dev/doc/quick-start/contribute-your-own-transform.md
Provided samples and examples: https://github.com/data-prep-kit/data-prep-kit/tree/dev/examples
Parquet: https://parquet.apache.org/