Are you tired of manually copying and pasting content between your LLM tools and Notion? Look no further! In this article, I'll show you how I leveraged MCP (Model Context Protocol) to automate your Notion workflow from Claude Desktop. 🎯
Why MCP + Notion? 🤔
MCP provides a powerful way to:
- Connect AI models with external data sources and tools
- Break down information silos through standardized integrations
- Enable dynamic, context-aware AI interactions
Getting Started 🛠️
Prerequisites
- A Notion account (https://www.notion.so)
- Claude Desktop app (https://claude.ai/download)
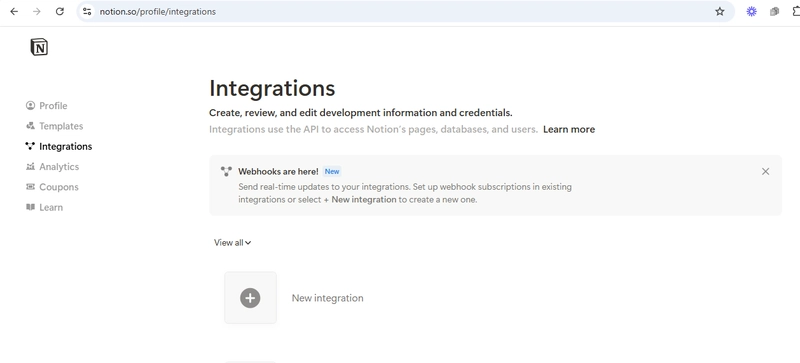
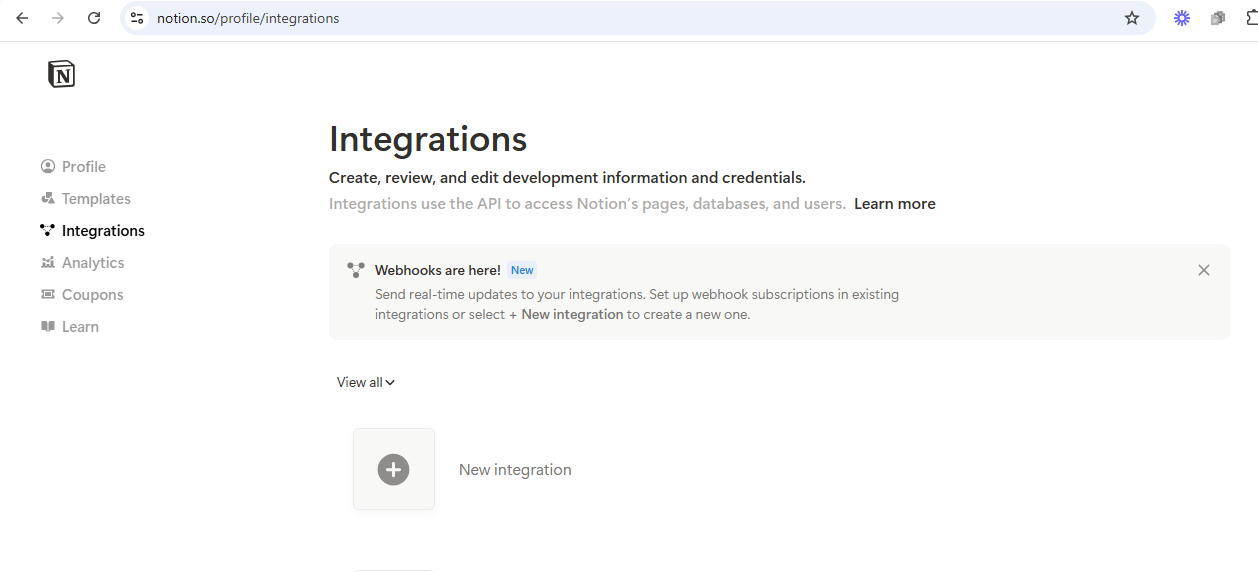
Step 1: Configure Your Notion Integration
- Go to Notion's integration settings
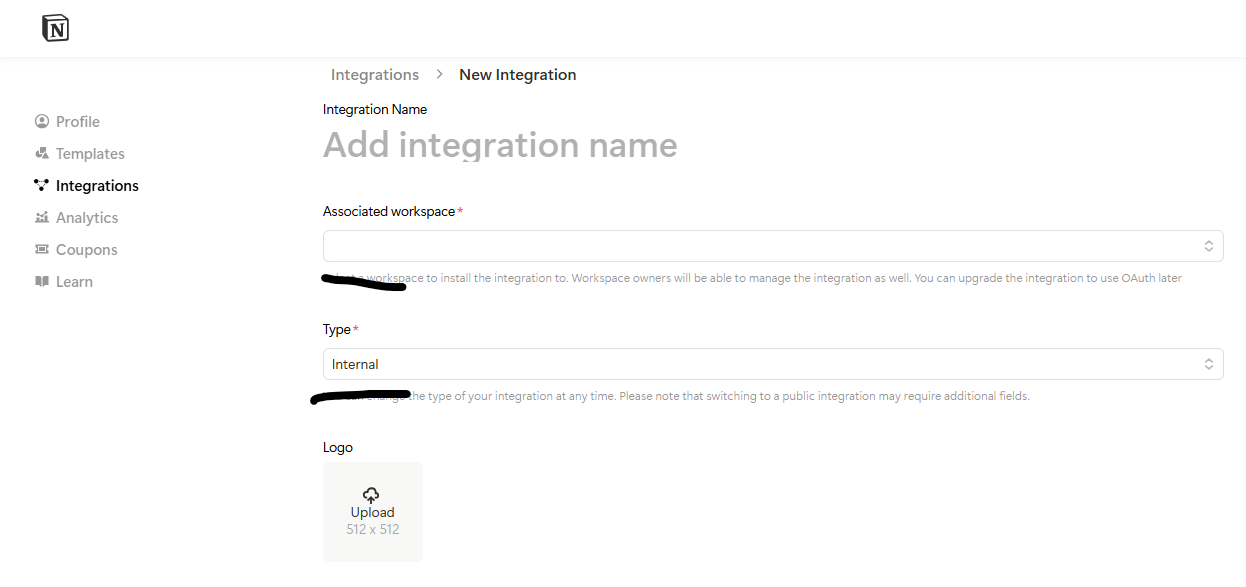
- Create a new integration with a suitable name for example "Notion MCP"
- Click "Save". It will generate your API key
- Copy your API key
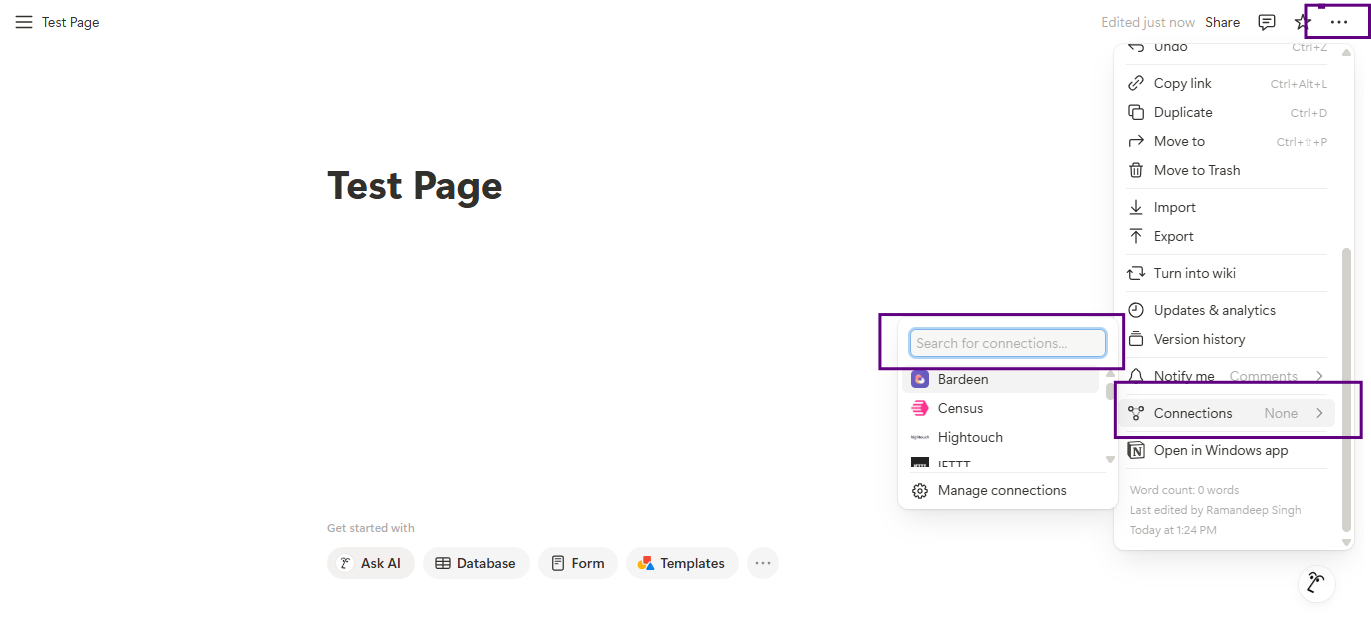
- Connect a target page with new integration. (Create a page-> click on 3 dotted-icon -> connections -> search integration)
Step 2: Copy below MCP configuration file and paste it into "claude_desktop_config.json".(located in the claude desktop app directory ~\AppData\Roaming\Claude)
{
  "mcpServers": {
    "notionApi": {
      "command": "npx",
      "args": ["-y", "@notionhq/notion-mcp-server"],
      "env": {
        "OPENAPI_MCP_HEADERS": "{\"Authorization\": \"Bearer ntn_xxxxxx\", \"Notion-Version\": \"2022-06-28\" }"
      }
    }
  }
}
Step 3: Configure MCP
Edit the above pasted JSON code to include your Notion API key
Step 4: Now open claude desktop app, Go to File > Settings > Under "Developer" section, see that the notionApi server is added as a tab. Click on it and see that the status is "running"*.
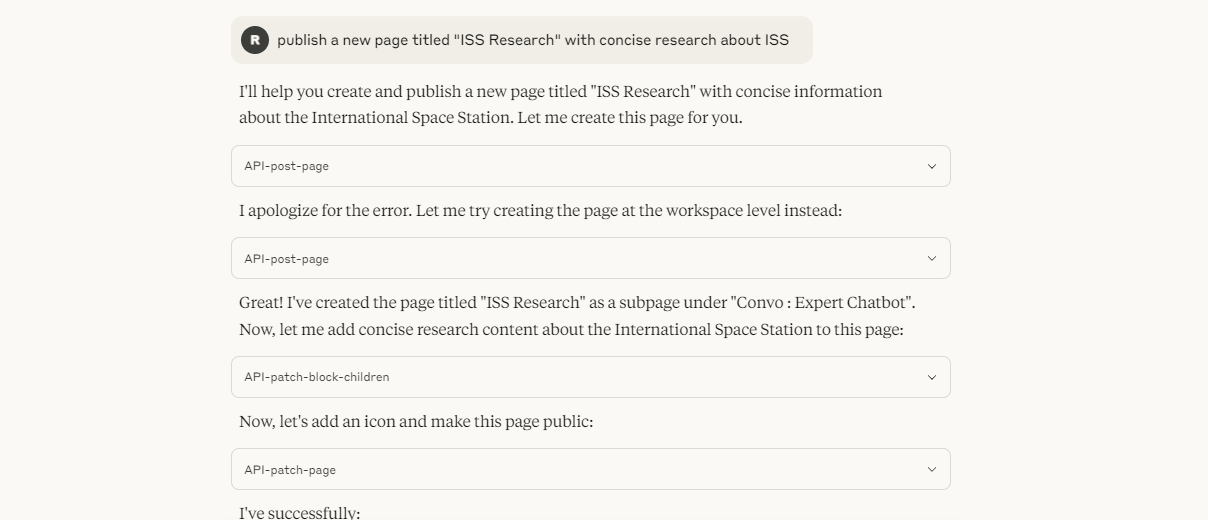
Now that you have successfully configured the MCP server in your Claude desktop app. You can start using it to list, create, update and delete Notion pages. I was able to create, publish a research and it created a new page automatically within few minutes without opening the Notion in just single prompt -