If you're a developer who wants more control over infrastructure - without diving into YAML or learning a new DSL - Pulumi might be exactly what you're looking for.
In this article, we'll explore what Pulumi is, how it compares to Terraform, how it manages state, and how to set up your first Azure resource - a Storage Account - using TypeScript.
🔍 What Is Pulumi?
Pulumi is an Infrastructure as Code (IaC) tool that lets you define cloud infrastructure using real programming languages and frameworks (and optionally YAML).
It supports Node.js/TypeScript, Python, Java, Go, and .NET languages (C#, F#, VB).
In this series, we'll use TypeScript for examples, as most developers know it or can easily understand it.
We'll also use the Azure Native provider, which provisions resources using the Azure Resource Manager (ARM) APIs - covering the full Azure service surface.
🧠 Pulumi vs Terraform (Key Differences)
1. Language
- Terraform: Uses HCL (HashiCorp Configuration Language)
- Pulumi: Uses real languages - TypeScript, Python, Go, C#, etc.
2. State Management
Terraform uses a .tfstate file to store the state locally, but you also have a choice to store it in HCP Terraform (Terraform managed solution) or Terraform Enterprise (on-premise self-hosted solution).
Similar to that, Pulumi allows you to store the state:
- Locally in
~/.pulumifiles - Pulumi managed services (Pulumi cloud)
- Or in your own backend (like Azure Blob, S3, etc.)
⚡ How Pulumi Handles State
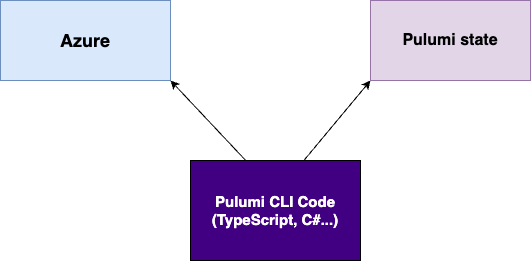
Pulumi CLI fetches the current state from the backend, compares it with your code's desired state, and directly applies diffs to Azure APIs.
Note: Pulumi does not automatically detect drift when running
pulumi preview- you must explicitly runpulumi refreshto sync changes made outside of Pulumi. (We'll dive deeper into drift detection in a future post!)
⚙️ Setting Up Your Pulumi Project
First we need to install Pulumi:
brew install pulumi # or choco, curl, etc.Then, you need to login. Pulumi will ask you where to store the state. Default is Pulumi Cloud (free tier) which we are using this first chapter. Later, we might explore other options as well.
pulumi loginOnce you did that, you can freely create new folder with the name of your project, open that folder and execute creation of the actual Pulumi project, like this:
mkdir pulumi-azure-start && cd pulumi-azure-start
pulumi new azure-typescript
You will be asked to enter the project name (folder name per default), stack name (dev, prod, etc), and default Azure location (e.g. westeurope).
📁 Your Project Structure
You'll see files like:
-
index.ts– Your Pulumi program (TypeScript code) -
package.json– Project dependencies -
Pulumi.yaml– Project config -
Pulumi.dev.yaml– Stack-specific config -
tsconfig.json– TypeScript settings
📦 Default index.ts Content
import * as pulumi from "@pulumi/pulumi";
import * as resources from "@pulumi/azure-native/resources";
import * as storage from "@pulumi/azure-native/storage";
// Create an Azure Resource Group
const resourceGroup = new resources.ResourceGroup("resourceGroup");
// Create an Azure resource (Storage Account)
const storageAccount = new storage.StorageAccount("sa", {
resourceGroupName: resourceGroup.name,
sku: {
name: storage.SkuName.Standard_LRS,
},
kind: storage.Kind.StorageV2,
});
// Export the primary key of the Storage Account
const storageAccountKeys = storage.listStorageAccountKeysOutput({
resourceGroupName: resourceGroup.name,
accountName: storageAccount.name
});
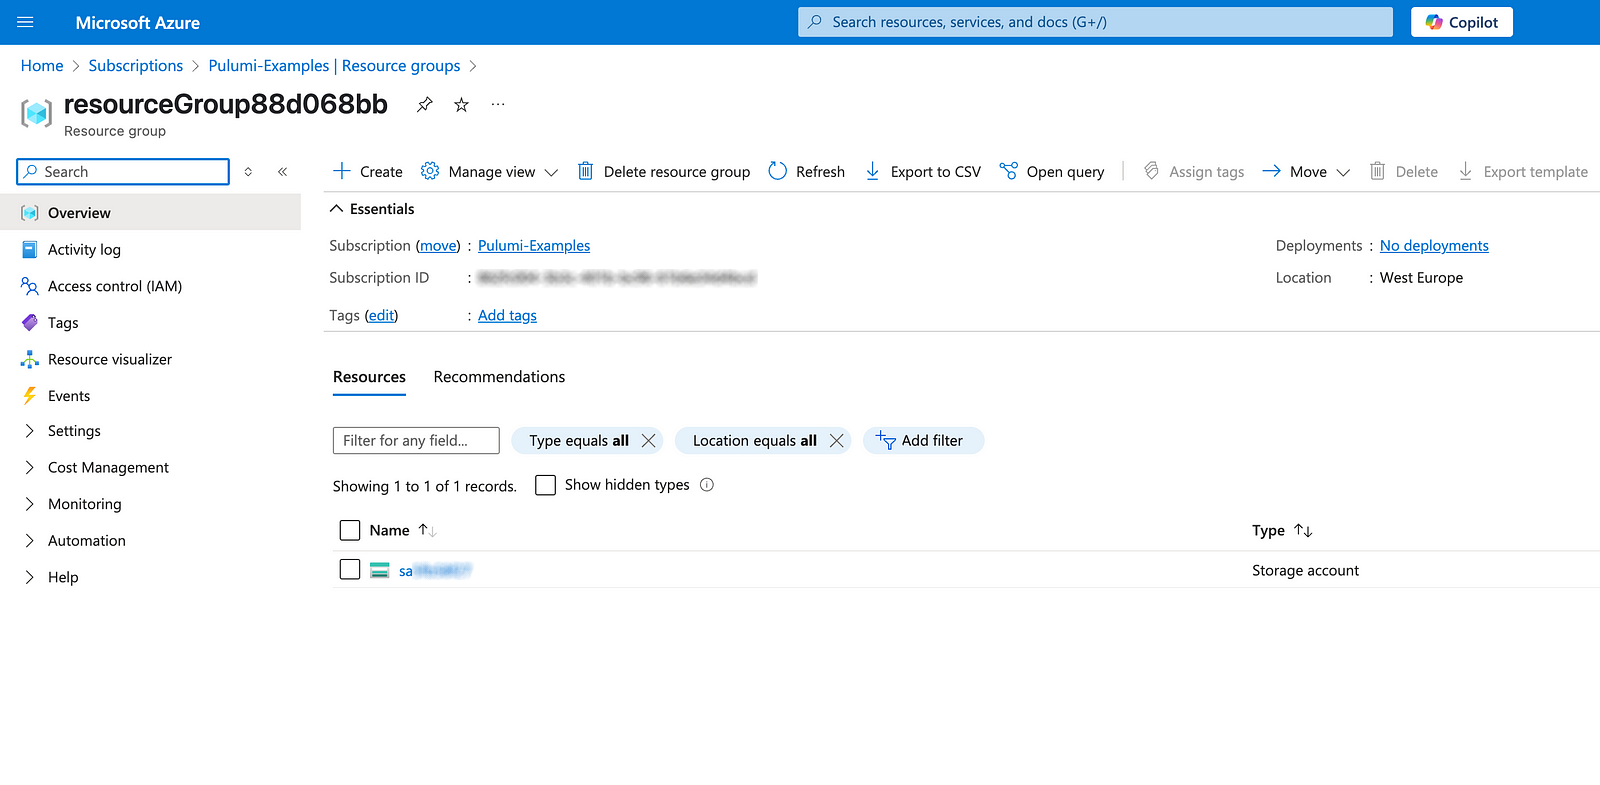
export const primaryStorageKey = storageAccountKeys.keys[0].value;It is clearly visible that we are having resource group and storage account in that resource group.
Tip: The first parameter (e.g.,
"resourceGroup","sa") is the unique name inside Pulumi state, not the actual Azure resource name.
🚀 Preview and Deploy
Preview the changes:
pulumi previewExample output:
Previewing update (dev)

View in Browser (Ctrl+O): https://app.pulumi.com/xxx/pulumi-azure-start/dev/previews/xxx

     Type                                     Name                    Plan
 +   pulumi:pulumi:Stack                      pulumi-azure-start-dev  create
 +   ├─ azure-native:resources:ResourceGroup  resourceGroup           create
 +   └─ azure-native:storage:StorageAccount   sa                      create

Outputs:
    primaryStorageKey: output

Resources:
    + 3 to create
Apply the changes:
pulumi upAnd just like that, your Azure Storage Account is live!
✅ Wrap-Up and What's Next
In just a few lines of TypeScript, we provisioned an Azure Storage Account - no portals, no YAML, no magic. In the next article, we'll explore how to structure Pulumi projects and use configuration to handle different environments (dev/prod).
👉 Code for this post is available here on GitHub.