Introduction
In this tutorial we will cover:
- Hosting an API on render.
- Using Github actions to run our tests prior to deploying to render.
Prerequisites:
The API being hosted
For this tutorial I will be using a example fastapi API written with Python 3.13.0.
Feel free to fork from the tutorial-start branch if you wish to follow along.
If you wish to use your own API the general steps will be the same but make sure that both Render and Github Actions have support for it.
The project is a simple API that outputs Hello World and has 3 commands:
-
pipenv run devto run the API locally for development -
pipenv run prodto run the API in production context e.g when hosted on Render -
pipenv run testto run the tests for the API.
Hosting an API on render
On your Render dashboard create a new
Web Service.Select your newly created Github project. You will need to setup a connection to Github for Render via this guide.
-
Update the configuration for your programming language version to match the version of your project.
For Python we need to set the
PYTHON_VERSIONto3.13.0using an Environment Variable. -
Update the
Build Commandwhich will install our project dependencies on Render.For this project it will be
pipenv install. We do not required the dev dependencies here as tests will be run on Github Actions. -
Update the
Start Commandwhich will be run to start up our API on render.For this project it will be
pipenv run prod After the deployment is complete visit url for the website to see
Hello World.
With the current setup as we push new changes to Github it will trigger deployments to Render automatically via deploy hooks.
Try updating the message to {"message": "Hello World Again!"} in main.py and push to Github to see this in effect.
Using Github actions to run our tests prior to deploying to render
Now we have our tests we can run use Github Actions to run our tests and only deploy to render if they pass.
Disable the current auto-deploy on Render by setting "Auto Deploy" to "No" in the settings of your Render project.
-
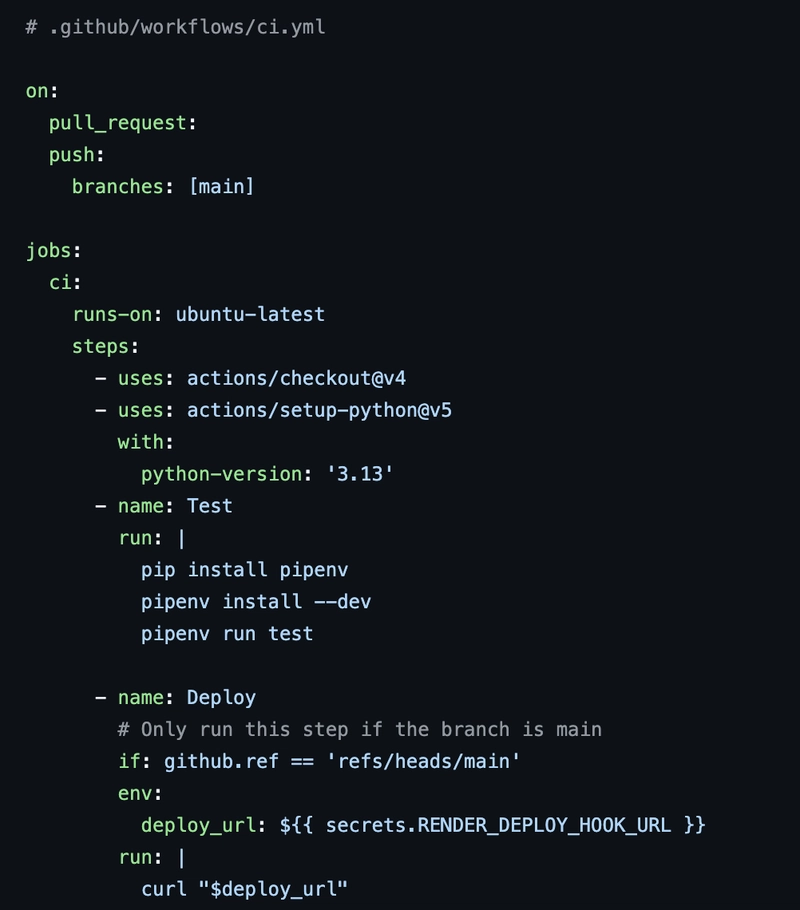
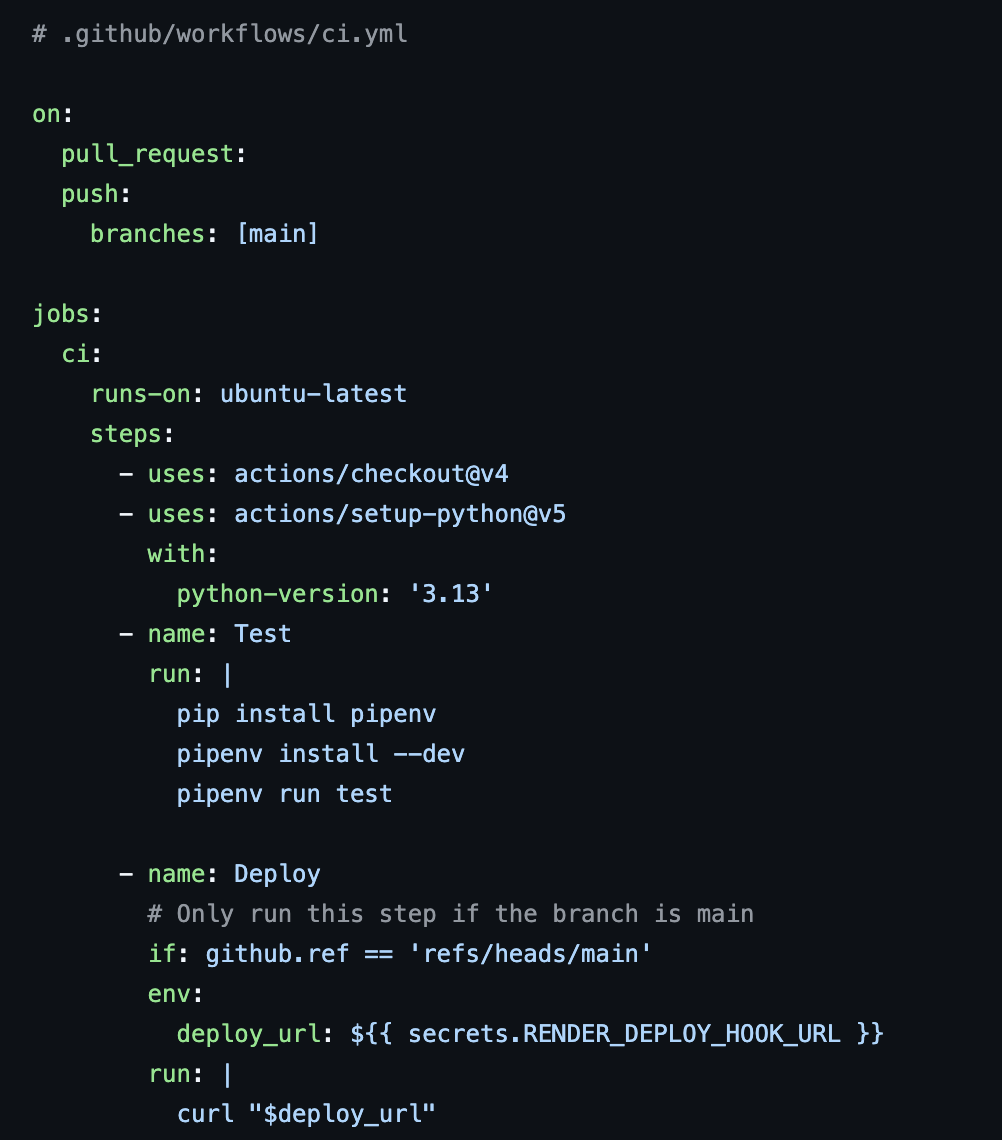
Add Github Actions script to the project at
github/workflows/ci.yml.This script has two stages:
- test: this will install the dependencies for running your tests and run them
- deploy: this will deploy your code (if on main) to render
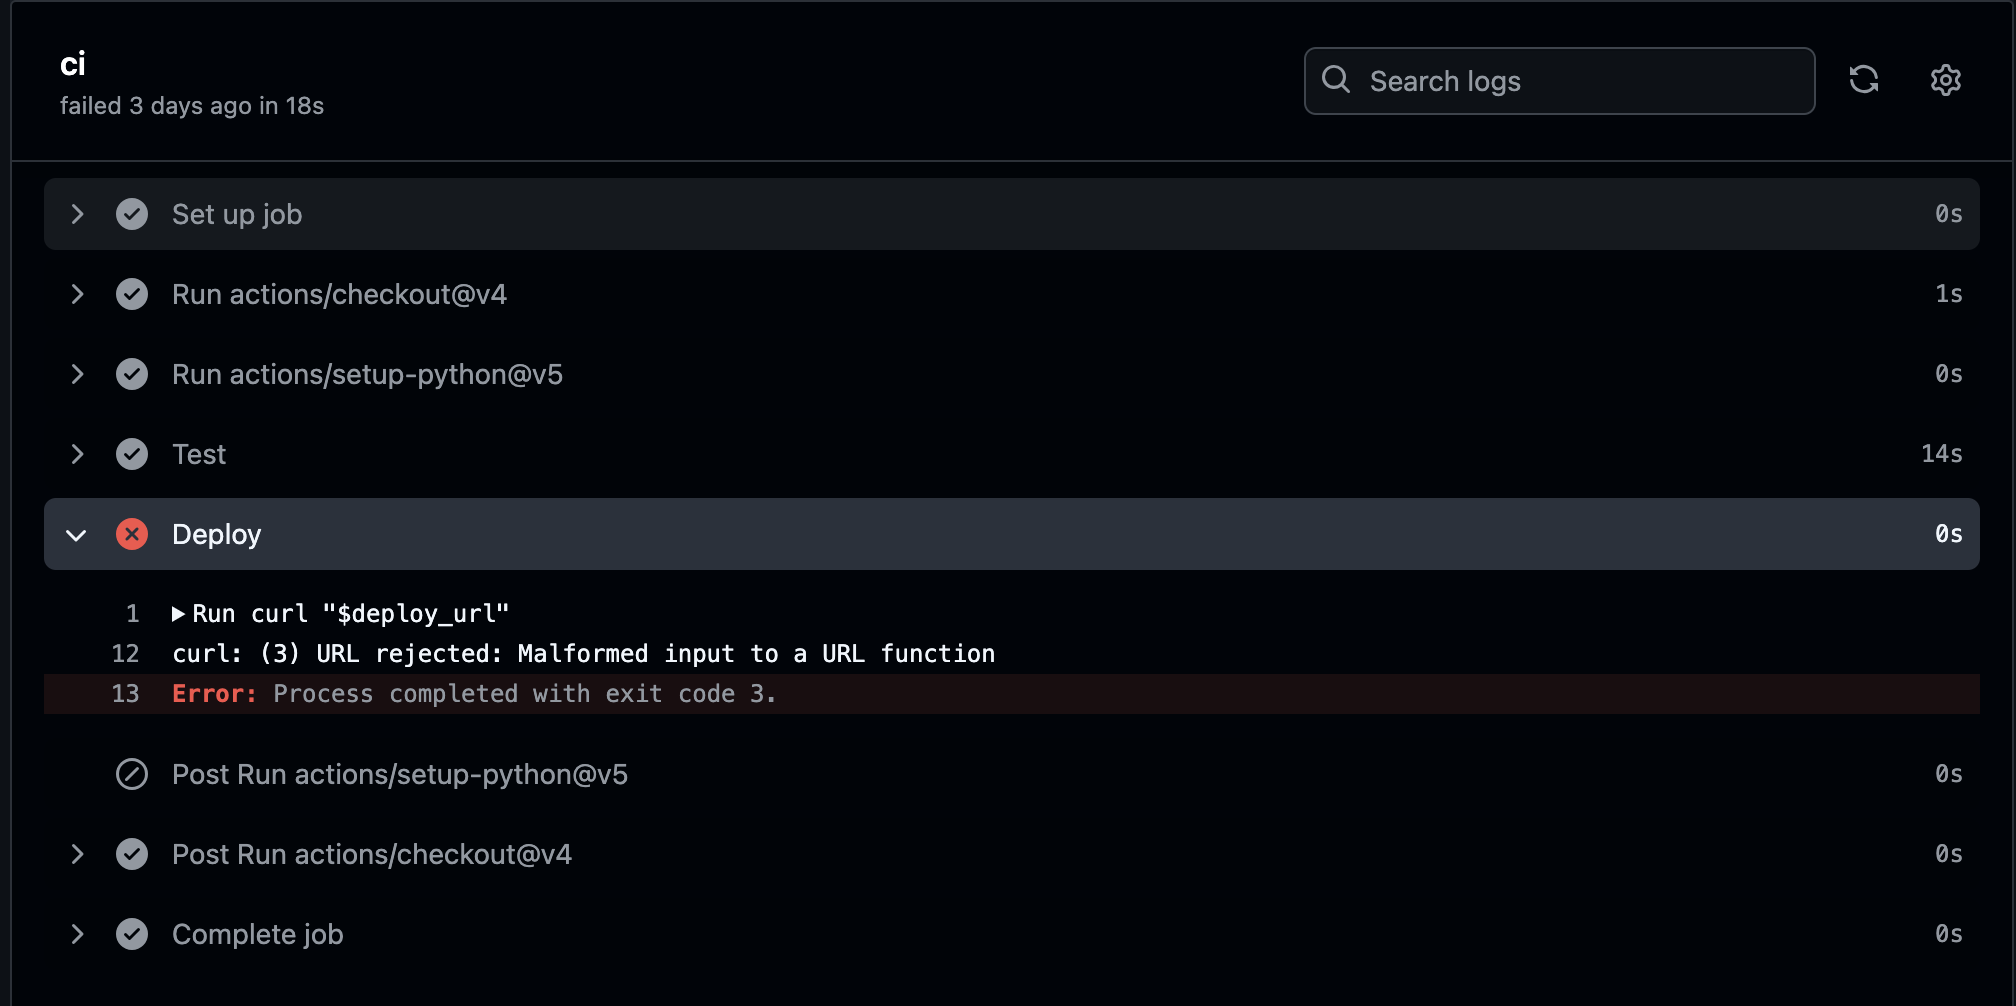
You should see your tests execute fine but it fails to deploy. This is because we still need to add the
RENDER_DEPLOY_HOOK_URL.
-
Add
RENDER_DEPLOY_HOOK_URLto the secrets for Github actionsIn the setting of your Render project find the
Deploy Hook.Copy the value of this as a new repository secret for Github Actions, this is found at Settings -> Secrets and variables -> Actions.
-
Try updating the message to
{"message": "Hello World Again with Github Actions!"}but before pushing make sure your tests pass locally viapipenv run test.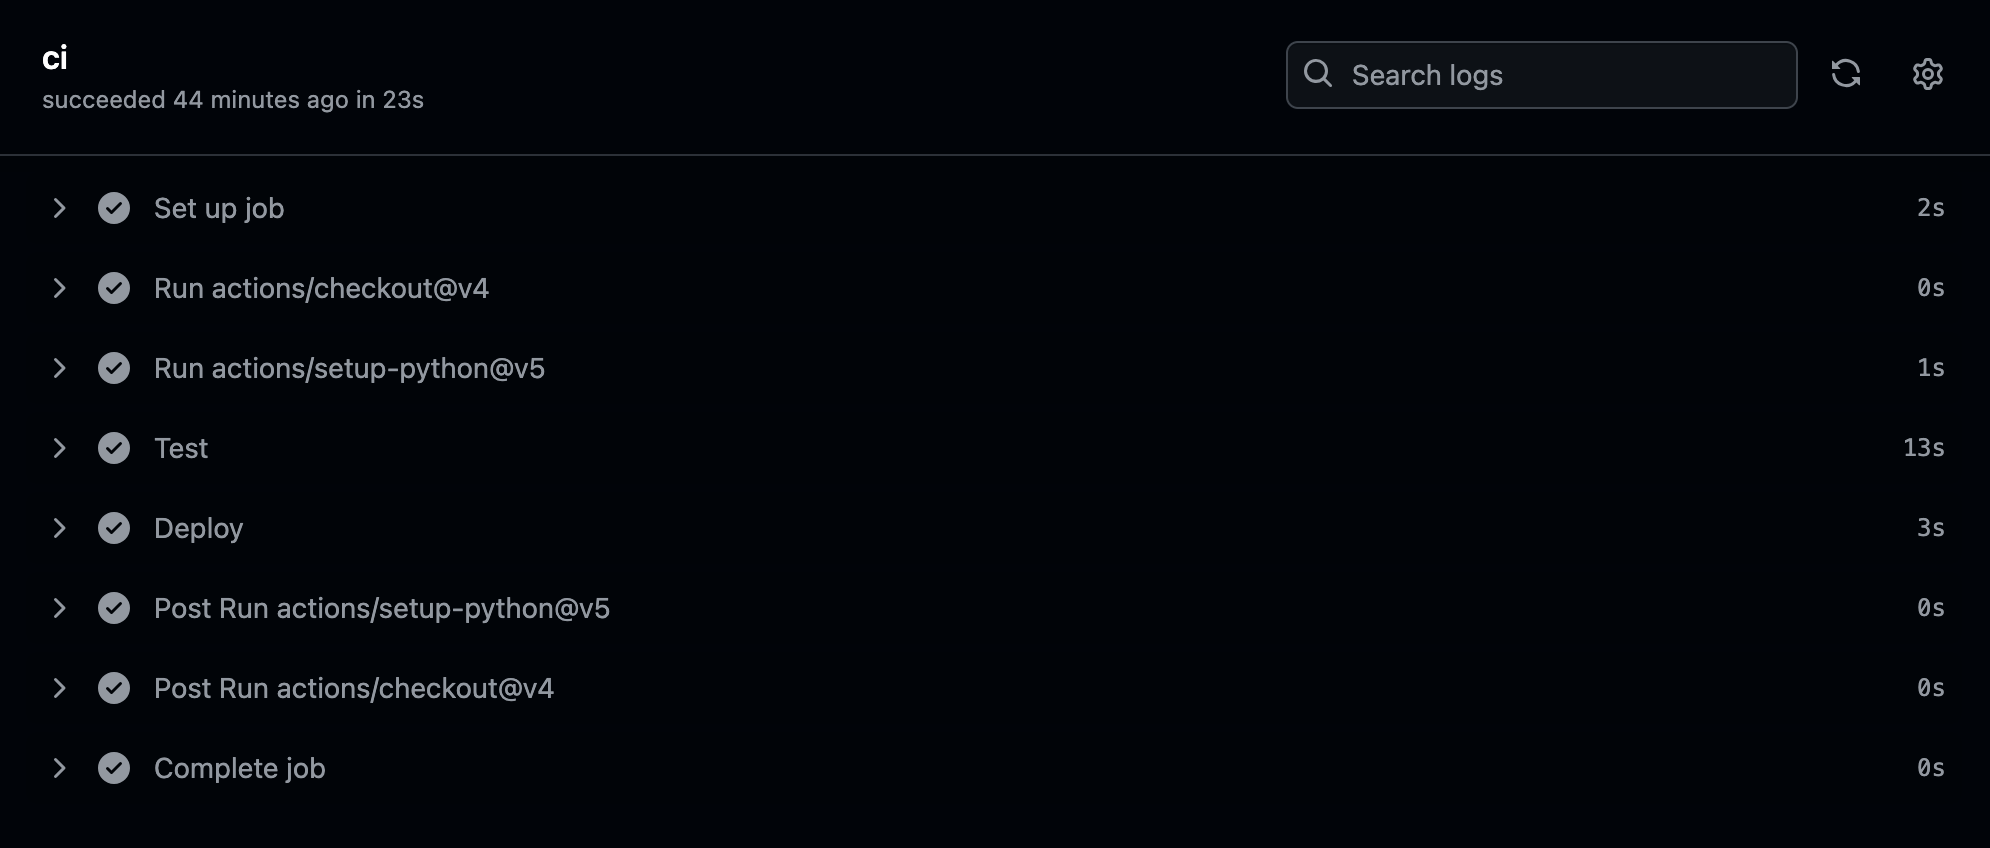
Conclusion
Congratulations you have now successfully setup a CI/CD pipeline via Github Actions deploying to Render.
Completed Github Project
Live url - As this is hosted via the free version of Render it may require a minute to startup if it has been idle.
