Learn How to Use Fetch and Create a Reusable Rest Client in JavaScript
In this blog post, we’ll explore the basics of the Fetch API and how to create a reusable RestClient class to simplify your HTTP requests in web applications.
Table of Contents
What is Fetch?
Using Fetch: Examples
Reusable RestClient Class
Using RestClient in React
🛰️ What is Fetch?
The Fetch API is a modern JavaScript interface used to make HTTP requests to servers. It returns a Promise, which can be handled with async/await or .then() syntax.
To learn more about Promises, check the MDN documentation.
🚀 Using Fetch: Examples
fetch('https://jsonplaceholder.typicode.com/todos/1')
  .then(response => response.json())
  .then(json => console.log(json));
Response:
{

  "userId": 1,

  "id": 1,

  "title": "delectus aut autem",

  "completed": false

}
This makes a simple GET request and parses the JSON response.
📤 POST Request
const request = {
  title: 'foo',
  body: 'bar',
  userId: 1,
};

fetch('https://jsonplaceholder.typicode.com/posts', {
  method: 'POST',
  body: JSON.stringify(request),
  headers: {
    'Content-type': 'application/json; charset=UTF-8',
  },
})
  .then(response => response.json())
  .then(json => console.log(json));
For POST, PUT, and DELETE, you must explicitly define the method, headers, and body as shown above.
🧰 Reusable RestClient Class
To avoid repeating fetch() logic throughout the app, I’ve created a reusable RestClient class. It simplifies HTTP communication and promotes consistency across requests.
✅ Features
- Supports GET, POST, PUT, and DELETE requests.
- Returns a standardized response object with helpful metadata.
- Maps common HTTP error codes to friendly messages (e.g., 401 → "Unauthorized").
- Supports optional request cancellation using AbortController.
⚙️ Environment Setup
This project uses Vite + React with the following environment variables:
VITE_BASE_API_URL=https://jsonplaceholder.typicode.com
VITE_API_VERSION=v1  # Optional
🧱 ApiResponse Interface
interface ApiResponse {
  success: boolean;
  data: T | null;
  message: string;
  error?: unknown;
  statusCode?: number;
}
This interface defines the standard structure for all responses. Whether a request succeeds or fails, you can consistently check:
-
success: if the request was successful -
data: the returned payload -
message: a user-friendly summary -
statusCodeand error: optional debugging info
🧪 Example: Testing RestClient with Abort Support
Let’s see a real-world React component using the httpGetAsync() method with cancellation support via AbortController.
export const RestClientTest = () => {
  const [controller, setController] = useState(null);

  useCommands(
    {
      actions: [
        {
          label: "Send",
          variant: "solid",
          onClick: async () => {
            const newController = new AbortController();
            setController(newController);
            const res = await restClient.httpGetAsync(
              "/posts",
              undefined,
              newController
            );

            if (!res.success) {
              toast.warn(res.message);
              return;
            }

            console.log(res);
          },
        },
        {
          label: "Abort Controller",
          variant: "ghost",
          onClick: async () => {
            controller?.abort();
          },
        },
      ],
    },
    [controller]
  );

  return Rest Client Test;
};
📷 Example Output
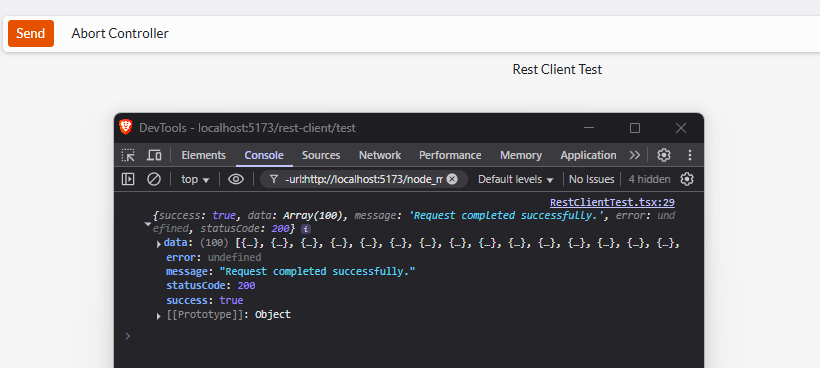
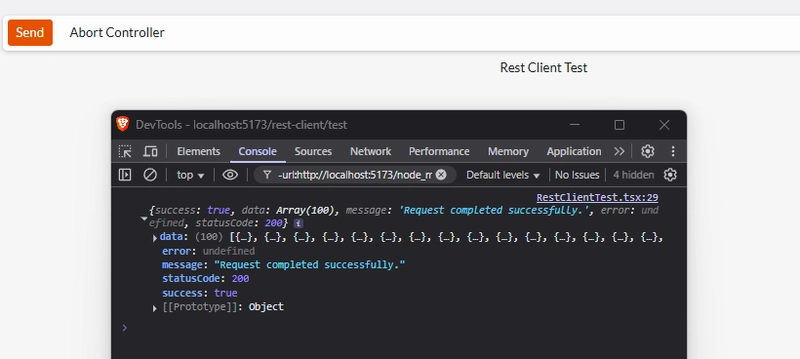
Here’s what you’ll see in the console after a successful request:
- Clicking "Send" starts an HTTP GET request using restClient.httpGetAsync().

🧪 Simulating a Slow Request
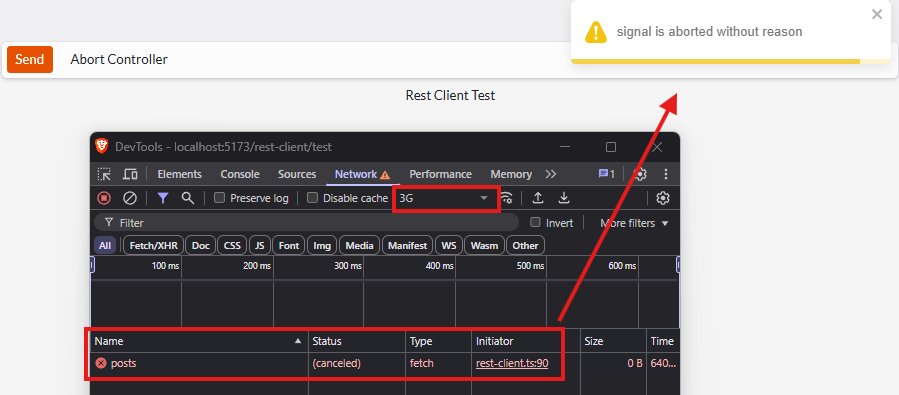
To test the cancellation feature, you can simulate slow network conditions in your browser:
- Open DevTools → Network tab.
- Change the throttling to "Slow 3G".
- Click Send and then Abort Request quickly.
This cancels the in-progress HTTP request before the response arrives:
Clicking "Send" starts an HTTP GET request using restClient.httpGetAsync().
Clicking "Abort Request" cancels the ongoing request using AbortController.

🚀 Full Source Code
Thank you for reading all the way through.
I hope this implementation helps you write cleaner, more reusable, and easier-to-maintain code.
See you in the next post! 🚀
