This article was co-authored by @kristjan_ivanmickaeldiv
Introduction
Snake Game, a long-cherished classic in our collective childhood memories, and this will be the guide that will help you make it. This guide will teach you the basics of how to utilize HTML, CSS, and JavaScript needed to create this game from scratch in a basic and easy-to-follow way. As we progress, you'll learn how to draw the game’s board, create the snake avatar, and make the food the snake will eat, as well as implement game mechanics such as movement, scoring, and collision detection. This project is beginner-friendly, making it one of the perfect avenues for you to start learning the basics in JavaScript-based game development. Now, without further ado, let’s dive in!
🎮 Game Overview
Within this game, the player controls a snake that moves around the screen to eat food, growing longer with each piece it consumes. The goal is to avoid colliding with the walls or the snake’s own body. As the snake grows longer, the speed of the snake becomes faster, making it more difficult to suddenly make turns, thus making the game more fun and challenging!
🛠 Setting Up the Project
Before we start writing code, let’s set up the project files.
Create a new folder for the Snake game project (e.g., snake-game) on your computer.
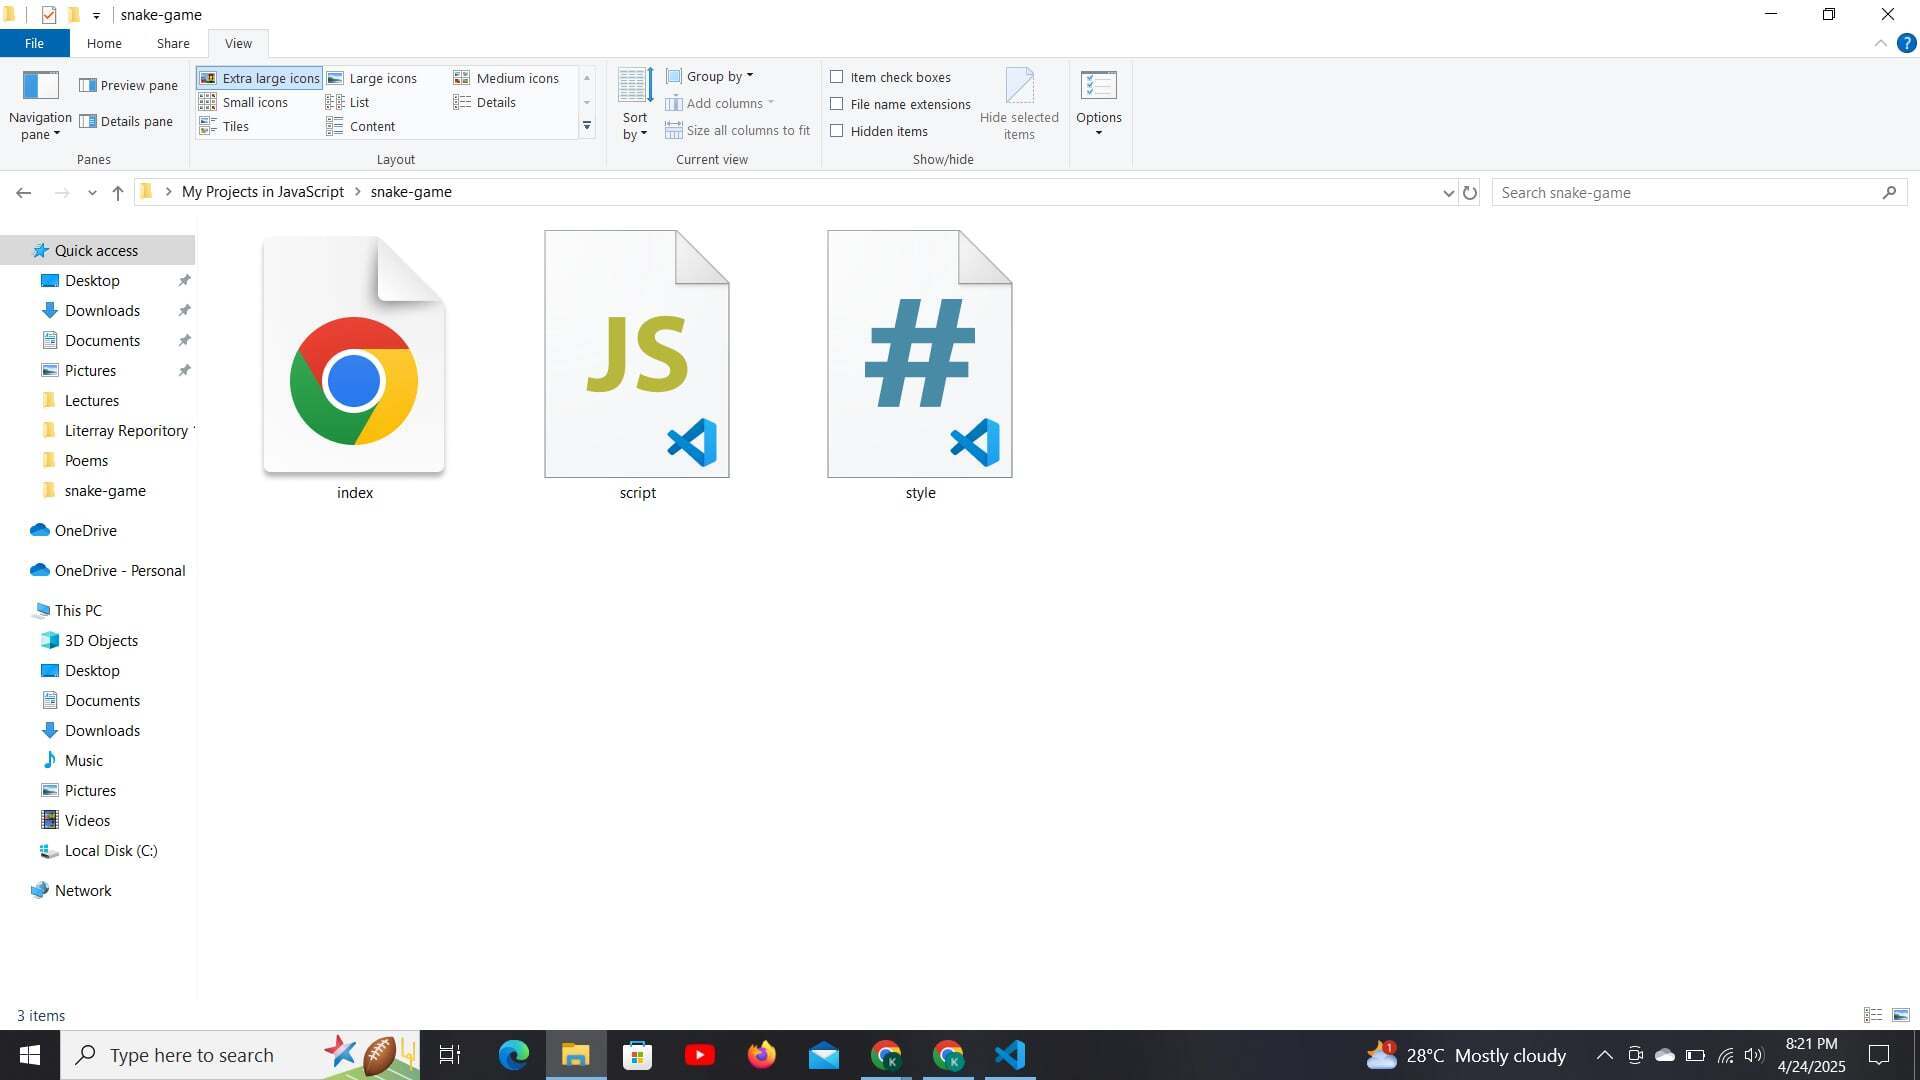
Inside this folder, create the following files:
-
index.html(The main HTML file) -
style.css(The CSS file for styling) -
script.js(The JavaScript file for game logic)
📝 Step 1: Setting Up the HTML
Here’s the basic HTML structure to create a simple page with a canvas element where the game will be drawn:
Snake Game


    Enter fullscreen mode


    Exit fullscreen mode


The  tag is where our game will be rendered.
We’ve linked the style.css and script.js files to the HTML.


  💻 Step 2: Styling the Canvas
Next, let’s add some styles to center the game on the screen and give it a sleek look.

/* style.css */

/* Style for the body: Center the game in the browser */
body {
    display: flex;
    justify-content: center;
    align-items: center;
    height: 100vh;
    background-color: #111;  /* Dark background for better contrast */
    margin: 0;  /* Remove default margin */
  }

  /* Canvas styling */
  canvas {
    border: 2px solid white;  /* White border around the canvas */
    background-color: #222;   /* Dark background for the canvas */
  }

  /* Button style for the restart button */
  button {
    position: absolute;
    top: 50%;
    left: 50%;
    transform: translate(-50%, -50%);  /* Center the button */
    display: none;  /* Initially hide the button */
  }


    Enter fullscreen mode


    Exit fullscreen mode


The canvas element is styled with a dark background and a white border.
We also add styles for a restart button that we’ll show after the game ends.


  🐍 Step 3: Adding JavaScript for Game Logic
Now, let’s get into the game logic! We’ll create a moving snake, food, and add collision detection to make the game functional.

/* script.js */

// Get the canvas element and its drawing context
const canvas = document.getElementById("gameCanvas");
const ctx = canvas.getContext("2d");

// Size of each grid square
const gridSize = 20;

// Game‐speed parameters (all in milliseconds)
const baseSpeed   = 120;  // starting delay between moves
const speedFactor =   5;  // how much to subtract per point
const minSpeed    =  30;  // fastest possible delay

// Helper to place food at a random grid cell
function spawnFood() {
  return {
    x: Math.floor(Math.random() * (canvas.width / gridSize)),
    y: Math.floor(Math.random() * (canvas.height / gridSize))
  };
}

// Game state
let snake    = [{ x: 10, y: 10 }];
let food     = spawnFood();
let dx       = 1;
let dy       = 0;
let score    = 0;
let gameOver = false;

// Draw the snake
function drawSnake() {
  ctx.fillStyle = "green";
  for (let segment of snake) {
    ctx.fillRect(segment.x * gridSize, segment.y * gridSize, gridSize, gridSize);
  }
}

// Draw the food
function drawFood() {
  ctx.fillStyle = "red";
  ctx.fillRect(food.x * gridSize, food.y * gridSize, gridSize, gridSize);
}

// Draw the score
function drawScore() {
  ctx.fillStyle = "white";
  ctx.font = "20px Arial";
  ctx.fillText("Score: " + score, 10, 30);
}

// Advance the snake and handle collisions / eating
function moveSnake() {
  const head = { x: snake[0].x + dx, y: snake[0].y + dy };
  snake.unshift(head);

  // Did we eat the food?
  if (head.x === food.x && head.y === food.y) {
    score++;
    food = spawnFood();
  } else {
    snake.pop();
  }

  // Check for wall‐collision or self‐collision
  const hitWall = (
    head.x < 0 ||
    head.x >= canvas.width / gridSize ||
    head.y < 0 ||
    head.y >= canvas.height / gridSize
  );
  const hitSelf = snake
    .slice(1)
    .some(seg => seg.x === head.x && seg.y === head.y);

  if (hitWall || hitSelf) {
    gameOver = true;
    alert("Game Over");
    restartButton.style.display = "block";
  }
}

// Listen for arrow keys (prevent 180° turns)
document.addEventListener("keydown", e => {
  if (e.key === "ArrowUp" && dy === 0) {
    dx = 0; dy = -1;
  } else if (e.key === "ArrowDown" && dy === 0) {
    dx = 0; dy = 1;
  } else if (e.key === "ArrowLeft" && dx === 0) {
    dx = -1; dy = 0;
  } else if (e.key === "ArrowRight" && dx === 0) {
    dx = 1; dy = 0;
  }
});

// Create the Restart button (initially hidden)
const restartButton = document.createElement("button");
restartButton.innerText = "Restart Game";
Object.assign(restartButton.style, {
  position: "absolute",
  top: "50%",
  left: "50%",
  transform: "translate(-50%, -50%)",
  display: "none"
});
document.body.appendChild(restartButton);

// Restart logic
restartButton.addEventListener("click", () => {
  snake = [{ x: 10, y: 10 }];
  dx = 1; dy = 0;
  score = 0;
  food = spawnFood();
  gameOver = false;
  restartButton.style.display = "none";
  gameLoop();  // kick off fresh loop
});

// Main loop (computes its own delay based on score)
function gameLoop() {
  if (gameOver) return;

  ctx.clearRect(0, 0, canvas.width, canvas.height);
  moveSnake();
  drawSnake();
  drawFood();
  drawScore();

  // Dynamic delay: speed up as score increases, but never below minSpeed
  const delay = Math.max(minSpeed, baseSpeed - score * speedFactor);
  setTimeout(gameLoop, delay);
}

// Start the game
gameLoop();


    Enter fullscreen mode


    Exit fullscreen mode


  📝 Function Breakdown
Here’s a list of all the functions used in the game and a simple explanation of what they do:Canvas & Context Setup
Purpose: Retrieves the  element by ID and gets its 2D drawing context.
Contribution: Establishes the drawing surface (ctx) on which all game graphics (snake, food, score) are rendered.
Grid & Speed Parameters
Purpose: Defines gridSize (cell dimensions) and the speed variables—baseSpeed, speedFactor, and minSpeed.
Contribution: Locks movement and rendering to a grid, and controls how fast the game runs and accelerates as you rack up points.
spawnFood()
Purpose: Returns a random (x,y) coordinate snapped to the grid within the canvas bounds.
Contribution: Ensures new food always appears in a valid cell, keeping the game fair and playable.
Initial Game State Setup
Purpose: Initializes snake (array of segments), food, movement vectors dx/dy, score, and gameOver flag.
Contribution: Holds the mutable variables that the main loop reads and updates each frame.
drawSnake()
Purpose: Iterates through the snake array and draws each segment as a green square.
Contribution: Visually represents the snake’s current position and length on the canvas.
drawFood()
Purpose: Draws a red square at the food coordinate.
Contribution: Marks the target cell the snake must reach to grow and score.
drawScore()
Purpose: Renders the current score as white text in the top-left corner.
Contribution: Provides continuous feedback on the player’s progress.
moveSnake()
Purpose:
(1) Computes and inserts a new head segment based on dx/dy.
(2) Checks if the snake ate the food—increments score and respawns food, or removes the tail to move.
(3) Detects collisions with walls or itself and, on a hit, sets gameOver, shows an alert, and reveals the Restart button.
Contribution: Core game logic for movement, growth, and game-over conditions.
document.addEventListener("keydown", …)
Purpose: Listens for arrow-key presses and updates dx/dy accordingly, preventing 180° reversals.
Contribution: Gives the player smooth, legal control over the snake’s direction.
Restart Button Creation
Purpose: Dynamically creates and styles a “Restart Game” , initially hidden.
Contribution: Provides a UI element that appears on Game Over, allowing the player to start anew without a page reload.
restartButton.addEventListener("click", …)
Purpose: Resets all game state variables (snake, dx/dy, score, food, gameOver) and hides the button, then calls gameLoop().
Contribution: Implements the “restart” feature so the player can immediately replay after losing.
gameLoop()
Purpose:
(1) Exits early if gameOver.
(2) Clears the canvas, advances the snake, and redraws snake, food, and score.
(3) Calculates the next-frame delay using baseSpeed - score * speedFactor, clamped to minSpeed.
(4) Schedules its own next call via setTimeout.
Contribution: The heartbeat of the game, continuously updating state and rendering frames.
Initial gameLoop() Invocation
Purpose: Kicks off the first iteration of the main loop.
Contribution: Starts the game immediately when the script loads.


  🏁 Conclusion
And just like that, you’ve built your very own Snake Game from scratch! 🎉Although many improvements and redesigns can be made on this current version of this game, we made it from scratch. Such as a main menu screen, a timer, better graphics, difficulty settings, and so much more. And that’s the beauty of game development, you have the freedom to decide what to make and improve in your own game built from the ground up! But that's all in the future in the journey of game development, baby steps if you will.Honestly, it’s pretty wild how much you can do with just HTML, CSS, and JavaScript. When we first started, we thought making a game like this would be super complicated, but breaking it down into small parts made it totally doable (and actually really fun).If you followed along and got your game working—high five! 🙌 You’ve not only recreated a classic, but you’ve also learned how to:
Use the  element to draw stuff
Make things move using a game loop
Handle keyboard input like a pro
Add logic for collisions, scoring, and more
Thanks for reading, and happy coding! 👾💻🐍