HashiCorp Vault as a Private Certificate Authority (PKI) with Kubernetes Integration
Introduction
This technical guide walks through the first part of configuring HashiCorp Vault as a Private Certificate Authority (PKI) and integrating it with cert-manager in Kubernetes to automate certificate management. This setup enables internal applications to have HTTPS encryption in transit within a private network environment. The next article will cover the kubernetes part.

Main Benefits
Centralized PKI Infrastructure
Vault provides a centralized solution for managing your entire certificate lifecycle. Instead of managing certificates across different applications and services, Vault acts as a single source of truth for all your PKI needs. This centralization simplifies management, improves security posture, and ensures consistent certificate policies across your organization.
Dynamic Certificate Issuance and Rotation
Vault can automatically issue short-lived certificates and rotate them before expiration. When integrated with cert-manager in Kubernetes, this automation eliminates the manual certificate renewal process that often leads to outages from expired certificates. The system can continuously issue, renew, and rotate certificates without human intervention.
Fine-grained Access Control
Vault's advanced policy system allows you to implement precise access controls around who can issue what types of certificates. You can limit which teams or services can request certificates for specific domains, restrict certificate lifetimes based on risk profiles, and implement comprehensive audit logging. This helps enforce the principle of least privilege across your certificate infrastructure.
An additional benefit is Vault's broader secret management capabilities – the same tool managing your certificates can also handle database credentials, API keys, and other sensitive information, giving you a unified approach to secrets management.
Prerequisites
- A DNS Server (I use my firewall)
- A running Kubernetes cluster (I am using microk8s)
- Vault server installed and initialized (vault 0.30.0 · hashicorp/hashicorp)
- cert-manager installed in your Kubernetes cluster (microk8s addon)
- Administrative access to both Vault and Kubernetes
See my homelab diagram in GitHub: mdf-ido/mdf-ido: Config files for my GitHub profile.
1. Configure Vault as a PKI
1.1. Enable the PKI Secrets Engine
# Enable the PKI secrets engine
vault secrets enable pki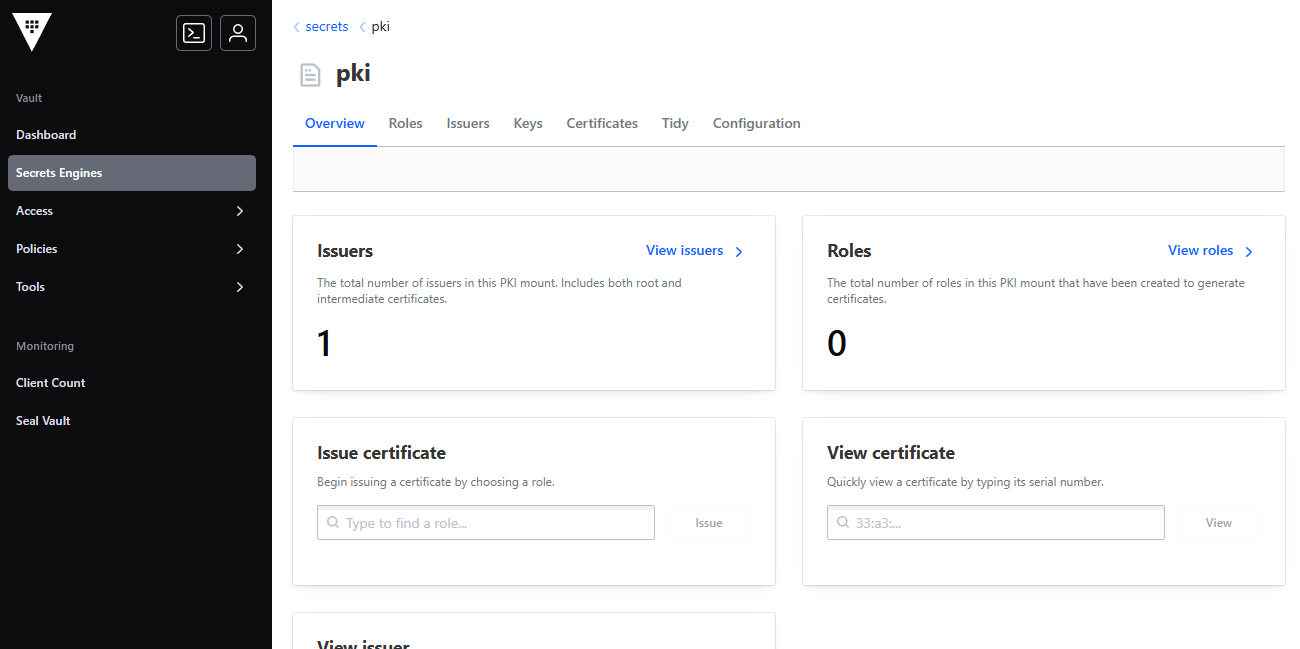
PKI in Hashicorp Vault
# Configure the PKI secrets engine with a longer max lease time (e.g., 1 year)
vault secrets tune -max-lease-ttl=8760h pki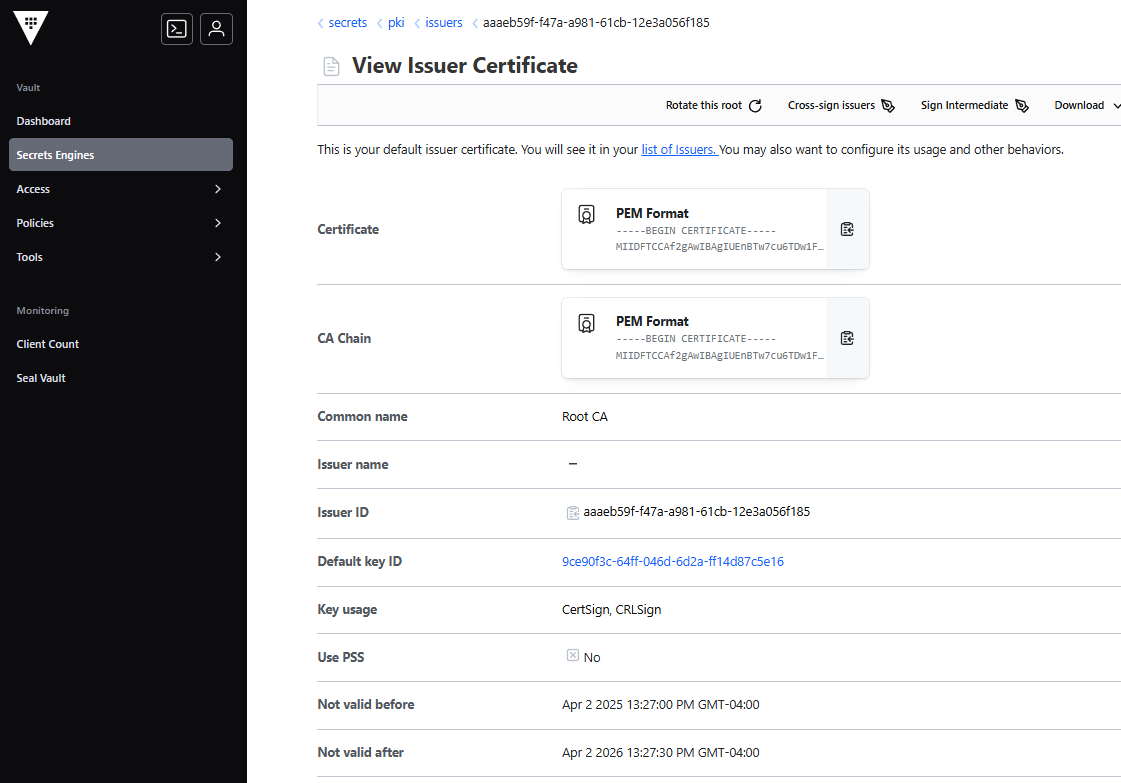
PKI 1 year Expiration
1.2. Generate or Import Root CA
# Generate a new root CA
vault write -field=certificate pki/root/generate/internal \
    common_name="Root CA" \
    ttl=87600h > root_ca.crt
Hashicorp Vault Root CA
1.3. Configure PKI URLs
# Configure the CA and CRL URLs
vault write pki/config/urls \
    issuing_certificates="http://vault.example.com:8200/v1/pki/ca" \
    crl_distribution_points="http://vault.example.com:8200/v1/pki/crl"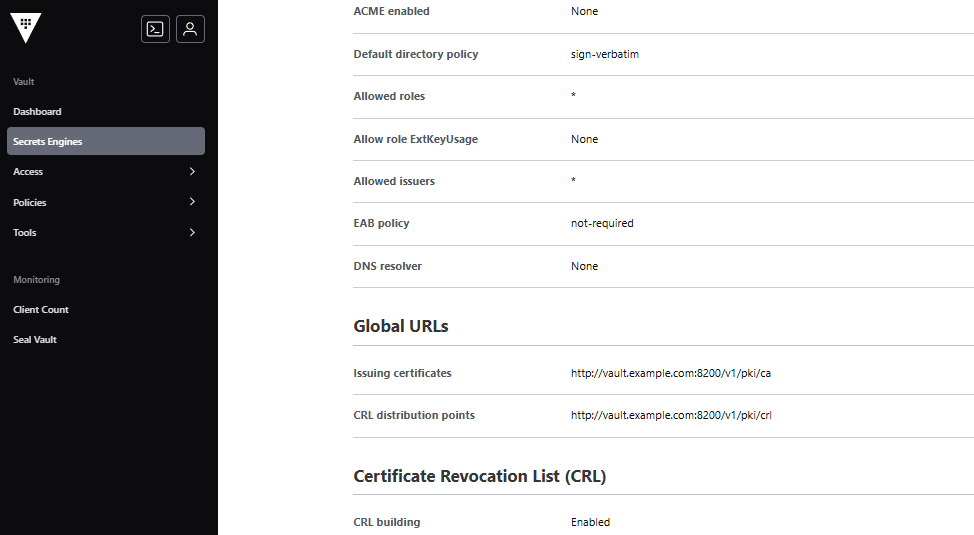
Issuing and Certificate Request Links
1.4. Create an Intermediate CA
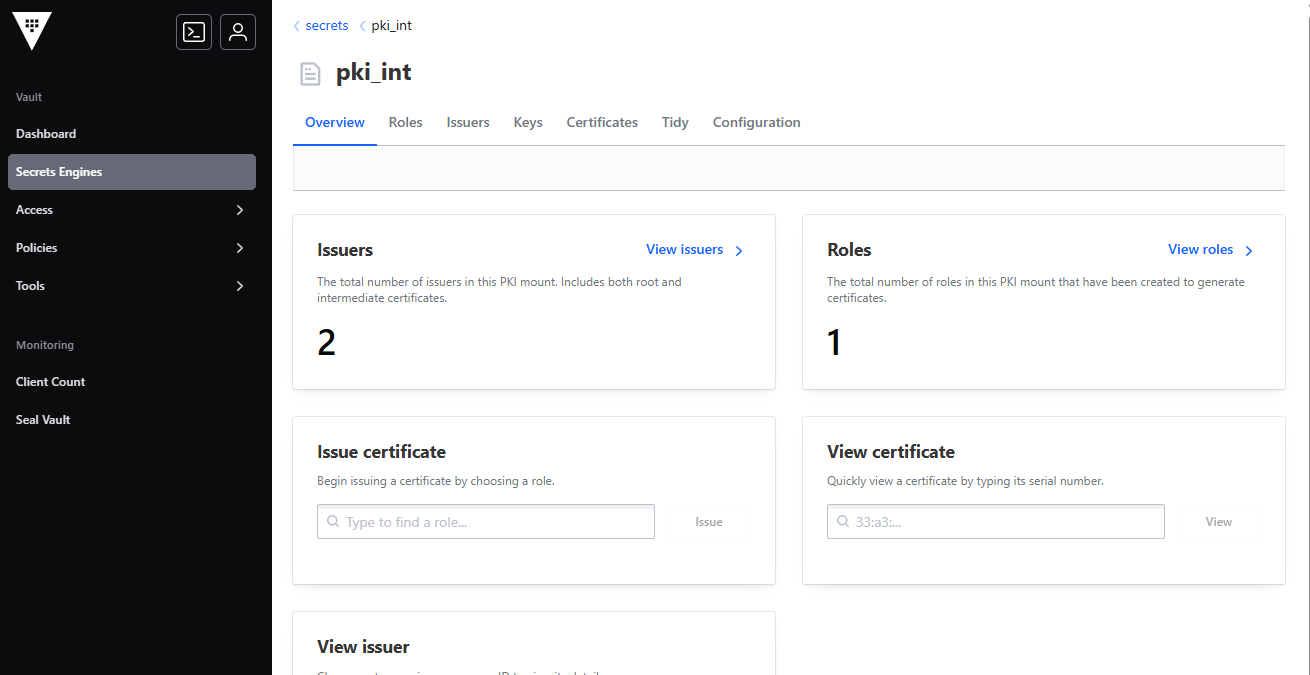
Hashicorp Intermediate Certificate Authority
# Enable the intermediate PKI secrets engine
vault secrets enable -path=pki_int pki

# Set the maximum TTL for the intermediate CA
vault secrets tune -max-lease-ttl=43800h pki_int

# Generate a CSR for the intermediate CA
vault write -format=json pki_int/intermediate/generate/internal \
    common_name="Intermediate CA" \
    ttl=43800h > pki_intermediate.json

# Extract the CSR
cat pki_intermediate.json | jq -r '.data.csr' > pki_intermediate.csr

# Sign the intermediate CSR with the root CA
vault write -format=json pki/root/sign-intermediate \
    csr=@pki_intermediate.csr \
    format=pem_bundle \
    ttl=43800h > intermediate_cert.json

# Extract the signed certificate
cat intermediate_cert.json | jq -r '.data.certificate' > intermediate.cert.pem

# Import the signed certificate back into Vault
vault write pki_int/intermediate/set-signed \
    [email protected]
1.5. Create a Role for Certificate Issuance
# Create a role for issuing certificates
vault write pki_int/roles/your-domain-role \
    allowed_domains="yourdomain.com" \
    allow_subdomains=true \
    allow_bare_domains=true \
    allow_wildcard_certificates=true \
    max_ttl=720h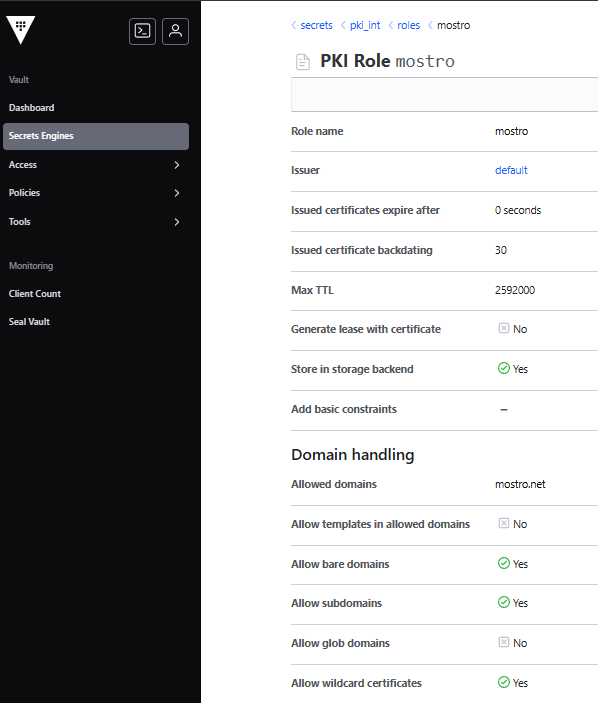
In the next article I'll cover the kubernetes configs.