In this, we’ll go step by step through the process of launching two EC2 instances in different availability zones, setting up Apache web servers, uploading a website template, and configuring an Application Load Balancer (ALB) with target groups for high availability and load distribution.
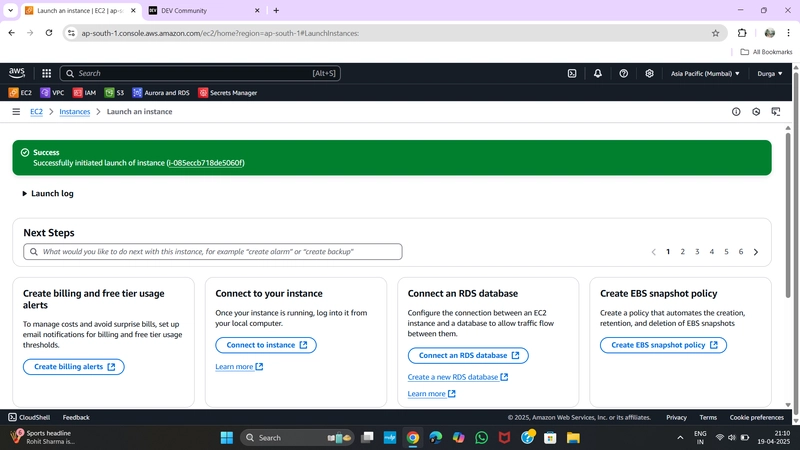
🖥️ Step 1: Create the First EC2 Instance
Go to the AWS EC2 dashboard and follow these steps:
- Click Launch Instance
- Name:
Web Server - AMI: Amazon Linux
- Instance Type: t2.micro (Free Tier eligible)
- Key Pair: Select an existing key or create a new one
- Network Settings:
- Edit settings
- Choose Default VPC
- Enable Auto-assign Public IP
- Set Availability Zone: ap-south-1a
- Security Group: Choose existing security group (Launch Wizard 1)
- Click Launch Instance

🖥️ Step 2: Create the Second EC2 Instance (in a different zone)
Repeat the process above with a slight change:
-
Availability Zone: Select
ap-south-1b
This ensures your setup is multi-AZ for better fault tolerance.
🔐 Step 3: Security Group Settings
For simplicity in testing:
- Go to Security Groups
- Select
Launch Wizard 1 - Edit inbound rules:
- Type: All traffic
- Protocol: All
- Port Range: All
-
Source: Custom –
0.0.0.0/0
⚠️ Warning: Allowing all traffic from anywhere is only recommended for testing/demo purposes.
📁 Step 4: Upload Website Template to EC2 Instances
1. Connect to EC2:
In EC2 dashboard:
- Select the instance
- Click Connect
- Choose EC2 Instance Connect → Connect
2. Run the Following Commands:
sudo su
yum update -y
yum install httpd -y
service httpd start
3. Move to Web Directory:
cd /var/www/html4. Download Free Template:
Go to Free CSS Templates
Copy the ZIP link of your favorite template.
wget
ls
unzip .zip
ls
cd
mv * ..
Repeat the same steps for the second instance, but use a different template for differentiation in load balancing.
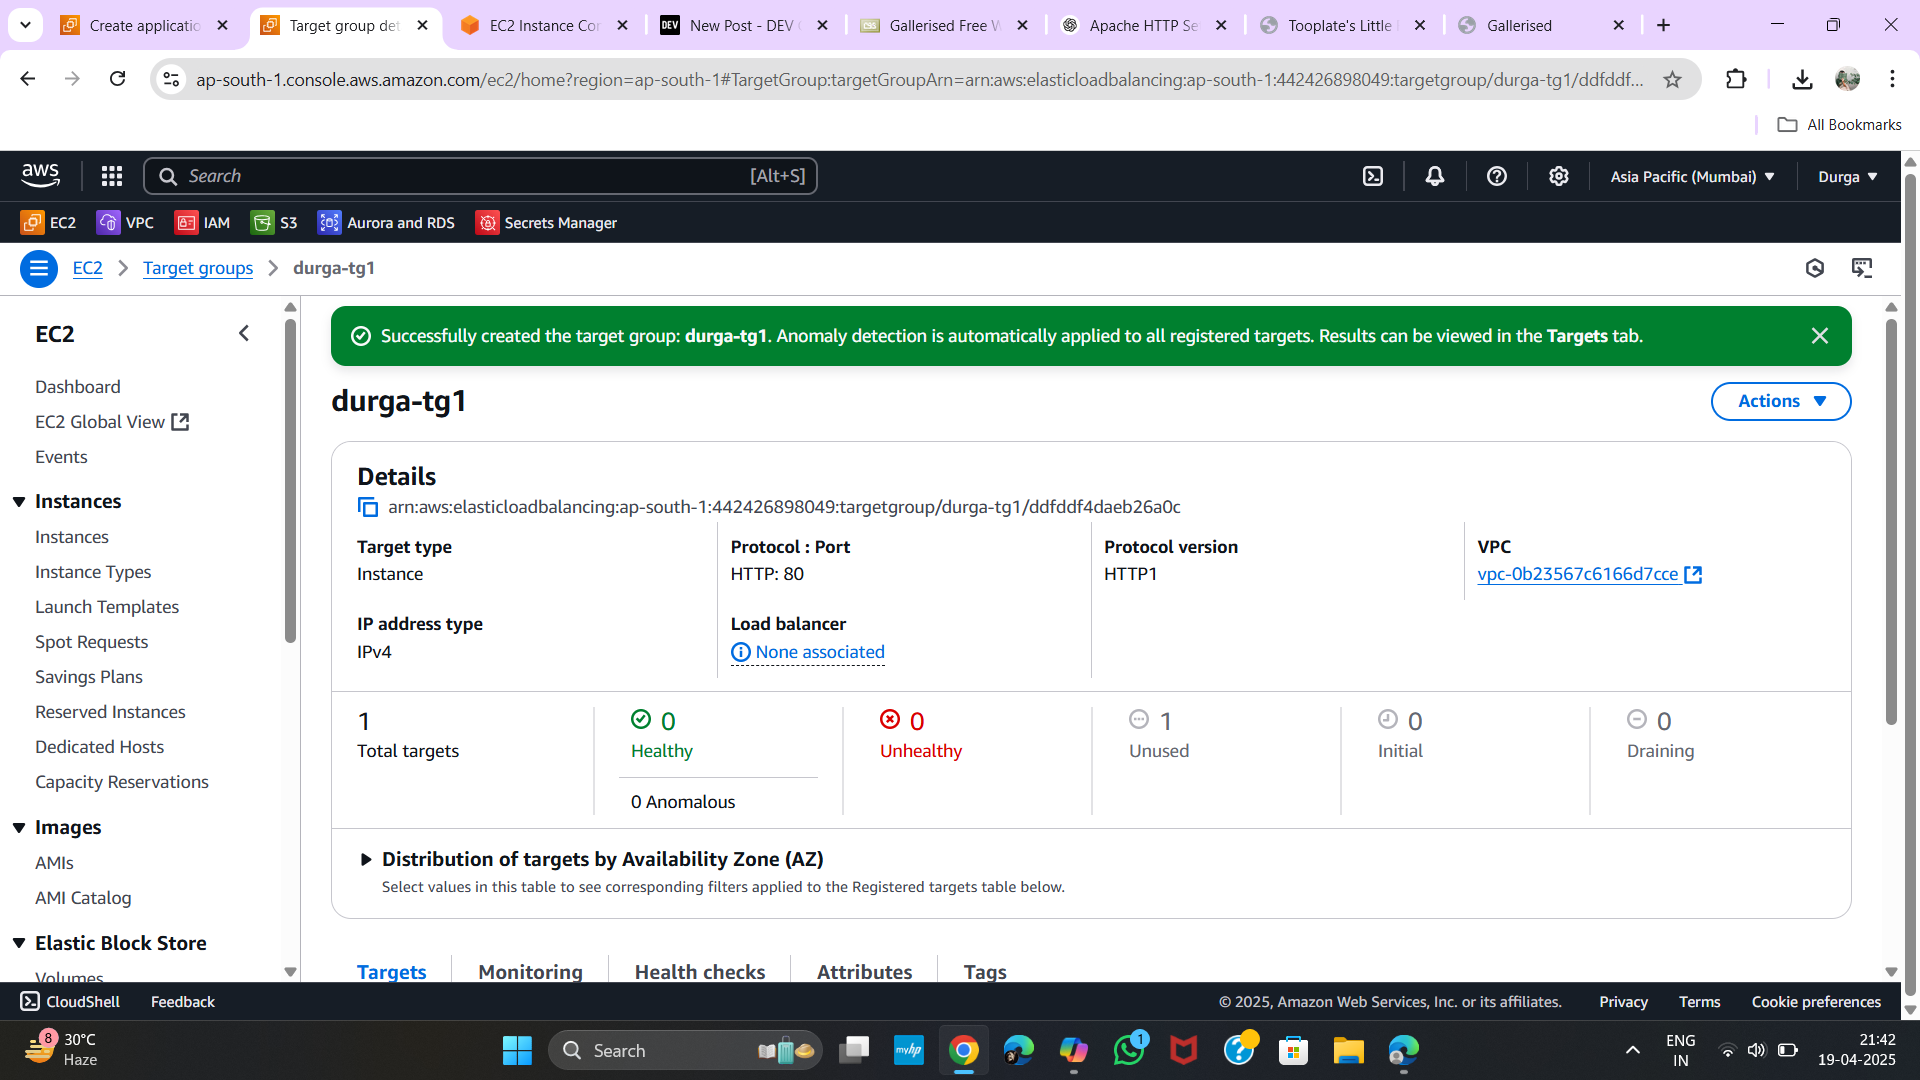
⚖️ Step 5: Create Target Groups
Target Group 1:
- Navigate to Target Groups → Create Target Group
- Type:
Instances - Protocol:
HTTP - Port:
80 - VPC: Default
- Health Check Path:
/index.html - Name:
TG1 - Register the first EC2 instance and set port to
80
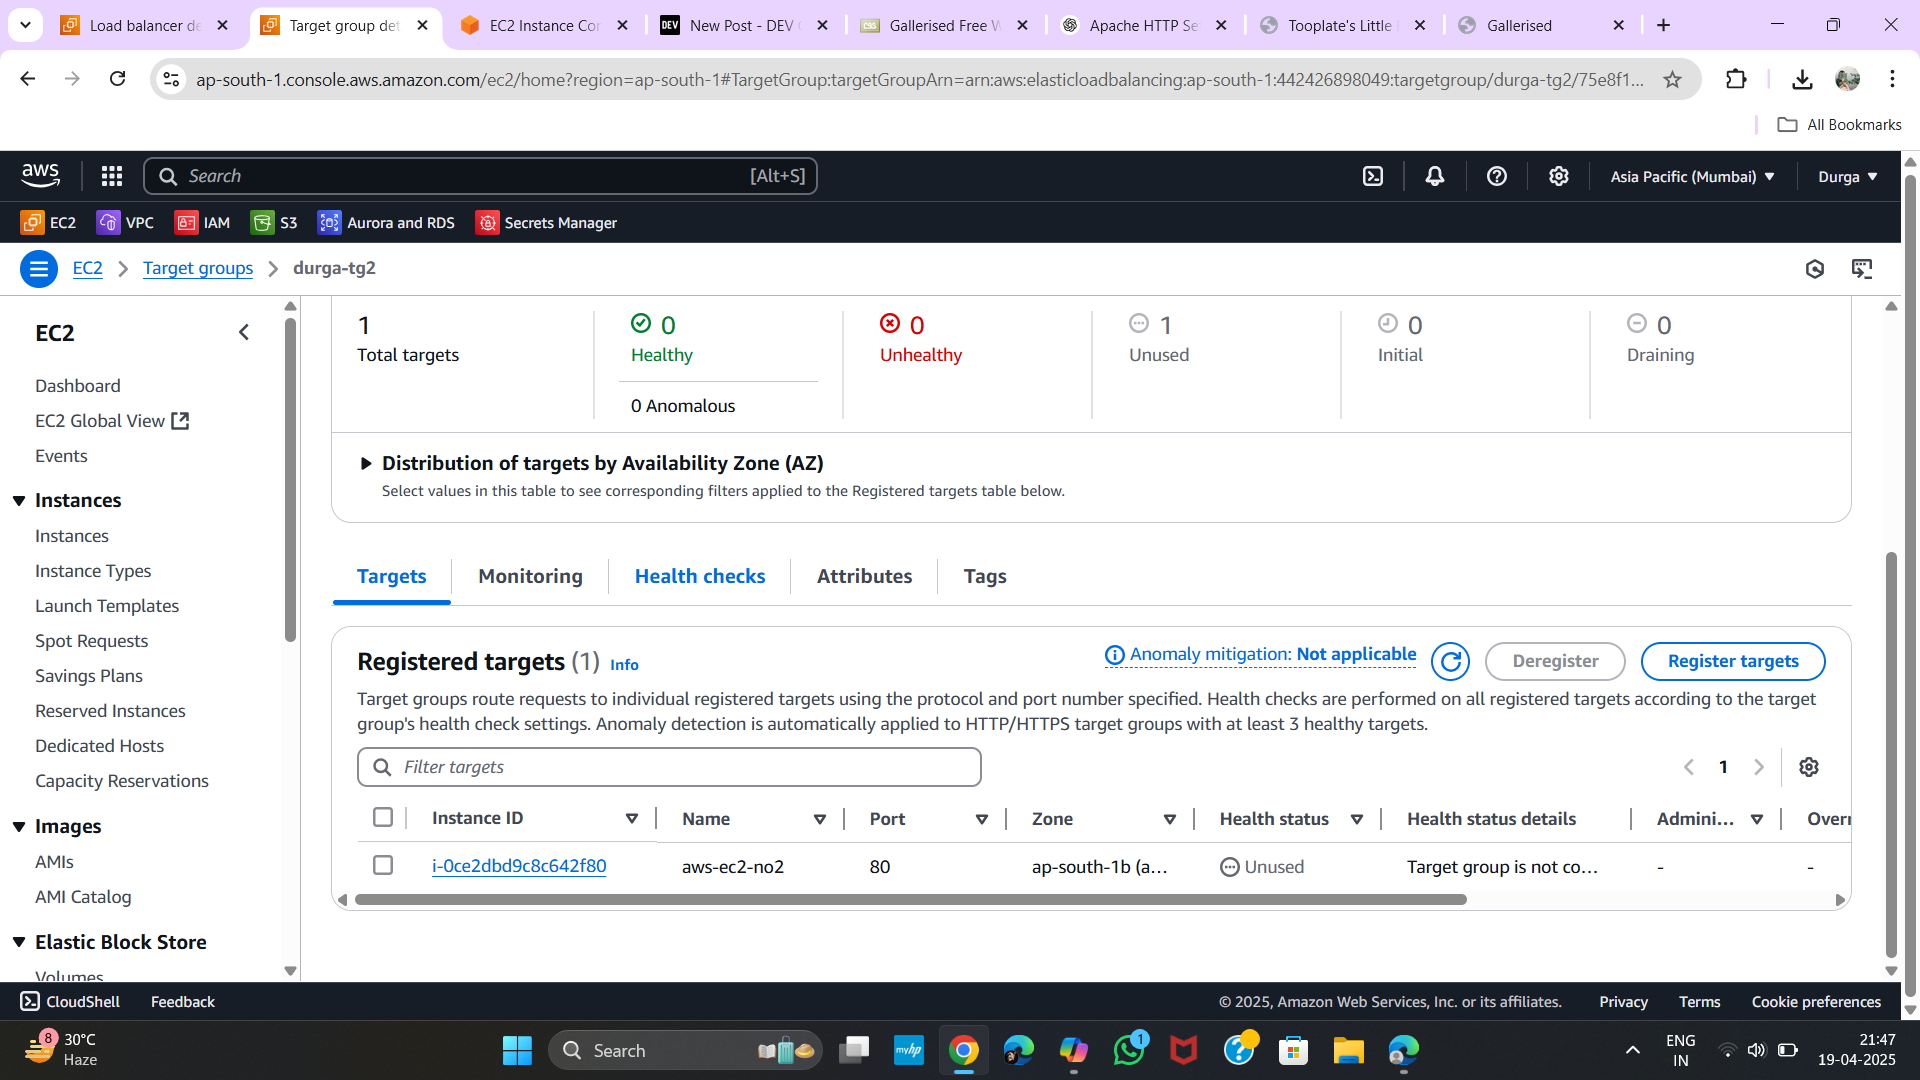
Target Group 2:
Repeat the steps, name it TG2, and register the second EC2 instance.
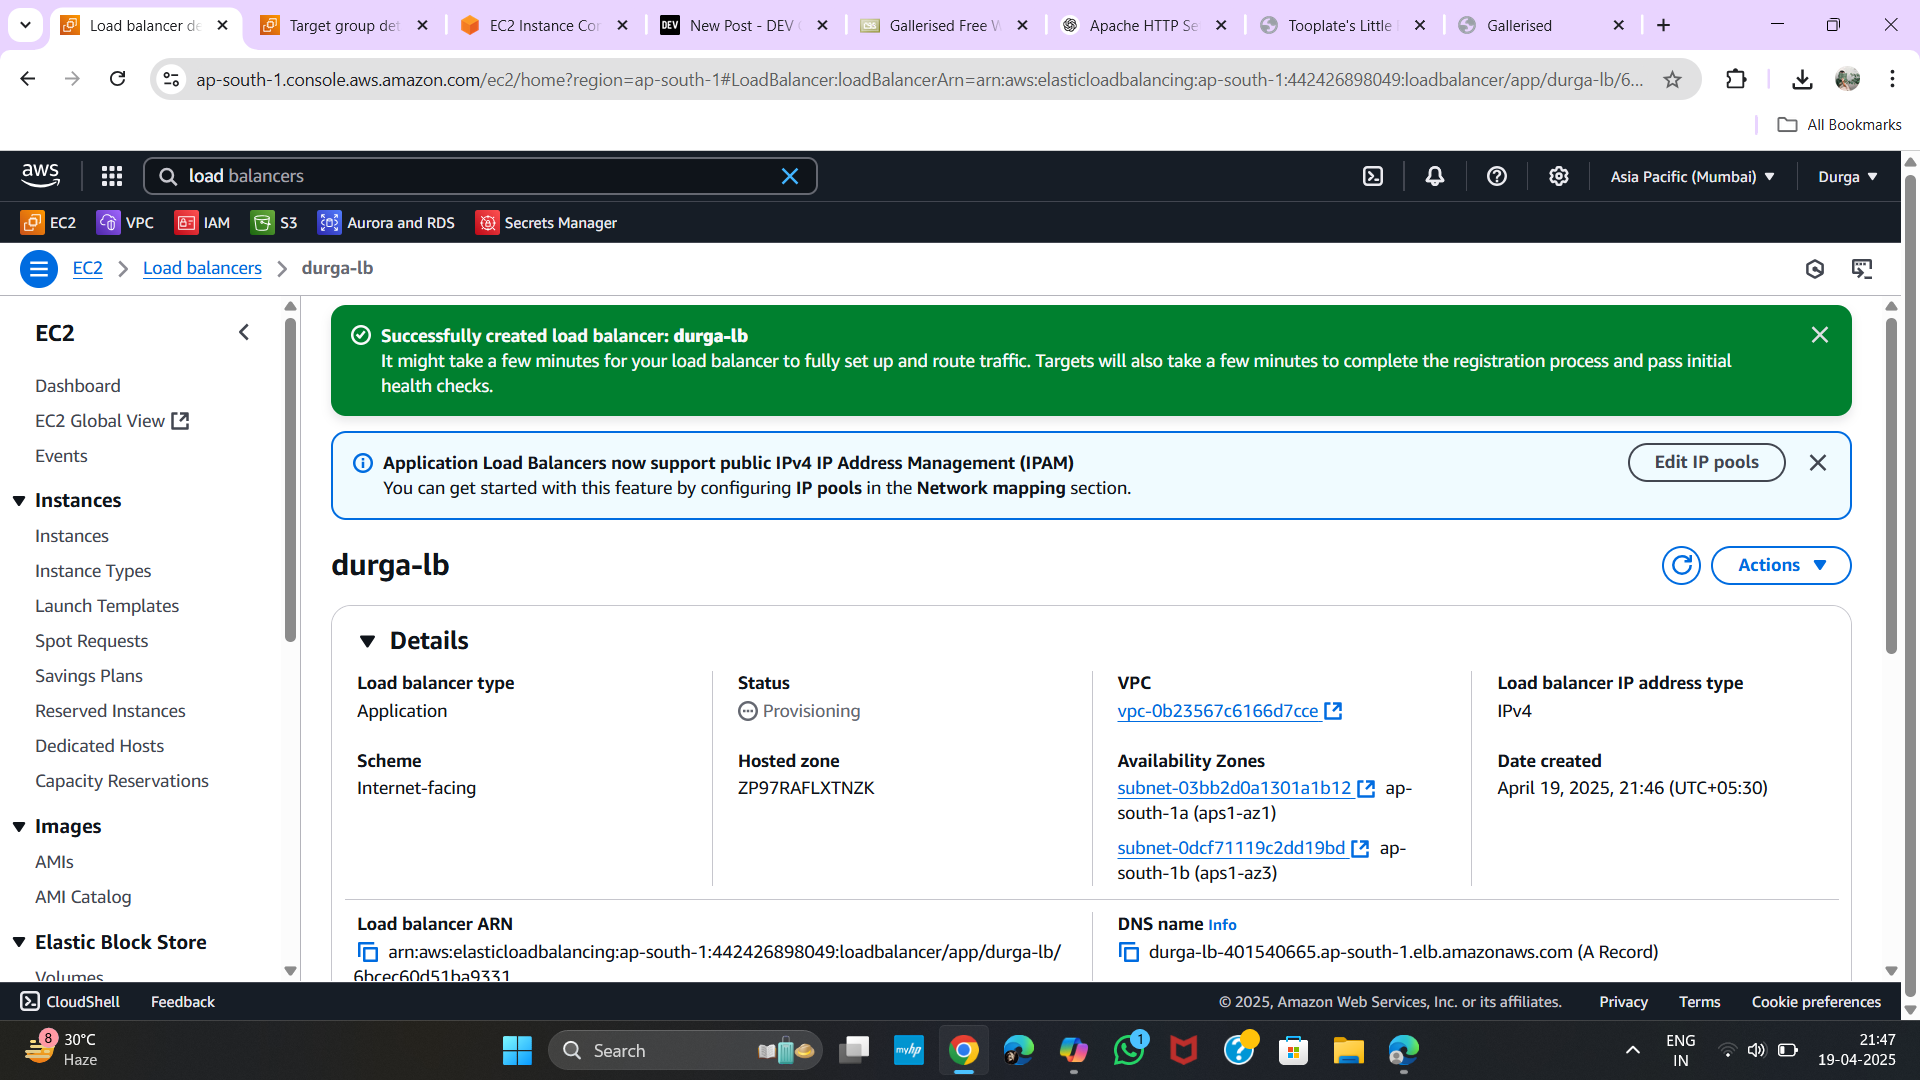
🌍 Step 6: Create Application Load Balancer
Go to Load Balancers → Create Load Balancer → Application Load Balancer.
- Name:
App-LB - Scheme:
Internet-facing - IP address type:
IPv4 - VPC: Default
- Availability Zones: Select both Zone A and Zone B
- Security Group:
Launch Wizard 1
🎯 Step 7: Add Listeners and Target Groups
-
Listener 1:
- Port:
80 - Forward to:
TG1(First Instance)
- Port:

-
Listener 2:
- Add another port like
81or89 - Forward to:
TG2(Second Instance)
- Add another port like
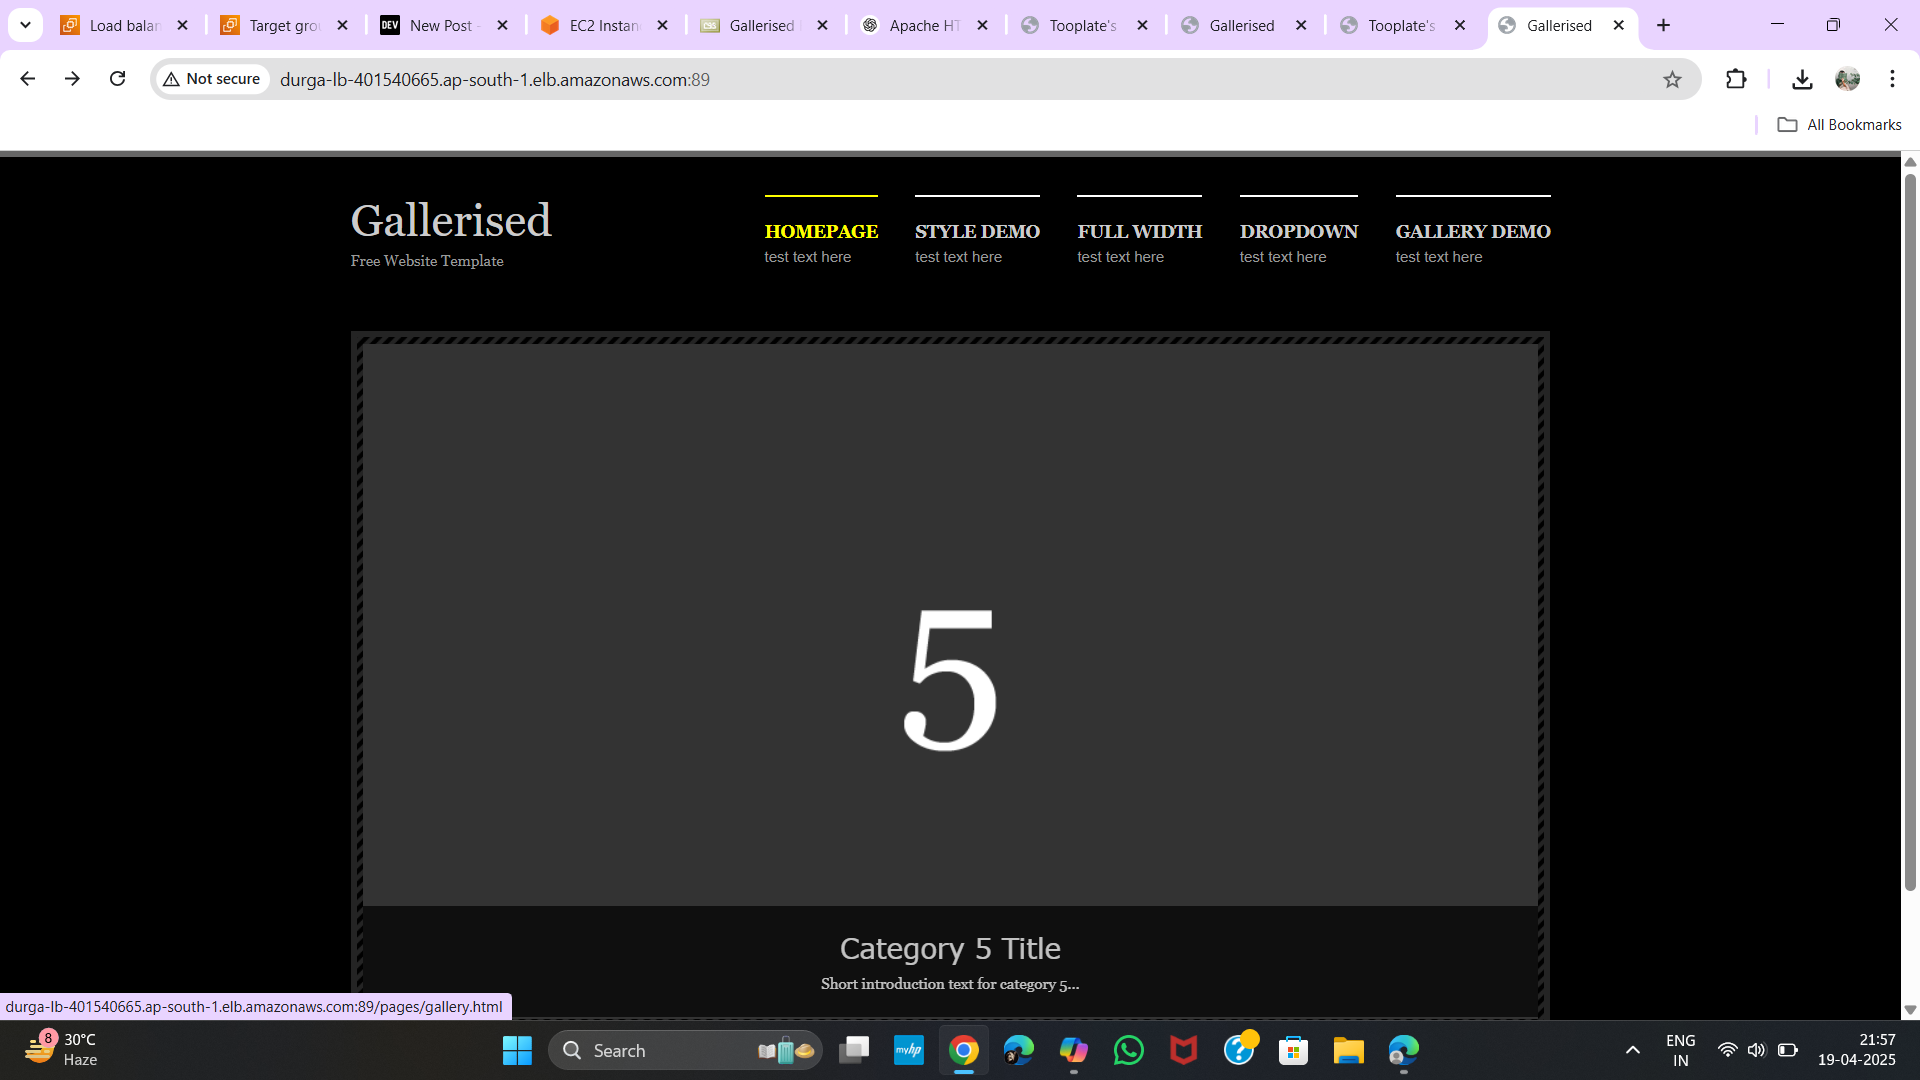
🌐 Step 8: Test the Load Balancer
After creating the load balancer, go to:
- Load Balancer > Description
- Copy the DNS name
Open the DNS in your browser:
-
http://will load the first instance -
http://(or 89) will load the second one:81
✅ Conclusion
You’ve successfully:
- Created multi-AZ EC2 instances
- Deployed different web templates
- Set up target groups
- Created an Application Load Balancer
- Configured multiple listeners for routing
Now, you’ve got a scalable, resilient architecture ready for production (with more secure settings, of course).
