
1. Introduction to Sonatype Nexus
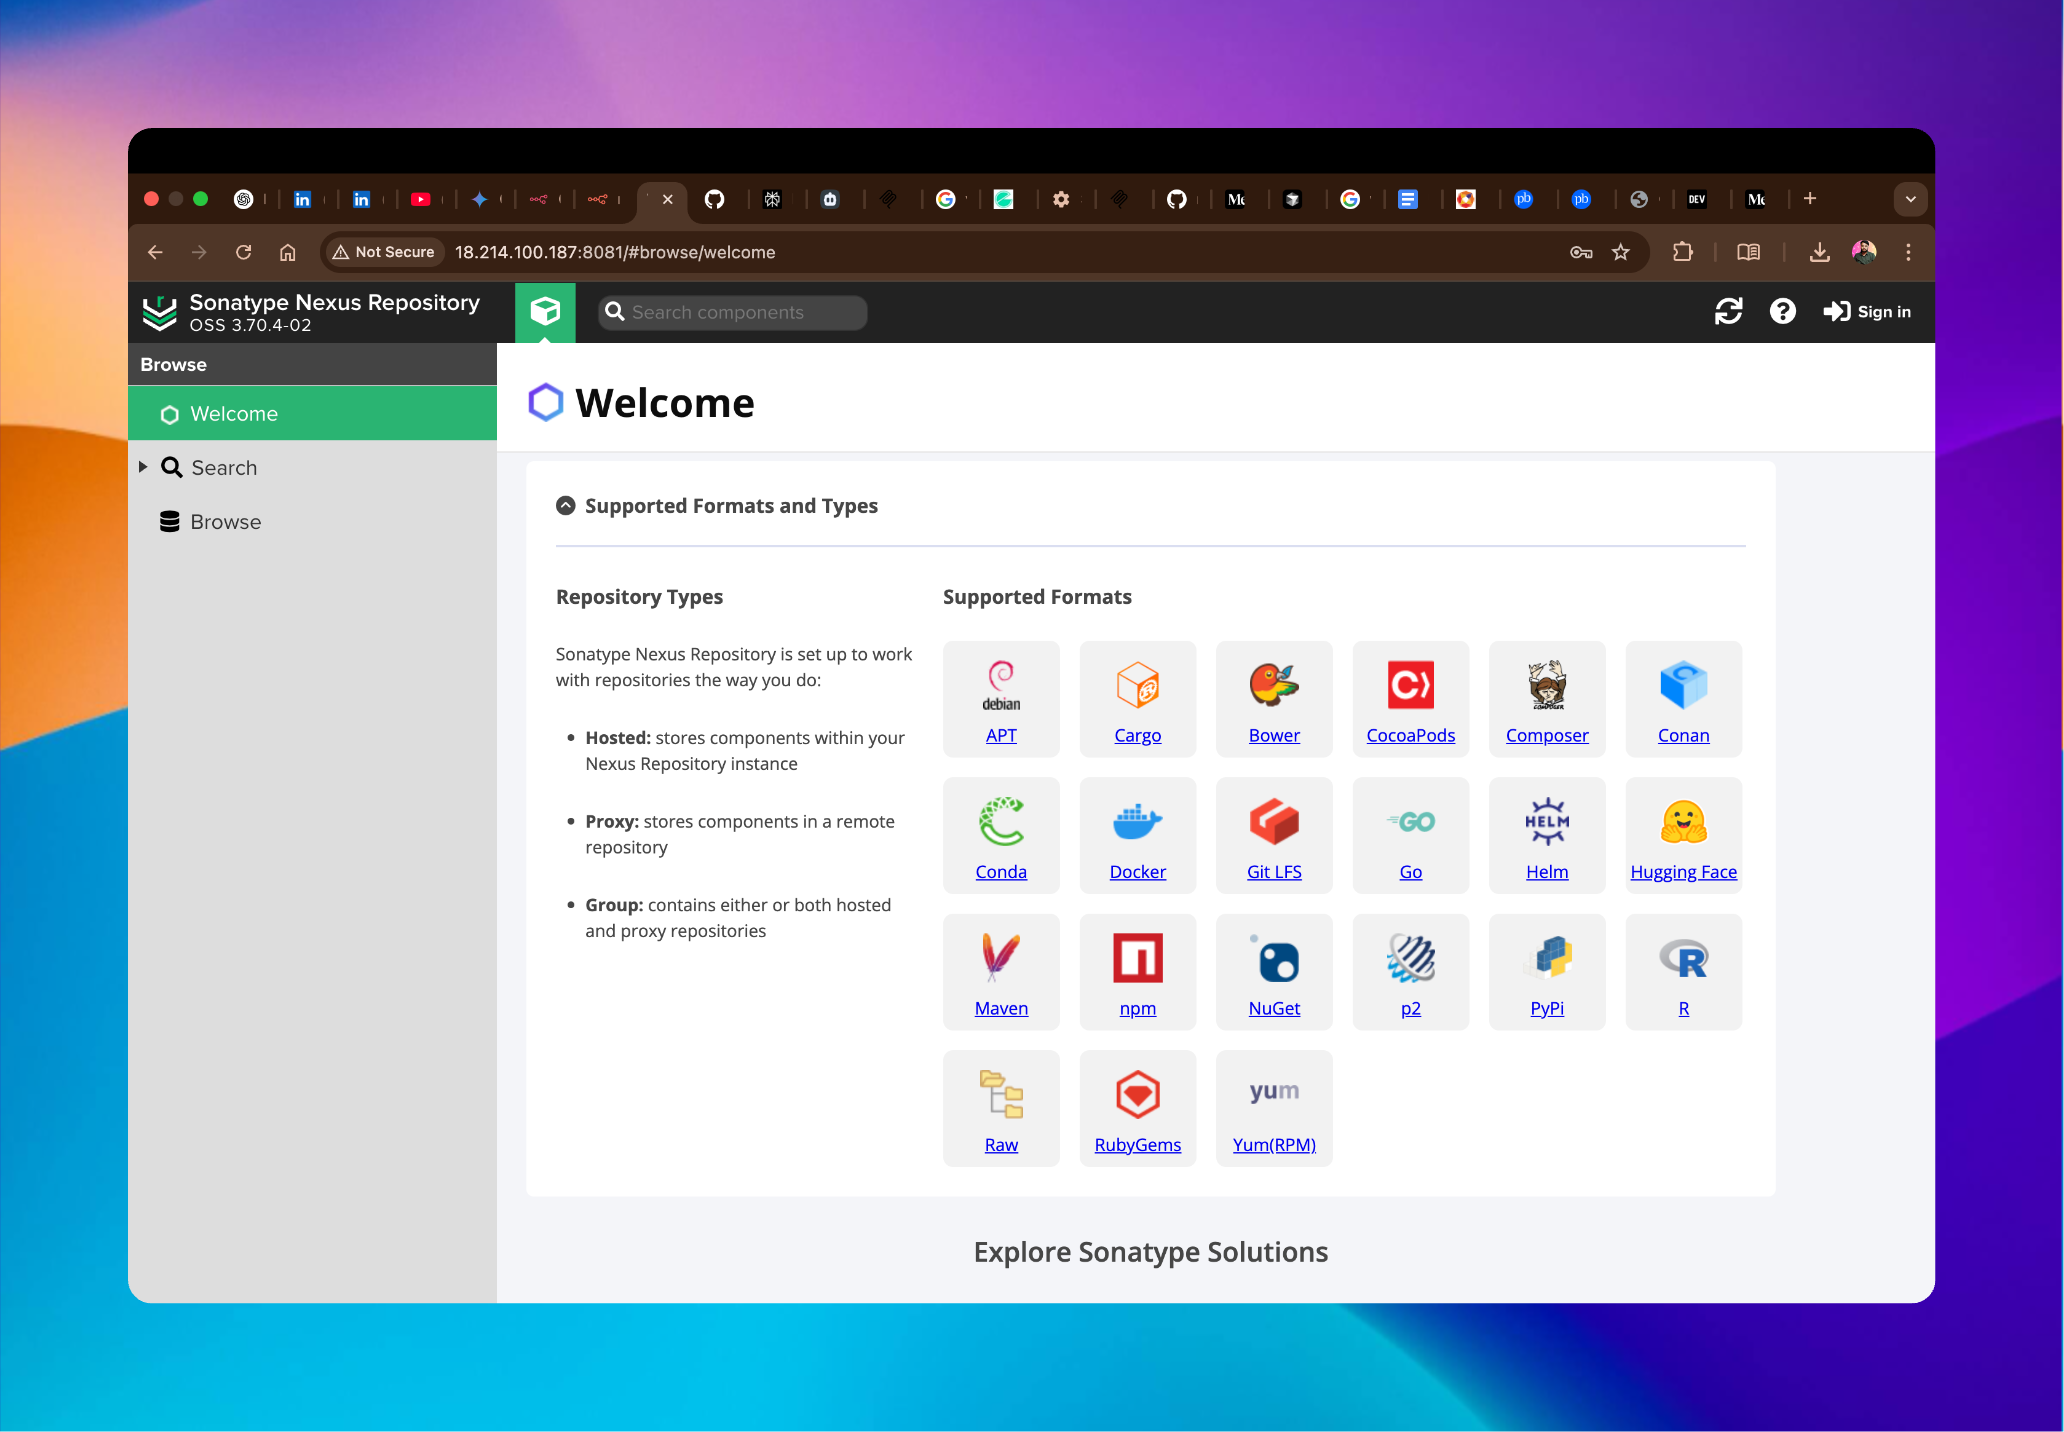
What is Sonatype Nexus?
Sonatype Nexus is a powerful, open-source repository manager that allows organizations to store and manage software artifacts. It supports both internal and external repositories for various package formats such as Maven, npm, NuGet, Docker, and more. Nexus helps in managing and distributing binary artifacts, ensuring efficient version control and secure access to packages within an organization.
Why Use Nexus?
Nexus Repository provides several benefits:
- Centralized Artifact Management: Nexus stores artifacts like libraries, dependencies, and Docker images, making them easy to share and reuse across different projects.
- Secure Artifact Distribution: It allows for secure access to artifacts through permissions and policies, preventing unauthorized access and ensuring the integrity of software artifacts.
- Supports Multiple Formats: Nexus supports different repository formats such as Maven, npm, Docker, etc., making it flexible and adaptable for various development environments.
- Integration with Build Systems: Nexus can be integrated into CI/CD pipelines for automated artifact management and deployment.
2. Project Overview
In this project, we automated the installation of Sonatype Nexus on an AWS EC2 instance using Terraform and demonstrated the publishing and usage of a custom Gradle plugin through Nexus.
The project is divided into three major parts:
- Deploy Nexus via Terraform
- Create and Publish a Custom Gradle Plugin to Nexus
- Use the Published Plugin in a Spring Boot Backend Project
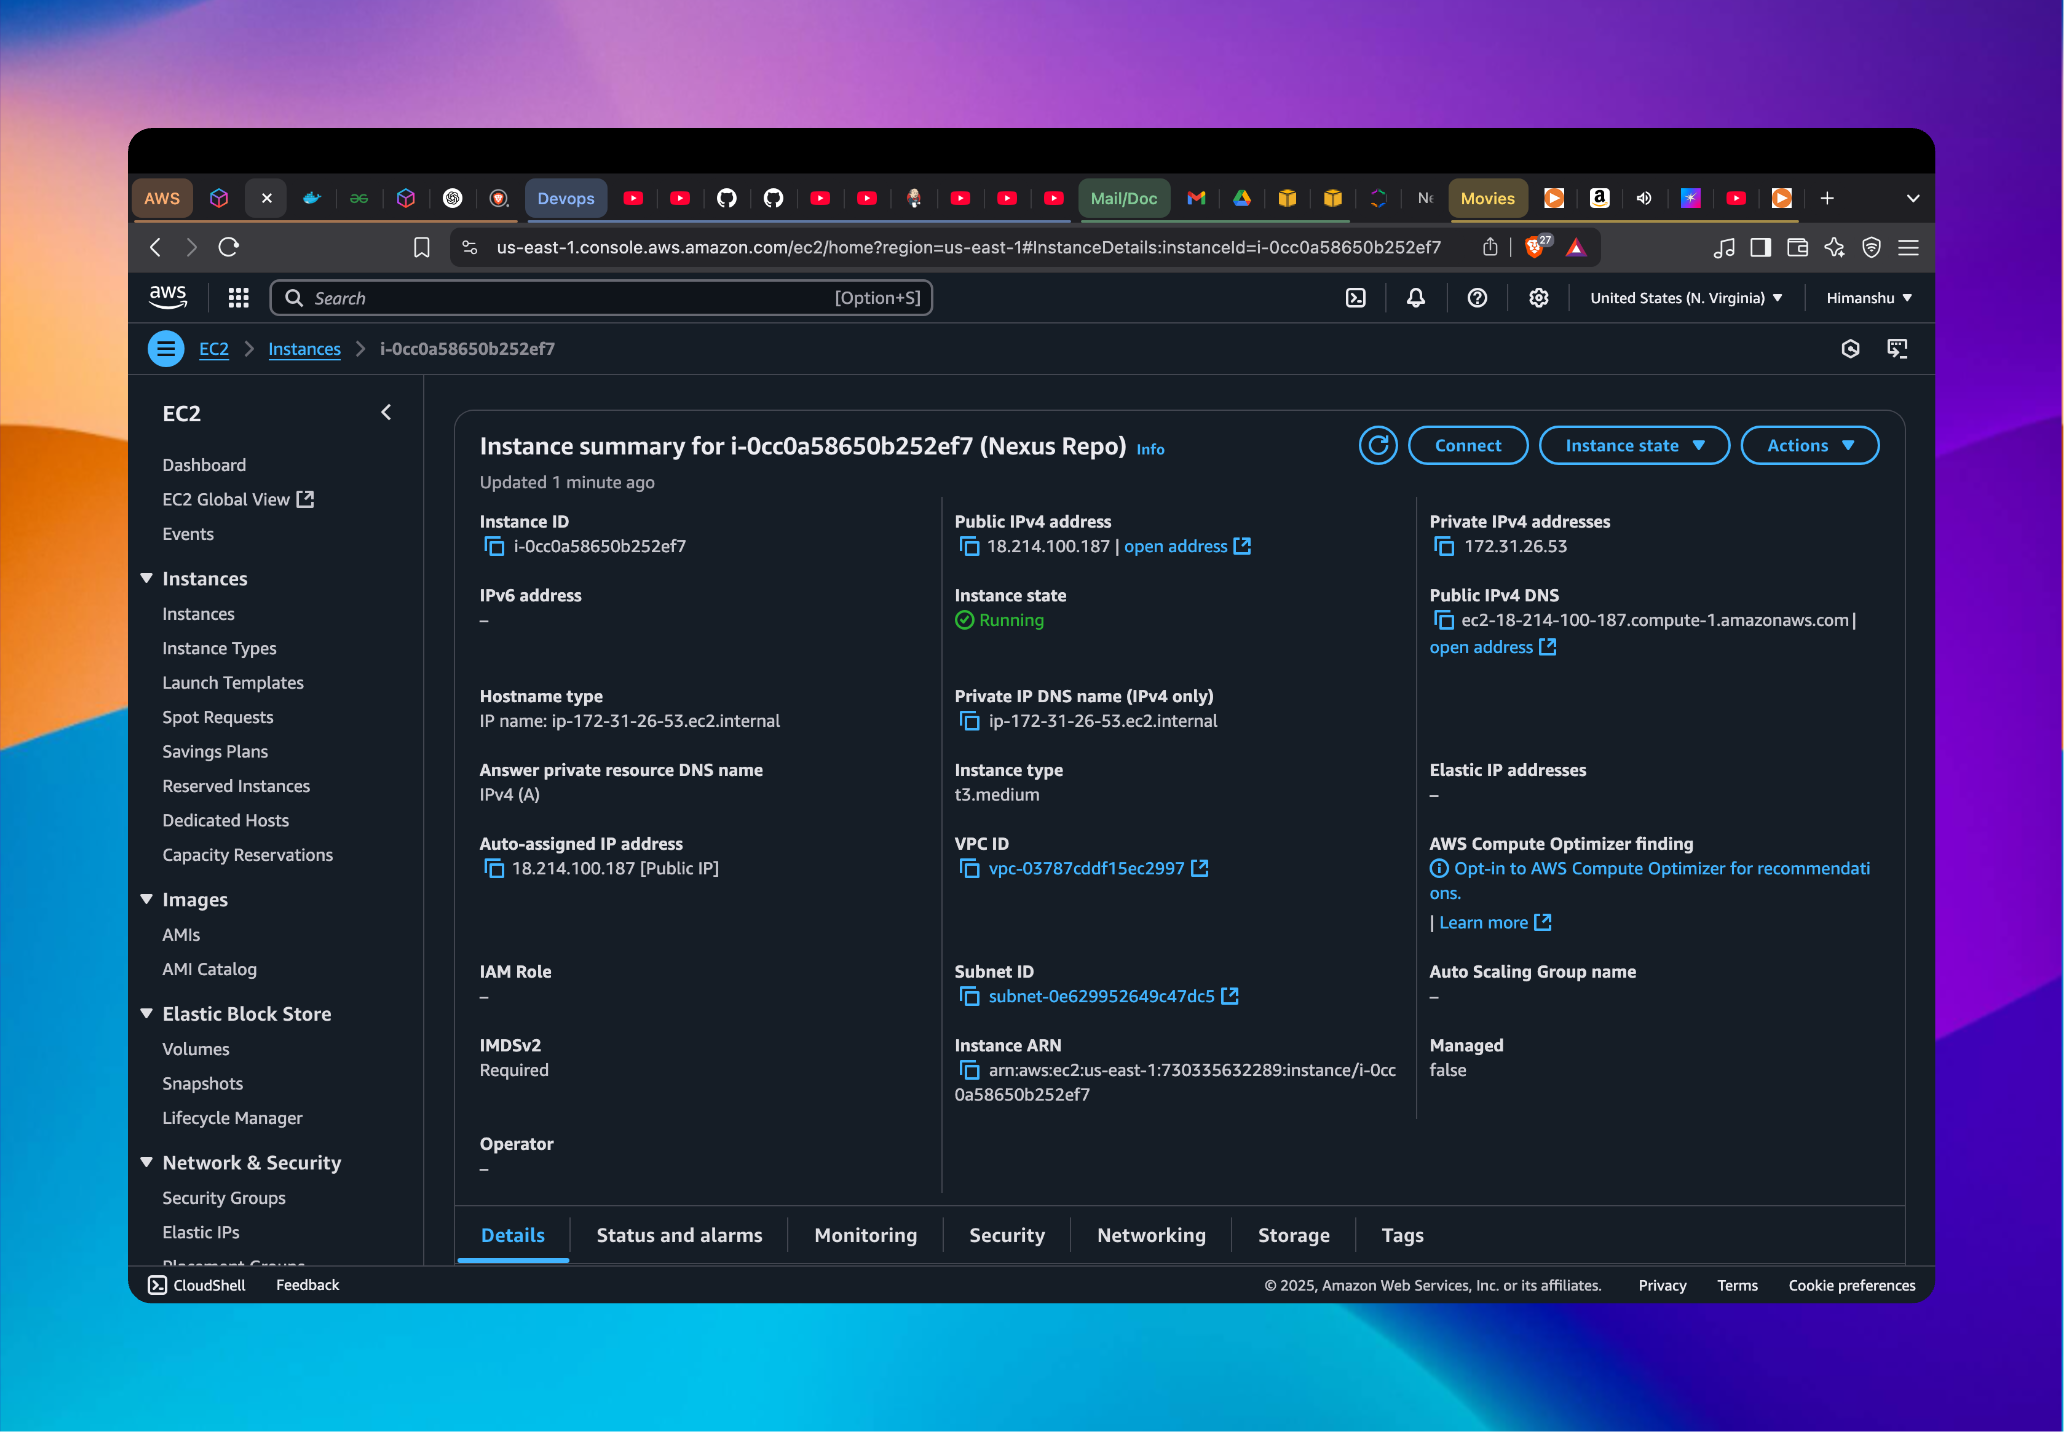
3. Deploying Nexus Using Terraform
We created a Terraform configuration to:
- Launch an EC2 instance
- Install Java and Nexus via a shell script
- Set up Nexus as a system service
- Open port
8081to access Nexus UI
Key Terraform Files:
main.tf
provider "aws" {
  region = "us-east-1"  # Adjust region if necessary
}

resource "aws_instance" "nexus" {
  ami           = "ami-0c55b159cbfafe1f0"  # Amazon Linux 2 AMI (adjust for your region)
  instance_type = "t3.medium"  # Adjust instance type as per your requirements
  key_name      = "your-ssh-key"  # Replace with your SSH key name

  # Security Group to allow access to port 8081 (Nexus)
  security_group = aws_security_group.nexus_sg.name

  # Instance metadata and user data to run the Nexus installation script
  user_data = <<-EOF
              #!/bin/bash
              set -e
              # Update system and install Java
              sudo apt update && sudo apt upgrade -y
              sudo apt install openjdk-8-jdk -y

              # Create nexus user
              sudo adduser --disabled-password --gecos "" nexus
              sudo usermod -aG sudo nexus

              # Download and install Nexus
              cd /opt
              sudo wget https://download.sonatype.com/nexus/3/nexus-3.70.4-02-java8-unix.tar.gz
              sudo tar -xvzf nexus-3.70.4-02-java8-unix.tar.gz
              sudo mv nexus-3.70.4-02 nexus
              sudo chown -R nexus:nexus /opt/nexus

              # Configure Nexus to run as nexus user
              echo 'run_as_user="nexus"' | sudo tee /opt/nexus/bin/nexus.rc

              # Create systemd service for Nexus
              cat <              EOF

  # Tags for the instance
  tags = {
    Name = "Nexus Server"
  }
}

# Security group to allow HTTP and HTTPS access
resource "aws_security_group" "nexus_sg" {
  name        = "nexus_sg"
  description = "Allow HTTP, HTTPS, and SSH access"

  ingress {
    from_port   = 8081
    to_port     = 8081
    protocol    = "tcp"
    cidr_blocks = ["0.0.0.0/0"]
  }

  ingress {
    from_port   = 22
    to_port     = 22
    protocol    = "tcp"
    cidr_blocks = ["0.0.0.0/0"]
  }

  egress {
    from_port   = 0
    to_port     = 0
    protocol    = "-1"
    cidr_blocks = ["0.0.0.0/0"]
  }
}

output "nexus_public_ip" {
  value = aws_instance.nexus.public_ip
  description = "The public IP address of the Nexus server"
}
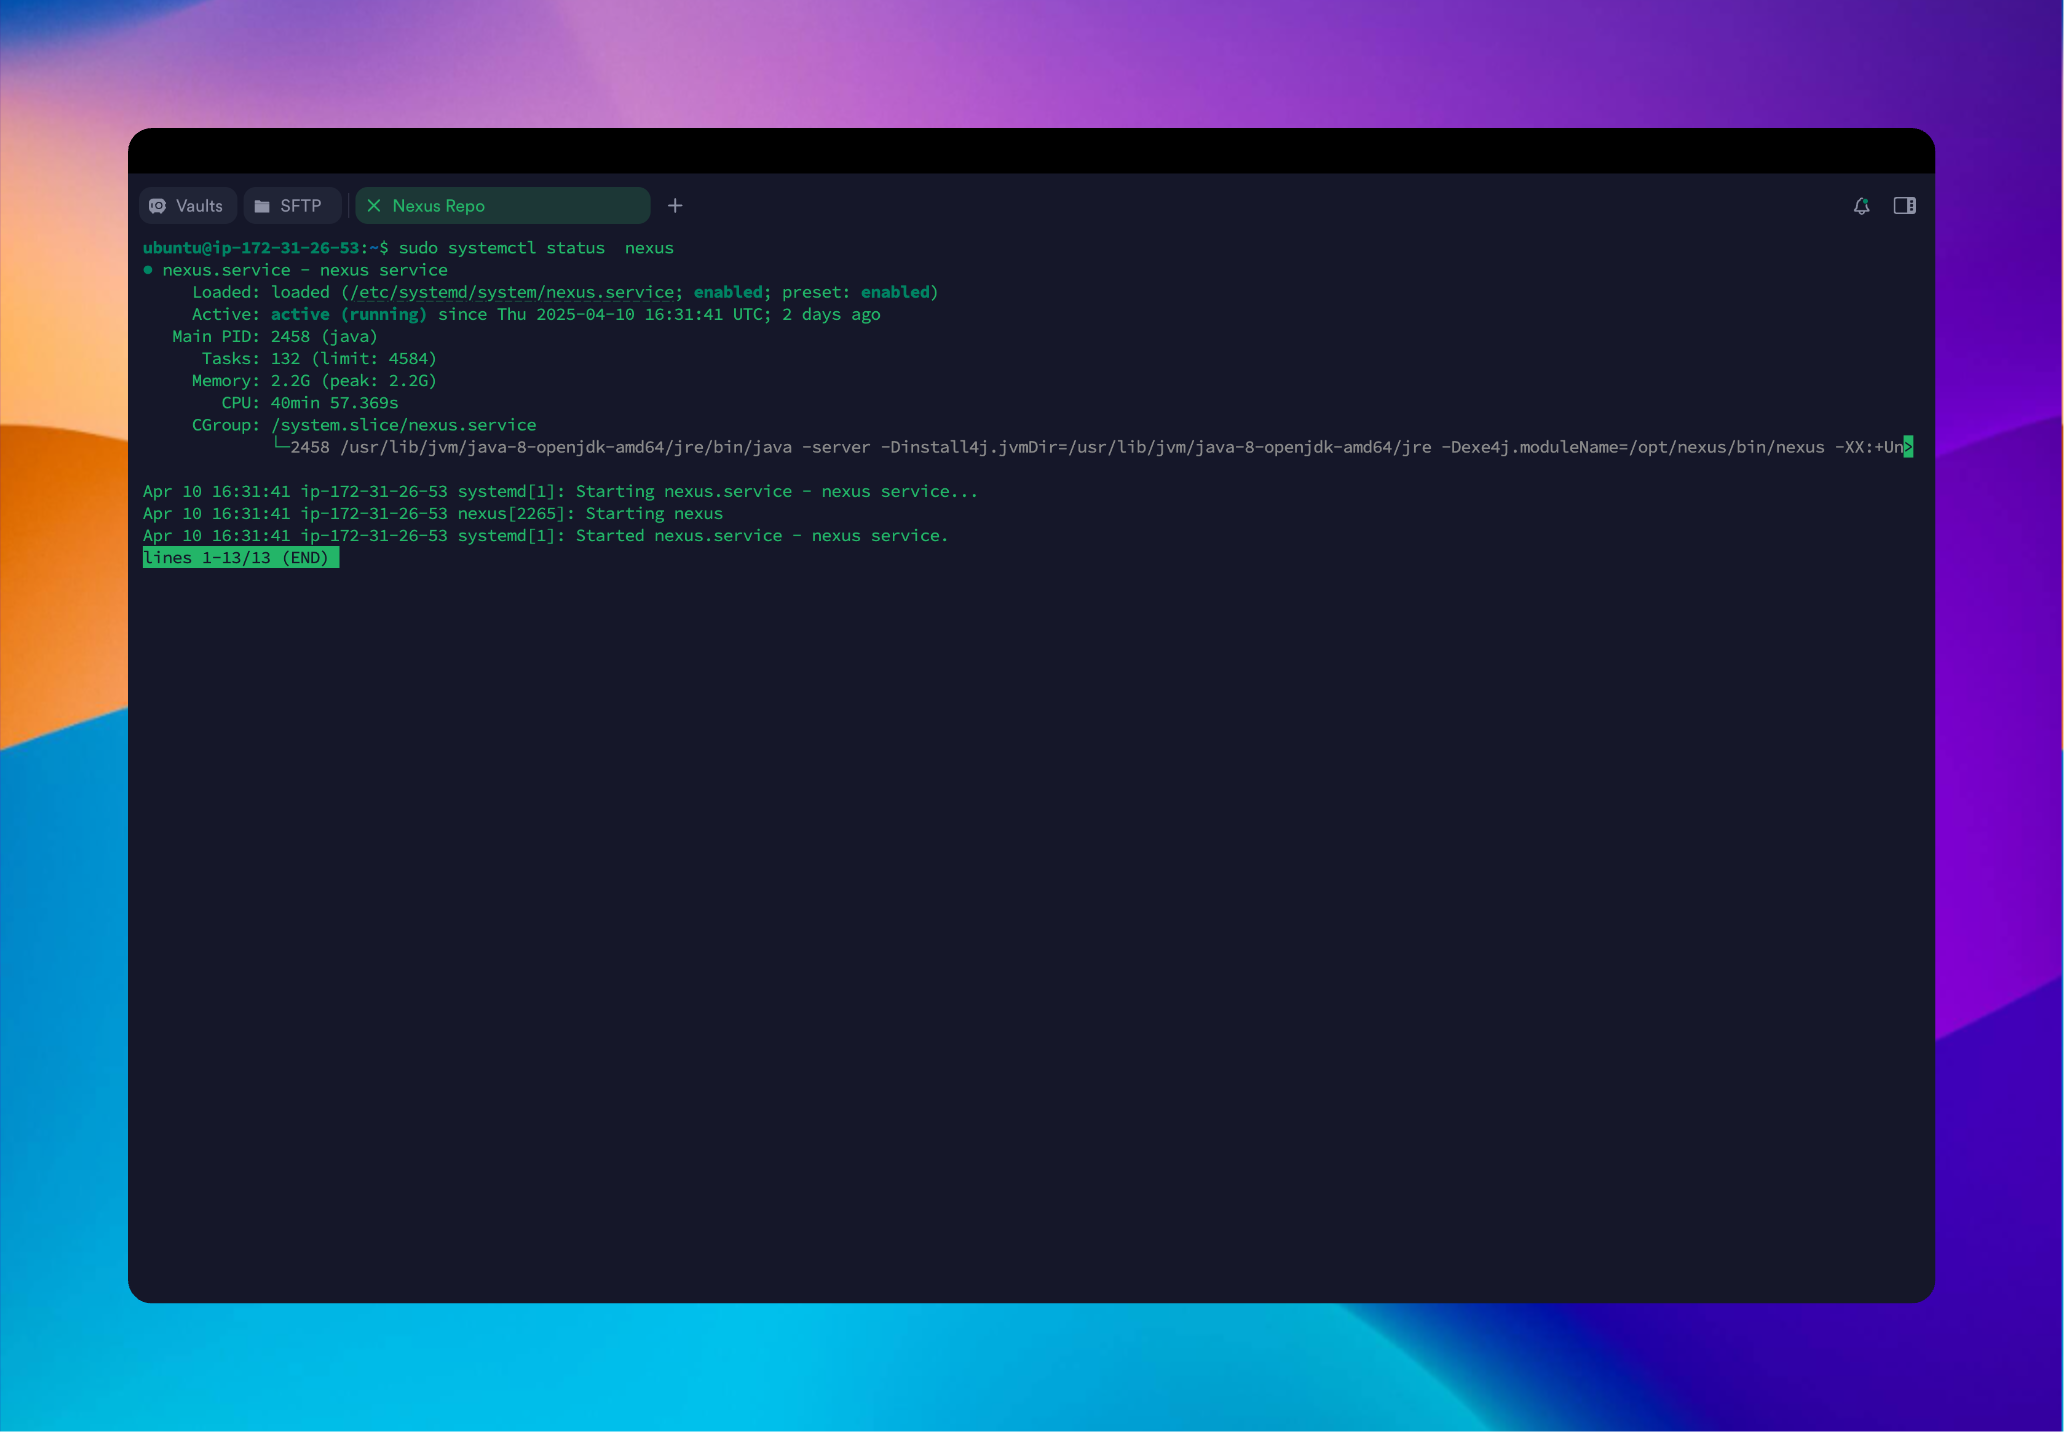
Nexus Status
4. Creating a Custom Gradle Plugin
We created a Gradle plugin project to define reusable logic. Here’s how:
build.gradle
plugins {
    id 'java-gradle-plugin'
    id 'maven-publish'
}

group = 'com.dependencie'
version = '1.0.0-SNAPSHOT'

repositories {
    mavenCentral()
}

dependencies {
    implementation gradleApi()
    implementation localGroovy()
}

gradlePlugin {
    plugins {
        backendPublisher {
            id = 'com.dependencie.nexusplugin'
            implementationClass = 'com.dependencie.nexusplugin.BackendPublisherPlugin'
        }
    }
}

publishing {
    repositories {
        maven {
            name = "nexusSnapshots"
            url = uri("http://:8081/repository/maven-snapshots/")
            allowInsecureProtocol = true
            credentials {
                username = "admin"
                password = "12345"
            }
        }
    }
}
Plugin Implementation (BackendPublisherPlugin.java)
package com.dependencie.nexusplugin;

import org.gradle.api.Plugin;
import org.gradle.api.Project;


public class BackendPublisherPlugin implements Plugin<Project> {

    @Override
    public void apply(Project project) {
        project.getPluginManager().apply("java");
        project.getPluginManager().apply("org.springframework.boot");
        project.getPluginManager().apply("io.spring.dependency-management");

        project.setGroup("com.example");
        project.setVersion("0.0.1-SNAPSHOT");

        project.getExtensions().getExtraProperties().set("springBootVersion", "3.4.4");

        project.getRepositories().mavenCentral();

        project.getDependencies().add("implementation", "org.springframework.boot:spring-boot-starter-data-jpa");
        project.getDependencies().add("implementation", "org.springframework.boot:spring-boot-starter-web");
        project.getDependencies().add("implementation", "org.springframework.boot");
        project.getDependencies().add("compileOnly", "org.projectlombok:lombok");
        project.getDependencies().add("runtimeOnly", "com.h2database:h2");
        project.getDependencies().add("annotationProcessor", "org.projectlombok:lombok");
        project.getDependencies().add("testImplementation", "org.springframework.boot:spring-boot-starter-test");
        project.getDependencies().add("testRuntimeOnly", "org.junit.platform:junit-platform-launcher");
    }
}
Publishing the Plugin
Run this in the plugin project root:
./gradlew publishThe plugin will be published to your Nexus snapshot repository.
5. Using the Custom Plugin in a Backend Project
Once published, we integrated the custom plugin into a Spring Boot project.
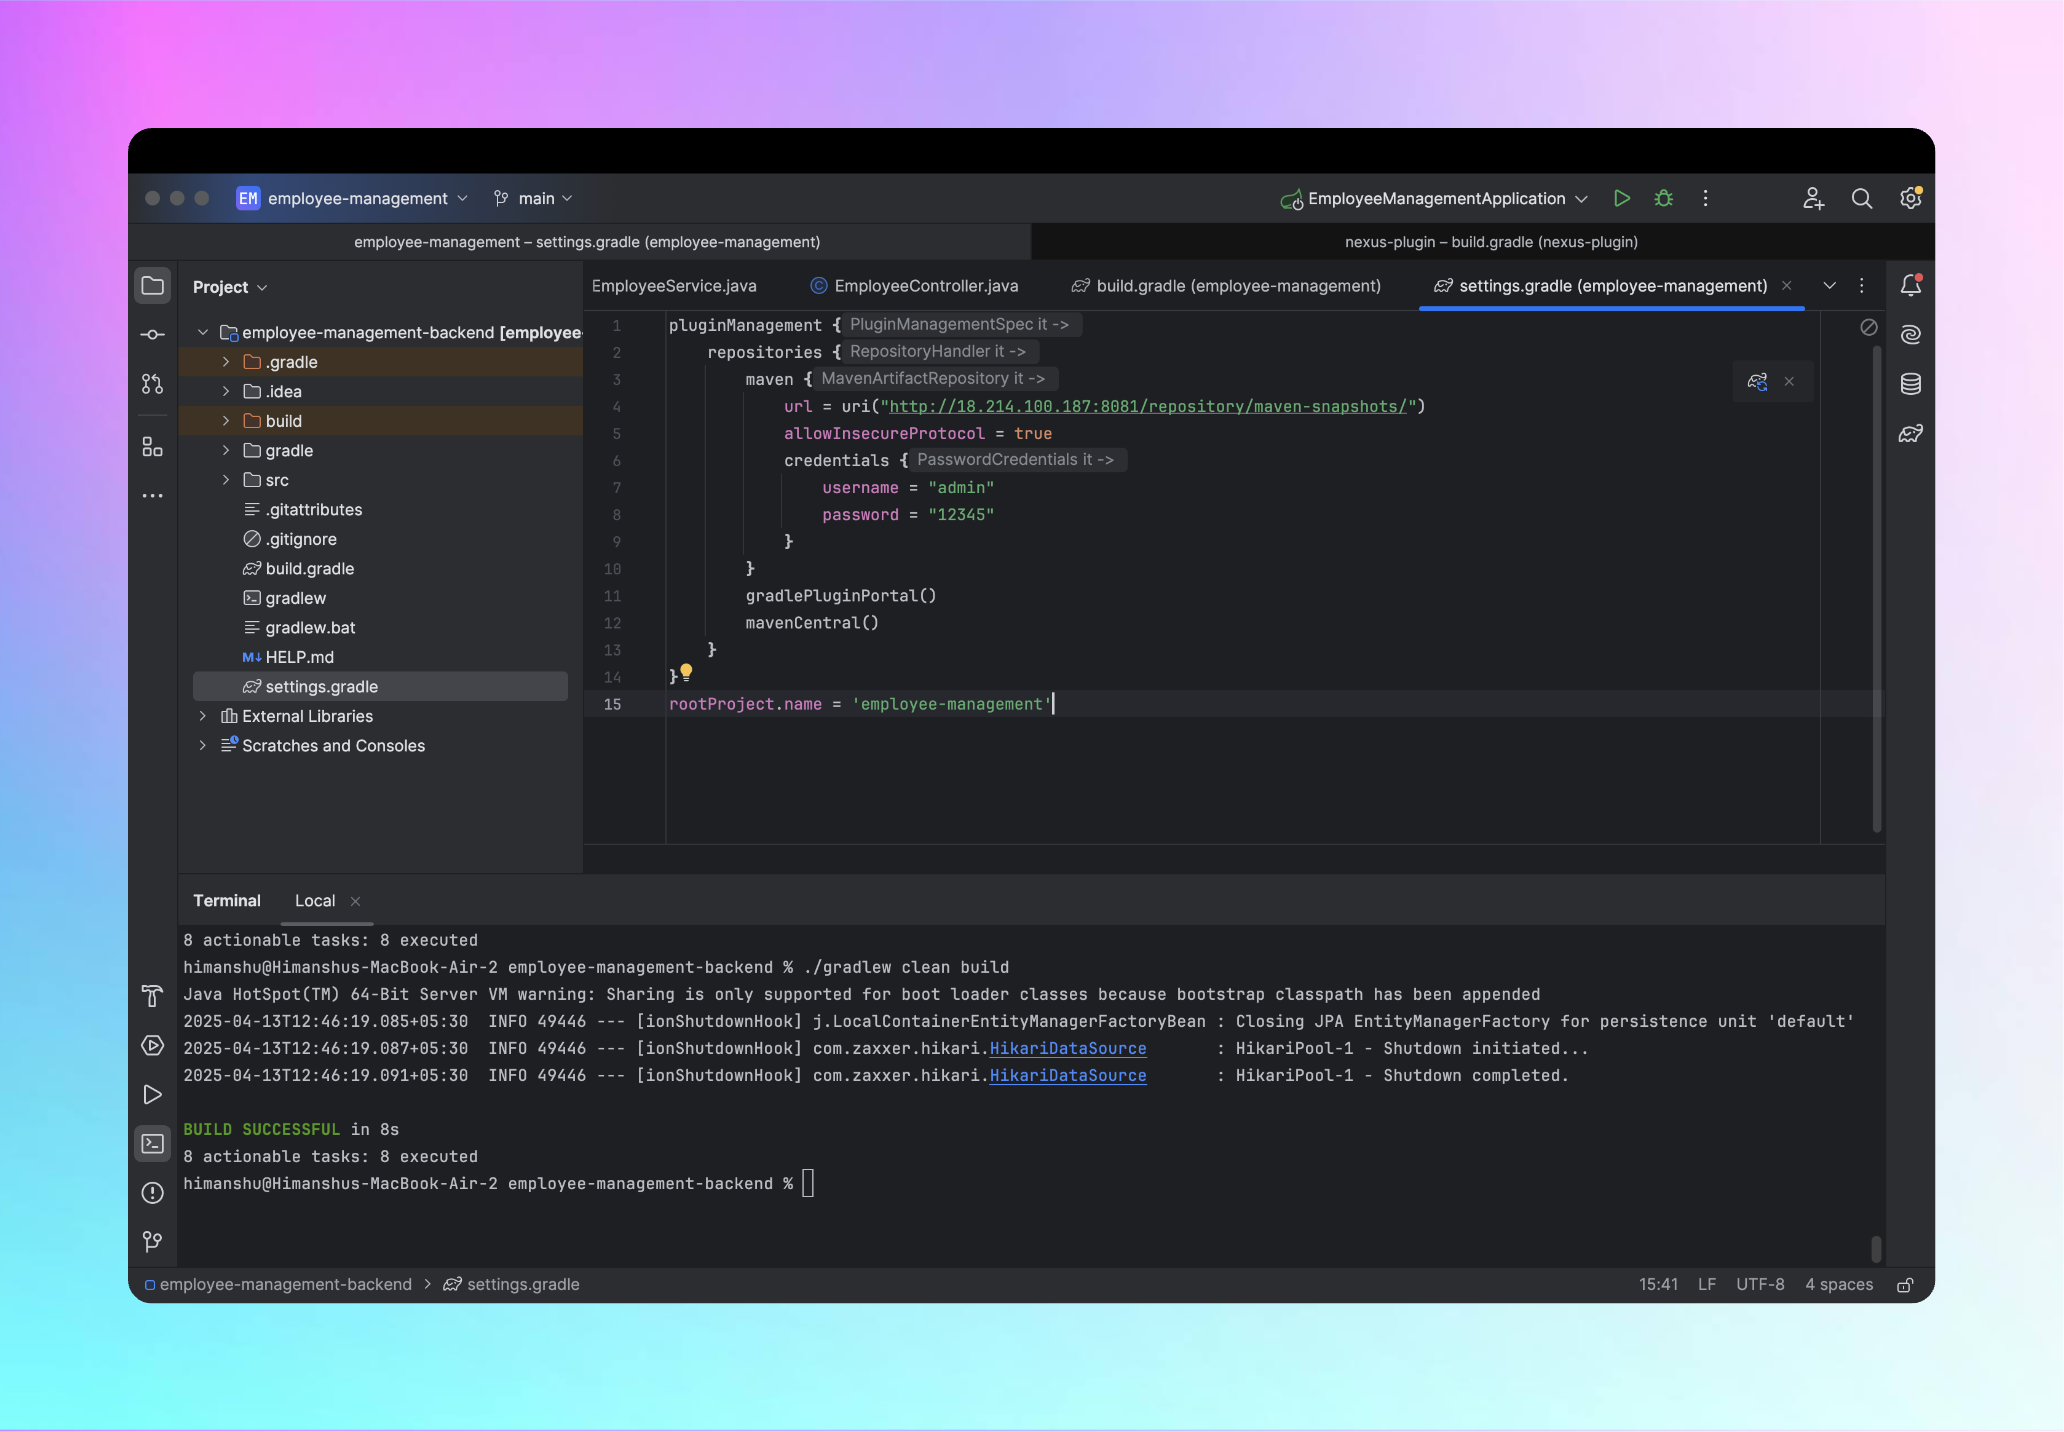
Backend Project Structure
settings.gradle
pluginManagement {
    repositories {
        maven {
            url = uri("http://:8081/repository/maven-snapshots/")
            allowInsecureProtocol = true
            credentials {
                username = "admin"
                password = "12345"
            }
        }
        gradlePluginPortal()
        mavenCentral()
    }
}
rootProject.name = 'employee-management'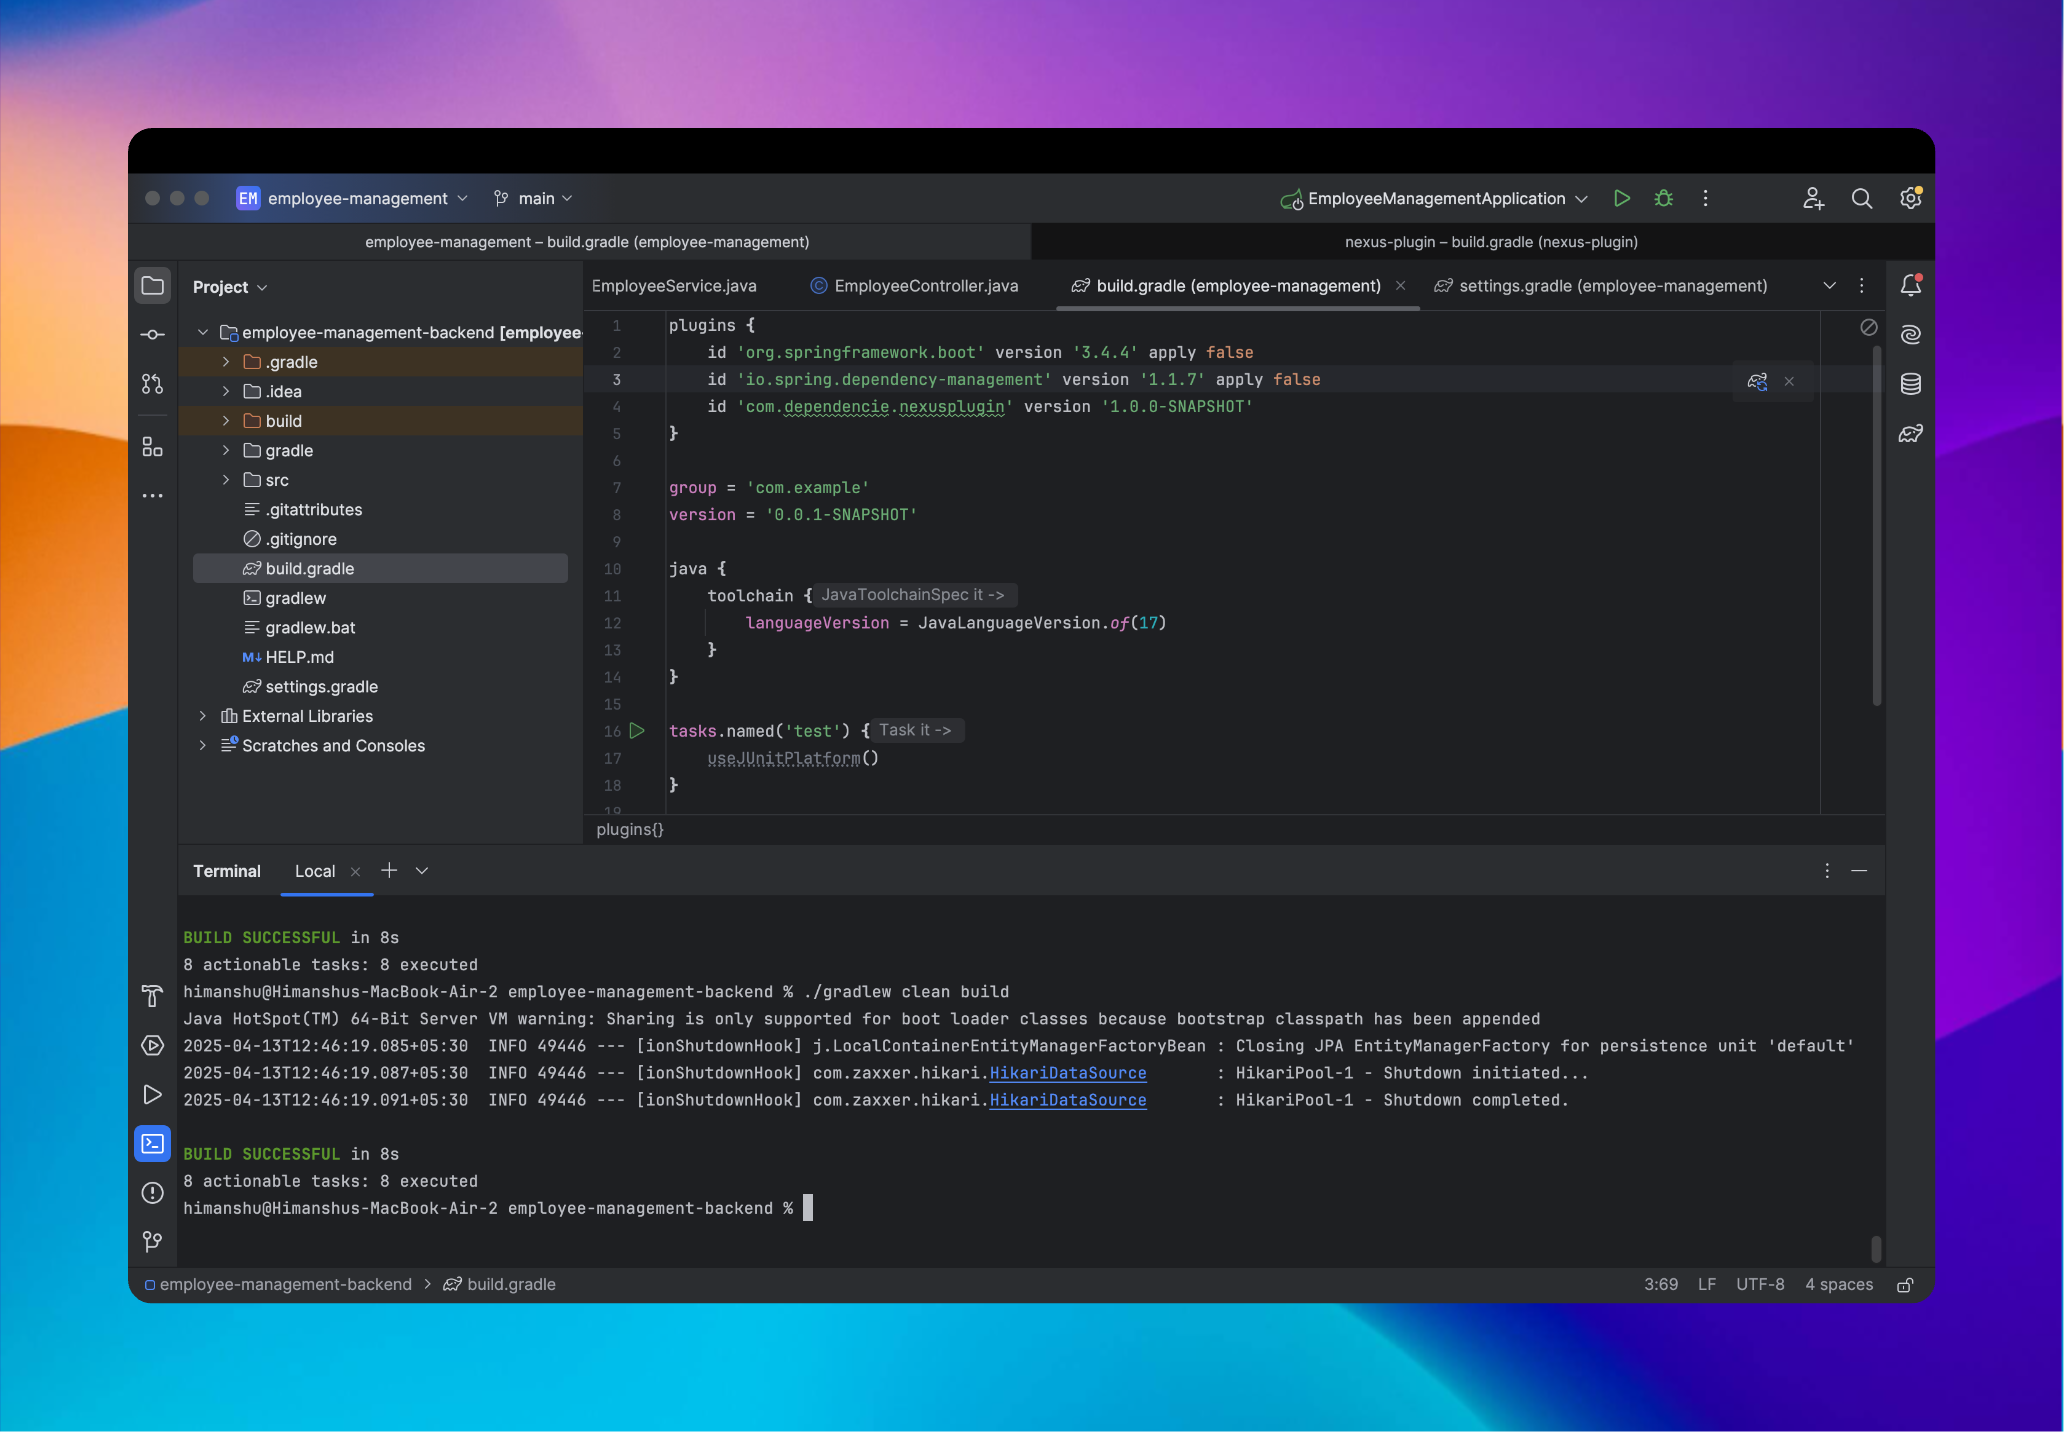
build.gradle
plugins {
    id 'com.dependencie.nexusplugin' version '1.0.0-SNAPSHOT'
    id 'java'
    id 'org.springframework.boot' version '3.4.4'
    id 'io.spring.dependency-management' version '1.1.7'
}

group = 'com.example'
version = '0.0.1-SNAPSHOT'

java {
    toolchain {
        languageVersion = JavaLanguageVersion.of(17)
    }
}

repositories {
    mavenCentral()
    maven {
        url = uri("http://:8081/repository/maven-snapshots/")
        allowInsecureProtocol = true
        credentials {
            username = "admin"
            password = "12345"
        }
    }
}

dependencies {
    implementation 'org.springframework.boot:spring-boot-starter-data-jpa'
    implementation 'org.springframework.boot:spring-boot-starter-web'
    compileOnly 'org.projectlombok:lombok'
    annotationProcessor 'org.projectlombok:lombok'
    runtimeOnly 'com.h2database:h2'
    testImplementation 'org.springframework.boot:spring-boot-starter-test'
}

tasks.named('test') {
    useJUnitPlatform()
}
Verify Plugin Integration
Run:
./gradlew helloPluginOutput:
✅ Custom Nexus Plugin Applied Successfully!6. Conclusion
In this end-to-end setup, we:
- Deployed Sonatype Nexus on AWS EC2 using Terraform
- Created and published a custom Gradle plugin to Nexus
- Integrated that plugin into a Spring Boot backend project
This setup can be expanded further to publish internal libraries, enforce quality gates, or share reusable Gradle logic across teams.
