In previous articles, we explored the fundamentals of Presto as a powerful open-source SQL query engine and the modern data storage paradigms of data warehouses and data lakes. Now it's time to roll up our sleeves and get our hands dirty with a practical implementation.
In this guide, I'll walk you through installing Presto and show how to run queries with ease.
Pre-Requisites 🎯
Before getting started, ensure that the following are installed:
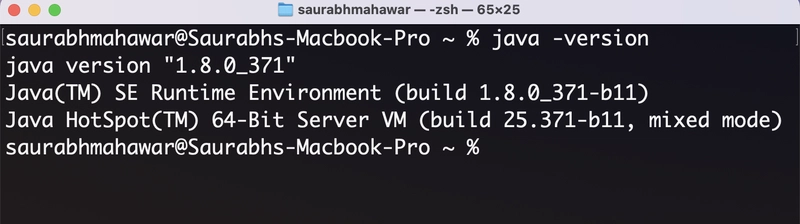
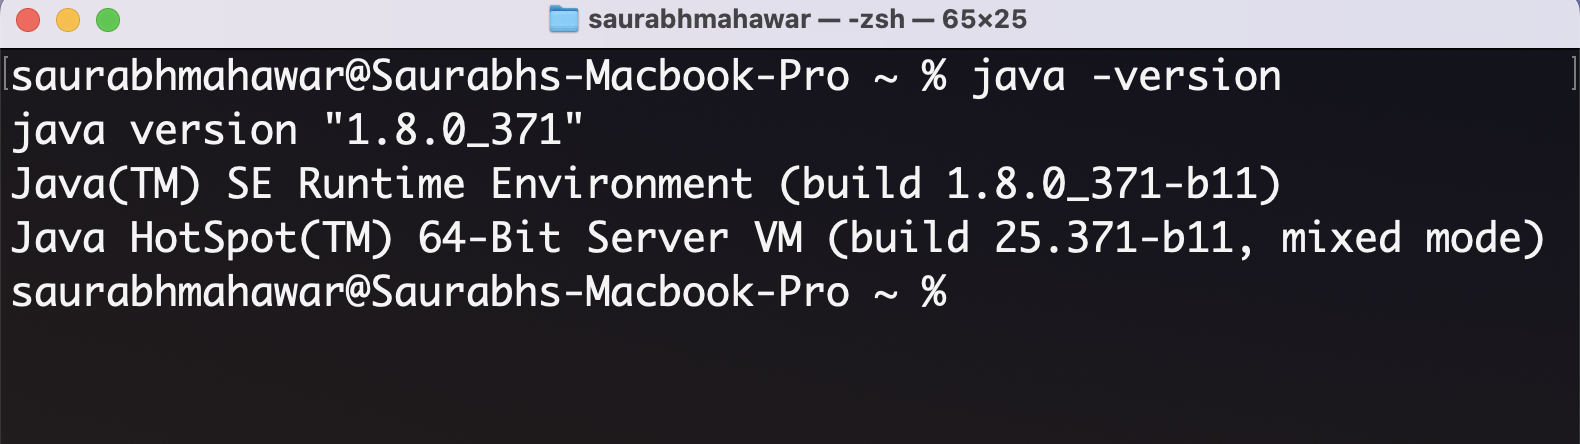
- Java 8 or newer installed.
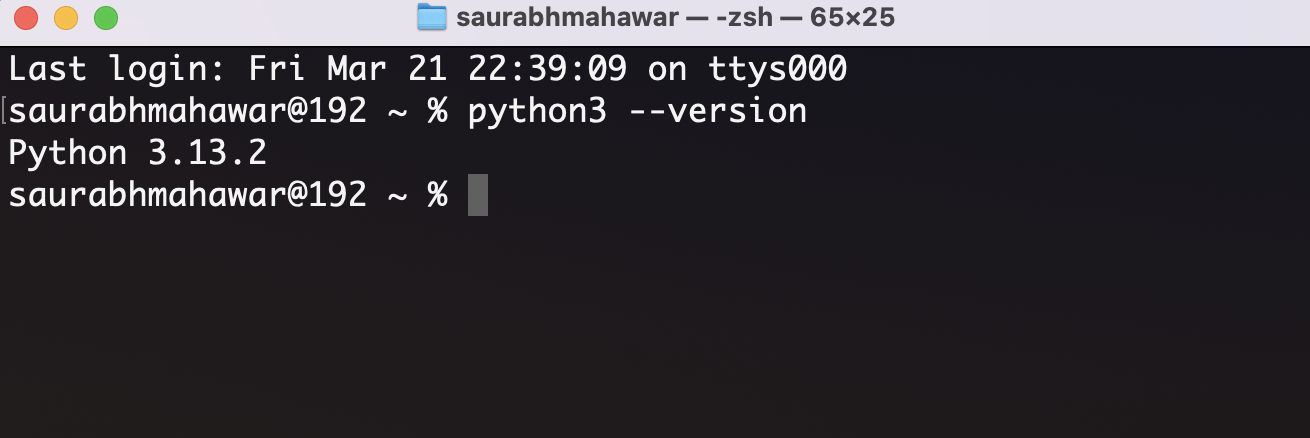
- Python 3 or newer installed.
- At least 4GB of available RAM. (8 GB Recommended)
- Minimum 20GB of free disk space.
- Basic command-line knowledge.
- Sudo/root access to your system.
- OS (Mac/Windows/Linux)
Now, let's see the Step by Step Process to Install Presto.
Step - 1: Installing Presto Server 📥
- Create a directory at Desktop or any preferred location in your system and name it PrestoDB (or whatever you like).
- Open terminal/command line interface and navigate to your PrestoDB directory and run below command.
wget https://repo1.maven.org/maven2/com/facebook/presto/presto-server/0.291/presto-server-0.291.tar.gz📌 wget - Fetches the specified URL and save the file locally
- Extract the tarball using below command
tar -xvzf presto-server-0.291.tar.gz📌 tar - Unix command used to create and extract tar archive files
📌 x - Extracts the contents from the archive.
📌 v - Verbose mode, shows a list of files being extracted.
📌 z - Decompresses the archive using gzip (since the file is .gz).
📌 f - Specifies the filename of the archive to work with (presto-server-0.291.tar.gz).
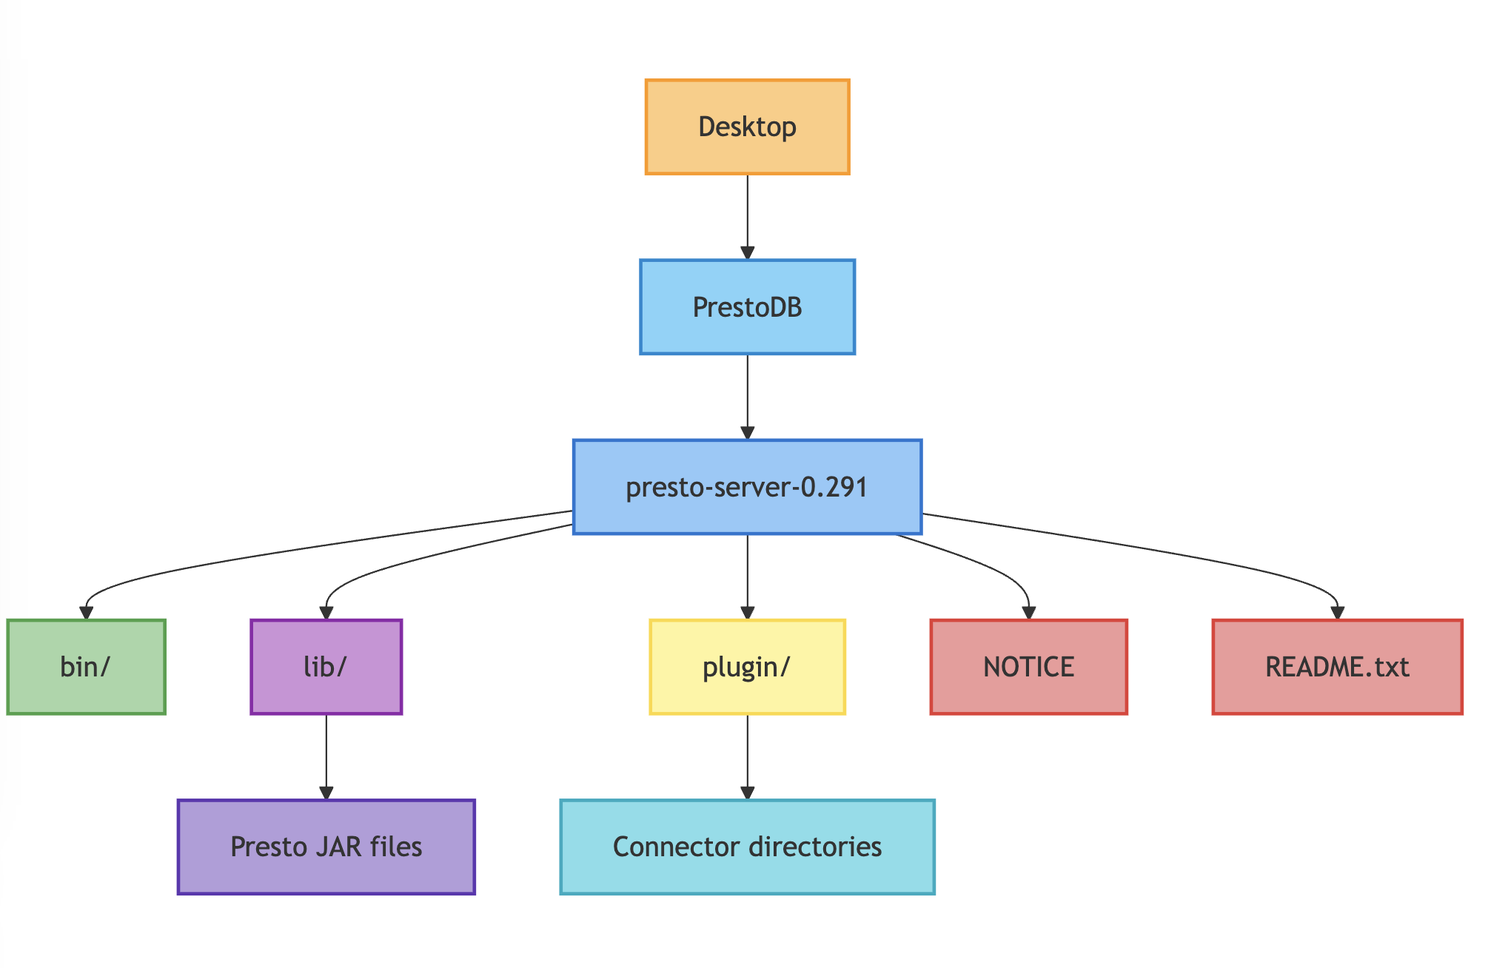
- Now your directory structure will look like this.
- Create a directory inside presto-server-0.291 named as etc.
- Create 3 files inside etc directory named as (config.properties, jvm.config and node.properties)
- Configure config.properties file as per below mentioned code.
coordinator=true
node-scheduler.include-coordinator=true
http-server.http.port=8080
query.max-memory=1GB
query.max-memory-per-node=512MB
discovery-server.enabled=true
discovery.uri=http://localhost:8080
📌 coordinator=true – Makes this node the query coordinator.
📌 node-scheduler.include-coordinator=true – Allows the coordinator to process query tasks.
📌 http-server.http.port=8080 – Sets the HTTP port to 8080 for incoming requests.
📌 query.max-memory=1GB – Limits the total memory for a query to 1 GB.
📌 query.max-memory-per-node=512MB – Limits query memory usage to 512 MB per node.
📌 discovery-server.enabled=true – Enables the discovery server to track cluster nodes.
📌 discovery.uri=http://localhost:8080 – Sets the discovery server URI to localhost on port 8080.
- Configure jvm.config file as per below mentioned code.
-server
-Xmx16G
-XX:+UseG1GC
-XX:G1HeapRegionSize=32M
-XX:+UseGCOverheadLimit
-XX:+ExplicitGCInvokesConcurrent
-XX:+HeapDumpOnOutOfMemoryError
-XX:+ExitOnOutOfMemoryError- Configure node.properties file as per below mentioned code.
node.environment=production
node.id=ffffffff-ffff-ffff-ffff-ffffffffffff
node.data-dir=/var/presto/data- Save all these files and create a new directory inside etc named as catalog
After completing all these steps your directory structure will look like this.
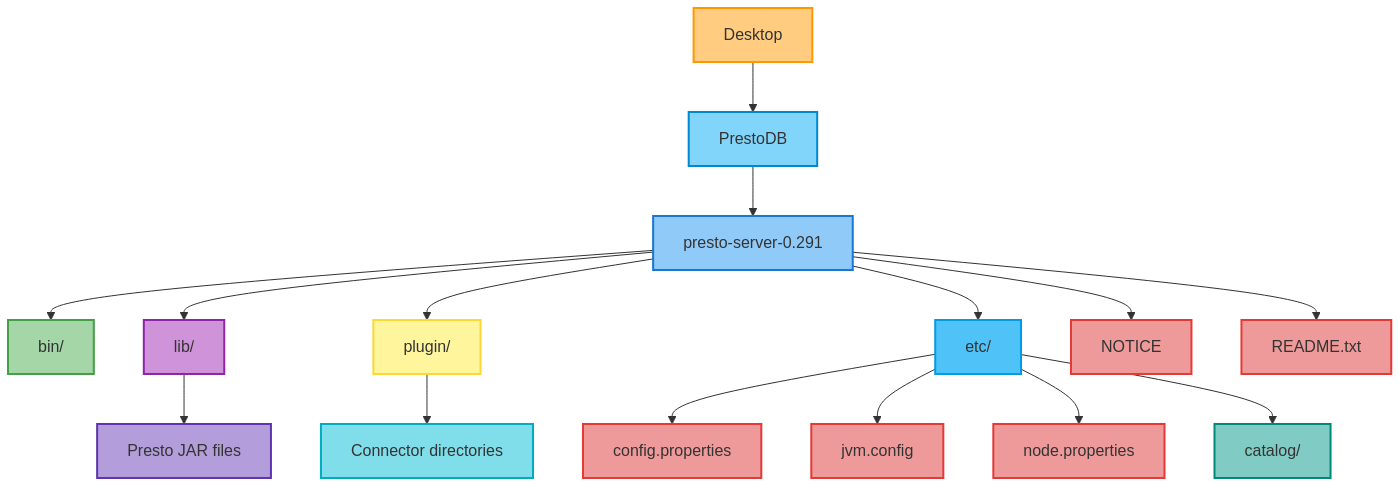
Inside catalog directory create two files mysql.properties and tpch.properties
Configure mysql.properties as per below mentioned code.
connector.name=mysql
connection-url=jdbc:mysql://localhost:3306
connection-user= Your MySQL Username
connection-password= Your MySQL Password- Configure tpch.properties as per below mentioned code.
connector.name=tpchSave all these configurations and follow next steps.
Step - 2: Start Presto Server 🟢
Navigate to the presto-server-0.291 directory and run command
sudo bin/launcher startAs soon as you hit the command Presto server will start automatically. Open the browser and enter http://localhost:8080
Whoa Congratulations 🎉 🥳 (Presto has been installed successfully)
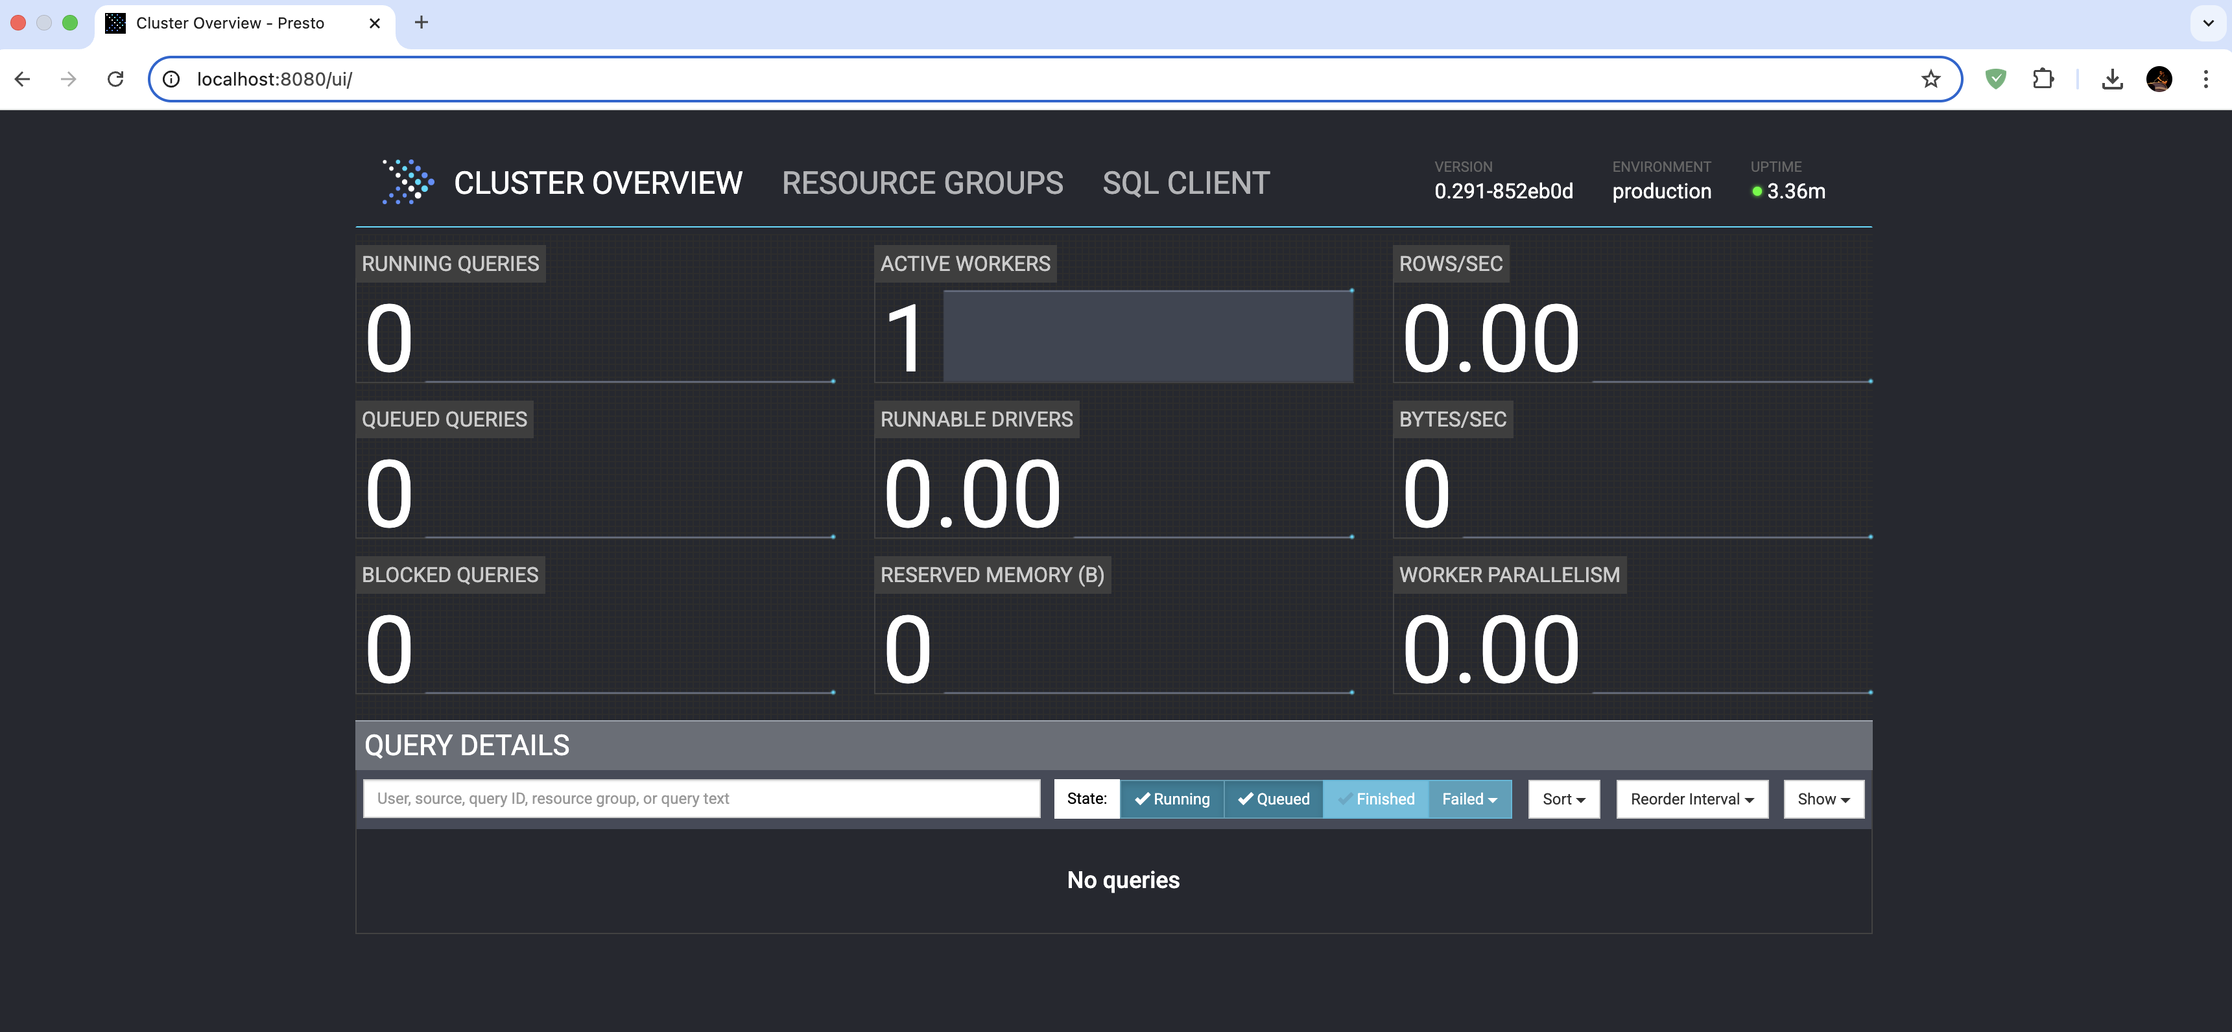
Note: Presto Server run on port 8080 by default 📍To check the status of server ↺
sudo bin/launcher statusTo Stop the server 🔴
sudo bin/launcher stopIn the next article, we will see how to install Apache Zeppelin and connect it with Presto.
Follow Presto at Official Website, Linkedin, Youtube, and Join Slack channel to interact with the community.