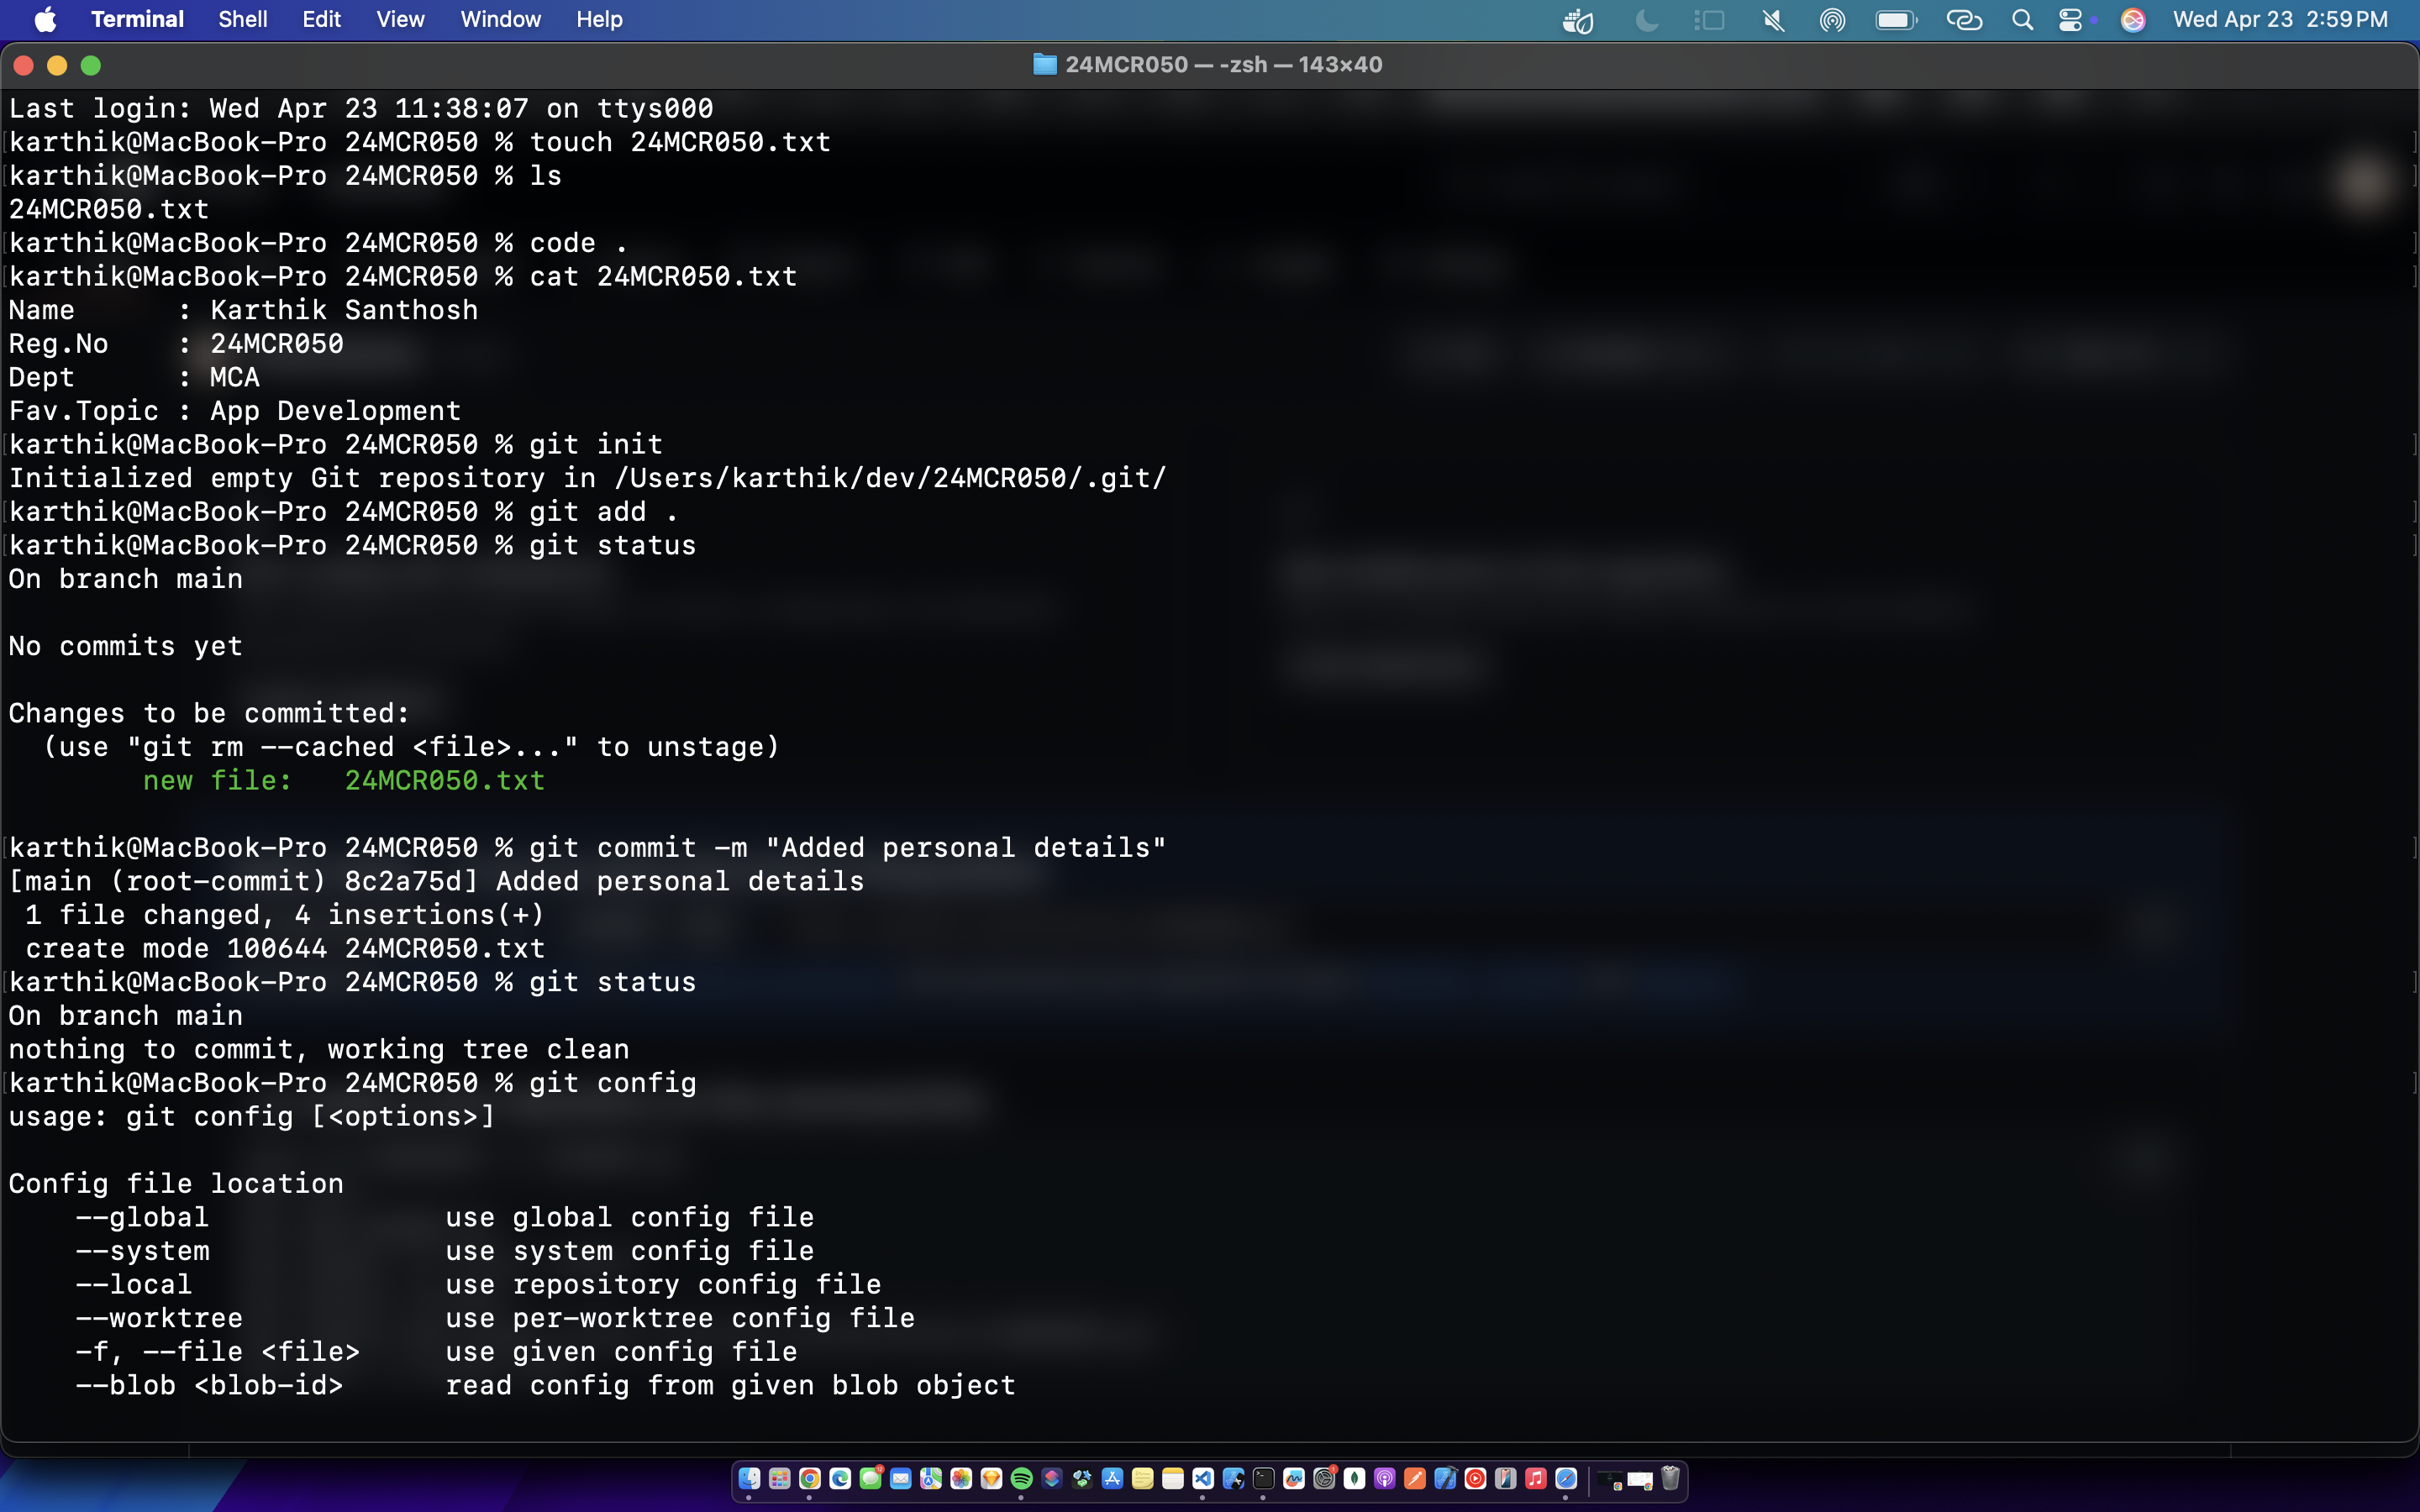
1. 📁 Initialize a Git repository
git initCreates a new local Git repository in your current directory (e.g., 24MCR001).
2. ➕ Add a file to the staging area
git add 24MCR050.txtStages 24MCR050.txt to be included in the next commit.
3. ✅ Commit the staged file
git commit -m "Added Personal Details"Creates a commit with a clear message describing the changes.
4. 📋 Check the Git status
git statusShows the current status of your working directory and staging area — useful to confirm what’s staged or modified.
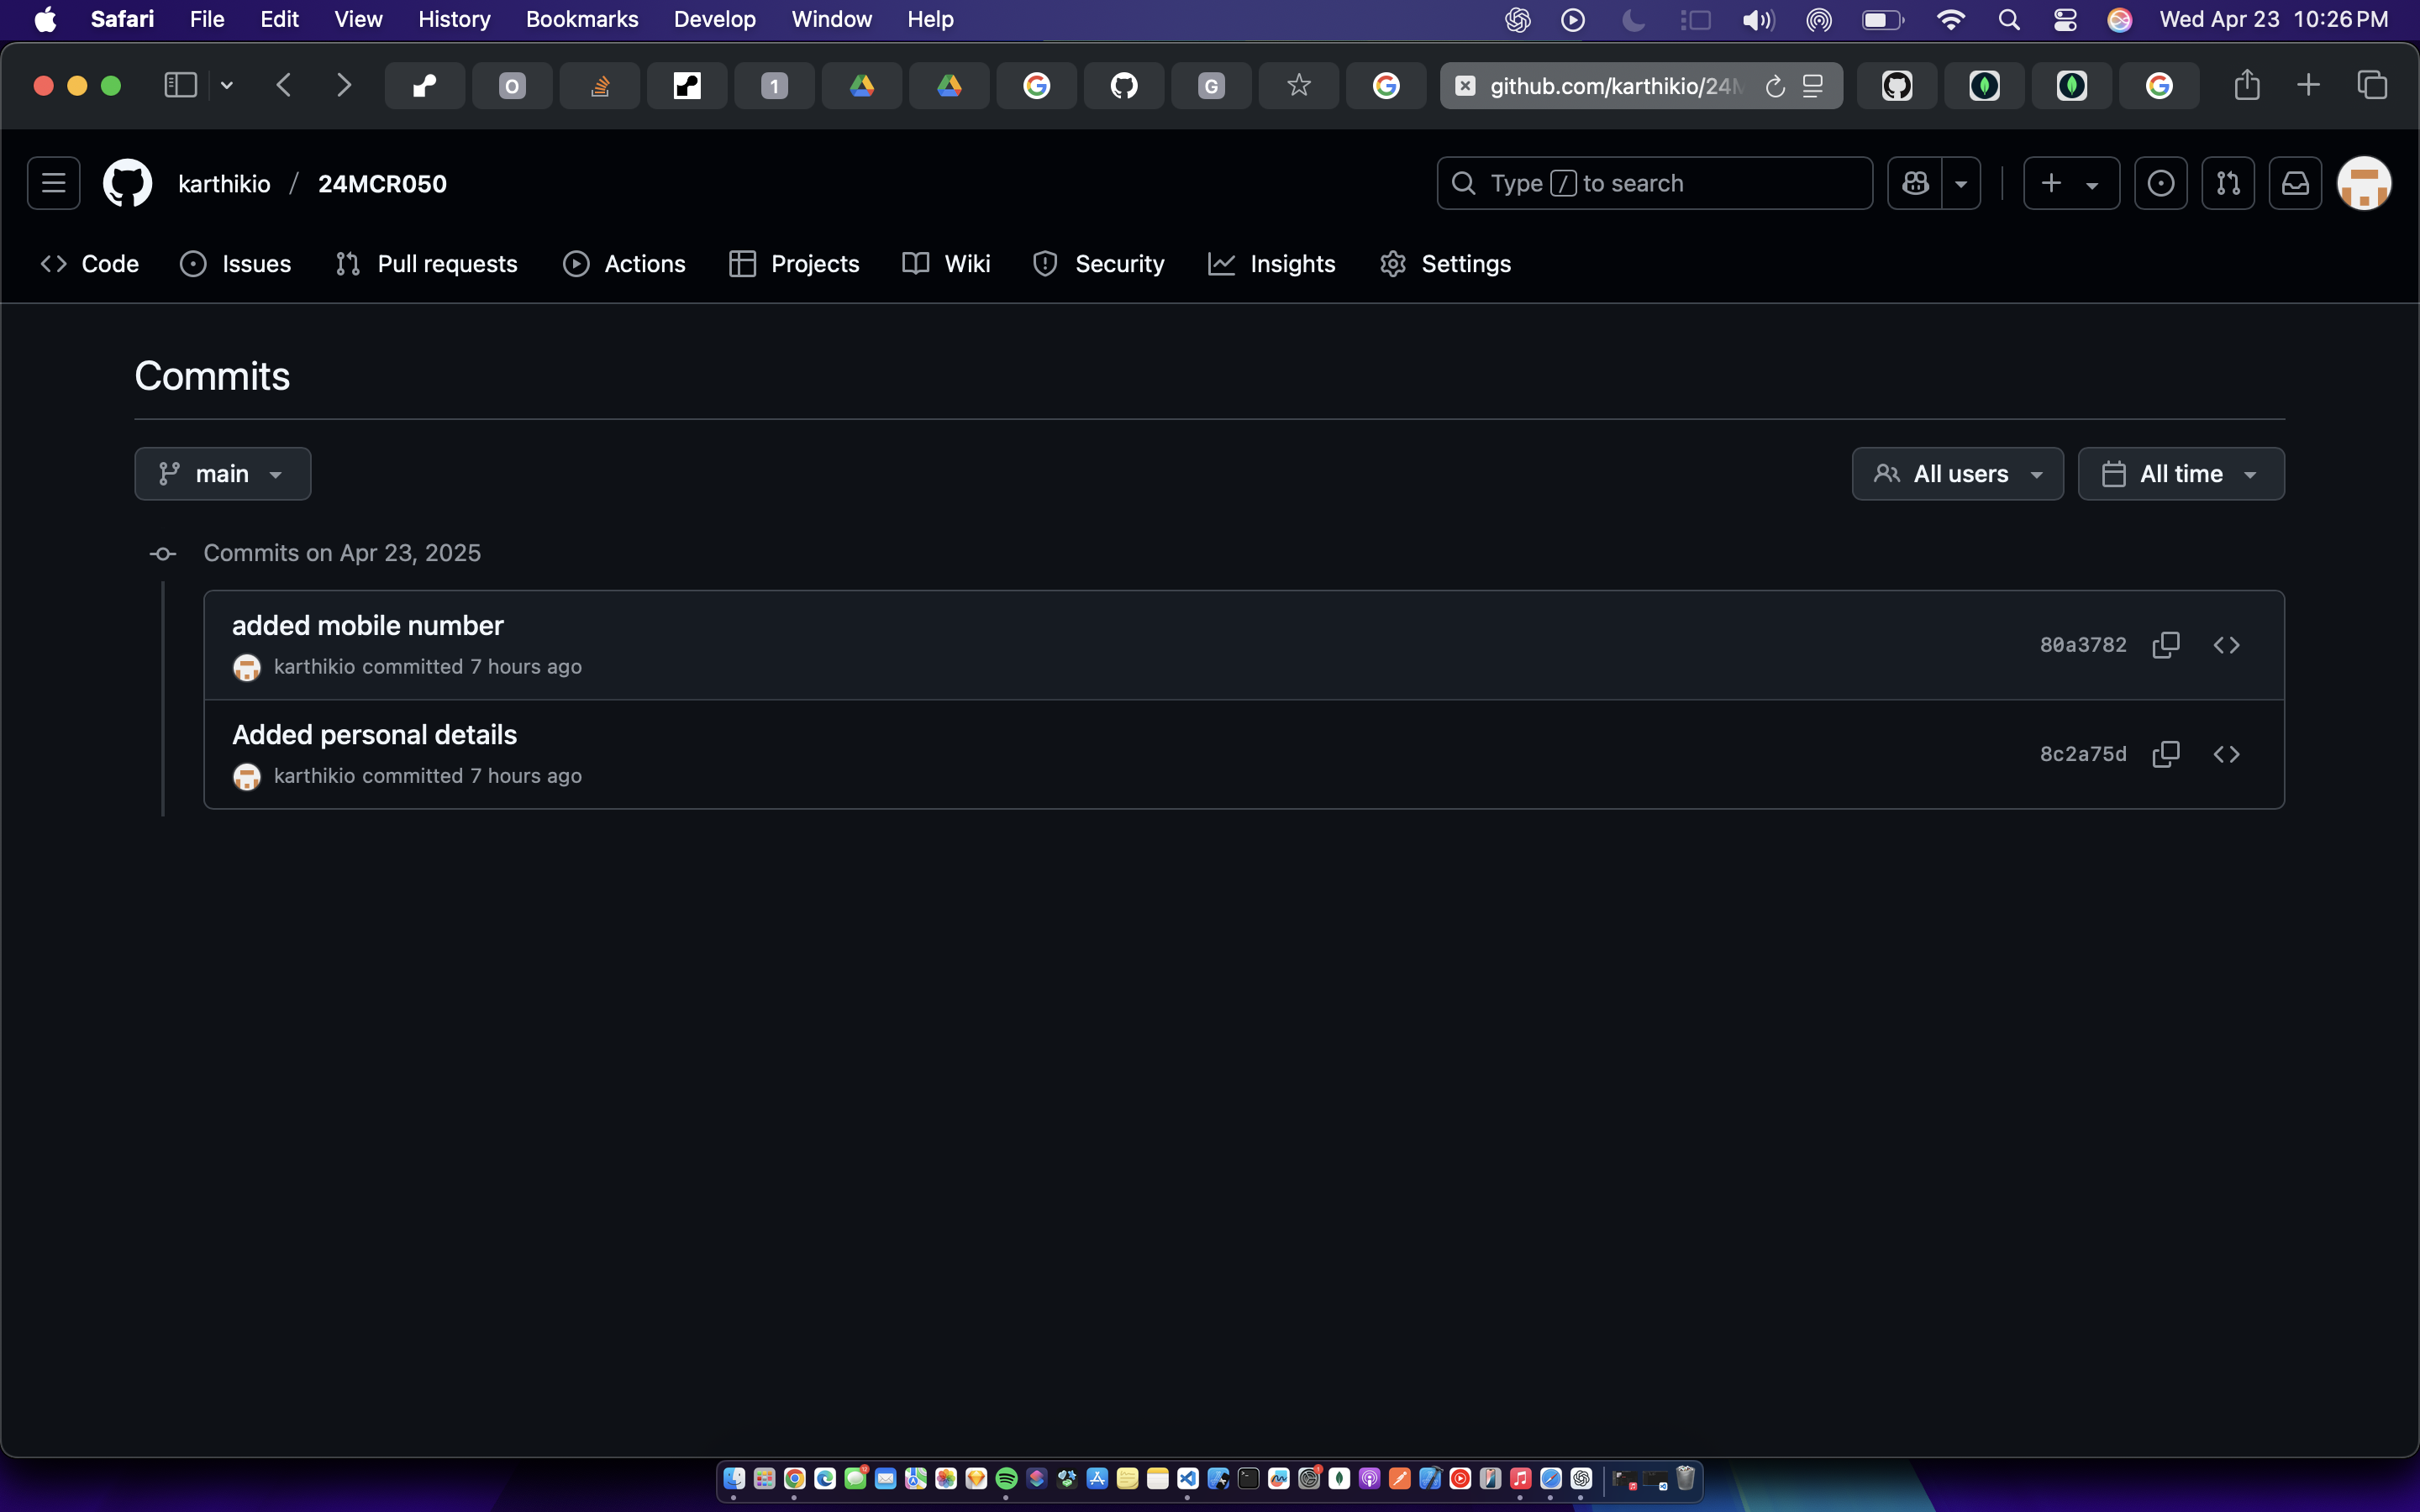
5. 🕓 View commit history
git logDisplays a list of commits, starting with the most recent.
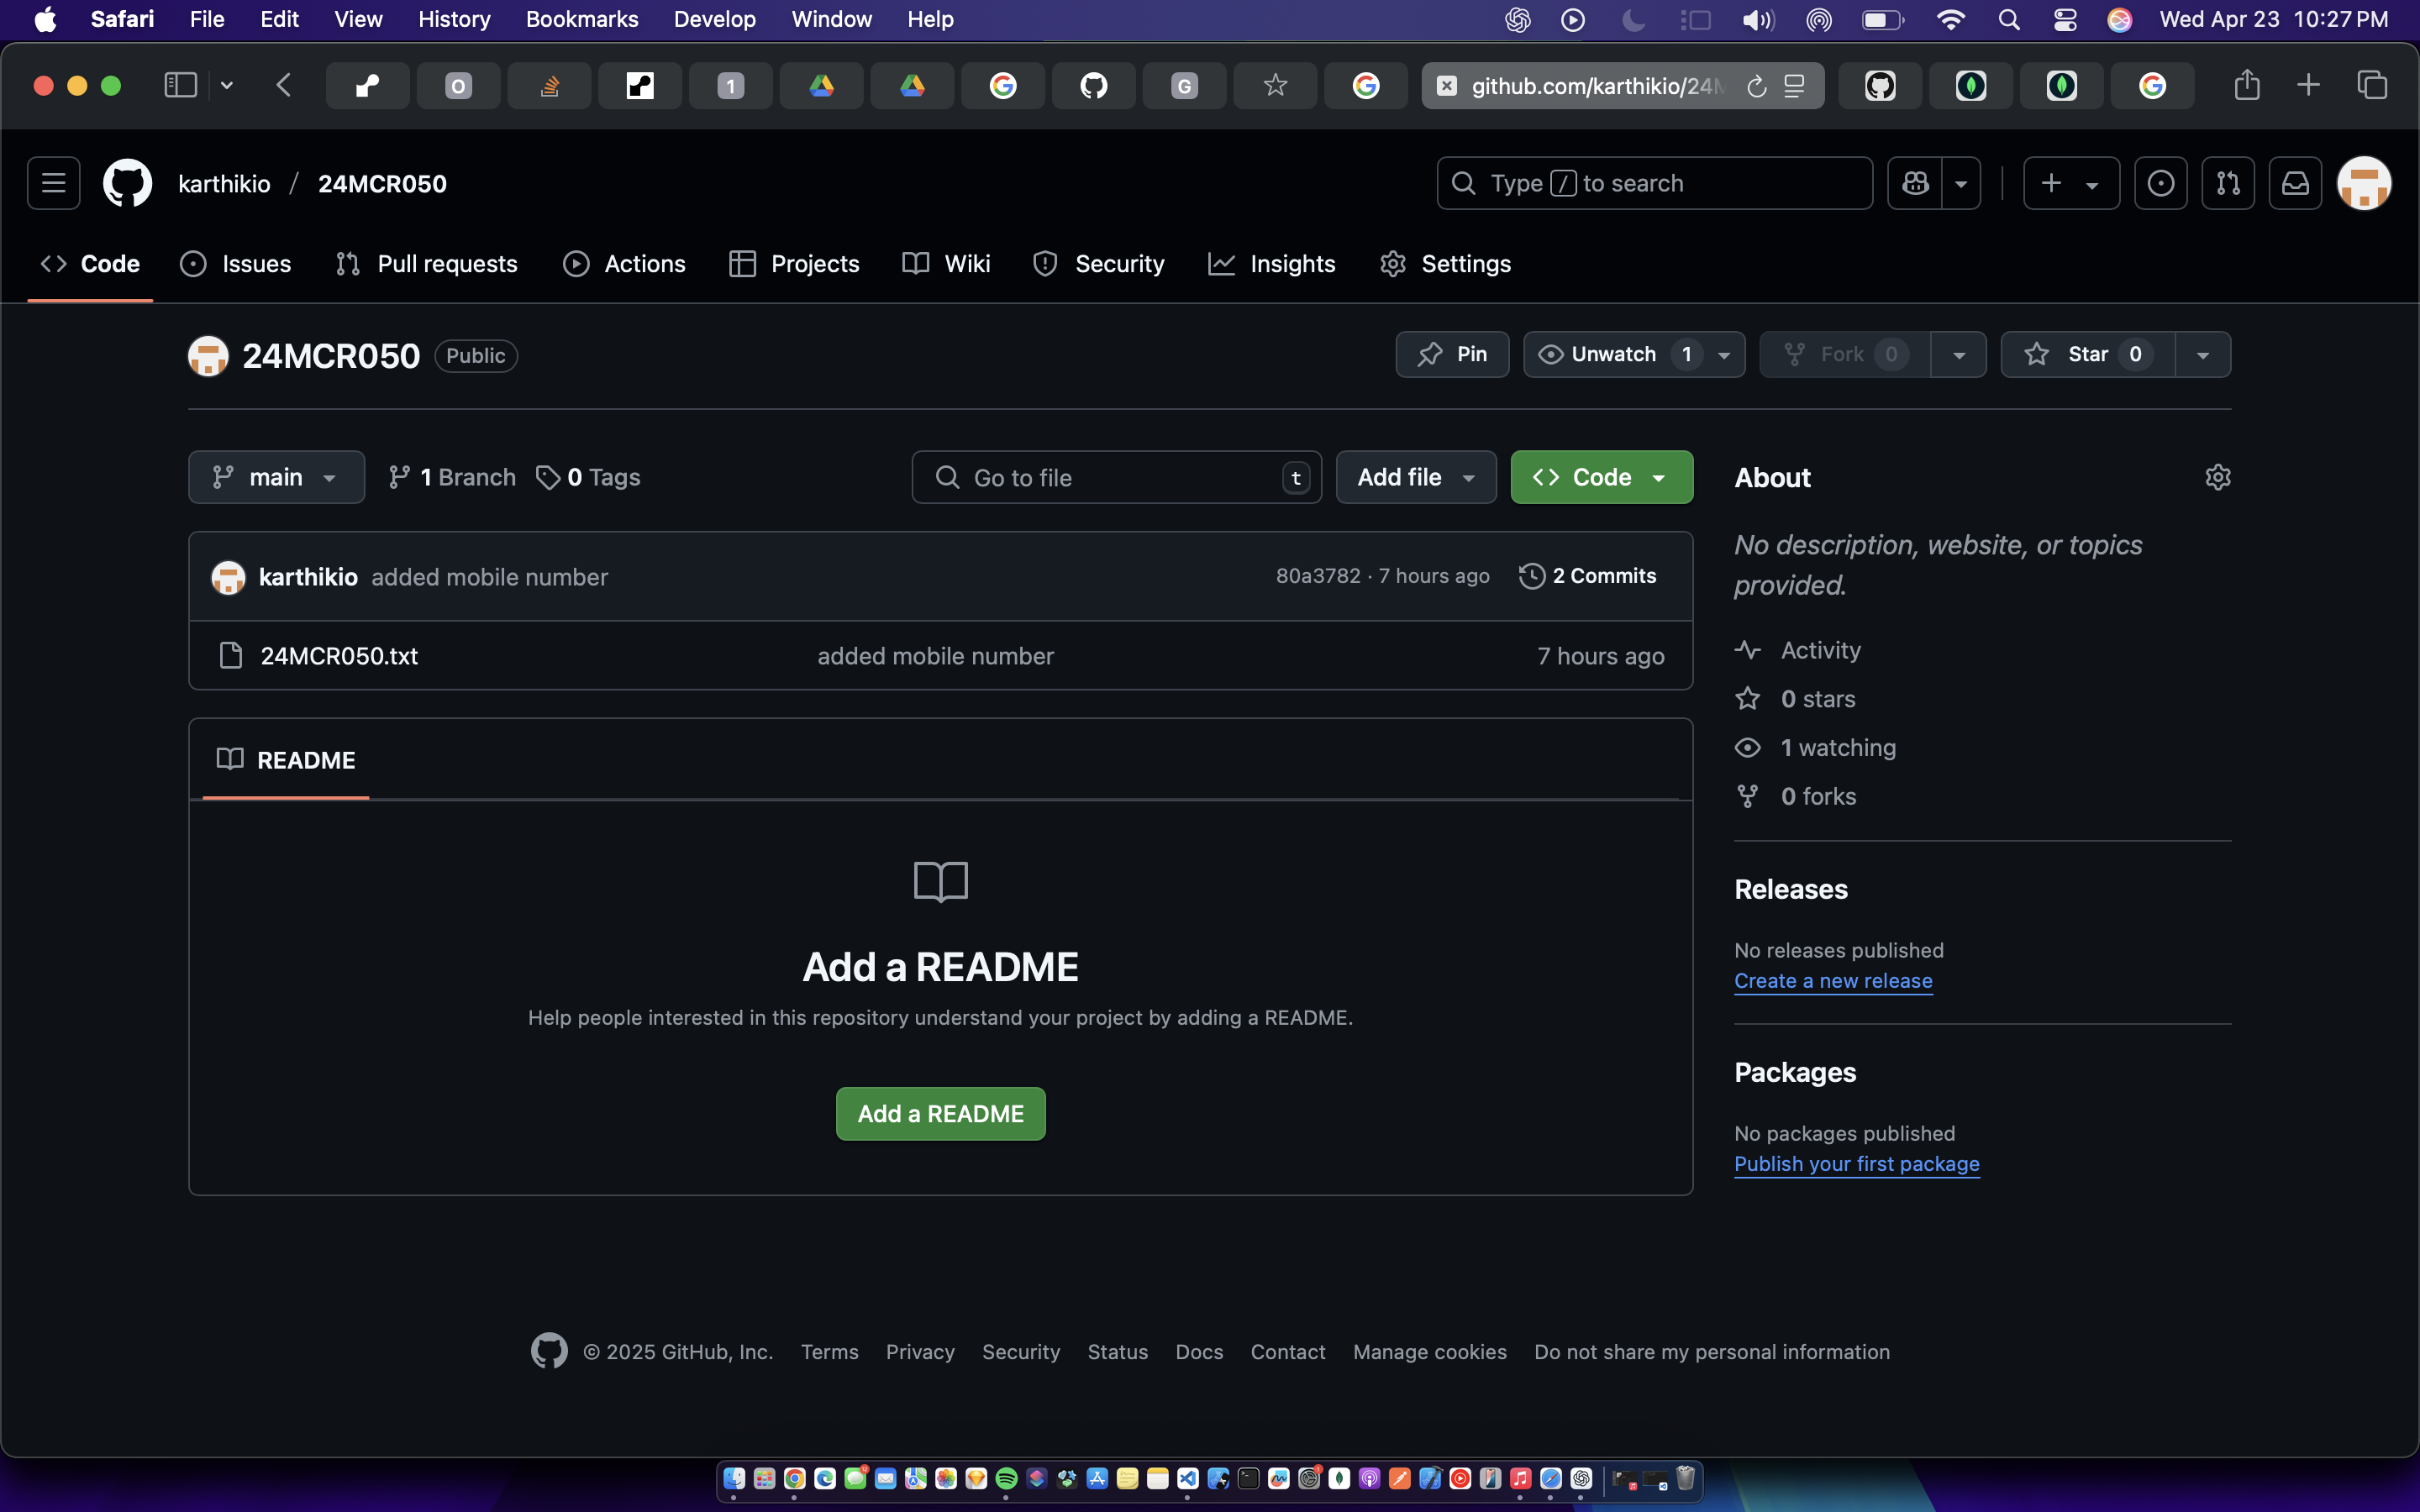
6. 🌐 Link your local repo to GitHub
git remote add origin https://github.com/karthikio/24MCR050.gitConnects your local repository to a remote GitHub repository.
7. 🌿 Check the current branch
git branchBy default, Git creates a branch named master.
8. 🔀 Rename branch to main (recommended)
git branch -M mainRenames master to main — the new standard for default branches.
9. 👤 Set your global Git config
git config --global user.email "[email protected]"
git config --global user.name "karthikio"
Sets your identity globally for Git commits.
10. 🚀 Push your code to GitHub
git push -u origin mainPushes the main branch to the remote repository and sets the upstream so you can use git push and git pull without arguments next time.
🔄 Updating Files Later
Once you've done the initial setup, any time you modify or add files, follow these steps again:
git add .
git commit -m "Your commit message"
git push origin main
This will stage all changes, commit them with a message, and push to the main branch on GitHub.