
🤖 Why Build a Linux AI Assistant?
100% Private - No data sent to Google/Amazon
Fully Customizable - Add any feature you want
Runs on Cheap Hardware - Even a $35 Raspberry Pi
🛠️ What You'll Need
Raspberry Pi 4/5 (or any Linux machine)
8GB+ microSD card
USB microphone (for voice control)
🚀 Step 1: Install Raspberry Pi OS
Command & Output:

Flash to SD Card:

🧠 Step 2: Install Local AI (GPT-like)
Installing GPT4All:

First Run Output:

Test Conversation:

Expected Response:

🎤 Step 3: Add Voice Control
Installing Mycroft AI:

Installation Output:

Testing Voice Commands:

🏠 Step 4: Connect Smart Home
Home Assistant Installation:

First Boot Output:

Voice Command Test:

🔌 Step 5: Create Custom Skills
Joke Skill Example:
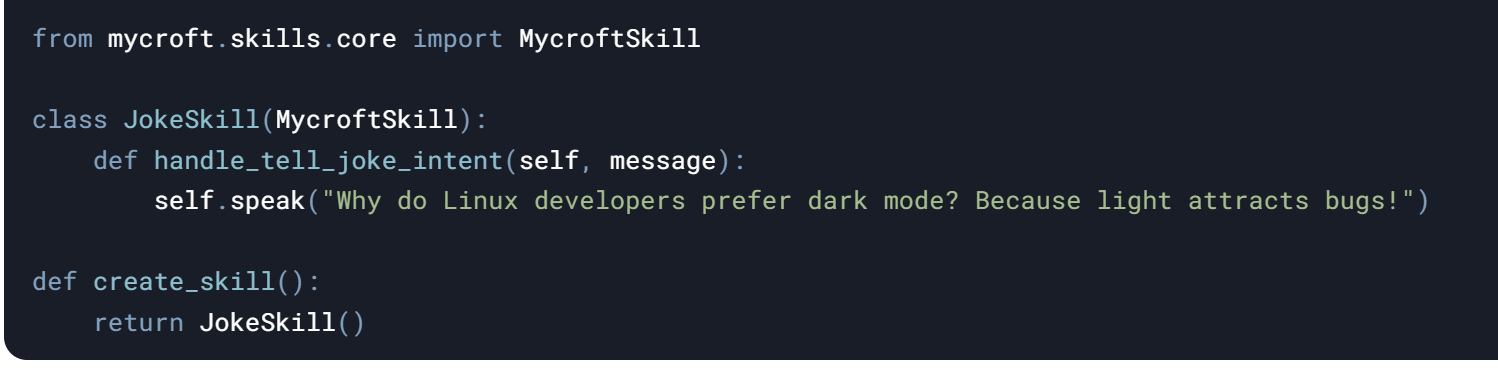
Testing Output:
💡 Real-World Use Cases
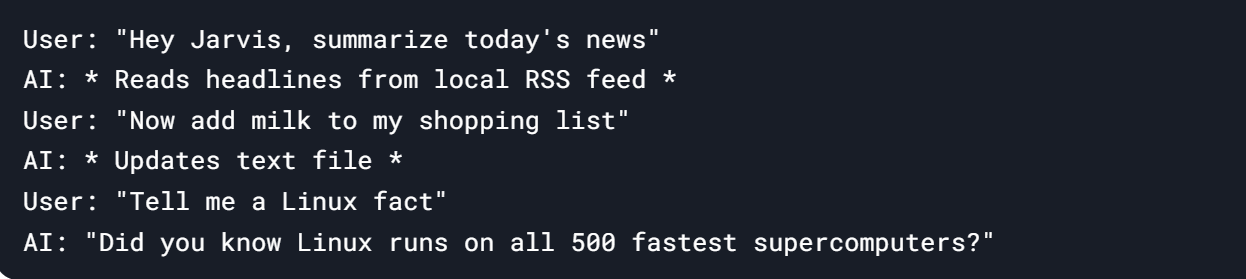
Morning Routine Automation:

Programming Assistant:

Home Security Monitor:

🚨 Troubleshooting
Common Issues & Fixes:
Slow Responses?

Voice Not Working?

Installation Fails?

🎉 Final Result
After completing all steps, you'll have:
A fully functional AI assistant
Voice control for your smart home
Local ChatGPT-like capabilities
All running privately on your hardware
Example Session:
📢 Call to Action
Ready to build yours? Here's what to do next:
Download Raspberry Pi OS
Get GPT4All Models
Pro Tip: Bookmark this page - you'll need these commands during setup! 🔖
30DaysLinuxChallenge #CloudWhisler
DevOps #Linux #RHCSA #Opensource #AWS #CloudComputing
Catch out by My LinkedIn profile
https://www.linkedin.com/in/rajpreet-gill-4569b4161/