1. Initialize Your Git Repository
First things first, we need to turn your project folder into a Git repository. Open your terminal and run this command:
 This creates a .git folder in your project, which allows Git to start tracking changes in your files.
2. Add Files to the Staging Area
Next, we need to tell Git which files we want to track. Use the following command to add all your changes:

3. Commit Your Changes
Once your files are staged, it’s time to commit them to your local repository. A commit is like a snapshot of your project at a certain point. You can do this with:
 Be sure to write a message that clearly describes what changes you're committing.
4. Configure Git (Username and Email)
Git needs to know who you are so it can associate commits with your identity. Set your name and email with:
> git config --global user.name "Your Name"
> git config --global user.email "[email protected]"
5. Add a Remote Repository
If you want to push your local project to a remote server, you'll need to link your local Git repository to a remote one. To do this, use:
git remote add origin
Replace
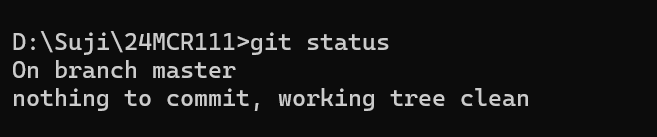
 6. Check the Status of Your Files
To see what's going on with your files—whether they’re staged, modified, or untracked—use:
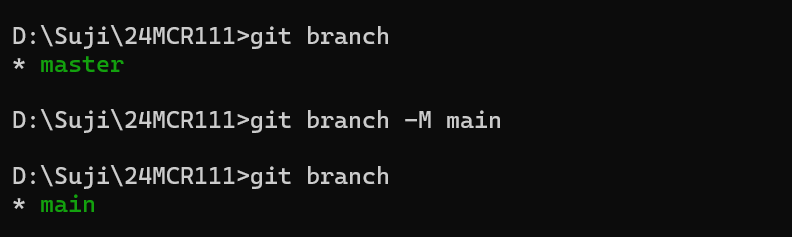
 7. Work with Branches
Git allows you to work on different parts of your project without affecting the main codebase. To see what branches you have, run:
 8. Push Your Changes to a Remote Repository
Now that you've committed your changes, it's time to push them to a remote repository like GitHub. To do this, run:
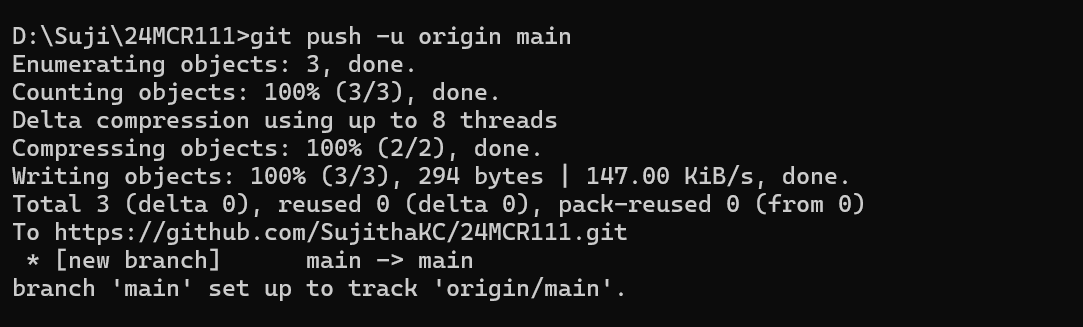 This sends your local changes to the remote repository on the main branch. If you’re using another branch, just replace main with the branch name.
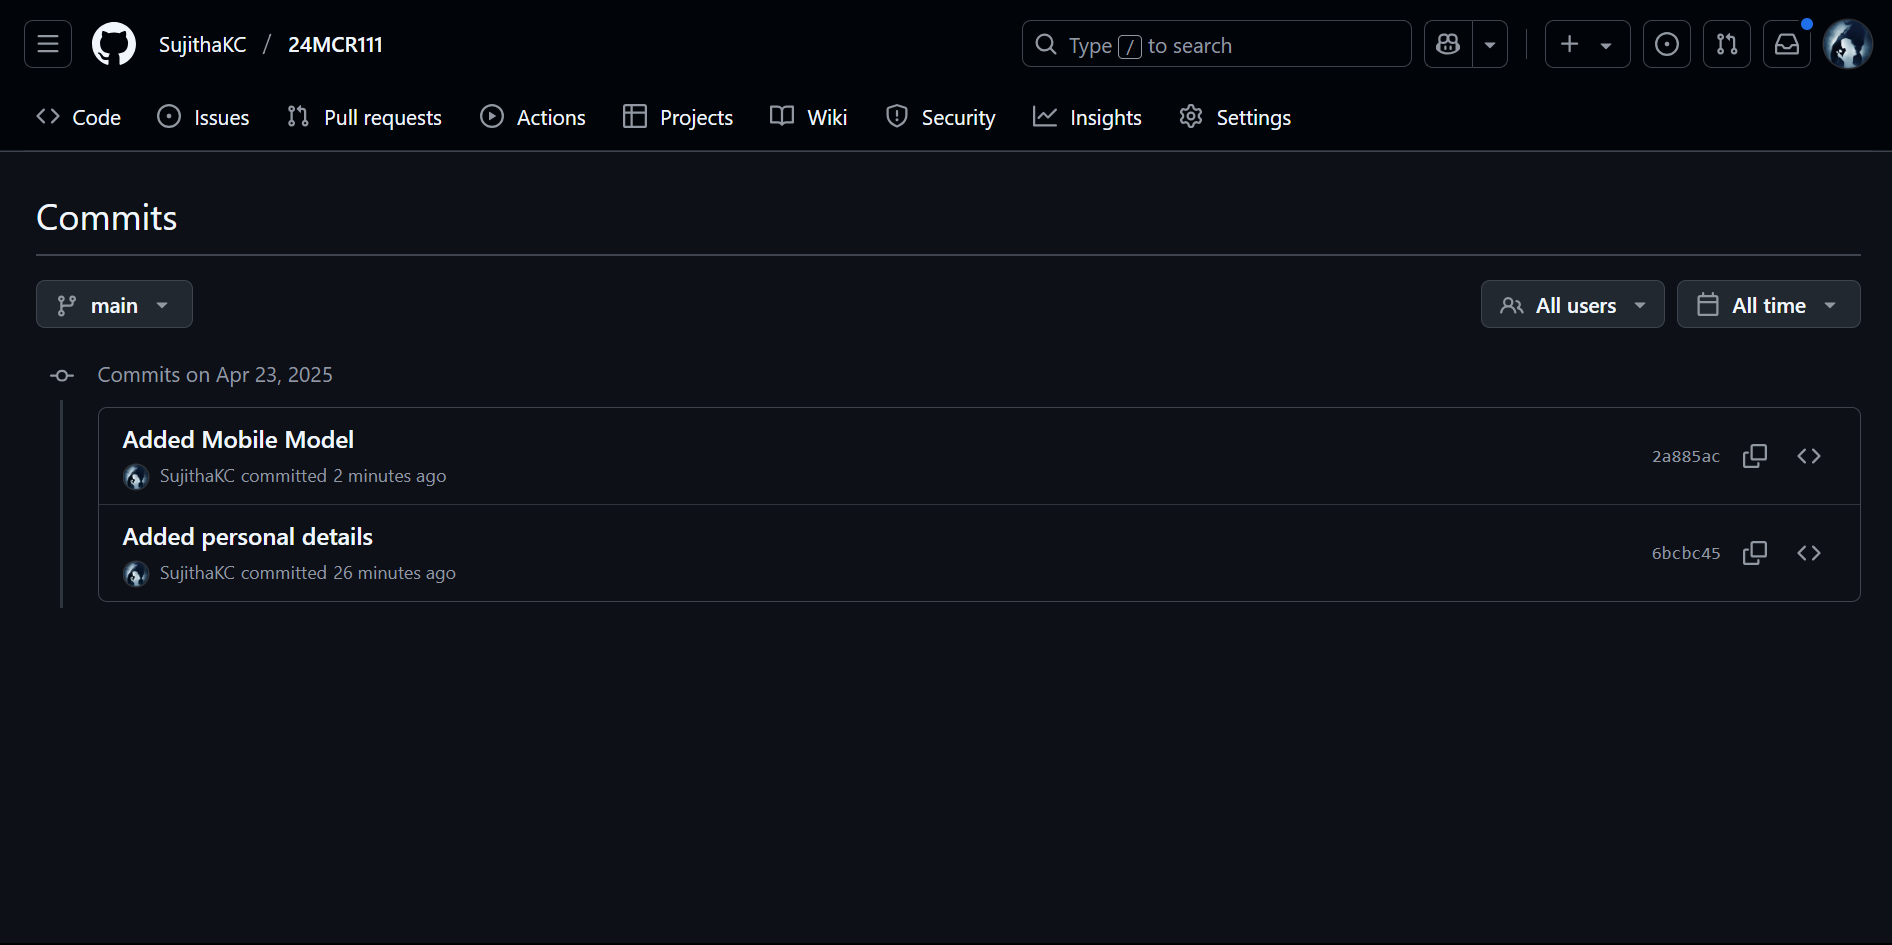
9. View Your Commit History
If you want to see a list of all the commits you’ve made so far, use:
 This will show you all the commits in reverse chronological order, with details like the commit ID, author, and message.
10. File Successfully Pushed to Git Repository
Once you've run all the above steps, your files are now successfully pushed to your Git repository.
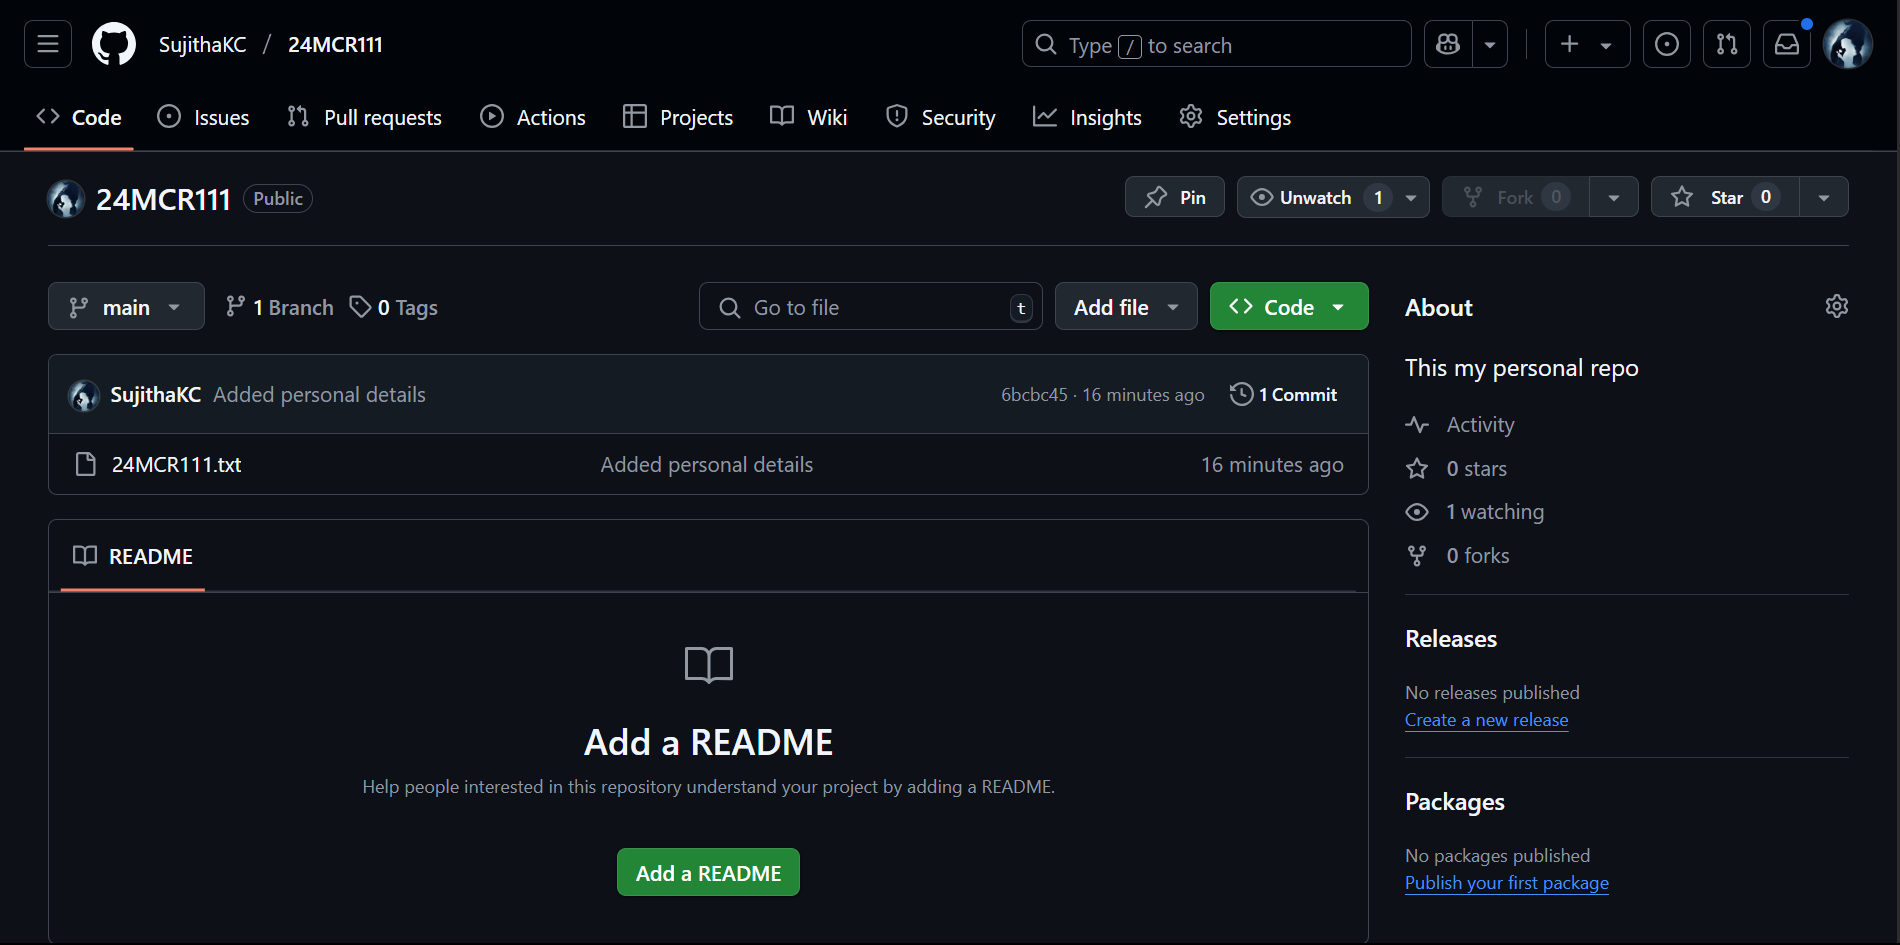 You can go to your repository's URL and see the code, commits, and branches reflected online.
And that’s it! These are the core Git commands you’ll use to manage your code, track changes, and collaborate with others.