
App Instance Deployment
Deploying an EC2 Instance
- Navigate to the EC2 service dashboard and click on Instances on the left-hand side.
- Click Launch Instances.
- Select the first Amazon Linux 2 AMI.
- Choose the T2.micro instance type (Free Tier eligible) and click Next: Configure Instance Details.
- Proceed without key-pair because we will use EC2 Instance Connect.
- Configure the instance details:
- Select the correct Network, Subnet, and IAM role (previously created).
- Use one of the private subnets created for this layer.
-
Use the already created:
- VPC and Private Subnet AZ-1.
- Private Instance Security Group.
- IAM Role.
- Click Launch Instance.
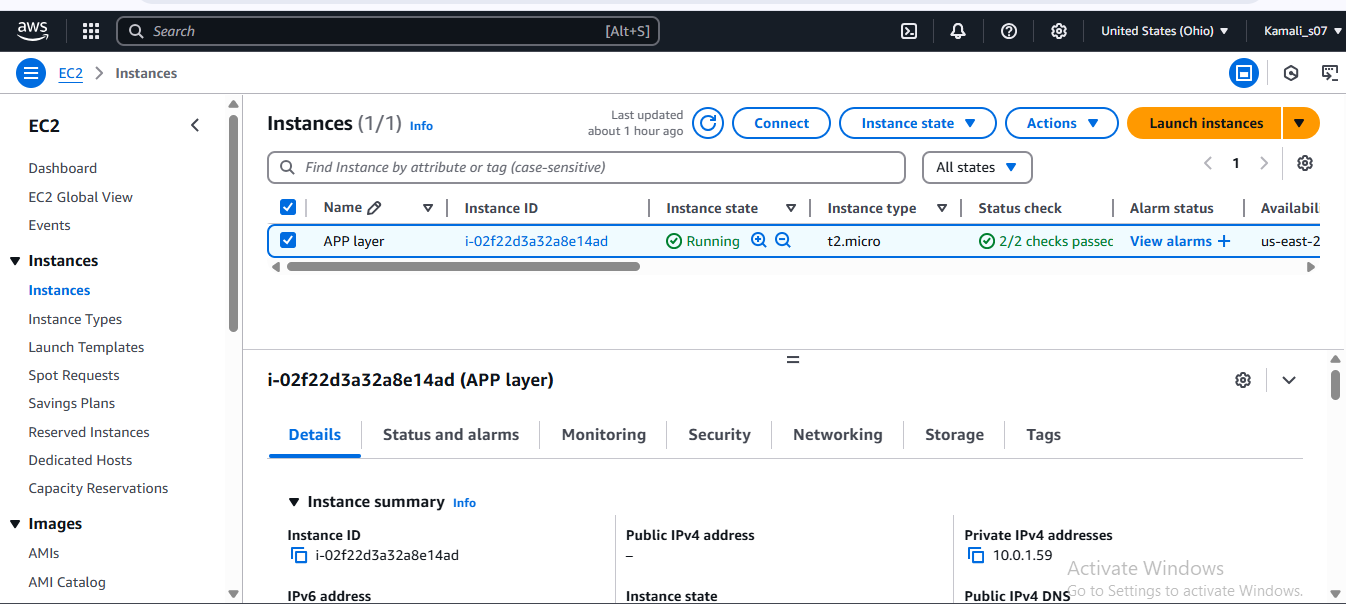
Connecting to the EC2 Instance
- Navigate to the EC2 dashboard and click on Instances.
- Once the instance is running, select it and click Connect.
- Go to the Session Manager tab and click Connect.
Note: If you cannot connect via Session Manager, verify that:
- The instance can route to your NAT Gateway.
- The IAM role has necessary permissions for EC2 Instance Connect.
- Once connected, switch to the
ec2-user:
sudo -su ec2-user- Check if the instance has internet access:
ping 8.8.8.8- If there is no response, check route tables and subnet associations.
Configuring the Database
- Install MySQL CLI:
sudo yum install mysql -y-
If you encounter errors, try:
 sudo wget https://dev.mysql.com/get/mysql57-community-release-e17-11.noarch.rpm
 sudo rpm --import https://repo.mysql.com/RPM-GPG-KEY-mysql-2022
 sudo yum install https://dev.mysql.com/get/mysql57-community-release-e17-11.noarch.rpm
- Connect to the Aurora RDS writer endpoint:
mysql -h -u -p- Create a database:
CREATE DATABASE webappdb;- Verify the database:
SHOW DATABASES;- Use the database and create a table:
USE webappdb;
   CREATE TABLE IF NOT EXISTS transactions(
       id INT NOT NULL AUTO_INCREMENT,
       amount DECIMAL(10,2),
       description VARCHAR(100),
       PRIMARY KEY(id)
);- Insert test data:
INSERT INTO transactions (amount,description) VALUES ('400','groceries');- Verify the data:
SELECT * FROM transactions;- Exit MySQL:
exit;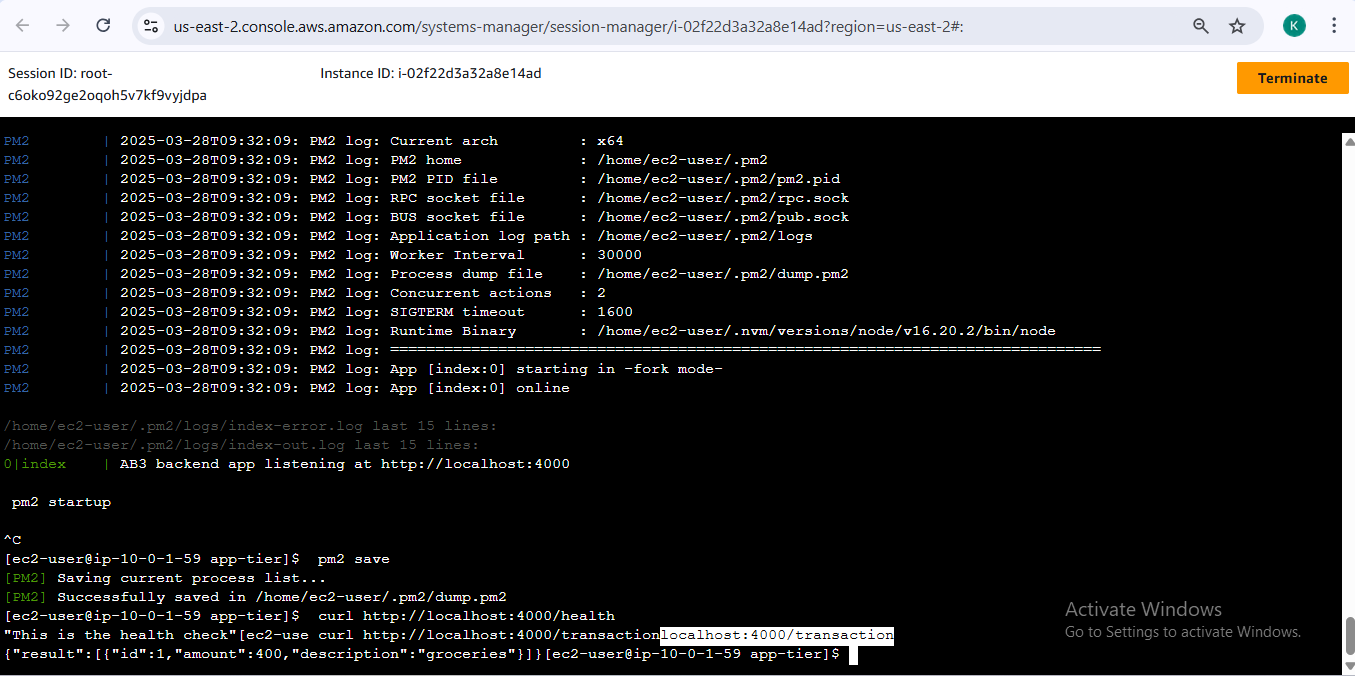
Configuring the App Instance
- Update the database credentials in
DbConfig.js:- Fill in hostname, user, password, and database details.
- Use the Aurora RDS writer endpoint as hostname.
- Set database name as
webappdb.
- Upload the
app-tierfolder to the S3 bucket. - Install NVM (Node Version Manager):
curl -o- https://raw.githubusercontent.com/nvm-sh/nvm/v0.38.0/install.sh | bash
source ~/.bashrc- Install Node.js:
nvm install 16
nvm use 16- Install PM2 (Process Manager):
npm install -g pm2- Download the application code from S3:
cd ~/
aws s3 cp s3:///app-tier/ app-tier --recursive- Install dependencies and start the app:
cd ~/app-tier
   npm install
pm2 start index.js- Verify that the app is running:
pm2 list-
If errored, check logs:
pm2 logs
- Enable PM2 auto-start:
pm2 startup- Copy and run the output command in your terminal.
-
Save the current processes:
pm2 save
Testing the App Tier
- Test health check endpoint:
curl http://localhost:4000/health-
Expected response:
"This is the health check"
- Test database connection:
curl http://localhost:4000/transaction-
Expected response:
{"result":[{"id":1,"amount":400,"description":"groceries"}]}
