Welcome, fellow developers! 🚀 If you're looking to integrate Spring Boot with Spring Security and set up an OAuth2 Authorization Server, you're in the right place. In this guide, we'll walk through the process step by step, ensuring a smooth and secure implementation.
Step 1: Setting Up the Spring Boot Project
First, let’s create a new Spring Boot project with the necessary dependencies. Head over to Spring Initializr and generate a project with:
- Spring Web (for REST APIs)
plugins {
  java
  id("org.springframework.boot") version "3.4.4"
  id("io.spring.dependency-management") version "1.1.7"
}

group = "spring.angular"
version = "0.0.1-SNAPSHOT"

java {
  toolchain {
    languageVersion = JavaLanguageVersion.of(21)
  }
}

repositories {
  mavenCentral()
}

dependencies {
  implementation("org.springframework.boot:spring-boot-starter-web")
  testImplementation("org.springframework.boot:spring-boot-starter-test")
  testRuntimeOnly("org.junit.platform:junit-platform-launcher")
}

tasks.withType {
  useJUnitPlatform()
}
Once generated, open the project in your favorite IDE (IntelliJ, Eclipse, or VS Code) and run the app.
Verifying the Spring Boot Application Startup
. ____ _ __ _ _
/\\ / ___'_ __ _ _(_)_ __ __ _ \ \ \ \
( ( )\___ | '_ | '_| | '_ \/ _` | \ \ \ \
\\/ ___)| |_)| | | | | || (_| | ) ) ) )
' |____| .__|_| |_|_| |_\__, | / / / /
=========|_|==============|___/=/_/_/_/
:: Spring Boot :: (v3.4.4)
2025-03-31T08:37:22.524+11:00 INFO 31772 --- [SpringAngularApp] [ main] s.a.S.SpringAngularAppApplication : No active profile set, falling back to 1 default profile: "default"
2025-03-31T08:37:22.878+11:00 INFO 31772 --- [SpringAngularApp] [ main] o.s.b.w.embedded.tomcat.TomcatWebServer : Tomcat initialized with port 8080 (http)
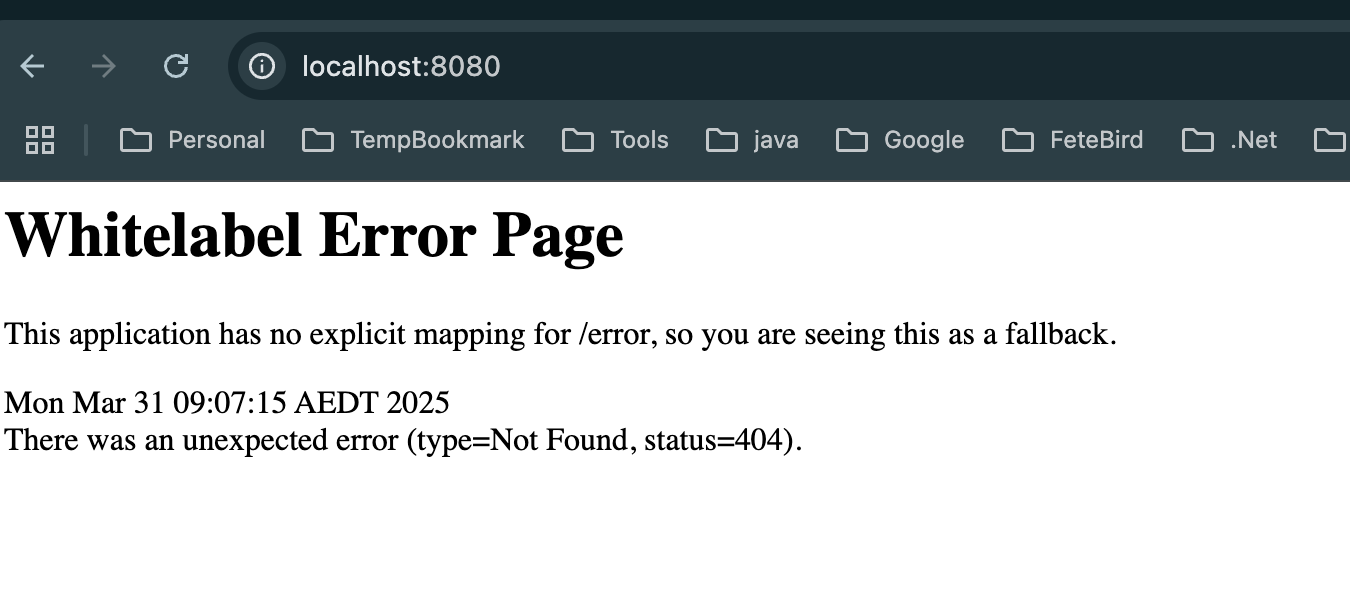
2025-03-31T08:37:23.054+11:00 INFO 31772 --- [SpringAngularApp] [ main] o.s.b.w.embedded.tomcat.TomcatWebServer : Tomcat started on port 8080 (http) with context path '/'As from the logs we can see that our app is running on port 8080. Navigate to the browser and hit enter on the url http://localhost:8080/ we should the screen something like below, which mean our spring boot application is running fine. If everything is configured correctly, you should see a landing page as below
Its time to add Angular app
- Install the Angular CLI
npm install -g @angular/cli- Create a workspace and initial application
ng new uiWe can select select any choice, however we will stick to SCSS.
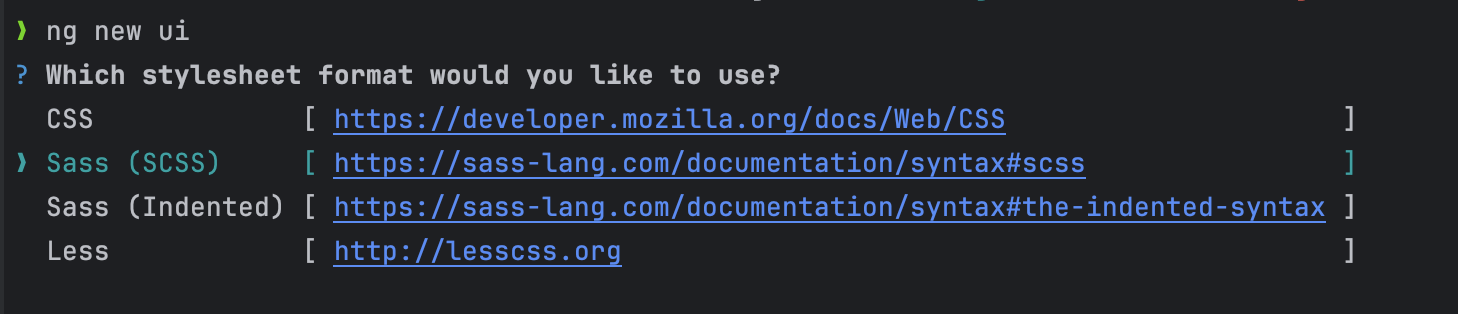
We don't want SSR, our choice will be N

The angular CLI will install few dependecies
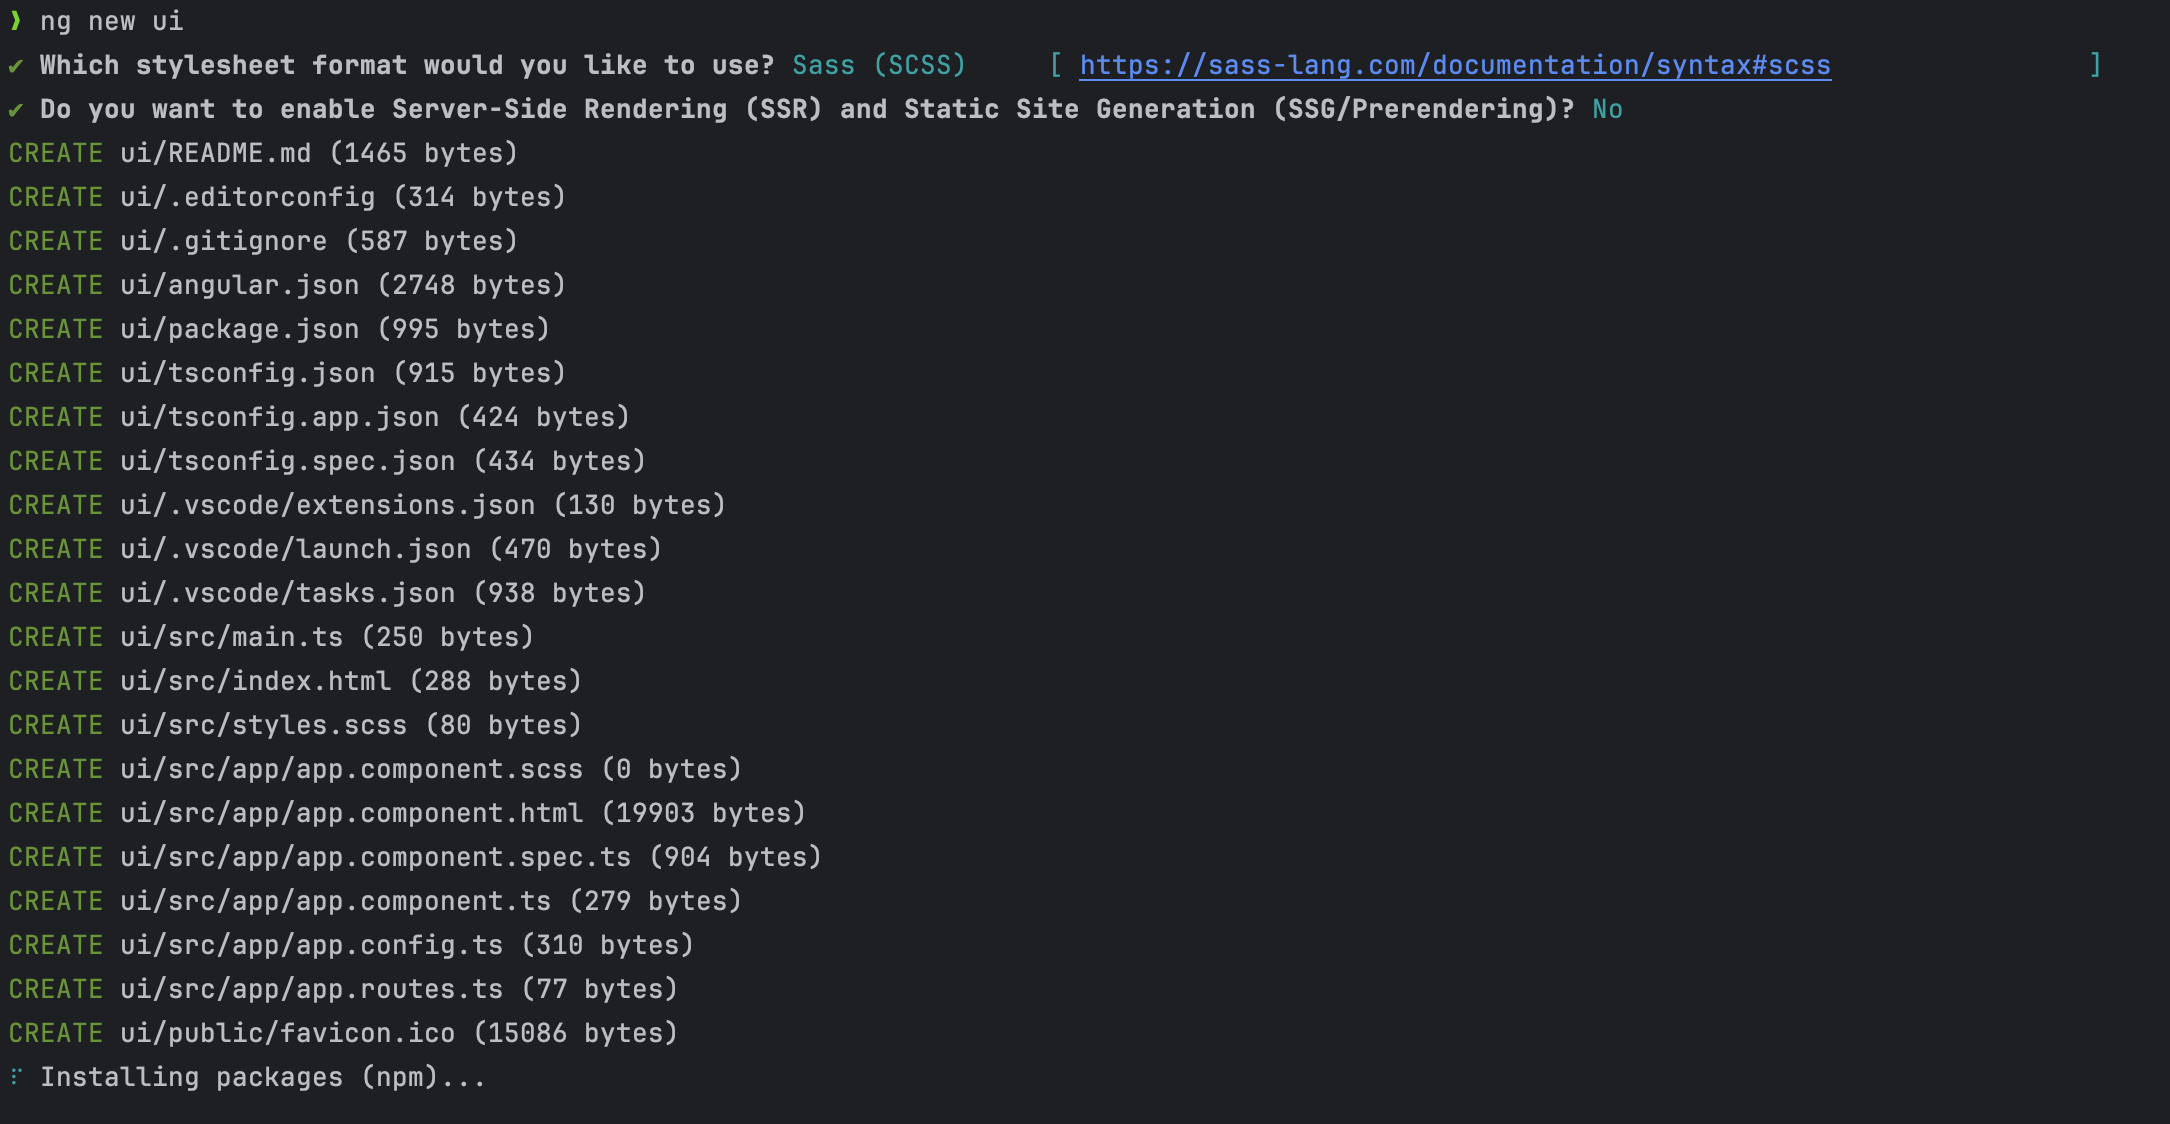
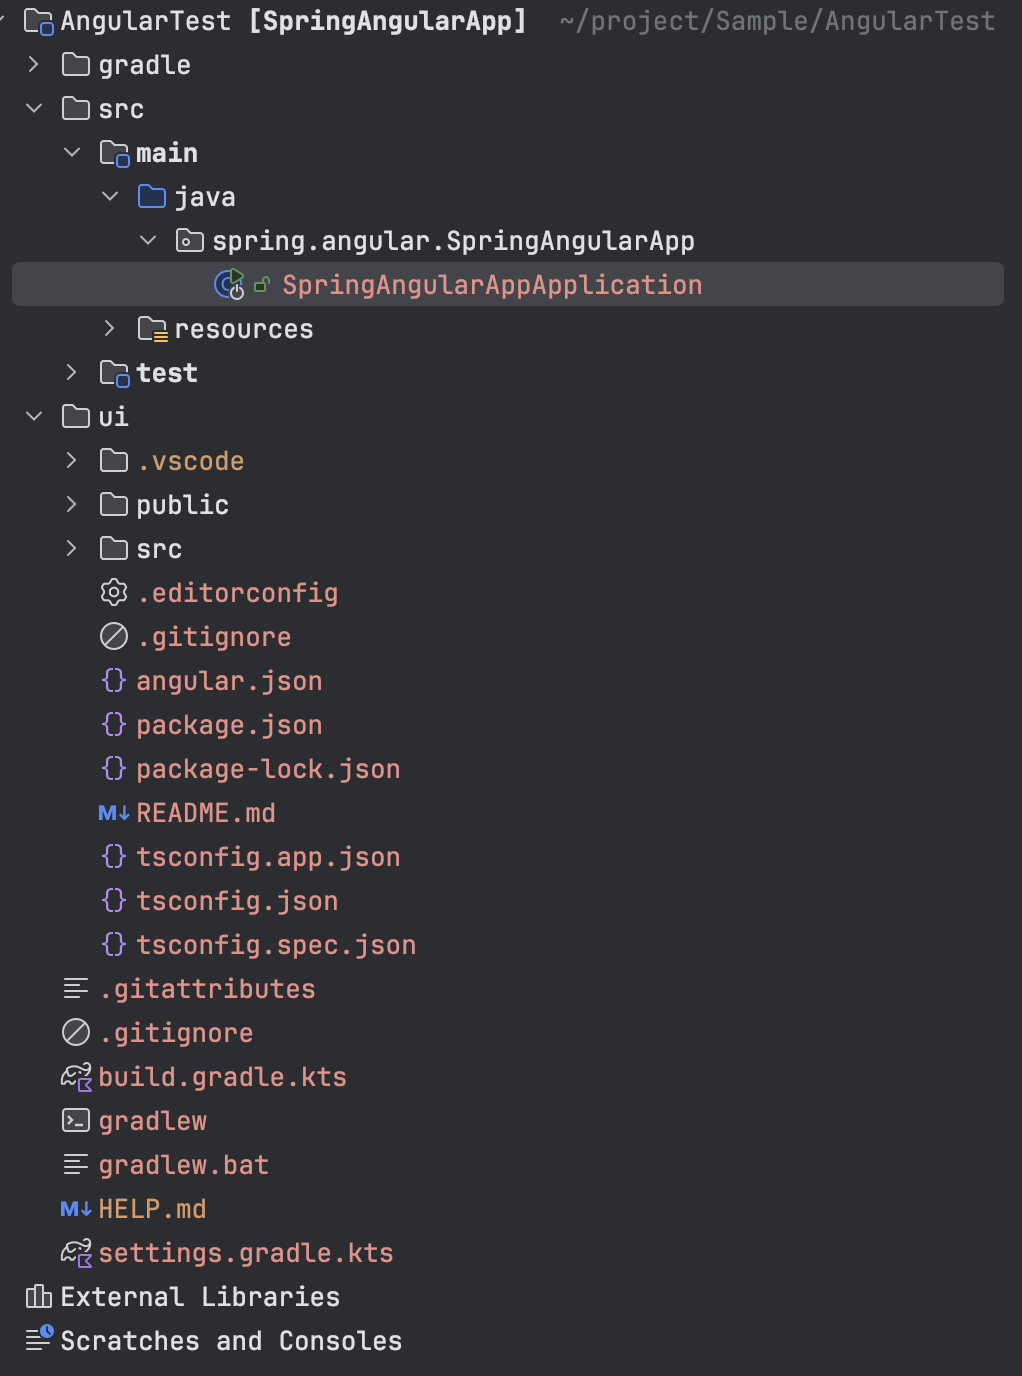
Onces the dependecies are install, we can see the below project structure
cd new ui- Run the application
ng serve --openEnter the URL http://localhost:4200/ in the browser and we will the angular app is running
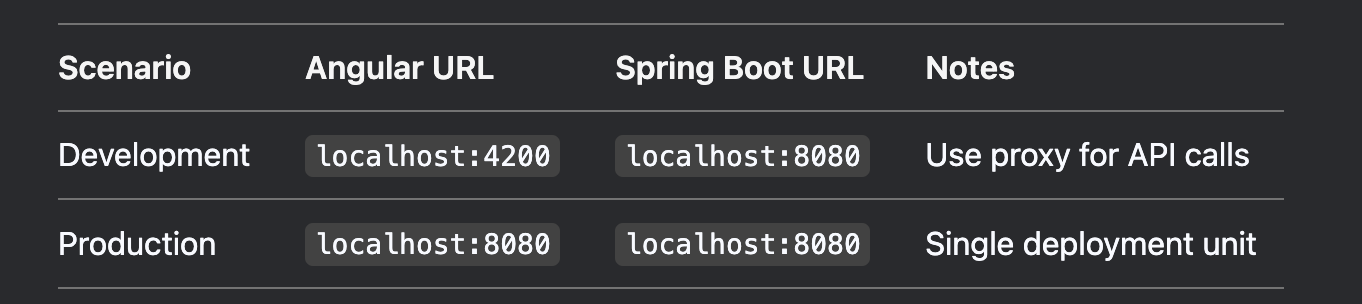
Development Workflow
During development, it's perfectly fine (and often preferable) to run Angular and Spring Boot as separate applications:
Angular CLI: Serves the frontend on http://localhost:4200 with hot-reload for fast development.
Spring Boot: Runs the backend API on http://localhost:8080.
This separation allows for:
✔ Faster frontend iterations (thanks to Angular's live reload)
✔ Independent debugging of backend APIs
✔ Mock API responses during early development
The Production Challenge
In production, we typically want to serve both applications as a single unit for:
✔ Simplified deployment
✔ Reduced cross-origin issues (CORS)
✔ Better performance (serving static assets directly from the backend)
Configuring Angular to Deploy as Spring Boot Static Content for production
Understanding the Setup
By default, Angular builds to /dist/ui, but we need it to output directly to Spring Boot's static resources folder where it can be automatically served. Here's how to make this work seamlessly:
Step 1: Modify Angular's Output Path
"architect": {
  "build": {
    "builder": "@angular-devkit/build-angular:application",
    "options": {
      "outputPath": "dist/ui",
    },
}
}
Lets change the "outputPath": "dist/ui" to the spring boot resource directory
"architect": {
  "build": {
    "builder": "@angular-devkit/build-angular:application",
    "options": {
      "outputPath": "../src/main/resources/static",  // Changed from "dist/ui"
      "index": "src/index.html",
      // ... rest of your config
    }
  }
}
"outputPath": "../src/main/resources/static"
Since now the outputPath is pointing to the spring boot resources, we can run angular CLI command to build the files, we must point to the root dictory of the angular app in our case ui
Step 2: Build and Verify
ng build --configuration productionWe will see the below logs
❯ ng build --configuration production
Initial chunk files | Names | Raw size | Estimated transfer size
main-3BERZHFR.js | main | 208.01 kB | 56.74 kB
polyfills-FFHMD2TL.js | polyfills | 34.52 kB | 11.28 kB
styles-5INURTSO.css | styles | 0 bytes | 0 bytes
| Initial total | 242.53 kB | 68.02 kB
Application bundle generation complete. [2.279 seconds]
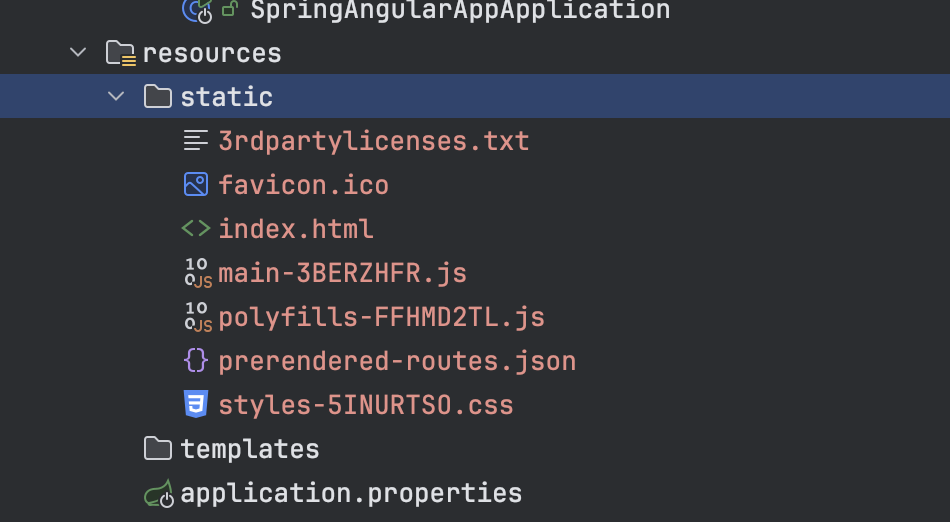
Output location: /Users/san/project/Sample/AngularTest/src/main/resources/staticNotice the output location here Output location: /Users/san/project/Sample/AngularTest/src/main/resources/static. The files are been output the the spring boot resources directory.

Run the spring boot app, and head over to the browser http://localhost:8080 we will see there is no angular app.
If you have looked closely to the resources >> static directory, there is browser directory is created by angular build command, and if we look into that directory we can see the index.html and .js file. For angular to work that needs to be on outside of the browser directory, because spring doesn't know anything about browser directory.
Solution 1
We can move those files outside of the browser as below
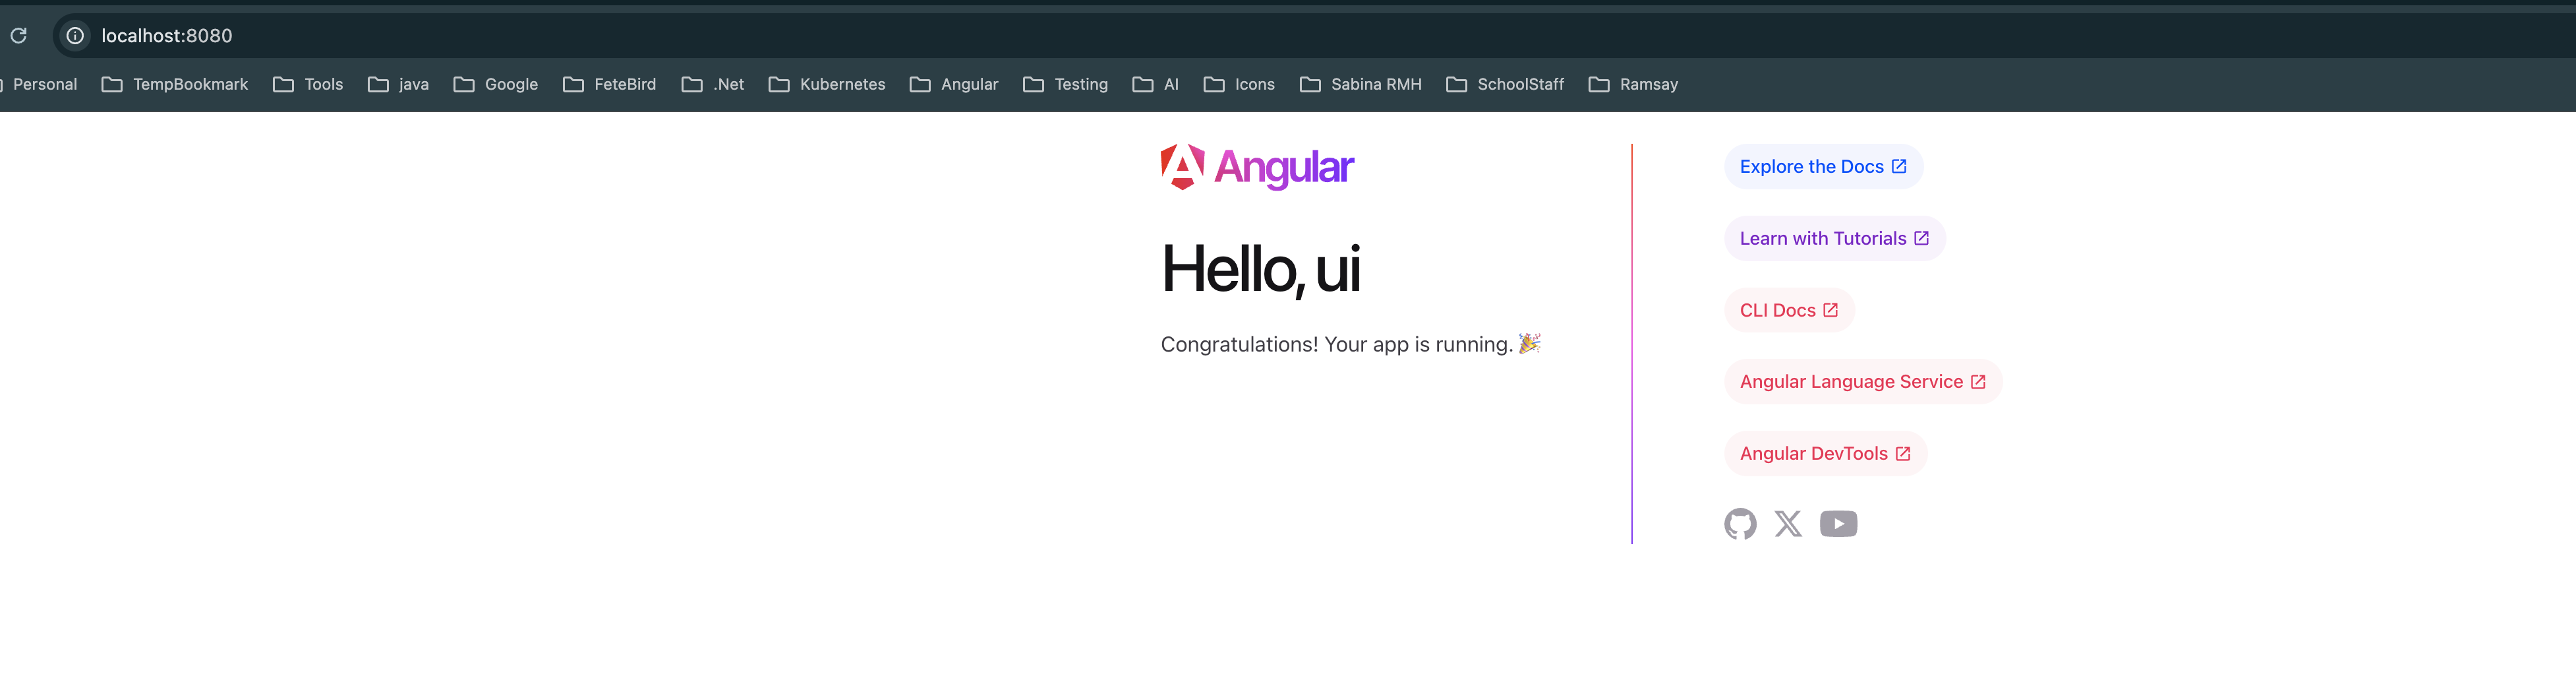
Now, if we run our spring boot app, and navigate to http://localhost:8080 we will see angular application
Well this works right, hmmmm not that effective
The problem with this solution is that we need to manually move the files, lets see how we can fix this.
Better Solution
"outputPath": {
              "base": "../src/main/resources/static",
              "browser": ""
            },
            "deleteOutputPath": false
Include browser ="" to generate file inside the static directory and don't delete other files by including "deleteOutputPath": false,. Now if we run the command ng build --configuration production we can see all the files are generated within static
Add a new component
ng g c Home // This will generate new Home ComponentInclude this component in the router section
import { Routes } from '@angular/router';
import {HomeComponent} from './home/home.component';

export const routes: Routes = [{ path: 'home', component: HomeComponent },];
For local development we can reply on ng server. The routing will work on http://localhost:4200/home
For spring boot to include the router we need to build again
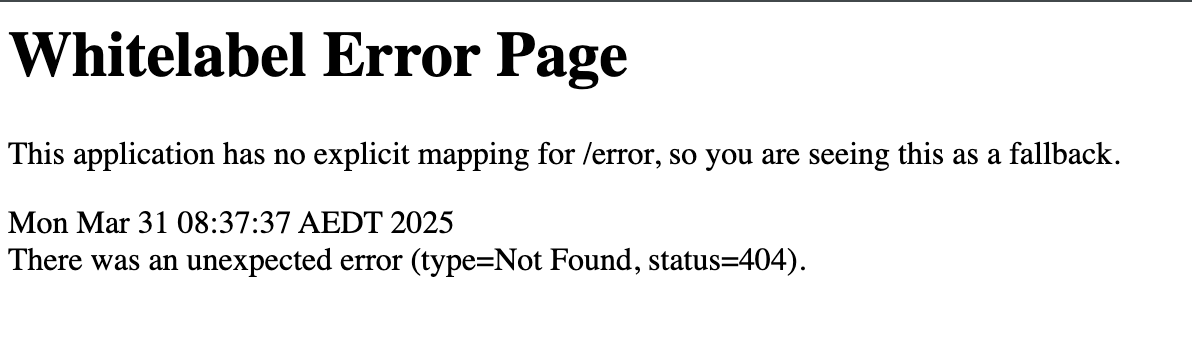
ng build --configuration productionIf we navigate to http://localhost:8080/home we will face an issue as below

To fix this we have to do configuration for WebMvcConfigurer
@Configuration
public class WebConfig implements WebMvcConfigurer {
    @Override
    public void addResourceHandlers(ResourceHandlerRegistry registry) {
        registry.addResourceHandler("/**")
                .addResourceLocations("classpath:/static/")
                .resourceChain(true)
                .addResolver(new PathResourceResolver() {
                    @Override
                    protected Resource getResource(String resourcePath, Resource location) throws IOException {
                        Resource requestedResource = location.createRelative(resourcePath);
                        return requestedResource.exists() && requestedResource.isReadable()
                                ? requestedResource
                                : new ClassPathResource("/static/index.html");
                    }
                });
    }
}
Development vs Production Workflow
Now if we run the spring boot app and navigate to http://localhost:8080/home we will see our home component.
For development, configure Angular's proxy to avoid CORS issues:
// src/proxy.conf.json
{
  "/api": {
    "target": "http://localhost:8080",
    "secure": false
  }
}
Spring authorization server
Update the dependency to include spring authorization server
dependencies {
implementation("org.springframework.boot:spring-boot-starter-oauth2-authorization-server")
implementation("org.springframework.boot:spring-boot-starter-validation")
implementation("org.springframework.boot:spring-boot-starter-webflux")
developmentOnly("org.springframework.boot:spring-boot-devtools")
testImplementation("org.springframework.boot:spring-boot-starter-test")
testImplementation("io.projectreactor:reactor-test")
testRuntimeOnly("org.junit.platform:junit-platform-launcher")
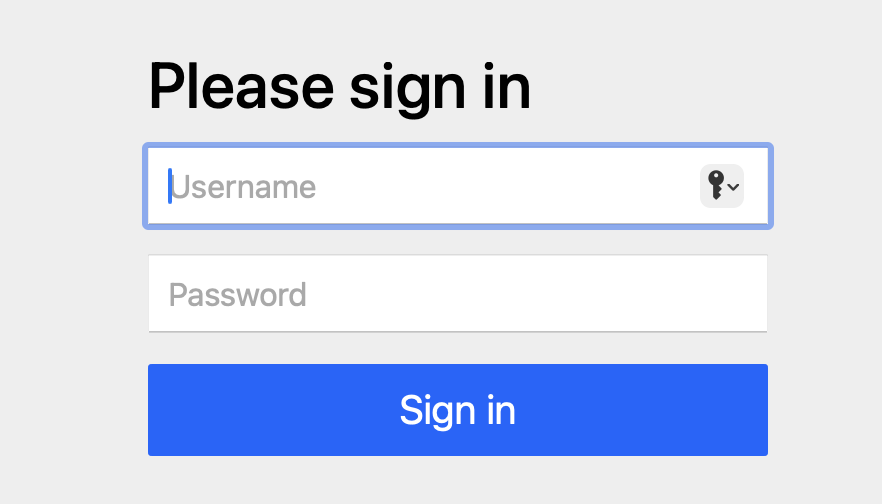
}Now if we try to access http://localhost:8080/ the basic login page of spring security displayed.
We need to configure the basic setup for spring authorization server
@Configuration
@EnableWebSecurity
public class SecurityConfig {

    @Bean
    @Order(1)
    public SecurityFilterChain authorizationServerSecurityFilterChain(HttpSecurity http)
            throws Exception {
        OAuth2AuthorizationServerConfigurer authorizationServerConfigurer =
                OAuth2AuthorizationServerConfigurer.authorizationServer();

        http
                .securityMatcher(authorizationServerConfigurer.getEndpointsMatcher())
                .with(authorizationServerConfigurer, (authorizationServer) ->
                        authorizationServer
                                .oidc(Customizer.withDefaults())    // Enable OpenID Connect 1.0
                )
                .authorizeHttpRequests((authorize) ->
                        authorize
                                .anyRequest().authenticated()
                )
                // Redirect to the login page when not authenticated from the
                // authorization endpoint
                .exceptionHandling((exceptions) -> exceptions
                        .defaultAuthenticationEntryPointFor(
                                new LoginUrlAuthenticationEntryPoint("/login"),
                                new MediaTypeRequestMatcher(MediaType.TEXT_HTML)
                        )
                );

        return http.build();
    }

    @Bean
    @Order(2)
    public SecurityFilterChain defaultSecurityFilterChain(HttpSecurity http)
            throws Exception {
        http
                .authorizeHttpRequests((authorize) -> authorize
                        .anyRequest().authenticated()
                )
                // Form login handles the redirect to the login page from the
                // authorization server filter chain
                .formLogin(Customizer.withDefaults());

        return http.build();
    }

    @Bean
    public UserDetailsService userDetailsService() {
        UserDetails userDetails = User.withDefaultPasswordEncoder()
                .username("user")
                .password("password")
                .roles("USER")
                .build();

        return new InMemoryUserDetailsManager(userDetails);
    }

    @Bean
    public RegisteredClientRepository registeredClientRepository() {
        RegisteredClient oidcClient = RegisteredClient.withId(UUID.randomUUID().toString())
                .clientId("oidc-client")
                .clientSecret("{noop}secret")
                .clientAuthenticationMethod(ClientAuthenticationMethod.CLIENT_SECRET_BASIC)
                .authorizationGrantType(AuthorizationGrantType.AUTHORIZATION_CODE)
                .authorizationGrantType(AuthorizationGrantType.REFRESH_TOKEN)
                .redirectUri("http://127.0.0.1:8080/login/oauth2/code/oidc-client")
                .postLogoutRedirectUri("http://127.0.0.1:8080/")
                .scope(OidcScopes.OPENID)
                .scope(OidcScopes.PROFILE)
                .clientSettings(ClientSettings.builder().requireAuthorizationConsent(true).build())
                .build();

        return new InMemoryRegisteredClientRepository(oidcClient);
    }

    @Bean
    public JWKSource jwkSource() {
        KeyPair keyPair = generateRsaKey();
        RSAPublicKey publicKey = (RSAPublicKey) keyPair.getPublic();
        RSAPrivateKey privateKey = (RSAPrivateKey) keyPair.getPrivate();
        RSAKey rsaKey = new RSAKey.Builder(publicKey)
                .privateKey(privateKey)
                .keyID(UUID.randomUUID().toString())
                .build();
        JWKSet jwkSet = new JWKSet(rsaKey);
        return new ImmutableJWKSet<>(jwkSet);
    }

    private static KeyPair generateRsaKey() {
        KeyPair keyPair;
        try {
            KeyPairGenerator keyPairGenerator = KeyPairGenerator.getInstance("RSA");
            keyPairGenerator.initialize(2048);
            keyPair = keyPairGenerator.generateKeyPair();
        }
        catch (Exception ex) {
            throw new IllegalStateException(ex);
        }
        return keyPair;
    }

    @Bean
    public JwtDecoder jwtDecoder(JWKSource jwkSource) {
        return OAuth2AuthorizationServerConfiguration.jwtDecoder(jwkSource);
    }

    @Bean
    public AuthorizationServerSettings authorizationServerSettings() {
        return AuthorizationServerSettings.builder().build();
    }

}
Since the basic setup is using in-memory user. So using with those credential if we use login the angular app works.
Conclusion
The Best of Both Worlds
By configuring Angular to build directly into Spring Boot's static resources folder, we've created a powerful full-stack solution that:
✔ Simplifies Deployment - A single Spring Boot JAR contains both frontend and backend
✔ Improves Performance - Static assets are served efficiently by the embedded Tomcat server
✔ Maintains Flexibility - Keep separate dev servers during development while unifying for production