
TL;DR
Learn to build a React file-sharing app implementing Relationship-Based Access Control (ReBAC) using Permit.io to manage granular user permissions (like owner, viewer) for specific files.
ReBAC defines permissions based on the relationship between users and resources. ReBAC is utilized to determine who can share what file.
Appwrite is a backend-as-a-service platform that provides authentication, storage, and database. Appwrite is used for authentication and storage
Permit.io is a fullstack authorization-as-a-service that helps you build and enforce permissions in your applications.

File-sharing applications have become essential tools for collaboration and information exchange. From collaborating on documents to sharing files, these applications play a crucial role in how we communicate.
However, one challenge remains: how do we know what file a user has access to and what can the user do with that file?
To address this issue, relationship-based access control (ReBAC) is an effective authorization model to enforce permissions in a file-sharing application. ReBAC allows us to define the relationship between a user and a particular file and enforce access rules based on that relationship.
In this tutorial, we’ll build a simple file-sharing application with the ReBAC authorization model using:
React for the frontend,
Appwrite for authentication, database, and storage, and
Permit.io for granular access control with relationship-based access control (ReBAC).
Before we go on with building the app, let’s understand what ReBAC is and the architectural design of our application.
What we’ll build
Our application is a file-sharing application. Users can upload and share files with other users.
What access policy we’ll be implementing
As stated earlier, we'll be using the relationship-based access control (ReBAC) authorization model for our file-sharing app.
What does this mean in terms of granting permissions?
It means that permissions are granted to a user based on their relationship to a particular file instance. For example, only users who have the 'owner' relationship with a file can perform the share action on that specific file. Similarly, users with the 'viewer' relationship to a file are granted view and download permissions for that exact file.
Desired application flow
In our file-sharing application, we’ll use Permit’s SDK to implement the file sharing feature and Appwrite for authentication, file upload, and cloud function (for interacting with Permit SDK).
Here’s our application flow:
When a user:
registers on our application, the user is synced to Permit through Appwrite cloud function.
uploads a file, a resource instance of that file is created in our Permit dashboard
wants to share a file with other users, we’ll use the Permit SDK’s
permit.checkto check if the user has the appropriate permission
Additionally, a user will specify the user to share with and what role to assign the user.
Prerequisites
To follow along with this tutorial, I assume you have:
Basic knowledge of JavaScript and React.
Node.js is installed on your machine.
Tech stack
Let's go over the tech stack we'll be using to build the file-sharing app.
React
React is a JavaScript library for building single-page frontend applications.
Appwrite
Appwrite is an open-source backend-as-a-service platform similar to Firebase and Supabase. Appwrite offers features such as authentication, database, storage, messaging, and cloud functions. For this tutorial, we'll be using the:
authentication,
database,
storage, and
cloud functions.
Permit.io
Permit.io is an authorization-as-a-service platform that lets you create and manage permissions separately from your application code.
Setting up the Development Environment
In this section, we'll set up our development environment.
Use the following commands to create a new React project and install the needed dependencies.
Create a React app with Vite:
npm create vite@latestFollow the prompts to set up your project. For this tutorial, we'll use TypeScript.
Install the necessary dependencies:
npm install react-router-dom lucide-react appwriteSetting Up the Appwrite Backend
In this section, we'll set up our Appwrite backend for authentication, database, and storage.
Setting up Appwrite:
Go to Appwrite and create an account if you don't have one.
Set up your organization.
The free plan is enough for the needs of our application.
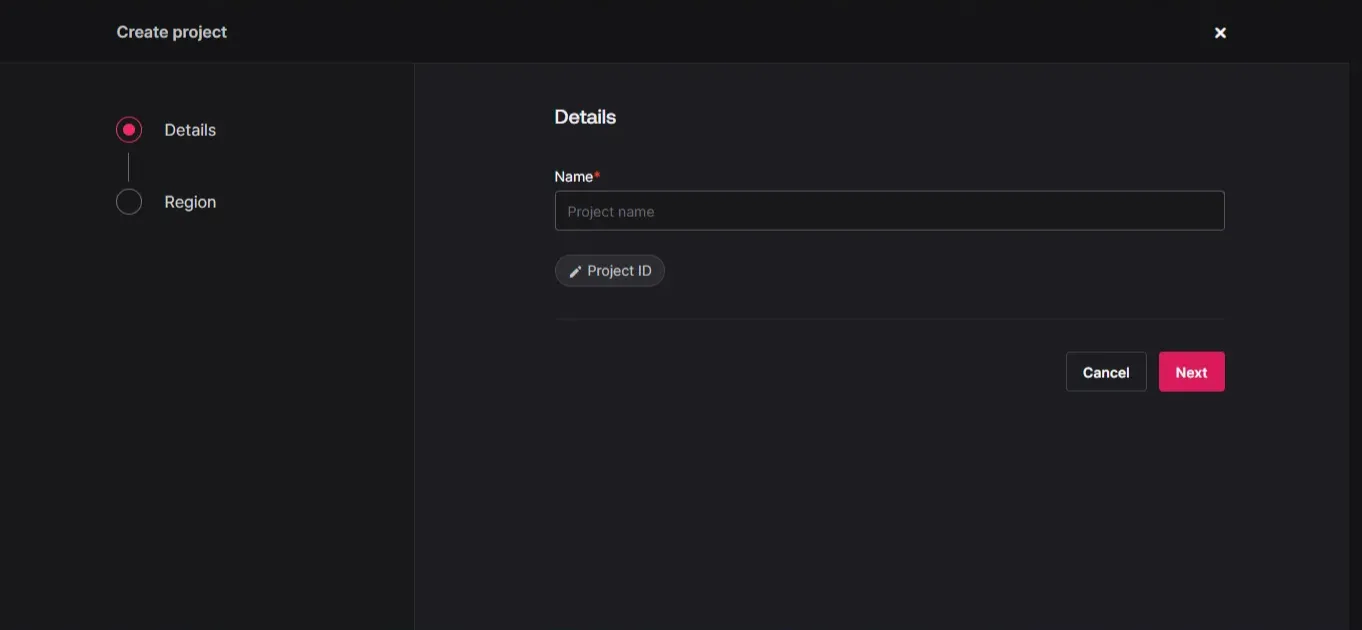
Click on "Create project" to create a new project. Provide the name of the project and click on "Next".
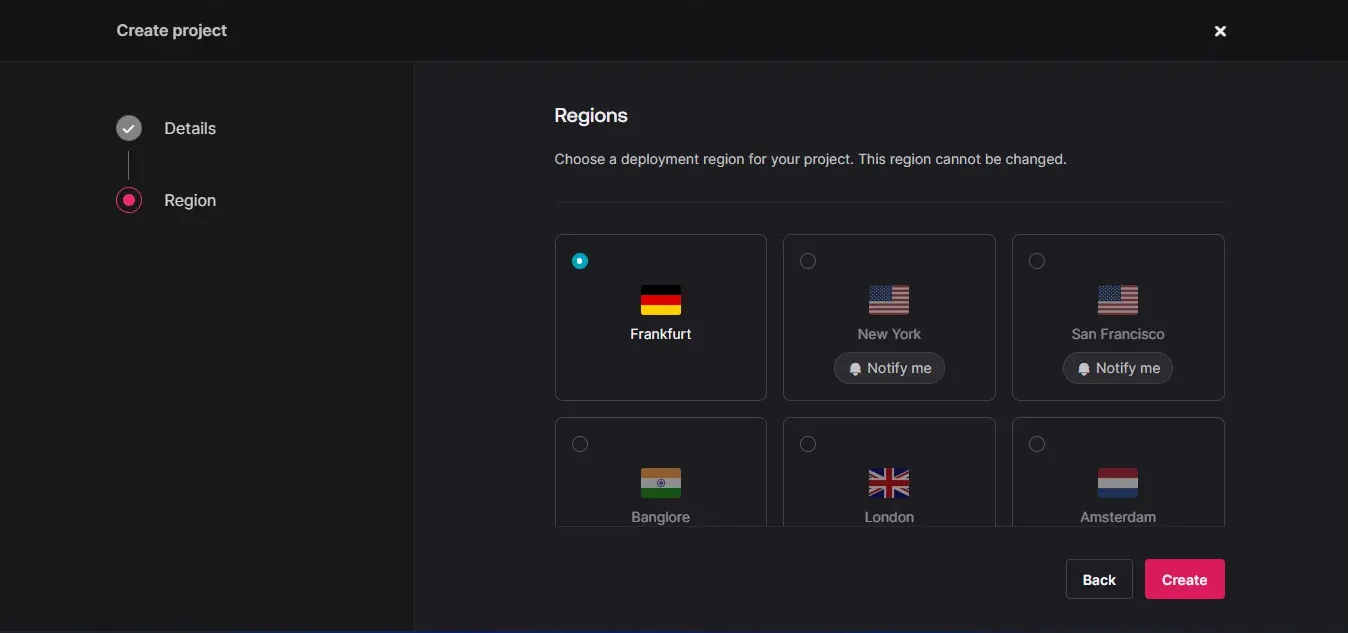
For the deployment region, we'll use the default region. Click on "Create" to create the project.
Since our application is a web application, select the "Web" platform.
Provide the name of your project and the host name, "localhost". Click on "Next".

Skip the optional steps.
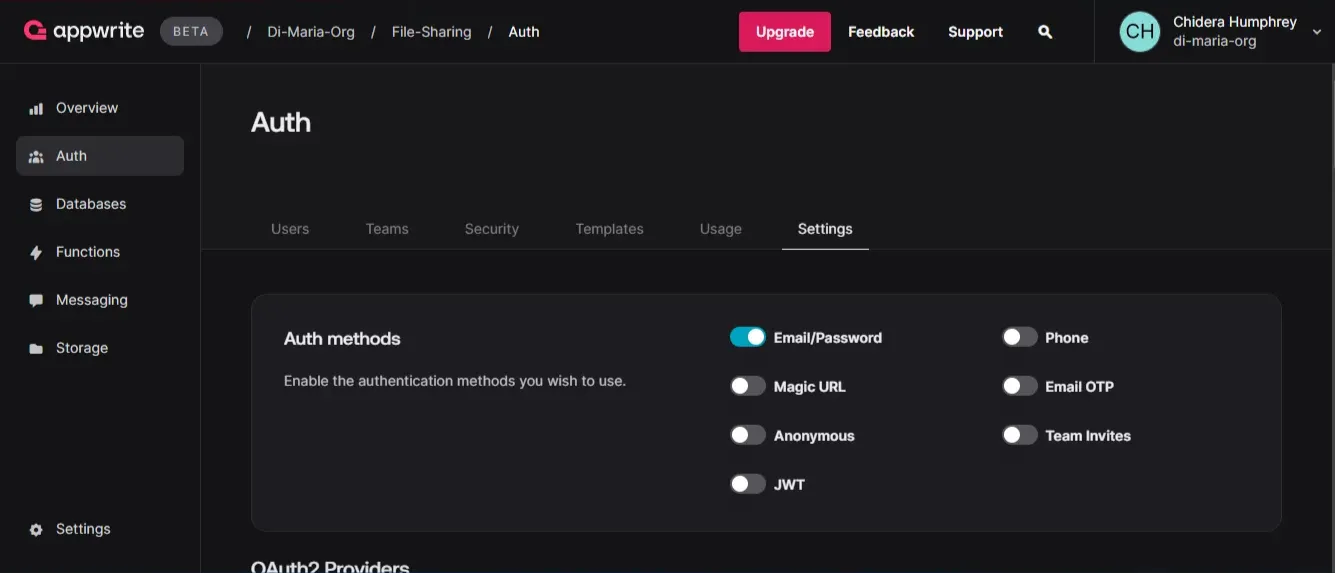
Setting up authentication
We'll use email/password for our authentication.
On the left panel, click on "Auth" and enable "email/password"
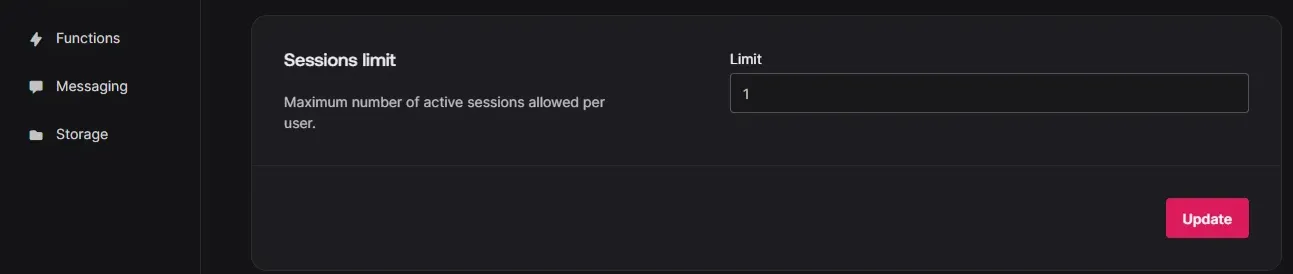
You can limit the number of sessions of a user. This means how many places a user can be logged in. For our application, we want a user to have only one session.
To accomplish this, go to the "Security" tab on the "Auth" section and limit sessions to one.
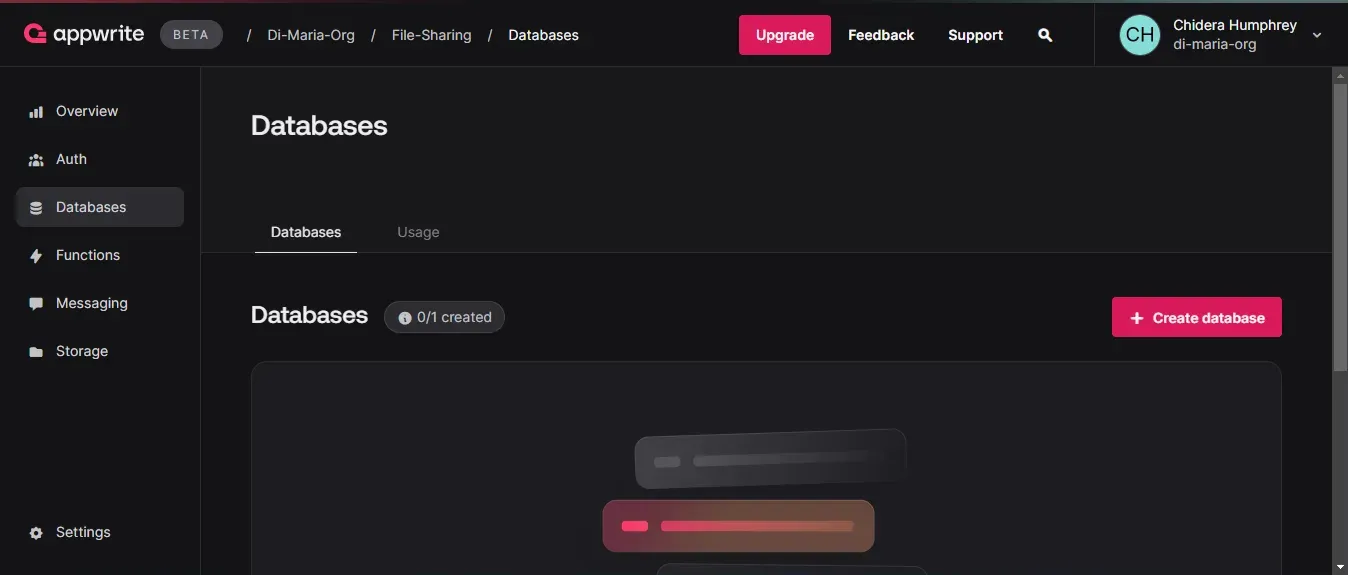
Setting up database
The database will be used to store the metadata of each file a user uploads.
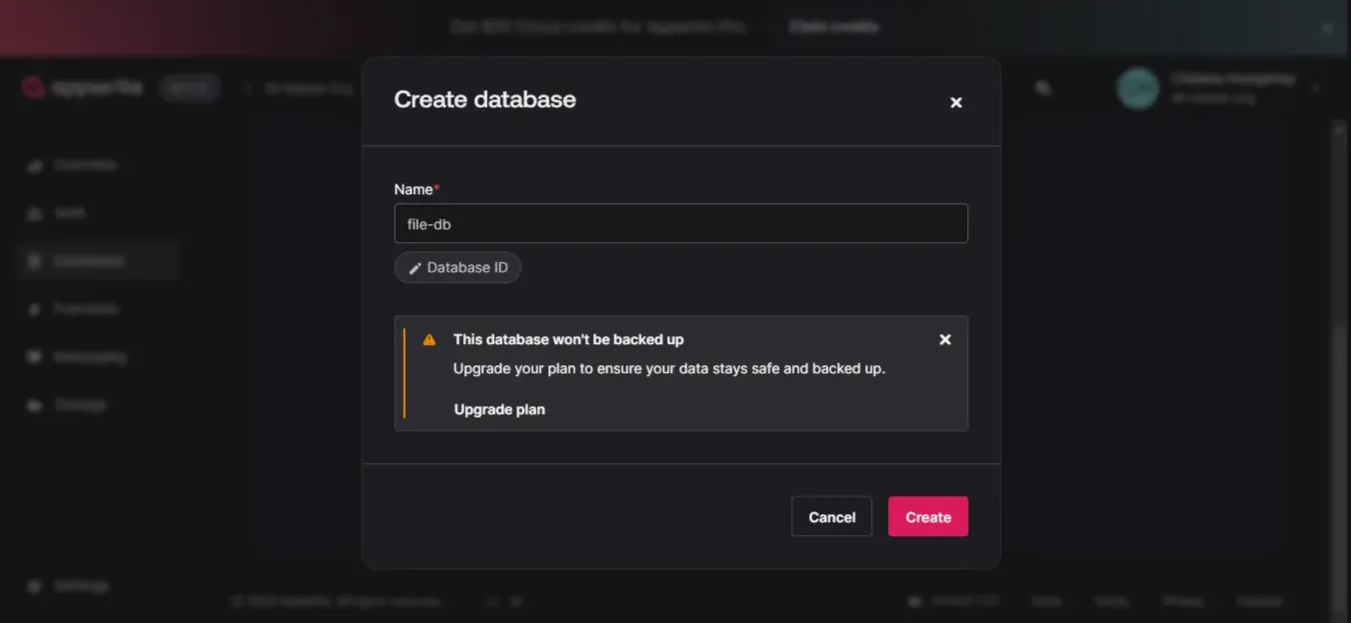
Go to the "Database" section in the left panel and click on "Create database".
Provide the name "file_db" and click on "Create". Don't enter the Database ID, Appwrite will do that for us.
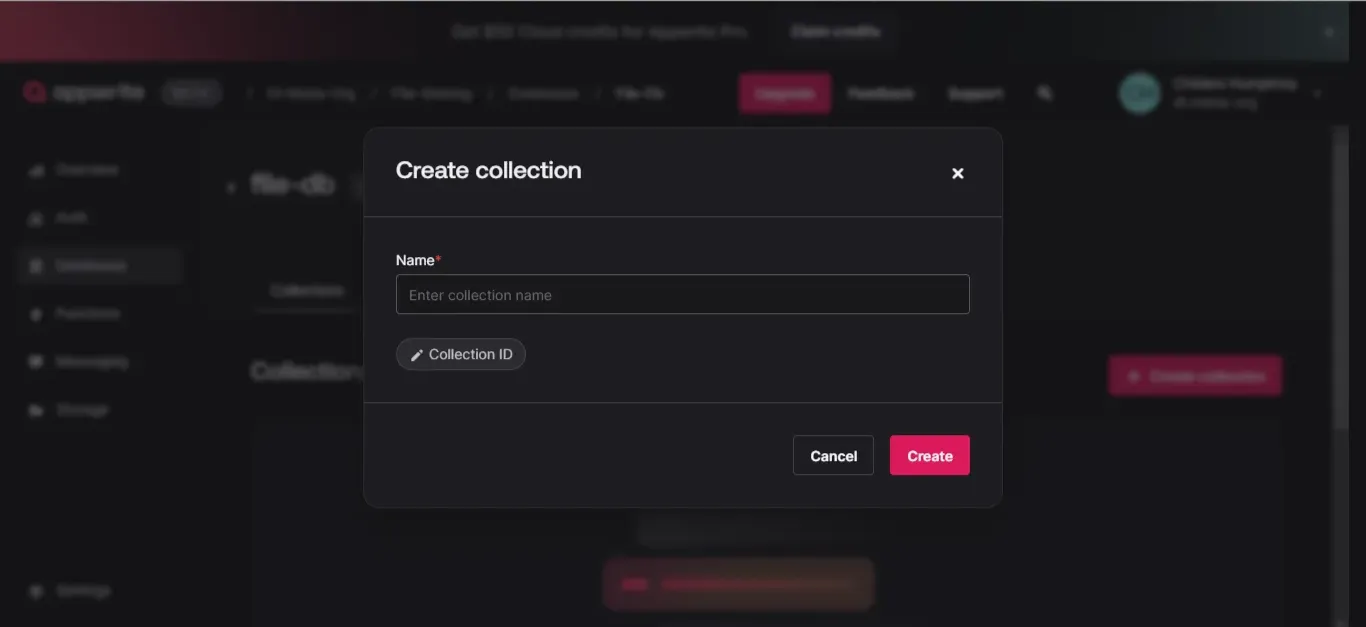
After creating the database, you'll be redirected to the "Collections" page. Click on "Create collection".
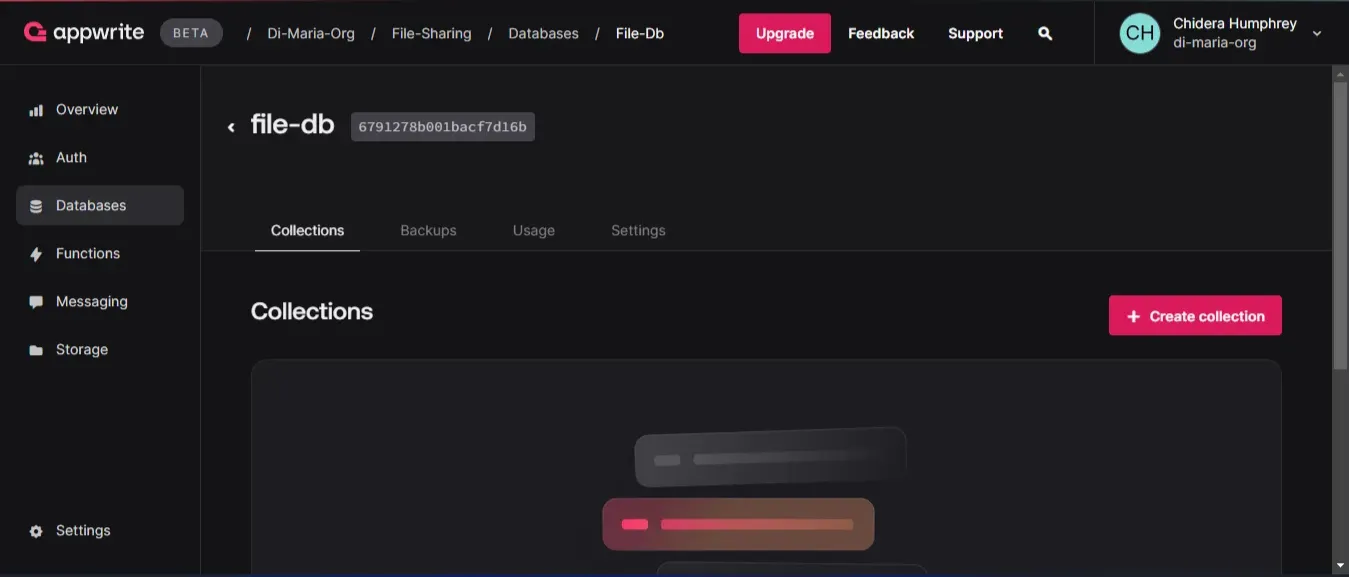
Provide the name of the collection "file-metadata" and create it.
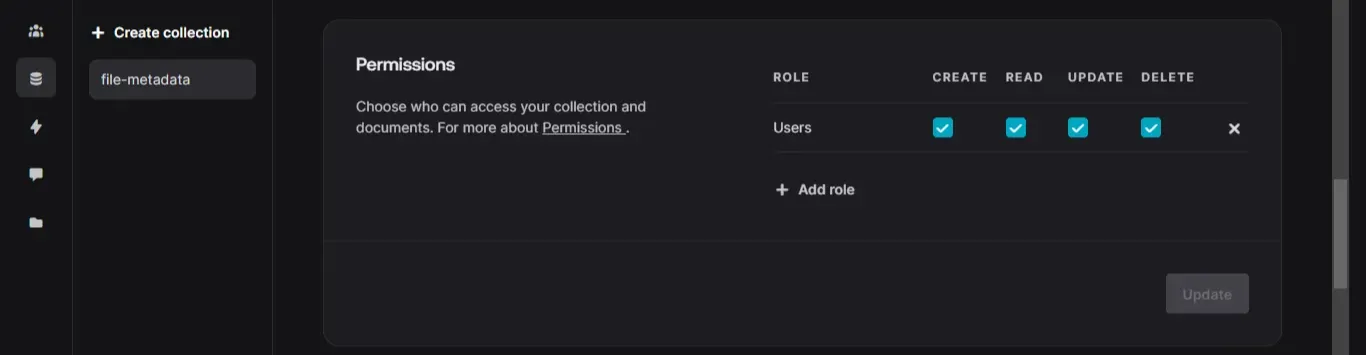
After creating the collection, you'll be redirected to the "file-metadata" document page. Go to settings tab and scroll down to the "Permissions" and "Document security". Check all the permissions for "Users" and enable the document security, which allows only the user who uploaded the file can perform the allowed operations.
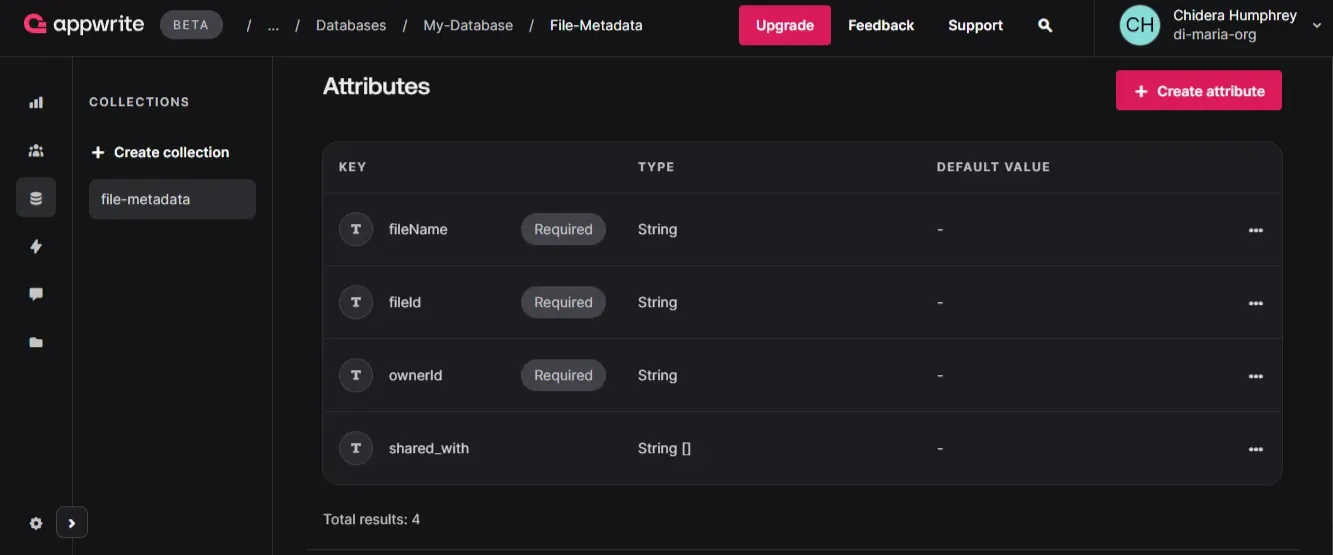
For the "file-metadata" document, we need to create attributes. Attributes are like schemas of what the document stores. Without attributes, you can't upload data to the database.
Go to "Attributes" tab and create four attributes:
fileName(string, 256, required)fileId(string, 256, required)ownerId(string, 256, required)shared_with(array of string, 1024)
Setting up storage
The Appwrite Storage will be used to store the actual files that users upload. These files can be anything, ranging from docs, images, scripts, to videos.
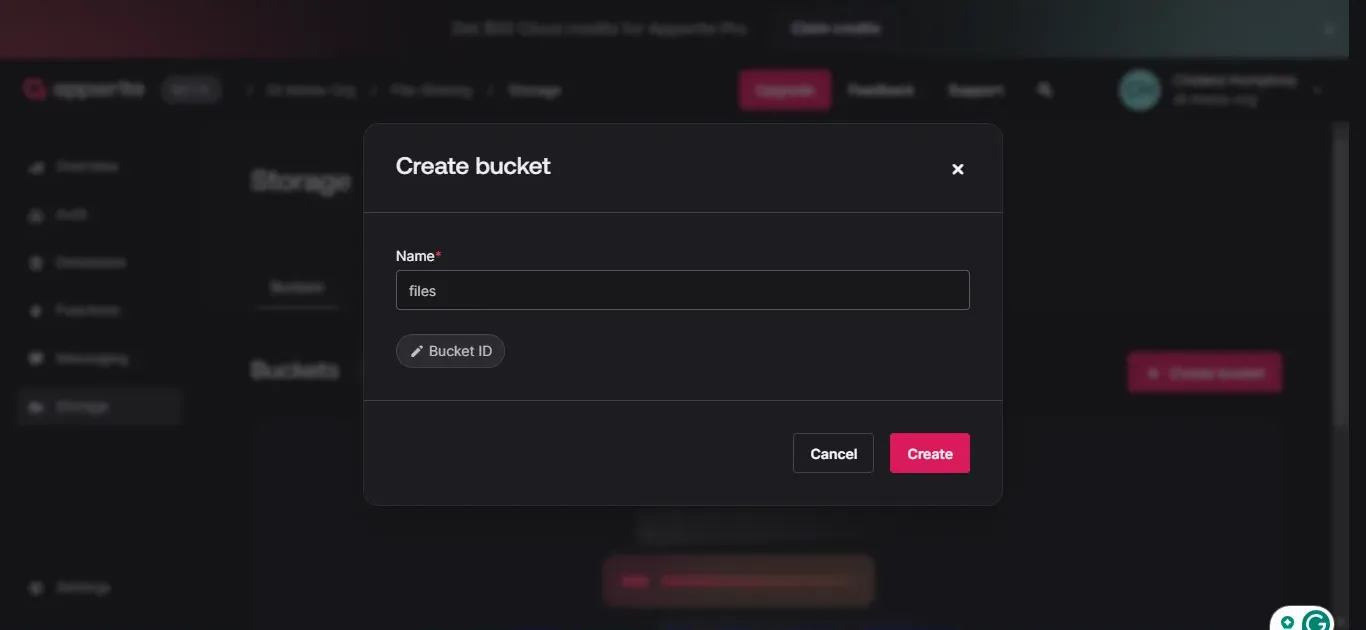
Go to the "Storage" on the left panel and click on "Create bucket"
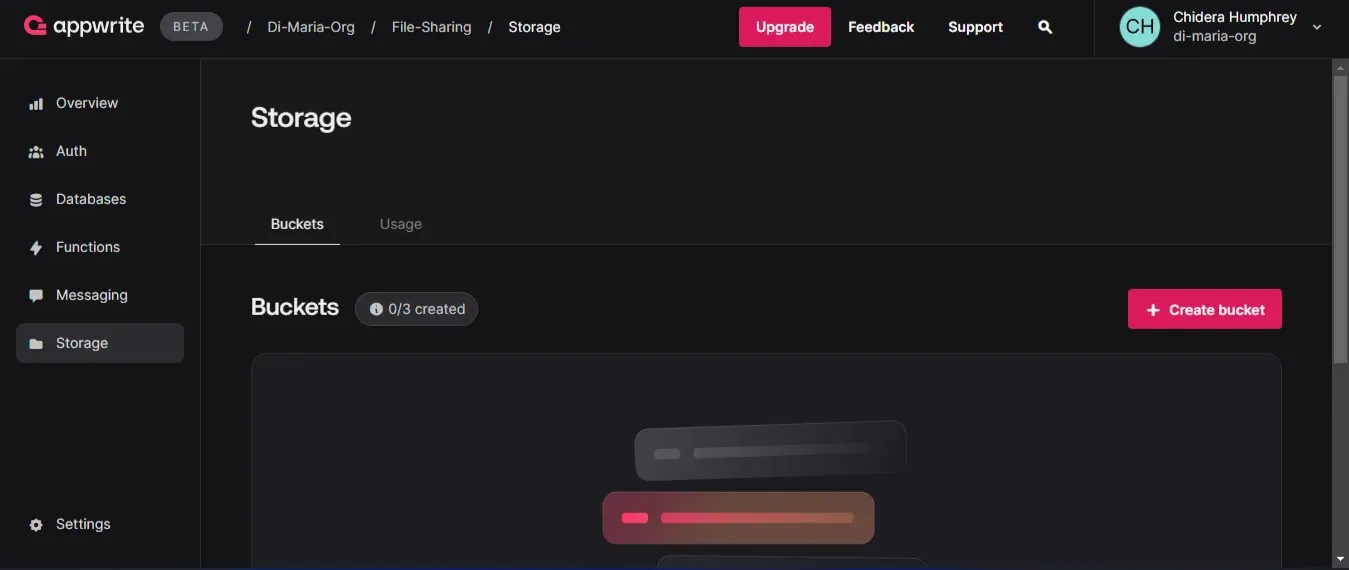
Provide the name "files" and click on "Create".
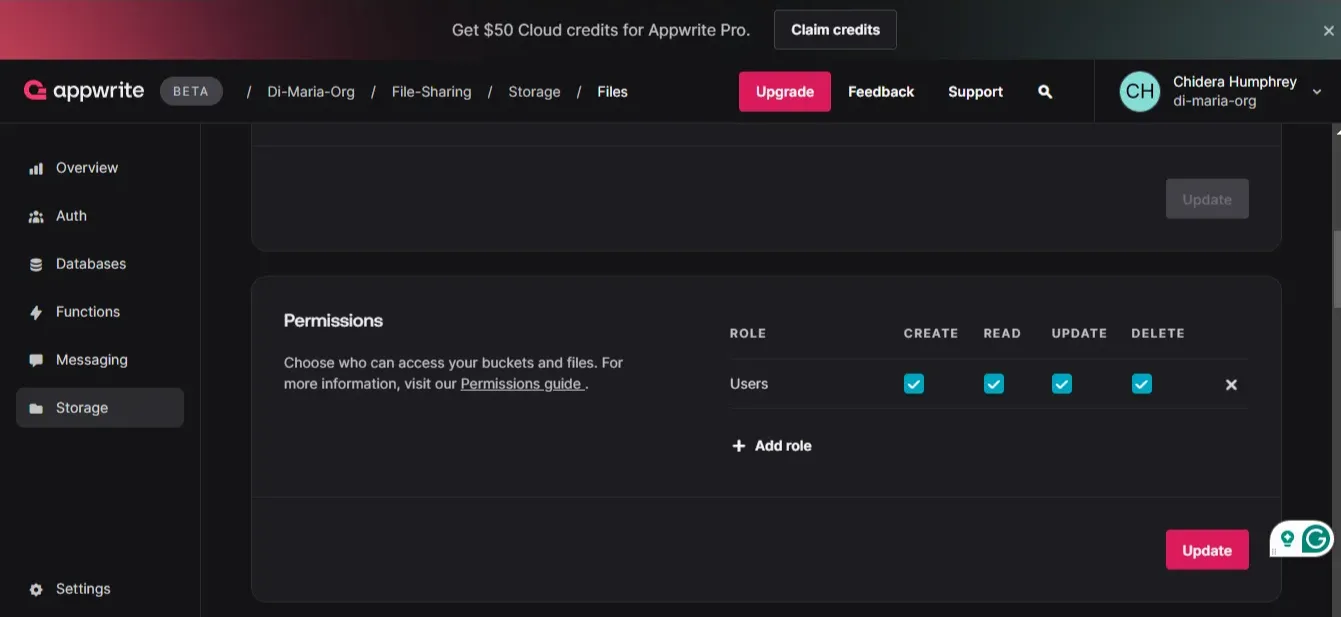
After creating the bucket, you'll be redirected to the "files" bucket. Go to the "Settings" tab and add permissions for "Users"
Now we are done with setting up our Appwrite authentication, database, and storage, let's set up our authorization.
Setting up our Authorization
Planning our ReBAC implementation
Before we go into setting up our Permit setup, let’s map out our ReBAC structure clearly.
Resources and actions
Our file sharing app will only manage one resource:
-
files: Actions include:
share,download,delete, andview.
Relationships and actions
The following table defines the relationships users can have with file resource instances and the permissions granted based on those relationships.
| Relationship | File resource |
|---|---|
| Owner | Full access (share, download, view, download) |
| Viewer | View and download |
This is the permission structure of our simple file sharing app where:
File owners have full control over their files.
Viewers (users who a file is shared with and assigned “viewer” relationship) can only view and download files.
It's important to note that in ReBAC, these relationships are typically defined and enforced at the level of individual resource instances (in our case, each specific file).
Now, with the structure out of the way, let’s look at setting up the authorization structure in Permit.io.
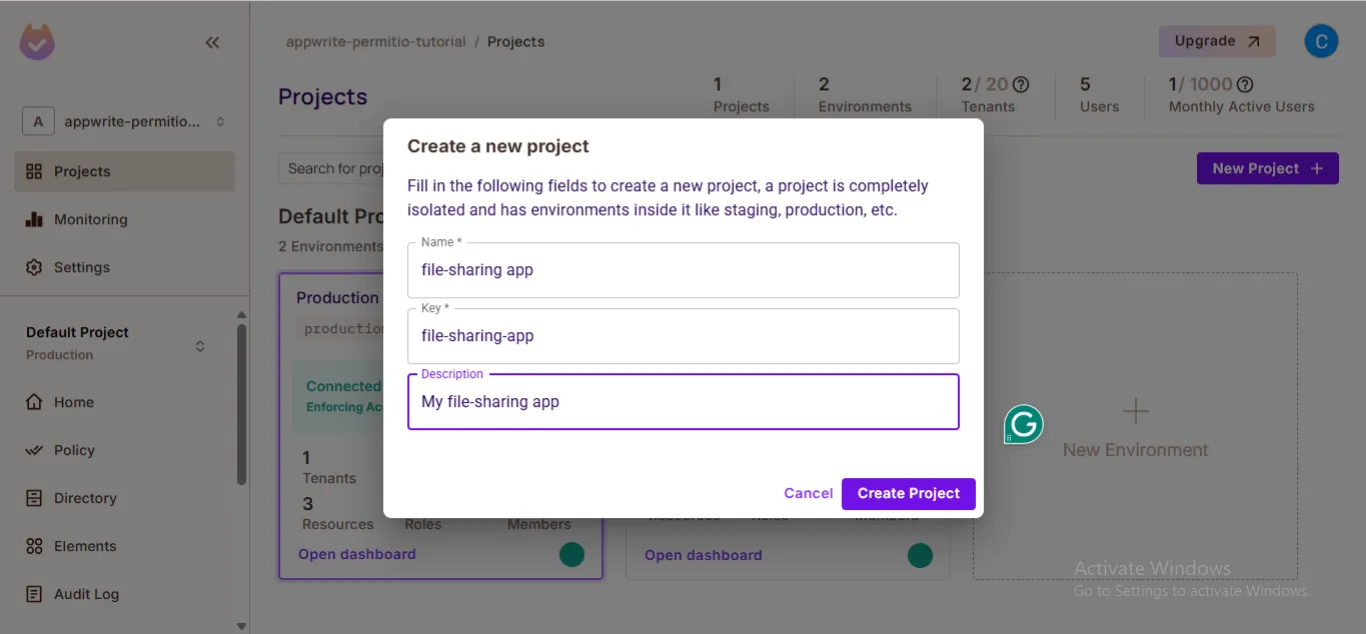
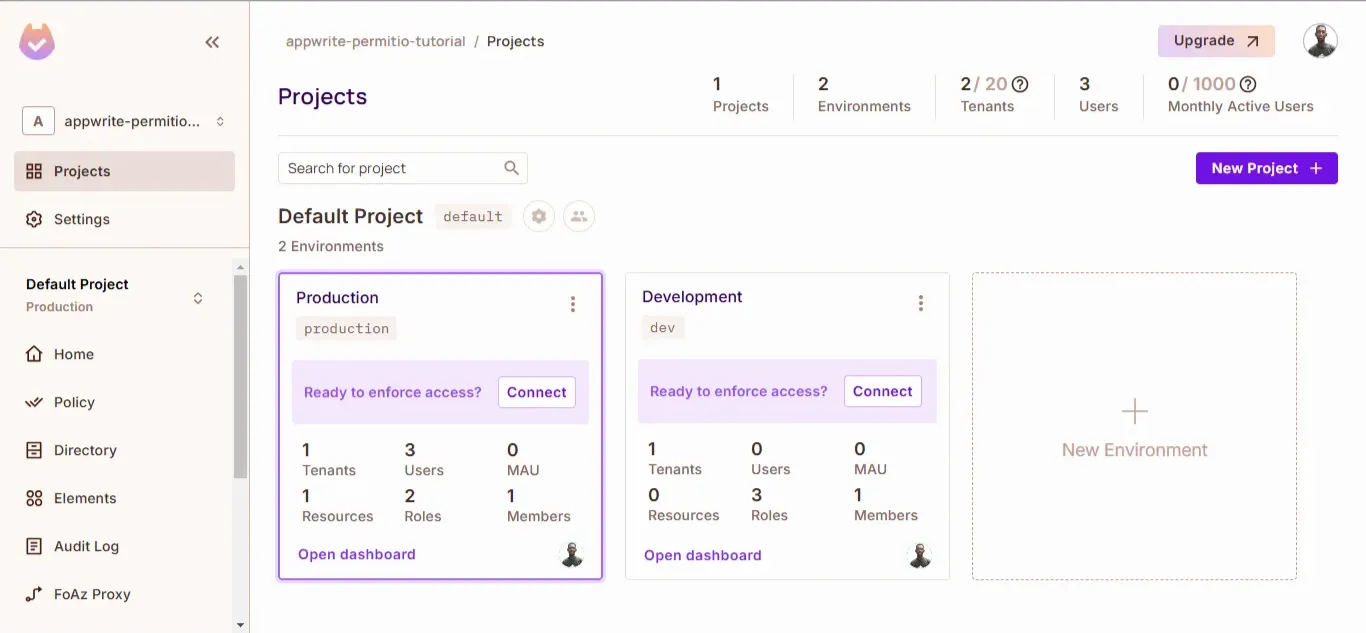
Creating a Permit project
To use Permit.io, you’ll have to create a free account. After creating your account, go to the “Project” section in your dashboard and create a new project.
Then copy your API key.
After creating your environment, go to your dashboard and go to the "Policy" section on the left panel.
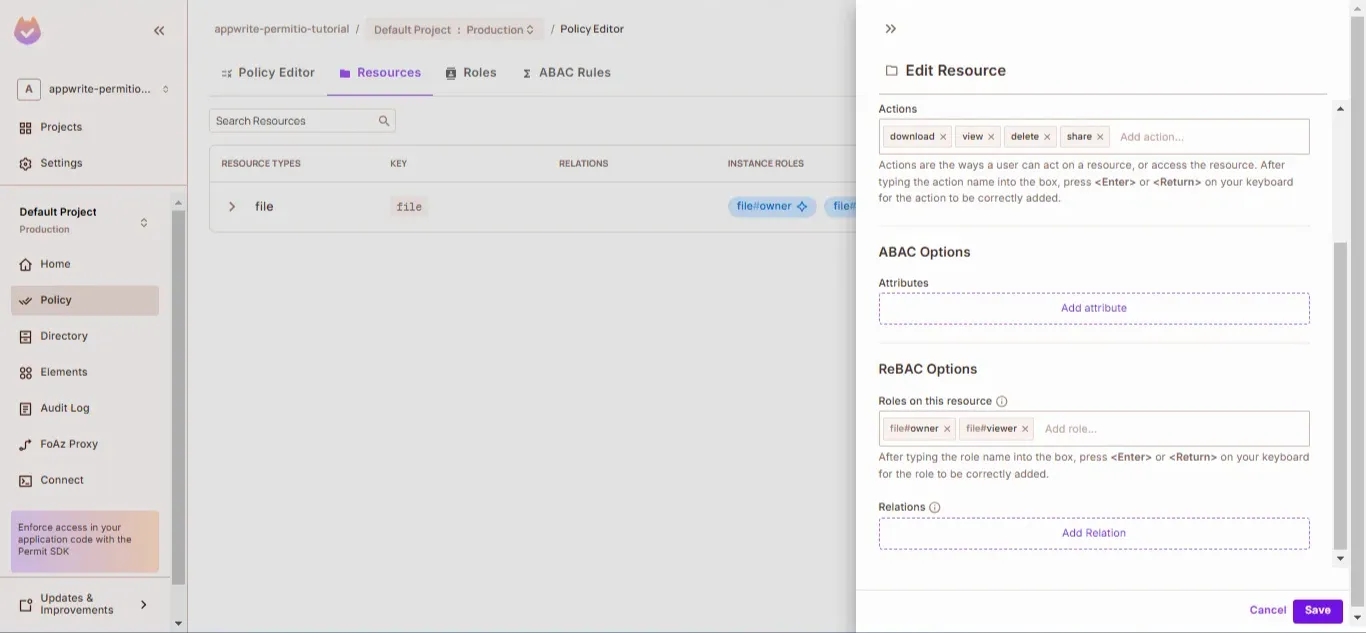
Select the "Resources" tab and click on "Add Resource". This will open a right form panel.
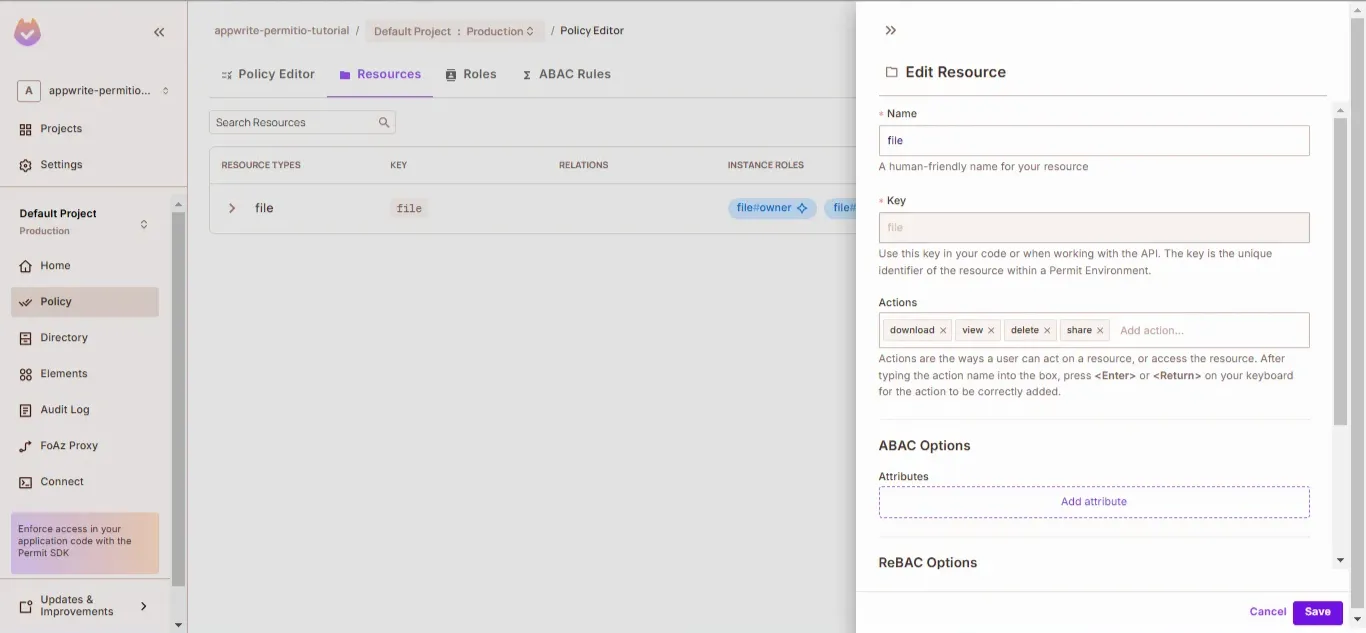
Enter the name of the resource (“file”) and assign the actions (“delete”, “download”, “share”, “view”). Scroll down to the “ReBAC Options” to define the roles for each resource (“owner”, “viewer”), then click “Save”.
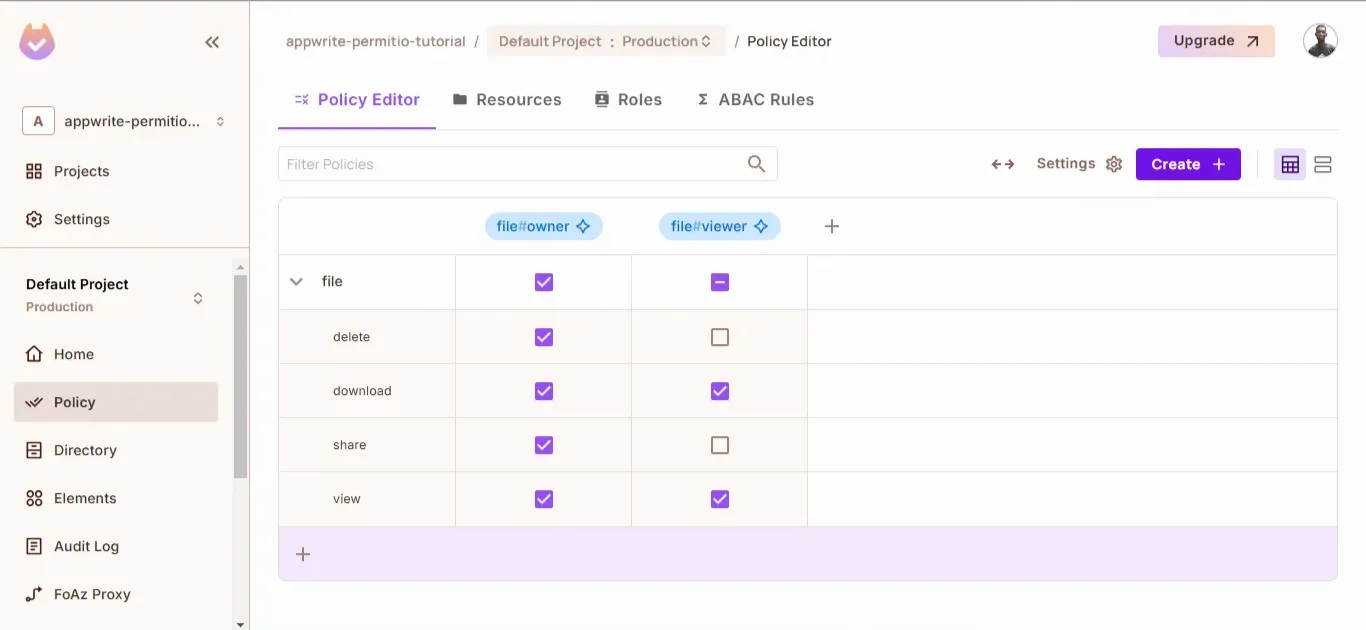
Go to the "Policy Editor" tab and set up the permissions for the roles you just created.
Owner: has all permissions
Viewer: has permissions to only view and download file resources
Congratulations, we have set up Permit.io for our authorization.
Next, we are going to set up our application.
Frontend Setup with React
In this section, we're going to continue the set up for our application.
Configuring Appwrite in our React frontend
Retrieve the following from your Appwrite backend:
project ID
database ID
file-metadata collection ID
files bucket ID
Create a .env file in the root directory of your React app. Inside the .env file, add the API keys you retrieved from your Appwrite backend
VITE_APPWRITE_ENDPOINT=https://cloud.appwrite.io/v1
VITE_APPWRITE_PROJECT_ID=your-project-id
VITE_FILE_METADATA_COLLECTION_ID=your-file-metadata-collection-id
VITE_DATABASE_ID=your-database-id
VITE_FILES_BUCKET_ID=files-bucket-id
Inside the src directory, create a file configuration/appwrite.ts and add the following code:
import { Client, Account, Databases, Storage } from "appwrite";

export const client = new Client()
  .setEndpoint(import.meta.env.VITE_APPWRITE_ENDPOINT)
  .setProject(import.meta.env.VITE_APPWRITE_PROJECT_ID as string);

export const account = new Account(client);

export const database = new Databases(client);

export const storage = new Storage(client);
In the code above, we're setting up our Appwrite for authentication, database and storage.
Configuring Permit.io in our application
Permit only has server-side SDKs at the moment. This means that to integrate Permit’s ReBAC policy in our React application, we’ll need some sort of backend. We’ll use Appwrite cloud functions to integrate Permit in our React application.
Don’t let cloud functions scare you, they’re pretty straightforward to set up.
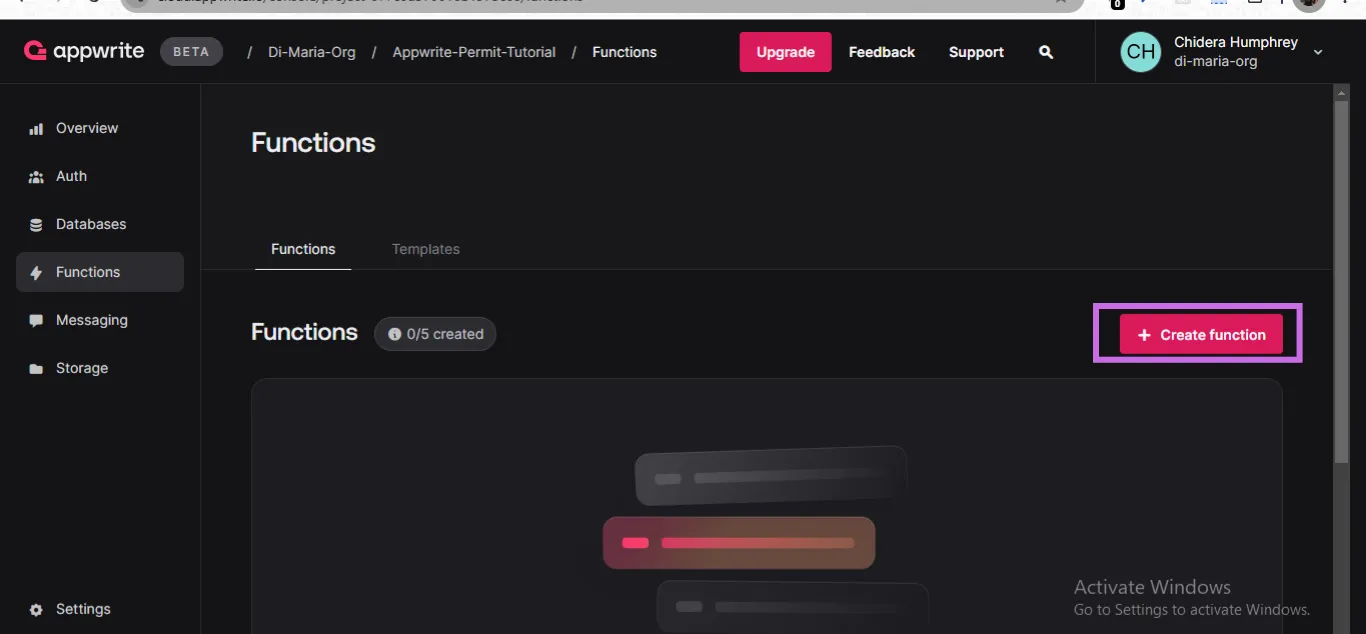
Navigate to your Appwrite console and select the “Functions” tab on the left panel. Click on “Create function” to create a new Appwrite function.
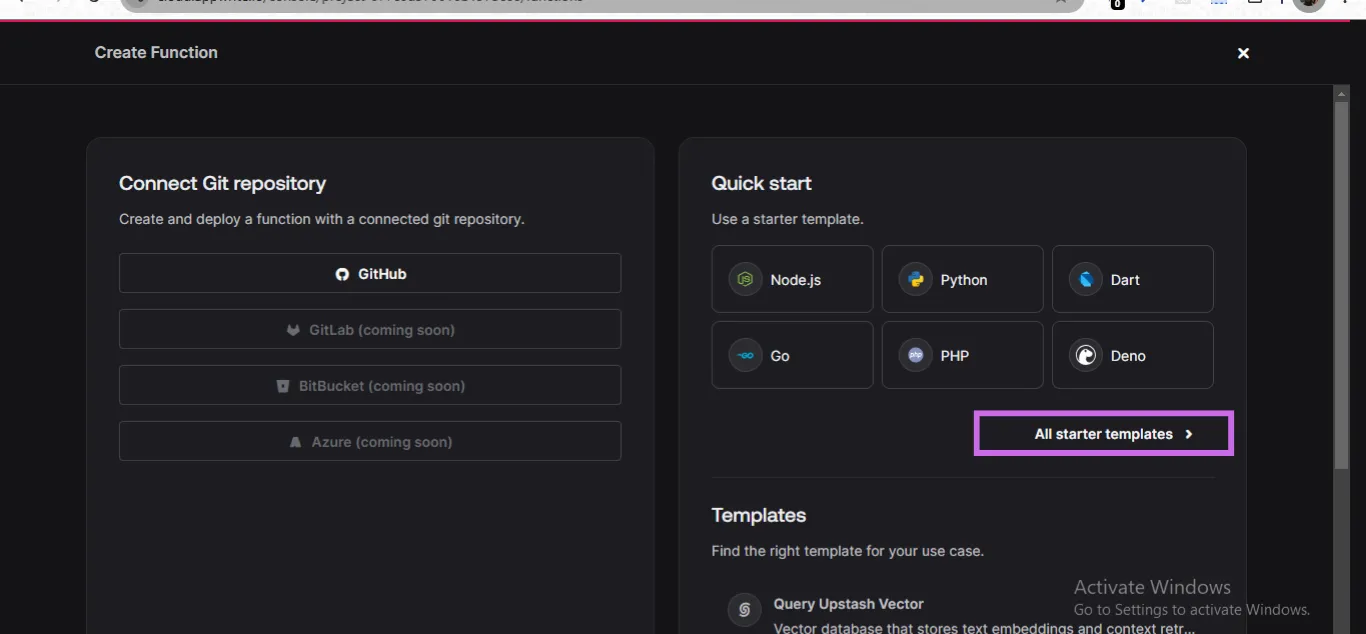
Click on ”All starter templates”
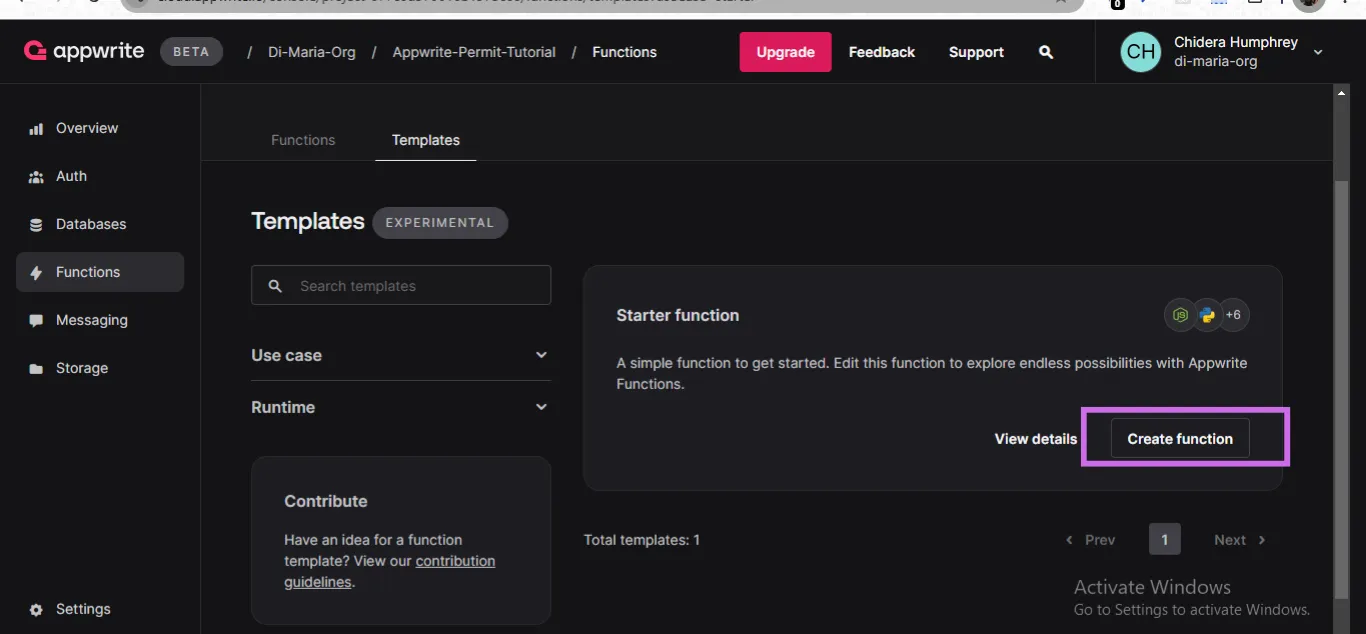
Click on “Create function”
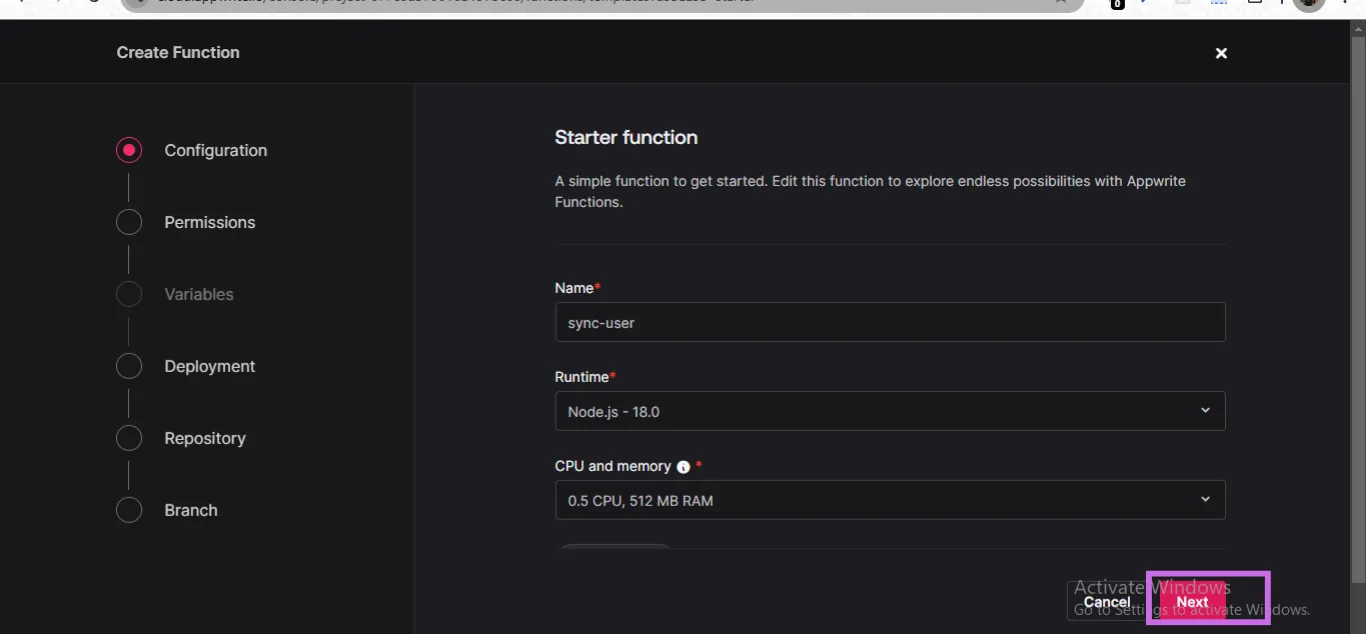
Add the name of your function and choose Node.js for your function’s runtime. The “0.5 CPU, 512 MB RAM” is enough for this tutorial.
Click on “Next”
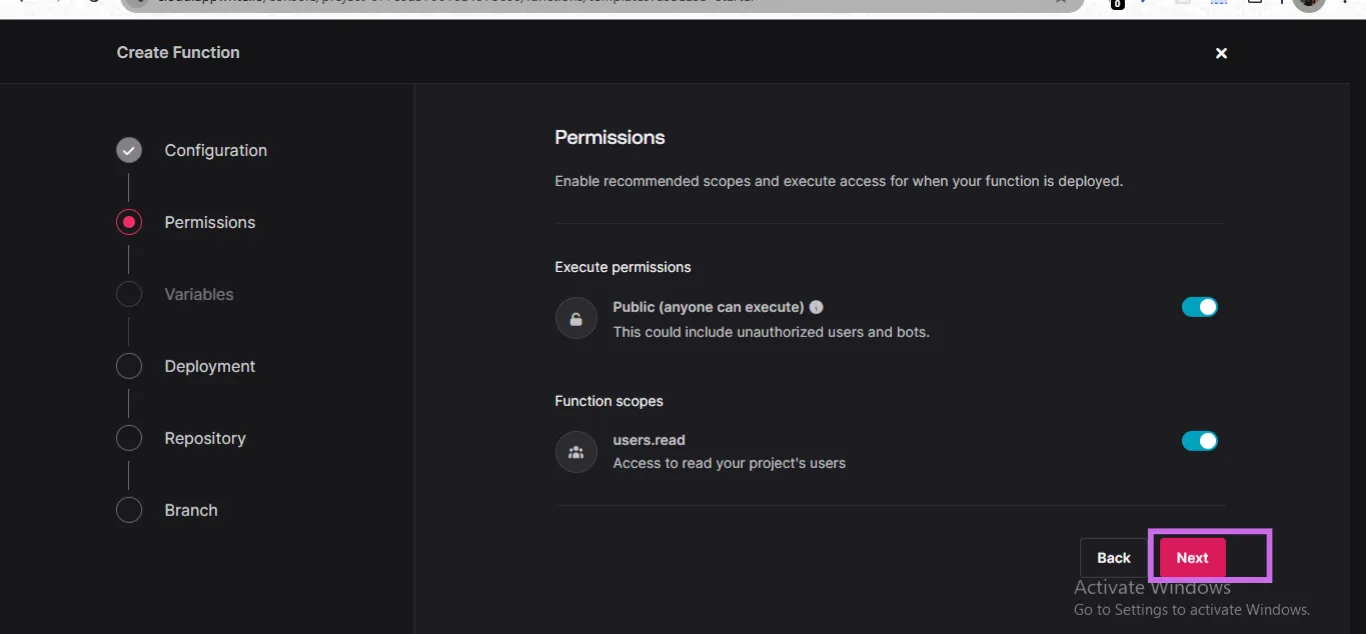
Leave the permissions as is and click on “Next”
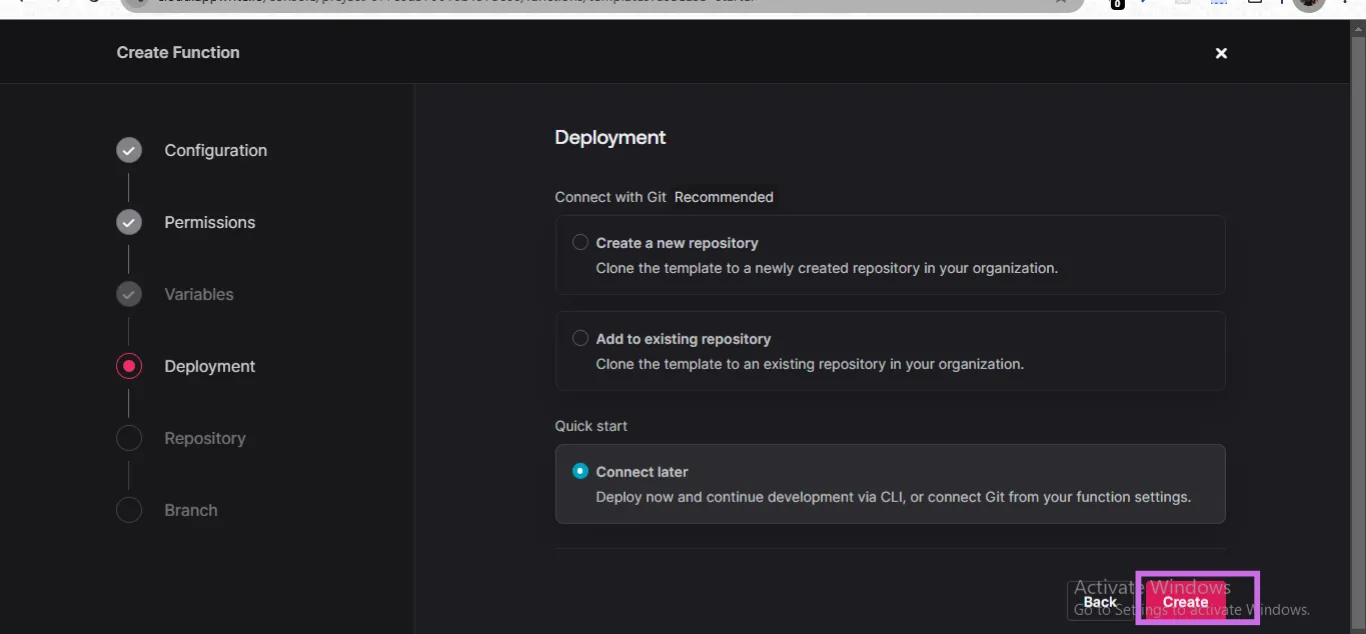
In the “Deployment” section, choose “Connect later” — because we’ll use the CLI to develop and deploy our functions.
And click on “Create”.
Setting up our Appwrite function in our CLI
Navigate to your project directory in your terminal and run the following command to install the Appwrite CLI:
npm install appwrite-cliYou’d have to sign in using your Appwrite credentials:
appwrite loginNote: if you signed up to Appwrite using OAuth (GitHub or Google), you wouldn't have a password to login with in the CLI. To get your password, go to your account settings and put in a password.
Run the following command to initialize an Appwrite project:
appwrite init projectChoose “Link directory to an existing project” and follow the prompts.
Initialize an Appwrite function using the following command:
appwrite init functionand follow the prompts to set up your function
Run the following command to pull in the function code into your application folder:
appwrite pull functionLet’s understand how our Appwrite cloud function will work.
There are three main ways of executing an Appwrite cloud function:
through HTTP requests
event triggers
scheduling
We’re going to call our Appwrite function using HTTP and event triggers.
Our Appwrite function executes when a user:
signs up in our application
uploads a file
attempts to share a file
visits the file upload page
Now we are on the same page of how our application integrates with the Appwrite function, let’s move on with the application.
The Permit.io SDK requires an API key. To get your API key, go to the “Settings” section of your Permit.io dashboard and click on "API Keys".
Copy your API key, create a .env file inside of the directory housing your Appwrite function, and add the API key as PERMIT_API_KEY.
Permit.io requires a Policy Decision Point (PDP) to evaluate your authorization requests. Permit.io provides several ways to set up a PDP, but we'll set up our PDP using Docker (this is the recommended way by Permit.io).
You need to have Docker installed on your machine.
In your Permit.io dashboard, click on "Projects" in the left panel and click on "Connect" in your preferred environment.
Pull the PDP container from Docker Hub using the following command:
docker pull permitio/pdp-v2:latestRun the container:
docker run -it \\\\
  -p 7766:7000 \\\\
  --env PDP_API_KEY=your-permit-api-key \\\\
  --env PDP_DEBUG=True \\\\
  permitio/pdp-v2:latest
Replace the PDP_API_KEY with your API key.
Note: if the above command fails to run, put the command in a single line like this:
docker run -it -p 7766:7000 --env PDP_API_KEY=your-permit-api-key --env PDP_DEBUG=True permitio/pdp-v2:latestThe PDP is now running on http://localhost:7766. Navigating to the URL, you should see a message like this:
{
  "status": "ok"
}
With Permit.io configured, update the functions/"your function name"/src/main.js file with the following code:
const { Client, Users } = require('node-appwrite');
const { Permit } = require('permitio');

const permit = new Permit({
  token: process.env.PERMIT_API_KEY_PROD,
  pdp: 'PDP-endpoint',
});

// This Appwrite function will be executed every time your function is triggered
module.exports = async ({ req, res, log, error }) => {
  const client = new Client()
    .setEndpoint(process.env.APPWRITE_FUNCTION_API_ENDPOINT || '')
    .setProject(process.env.APPWRITE_FUNCTION_PROJECT_ID || '')
    .setKey(req.headers['x-appwrite-key'] ?? process.env.APPWRITE_API_KEY);

  const users = new Users(client);
}
As a side note, you’ll have to set the type property in your package.json to commonjs. I’ll be using main.js to reference the Appwrite cloud function.
Additionally, get your Appwrite API key and add it to the .env file.
Additionally, make sure to add the necessary events to your Appwrite function like this:

Building our application
This is the section where we'll build out our application.
Setting up authentication
In this section, we'll set up authentication for our app.
Here's what we want to achieve with our authentication system:
- When a user signs up in our application, we'll sync the user to Permit.io.
Create a new file, context/context.ts. In this file, add the following code:
import { createContext, useContext } from "react";

interface ContextValue {
    user: object | null;
    loginUser: (email: string, password: string) => void;
    logoutUser: () => void;
    registerUser: (email: string, password: string, name: string) => void;
    checkUserStatus: () => void;
    loading: boolean;
}

export const AuthContext = createContext<ContextValue | null>(null);

export const useAuth = () => useContext(AuthContext);
In the code above, we're creating an auth context using the React Context API to manage authentication. The auth context has methods for signing in, registration, logging out, and a user's session.
Update the App.tsx file with the following code:
function App() {
  const [loading, setLoading] = useState<boolean>(true);
  const [user, setUser] = useState<object | null>(null);

  console.log(user);

  // Login the user
  const loginUser = async () => {}

  // Logout the current user
  const logoutUser = async () => {}

  // Register a new user
  const registerUser = async () => {}

  // Check the status of the current user
  const checkUserStatus = async () => {}

  const contextData = {
    user,
    loginUser,
    logoutUser,
    registerUser,
    checkUserStatus,
    loading
  };

  return (
    <AuthContext.Provider value={contextData}>
      {loading ? (
        <p>Loading...</p>
      ) : (
        <BrowserRouter>
          <header className="flex justify-center items-center p-2 mb-4 bg-purple-400">
            <nav>
              <ul className="flex gap-5">
                {user ? (
                  <li>
                    <button onClick={logoutUser}>Log out</button>
                  </li>
                ) : (
                  <>
                    <li>
                      <NavLink to="/login">Sign in</NavLink>
                    </li>
                    <li>
                      <NavLink to="/register">Sign up</NavLink>
                    </li>
                  </>
                )}
              </ul>
            </nav>
          </header>
          <Routes>
            <Route element={<ProtectedRoute />}>
              <Route element={<FileUploadPage />} path="/" />
            </Route>
            <Route element={<LoginPage />} path="/login" />
            <Route element={<SignUpPage />} path="/register" />
          </Routes>
        </BrowserRouter>
      )}
    </AuthContext.Provider>
  );
}

export default App;
In the App.tsx file, we wrapped our entire application with AuthContext.Provider. Additionally, we added routing using the react-router-dom library.
Looking closely, you'll see that we're protecting our home page. This ensures that only authenticated users can access the home page.
Create a components folder. Inside the folder, create a ProtectedRoute.tsx file and add the following code:
import { Navigate, Outlet } from "react-router-dom";
import { useAuth } from "../context/context";

function ProtectedRoute() {
  const { user } = useAuth();
  return user ? <Outlet /> : <Navigate to="/login" />;
}

export default ProtectedRoute;
In the code above, we're creating a ProtectedRoute component that checks for a user and redirects an authenticated user to the login page.
Now, we're going to create the LoginPage, SignUpPage, and FileUploadPage components.
LoginPage
Create a pages folder. Inside the pages folder, create a new file, LoginPage.tsx, and add the following code snippets to create the Login component:
import { NavLink, useNavigate } from "react-router-dom";
import { signIn } from "../configurations/appwrite";
import { FormEvent, useEffect, useState } from "react";
import { useAuth } from "../context/context";

function LoginPage() {
  const [email, setEmail] = useState<string>("");
  const [password, setPassword] = useState<string>("");
  const navigate = useNavigate();
  const { user, loginUser } = useAuth();

  useEffect(() => {
    if (user) navigate('/');
  });
We’re setting up our Login component by importing required modules and hooks. We initialize state for the email and password inputs, retrieve authentication context via useAuth, and use useEffect to redirect the user if already logged in.
const handleEmailChange = (e: React.ChangeEvent<HTMLInputElement>) => {
    setEmail(e.target.value);
  };

  const handlePasswordChange = (e: React.ChangeEvent<HTMLInputElement>) => {
    setPassword(e.target.value);
  };

  const handleSignIn = async (e: FormEvent) => {
    e.preventDefault();
    const formData = new FormData();
    formData.append("email", email);
    formData.append("password", password);
    const userEmail = formData.get("email") as string;
    const userPassword = formData.get("password") as string;
    loginUser(userEmail, userPassword);
  };
This part of the component includes functions to handle changes for both email and password inputs. The handleSignIn function processes form submission by creating a FormData object and then invoking loginUser with the gathered credentials.
return (
    <div className="w-full max-w-full flex flex-col justify-center items-center h-screen">
      <form onSubmit={handleSignIn} className="bg-white shadow-md rounded px-8 pt-6 pb-8 mb-4">
        <div className="mb-4">
          <label className="block text-gray-700 text-sm font-bold mb-2" htmlFor="email">
            Email
          </label>
          <input id="email" type="email" placeholder="Email" name="email" value={email} onChange={handleEmailChange} />
        </div>
        <div className="mb-6">
          <label className="block text-gray-700 text-sm font-bold mb-2" htmlFor="password">
            Password
          </label>
          <input id="password" type="password" placeholder="Password" name="password" value={password} onChange={handlePasswordChange} />
        </div>
        <div className="flex items-center justify-between">
          <button className="bg-purple-500 hover:bg-purple-700 text-white font-bold py-2 px-4 rounded" type="submit">
            Sign In
          </button>
        </div>
      </form>
      <p>
        Don't have an account? Sign up