There gonna be many JS code sections, and the best way to learn something is to go through this knowledge by yourself but you always can get the whole code here.
The first thing that welcomes a new user is a registration page with its functionality. Registration is the process where users create an account on a website or application. It typically involves providing personal information and creating login credentials, allowing users to access personalized features and services. Today we're going to work on creating the registration page for our React app and implement the entire registration process on the Node.js backend. We have much to cover, so let's outline a brief plan and dive into coding.
1. Create a new empty layout for our Blog CMS
2. Design and build a simple registration page with a registration form
3. Prepare the backend for the registration process: (receive and save user data, generate token)
4. Implement API communication between frontend and backend
Now that we have our roadmap, let's roll up our sleeves and get to work. We'll start by setting up the foundation of our CMS layout, which will serve as the canvas for our registration page and future components.
1. Create a new empty layout for our Blog CMS
We created our "main" layout earlier, and now we need to create a simple empty layout (without header, menu, etc...) with some basic styles for our registration, or login pages.
Let's create an "empty" folder inside "layouts", then we will create two files "EmptyLayout.jsx" and "emptyLayout.styles.scss", first for js code and second for styles.
We will simply need to export our empty layout function with "Outlet" inside, where our components will be rendered.
import React from 'react';
import { Outlet } from 'react-router-dom';
import './emptyLayout.styles.scss';

const EmptyLayout = () => {
  return (
    <div className='emptyLayout'>
      <Outlet />
    </div>
  );
};

export default EmptyLayout;
Also, let's add two simple css rules:
.emptyLayout {
    width: 100%;
    height: 100%;
}
That's it, we can use this layout wherever we need it, and firstly in our registration form that we are going to build in the next part.
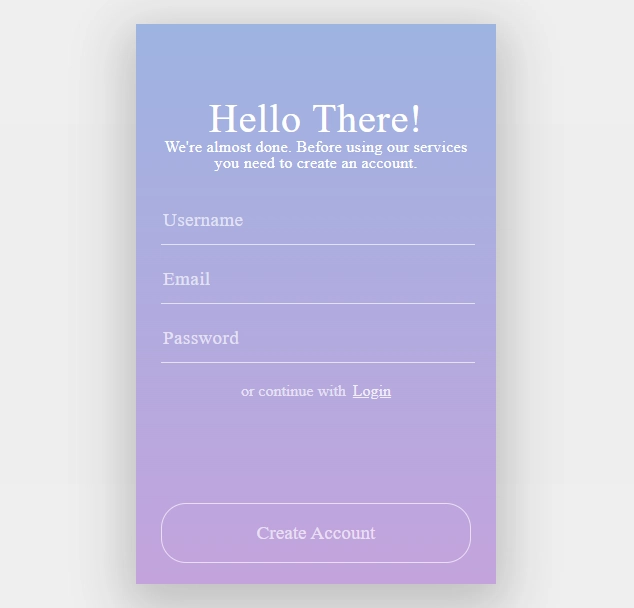
2. Design and build a simple registration page with a registration form
To tell you the truth I'm not a good designer, so I found a free registration form design here, and I'll use it in our blog CMS. Okay, we will separate this section into smaller steps to make it easier to implement into your future projects:
create a new "registration" folder inside the views folder with two files "Registration.jsx" for our page and "registration.styles.scss" for all the styles;
import the "Registration.jsx" file into "App.jsx", and register a new "auth" route for our empty layout with the "registration" route for our "Registration" page;
import Registration from './views/registration/Registration';

<Route path="/auth/*" element={<EmptyLayout />}>
  <Route path='registration' element={<Registration />} />
</Route>
prepare our registration form template for work. Also, we will need to import "React", "useState" from react, "useNavigate" and "navLink" from react-router-dom;
create a new "Registration" functional component that will use "useState" to store name, email, and password and return our HTML registration form. Each input will update our state data;
import React from 'react';
import { useState } from 'react';
import { NavLink, useNavigate } from 'react-router-dom';
import './registration.styles.scss';

const Registration = () => {
    const navigate = useNavigate();
    const [name, setUsername] = useState('');
    const [email, setEmail] = useState('');
    const [password, setPassword] = useState('');
    return (
        <div className="registration">
        <div className='bold-line'></div>
            <div className='container'>
            <div className='window'>
                <div className='overlay'></div>
                <div className='content'>
                <div className='welcome'>Hello There!</div>
                <div className='subtitle'>We're almost done. Before using our services you need to create an account.