Containerizing an application allows you to package your code along with all dependencies into a portable unit called a container. This guide walks you through the process of containerizing a simple to-do list manager built with Node.js. No prior experience with JavaScript is required.
Prerequisites
Before getting started, ensure you have the following installed on your system:
Docker Desktop (latest version)
Git client (for cloning repositories)
An IDE or text editor (e.g., Visual Studio Code)
Step 1: Get the Application Source Code
First, you need to obtain the source code for the application.
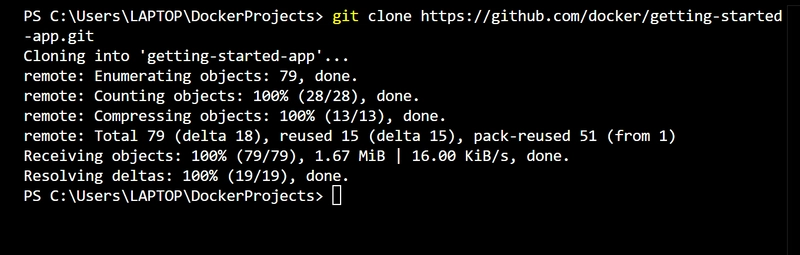
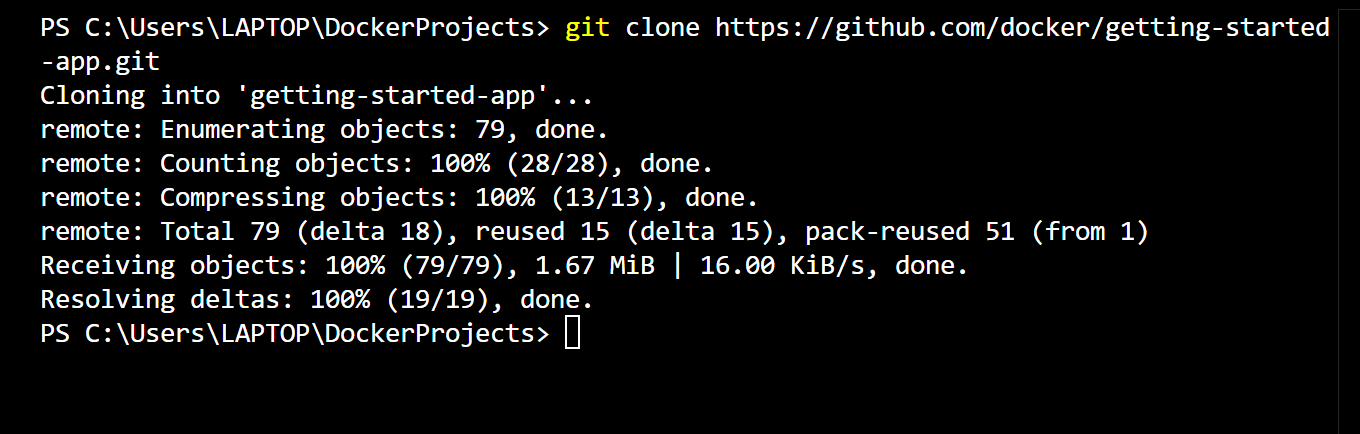
Open your terminal or command prompt.
Clone the repository using the following command:
git clone https://github.com/docker/getting-started-app.git
Navigate to the project directory:
cd getting-started-app

View the contents of the cloned repository:
ls
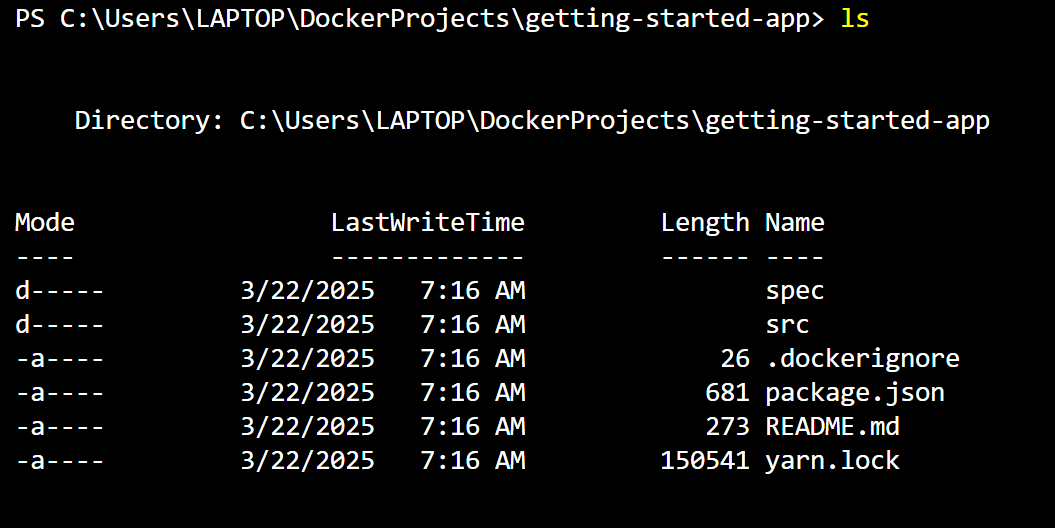
You should see the following files and directories:
├── getting-started-app/
│ ├── .dockerignore
│ ├── package.json
│ ├── README.md
│ ├── spec/
│ ├── src/
│ └── yarn.lock
Step 2: Create a Dockerfile
A Dockerfile is a script containing instructions to build a container image.
Inside the getting-started-app directory, create a new file named Dockerfile.
- Navigate to the Project Directory
cd C:\Users\LAPTOP\DockerProjects\getting-started-app

-Create the Dockerfile
Run this command to create a new empty file named Dockerfile: New-Item -Path . -Name "Dockerfile" -ItemType "File"
-Open the Dockerfile in a Text Editor
To edit the Dockerfile, run: code Dockerfile
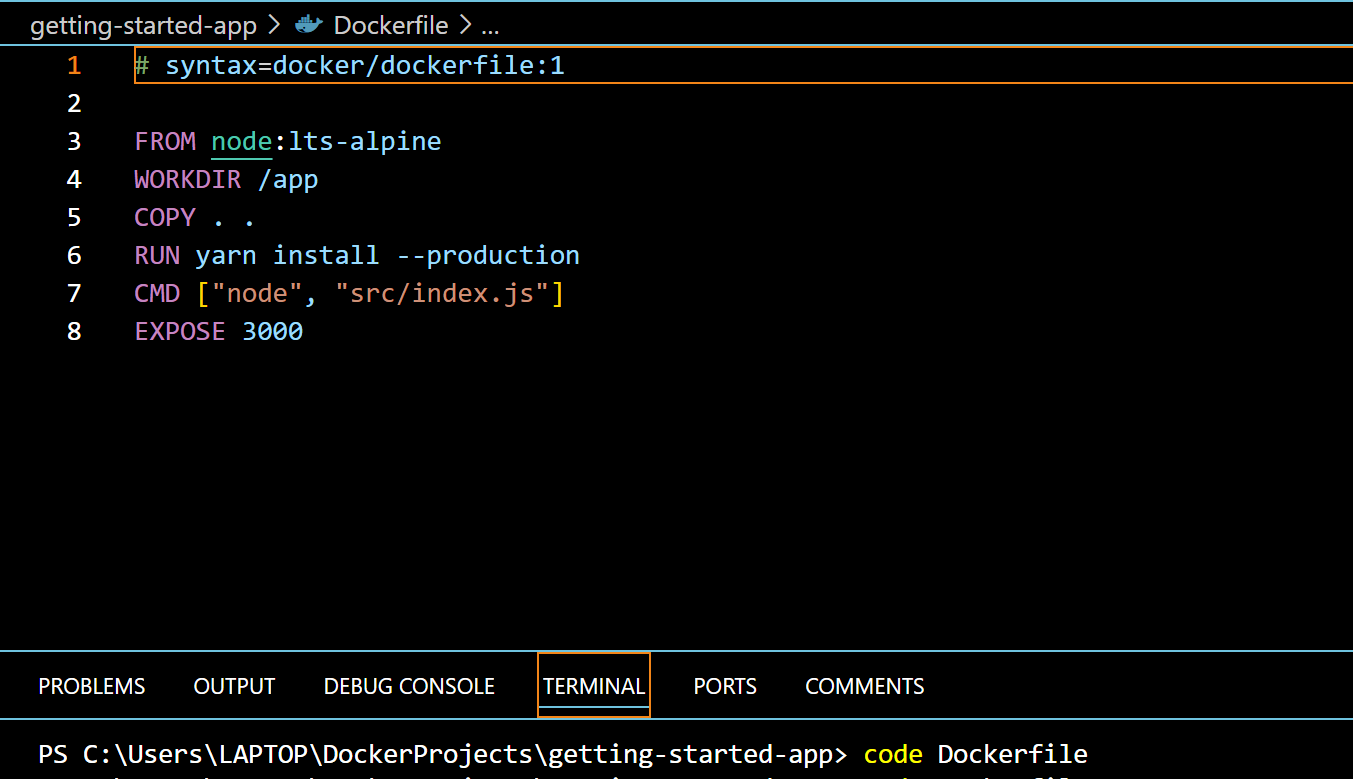
Add the following contents: Copy and paste the following into the file:
syntax=docker/dockerfile:1
FROM node:lts-alpine
WORKDIR /app
COPY . .
RUN yarn install --production
CMD ["node", "src/index.js"]
EXPOSE 3000
In VS Code, press Ctrl + S and close the file.
- Verify the Dockerfile Exists
Run the following command to confirm the file was created: Get-ChildItem
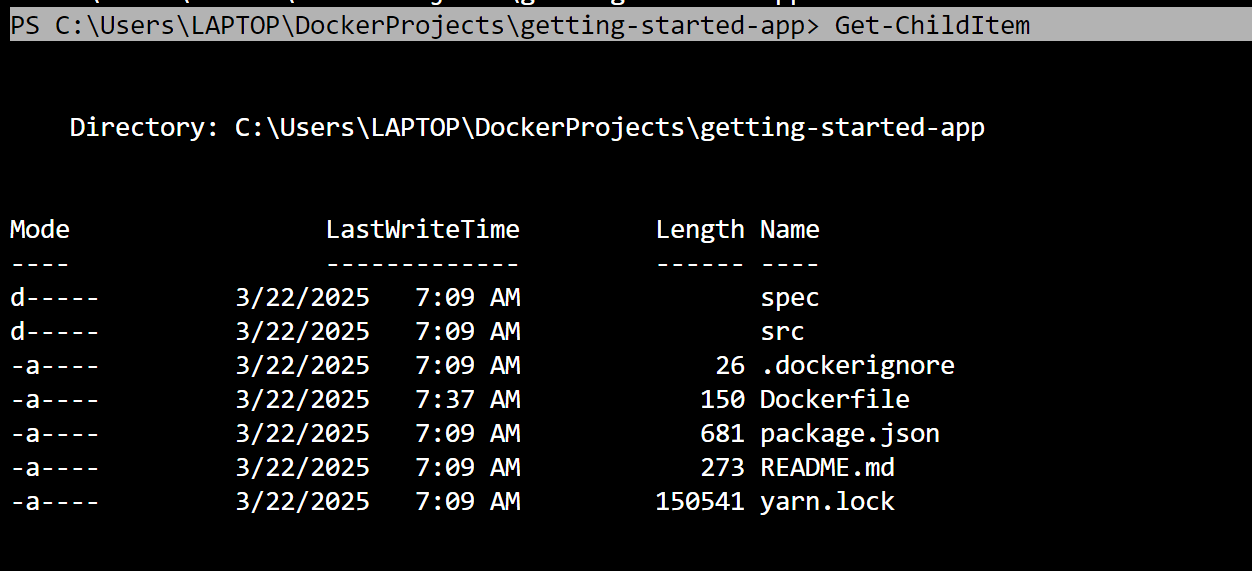
You should see Dockerfile listed among the files. Now you have successfully created a Dockerfile!
Step 3: Build the Docker Image
Open a terminal and navigate to the getting-started-app directory.
Run the following command to build the image:
docker build -t getting-started .
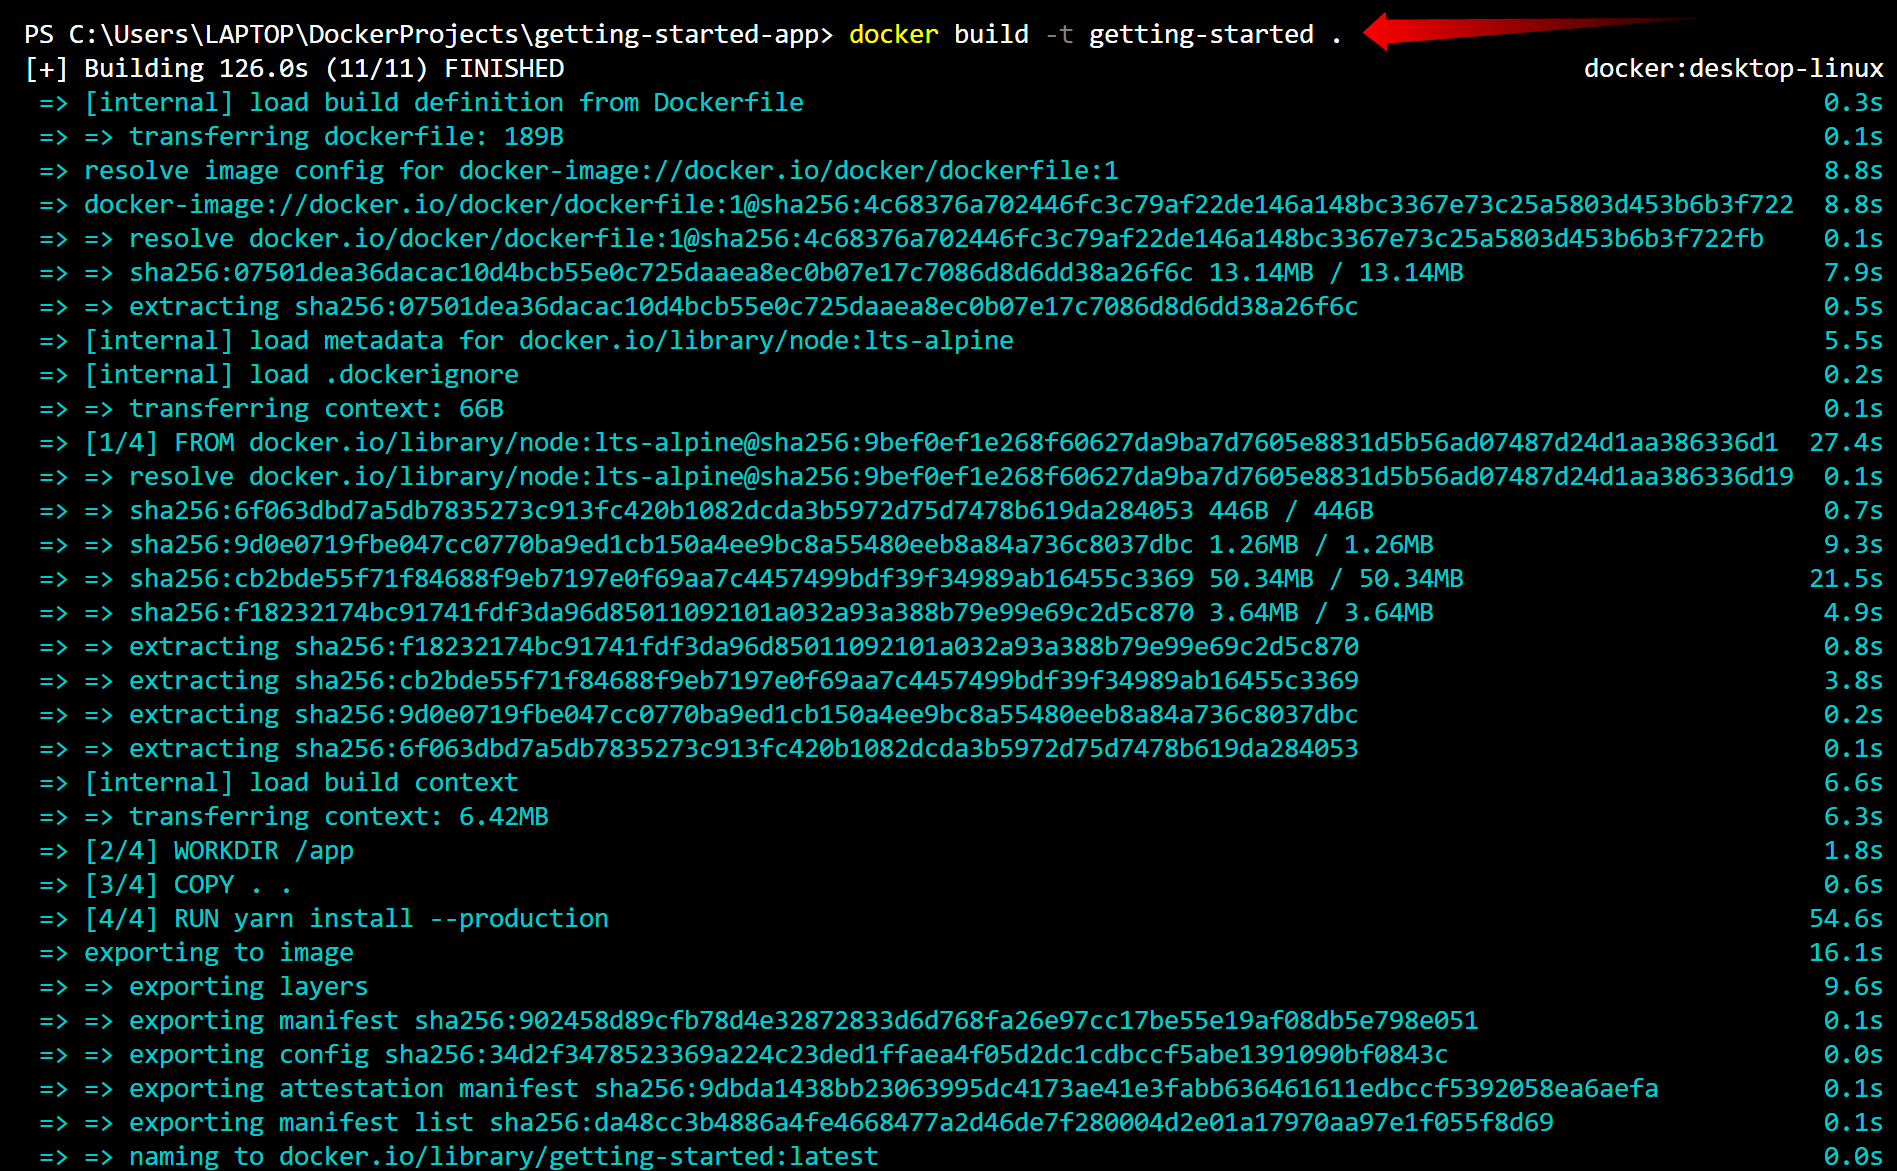
The -t flag tags the image as getting-started.
The . at the end specifies that the Dockerfile is in the current directory.
Docker will download necessary dependencies and build the image.
- Verify the Image is Built
After the build completes, check if the image was created: docker images

You should see getting-started in the list.
Step-by-Step Guide to Running Your Docker Container
Step 4: Ensure Your Image is Built
First, confirm that your getting-started Docker image was built successfully.
Run the following command: docker images
Run the Container
Now, start the container using the following command:
docker run -d -p 127.0.0.1:3000:3000 getting-started

Explanation:
-docker run → Starts a new container
-d → Runs in detached mode (background)
-p 127.0.0.1:3000:3000 → Maps port 3000 inside the container to port 3000 on your computer
-getting-started → The name of the image
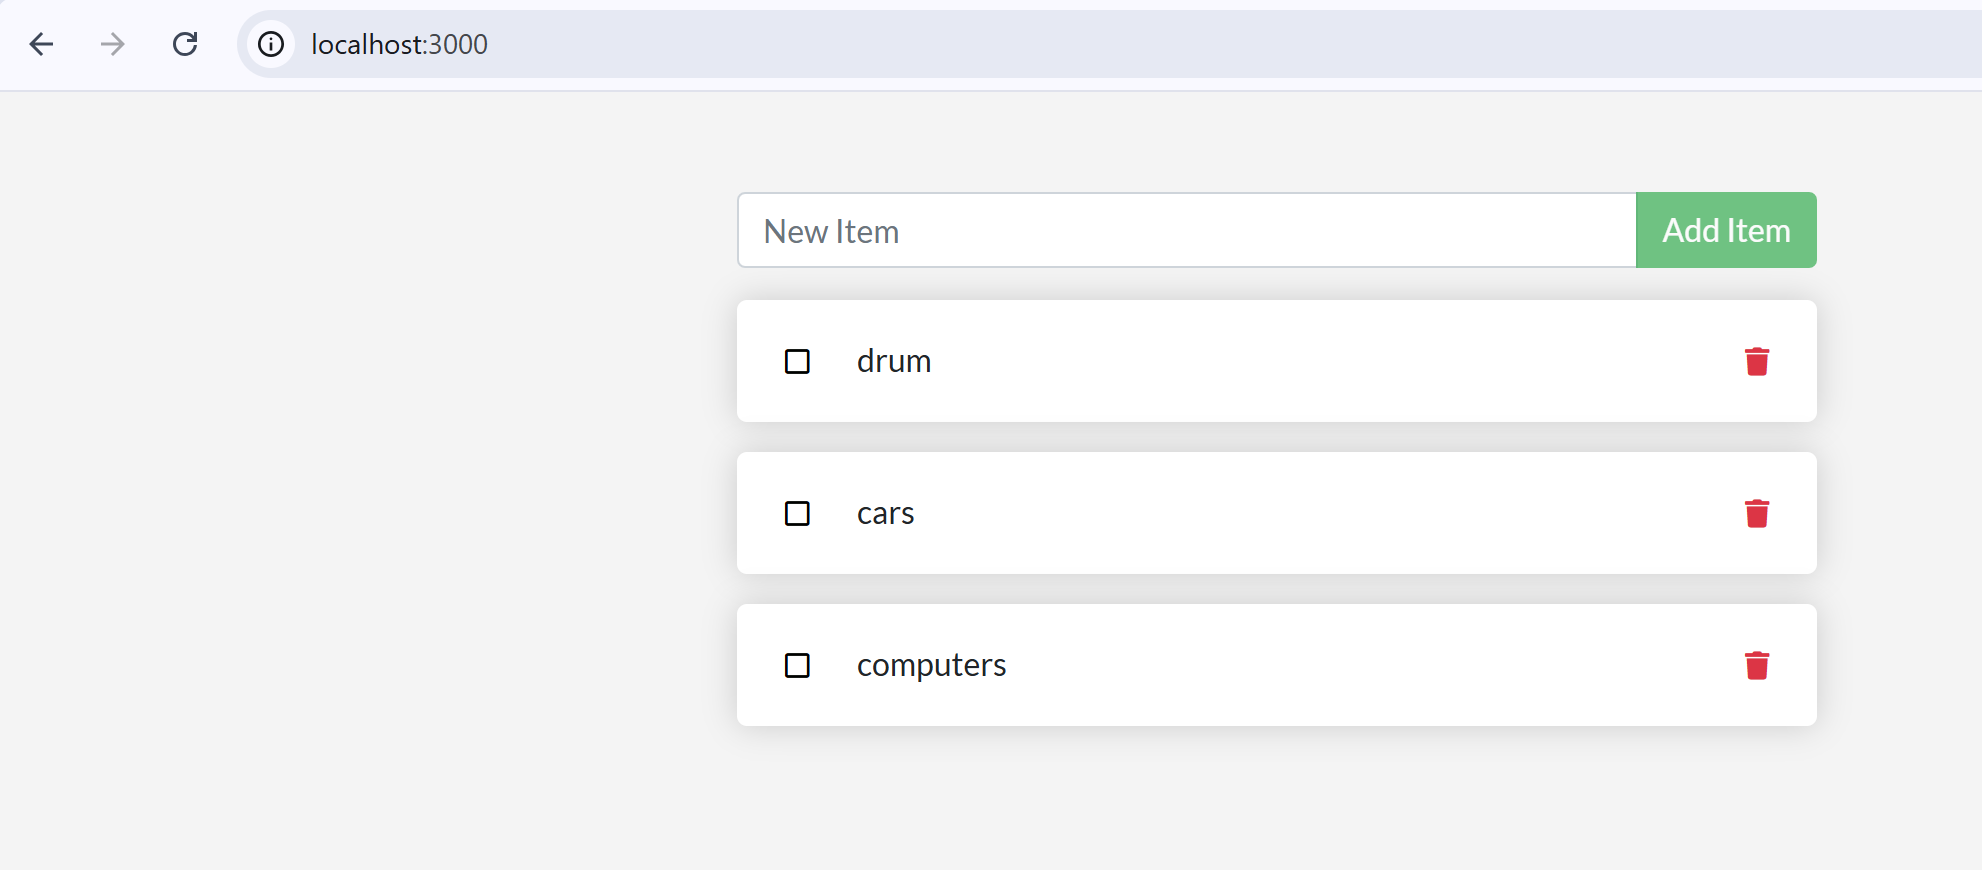
Open the App in Your Browser
1 Open your browser
2 Go to http://localhost:3000
3 You should see the To-Do List App running 🎉
Verify Running Containers
Check if your container is running with: docker ps

Stop the Container (Optional)
If you want to stop the running container, use:
docker stop

Replace with the actual container ID from docker ps output.
🎯 Summary of What You Did
✅ Cloned a Node.js application
✅ Created a Dockerfile
✅ Built a Docker image
✅ Started the app in a Docker container
✅ Accessed the app via http://localhost:3000
✅ Verified running containers
In addition:
What is Node.js?
🚀 Node.js is a JavaScript runtime that allows you to run JavaScript outside of the browser.
🛠️ Key Features of Node.js
1️⃣ Built on Chrome's V8 Engine → Super fast JavaScript execution ⚡
2️⃣ Non-blocking, Asynchronous → Handles multiple requests at once without waiting ⏳
3️⃣ Uses JavaScript → If you know JS, you can build backend apps with Node.js easily 🏗️
4️⃣ Lightweight & Scalable → Great for building APIs, microservices, and real-time apps 📡
🖥️
What is Node.js Used For?
✅ Web servers & APIs (e.g., Express.js)
✅ Real-time apps (e.g., chat applications, live updates)
✅ Microservices & serverless computing
✅ CLI tools & automation scripts
🎉 Congratulations! You have successfully containerized and run an application using Docker. 🚀