If you love the warm, dreamy visuals of Studio Ghibli films, here's a powerful automation trick: an AppleScript automation that lets you select multiple images from Finder, apply a Ghibli-style transformation using ChatGPT, and process them unattended — even overnight.
You can also use this script while working/using your Mac: the script will warn you when not to touch the keyboard or the mouse because it's working for you!
This setup uses native macOS tools like AppleScript, Automator, and Notification Center, and it respects API rate limits to avoid disruptions.
AppleScript & Automator
AppleScript is Apple’s native scripting language for automating actions across macOS apps. It can simulate user actions, trigger shell commands, and communicate with apps like Finder, Preview, and Automator. Automator is an application that can be used to run AppleScript.
About Rate Limiting
Rate limiting is a mechanism used by APIs and services like ChatGPT to prevent overuse or abuse.
It controls how many requests you can send in a given time frame. If you exceed these limits, ChatGPT may suspend your user or not process the request correctly.
To avoid this, the script includes a fixed delay of 180s between each image. This pause ensures each image is processed without hitting the rate limits.
⚠️ Do not reduce or remove this delay. If you try to speed things up, the script may break mid-process or get you temporarily blocked from uploading.
The script and the workflow
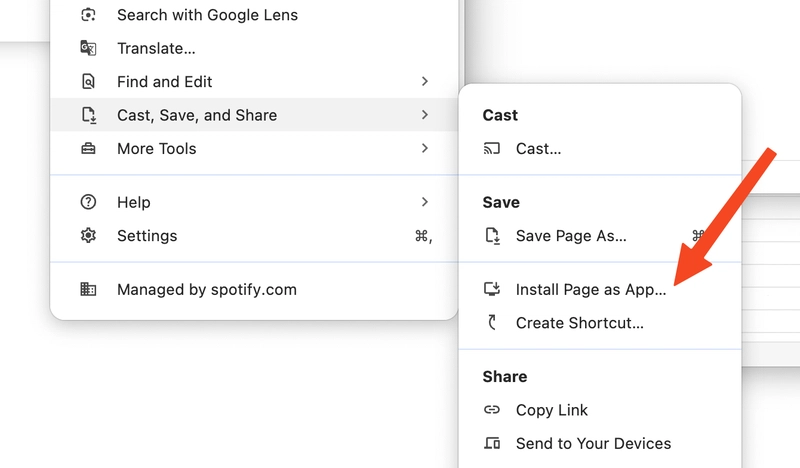
First of all, you need to install the web-app of ChatGPT from Chrome. When I tried to do this with the native ChatGPT macOS app, it wouldn't generate restyle of images correctly.
Therefore, just head to chat.com, and in the Chrome menu hit "Install Page as App"

Now, let's install the workflow into Automator:
You can download the workflow directly from this link - extract it and Automator will open; then Press Run.
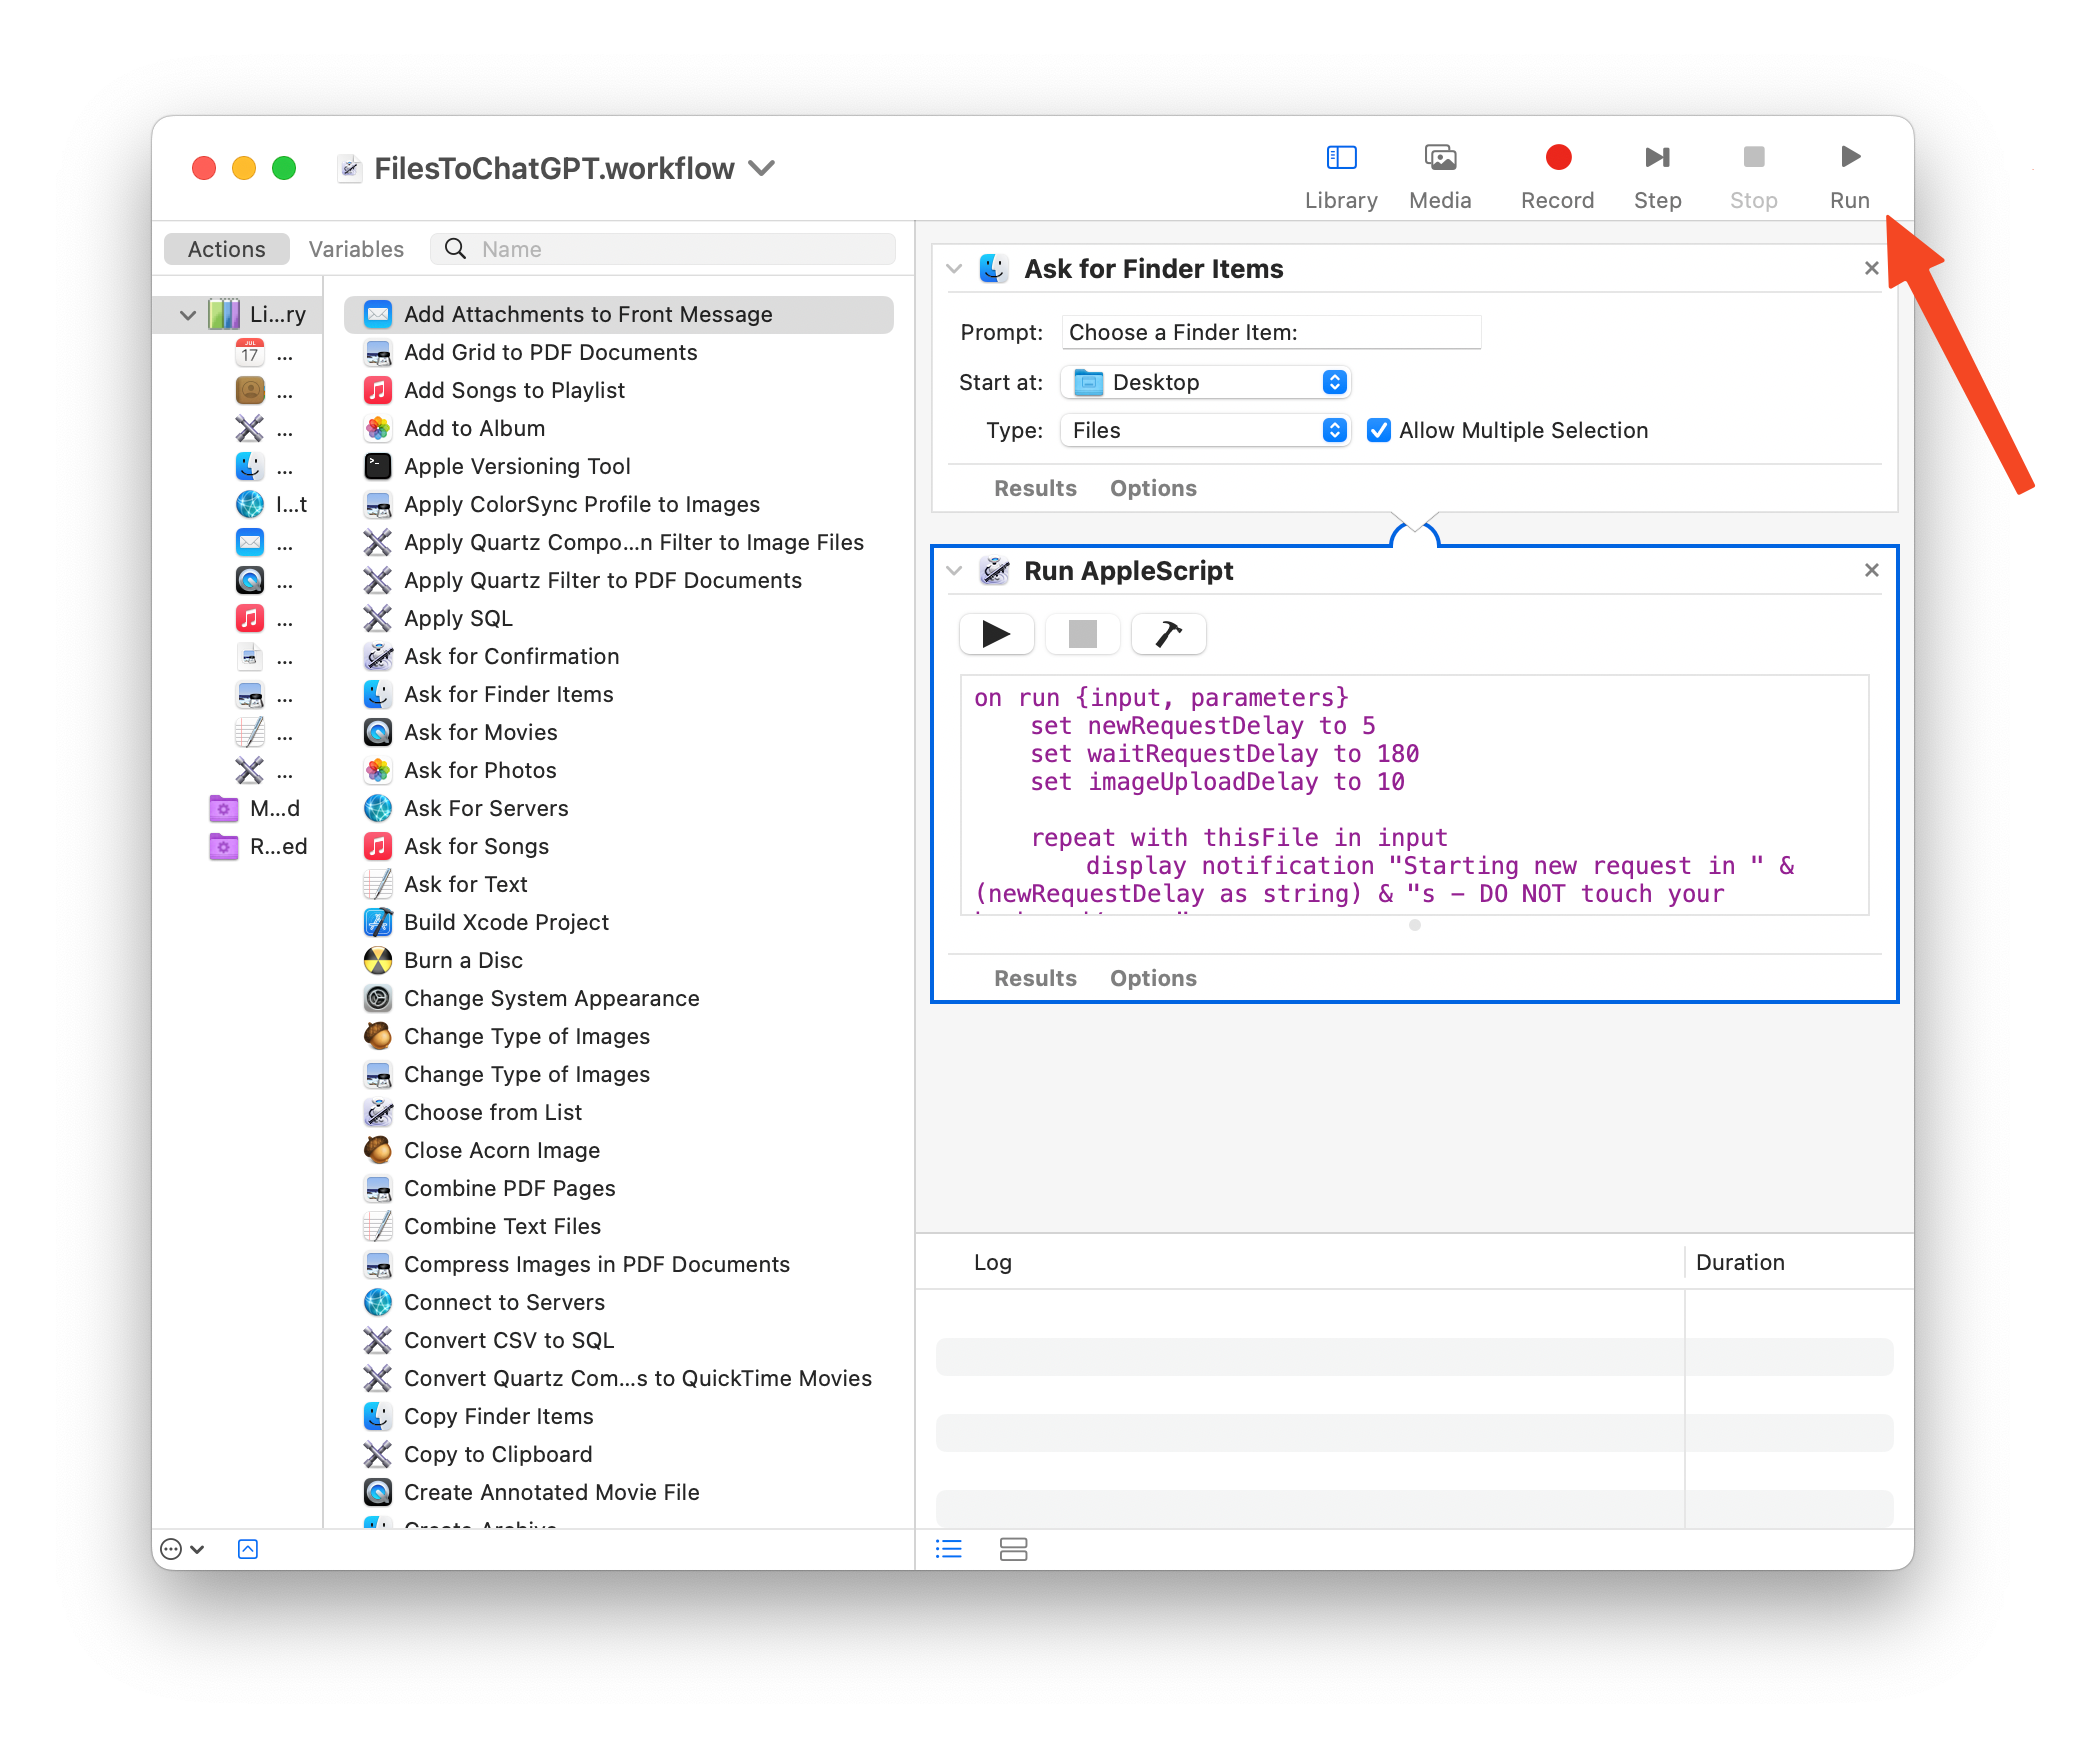
And that's it - the script should go into each file, paste it into ChatGPT, generate the request and wait 3 minutes until next request.
Alternative installation
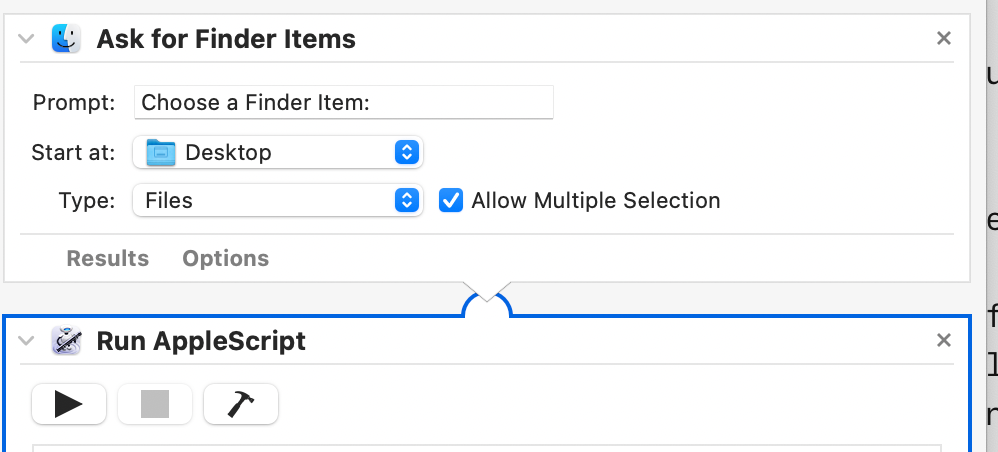
If you don't trust downloading semi-executable files into your system, you can create a new workflow manually.
Make sure as first step you add "Ask For Finder Items", then "Run AppleScript" and paste this code:
Using another style
The prompt you use is highly customizable. Just change that in the code to add some details or to make images into another completely different style.