✅ Step 1: Prepare Your Website Files
- First, I created a simple HTML file called myself.html containing my resume and personal information.
- It can include HTML, CSS, and JavaScript — no backend code is needed since it’s a static website.
✅ Step 2: Create an S3 Bucket
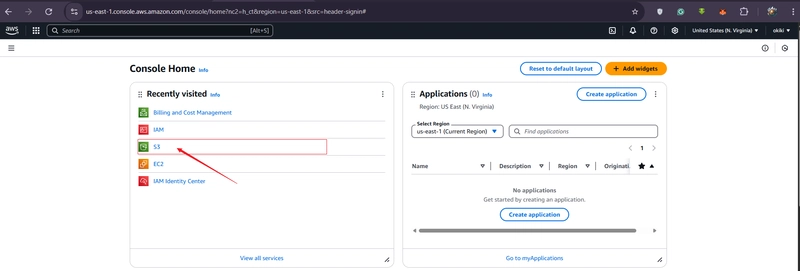
- Log in to the AWS Console.
- Go to S3 under Services.
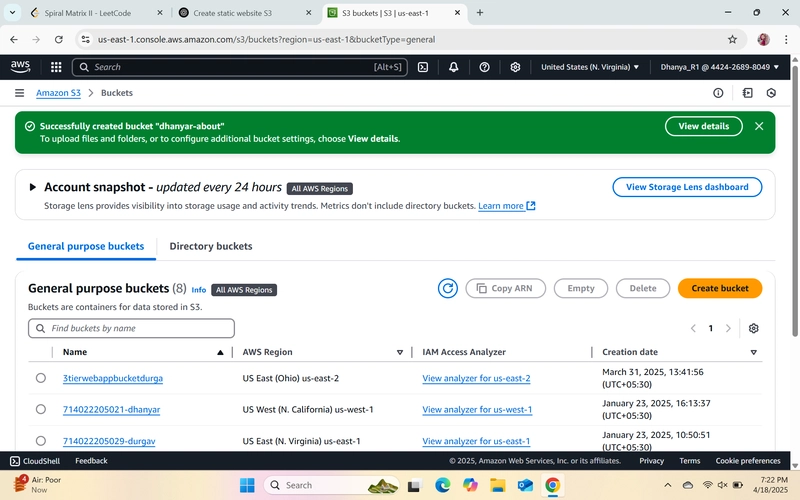
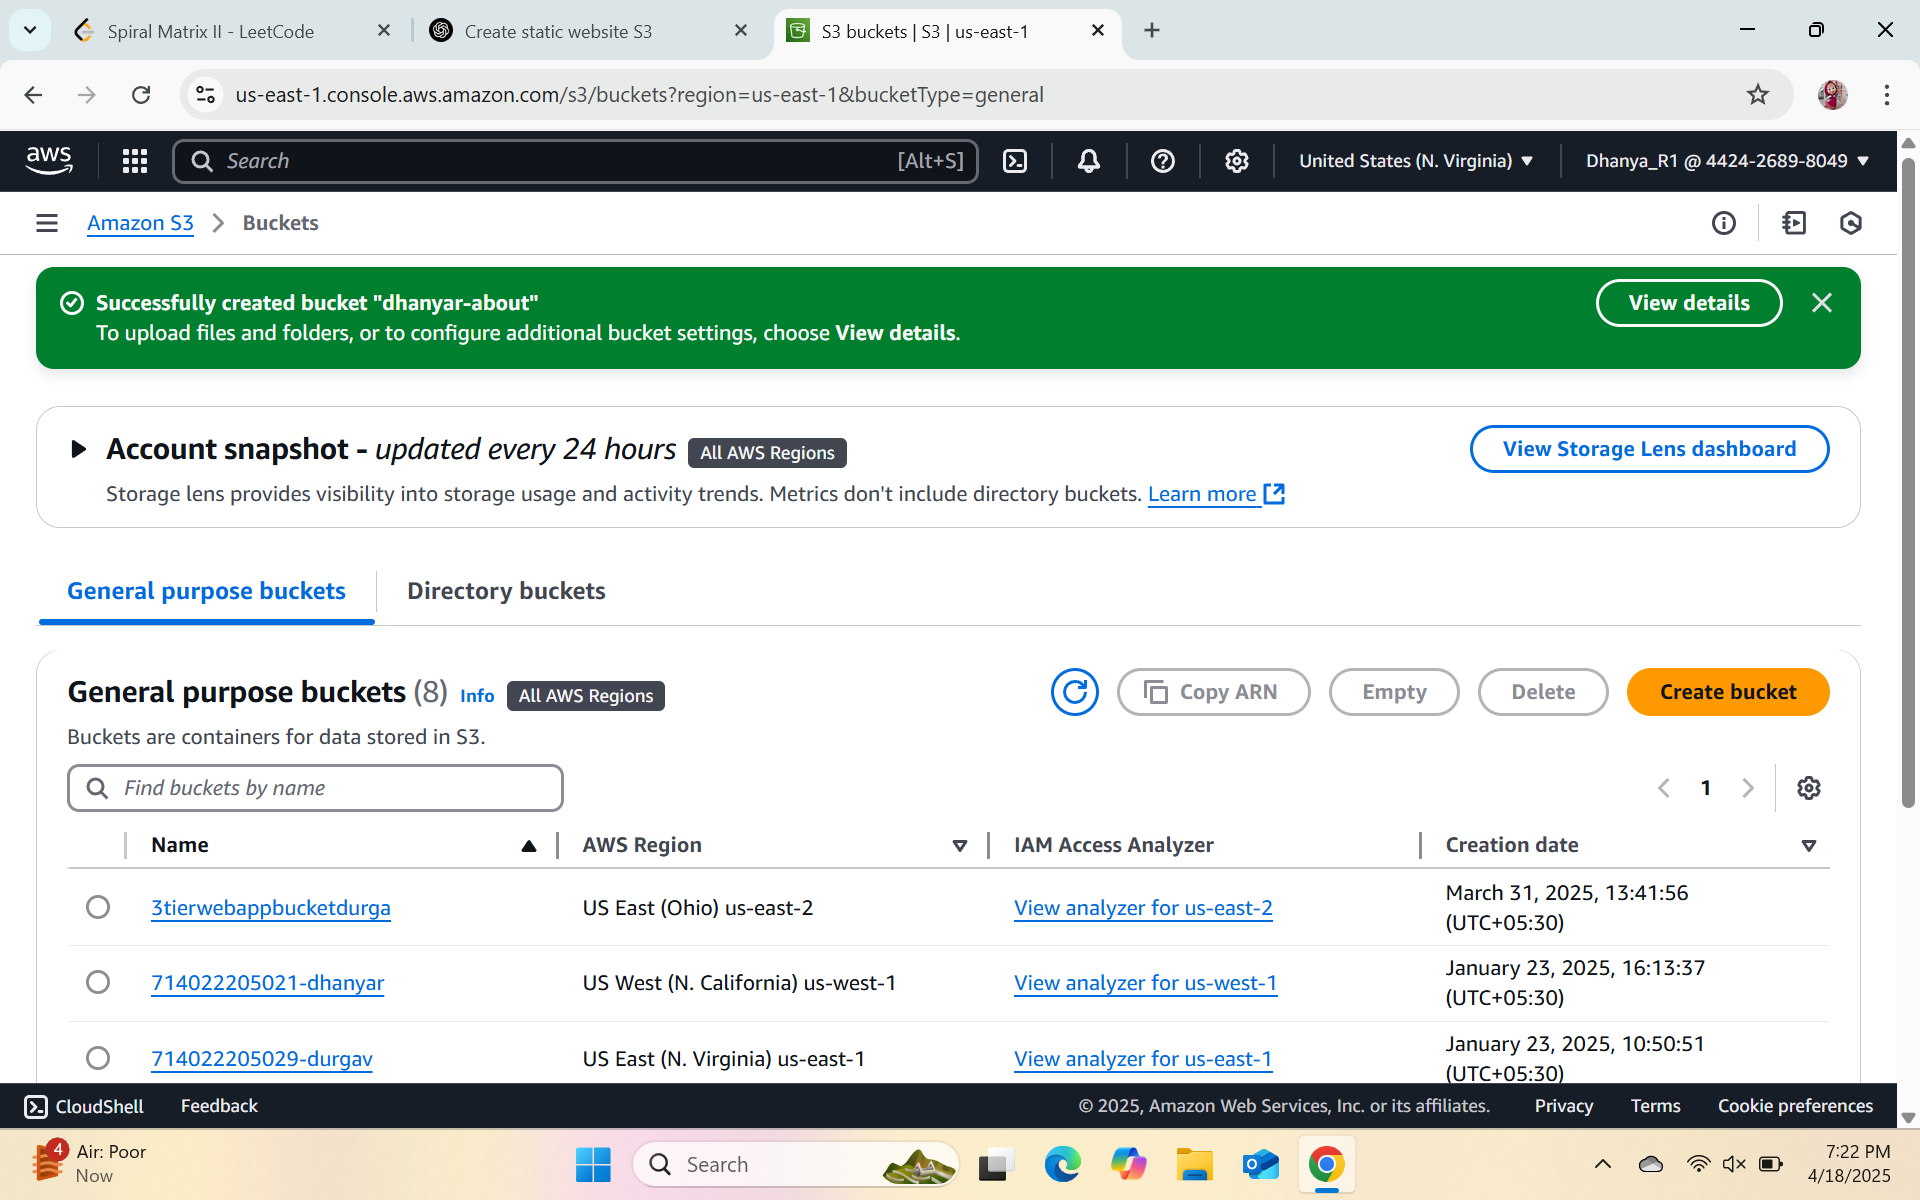
- Click Create bucket.
- Choose a globally unique name.
- Uncheck “Block all public access”.
- Enable ACLs and acknowledge the warning.
- Click Create bucket.
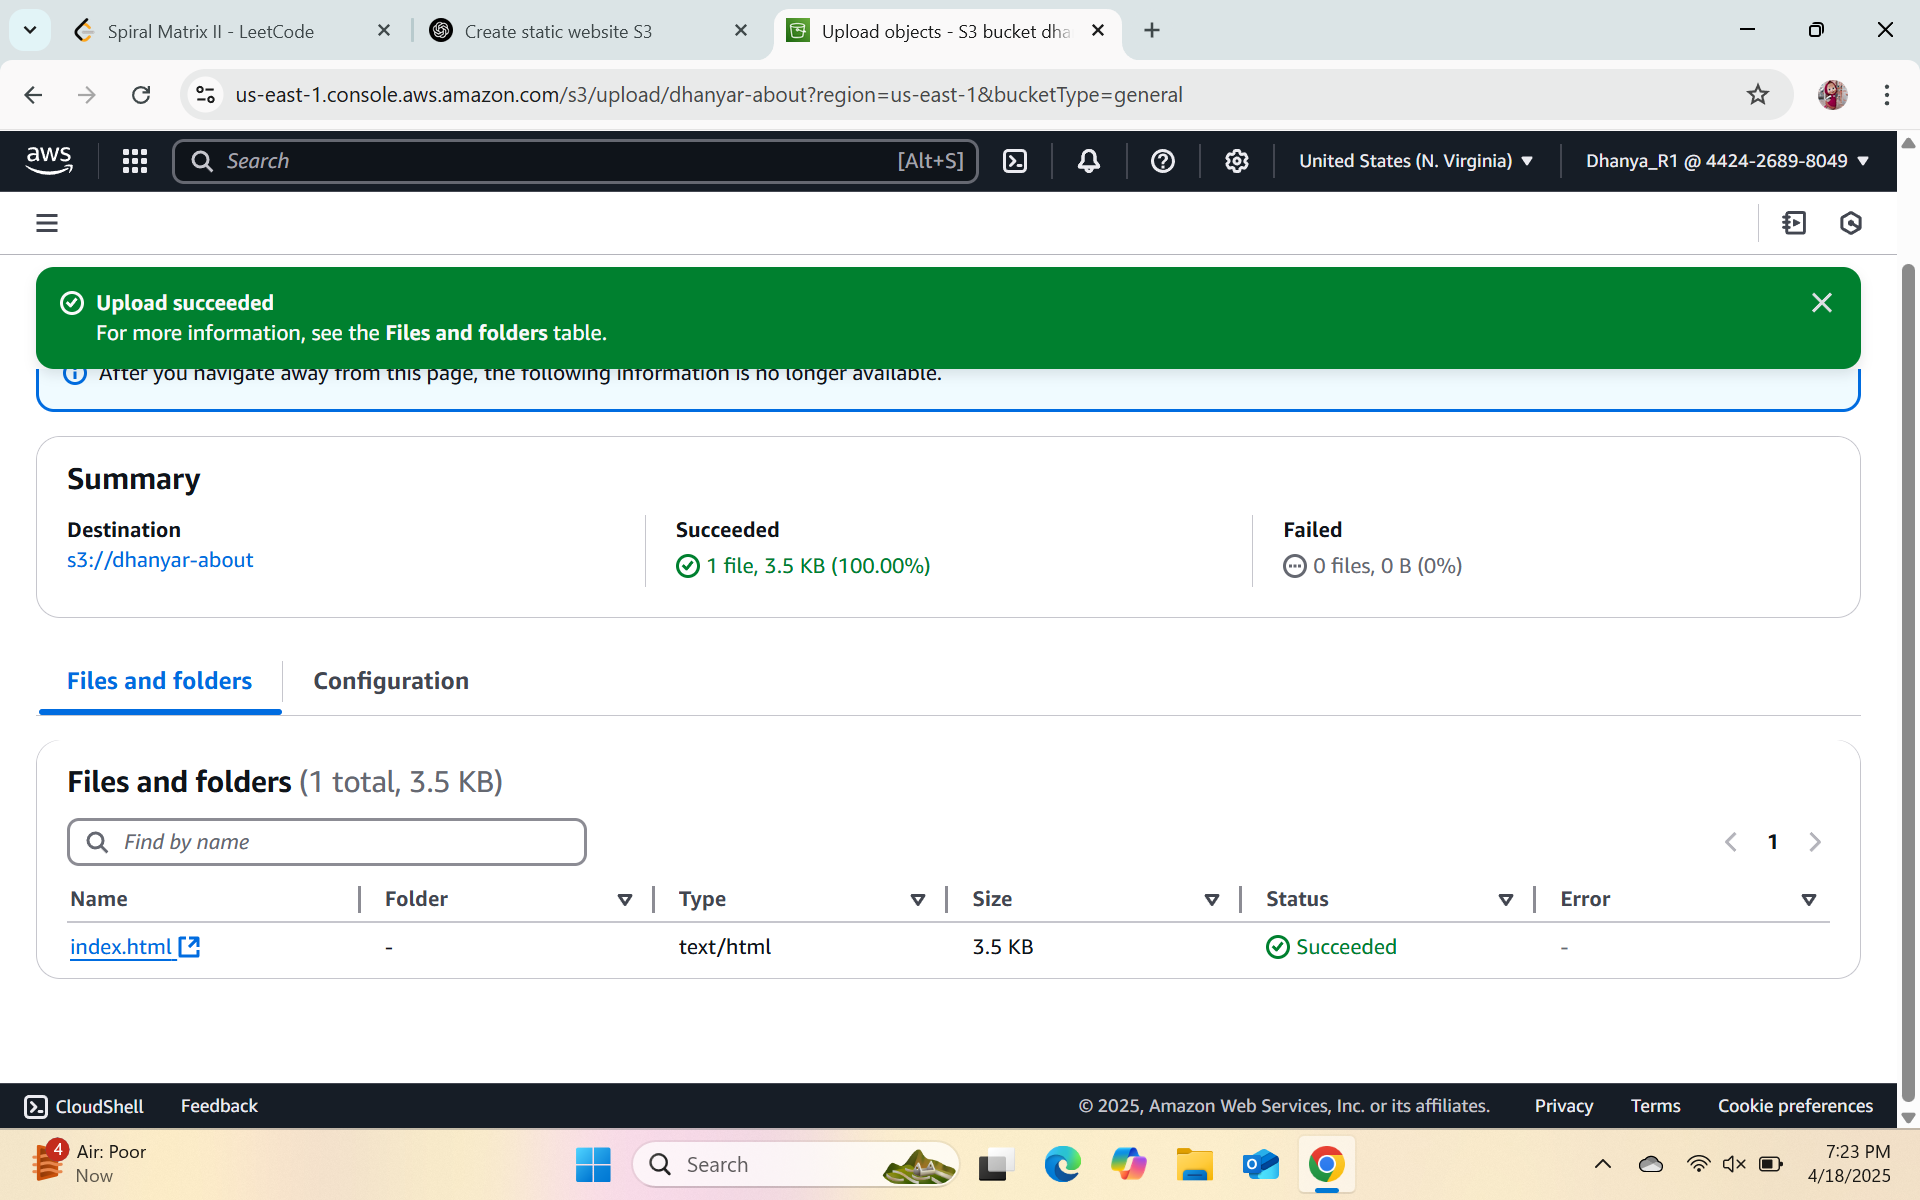
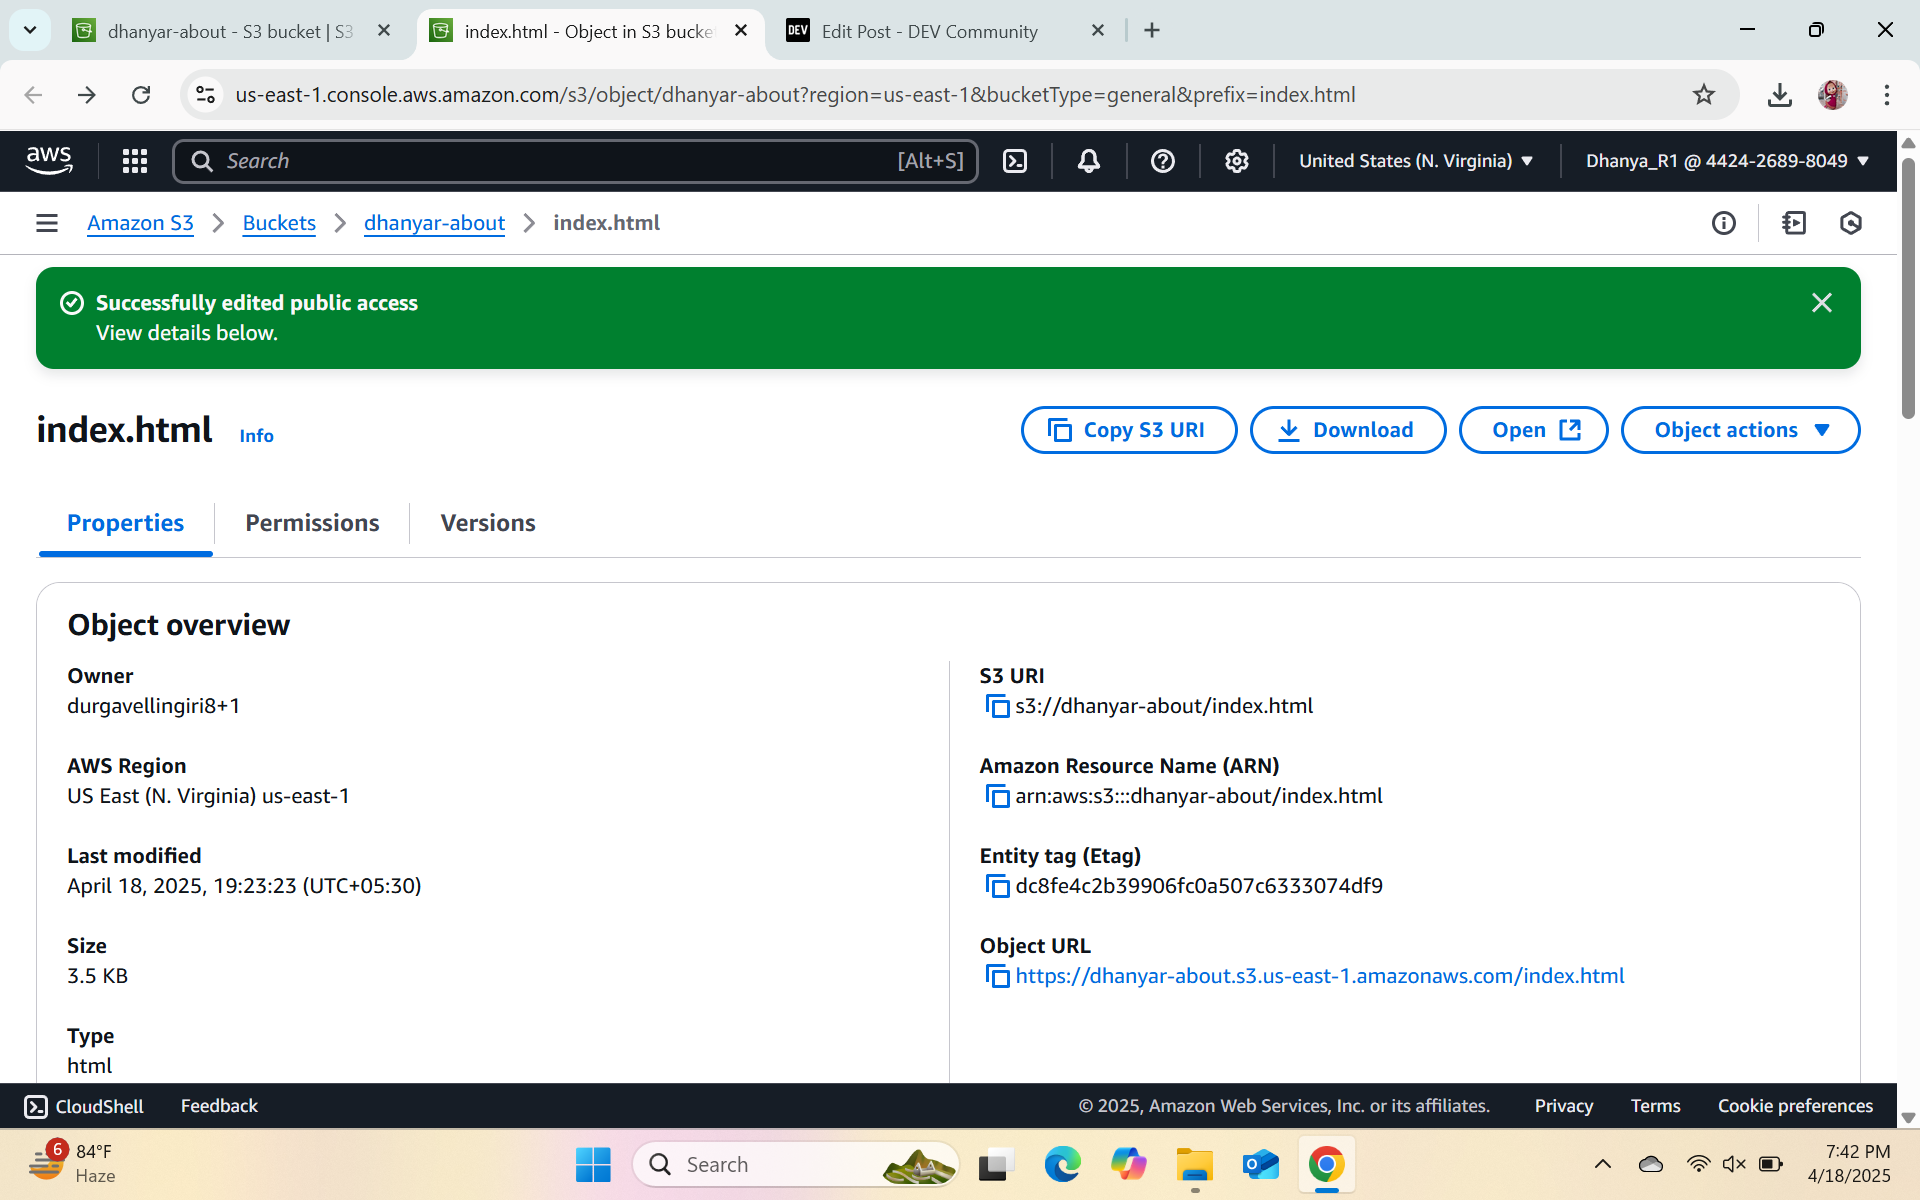
✅ Step 3: Upload Your HTML File
- Open your bucket.
- Click Upload → Add your index.html.
- Click Upload.
✅ Step 4: Set File Permissions
- Select the uploaded file.
- Click Actions > Make public.
- This step is important so your file is visible to the public through the website URL.
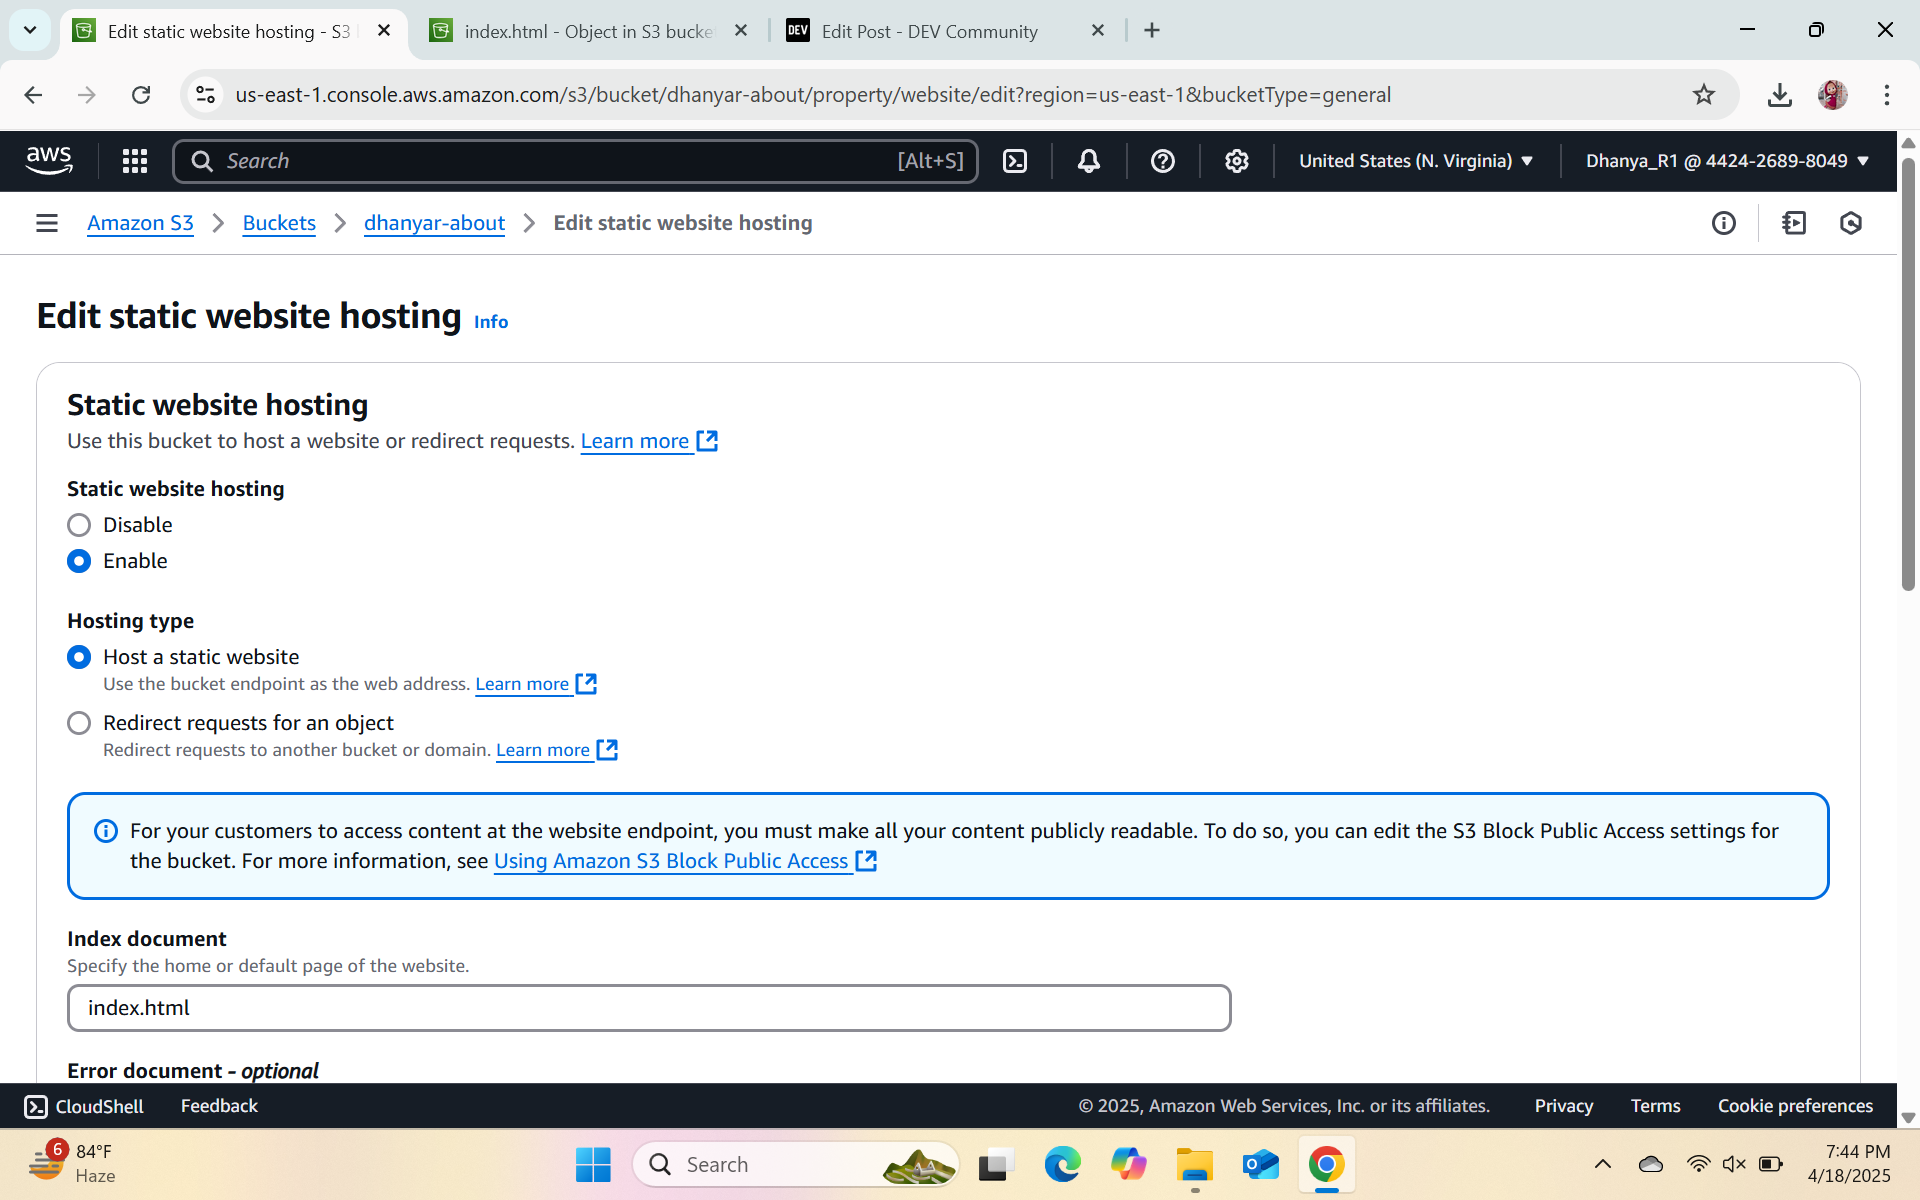
✅ Step 5: Enable Static Website Hosting
- Go to the Properties tab of your bucket.
- Scroll to Static website hosting and click Edit.
- Choose Enable.
- Set the Index document:
- If your file is named index.html, enter: index.html
- Save changes.
✅ Step 6: Add a Bucket Policy (If Access Denied)
- If you're getting an "Access Denied" error:
- Go to the Permissions tab.
- Scroll to Bucket Policy, click Edit.
- Paste this policy (replace YOUR-BUCKET-NAME):
- json
- Copy
- Edit
{
"Version": "2012-10-17",
"Statement": [
{
"Sid": "PublicReadGetObject",
"Effect": "Allow",
"Principal": "",
"Action": "s3:GetObject",
"Resource": "arn:aws:s3:::YOUR-BUCKET-NAME/"
}
]
}
- Click Save changes.
✅ Step 7: View Your Website! 🎉
- Go back to the Static Website Hosting section.
- You’ll see a bucket website endpoint and that is your Website endpoint URL.
- Copy and then paste it in a new tab to see your static website.