
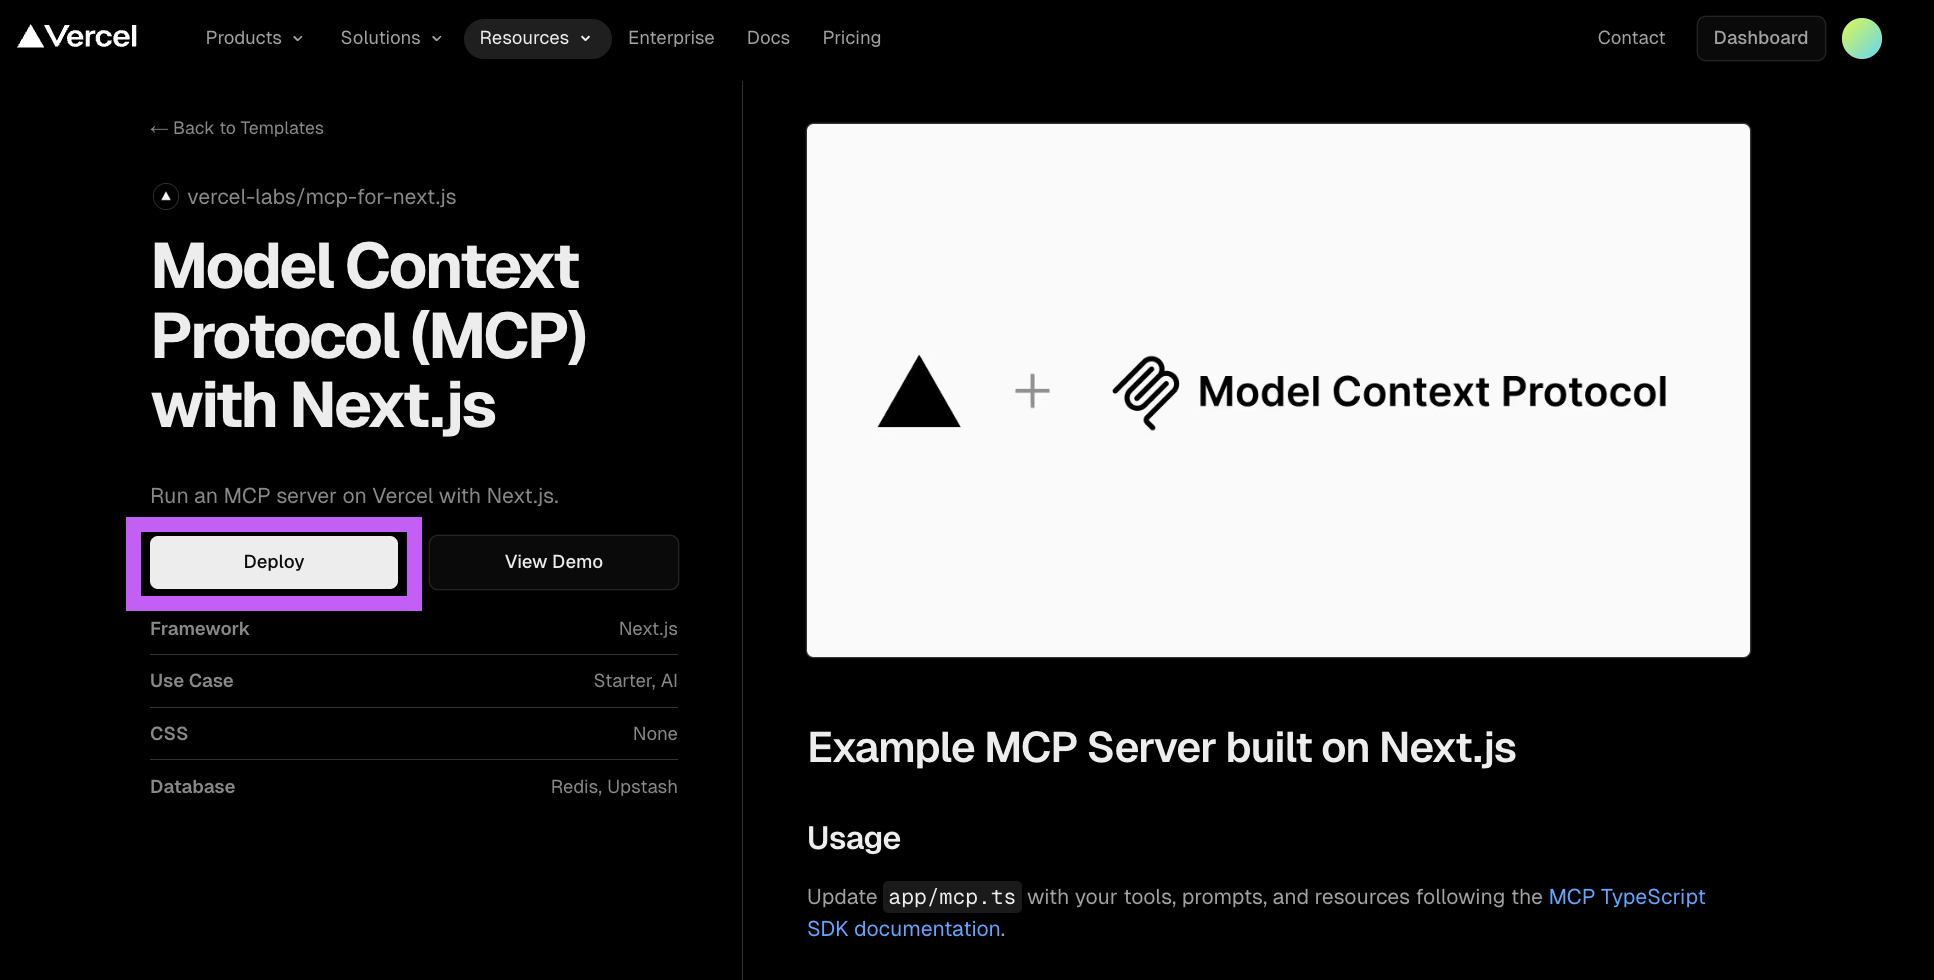
1. Deploy to Vercel using template
Navigate to https://vercel.com/templates/next.js/model-context-protocol-mcp-with-next-js and click on Deploy.
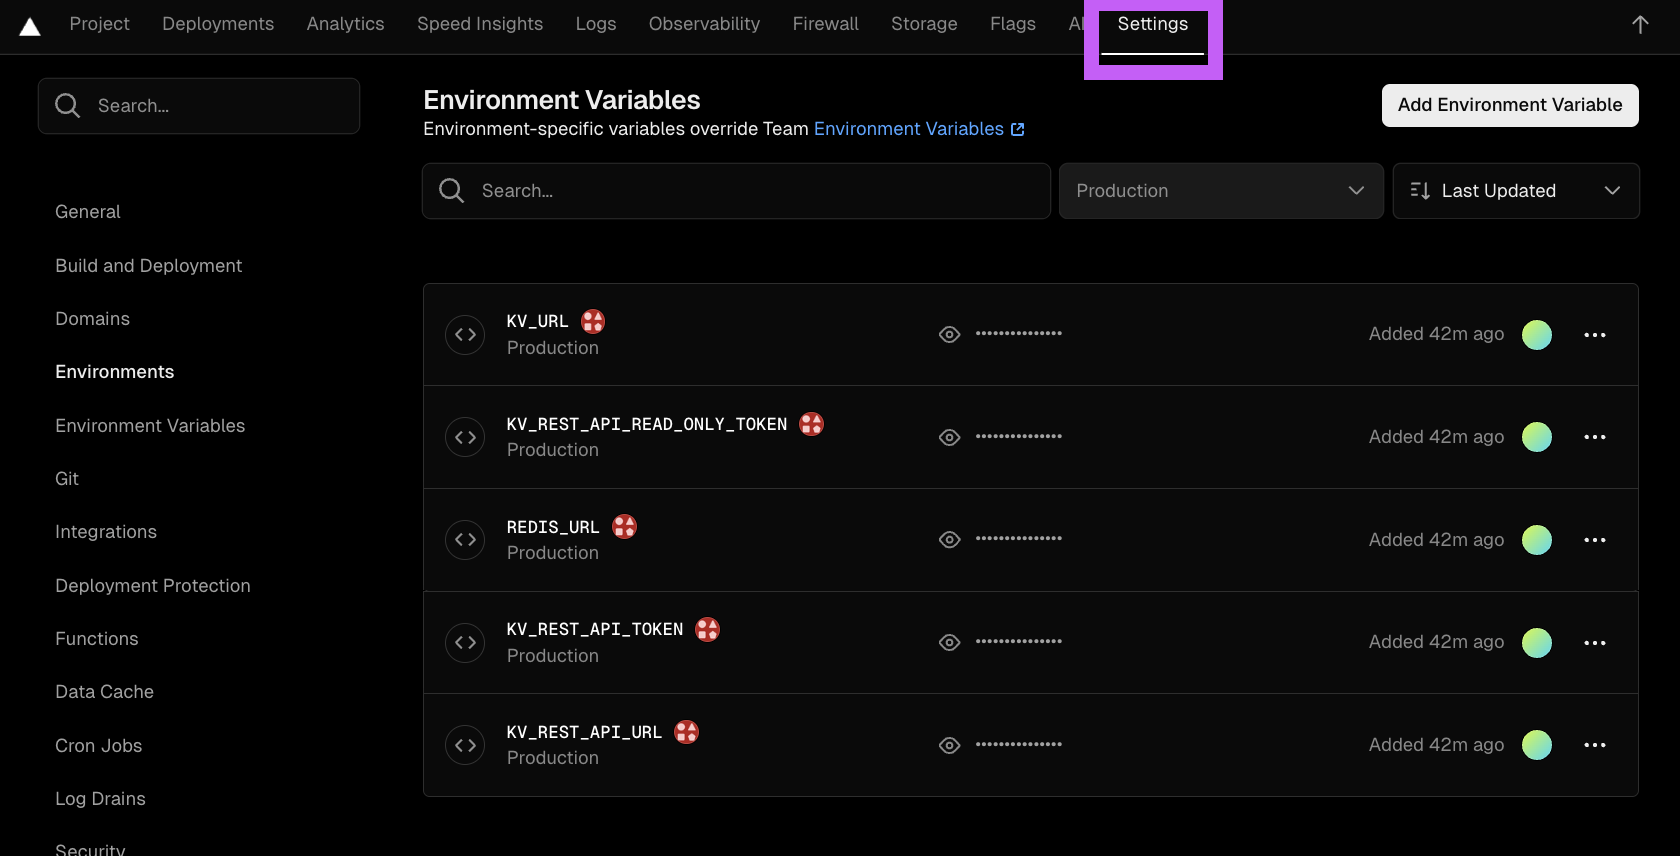
2. Set up Upstash for Redis
Go to the Storage tab and add Upstash for Redis.

Afterwards go to Settings and verify that environment variables are properly populated.
3. Clone your repo and deploy
Clone the repo created in Step 1 and add app/layout.tsx and app/page.tsx. Committing and pushing will trigger a deploy.
// app/layout.tsx
export const metadata = {
  title: 'Remote MCP',
  description: 'Remote MCP on Vercel tutorial',
}

export default function RootLayout({
  children,
}: {
  children: React.ReactNode
}) {
  return (
    <html lang="en">
      <body>{children}</body>
    </html>
  )
}// app/page.tsx
export default function HomePage() {
return (
<h1>Remote MCP</h1>
);
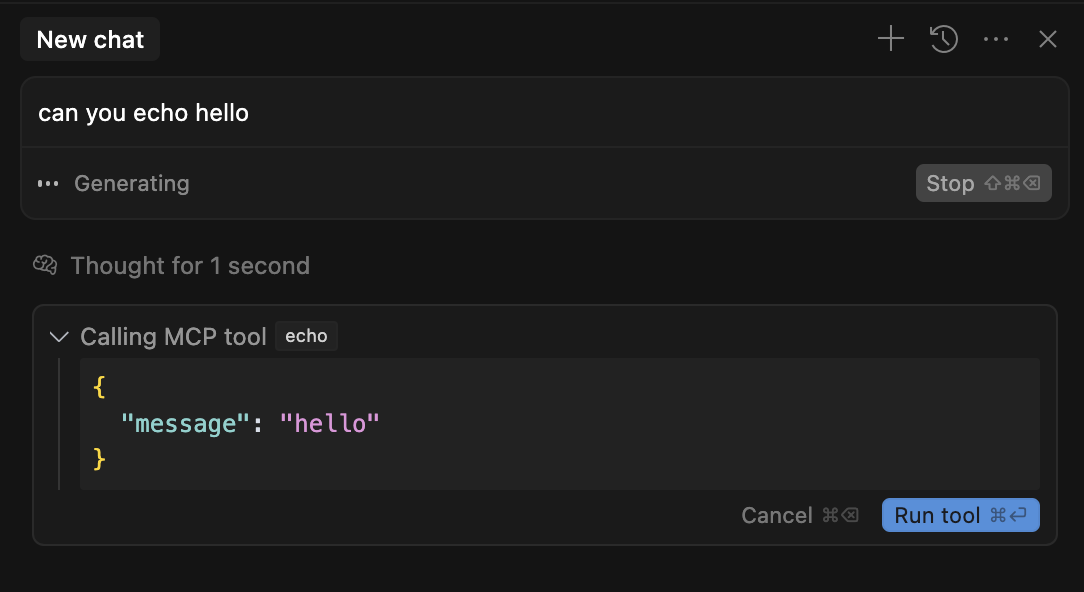
}4. Connect to your Remote MCP using Cursor
Add the following to your mcp.json after going to Settings -> MCP -> Add new global MCP server.
{
  "mcpServers": {
    // ...
    "Remote MCP Demo": {
      "command": "npx",
      "args": [
        "mcp-remote",
        "https://your-vercel-name.vercel.app/sse"
      ]
    }
  }
}
5. Trigger your remote MCP
If you want to add a custom domain to this MCP, you can follow this tutorial: https://dev.to/andyrewlee/how-to-add-custom-domain-to-vercel-using-namecheap-dp8.
