
In this blog, you will learn how to deploy your Blazor App to Azure App Service from scratch.
Create new project

Search “Blazor”, Select “Blazor Web App”
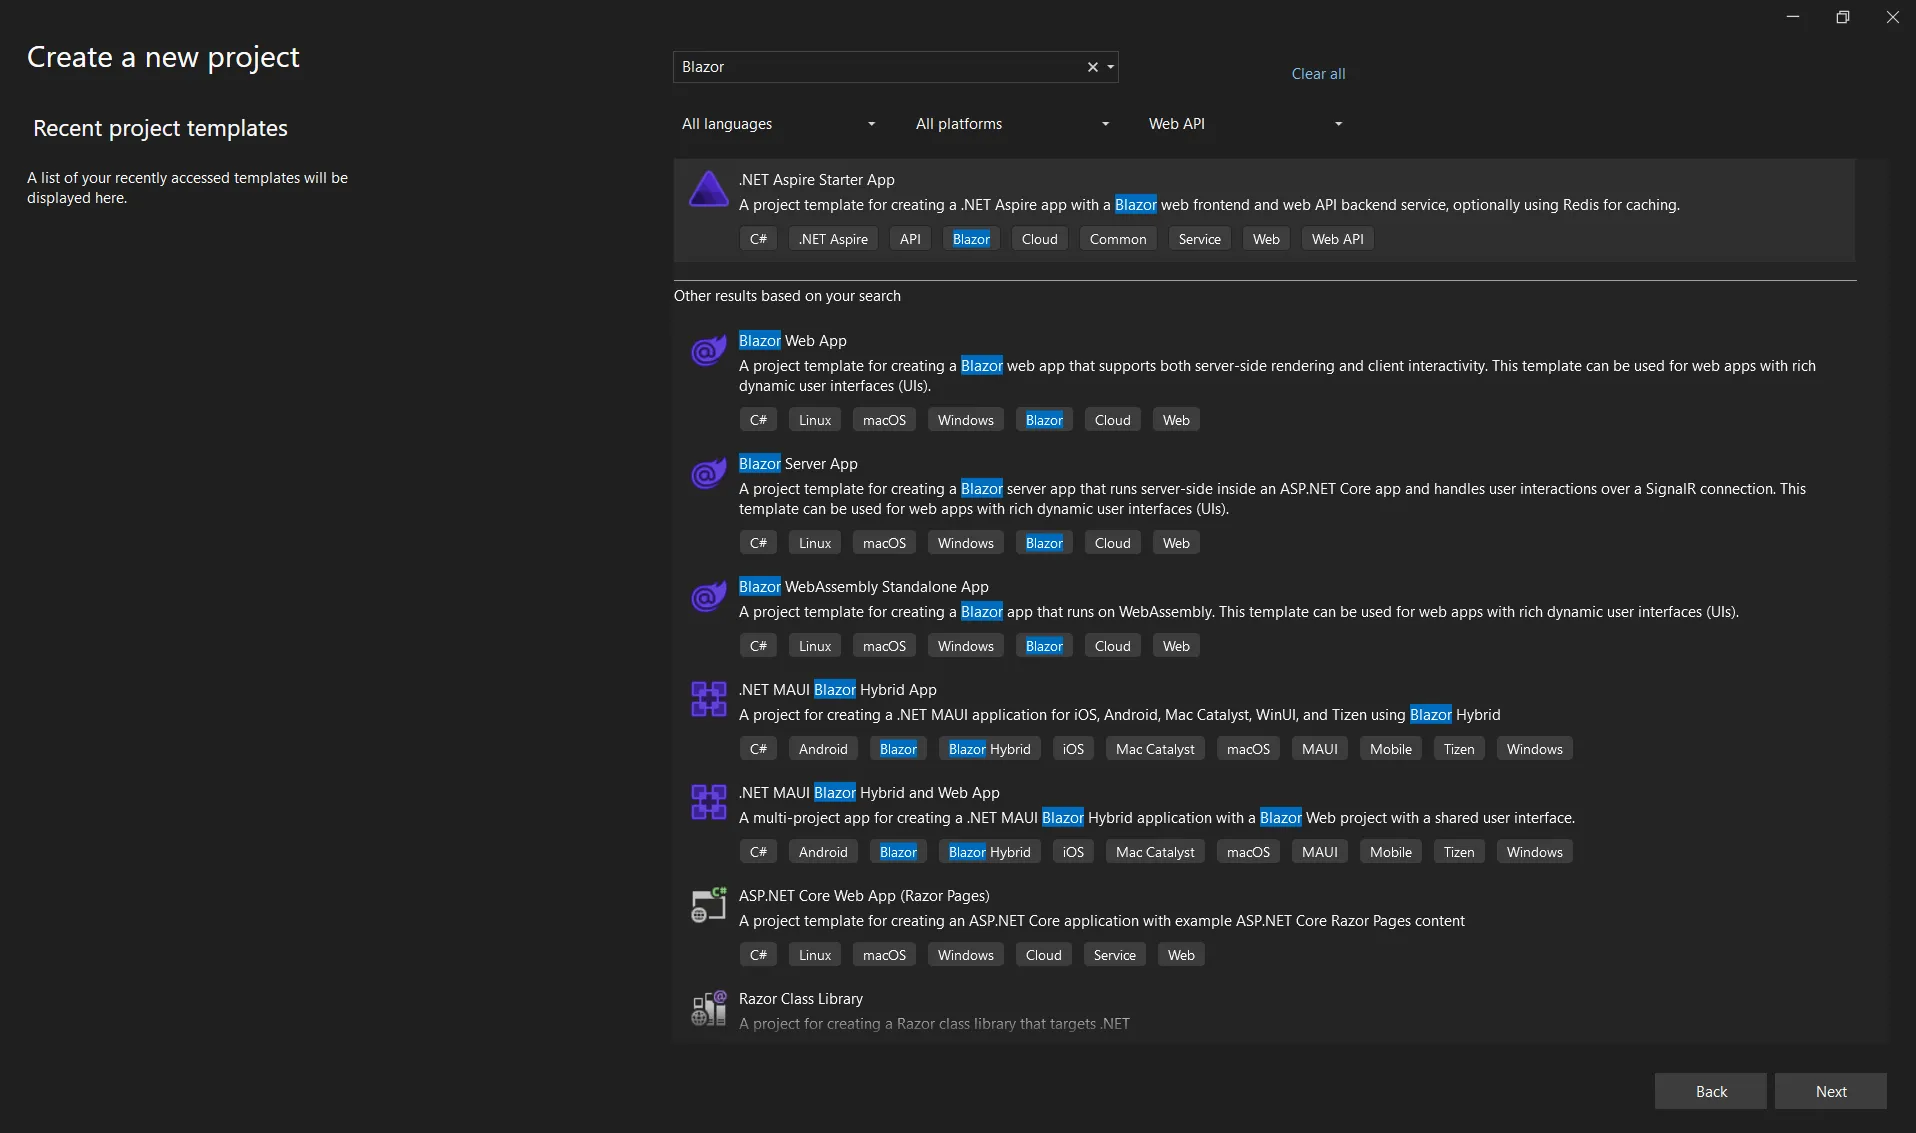
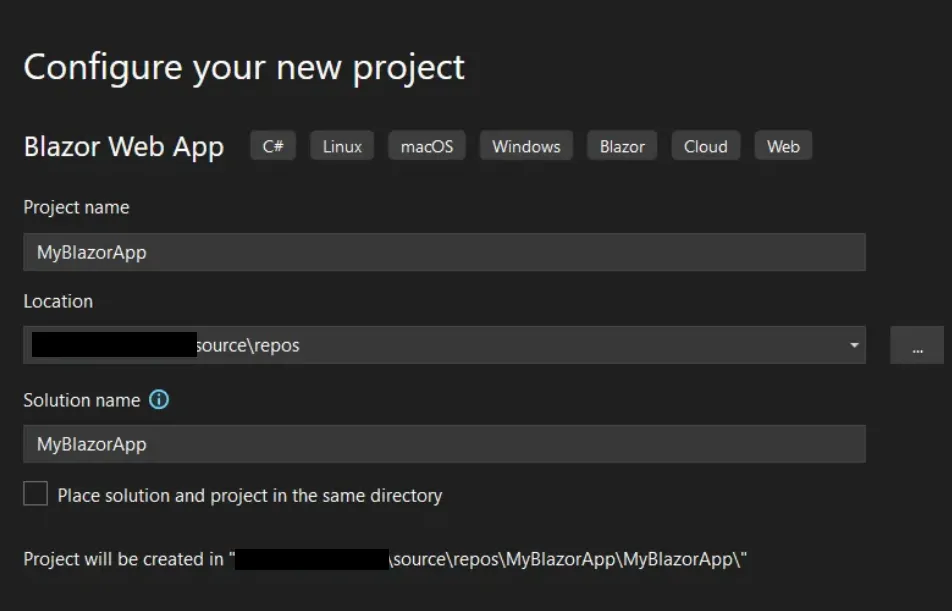
name your project name as “MyBlazorApp” and click Next
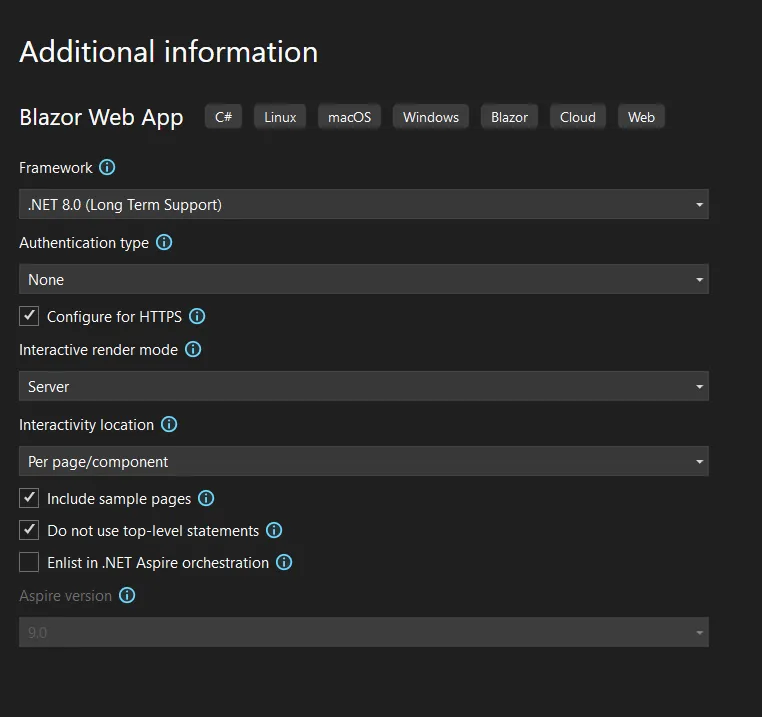
In this page, let’s leave the additional information as it is. However, if you want to change something feel free.
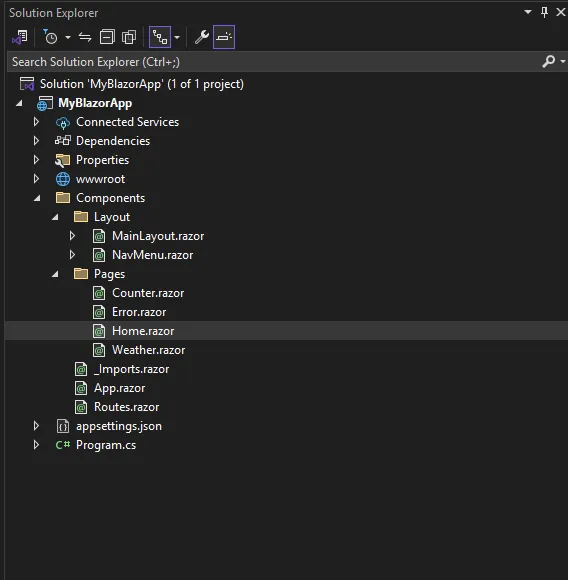
Now, our project “MyBlazorApp” has been created.
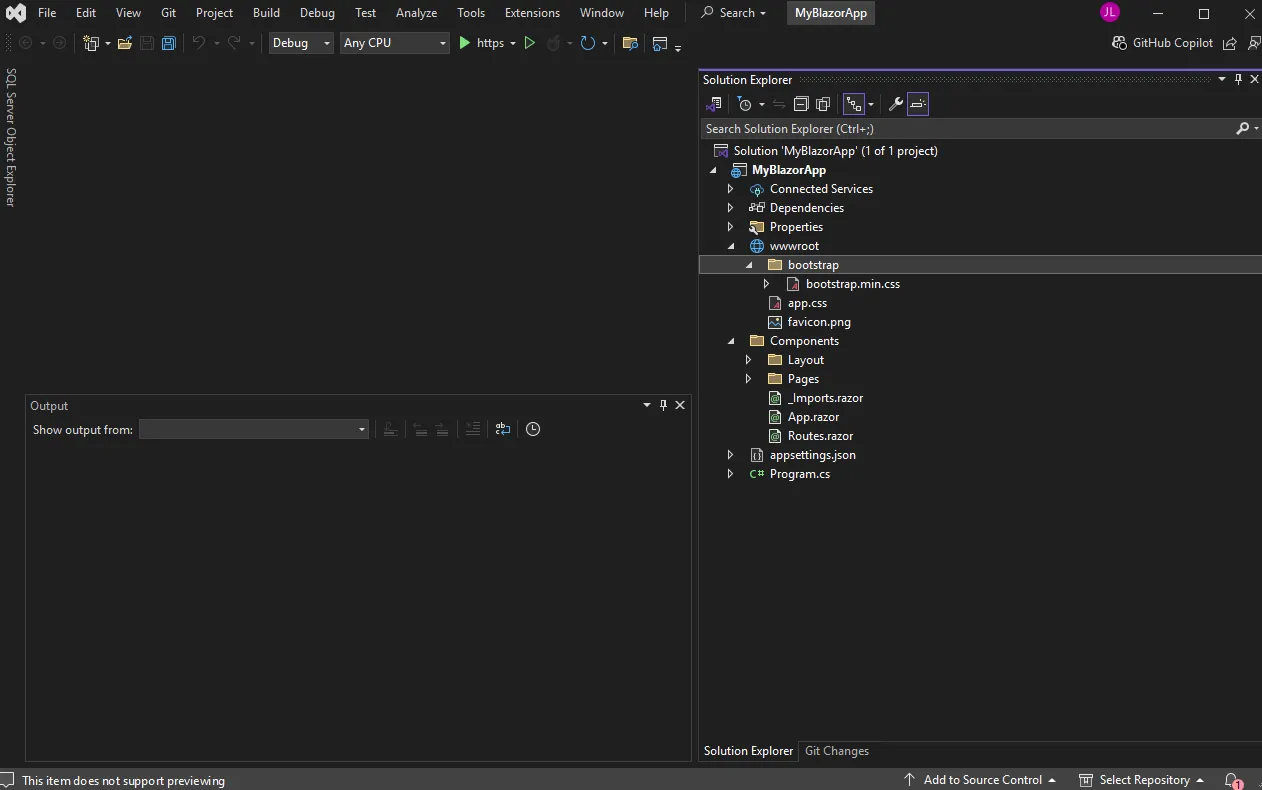
Let’s run the application.
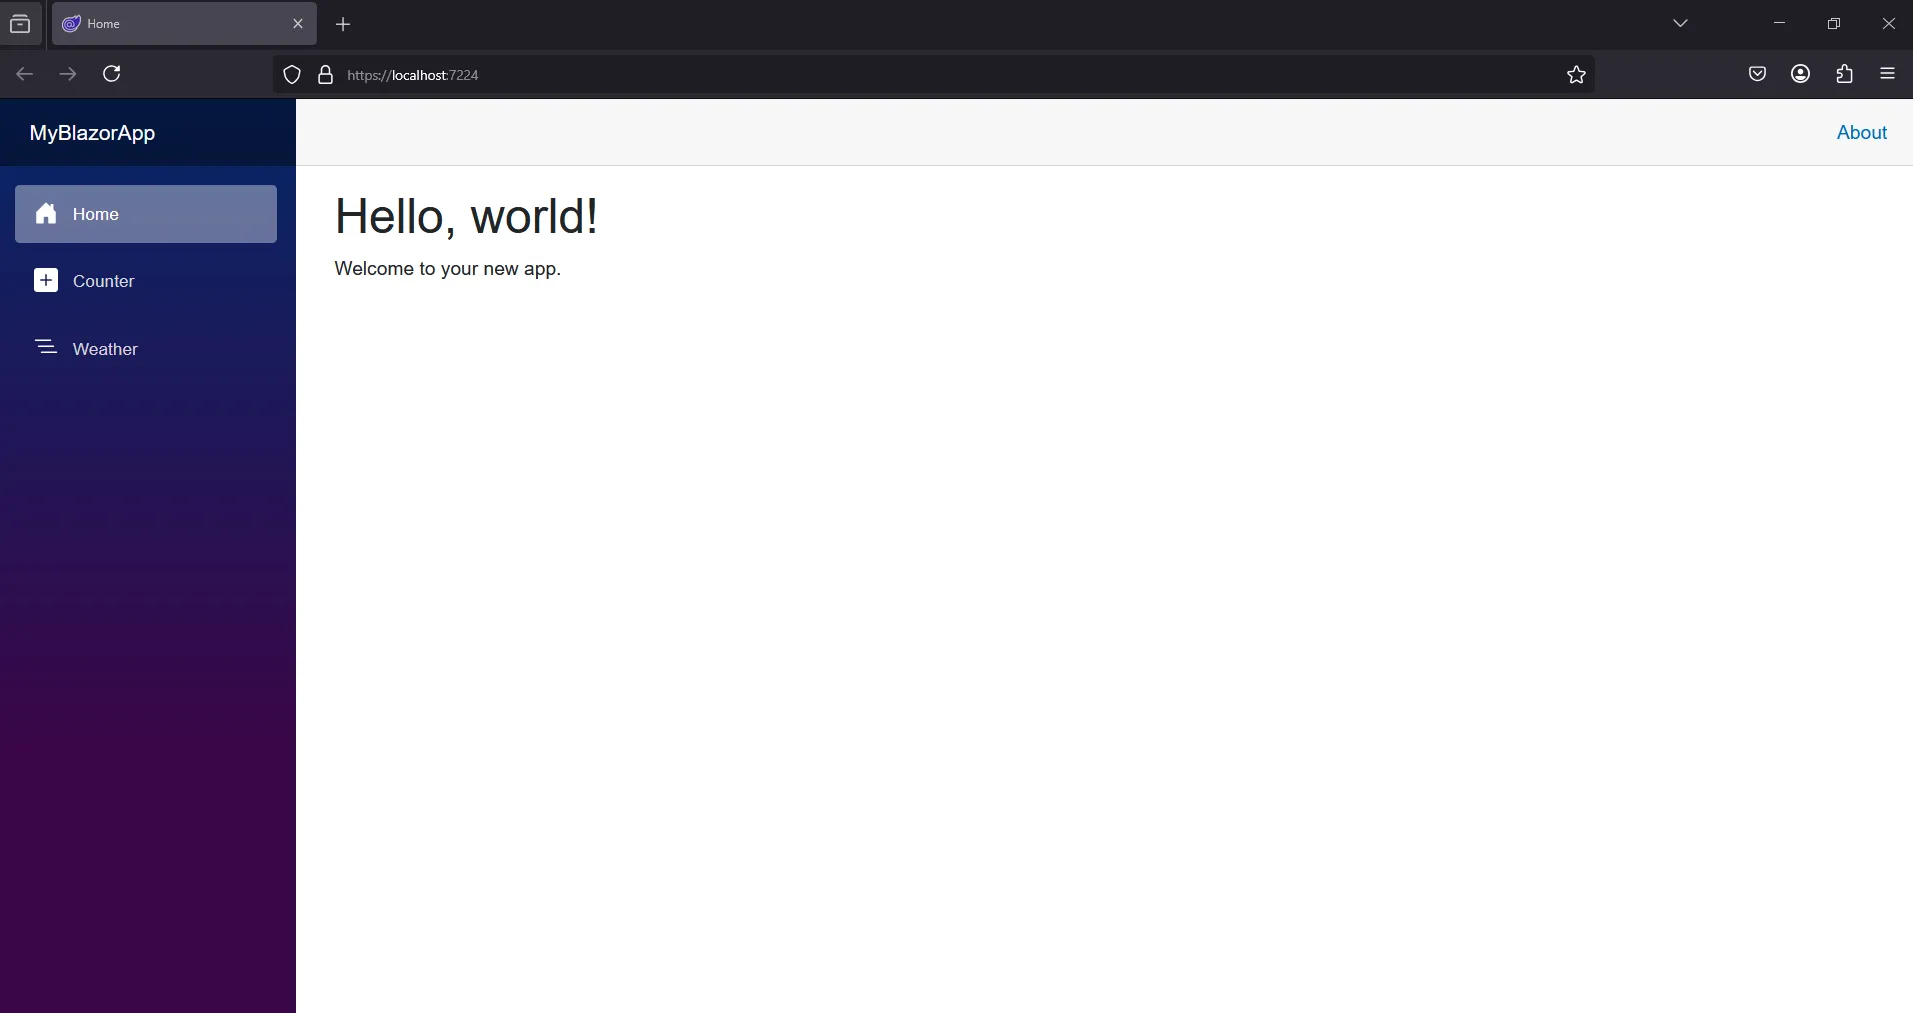
Alright, let’s change the “Hello World” text to “Hello Azure App Service”
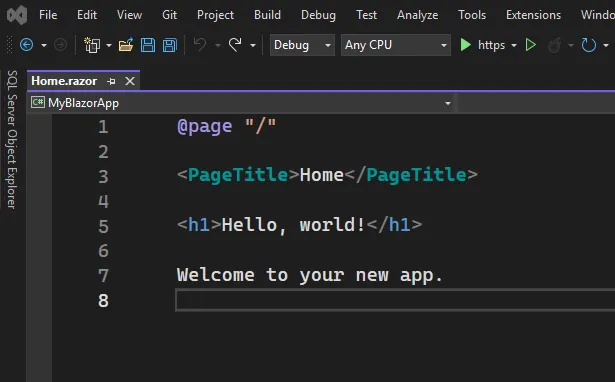
Go to Components > Pages > Home.razor
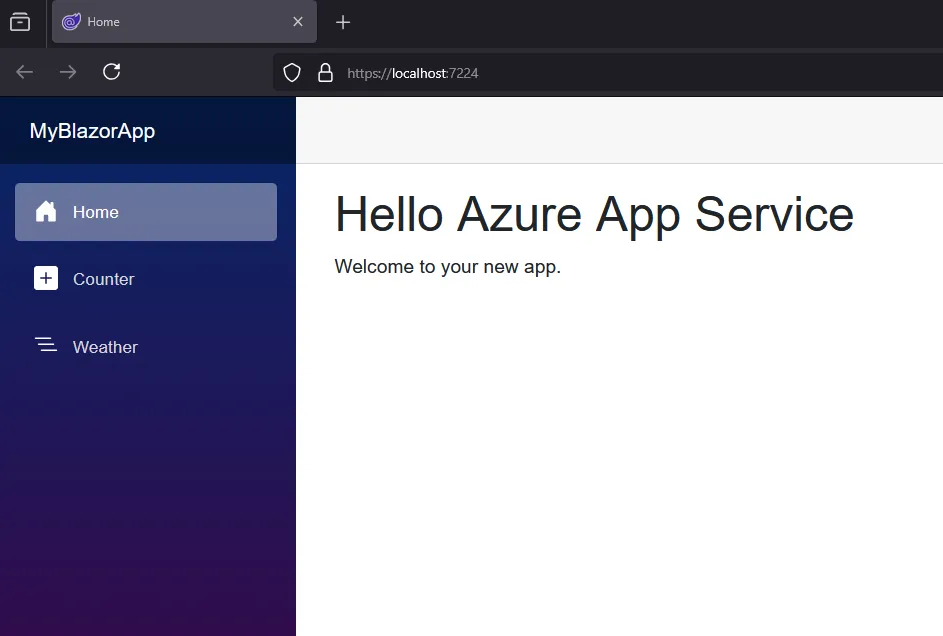
Home.razor, let’s change the text of h1 “Hello world” to “Hello Azure App Service“
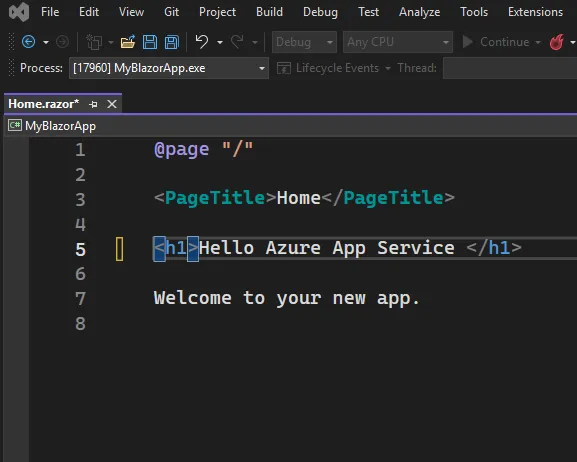
Let’s run again the app and see the changes
Now let’s setup Azure App Service and deploy our Blazor App to Azure
Go to Build > Publish “MyBlazorApp”

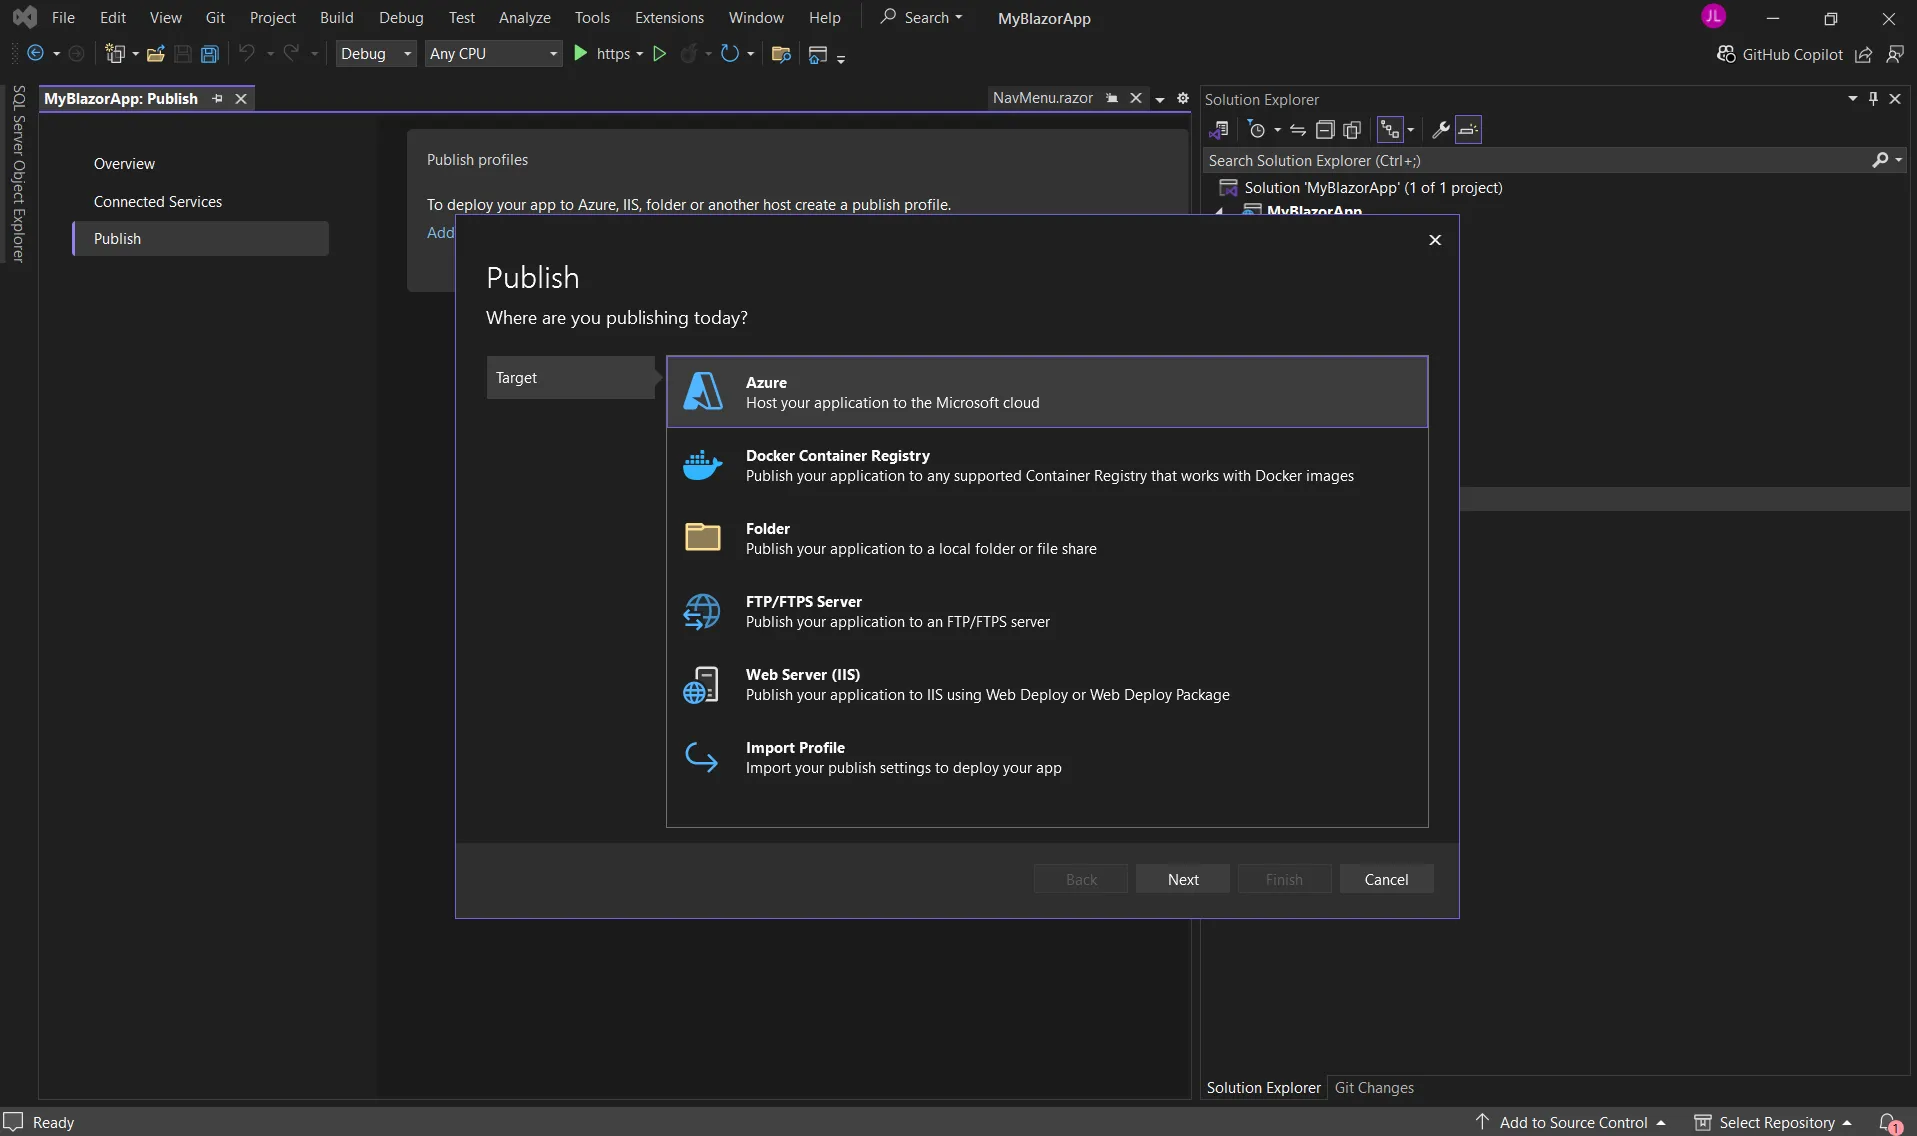
A pop up will show up, asking where do you want to publish your application?
In our case, we will select “Azure” as we want to deploy it in Azure App Service
Select Azure > click Next button
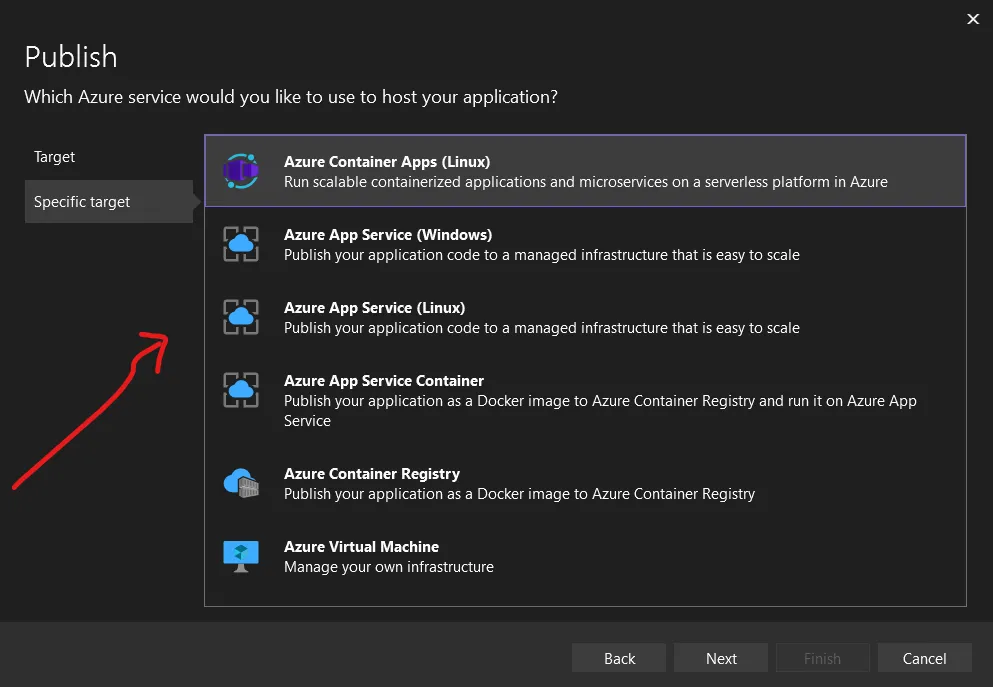
click Azure App Service (linux) , click next button
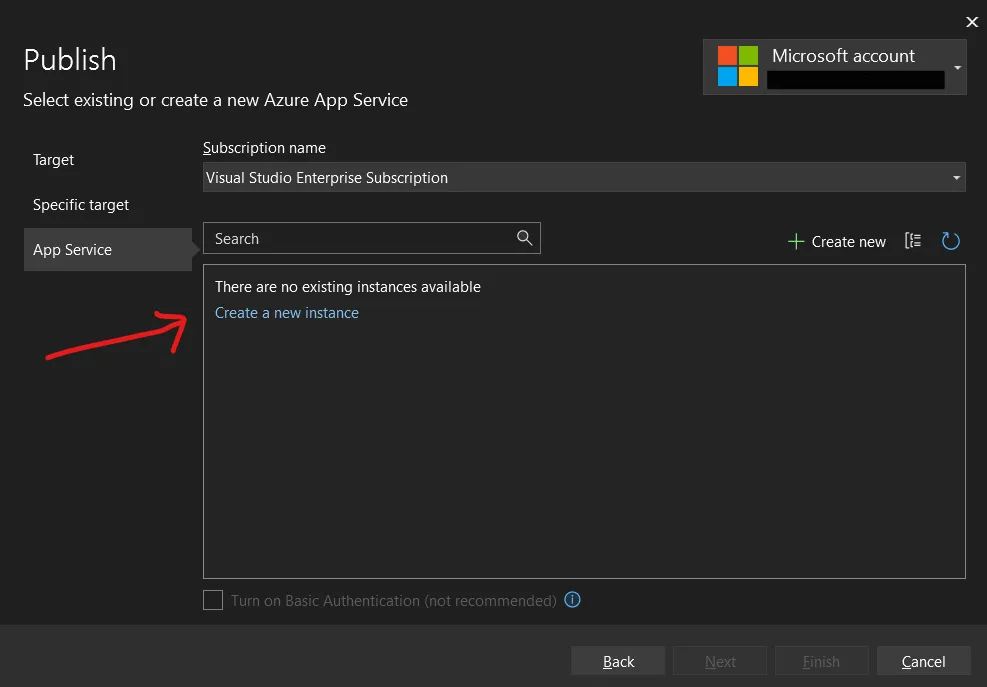
Next step is to login your Azure Subscription Account, In my case i have already logon to my Azure subscription. Once you login you will see this window.
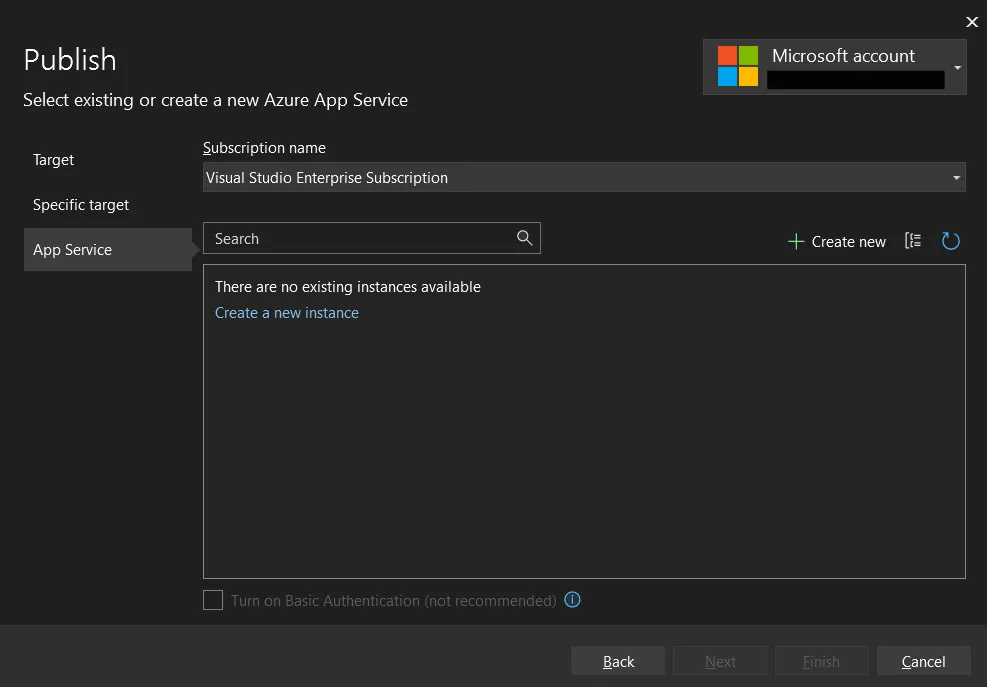
You can click create a new instance to create new if you do not have yet. You can also use azure cli or Azure portal to create your instance. In our case let’s click “Create a new instance”
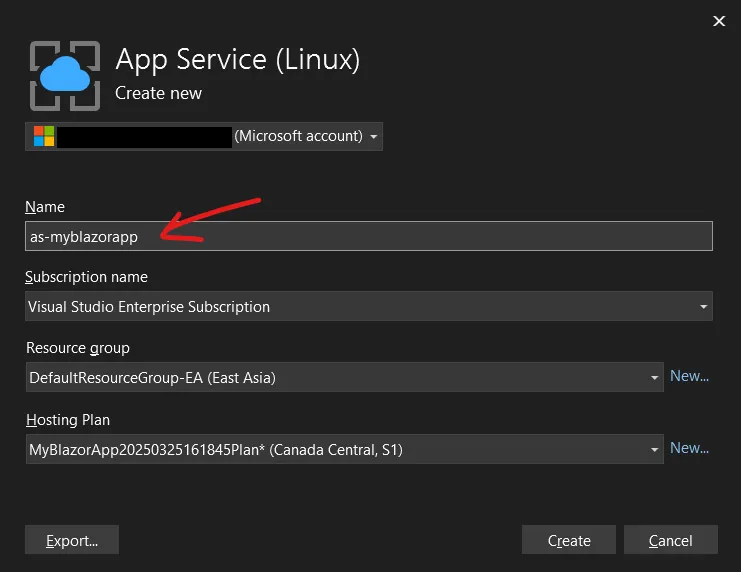
New instance window will show up
Let’s change the name of our App service from “MyBlazorApp…. to “as-myblazorapp”
“as” means azure app service, so we can distinguish and identify easily the type of our azure services.

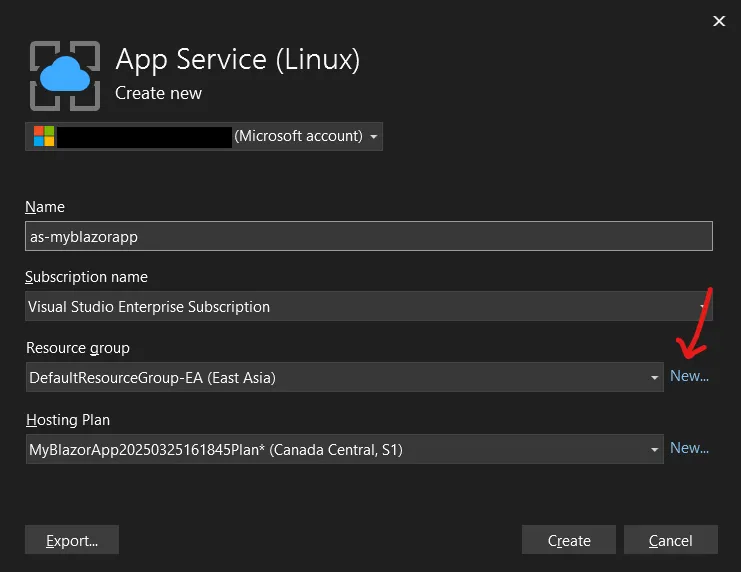
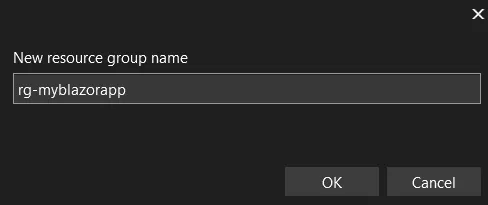
Create a new resource group click “New”
name it as “rg-myblazorapp” - rg means “Resource Group”
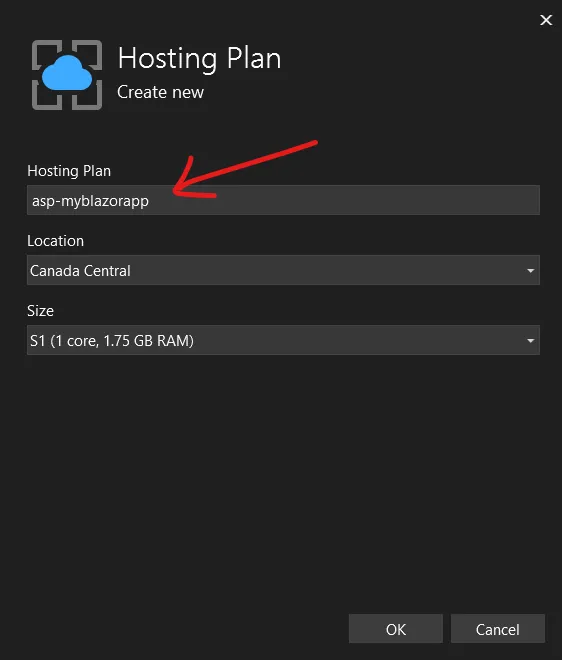
Let’s create our new Hosting Plan too click “New”

name it as “asp-myblazorapp” asp means “Azure service plan” abbreviation . Click okay to continue
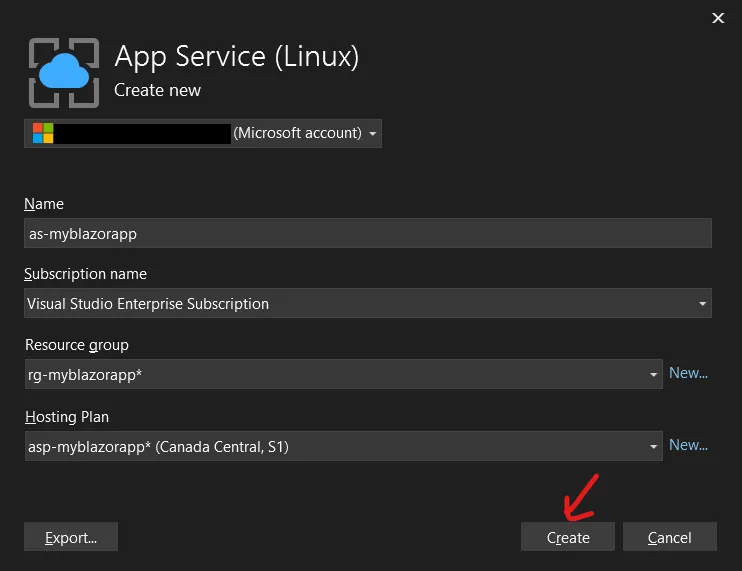
so here is our Azure Service App instance details, before clicking create , you can review. Once you have reviewed your details you can click “Create” button to proceed with the enablement of instance
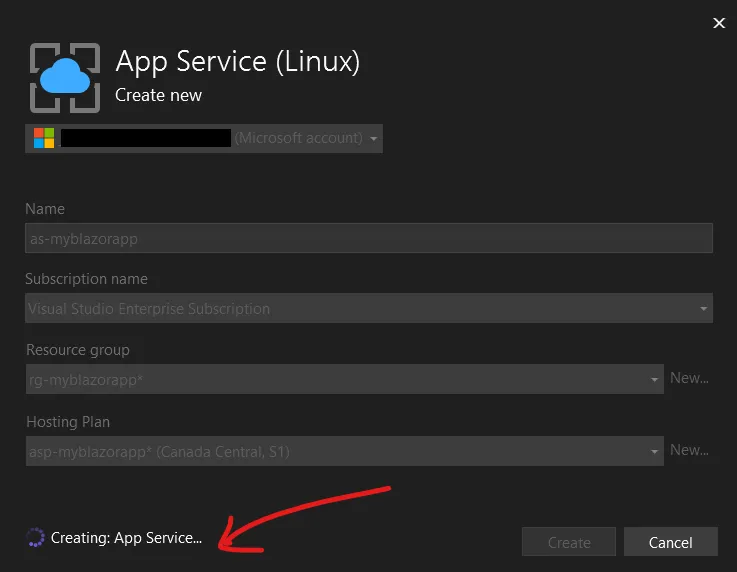
Now, Azure is now provisioning your Azure App Service, you can see the loading icon on the bottom left side of the window and wait for it to finish.
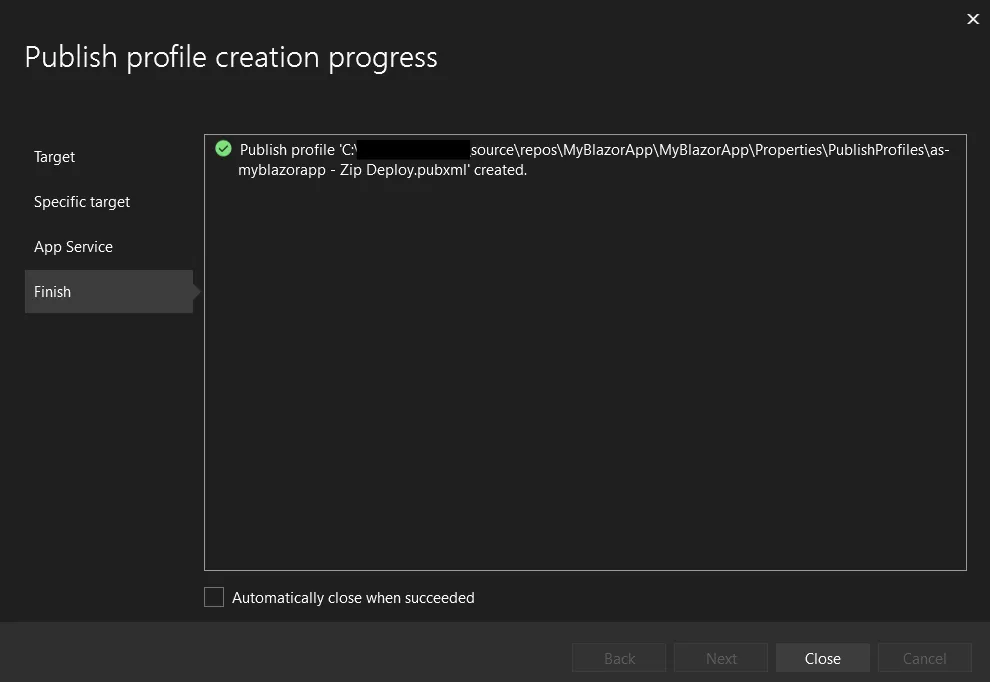
Alright! Now you can see your resource group, and Azure App service listed
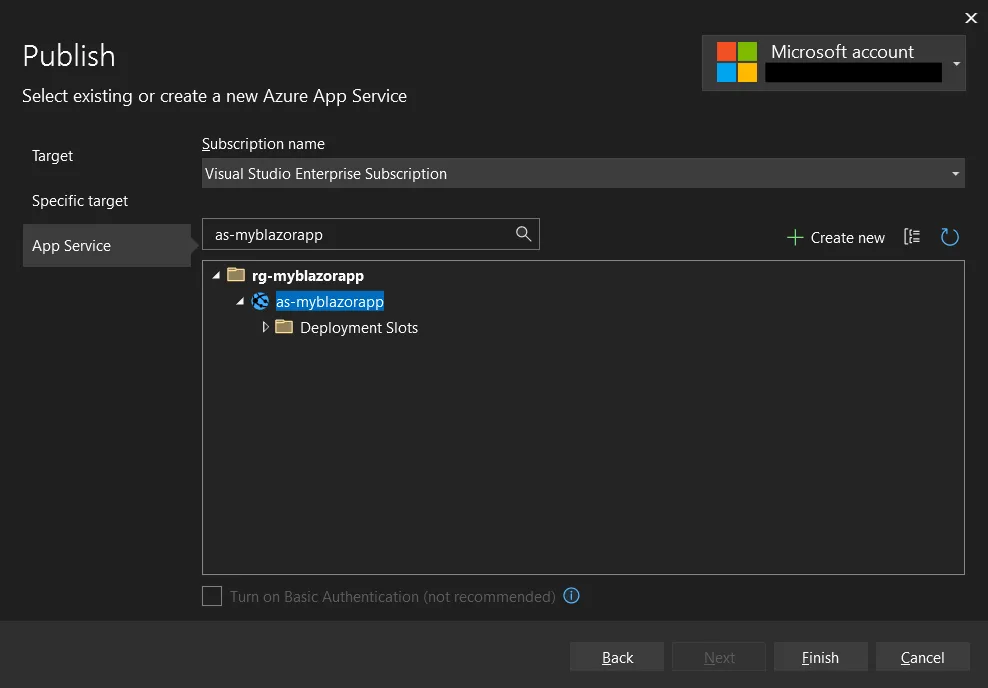
click finish and close the window.
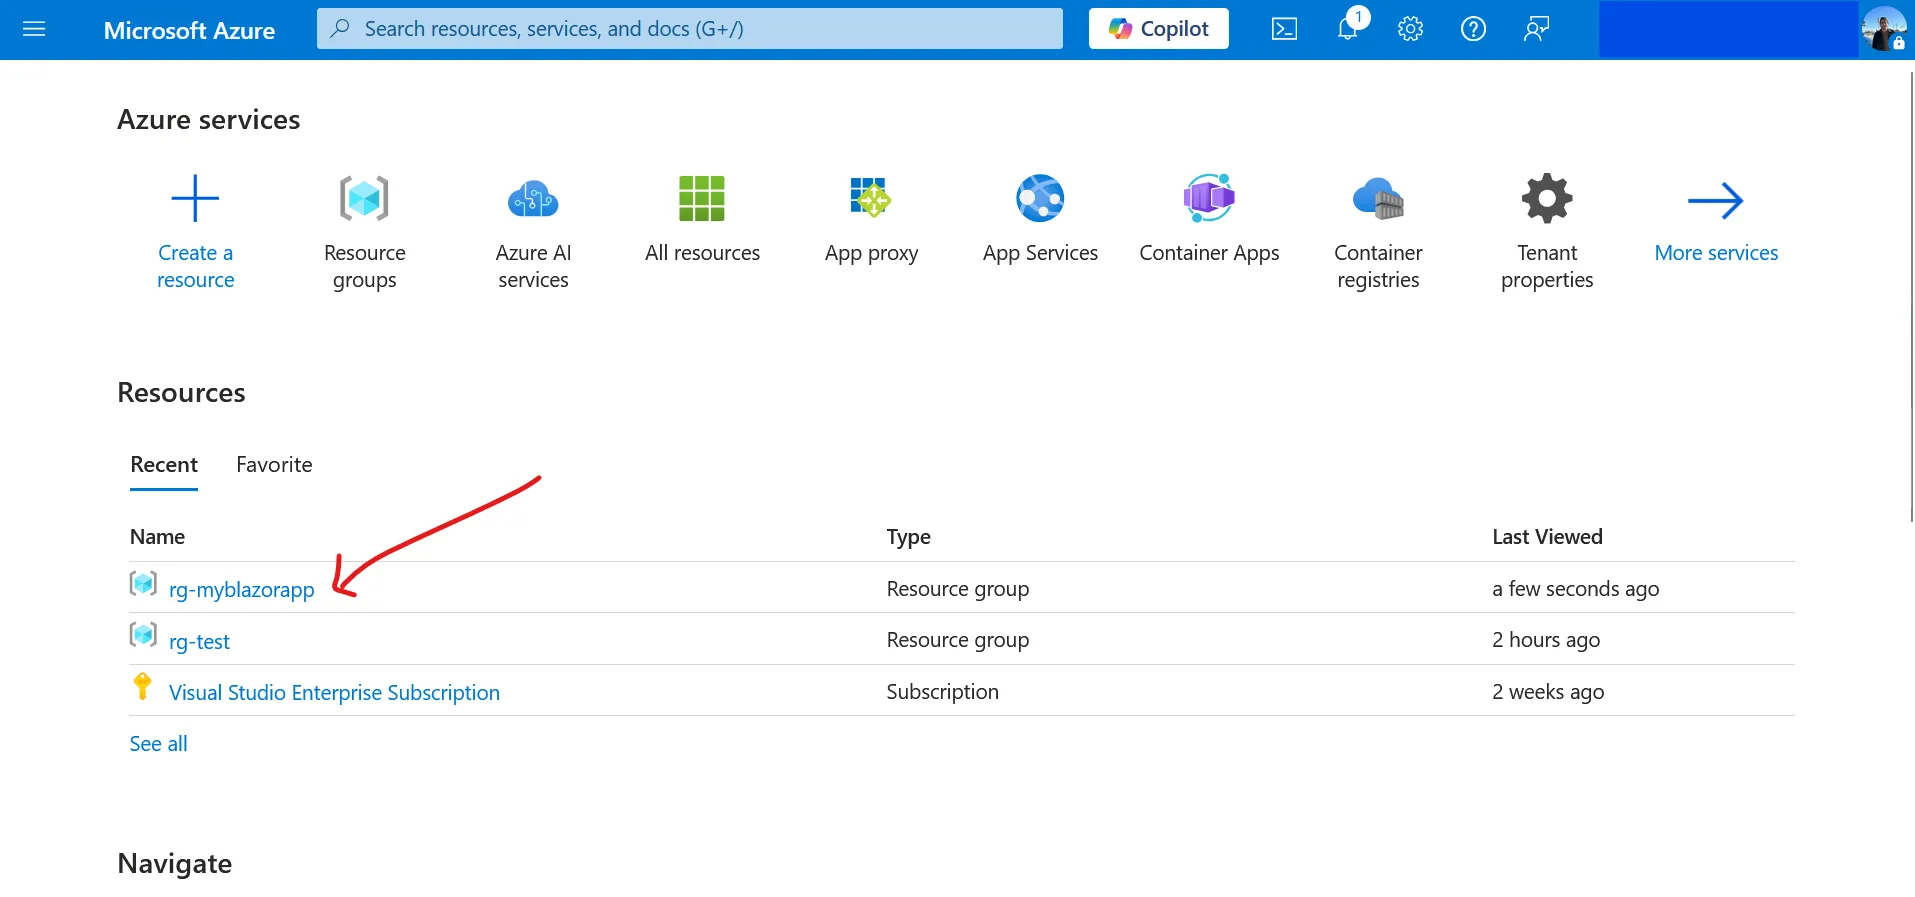
To check if your instance has been created successfully, go to Azure Portal . In the azure portal you will see “rg-myblazorapp” resource group has been created for you.
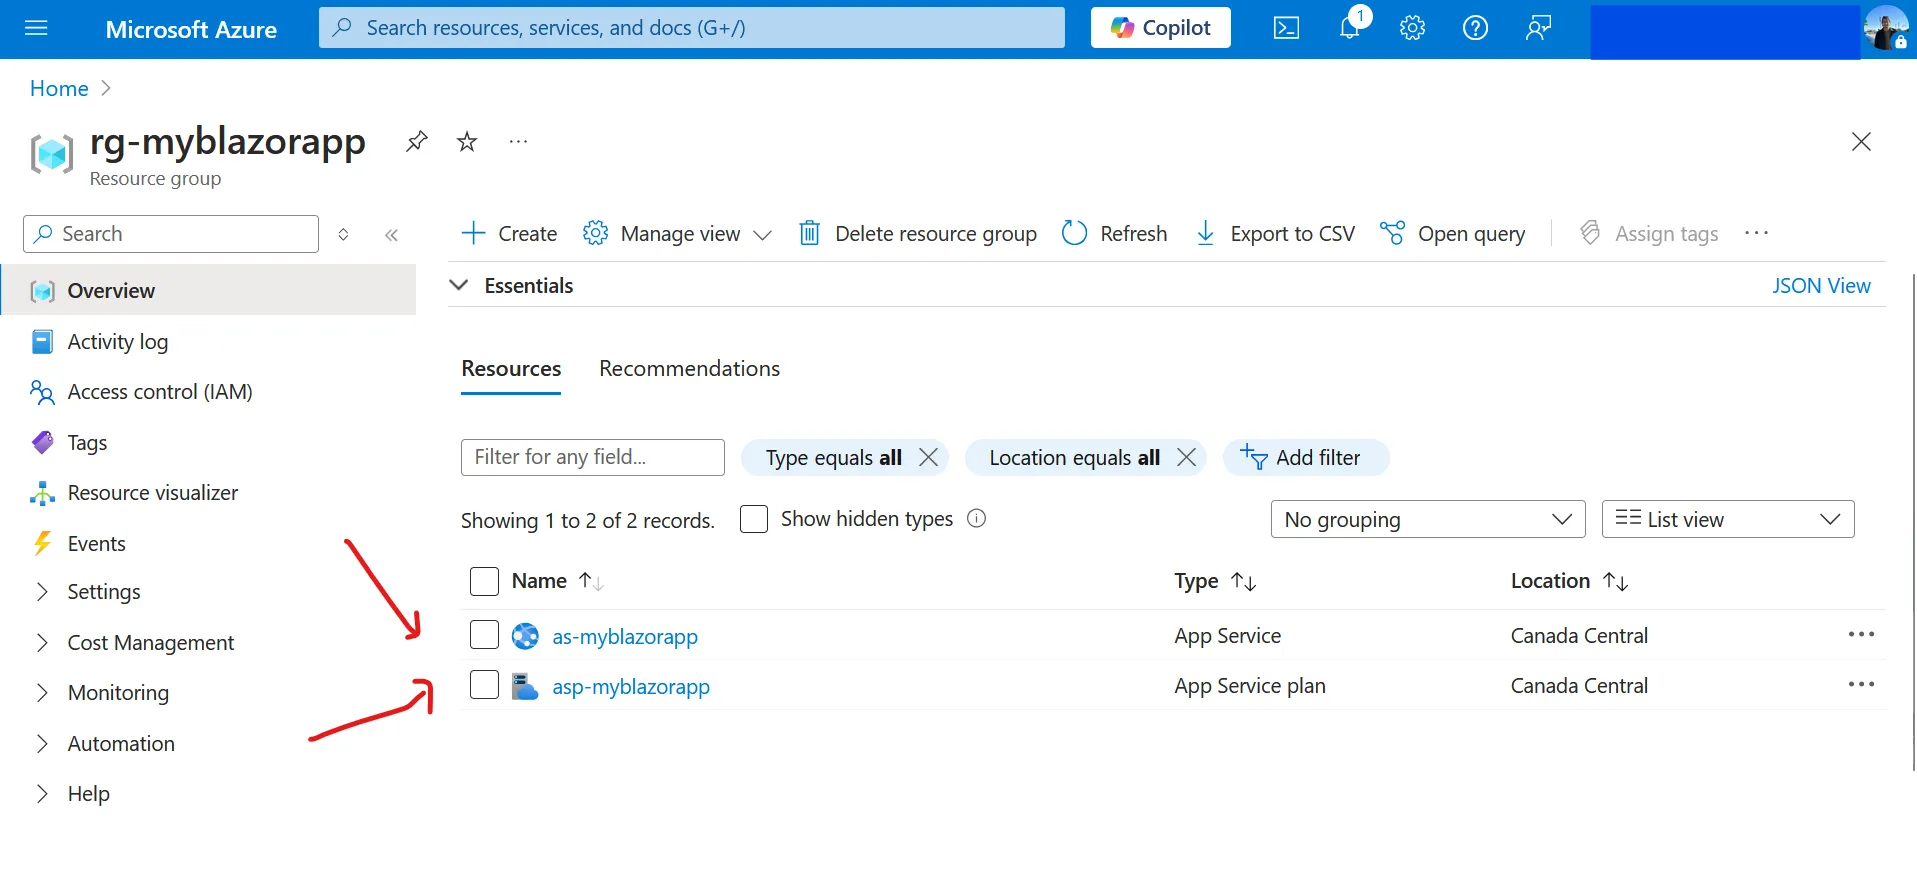
Let’s click the resource group and view the App service, so as you can see here as-myblazorapp (Azure App Service) as been created too and asp-myblazorapp (Azure App Service Plan)
Now let’s go back to Visual Studio open the publish window.
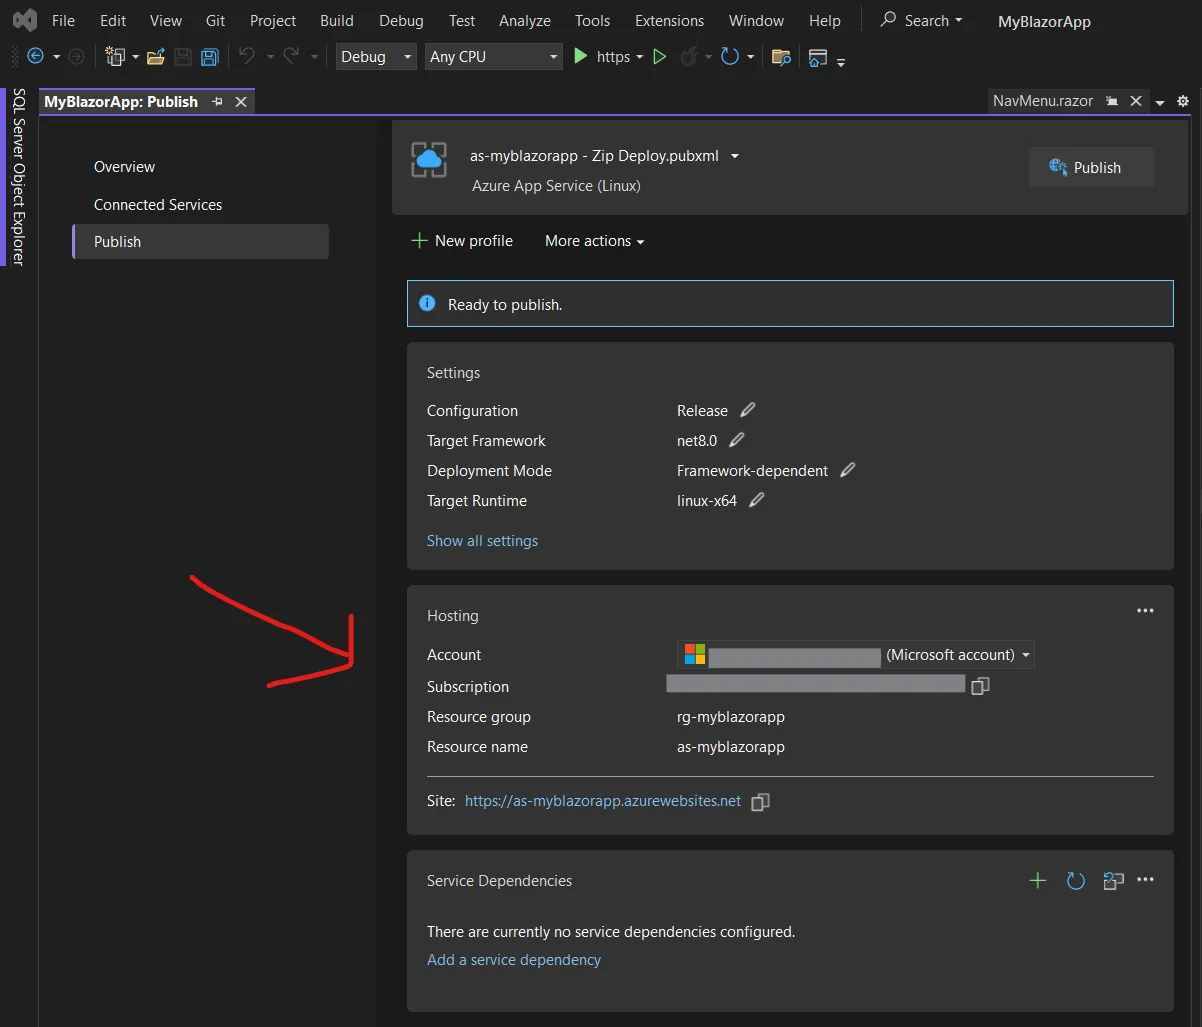
As you can see in your publish profile, there is an Azure App Service profile created for you.
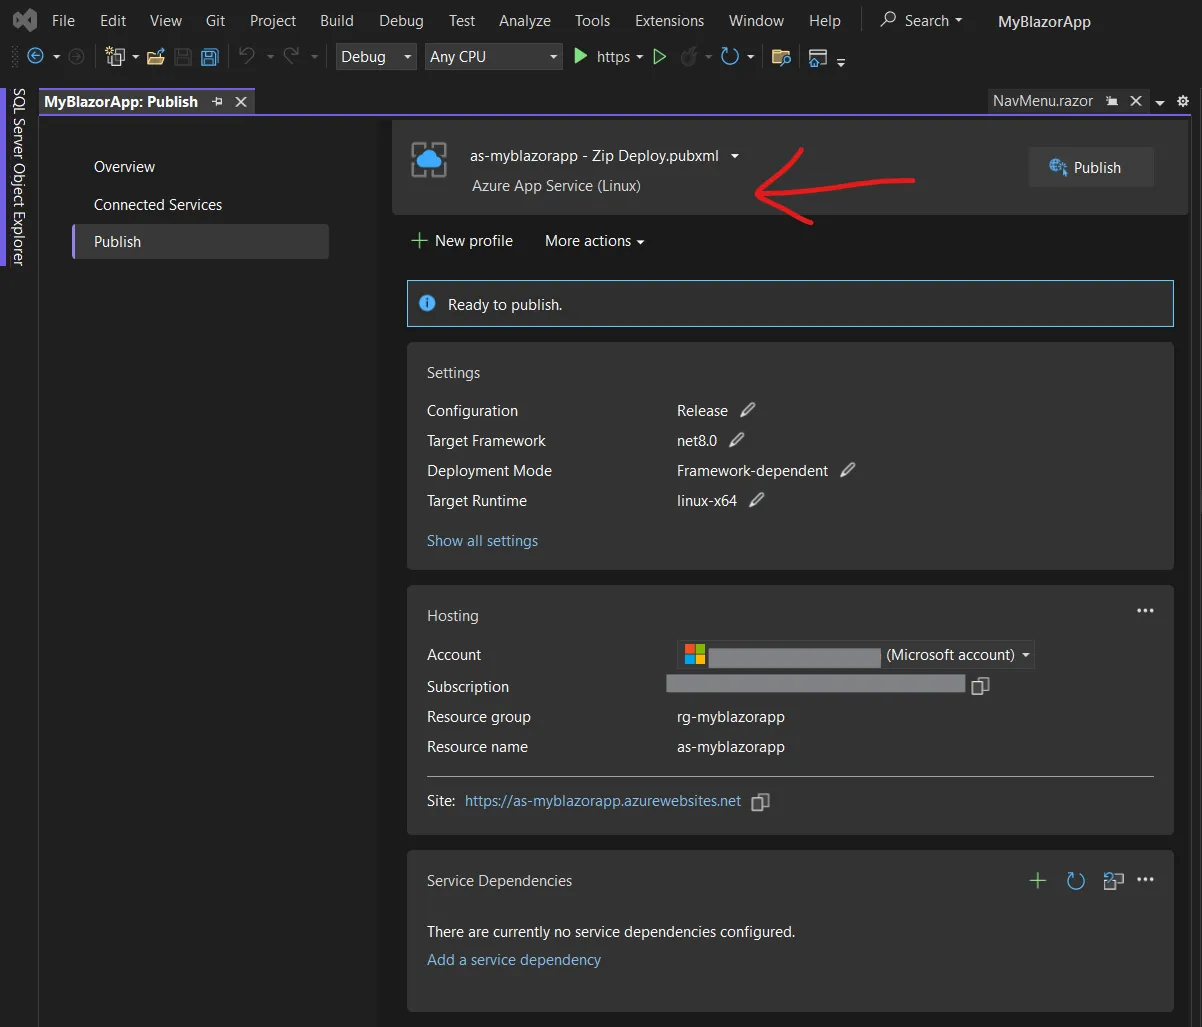
You can also see the hosting details of your Azure App Service here, containing the Account, Subscription key, your resource group that we have created and the resource itself Azure App service named “as-myblazorapp”.
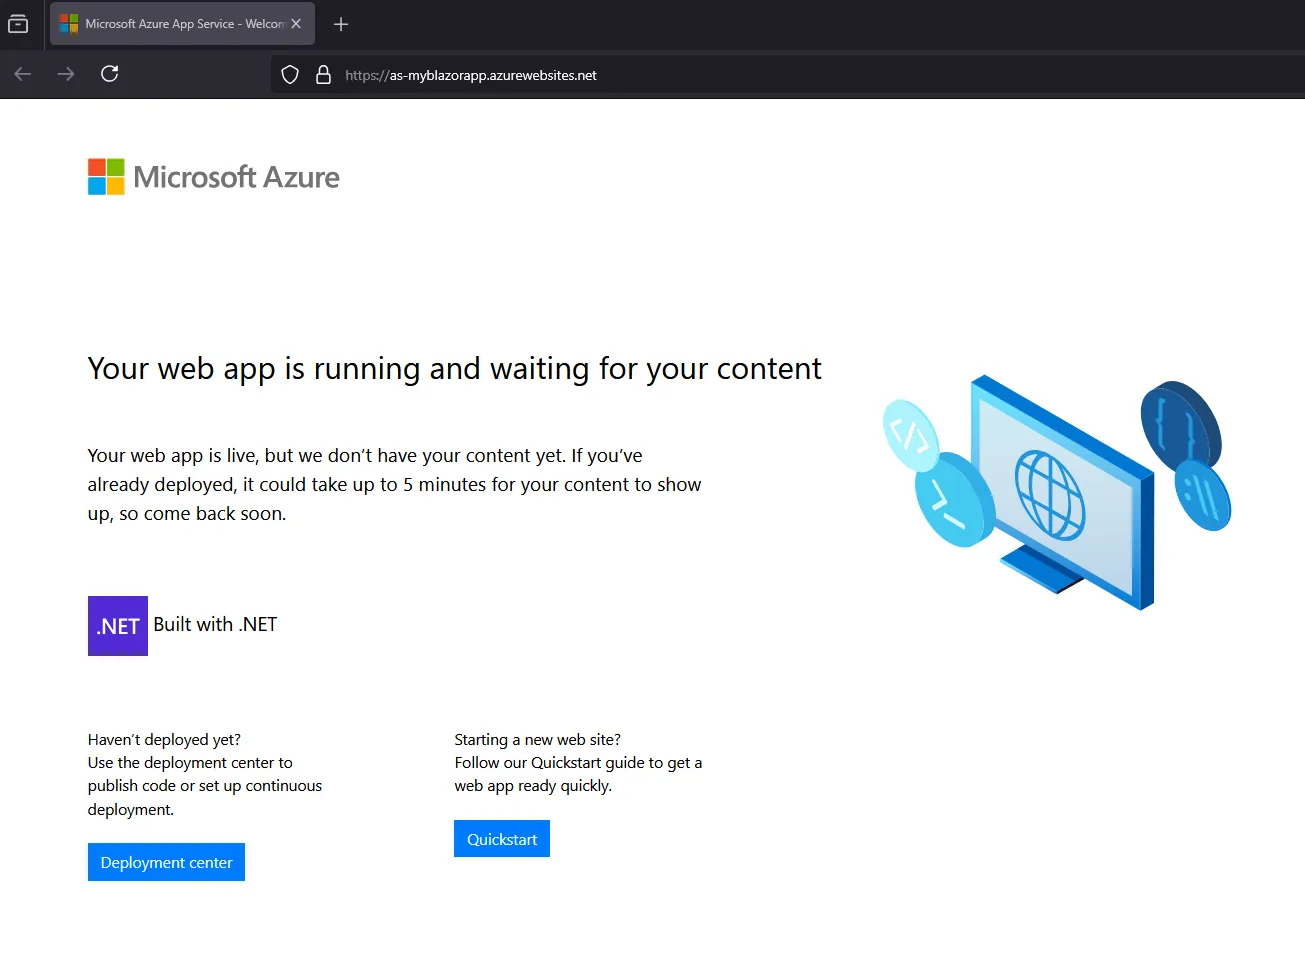
Now, let’s preview the site URL before publishing our Blazor App , click the site link
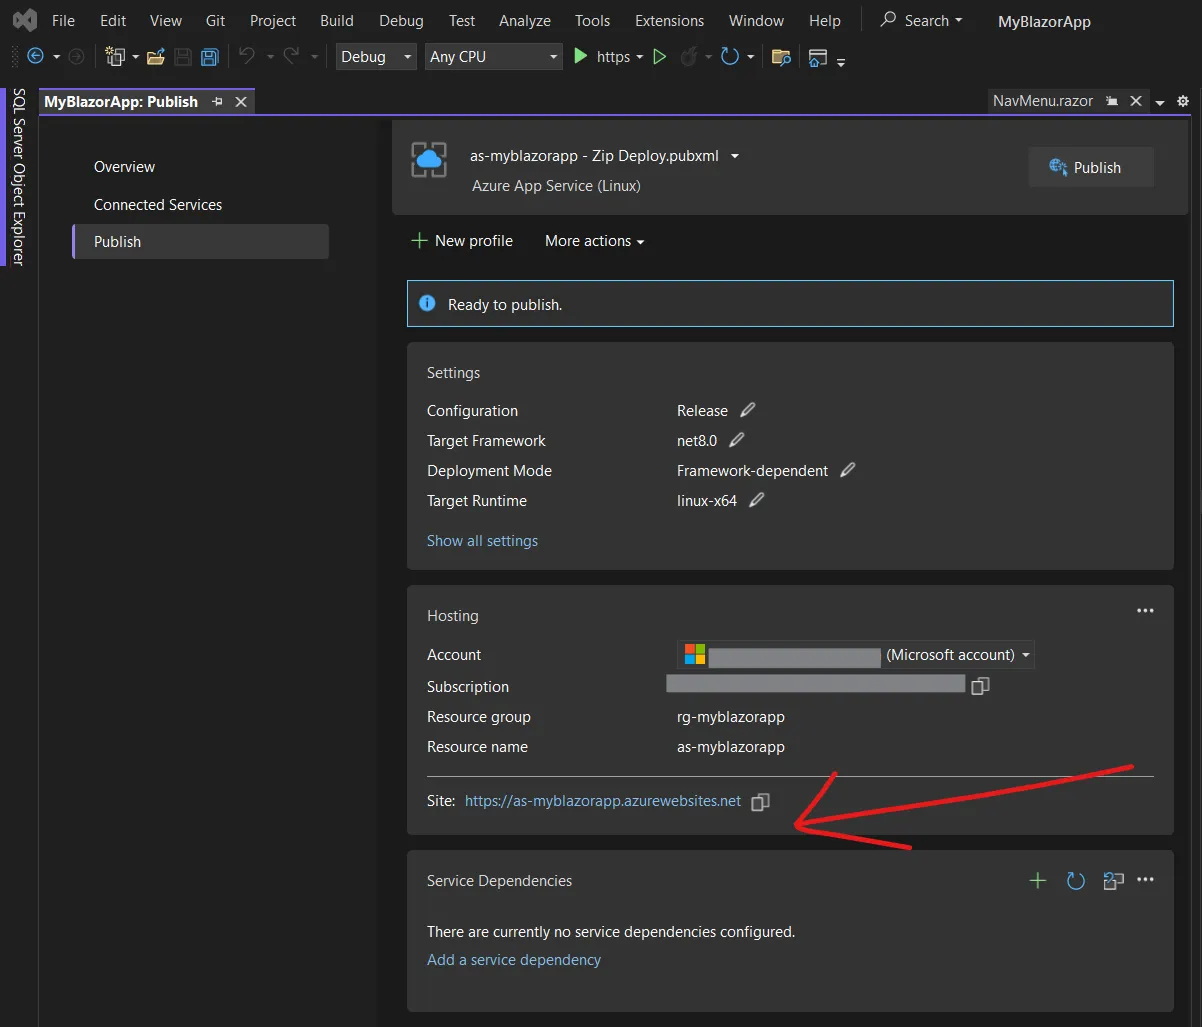
Now, we can see that our instance is now up and running on the cloud.
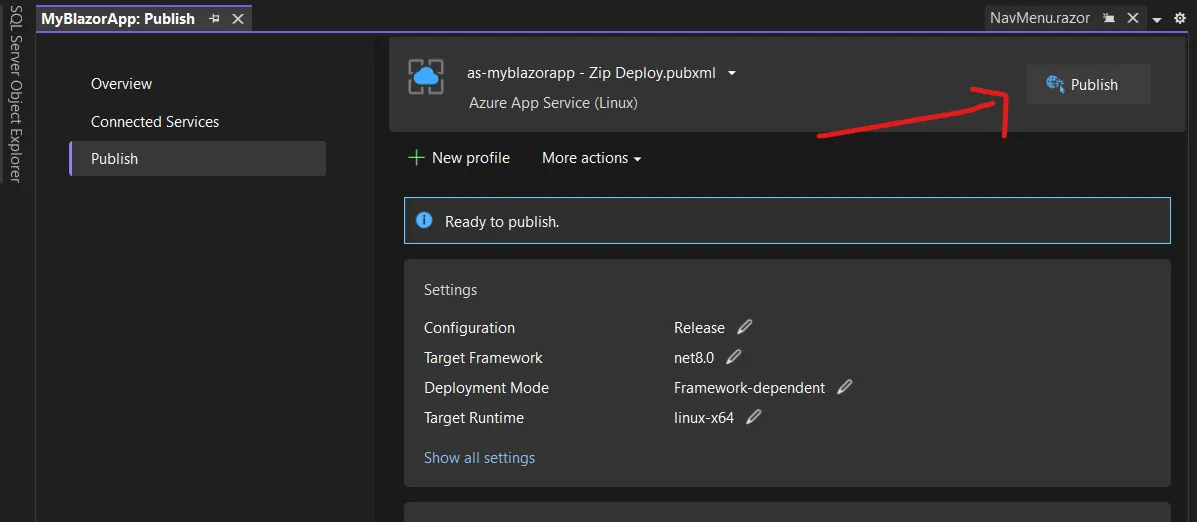
Let’s deploy our Blazor Web App
To deploy, let’s use the profile that we have created. Click publish
Wait for it to finish
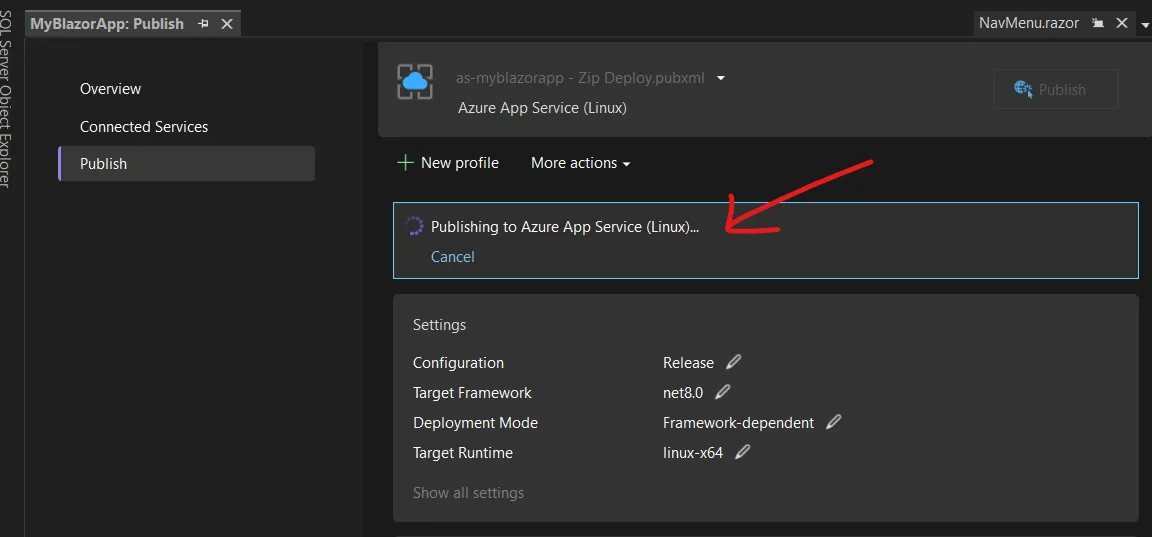
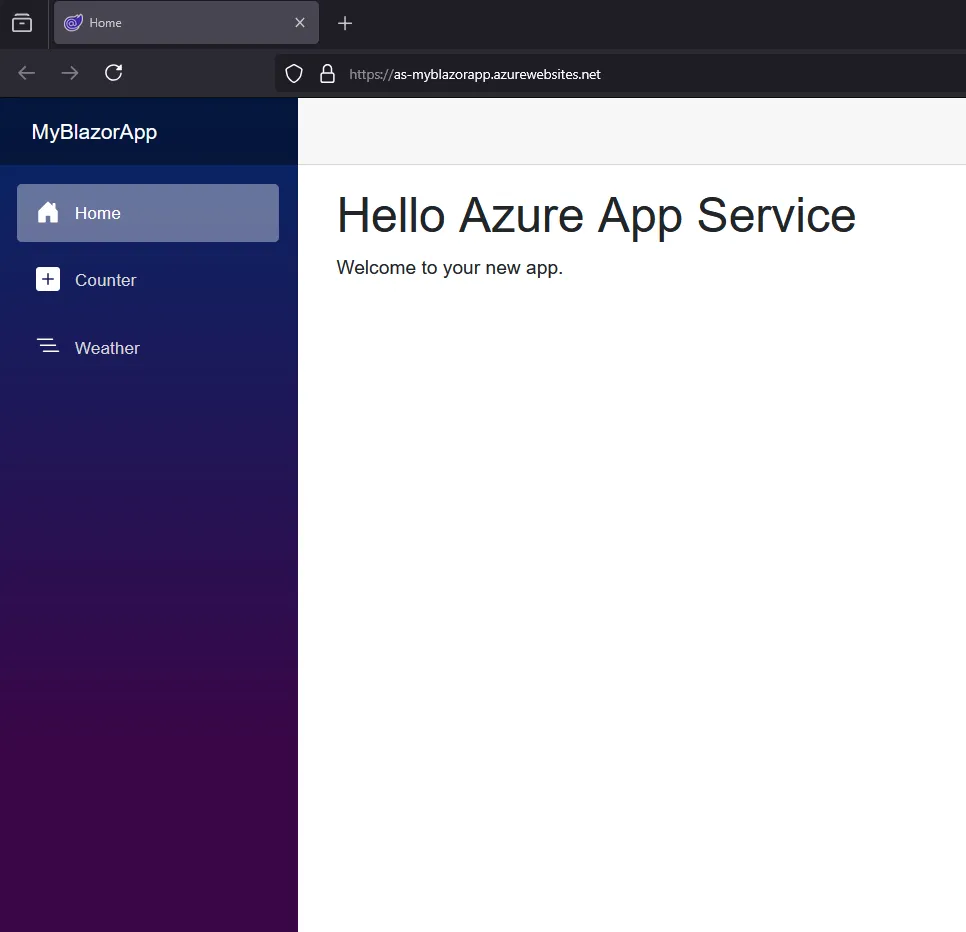
Once published you will see “Publish succeeded” message . To preview your application - click Navigate.

Finally! our Blazor App is now up and running on the cloud.
That's it, please let me know your thoughts!
Thank you for reading. Have a nice day! :)