This post is about building a Docker image for a simple machine learning project and pushing it to Docker Hub. It walks you through each step from writing a Dockerfile to verifying the image on Docker Hub with real command line examples and screenshots from the actual build and push process.
Prerequisites
- Docker installed on your system.
- A Docker Hub account.
- A project with a
Dockerfile(we’ll use a Python-based ML app in this case).
Step 1: Create a Dockerfile
In your project directory, create a file named Dockerfile (without extension) and add the following:
FROM python:3.11-slim

WORKDIR /app

COPY . .

RUN pip install pandas scikit-learn matplotlib

CMD ["python", "your_script.py"]
Make sure to replace your_script.py with your actual entry-point Python file.
Step 2: Build the Docker Image
Open your terminal and navigate to the project directory. Then run:
docker build -t yourusername/imagename:tag .Example:
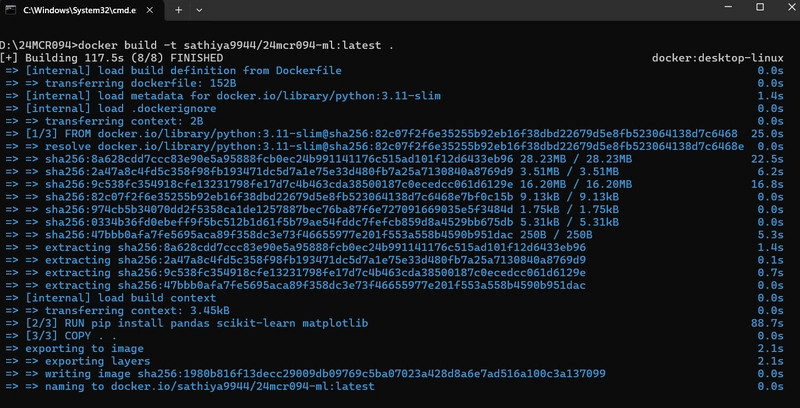
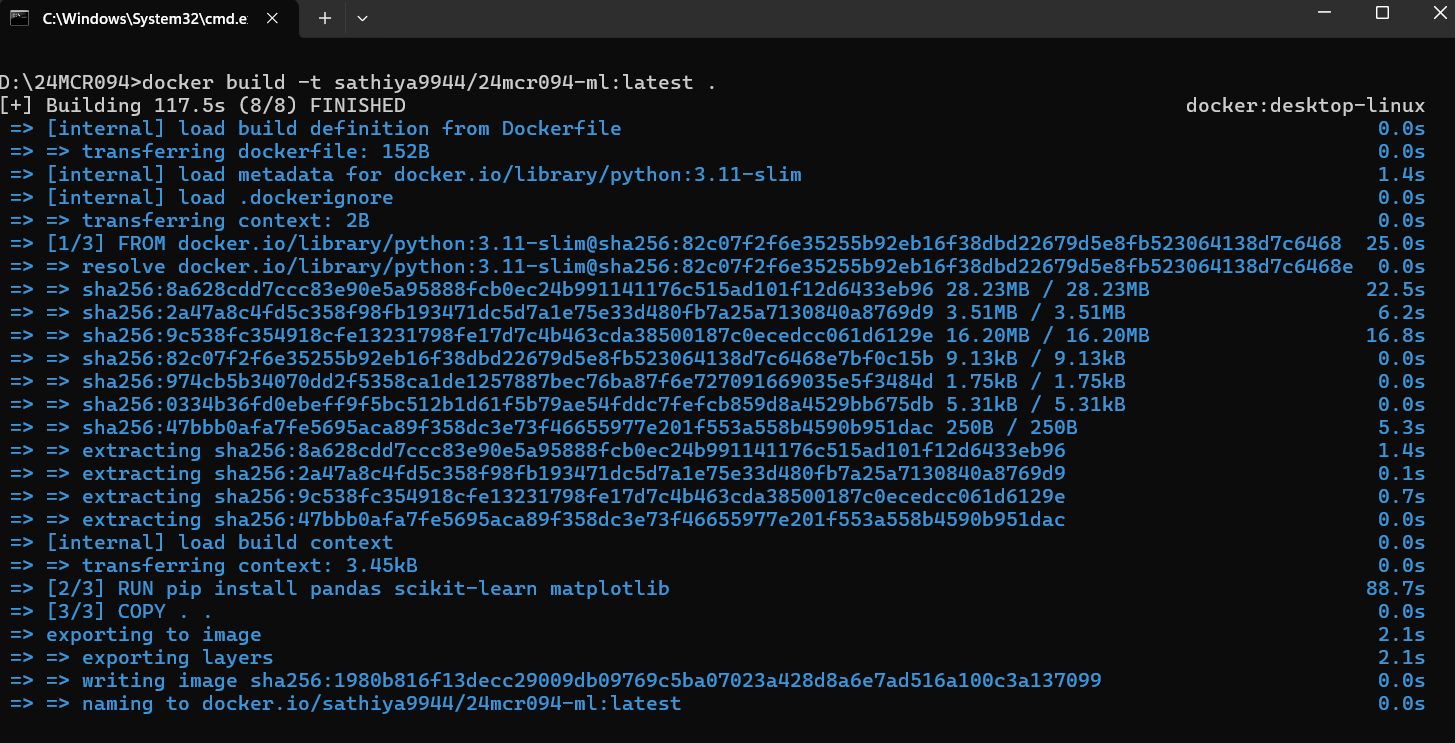
docker build -t sathiya9944/24mcr094-ml:latest .This command builds the Docker image using the Dockerfile.
Step 3: Login to Docker Hub
Before pushing your image, log in to Docker Hub:
docker loginEnter your Docker Hub username and password when prompted.
Step 4: Push the Image to Docker Hub
Once logged in, push the image using:
docker push yourusername/imagename:tagExample:
docker push sathiya9944/24mcr094-ml:latestScreenshots
Docker Build Output
Docker Push Output

Conclusion
Now Docker image was built and pushed to Docker Hub using a real machine learning project. This image is now ready to be shared with others or deployed across different environments with ease.